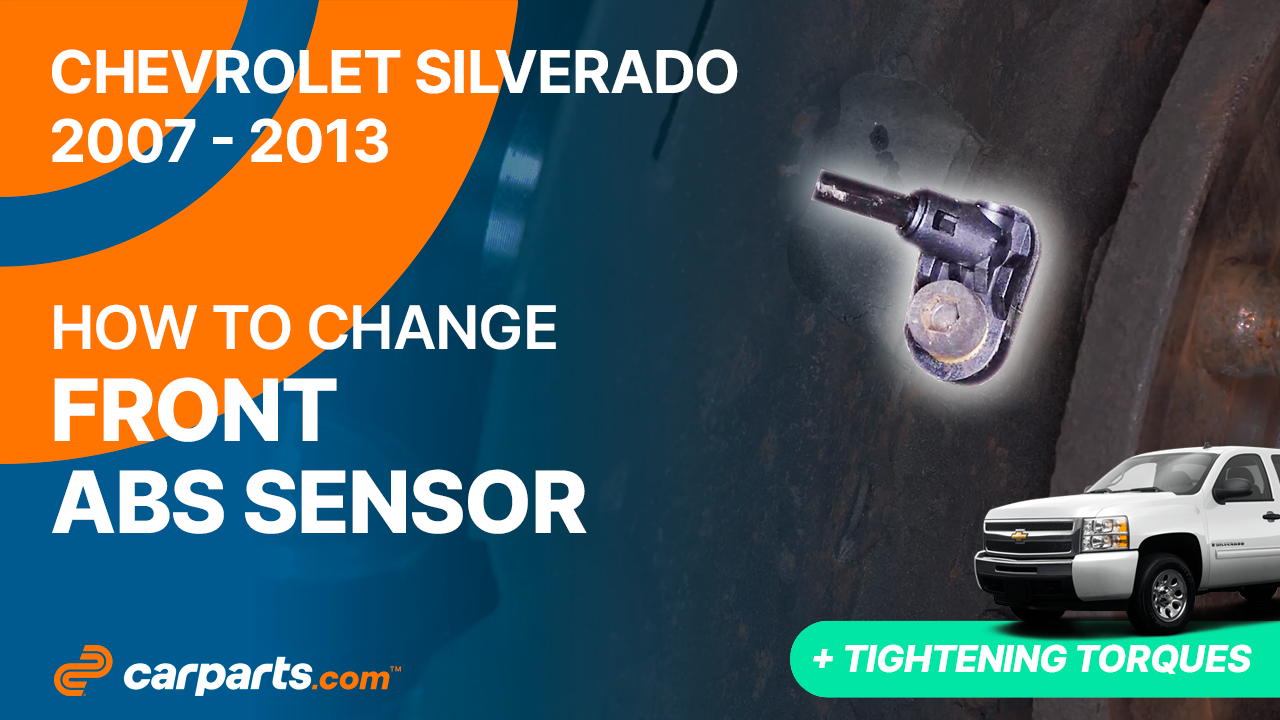
How to replace the front ABS sensor 2007 – 2013 Chevrolet Silverado 2
To replace the front ABS sensor on your Silverado 2 we’re here to help. You will be asked to lift the vehicle, remove the brake system, remove the abs sensor as well as carry out a few other steps. You can carry out this tutorial of 10 chapters in 45 minutes. Bring your 5mm Allen socket and your flat head screwdriver and let’s get started!
Duration
45 minutes
Number of steps
10
Difficulty out of 5
2
Average savings
$50
Parts You Will Need
Tools You Will Need
Step-by-Step Installation
Chapter 1:
Lift the vehicle
Step 1/3
Turn your engine off and set the parking brake.


Chapter 1:
Step 2/3
Loosen the stud bolts on the front wheels.

Chapter 1:
Step 3/3
Lift the front of your vehicle. Place the vehicle on the jack stands. Don’t forget to put the wheels under the vehicle!


Chapter 2:
Remove the brake system
Step 1/1
Now you need to remove the brake system.


Chapter 3:
Remove the ABS sensor from the wheel knuckle
Step 1/2
Using a ratchet and a 5mm Allen socket, unscrew the ABS sensor retaining bolt.


Chapter 3:
Step 2/2
Using a flathead screwdriver, pry it out of its slot.


Chapter 4:
Remove the cable from its housings
Step 1/2
Using a fork, unclip the entire ABS sensor cable, starting from the wheel knuckle. You can also use a screwdriver to help you.


Chapter 4:
Step 2/2
Disconnect the electrical connector. Then, remove the sensor.


Chapter 5:
Clean
Step 1/1
Using a cylindrical brush, clean the sensor area to make it easier to install the new sensor once the parts have been reassembled.

Chapter 6:
Reconnect the ABS sensor connector
Step 1/2
Take the new sensor.

Chapter 6:
Step 2/2
Plug the electrical connector back in.


Chapter 7:
Reclip the cable in its housings
Step 1/1
Replace the ABS sensor cable in its slots.


Chapter 8:
Install the ABS sensor
Step 1/3
Apply grease to the sensor to prevent corrosion in the long term.

Chapter 8:
Step 2/3
Insert the sensor into its housing. Then, screw it back on, initially by hand. Screw it in until it makes contact using the ratchet.


Chapter 8:
Step 3/3
Finish tightening using a torque wrench.

Chapter 9:
Put the brake system back
Step 1/1
Now put the brake system back in place.


Chapter 10:
Put the vehicle back on the ground
Step 1/3
Then, you will be able to put the wheels back on your vehicle.


Chapter 10:
Step 2/3
Put your vehicle back on the ground before properly fixing the wheels in place.


Chapter 10:
Step 3/3
Operation complete.
