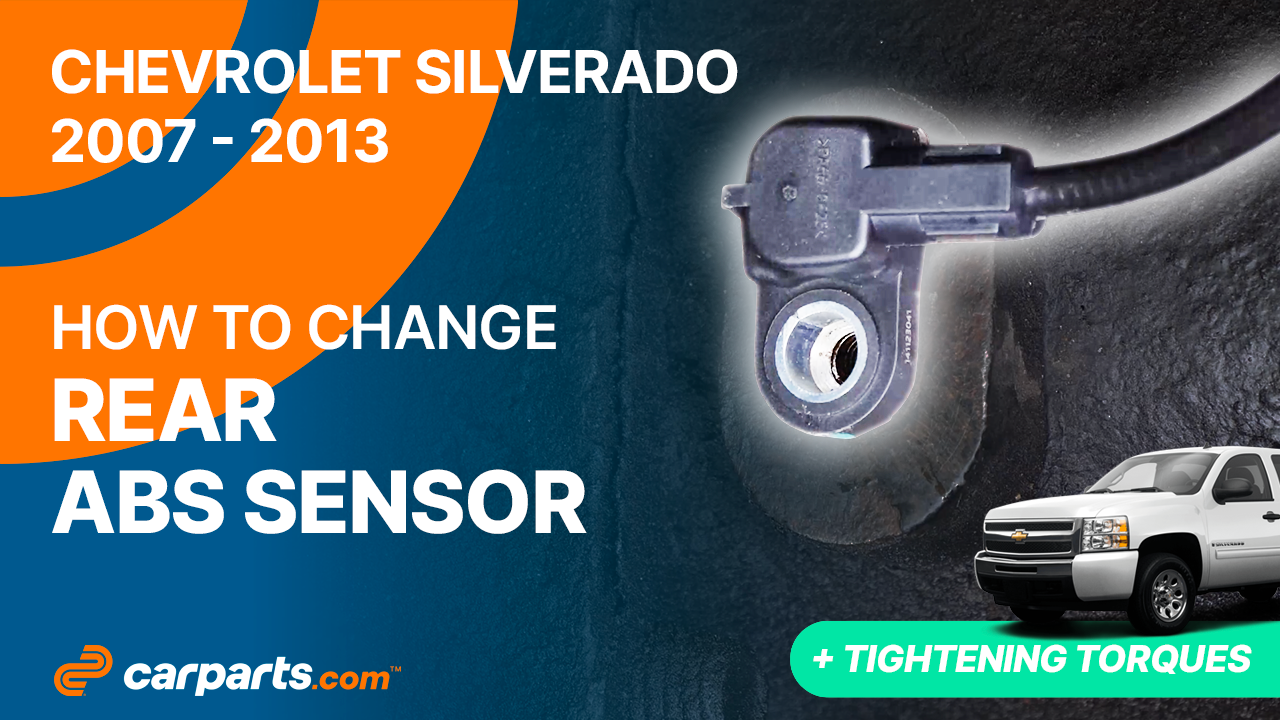
How to replace the rear ABS sensor 2007 – 2013 Chevrolet Silverado 2
To replace the rear ABS sensor on your Silverado 2 It’s easy. You will need to lift the vehicle, remove the abs sensor from the rear axle, remove the cable from its housings as well as carry out a few other steps. You can carry out this tutorial of 7 chapters in 45 minutes. Bring your Torx T30 socket and your fork and let’s get started!
Duration
45 minutes
Number of steps
7
Difficulty out of 5
2
Average savings
$60
Parts You Will Need
Tools You Will Need
Step-by-Step Installation
Chapter 1:
Take off the wheels
Step 1/3
Turn off your vehicle’s ignition, set the parking brake.


Chapter 1:
Step 2/3
Loosen the wheel lug nuts on the rear wheels.

Chapter 1:
Step 3/3
Lift the rear of your vehicle. Place the vehicle on the jack stands. Don’t forget to put the wheels under the vehicle!

Chapter 2:
Remove the ABS sensor from the rear axle
Step 1/3
The ABS sensor is located behind the rear brake backing plate.

Chapter 2:
Step 2/3
The components to be removed are very often seized up, so don’t hesitate to brush and to use penetrating oil to make removal easier.

Chapter 2:
Step 3/3
Using a ratchet and a Torx T30 socket, unscrew the ABS sensor’s retaining bolt. Then, remove the sensor by jiggling it back and forth.


Chapter 3:
Remove the cable from its housings
Step 1/4
Using a fork, unclip the ABS sensor cable retaining clip located on the rear axle. Then, unclip the one located on the chassis.


Chapter 3:
Step 2/4
Disconnect the connector by pressing on the plastic tab and pulling it.


Chapter 3:
Step 3/4
Unclip the last retaining clip.


Chapter 3:
Step 4/4
You can now remove the cable.

Chapter 4:
Reconnect the ABS sensor connector
Step 1/3
Take the new sensor.

Chapter 4:
Step 2/3
Reclip the connector onto its support.

Chapter 4:
Step 3/3
Reconnect the connector. Then, reclip all of the ABS sensor cable retaining clips.


Chapter 5:
Clean
Step 1/1
Before installing the ABS sensor, we recommend that you thoroughly clean its location using a wire brush.

Chapter 6:
Install the ABS sensor
Step 1/2
Insert the sensor into its housing. Then, retighten the retaining bolt.


Chapter 6:
Step 2/2
Finish tightening using a torque wrench.

Chapter 7:
Put the vehicle back on the ground
Step 1/3
Then, you will be able to put the wheel back on your vehicle.

Chapter 7:
Step 2/3
Put the car back on the ground and block the wheel properly.


Chapter 7:
Step 3/3
Operation complete.