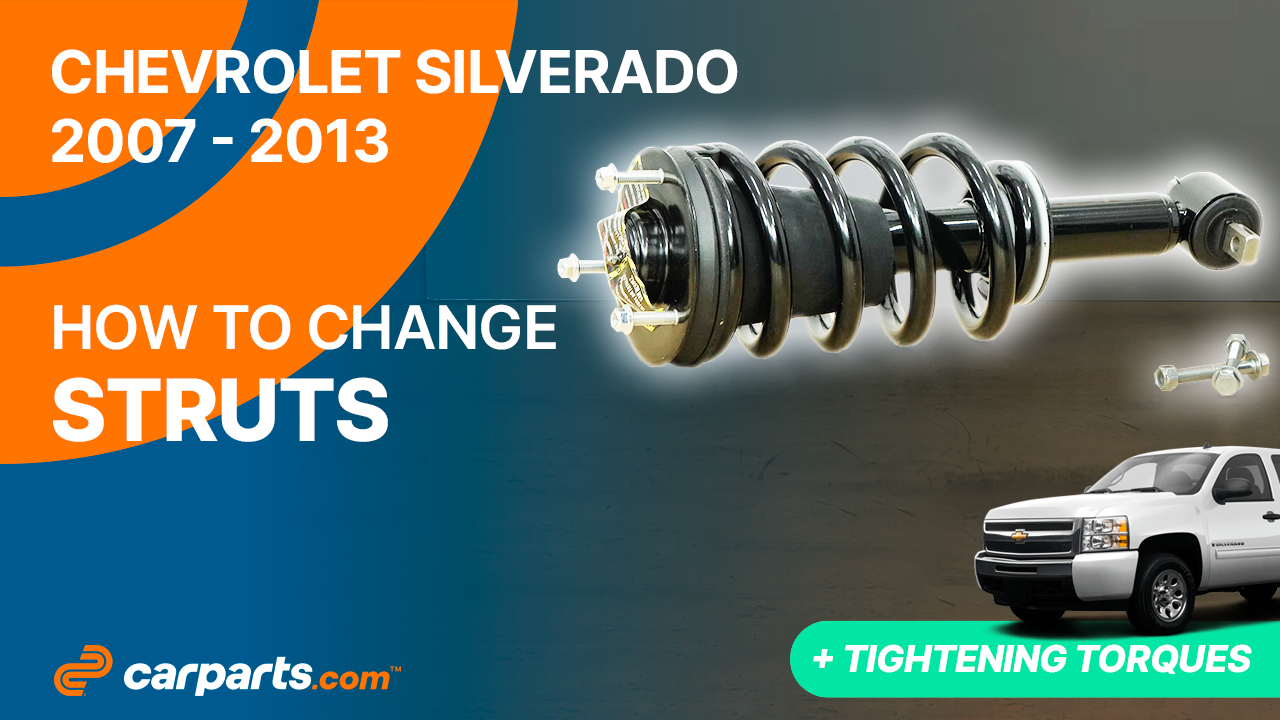
How to replace the struts 2007 – 2013 Chevrolet Silverado 2
To replace the struts on your Silverado 2 we’re here to help. You will be asked to lift the vehicle, unscrew the strut mount bearing nuts, loosen the strut foot as well as carry out a few other steps. You can carry out this tutorial of 9 chapters in 80 minutes. Bring your 13 mm socket and your 18 mm socket and let’s get started!
Duration
80 minutes
Number of steps
9
Difficulty out of 5
3
Average savings
$150
Parts You Will Need
Tools You Will Need
Step-by-Step Installation
Chapter 1:
Lift the vehicle
Step 1/3
Turn your engine off and set the parking brake.


Chapter 1:
Step 2/3
Loosen the stud bolts on the front wheels.

Chapter 1:
Step 3/3
Lift the front of your vehicle. Place the vehicle on the jack stands. Don’t forget to put the wheels under the vehicle!

Chapter 2:
Unscrew the strut mount bearing nuts
Step 1/2
From the engine compartment, unclip all the wiring harness clips on the upper strut mount retaining nuts.


Chapter 2:
Step 2/2
Then, unscrew the 3 upper strut mount retaining nuts using a ratchet, an extender and an 18 mm socket.


Chapter 3:
Loosen the strut foot
Step 1/2
Brush the 2 strut foot bolts, then spray them with penetrating oil.

Chapter 3:
Step 2/2
Using a ratchet and a 13 mm socket, unscrew the 2 strut foot retaining bolts. Block the rotation of the nuts with a 15mm wrench.


Chapter 4:
Remove the strut
Step 1/3
To prevent the strut from falling off, hand-tighten a mount bearing retaining nut by a few threads.

Chapter 4:
Step 2/3
You can now remove the strut foot from its slot. If necessary, tap with a hammer or pry with a crowbar to facilitate handling.

Chapter 4:
Step 3/3
You can now take extract the strut.


Chapter 5:
Prepare the strut
Step 1/2
Take your new strut. Then remove the safety tape.

Chapter 5:
Step 2/2
Unscrew the 3 nuts holding the strut mount bearing.

Chapter 6:
Tips
Step 1/5
Pass the strut through the upper control arm, then install the upper part first.


Chapter 6:
Step 2/5
Repositioning the strut can be complicated by simply prying on the strut foot. We’ll show you an alternative method that will make this tedious operation easier.
Chapter 6:
Step 3/5
Screw the 3 nuts that hold the mounts back on until there is contact.

Chapter 6:
Step 4/5
Press the lower control arm to gain space for the strut foot. The strut foot will then automatically move into position above the lower control arm.


Chapter 6:
Step 5/5
Finish adjusting the strut foot by prying on it with a small crowbar.


Chapter 7:
Finalise the reassembly
Step 1/5
Use the new bolts supplied with the strut.

Chapter 7:
Step 2/5
Replace the bolts. Then screw the nuts back on, by hand at first.


Chapter 7:
Step 3/5
Screw them in using a socket wrench and a 13mm socket. Block the rotation with a 15 mm wrench.

Chapter 7:
Step 4/5
Finish tightening using a torque wrench.


Chapter 7:
Step 5/5
Tighten the 3 nuts with a torque wrench. Then, reattach the clips.


Chapter 8:
Put the vehicle back on the ground
Step 1/2
Then, you will be able to put the wheels back on your vehicle.

Chapter 8:
Step 2/2
Put the car back on the ground and block the wheels properly.


Chapter 9:
Safety tips
Step 2/2
During this operation, you will be intervening on the front axle of your car, so it is advisable to perform a wheel alignment afterwards.
Chapter 9:
Step 2/2
Operation complete.