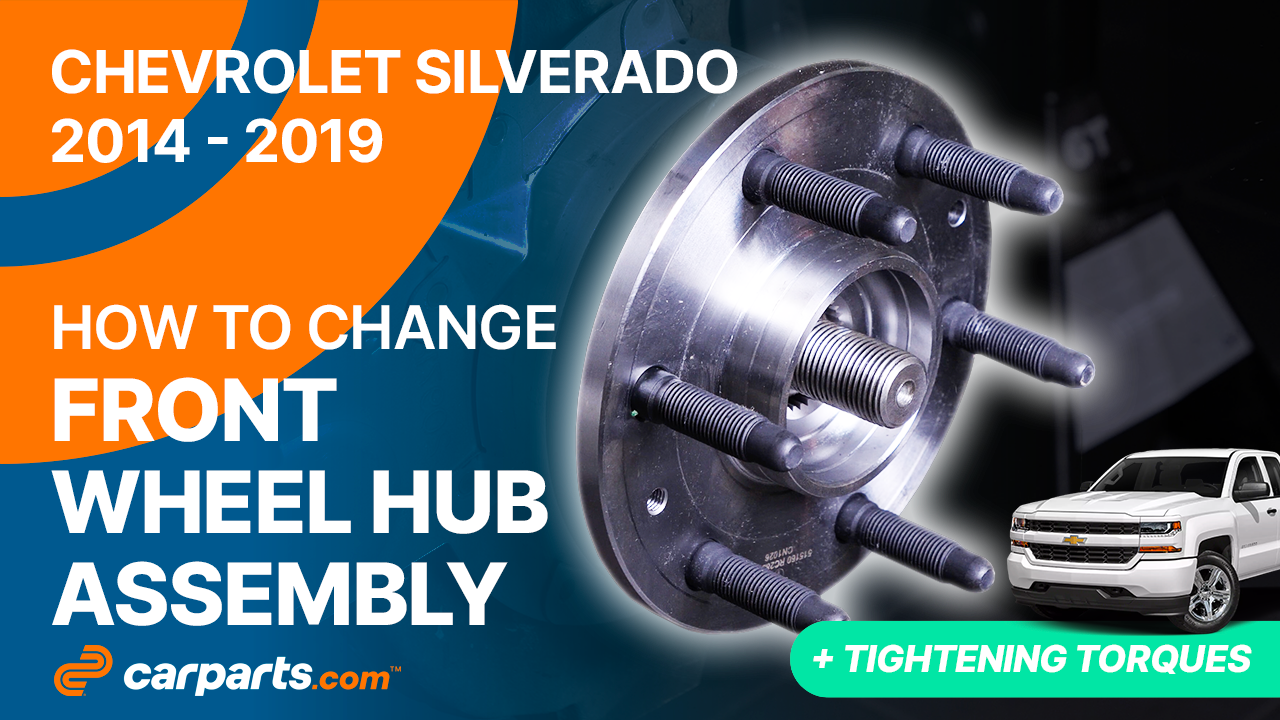
How to replace he front wheel hub bearing 2014 – 2019 Chevrolet Silverado 3
To replace he front wheel hub bearing on your Silverado 3 just follow the steps. You will be asked to take off the wheels, remove the brake system, remove the wheel hub as well as carry out a few other steps. You can carry out this tutorial of 13 chapters in 60 minutes. Bring your 15 mm wrench and your 36 mm socket and let’s get started!
Duration
60 minutes
Number of steps
13
Difficulty out of 5
3
Average savings
$70
Parts You Will Need
Tools You Will Need
Step-by-Step Installation
Chapter 1:
Take off the wheels
Step 1/4
Turn off your vehicle’s ignition, set the parking brake.


Chapter 1:
Step 2/4
Loosen the stud bolts on the front wheels.

Chapter 1:
Step 3/4
Lift the front of your vehicle. Place the vehicle on the jack stands.


Chapter 1:
Step 4/4
Don’t forget to put the wheels under the vehicle!

Chapter 2:
Tips
Step 1/2
If your vehicle is equipped with aluminum rims, you will need to remove the wheel first before you can remove the central rim cover.

Chapter 2:
Step 2/2
Put the wheel back in place. Put your truck back on the ground. Use a breaker bar and a 36mm socket to unblock the nut on the end of the CV axle.


Chapter 3:
Remove various components
Step 1/3
Then use a fork to unclip all the clips that hold the ABS sensor cable in place. You can also use a screwdriver to help you.


Chapter 3:
Step 2/3
Disconnect the connector by pushing on the red plastic tab, then prying the tab and pulling it. Shift the ABS sensor cable.


Chapter 3:
Step 3/3
Using a multi-bit screwdriver and a 10 mm socket, unscrew the bolt securing the brake hose bracket. Then move the brake hose aside.


Chapter 4:
Remove the brake system
Step 1/7
In order to remove the wheel hub on this vehicle, you need to remove the disc and pad assembly.

Chapter 4:
Step 2/7
Ask another person to press the brake pedal.

Chapter 4:
Step 3/7
Using a ratchet and a Torx T30 socket, unscrew the bolt holding the disc.


Chapter 4:
Step 4/7
Using a socket wrench and a 18mm socket, unscrew the two holding bolts on the caliper mount.


Chapter 4:
Step 5/7
Tip: attach a piece of electrical cable, or a hook, to one of the strut spring coils

Chapter 4:
Step 6/7
Remove the caliper assembly, and hang it on the hook.


Chapter 4:
Step 7/7
Finally, remove the disc.

Chapter 5:
Remove the wheel hub
Step 1/4
Finish unscrewing the nut on the end of the CV axle.


Chapter 5:
Step 2/4
The components to be removed are very often seized up, so don’t hesitate to brush and to use penetrating oil to make removal easier.


Chapter 5:
Step 3/4
Using a 15 mm wrench, unscrew the 3 bolts holding the wheel hub to the knuckle.


Chapter 5:
Step 4/4
Remove the wheel hub assembly and the brake backing plate.


Chapter 6:
Clean
Step 1/3
Protect the threads at the end of the CV axle with a clean cloth.


Chapter 6:
Step 2/3
Clean the wheel knuckle using a wire brush and fine sandpaper.

Chapter 6:
Step 3/3
Finish with brake cleaner and wipe with a paper towel.


Chapter 7:
Tips
Step 1/1
We recommend taking the opportunity to change the brake backing plate, which can only be removed by taking out the wheel hub.


Chapter 8:
Set up
Step 1/3
Take the wheel hub assembly.

Chapter 8:
Step 2/3
Install the new brake backing plate on the wheel hub.


Chapter 8:
Step 3/3
Then grease the CV axle and wheel knuckle with silicone grease to facilitate insertion of the wheel hub.


Chapter 9:
Install the wheel hub
Step 1/3
Install the wheel hub assembly, aligning the bolt holes with those on the brake backing plate. Then, screw the 3 retaining bolts back in.


Chapter 9:
Step 2/3
Finish tightening using a torque wrench.


Chapter 9:
Step 3/3
Clean the wheel hub with brake cleaner and paper towels.


Chapter 10:
Put the brake system back
Step 1/7
Reinstall the brake disc.

Chapter 10:
Step 2/7
Also brush the caliper mount retaining bolts, then apply medium-strength threadlocker to prevent accidental unscrewing.


Chapter 10:
Step 3/7
You can now re-install the caliper assembly.

Chapter 10:
Step 4/7
Once in place, screw the 2 retaining bolts back on with a ratchet.


Chapter 10:
Step 5/7
Finish tightening using a torque wrench.


Chapter 10:
Step 6/7
Screw the disc retaining bolt back on.

Chapter 10:
Step 7/7
Don’t forget to remove the hook that you used to hold the caliper assembly together.

Chapter 11:
Put the components back in place
Step 1/3
Screw the brake hose mounting bracket back on.


Chapter 11:
Step 2/3
Replace the ABS sensor cable and clip it back into its slots. Plug the electrical connector back in. And lock it.


Chapter 11:
Step 3/3
Reconnect the electrical connection.


Chapter 12:
Tightening tips
Step 1/3
Screw the hub nut back on until it makes contact.


Chapter 12:
Step 2/3
Insert a flat head screwdriver thin enough to fit between the two walls of the disc. It must be inserted before the caliper mount, so that it can abut against it.

Chapter 12:
Step 3/3
Finish tightening the hub nut with a torque wrench.

Chapter 13:
Put the vehicle back on the ground
Step 1/3
Then, you will be able to put the wheels back on your vehicle.

Chapter 13:
Step 2/3
Put your truck back on the ground before properly fixing the wheels in place.


Chapter 13:
Step 3/3
Operation complete.
