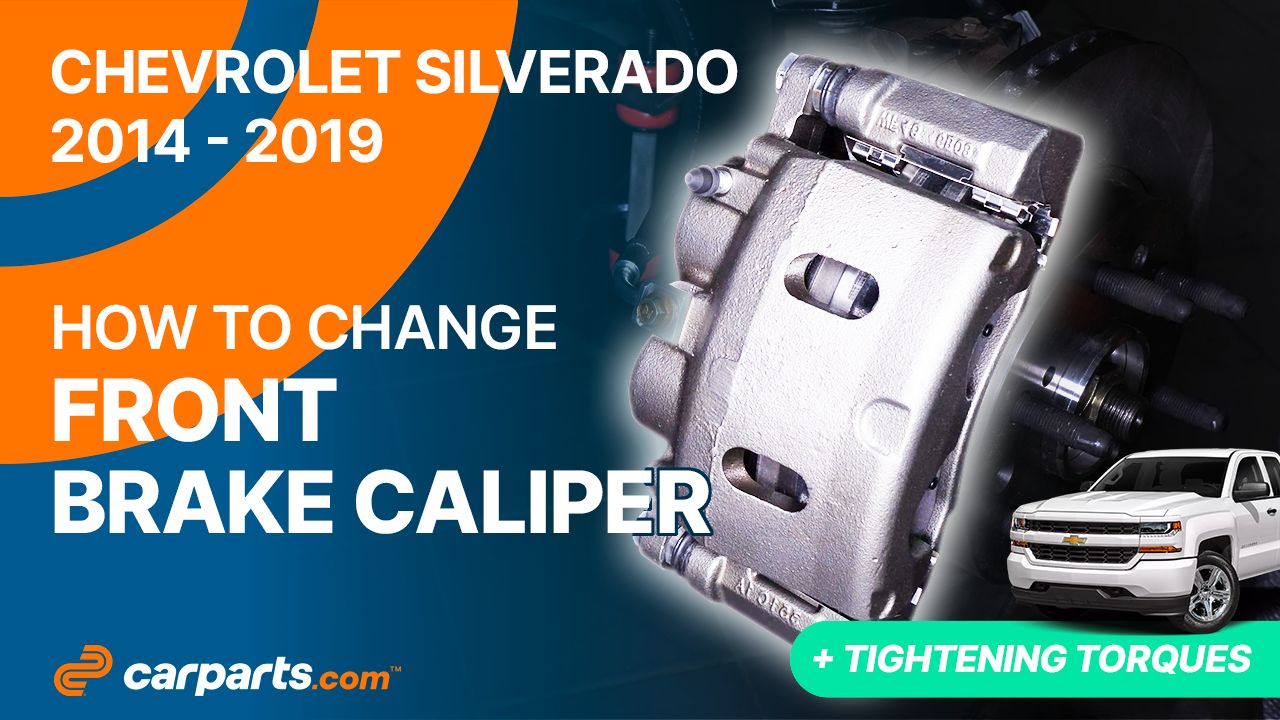
How to replace the front brake calipers 2014 – 2019 Chevrolet Silverado
To replace the front brake calipers on your Silverado this tutorial was tailor-made for you. You’ll need to set up, loosen the brake hose, remove the brake caliper as well as carry out a few other steps. You can carry out this tutorial of 14 chapters in 45 minutes. Bring your 18 mm socket and your 19 mm wrench and let’s get started!
Duration
45 minutes
Number of steps
14
Difficulty out of 5
1
Average savings
$50
Parts You Will Need
Tools You Will Need
Step-by-Step Installation
Chapter 1:
Open the hood
Step 1/2
Open the brake fluid reservoir.


Chapter 1:
Step 2/2
Place a container to collect the fluid under the caliper, since the brake fluid may leak out.

Chapter 2:
Loosen the brake hose
Step 1/1
Before removing the entire braking system, use a ratchet and a 11 mm socket to undo the banjo bolt while the caliper is attached to its support.

Chapter 3:
Remove the brake caliper
Step 1/3
With a ratchet and a 19mm socket, unscrew the slide pins. You can use a 19mm wrench to prevent the bolts from rotating. Finish unscrewing by hand.


Chapter 3:
Step 2/3
You can now finish unscrewing the banjo bolt. Then, remove it.


Chapter 3:
Step 3/3
You can now remove the caliper.


Chapter 4:
Tips
Step 1/1
Here’s a tip! You can limit brake fluid leakage during this operation by plugging both sides of the banjo bolt with banjo shutter pliers.

Chapter 5:
Remove the brake pads
Step 1/1
Remove the brake pads by prying them out with a flathead screwdriver.


Chapter 6:
Remove the brake caliper mount
Step 1/2
Using a socket wrench and a 18mm socket, unscrew the two holding bolts on the caliper mount. Depending on the state of the bolts on the caliper mount, it may be necessary to use a hammer to loosen them.


Chapter 6:
Step 2/2
Remove the caliper mount.


Chapter 7:
Set up
Step 1/3
Get the new assembly and unscrew the slide pins. Take the new caliper mount.


Chapter 7:
Step 2/3
Using a small wire brush, brush the location of the caliper mount bolts.

Chapter 7:
Step 3/3
Also brush the caliper mount retaining bolts, then apply medium-strength threadlocker to prevent accidental unscrewing.


Chapter 8:
Put the brake caliper mount back on
Step 1/2
Reassemble the caliper mount by screwing first by hand, then with a socket wrench and a 18mm socket to lock them in place.


Chapter 8:
Step 2/2
Finish tightening using a torque wrench.


Chapter 9:
Place the brake pads
Step 1/4
Get hold of the anti-rattle clips supplied in the kit.

Chapter 9:
Step 2/4
Place the new anti-rattle clips on the caliper mount.


Chapter 9:
Step 3/4
Grab the pads, and lightly coat the ends with copper grease to help them slide more easily.


Chapter 9:
Step 4/4
Insert the pads into the caliper mount by sliding them in.


Chapter 10:
Replace the brake caliper
Step 1/3
Grab the caliper. Put the new brake caliper in place and screw in the new slide pins, by hand at first.


Chapter 10:
Step 2/3
Block the rotation of the guide pins with a 19mm wrench and screw the slide pins back in using a socket wrench and a 19mm socket.

Chapter 10:
Step 3/3
Finish tightening using a torque wrench.


Chapter 11:
Screw the brake hose back on the caliper
Step 1/5
Use pliers to remove the rubber plug from the caliper.

Chapter 11:
Step 2/5
Get the new seals and the banjo bolt.

Chapter 11:
Step 3/5
Put a seal on the banjo bolt and install the assembly on the hose. Then put the second gasket on the banjo bolt.


Chapter 11:
Step 4/5
Screw the banjo bolt that connects the brake hose to the caliper, back in.

Chapter 11:
Step 5/5
Finish tightening the banjo bolt with a torque wrench.

Chapter 12:
Bleed the brake fluid system
Step 1/2
When replacing a brake caliper, you need to bleed the brake fluid system to remove air from the system.


Chapter 12:
Step 2/2
After bleeding, remember to clean the caliper-disc assembly with brake cleaner.


Chapter 13:
Put the vehicle back on the ground
Step 1/3
Then, you will be able to put the wheels back on your vehicle.

Chapter 13:
Step 2/3
Put the car back on the ground and block the wheels properly.


Chapter 13:
Step 3/3
Don’t forget to screw the brake fluid cap back on before starting the car.

Chapter 14:
Safety tips
Step 1/2
Attention! Before using your vehicle again, start your car, and pump the brake pedal a few times to push the brake pads together again. Try to drive smoothly and avoid sudden braking for the first 30 miles or so, to avoid glazing the new pads.


Chapter 14:
Step 2/2
Operation complete.
