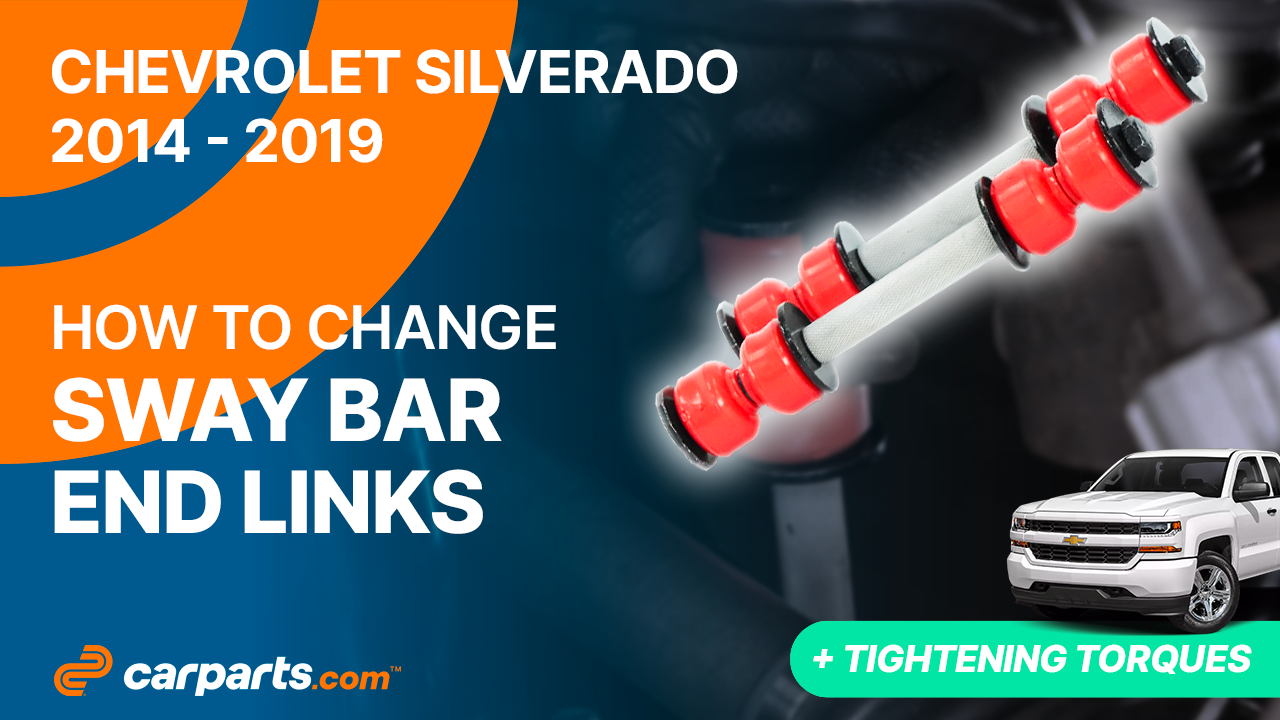
How to replace the front sway bar end links 2014 – 2019 Chevrolet Silverado 3
To replace the front sway bar end links on your Silverado 3 It’s easy. You will need to lift the vehicle, remove the sway bar end link, install the new sway bar end link as well as carry out a few other steps. You can carry out this tutorial of 7 chapters in 45 minutes. Bring your 15 mm wrench and your 15 mm socket and let’s get started!
Duration
45 minutes
Number of steps
7
Difficulty out of 5
2
Average savings
$50
Parts You Will Need
Tools You Will Need
Step-by-Step Installation
Chapter 1:
Lift the vehicle
Step 1/4
Turn your engine off and set the parking brake.


Chapter 1:
Step 2/4
Loosen the stud bolts on the front wheels.

Chapter 1:
Step 3/4
Lift the front of your vehicle. Place the vehicle on the jack stands.
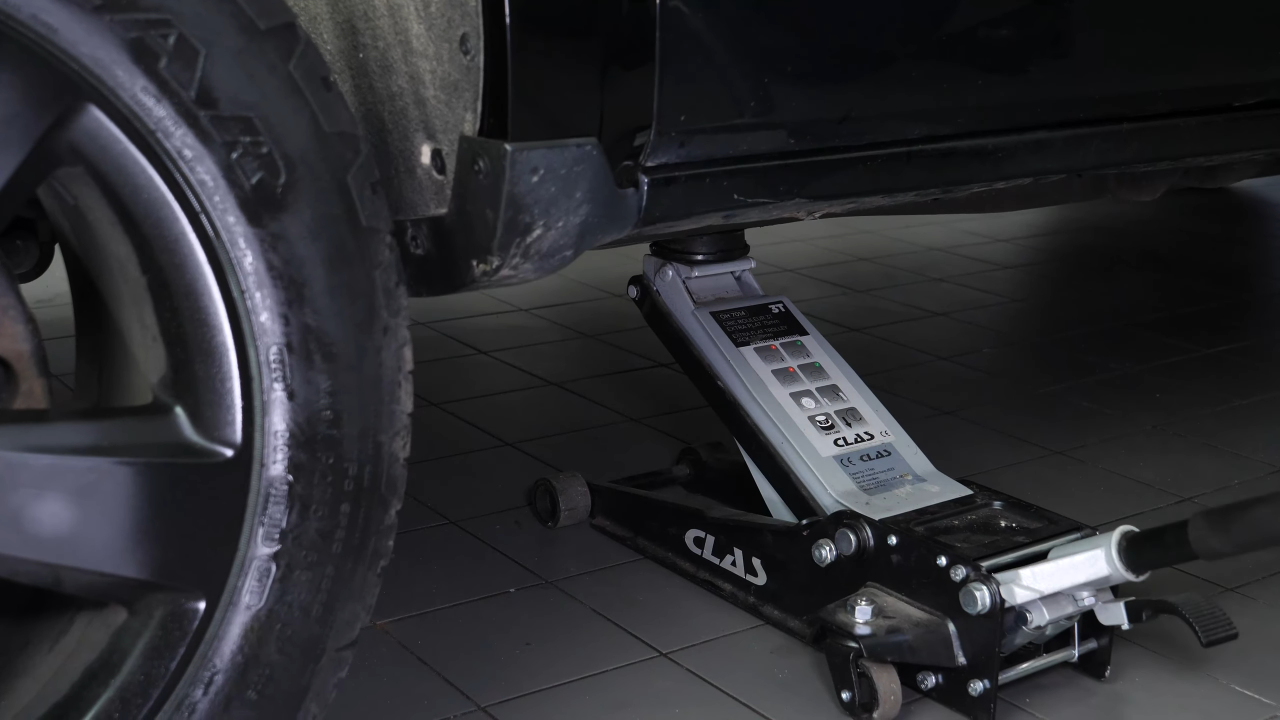


Chapter 1:
Step 4/4
Don’t forget to put the wheels under the vehicle!

Chapter 2:
Visualise
Step 1/1
Turn the brake disc inward to make this operation easier. You can now see your car’s end link.

Chapter 3:
Remove the sway bar end link
Step 1/6
It’s common for the components being removed to be seized up, so don’t hesitate to brush them and to use penetrating oil to make removal easier.
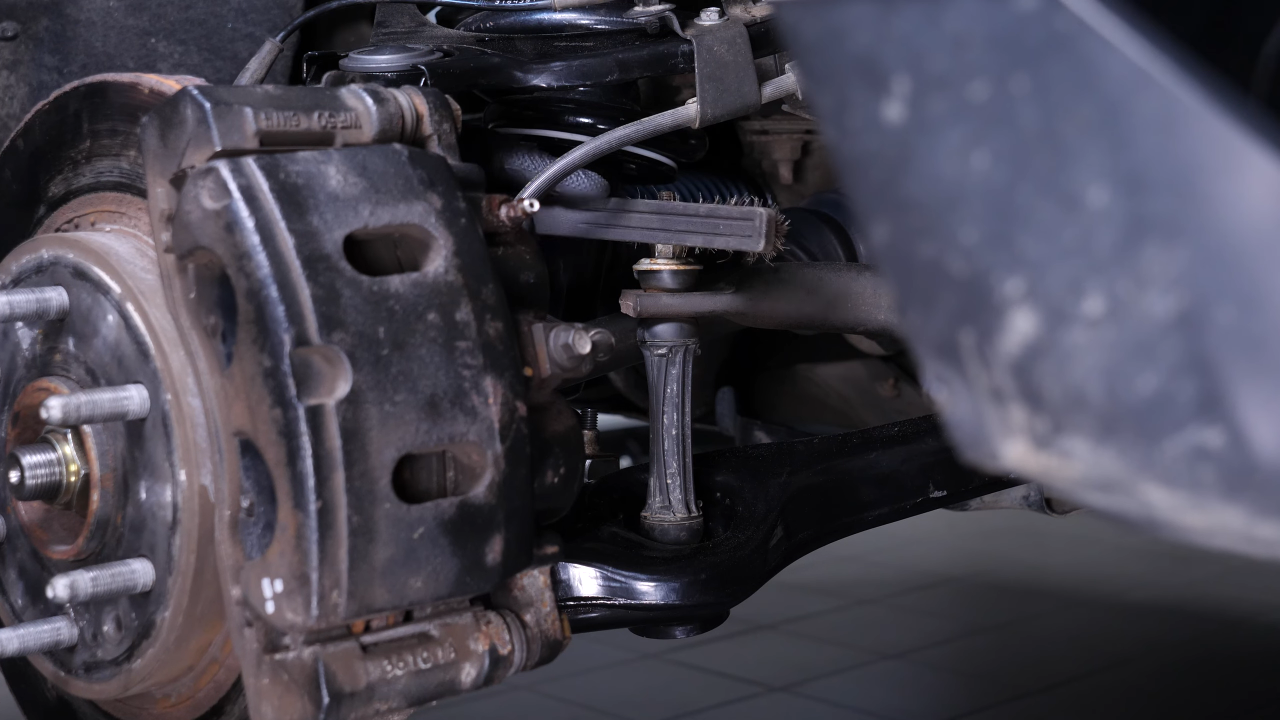

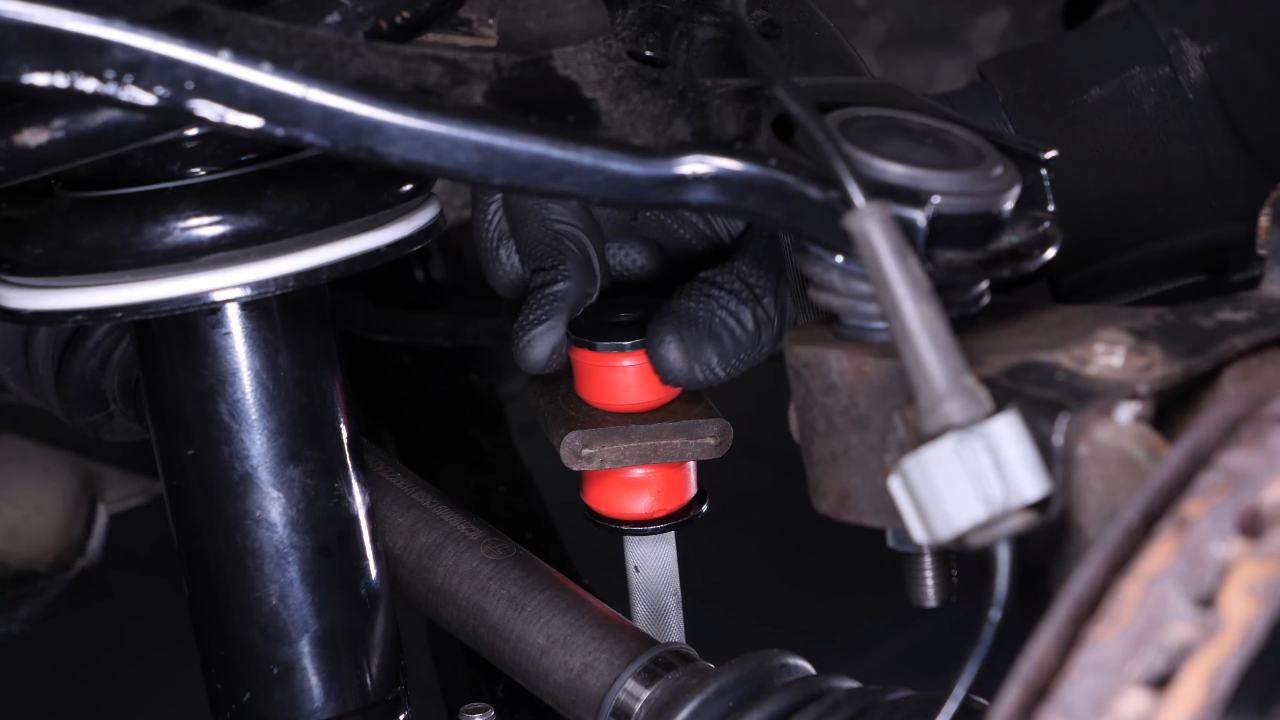
Chapter 3:
Step 2/6
Using a 15 mm wrench, unscrew the upper ball joint retaining nut on the sway bar end link.

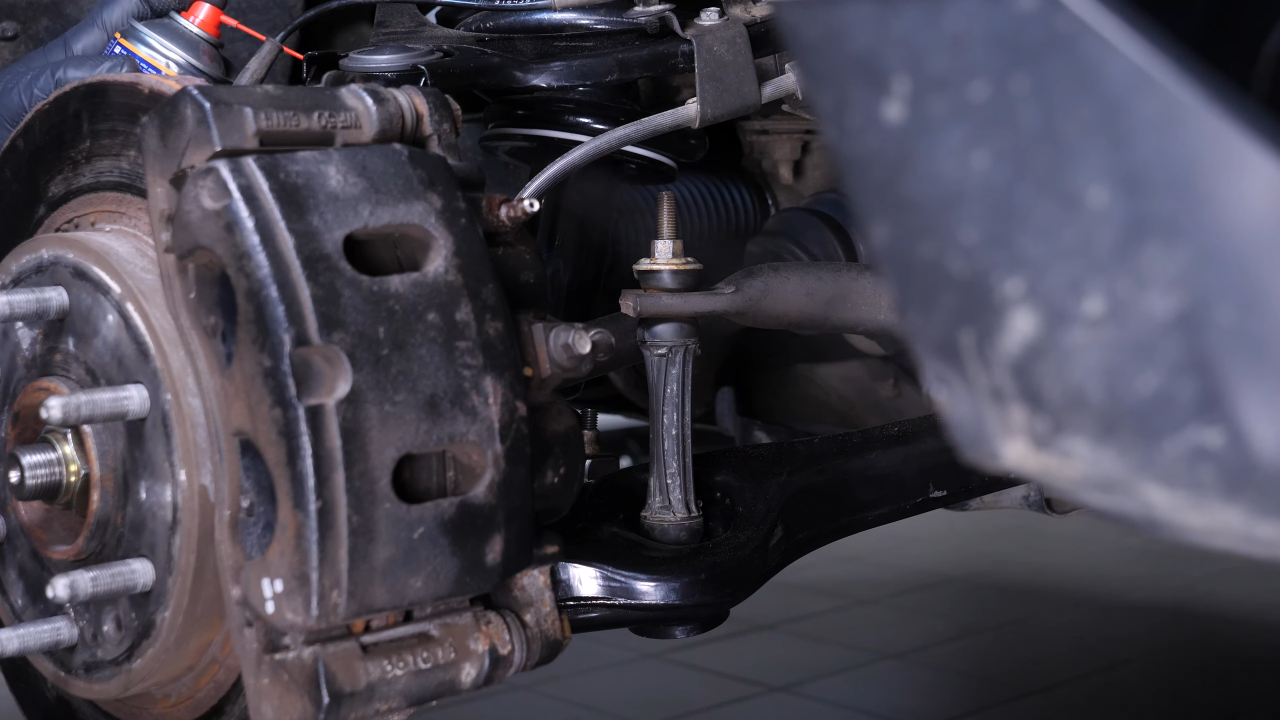
Chapter 3:
Step 3/6
Stop the sway bar end link from rotating using a ratchet and a 15 mm socket.

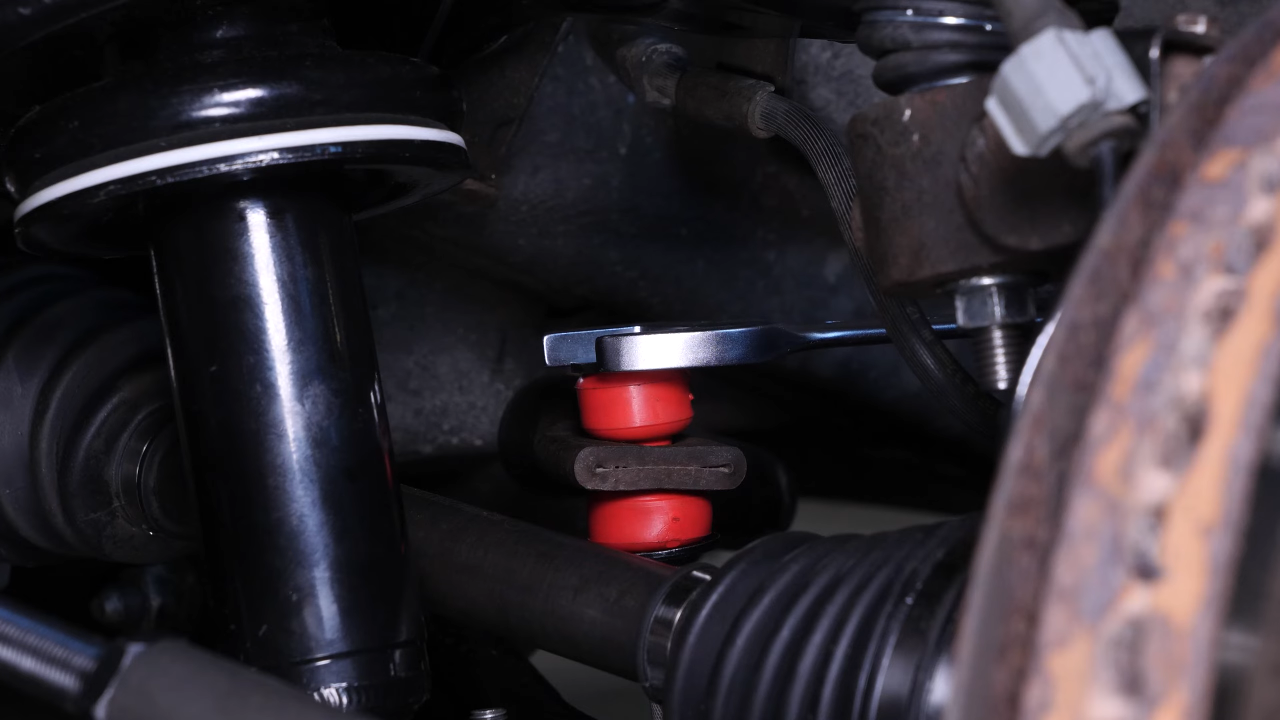
Chapter 3:
Step 4/6
Remove the upper nut and the bushing.


Chapter 3:
Step 5/6
on this model, the sway bar end link is often jammed in the axle, so don’t hesitate to rotate the axle on the end link to unblock it. You can also use pliers to help you.


Chapter 3:
Step 6/6
Remove the link. Then remove the axle.

Chapter 4:
Set up
Step 1/1
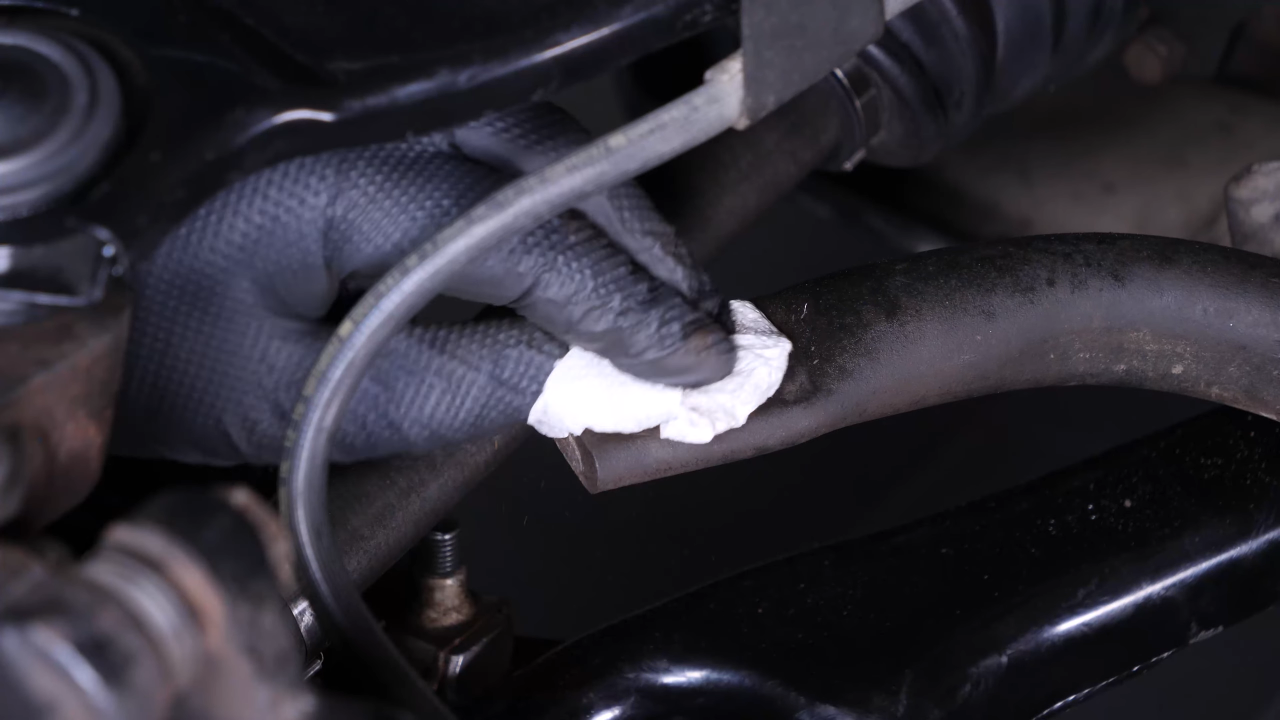
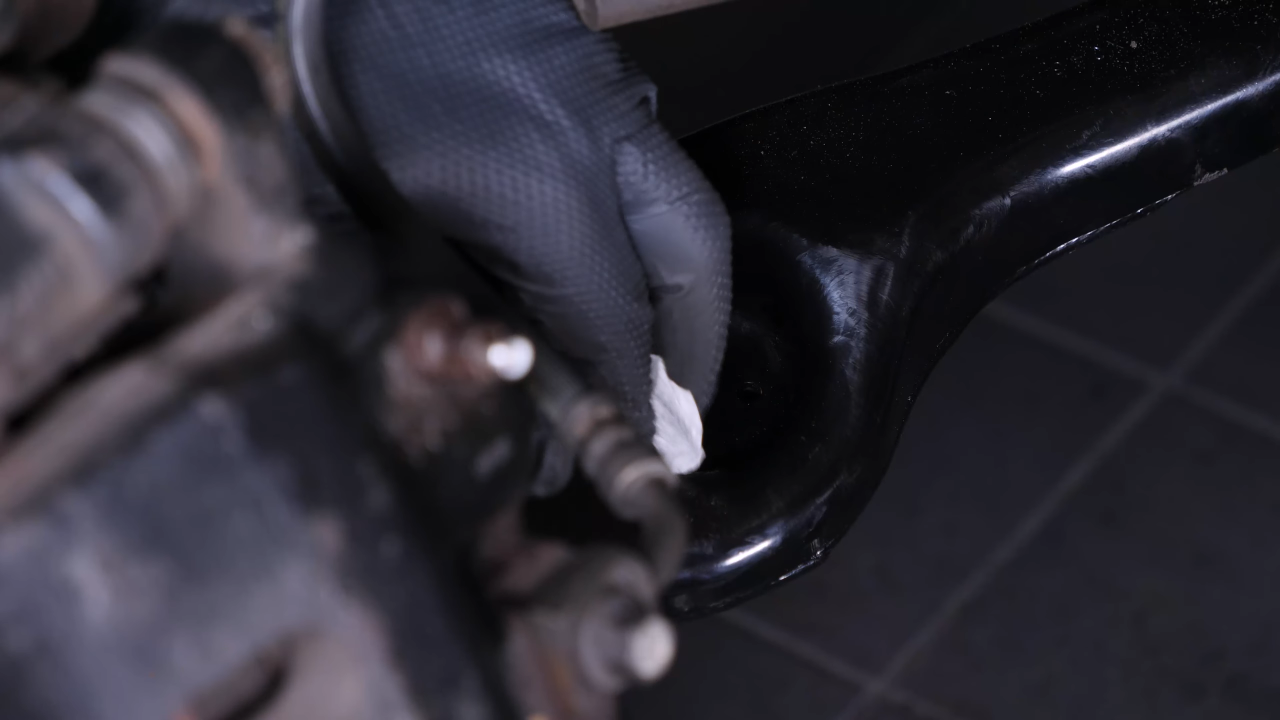
Using a cylindrical brush and paper towels, clean the area where the new sway bar end link will be fitted.


Chapter 5:
Install the new sway bar end link
Step 1/7
Take the new link.

Chapter 5:
Step 2/7
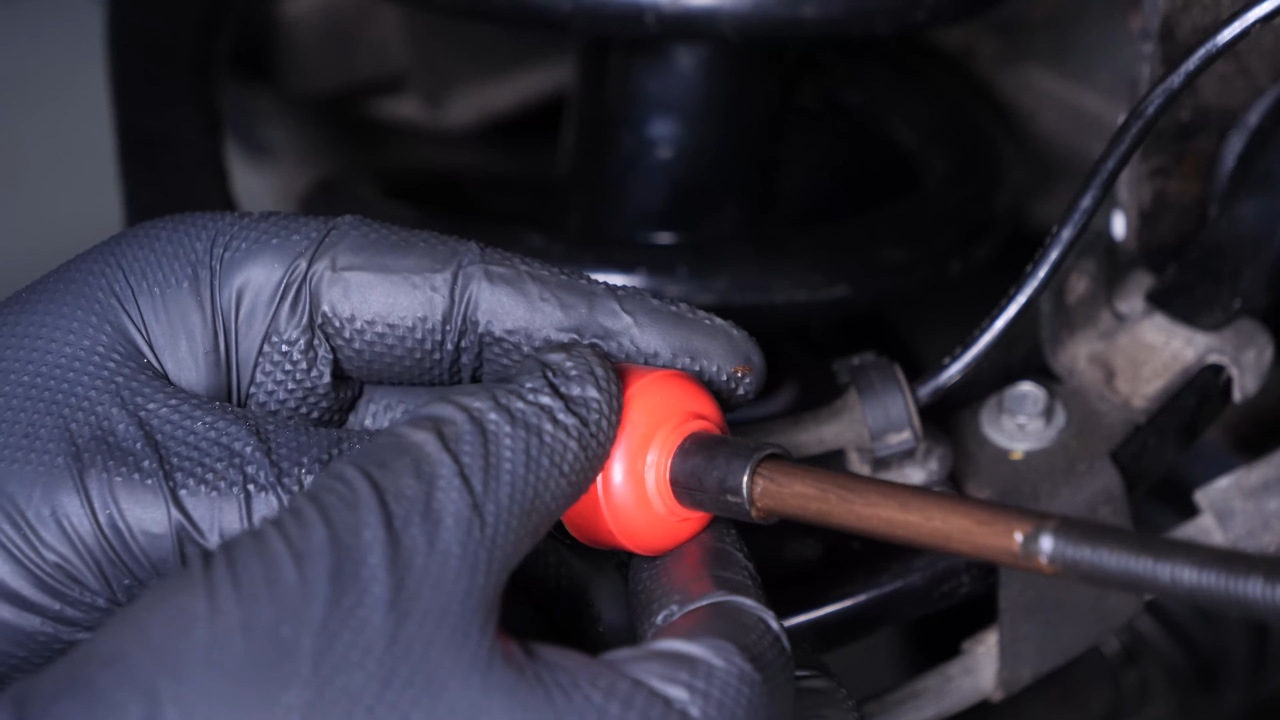
Apply copper grease to facilitate the installation.


Chapter 5:
Step 3/7
Put the bushing back in place on the end link.
Chapter 5:
Step 4/7
Install it in the lower control arm.

Chapter 5:
Step 5/7
Install the bushing and washer. Then install the axle.


Chapter 5:
Step 6/7
Install the second washer and bushing. Then insert the link in sway bar.


Chapter 5:
Step 7/7
Install the upper bushing and washer.

Chapter 6:
Tightening tips
Step 1/3
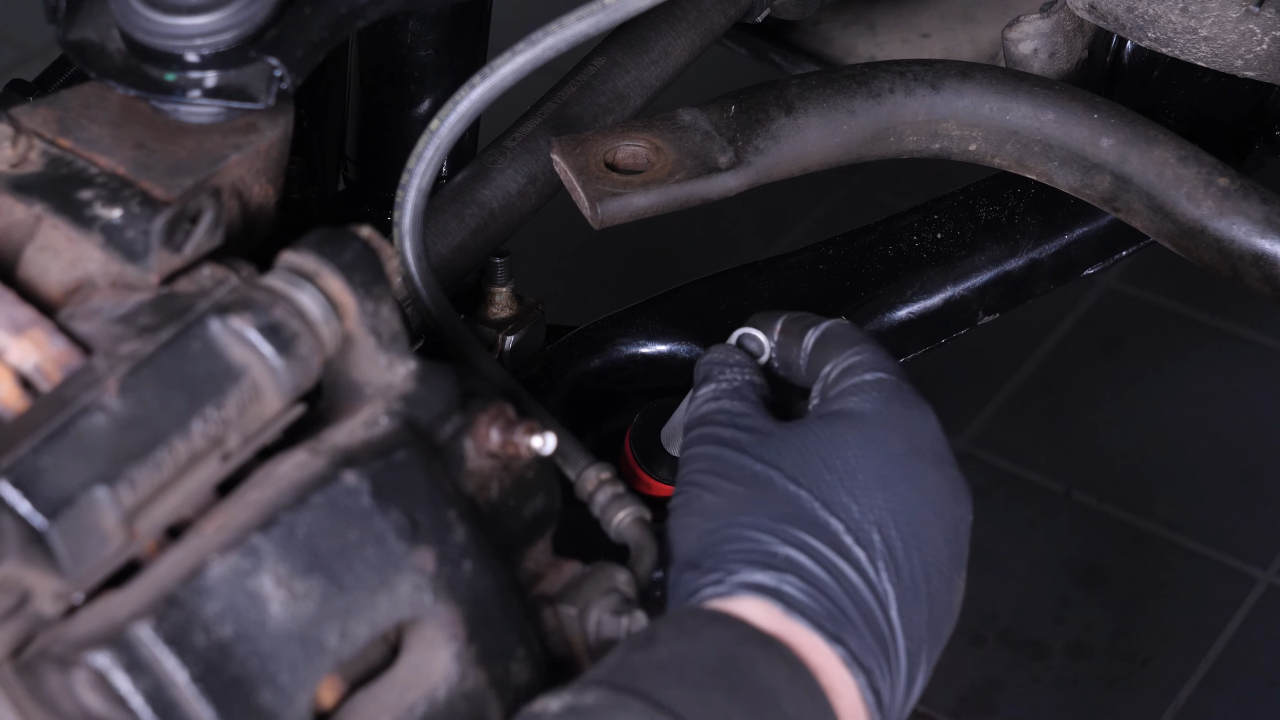
To tighten the sway bar end link retaining nut in the “vehicle on ground” position, you need to support the lower control arm with a jack. Next, screw back on the nut until it’s tight.


Chapter 6:
Step 2/3
Finish tightening using a torque wrench.

Chapter 6:
Step 3/3
Remove the jack.

Chapter 7:
Put the vehicle back on the ground
Step 1/3
Then, you will be able to put the wheels back on your vehicle.

Chapter 7:
Step 2/3
Put the car back on the ground and block the wheels properly.


Chapter 7:
Step 3/3
Operation complete.
