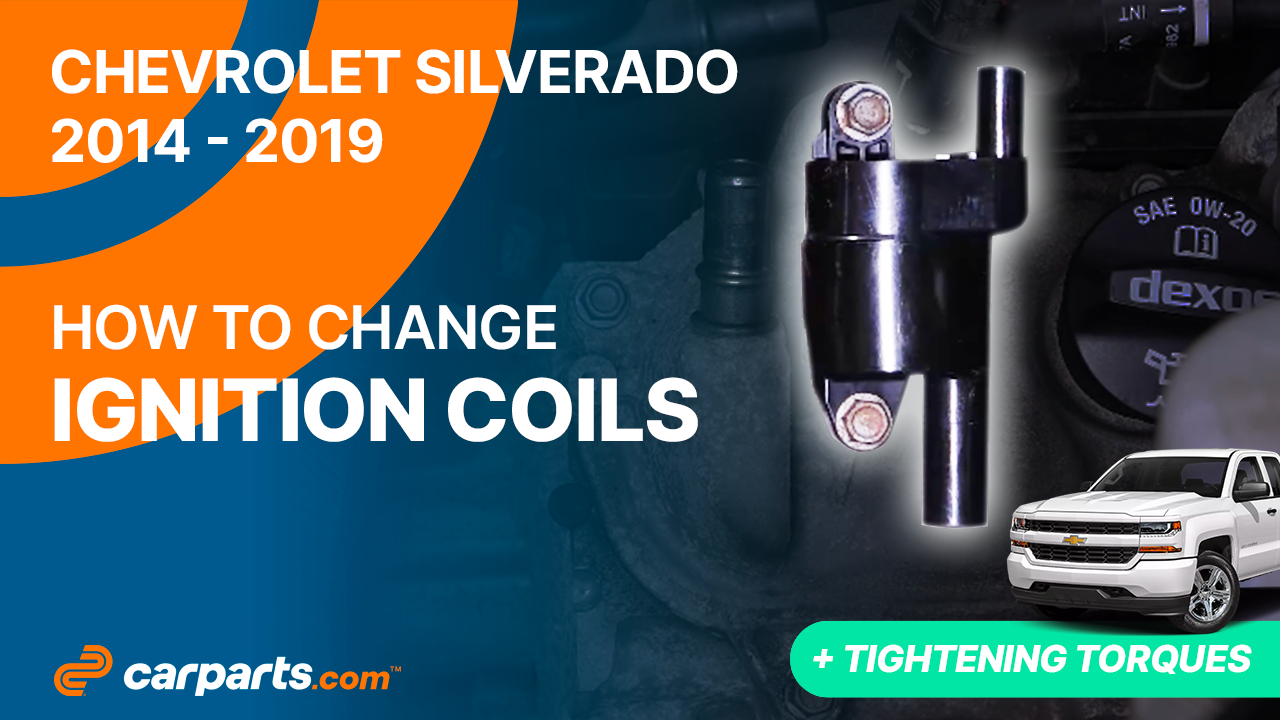
How to replace the ignition coils 2014 – 2019 Chevrolet Silverado 3
To replace the ignition coils on your Silverado 3 it couldnt’ be easier. You will need to access the ignition coil, disconnect the ignition coil, remove the ignition coil as well as carry out a few other steps. You can carry out this tutorial of 8 chapters in 20 minutes. Bring your 10 mm socket and your torque wrench and let’s get started!
Duration
20 minutes
Number of steps
8
Difficulty out of 5
2
Average savings
$40
Parts You Will Need
Tools You Will Need
Step-by-Step Installation
Chapter 1:
Visualise
Step 1/1
There are 4 ignition coils located on the passenger side and 4 located on the driver side. Passenger-side ignition coils may be difficult to access. You can reach it more easily through the mudguard.


Chapter 2:
Access the ignition coil
Step 1/4
On the driver side, unclip the breather.


Chapter 2:
Step 2/4
Open the oil filler plug.


Chapter 2:
Step 3/4
Remove the oil dipstick from its sheath. Remove the engine cover.


Chapter 2:
Step 4/4
Put the dipstick back in place. Now you can screw the filler cap back on.


Chapter 3:
Disconnect the ignition coil
Step 1/2
Simply pull on the ignition coil wire to disconnect it

Chapter 3:
Step 2/2
Disconnect the power from the ignition coil. To do this, start by pulling on the red tab, then on the connector.


Chapter 4:
Remove the ignition coil
Step 1/1
Using a ratchet, an extender and a 10 mm socket, remove the 2 bolts holding the coil.


Chapter 5:
Install the new ignition coil
Step 1/3
Take the new coil. Put the coil back.


Chapter 5:
Step 2/3
While holding the assembly, screw the retaining bolts back in by hand.


Chapter 5:
Step 3/3
Screw it in until it makes contact using the ratchet. Finish tightening using a torque wrench.


Chapter 6:
Reconnect the ignition coil
Step 1/2
Plug the electrical connector back in. And lock it.


Chapter 6:
Step 2/2
Reconnect the ignition coil wire.


Chapter 7:
Tips
Step 1/1
You can now repeat the process on the other ignition coils.

Chapter 8:
Finalise the reassembly
Step 1/4
Remove the oil dipstick from its sheath. Open the oil filler plug.


Chapter 8:
Step 2/4
Put the engine cover back on.


Chapter 8:
Step 3/4
Now you can screw the filler cap back on. Put the dipstick back in place. Replace the breather.


Chapter 8:
Step 4/4
Operation complete.
