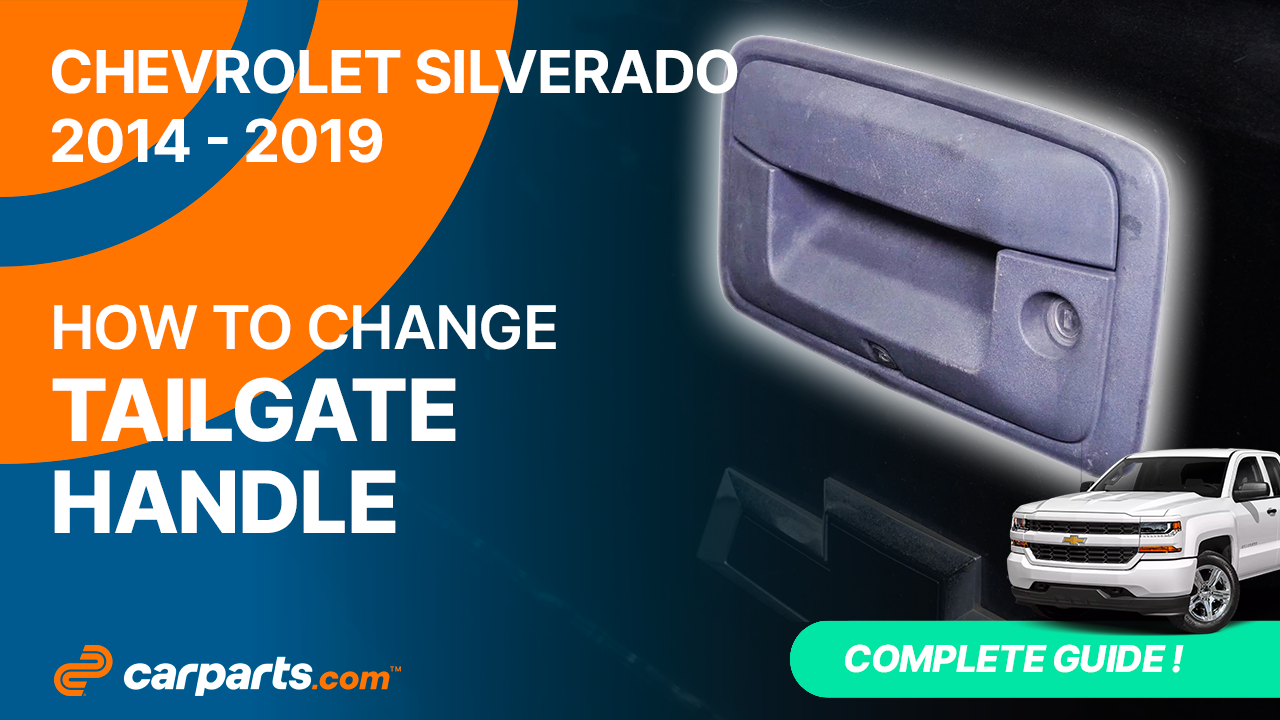
How to replace the tailgate handle 2014 – 2019 Chevrolet Silverado 3
To replace the tailgate handle on your Silverado 3 this tutorial was tailor-made for you. You will be asked to access the opening mechanism, remove the handle, remove the lock as well as carry out a few other steps. You can carry out this tutorial of 8 chapters in 55 minutes. Bring your Torx T20 screwdriver and your 10 mm socket and let’s get started!
Duration
55 minutes
Number of steps
8
Difficulty out of 5
2
Average savings
$50
Parts You Will Need
Tools You Will Need
Step-by-Step Installation
Chapter 1:
Access the opening mechanism
Step 1/3
To access the tailgate handle on your vehicle, you need to open the tailgate.


Chapter 1:
Step 2/3
Using a T20 Torx screwdriver, unscrew the 10 tailgate liner retaining screws. Then, remove it.


Chapter 1:
Step 3/3
The tailgate molding under the liner is now free to be removed.


Chapter 2:
Set up
Step 1/3
You can now access the opening mechanism.


Chapter 2:
Step 2/3
Disconnect the connector by pushing the plastic tab, then pull the tab. You can use a screwdriver to help you.


Chapter 2:
Step 3/3
Using a fork, unclip the wiring harness from the power tailgate lock actuator.

Chapter 3:
Remove the handle
Step 1/4
Disconnect the tailgate handle rods. They are released by pushing on the plastic tabs that hold each end in place. You can use a screwdriver to help you. Then, remove them.


Chapter 3:
Step 2/4
Using a ratchet, an extender and a 10 mm socket, unscrew the 2 tailgate lock actuator bracket retaining bolts. Next, using the same tool, unscrew the 2 tailgate handle retaining bolts.


Chapter 3:
Step 3/4
You can now push on the handle to disengage it from its slot, holding it with one hand.


Chapter 3:
Step 4/4
Close the tailgate. Then remove the handle.


Chapter 4:
Remove the back-up camera
Step 1/2
Using a multi-bit screwdriver and a Torx T20 bit, unscrew the back-up camera’s two retaining screws. You can install it on the new tailgate handle later.


Chapter 4:
Step 2/2
The handle is now free; you can remove it.


Chapter 5:
Install the lock on the new handle
Step 1/3
Remove the lock cylinder retaining clip. Remove the cylinder.


Chapter 5:
Step 2/3
Take the new tailgate handle.


Chapter 5:
Step 3/3
Insert the cylinder into the new handle. Then install the retaining clip. The new handle is now ready for installation.


Chapter 6:
Install the new handle
Step 1/5
Put the back-up camera in place, then reinstall its screws.


Chapter 6:
Step 2/5
Replace the tailgate handle by inserting the top part of the handle first.

Chapter 6:
Step 3/5
Screw the 2 retaining bolts back in.


Chapter 6:
Step 4/5
Put the rods back in place. Then lock it.


Chapter 6:
Step 5/5
Put the lock actuator back in place by inserting the mechanism into its slot. Then screw the metal bracket back on.


Chapter 7:
Test the opening mechanism
Step 1/1
Before closing the assembly, we advise you to test the opening and locking system to make sure it works. Plug the electrical connector back in. And lock it. Then put the clip back in place.


Chapter 8:
Finalise the reassembly
Step 1/2
Put the tailgate molding back in place. Then screw the liner back on.


Chapter 8:
Step 2/2
Operation complete.
