How to replace the cabin filter 2015 – 2020 Ford F-150 GEN 13
To replace the cabin filter on your F-150 GEN 13 we’re here to help. You will be asked to access the cabin filter flange, remove the cabin filter, clean the filter compartment as well as carry out a few other steps. You can carry out this tutorial of 5 chapters in 15 minutes. Bring your 7 mm socket and your vacuum and let’s get started!
Duration
15 minutes
Number of steps
5
Difficulty out of 5
1
Average savings
$20
Parts You Will Need
Tools You Will Need
Step-by-Step Installation
Chapter 1:
Access the cabin filter flange
Step 1/4
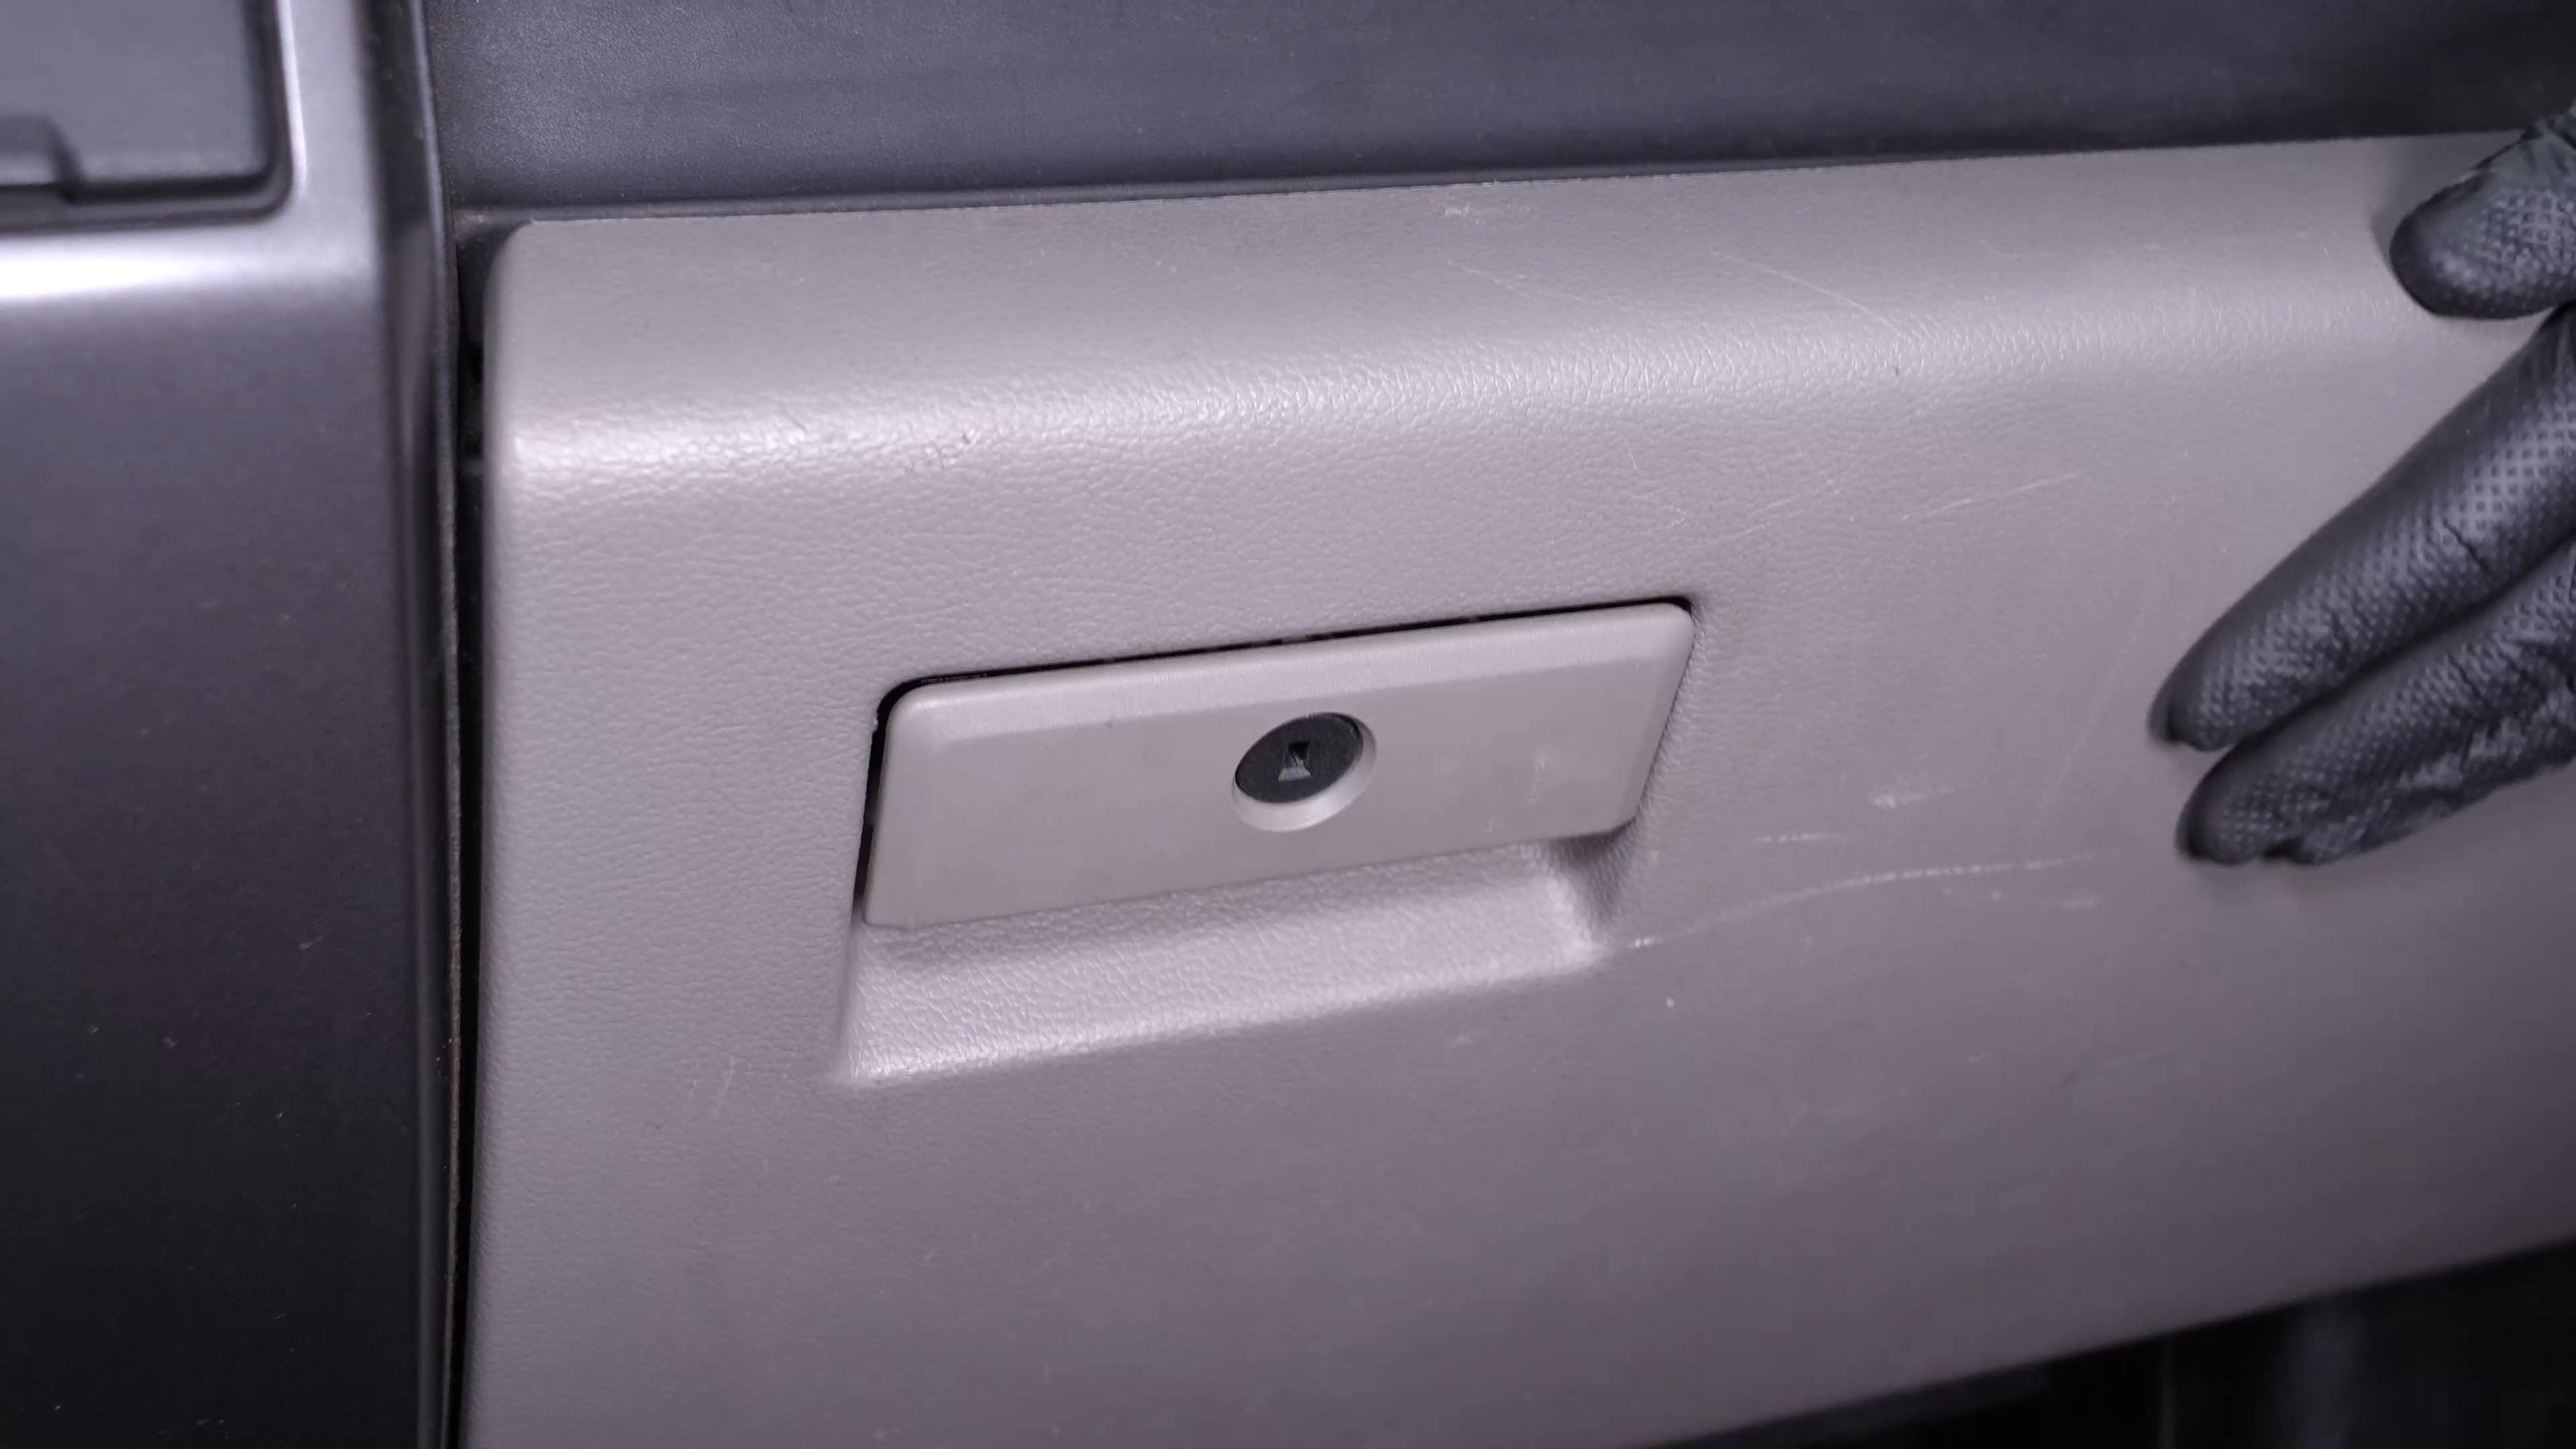
To access your cabin air filter, you will need to completely open the glove box.

Chapter 1:
Step 2/4
Lift the upper plastic cover so that you can remove it.


Chapter 1:
Step 3/4
Using a ratchet and a 7 mm socket, unscrew the two bolts holding the glove box upper plastic trim. Then unclip it.


Chapter 1:
Step 4/4
Disconnect the electrical connector. To do this, push on the tab and pull on the connector.

Chapter 2:
Remove the cabin filter
Step 1/3
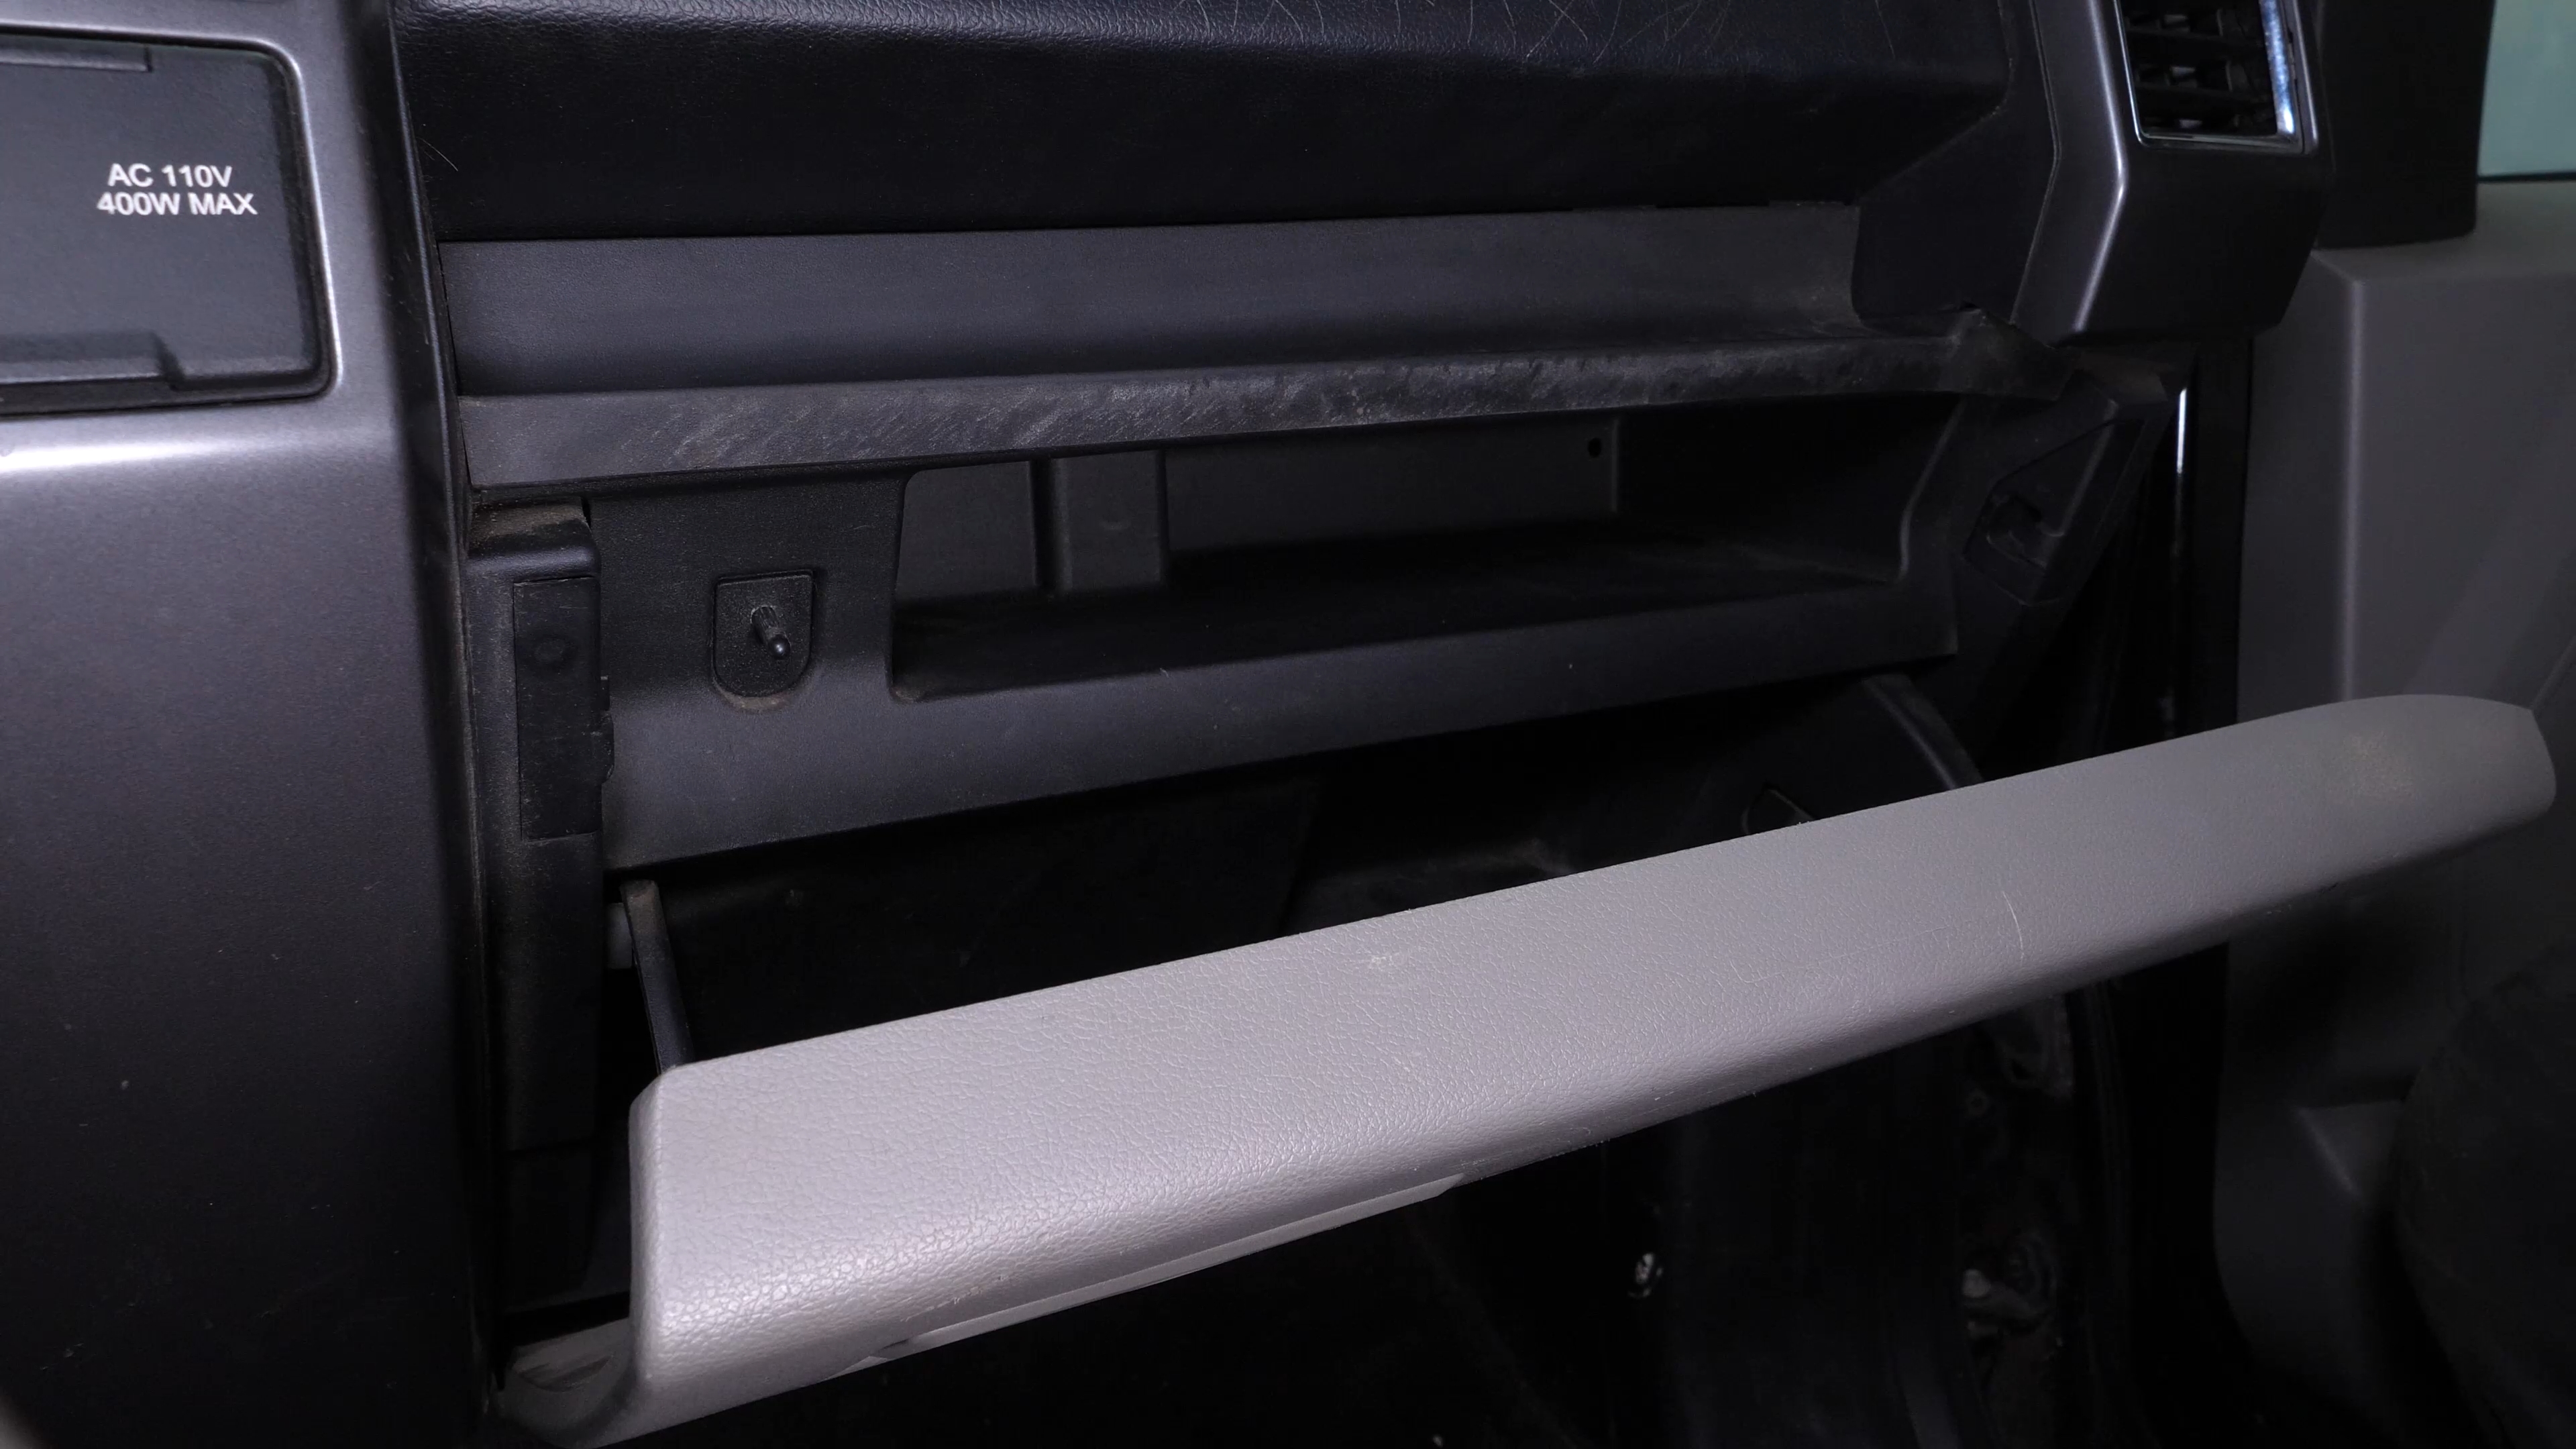
You can now remove the plastic trim.


Chapter 2:
Step 2/3
Press the two tabs of the filter tray, and pull on them.


Chapter 2:
Step 3/3
Remove the filter from its tray.


Chapter 3:
Clean the filter compartment
Step 1/1
Before putting in the new filter in place, it is important to clean out any impurities or leaves stuck in the filter compartment.

Chapter 4:
Install the new filter
Step 1/2
Take the new filter. Pay attention to the direction of airflow. The arrows on the filter should point down.


Chapter 4:
Step 2/2
Place the filter in its slot. Then put the tray back in its slot.


Chapter 5:
Reassemble the glove box
Step 1/4
Bring the upper plastic trim closer Plug the electrical connector back in.


Chapter 5:
Step 2/4
Replace the plastic trim by fitting it. Then screw the 2 bolts back on.


Chapter 5:
Step 3/4
Replace the plastic cover.


Chapter 5:
Step 4/4
Operation complete.