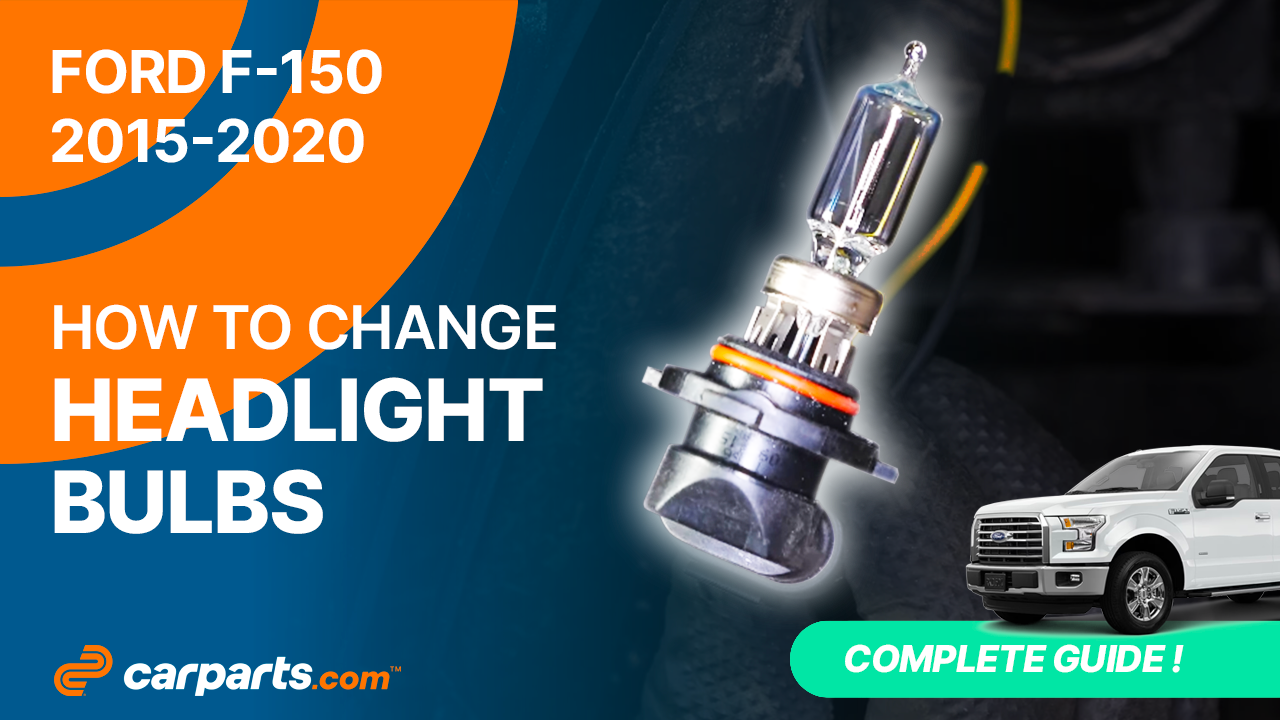
How to replace the headlight bulbs 2015 – 2020 Ford F-150 GEN 13
To replace the headlight bulbs on your F-150 GEN 13 it couldnt’ be easier. You will be asked to access the lightbulbs, replace the low beam bulb, replace the high beam bulb as well as carry out a few other steps. You can carry out this tutorial of 8 chapters in 10 minutes. Bring your 5,5 mm socket and your ratchet and let’s get started!
Duration
10 minutes
Number of steps
8
Difficulty out of 5
1
Average savings
$15
Parts You Will Need
Tools You Will Need
Step-by-Step Installation
Chapter 1:
Access the lightbulbs
Step 1/5
To replace the headlight bulbs, you need to move the mudguard aside to gain full access.

Chapter 1:
Step 2/5
Using a ratchet and a 5,5mm socket, remove the three screws attaching the mudguard to the fender.


Chapter 1:
Step 3/5
Unscrew the rivet holding the mudguard.

Chapter 1:
Step 4/5
Using a fork, remove the rivet.

Chapter 1:
Step 5/5
You can now pull back the mudguard.

Chapter 2:
Tips
Step 1/1
To increase the lifespan of the bulbs, we would suggest never touching the glass with your fingers or cleaning them carefully with paper towels before putting them back.
Chapter 3:
Replace the low beam bulb
Step 1/6
Start by removing the upper shutter cover.

Chapter 3:
Step 2/6
To replace the H11 low beam bulb, remove the light bulb socket from the headlight housing, turn it counterclockwise and pull it out.


Chapter 3:
Step 3/6
Remove the electrical connector from the bulb by spreading the retaining tabs, then pull on the pod. You can use a flat head screwdriver.


Chapter 3:
Step 4/6
Take the new bulb. Put the new light bulb in the socket.


Chapter 3:
Step 5/6
Put the bulb into the headlight housing and turn it clockwise to lock it in place.


Chapter 3:
Step 6/6
Put the shutter cover back on.

Chapter 4:
Replace the high beam bulb
Step 1/6
Remove the lower shutter cover.

Chapter 4:
Step 2/6
To replace the 9005 high beam lightbulb, remove the light bulb socket from the headlight housing, turn it counterclockwise and pull it out.


Chapter 4:
Step 3/6
Remove the electrical connector from the bulb by lifting the retaining tab, then pull on the pod.


Chapter 4:
Step 4/6
Take the new bulb. Put the new light bulb in the socket.


Chapter 4:
Step 5/6
Put the bulb into the headlight housing and turn it clockwise to lock it in place.


Chapter 4:
Step 6/6
Put the shutter cover back on.

Chapter 5:
Replace turn signal bulb
Step 1/3
Remove the turn signal bulb socket by turning it counterclockwise.


Chapter 5:
Step 2/3
To remove the turn signal light bulb, simply pull on it.


Chapter 5:
Step 3/3
Take the new bulb. Put the new bulb into the socket, then insert the whole thing into the light, and turn it clockwise to lock it in place.


Chapter 6:
Replace fog light bulb
Step 1/4
Remove the power connector from the fog light bulb by lifting the tab and pulling on the connector.


Chapter 6:
Step 2/4
To remove the H10 fog light bulb, turn the light bulb socket counterclockwise and pull it out.


Chapter 6:
Step 3/4
Take the new bulb. Put the bulb back and turn it clockwise to lock it in place.


Chapter 6:
Step 4/4
Reconnect the connector.

Chapter 7:
Finalise the reassembly
Step 1/2
Put the mudguard back in place. Put the rivet back in place.


Chapter 7:
Step 2/2
Screw back in the three screws that hold the mudguard on the fender.


Chapter 8:
Replace the parking light bulb
Step 1/6
Pull on the hood release lever and open the hood. Then, disconnect the connector by pressing the plastic tab.


Chapter 8:
Step 2/6
To remove the parking light bulb socket from the headlight housing, turn it counterclockwise and pull it out.


Chapter 8:
Step 3/6
Simply pull the bulb out to remove it.

Chapter 8:
Step 4/6
Take the new bulb. Put the new bulb into the socket, then insert the whole thing into the light, and turn it clockwise to lock it in place.


Chapter 8:
Step 5/6
Plug the electrical connector back in.


Chapter 8:
Step 6/6
Operation complete.