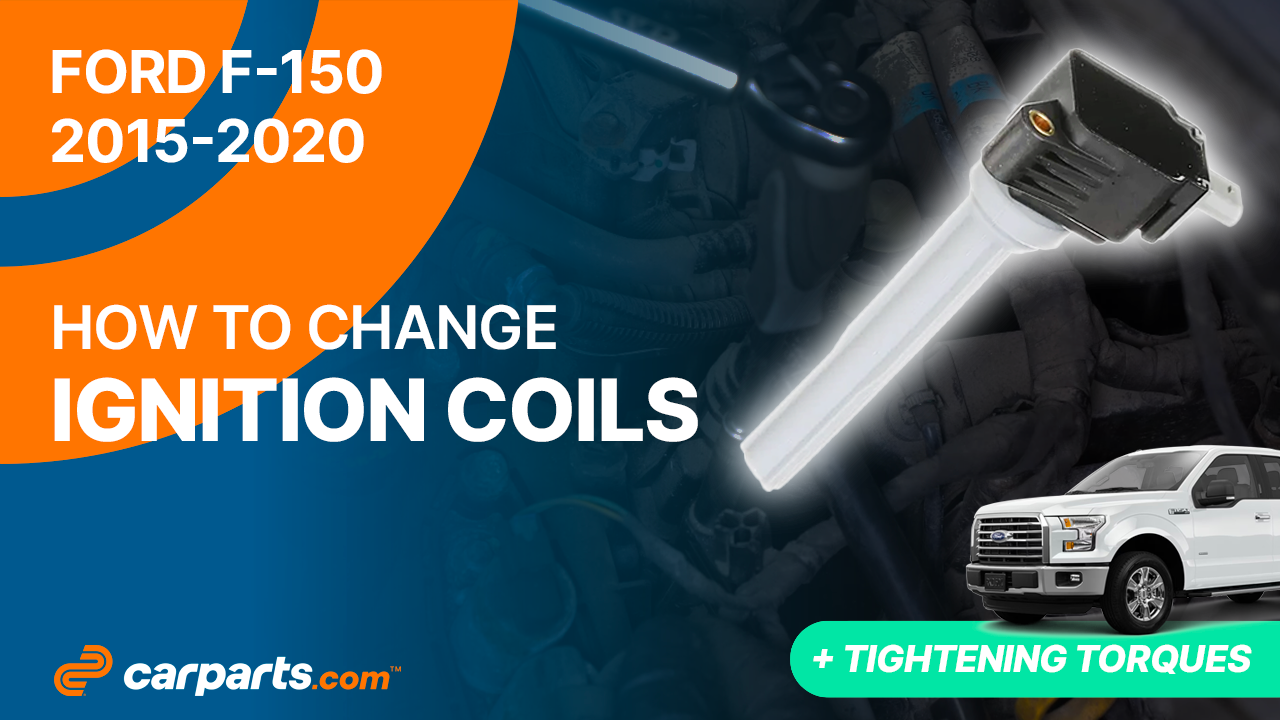
How to replace the ignition coils 2015 – 2020 Ford F-150 GEN 13
To replace the ignition coils on your F-150 GEN 13 this tutorial was tailor-made for you. You will need to set up, remove the ignition coil, install the new ignition coil + tightening torques as well as carry out a few other steps. You can carry out this tutorial of 8 chapters in 20 minutes. Bring your 10 mm socket and your long 8 mm socket and let’s get started!
Duration
20 minutes
Number of steps
8
Difficulty out of 5
2
Average savings
$40
Parts You Will Need
Tools You Will Need
Step-by-Step Installation
Chapter 1:
Set up
Step 1/2
Using a multi-bit screwdriver and a 10 mm socket, unscrew the two bolts holding the engine cover.


Chapter 1:
Step 2/2
Remove the engine cover.

Chapter 2:
Visualise
Step 1/2
You can now see where the ignition coils are located.
Chapter 2:
Step 2/2
There are 3 ignition coils located on the passenger side and 3 located on the driver side.


Chapter 3:
Disconnect the ignition coil
Step 1/2
Disconnect the power from the ignition coil. To do this, start by pushing on the white tab, then on the connector. You can use a flat head screwdriver.


Chapter 3:
Step 2/2
Then, using a fork, remove the wiring harness retaining clip.

Chapter 4:
Remove the ignition coil
Step 1/2
Using a ratchet, an extender and a long 8 mm socket, remove the bolt holding the coil.


Chapter 4:
Step 2/2
You can now carefully remove the coil, making small lateral back and forward movements.

Chapter 5:
Clean around the spark plug
Step 1/1
Tip: we recommend using a thin plastic tube taped to the end of a vacuum to properly clean around the spark plug. This prevents the dirt from falling into the motor.

Chapter 6:
Install the new ignition coil
Step 1/3
Take the new coil. Put the coil back.


Chapter 6:
Step 2/3
While holding the assembly, screw the retaining bolt back in by hand. Screw it in until it makes contact using the ratchet.


Chapter 6:
Step 3/3
Finish tightening using a torque wrench.

Chapter 7:
Disconnect the ignition coil
Step 1/2
Then put the retaining clip back in place.

Chapter 7:
Step 2/2
Plug the electrical connector back in. And lock it.

Chapter 8:
Finish the operation
Step 1/2
You can now repeat the process on the other ignition coils. We advise you to change the ignition coils one by one, as it is important not to swap coils.


Chapter 8:
Step 2/2
Operation complete.