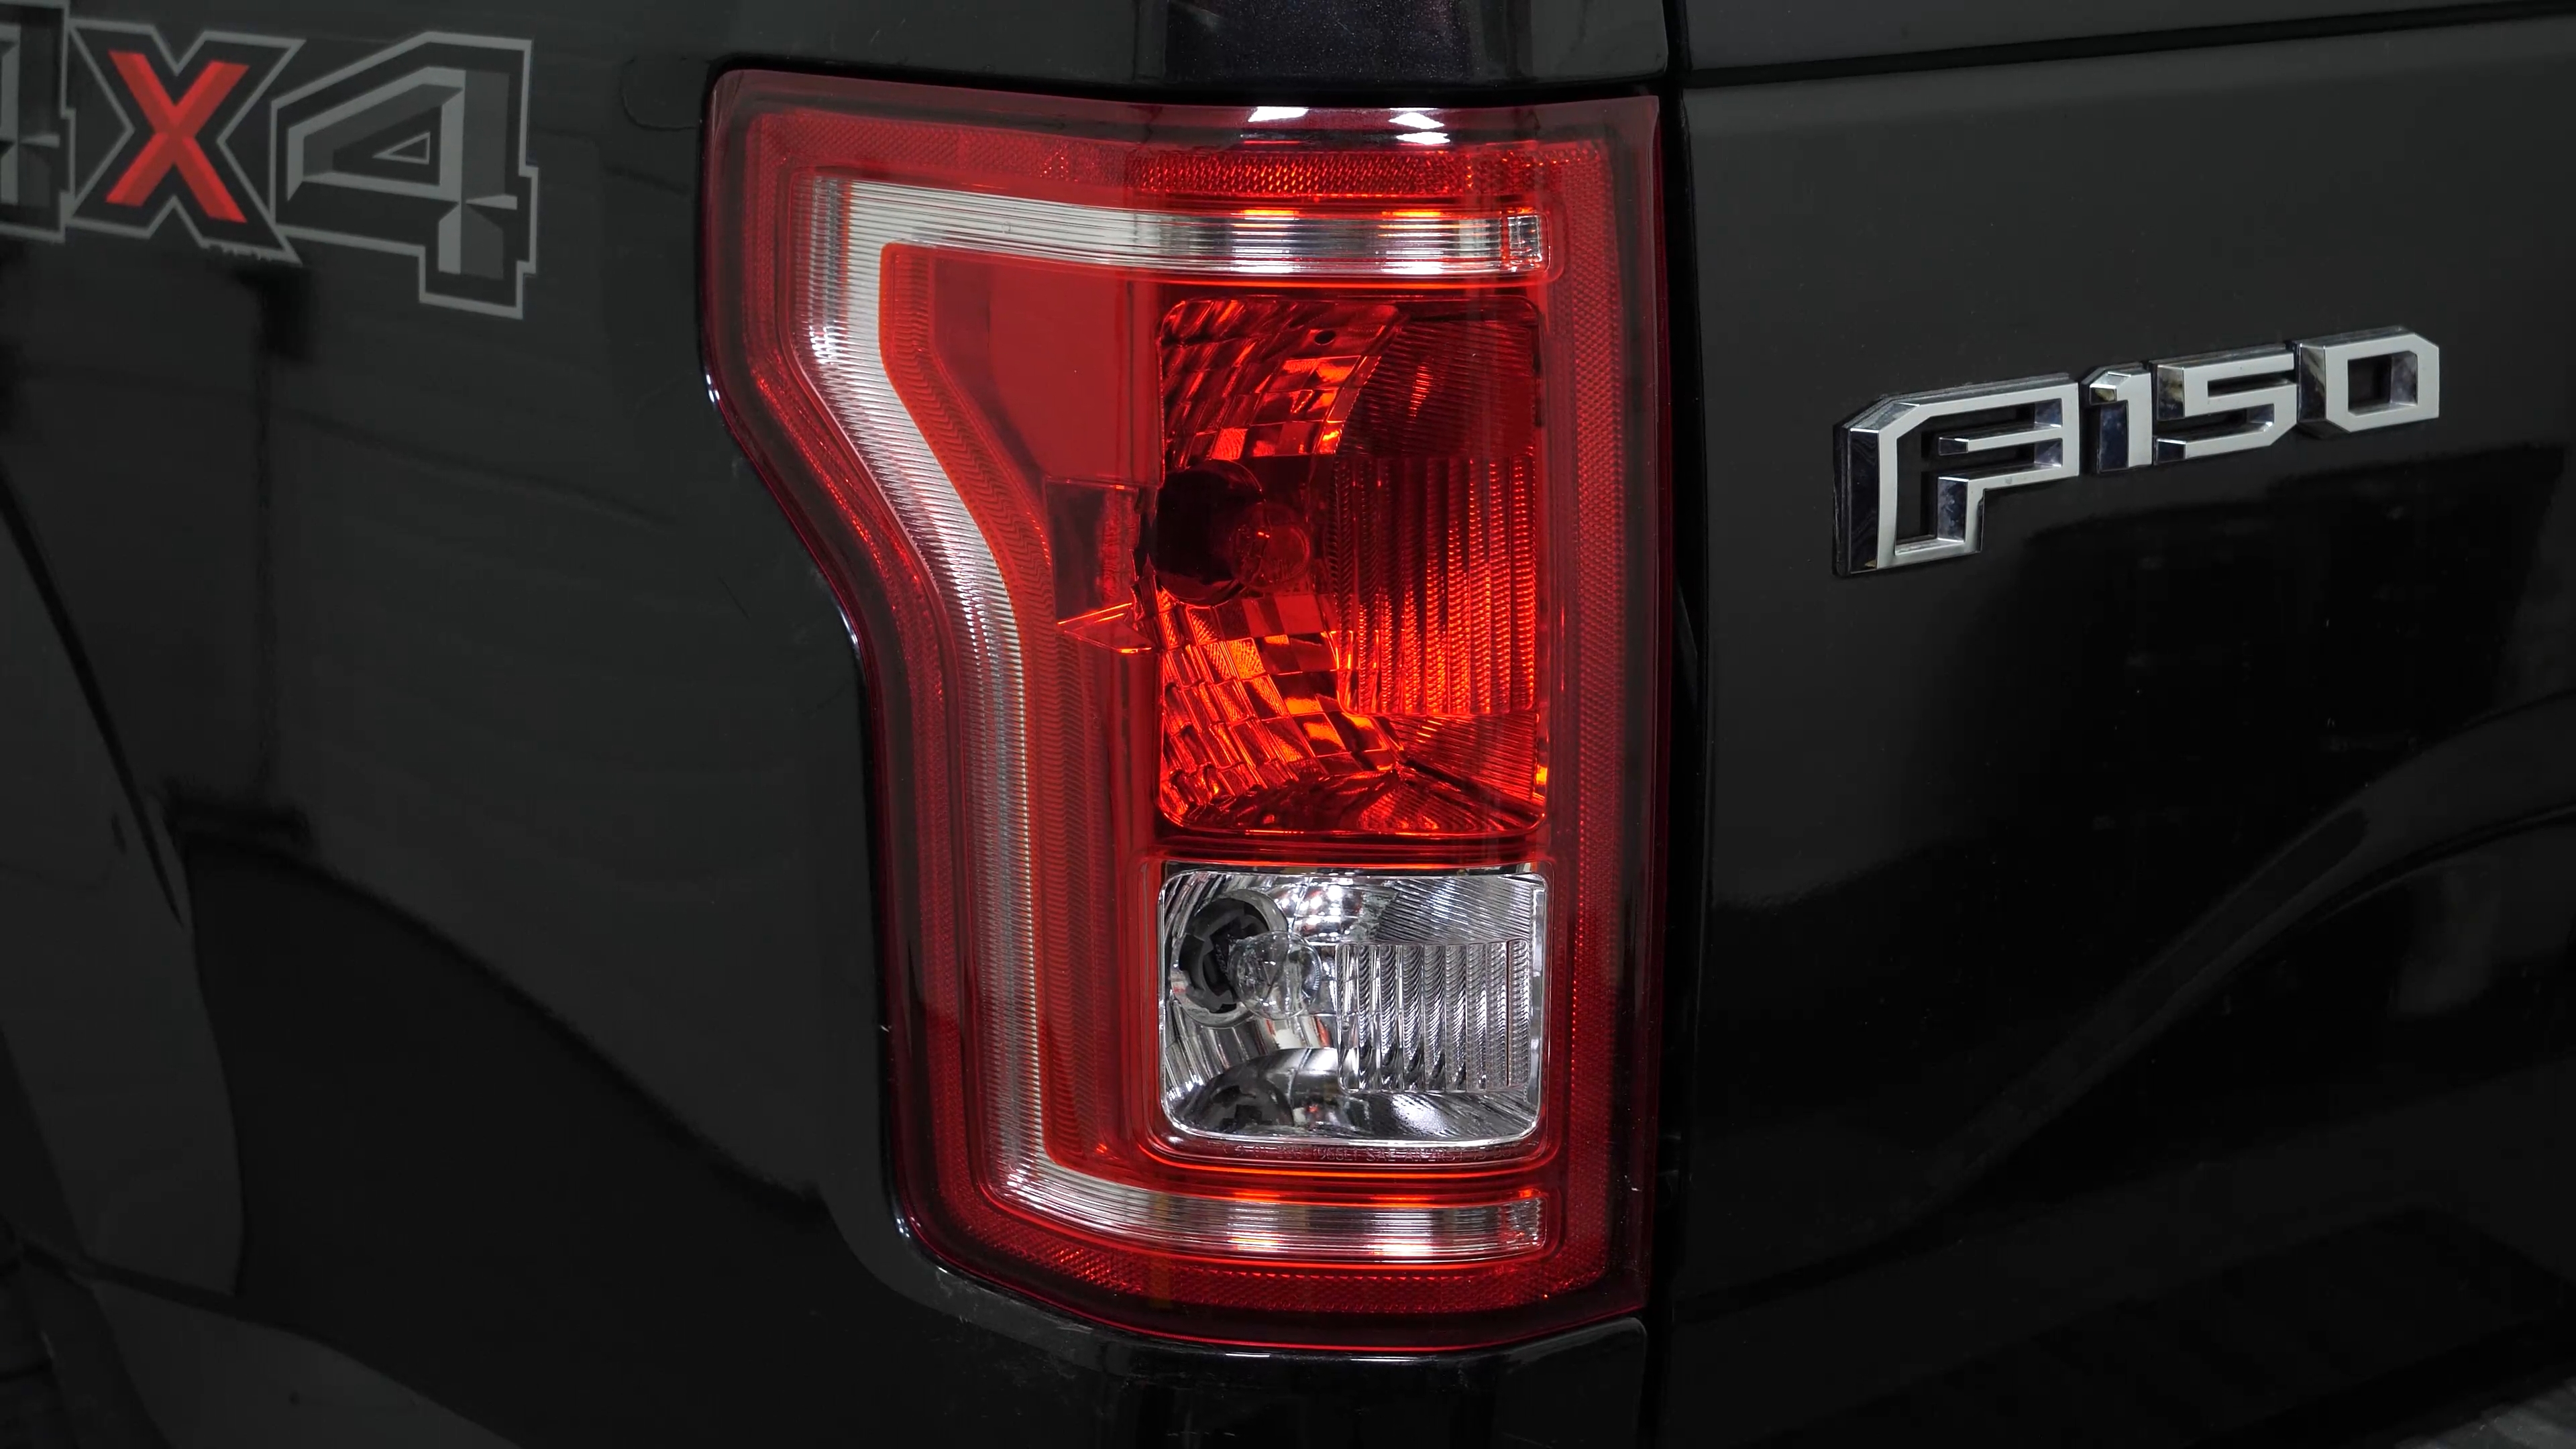
How to replace the tail light bulbs 2015 – 2020 Ford F-150 GEN 13
To replace the tail light bulbs on your F-150 GEN 13 just follow the steps. You will be asked to replace the tail light bulbs, replace the tail light bulbs, replace the reverse light bulb as well as carry out a few other steps. You can carry out this tutorial of 5 chapters in 15 minutes. Bring your 8 mm socket and your ratchet and let’s get started!
Duration
15 minutes
Number of steps
5
Difficulty out of 5
1
Average savings
$15
Parts You Will Need
Tools You Will Need
Step-by-Step Installation
Chapter 1:
Replace the tail light bulbs
Step 1/4
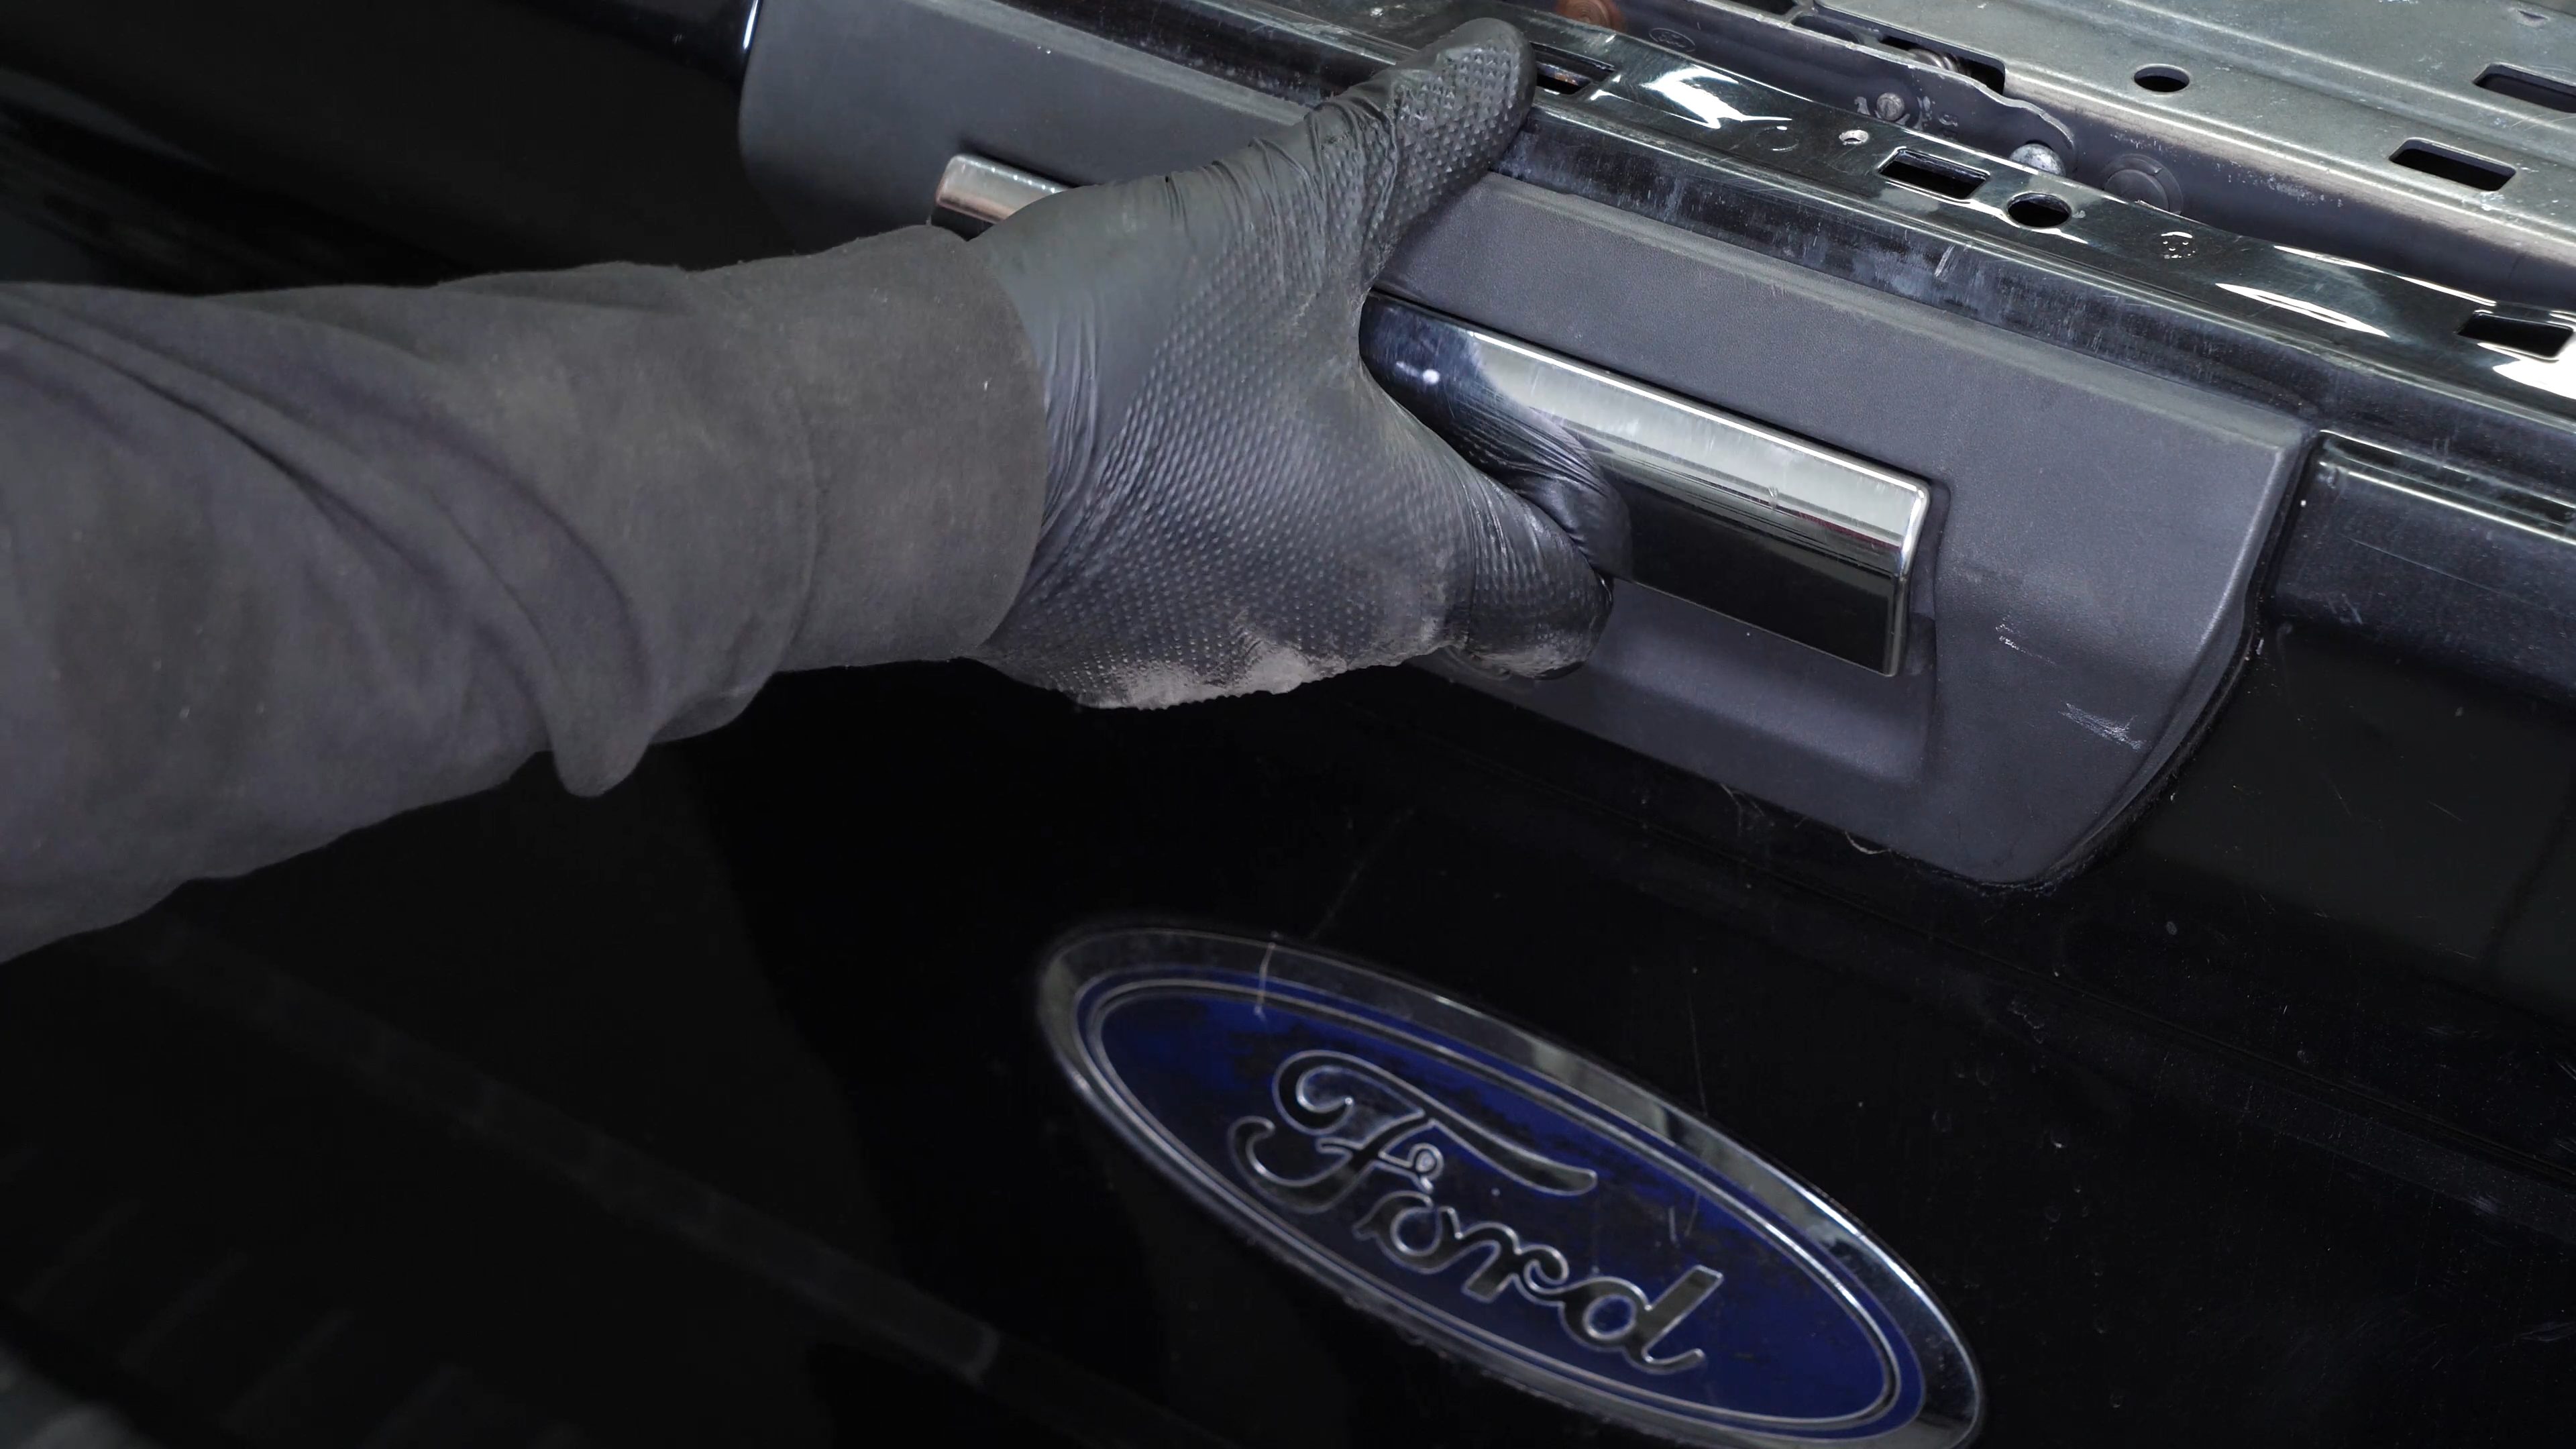
To replace the tail light on your vehicle, you need to open the tail gate.
Chapter 1:
Step 2/4
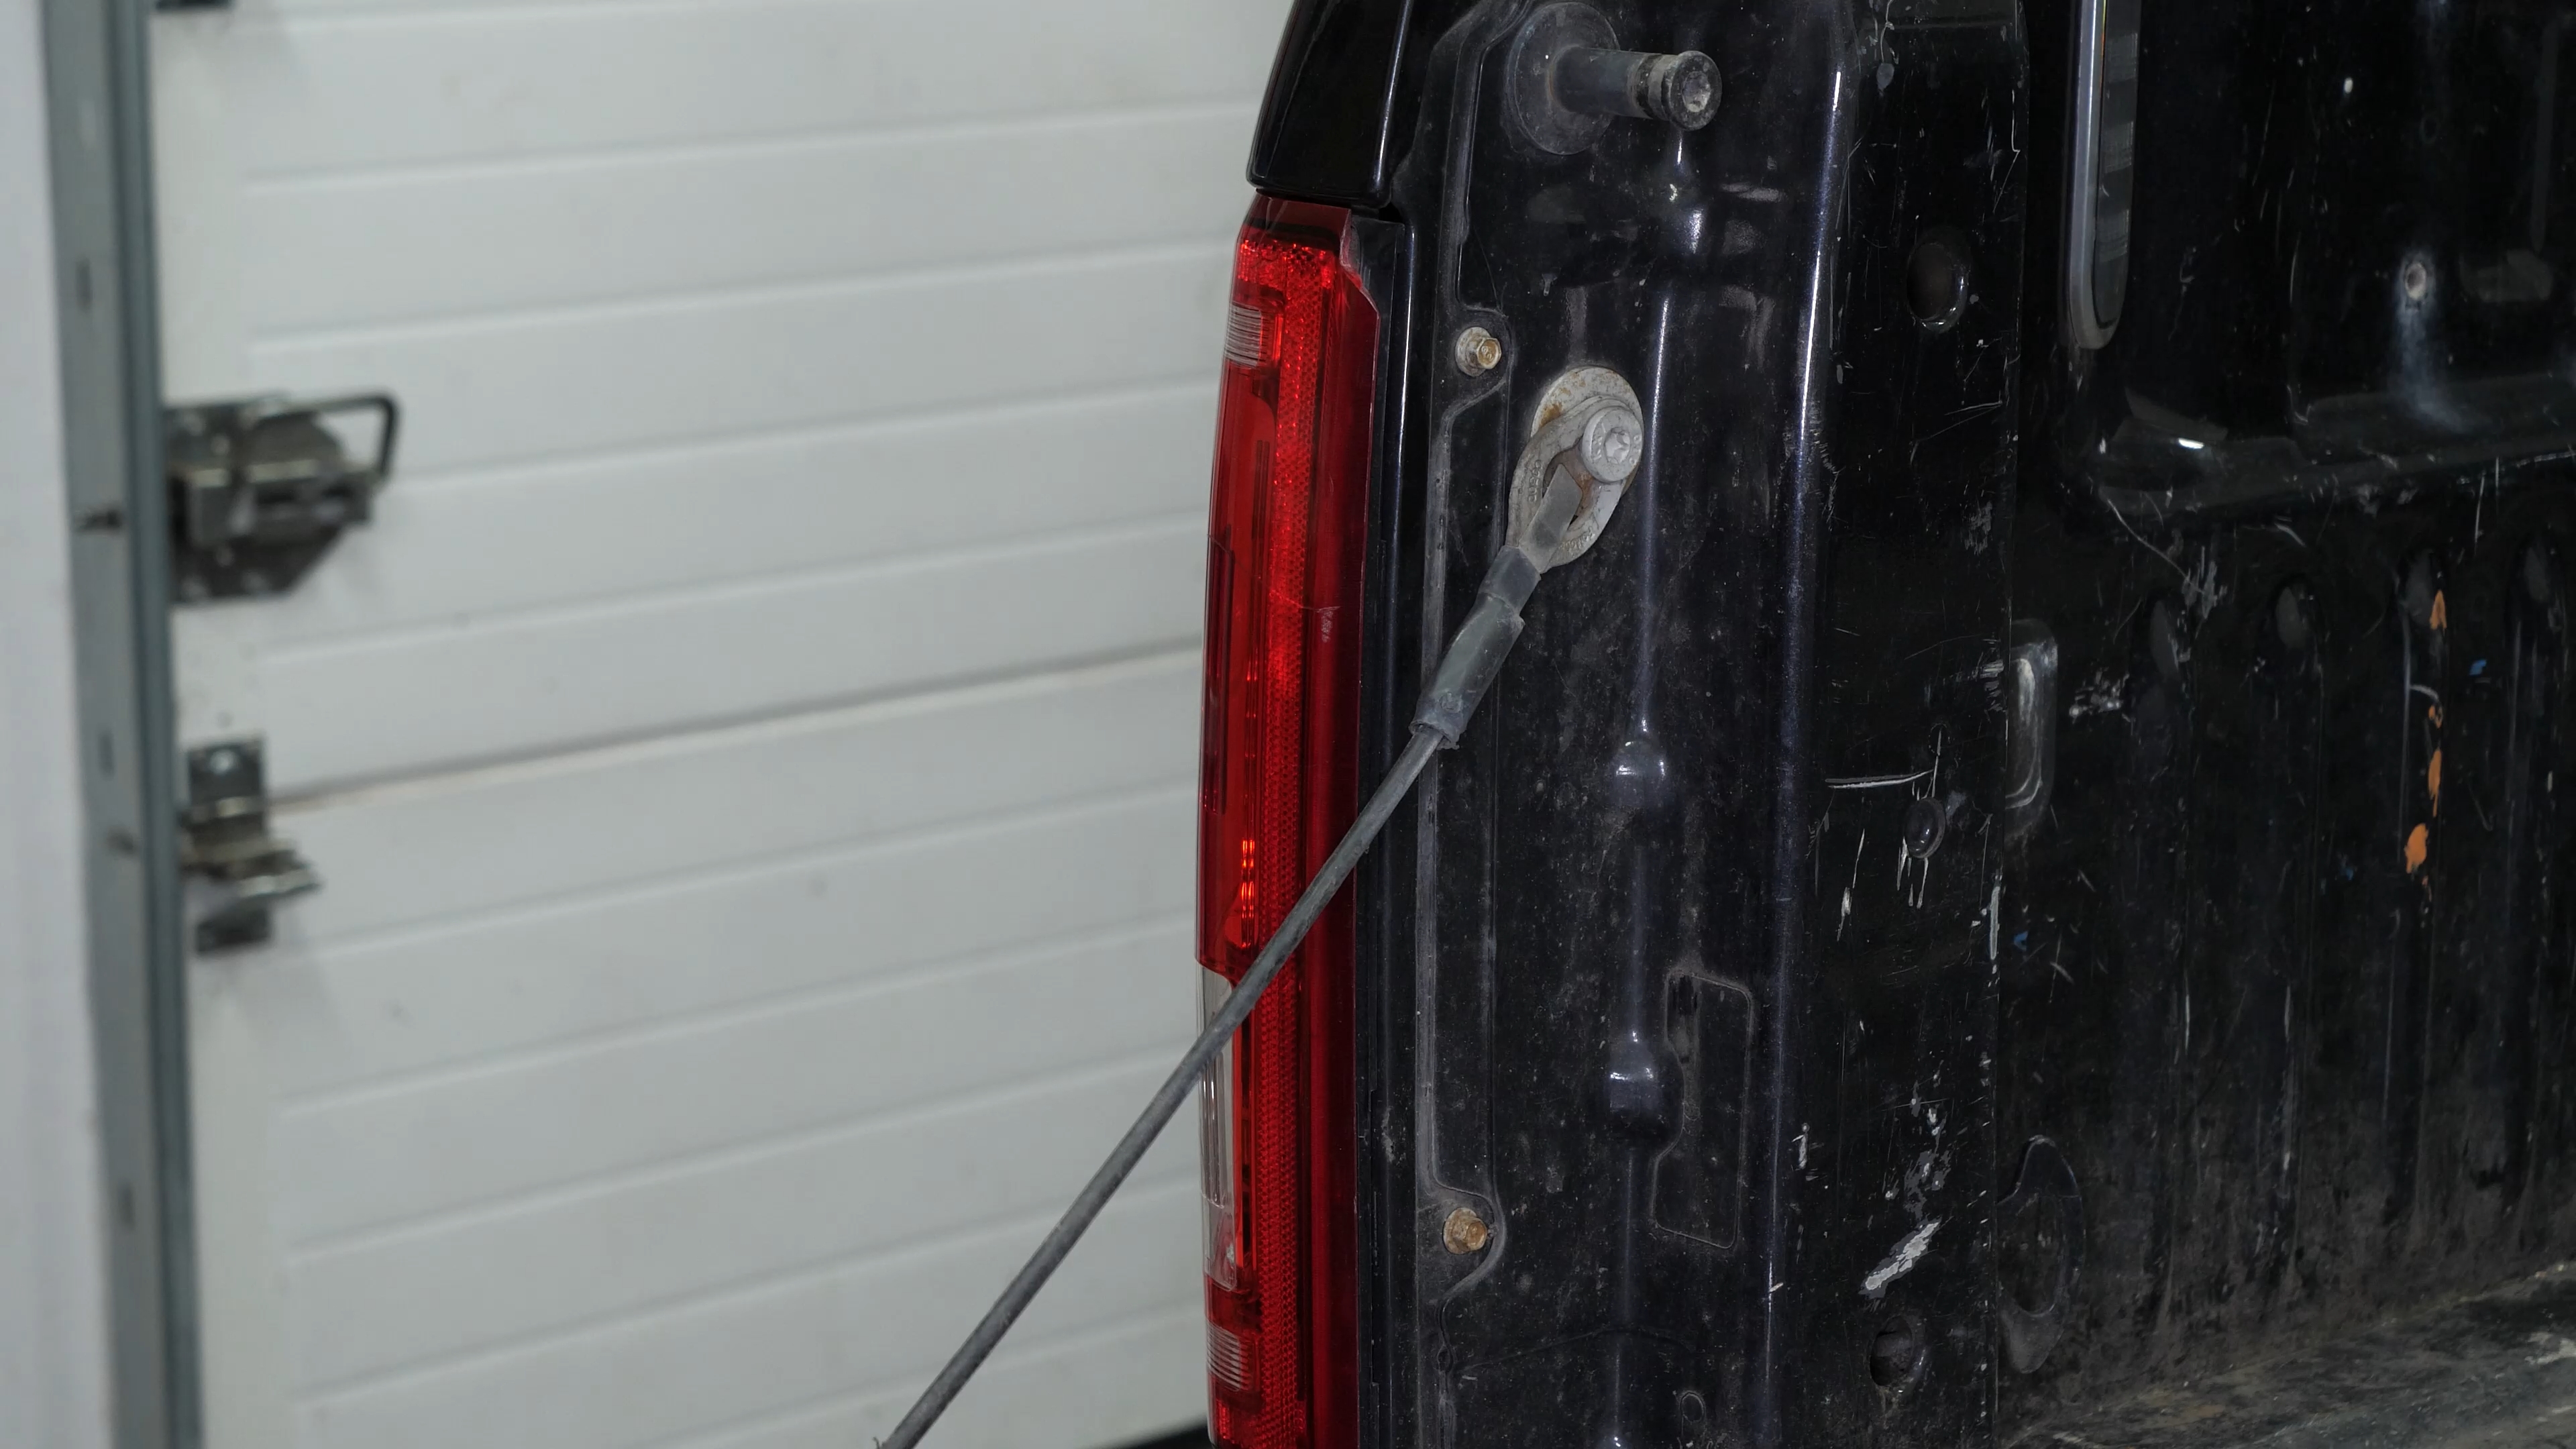
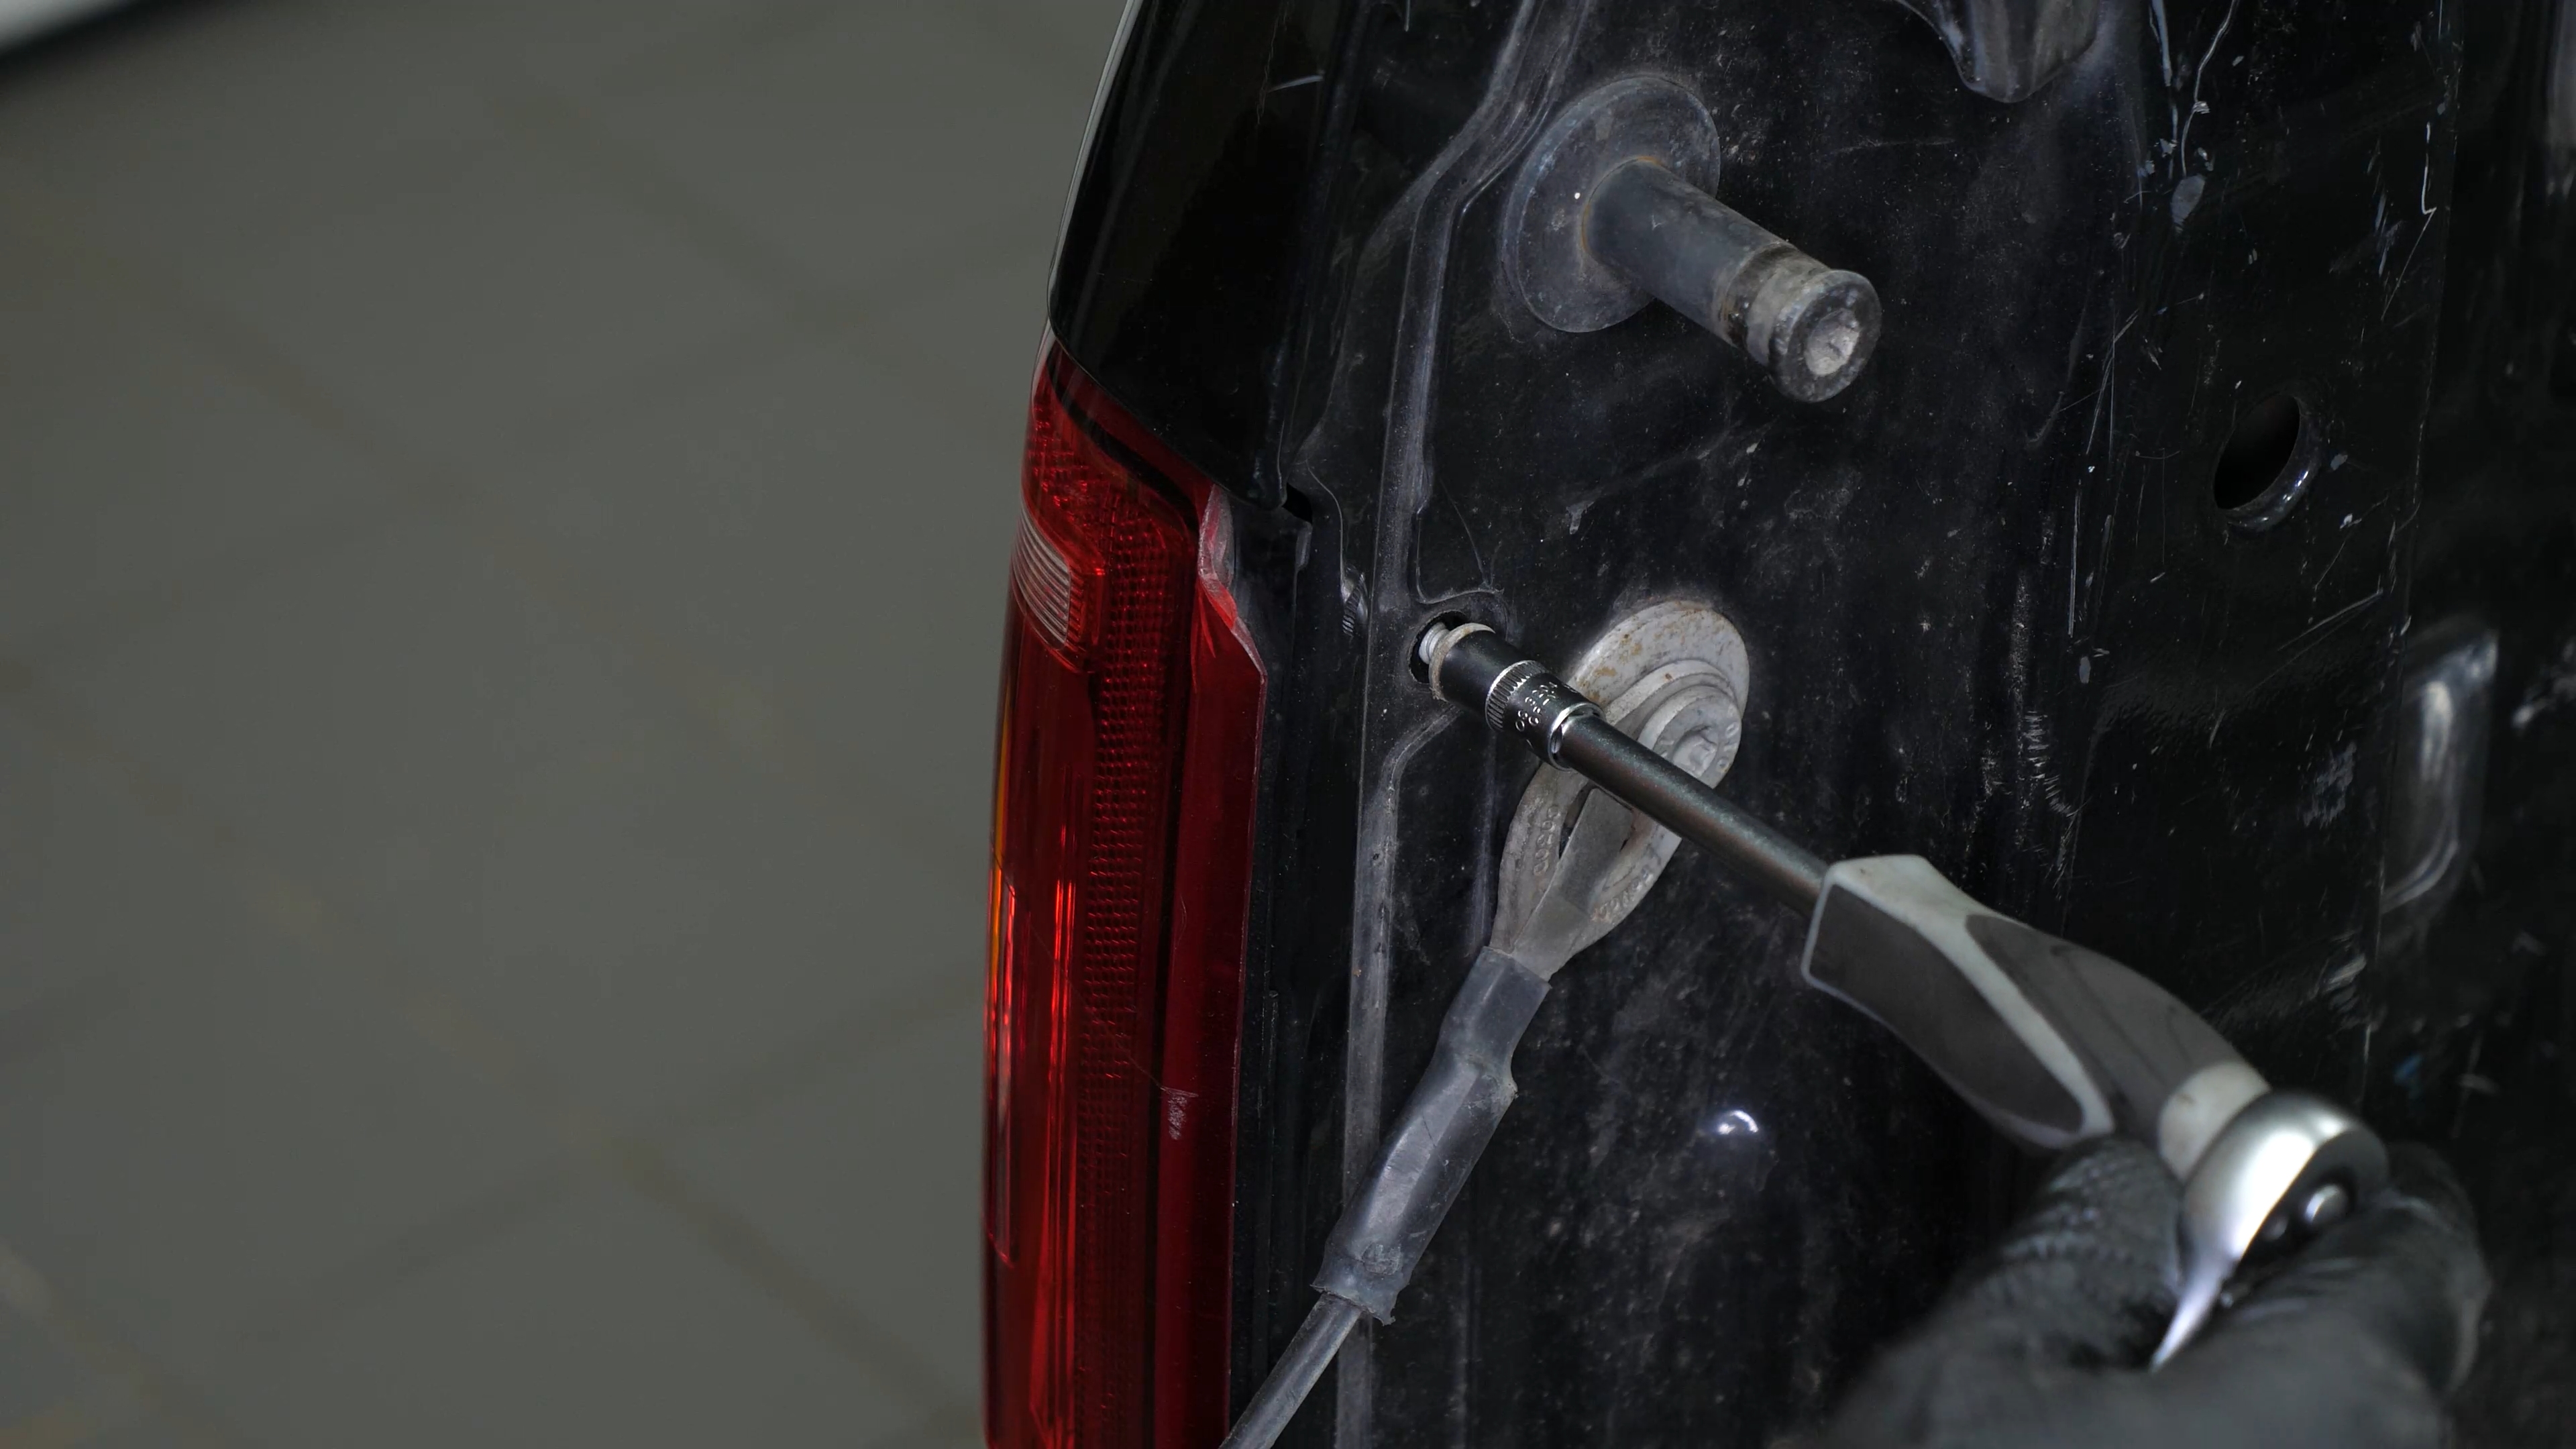
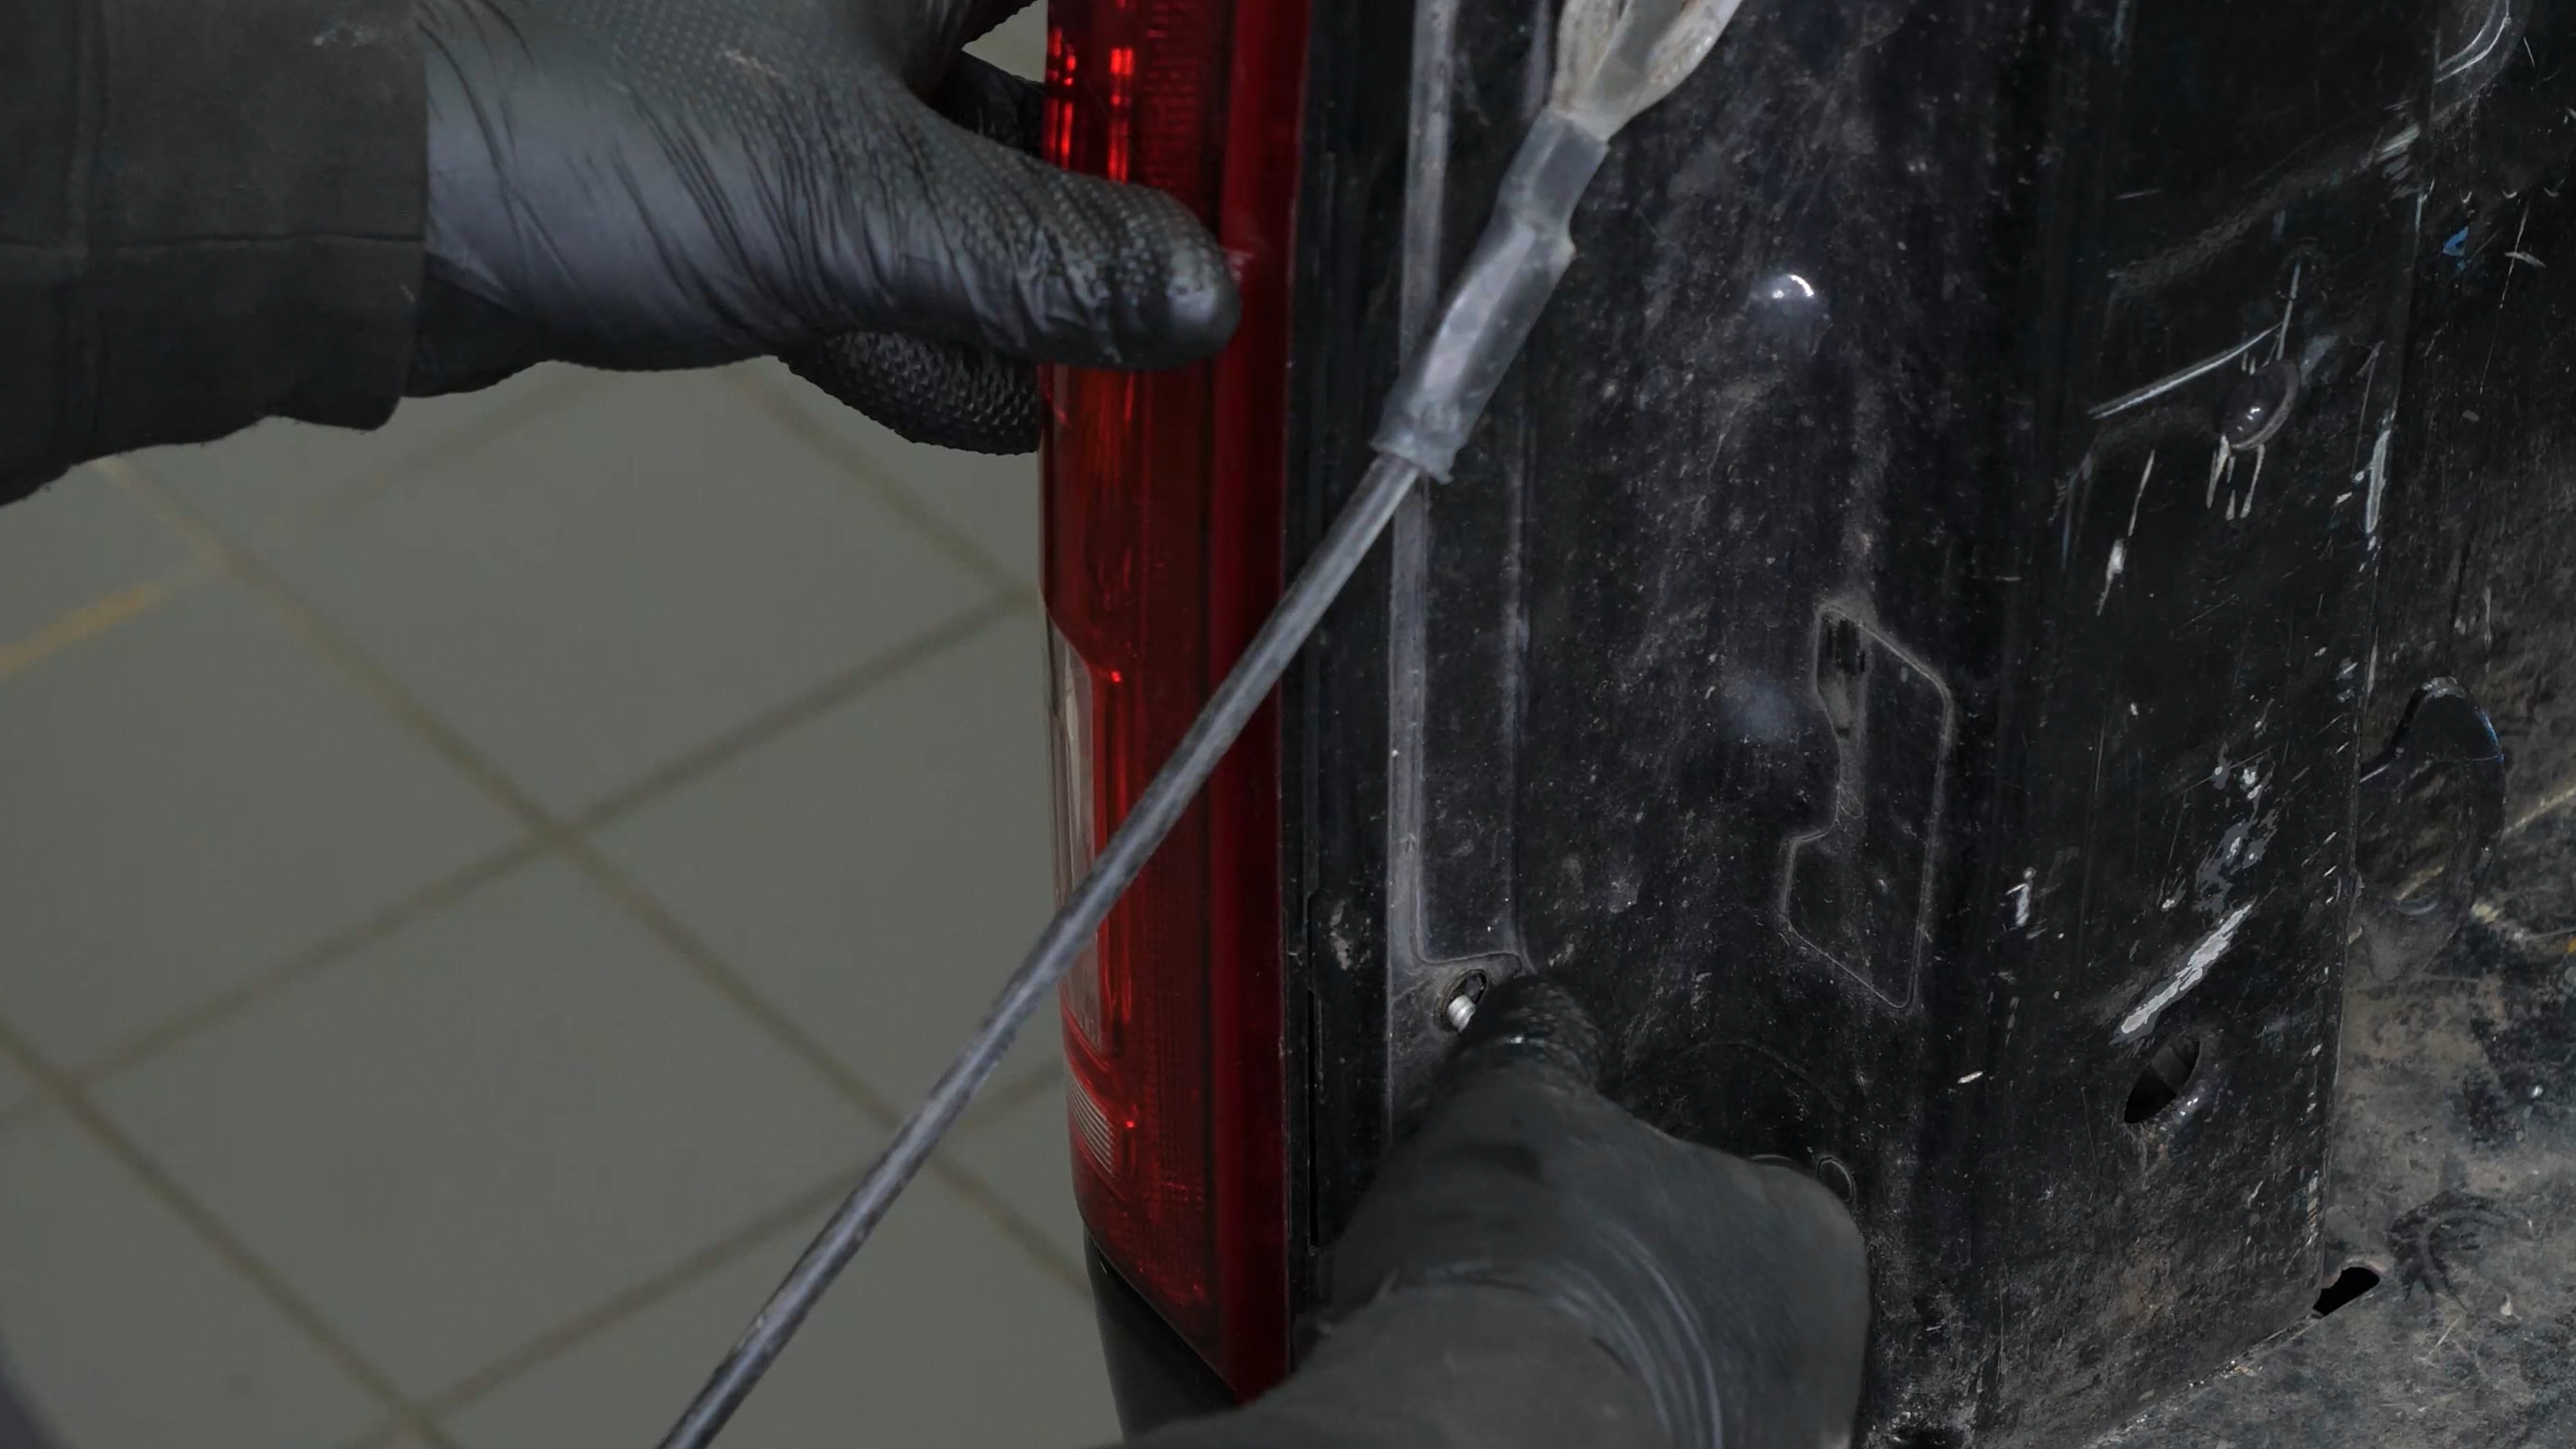
To detach the taillight assembly from the vehicle body, remove the two bolts with a ratchet and an 8mm socket.
Chapter 1:
Step 3/4
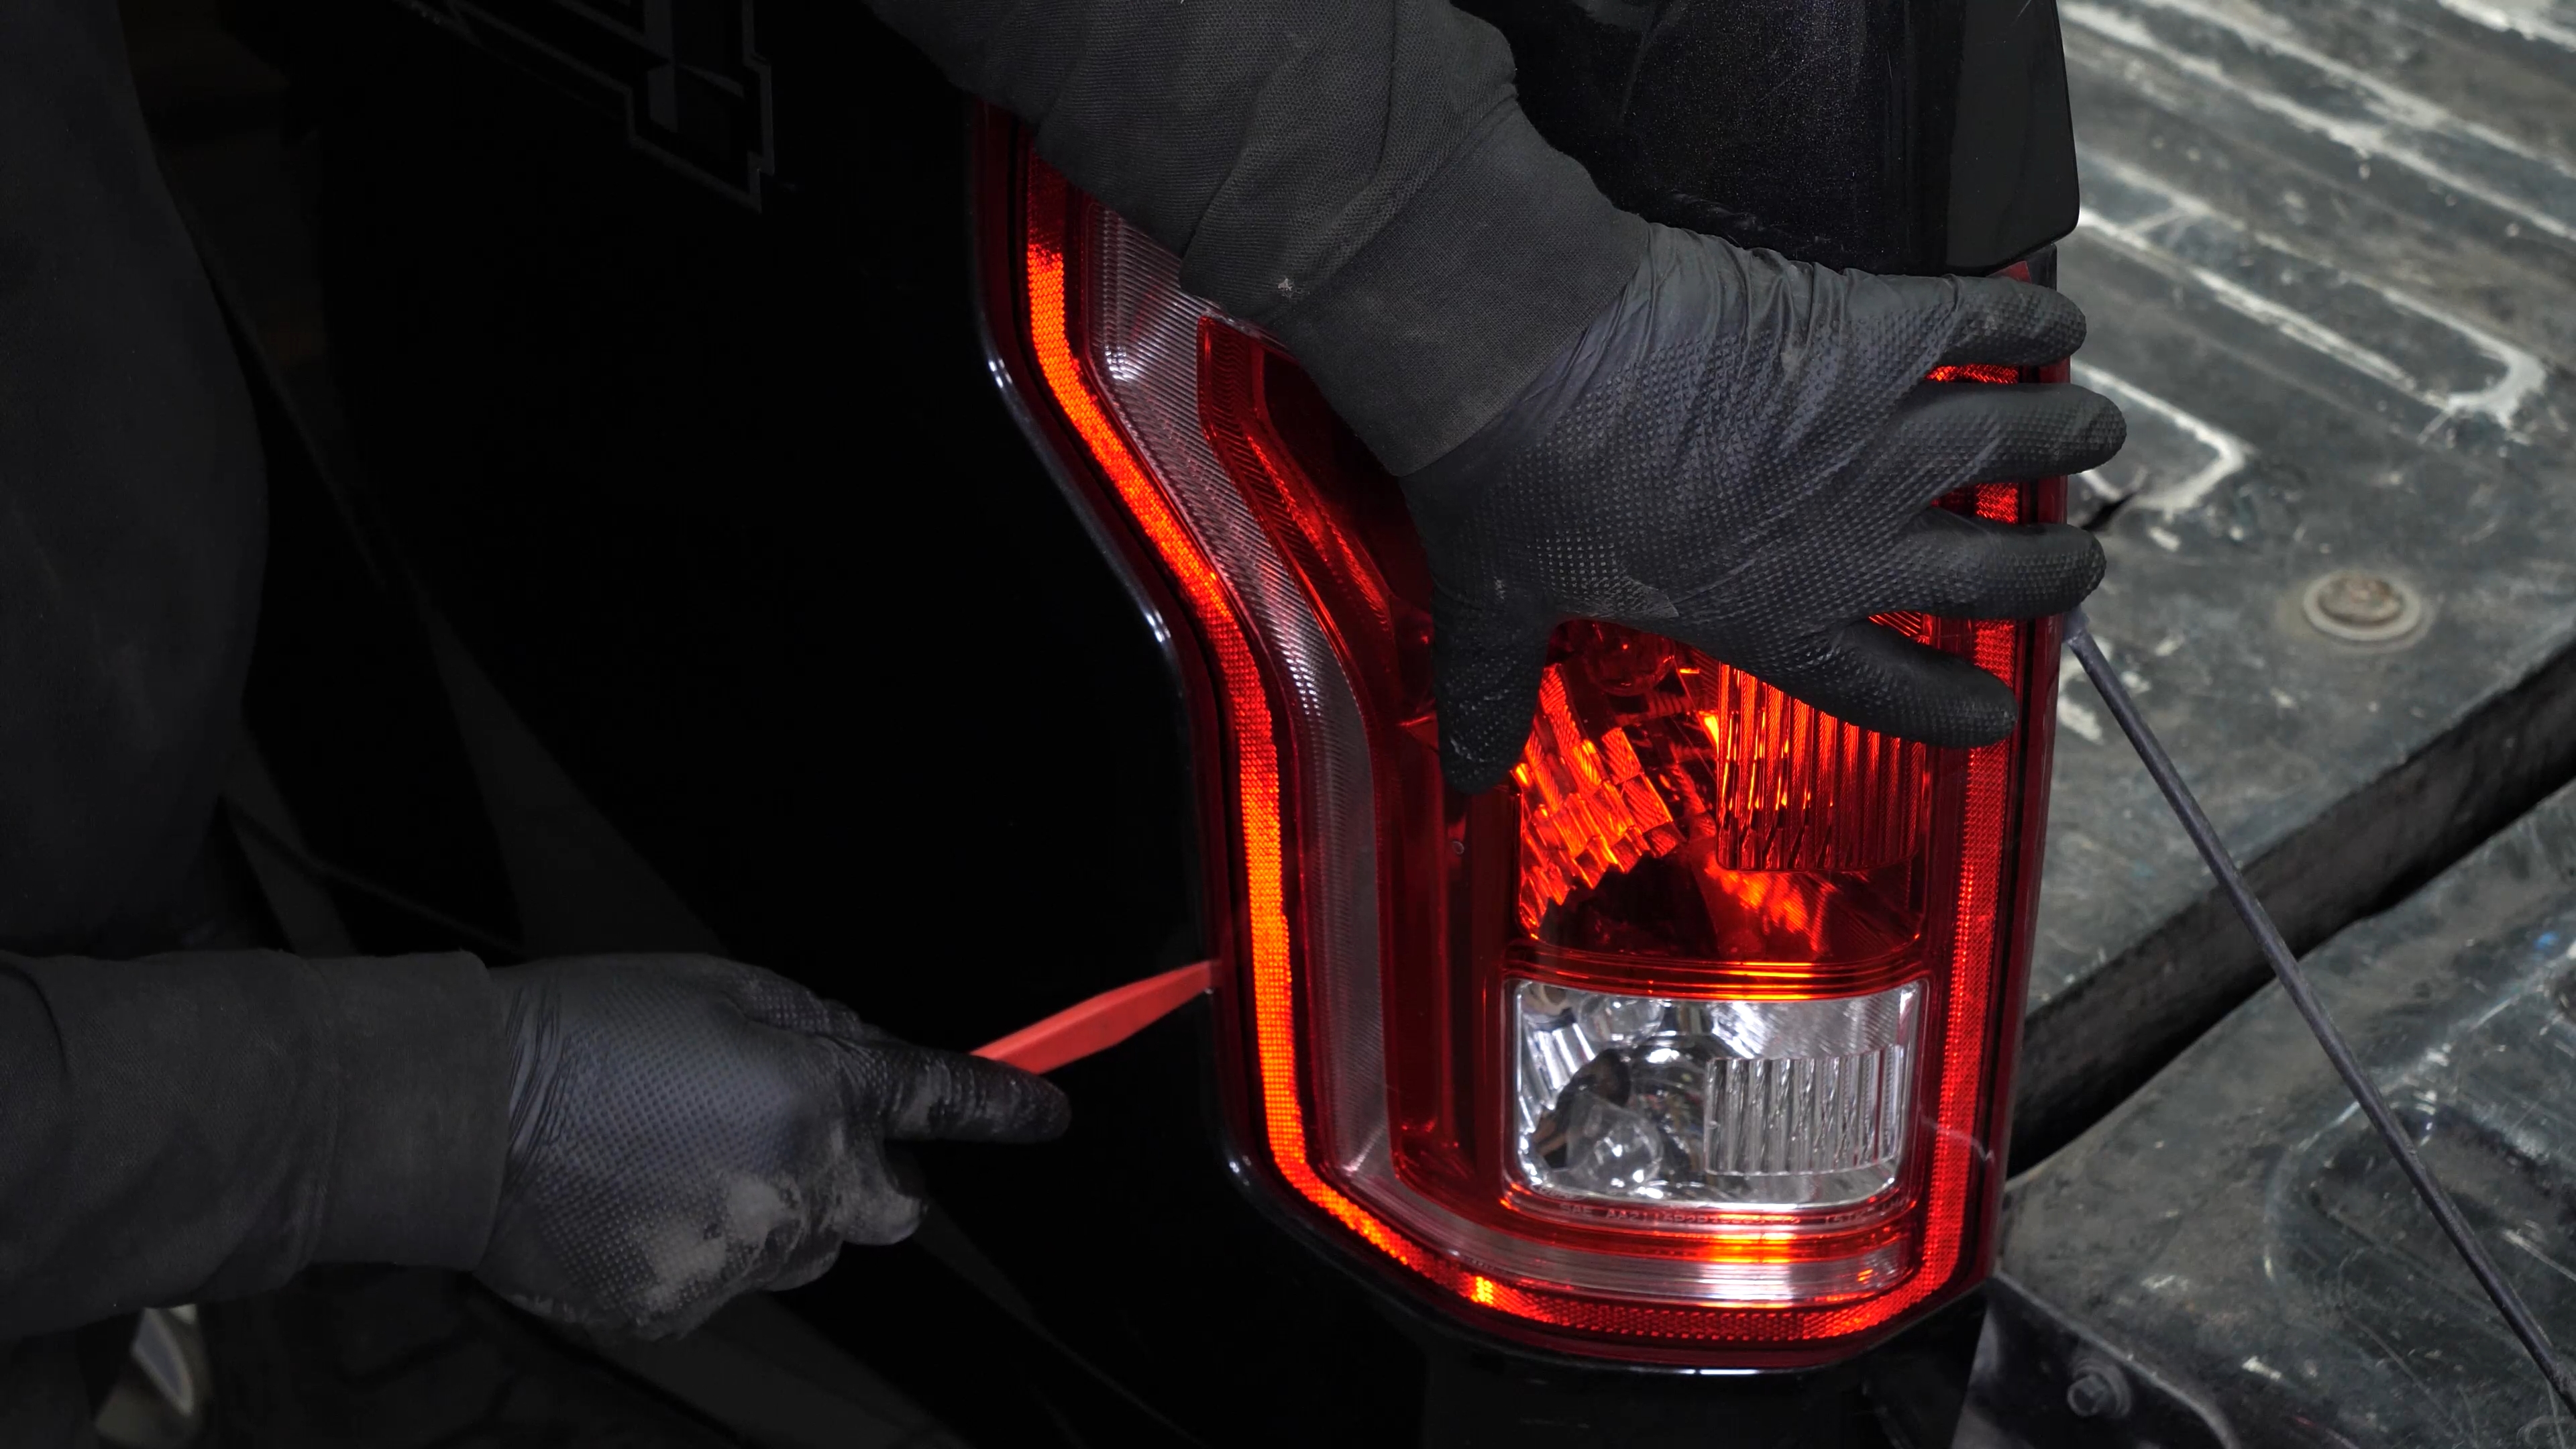
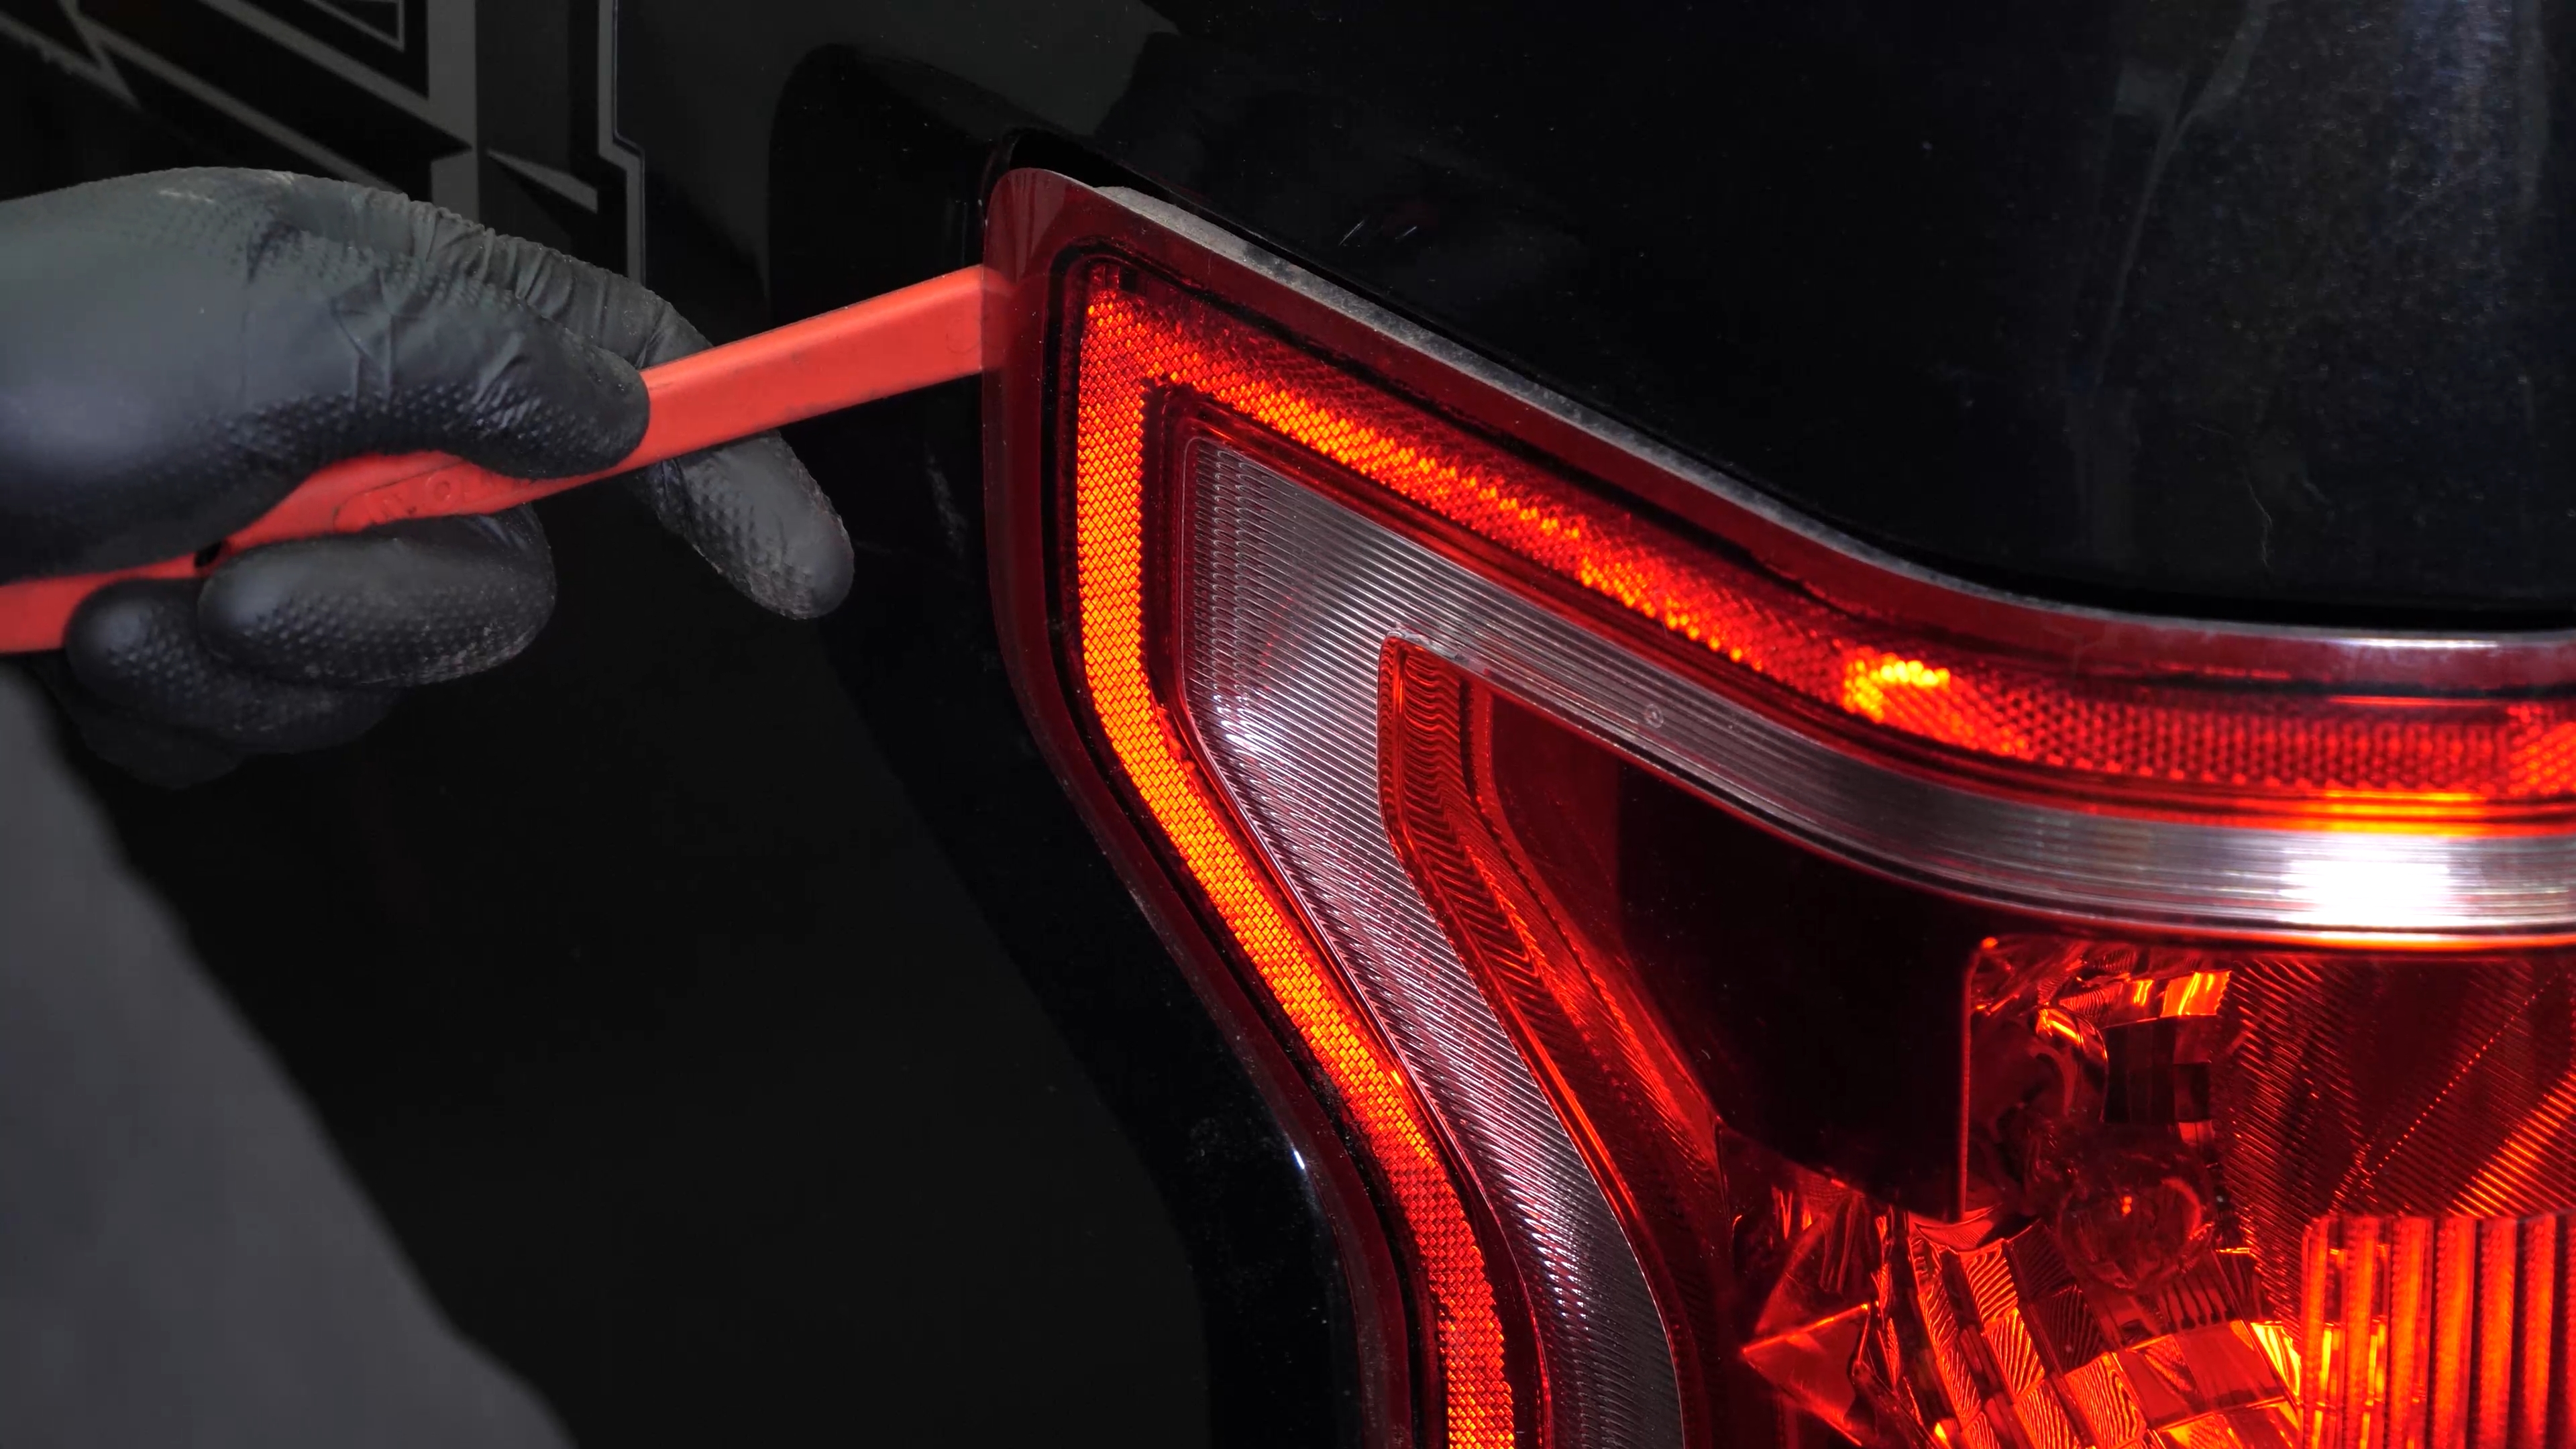
Then pull on it to disengage the retaining lugs from their slots. You can use a car trim removal tool.
Chapter 1:
Step 4/4
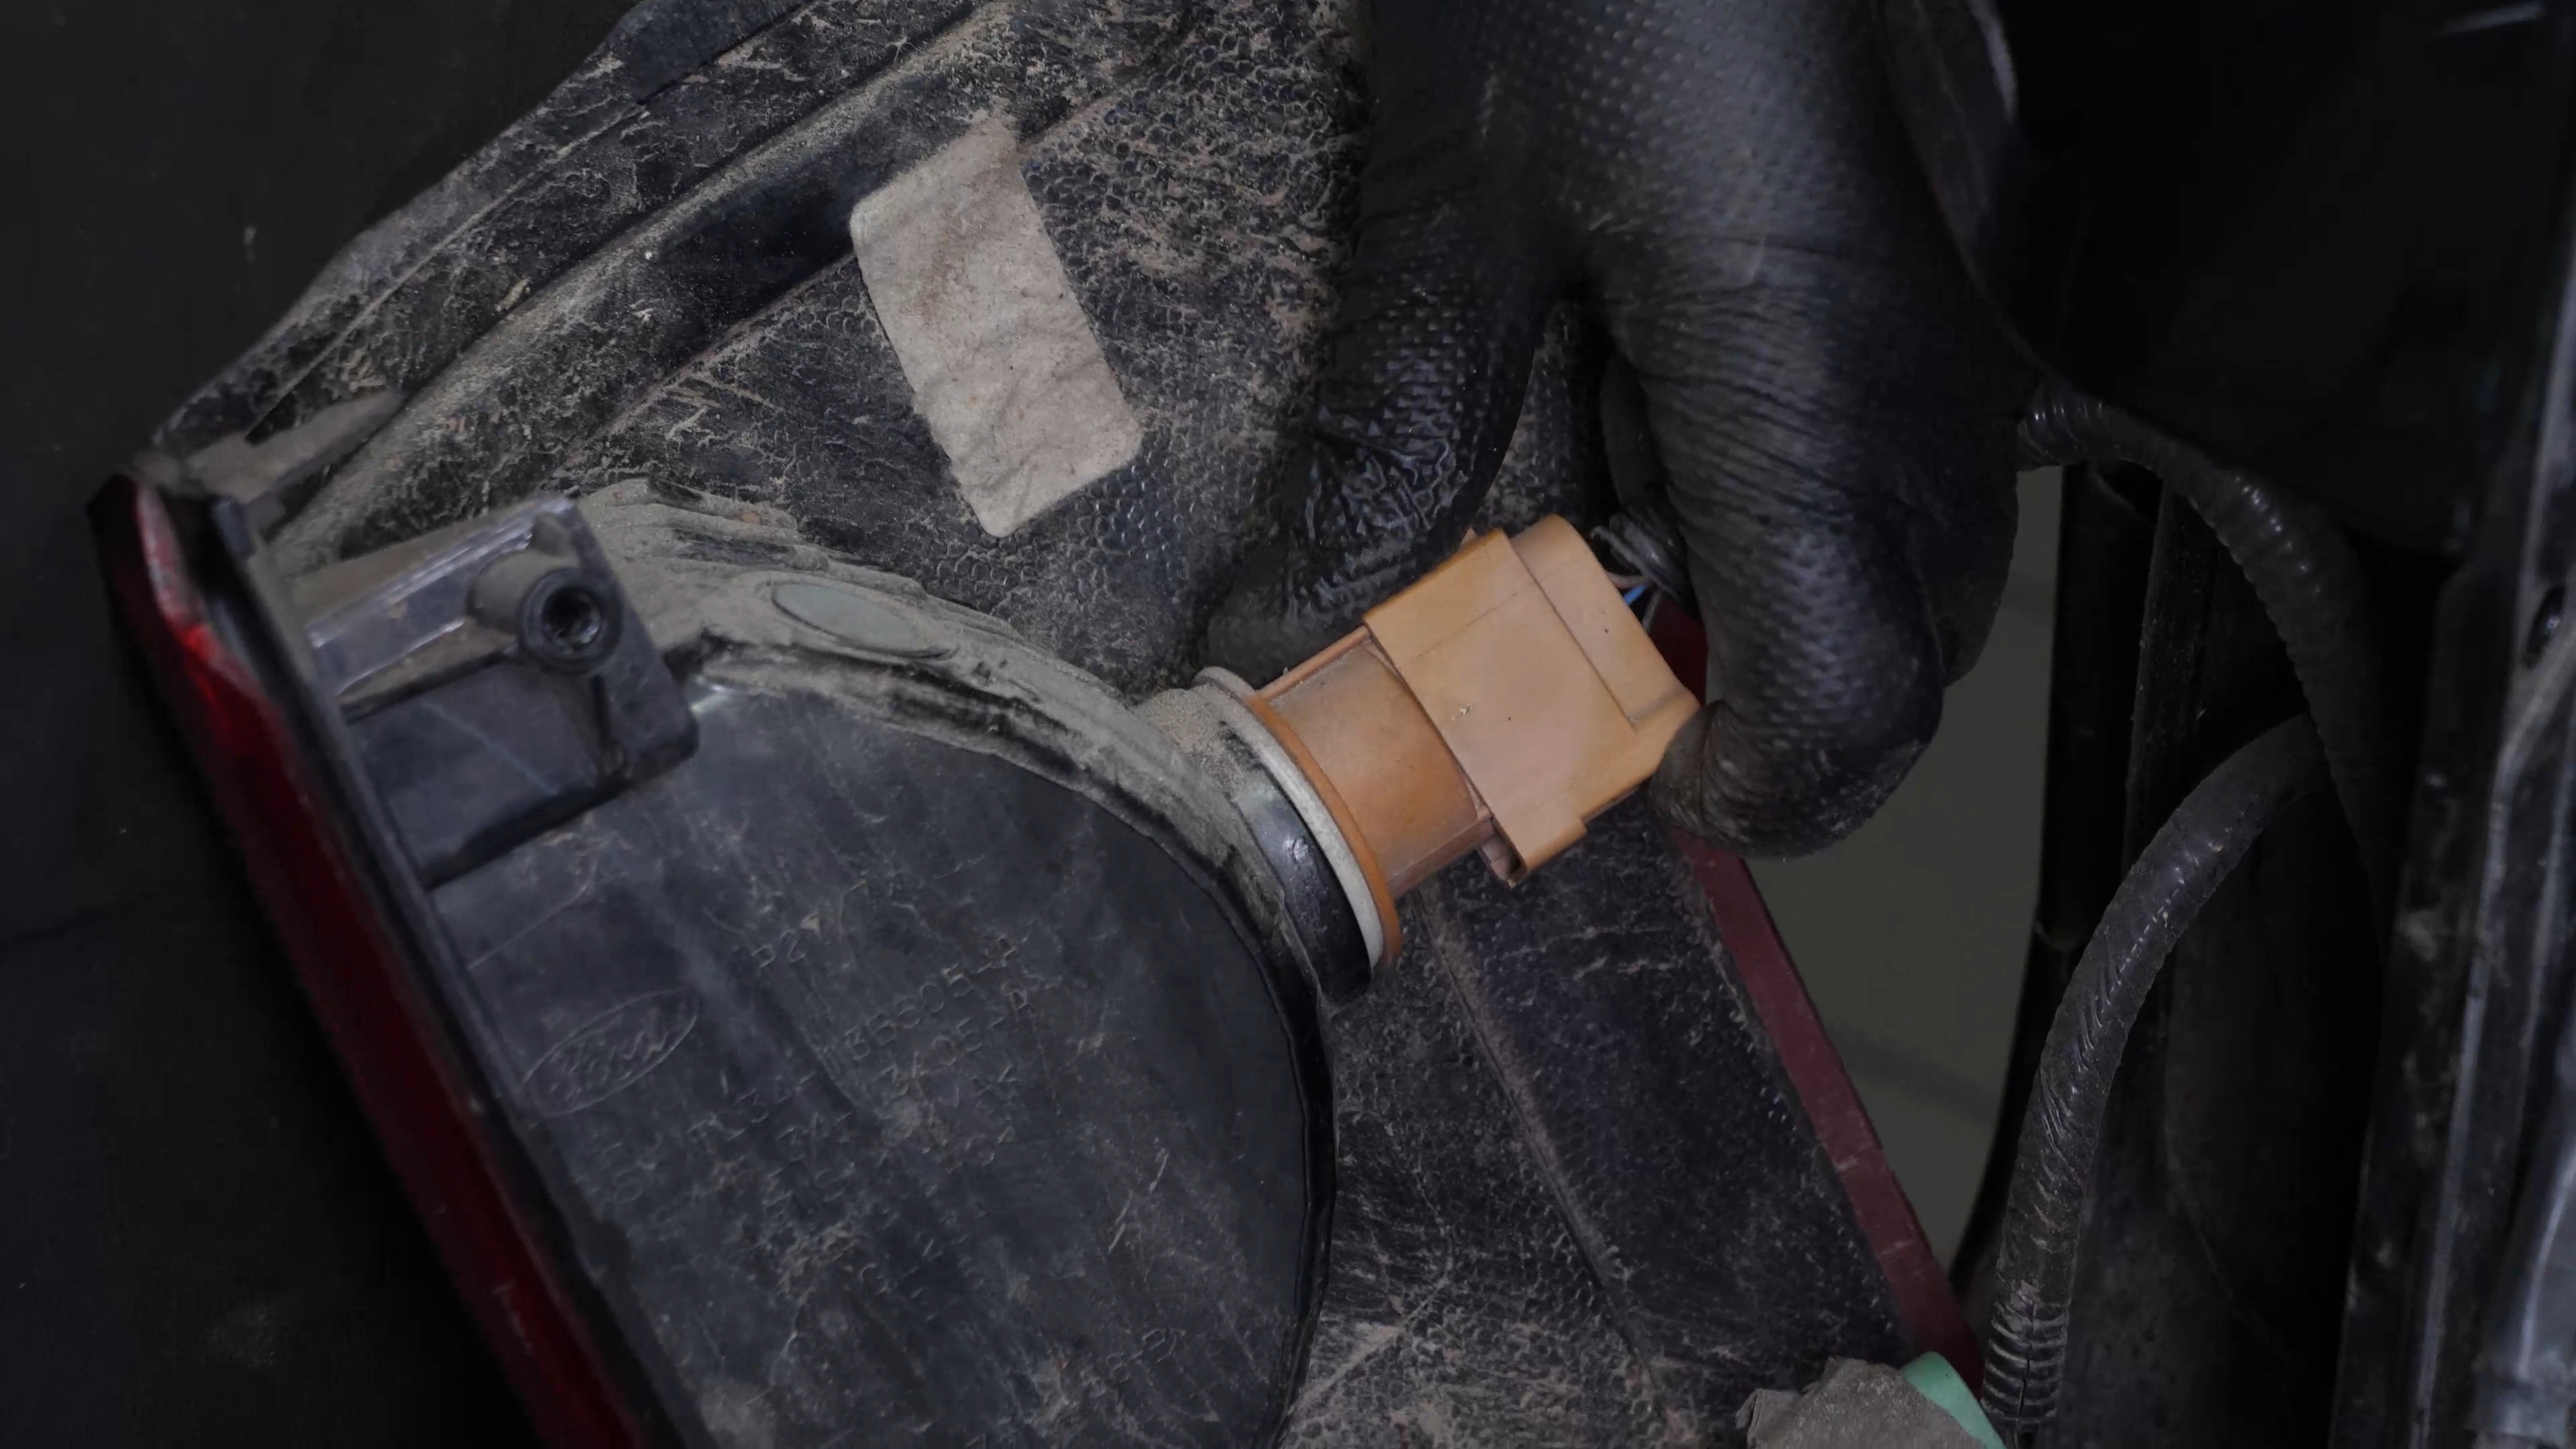
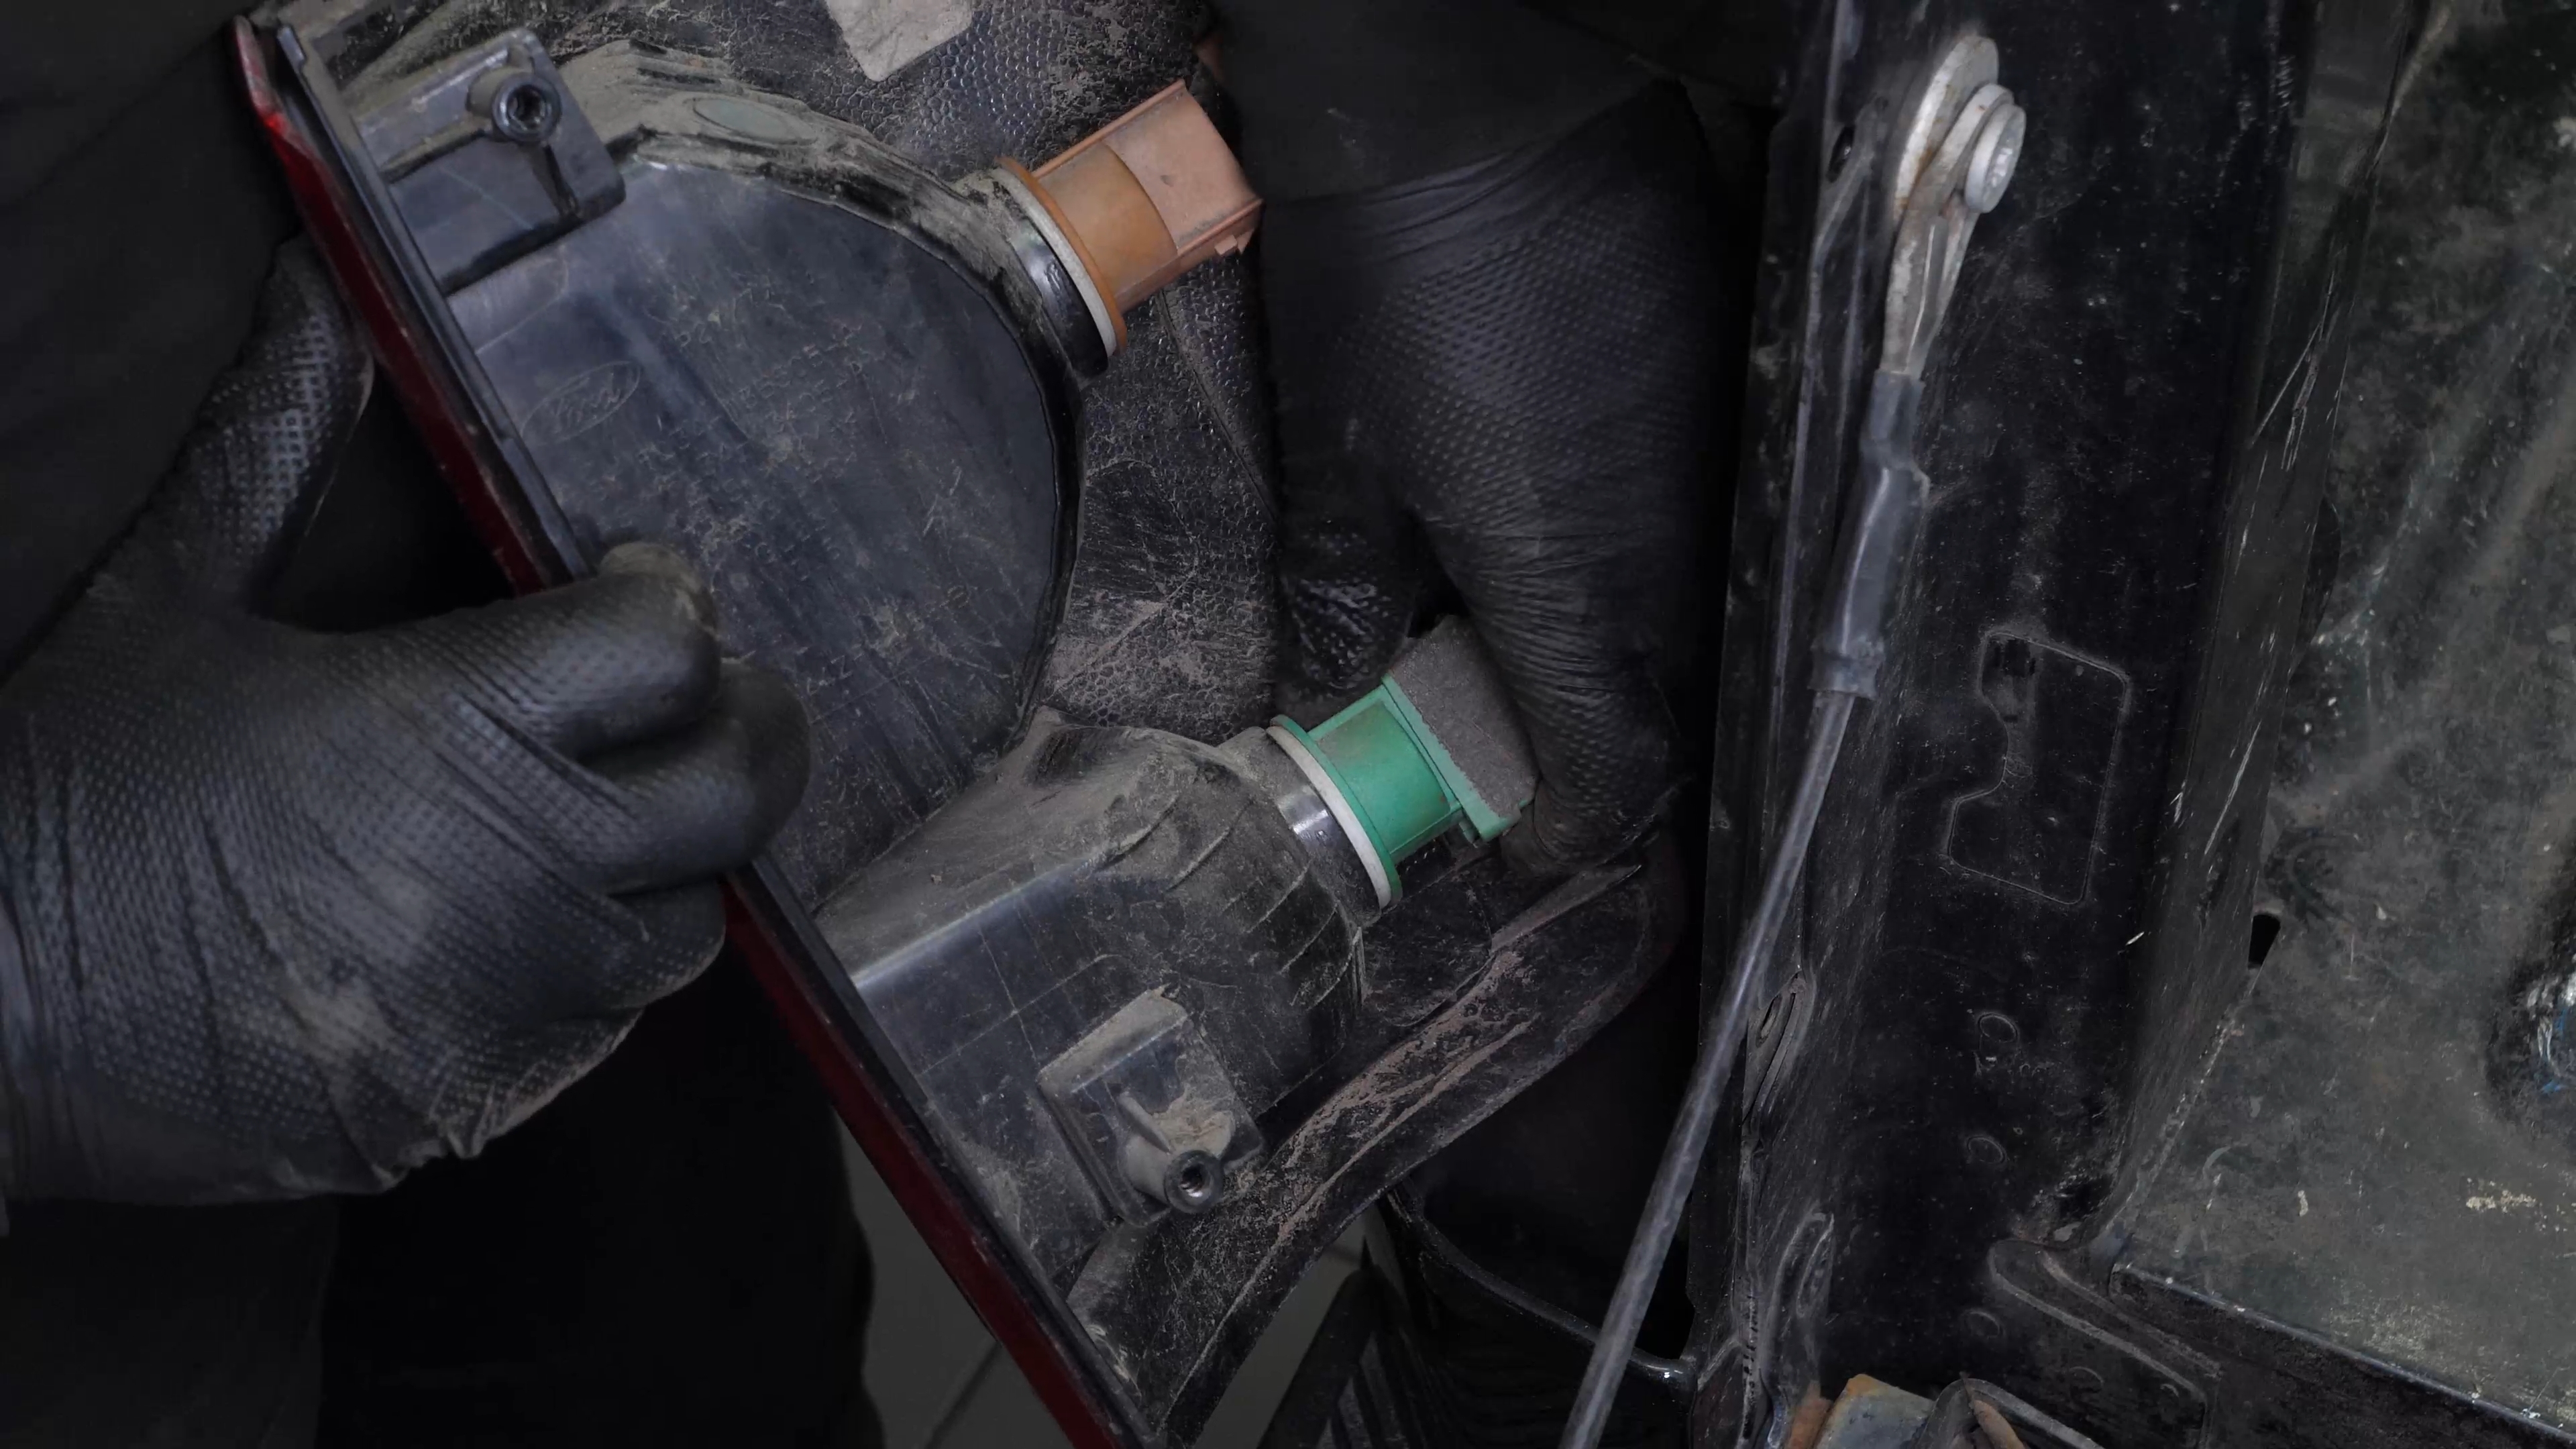
Disconnect the two connectors by pressing on the retaining tabs. You can now remove the light.
Chapter 2:
Tips
Step 1/1
To increase the lifespan of the bulbs, we would suggest never touching the glass with your fingers or cleaning them carefully with paper towels before putting them back.
Chapter 3:
Replace the tail light bulbs
Step 1/4
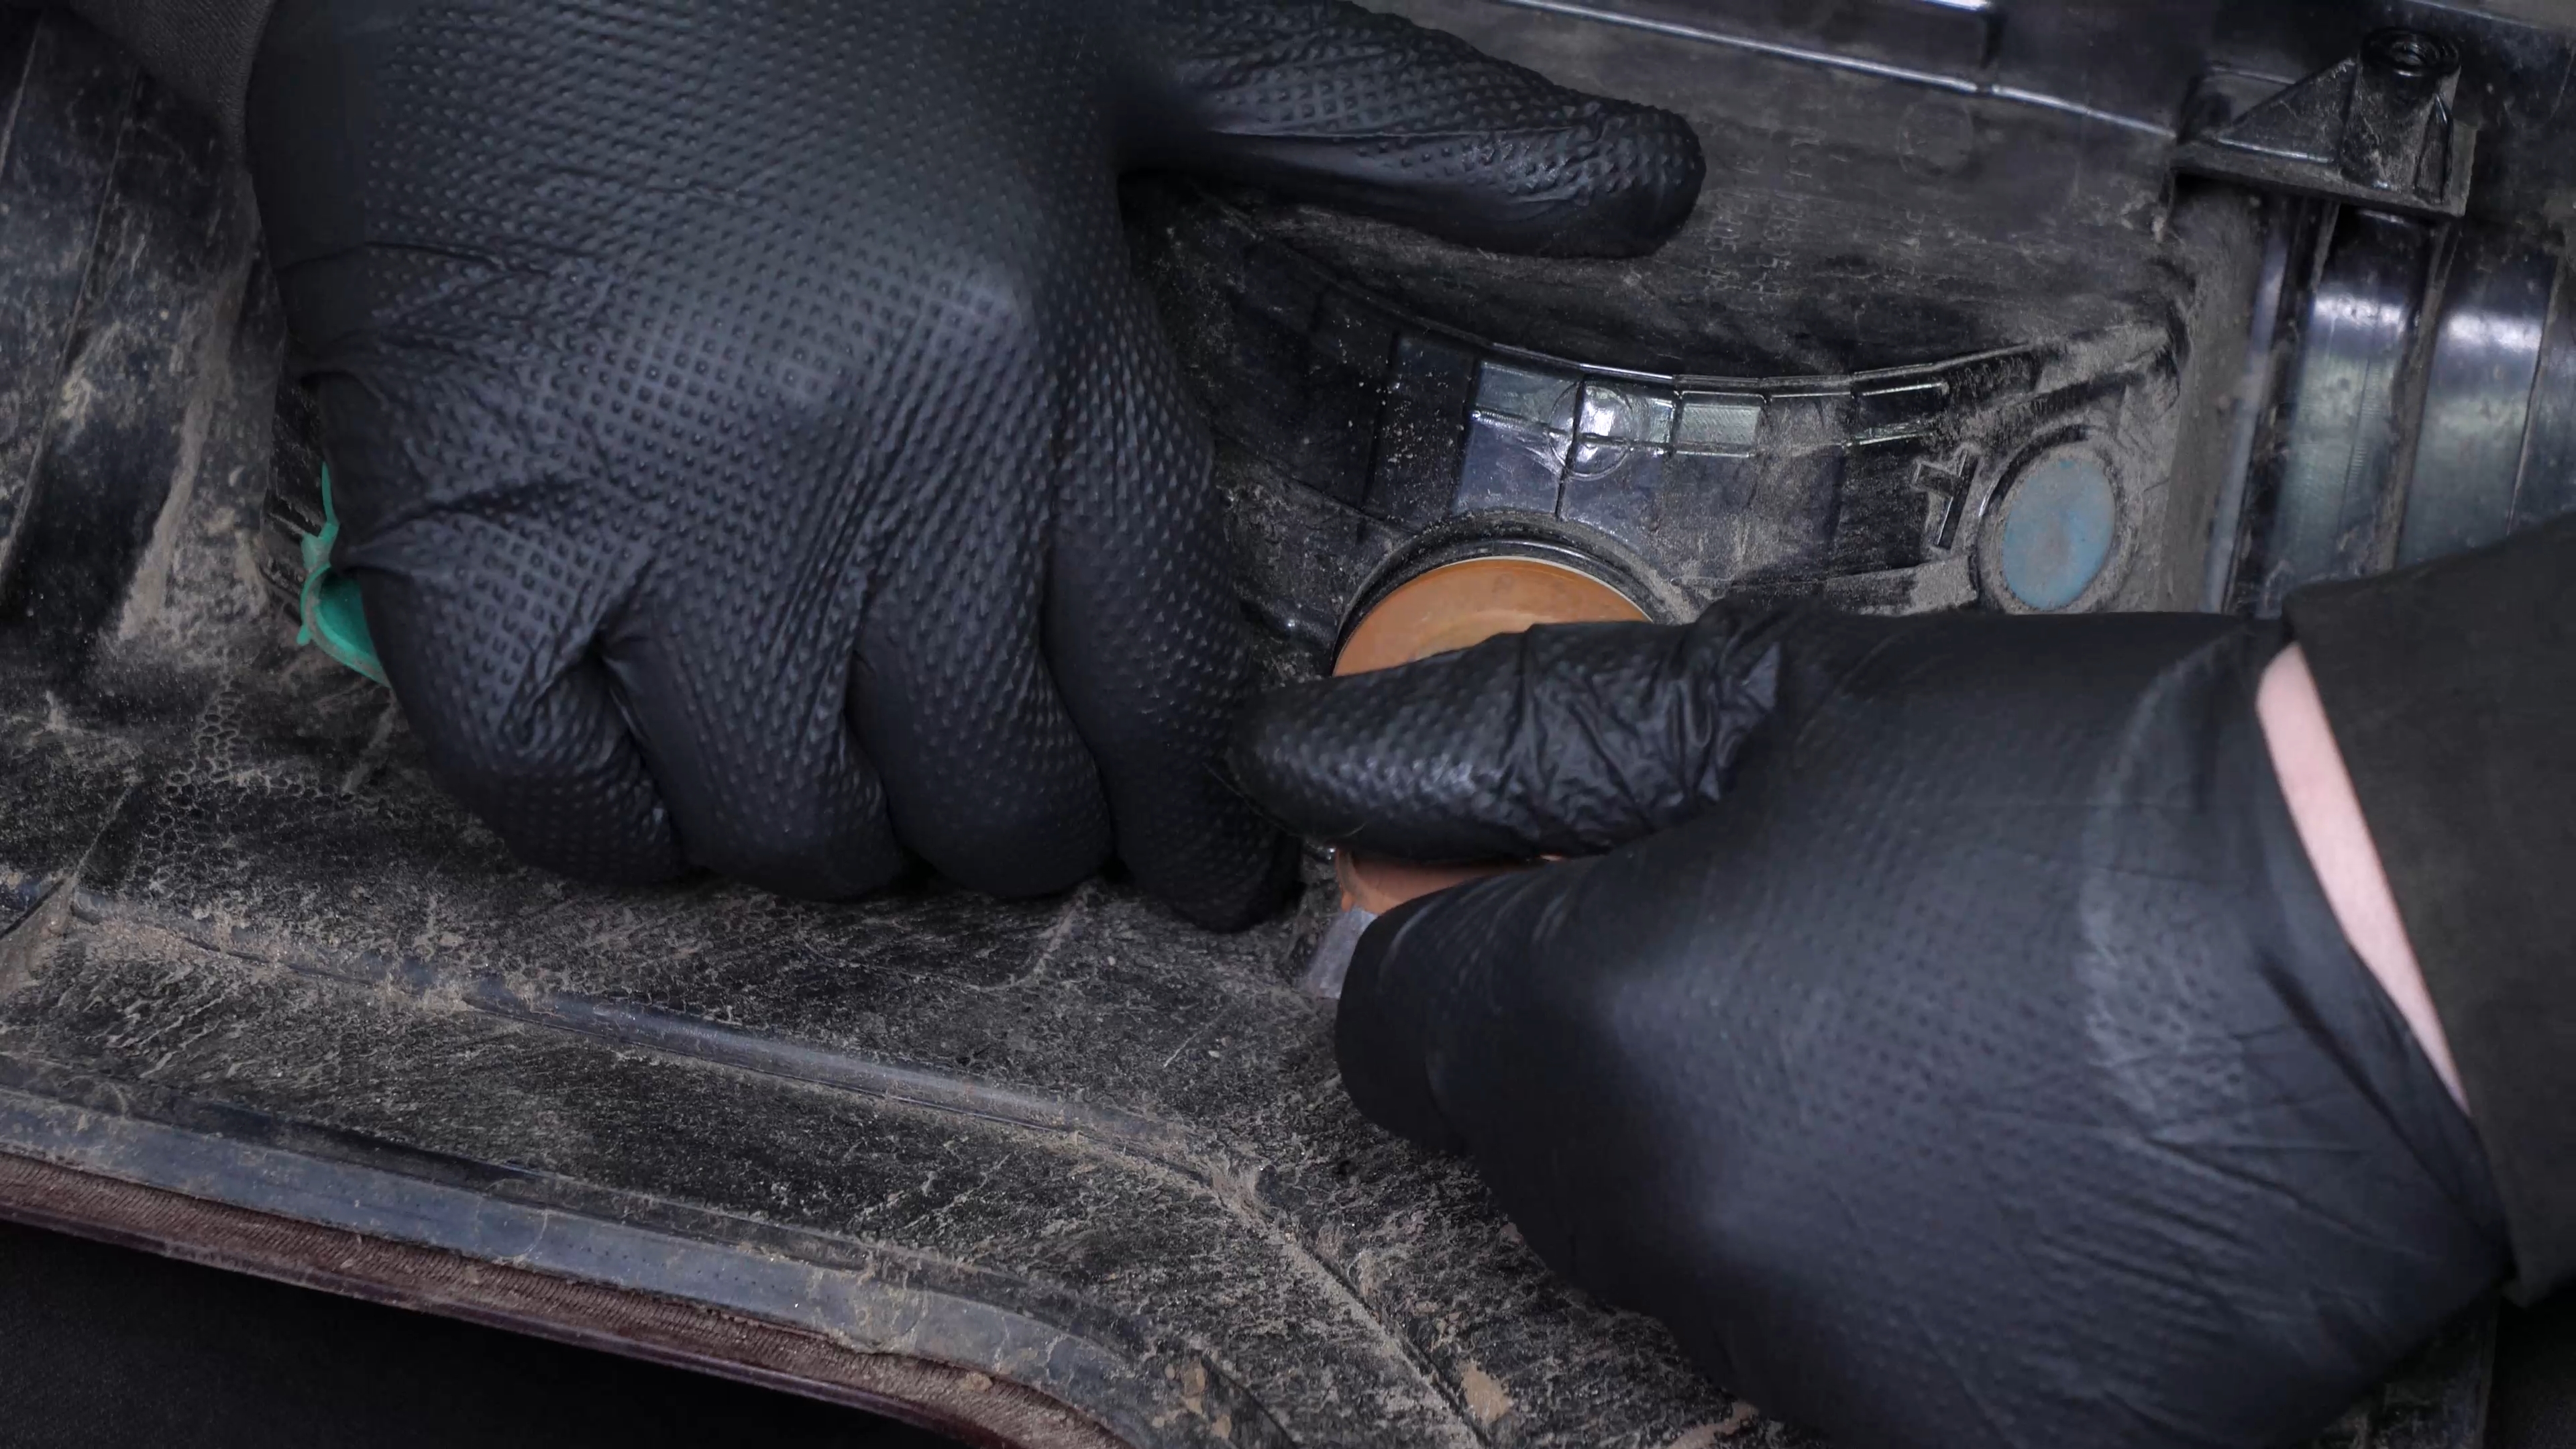
To remove the lightbulb socket, turn it counterclockwise and pull it out.
Chapter 3:
Step 2/4
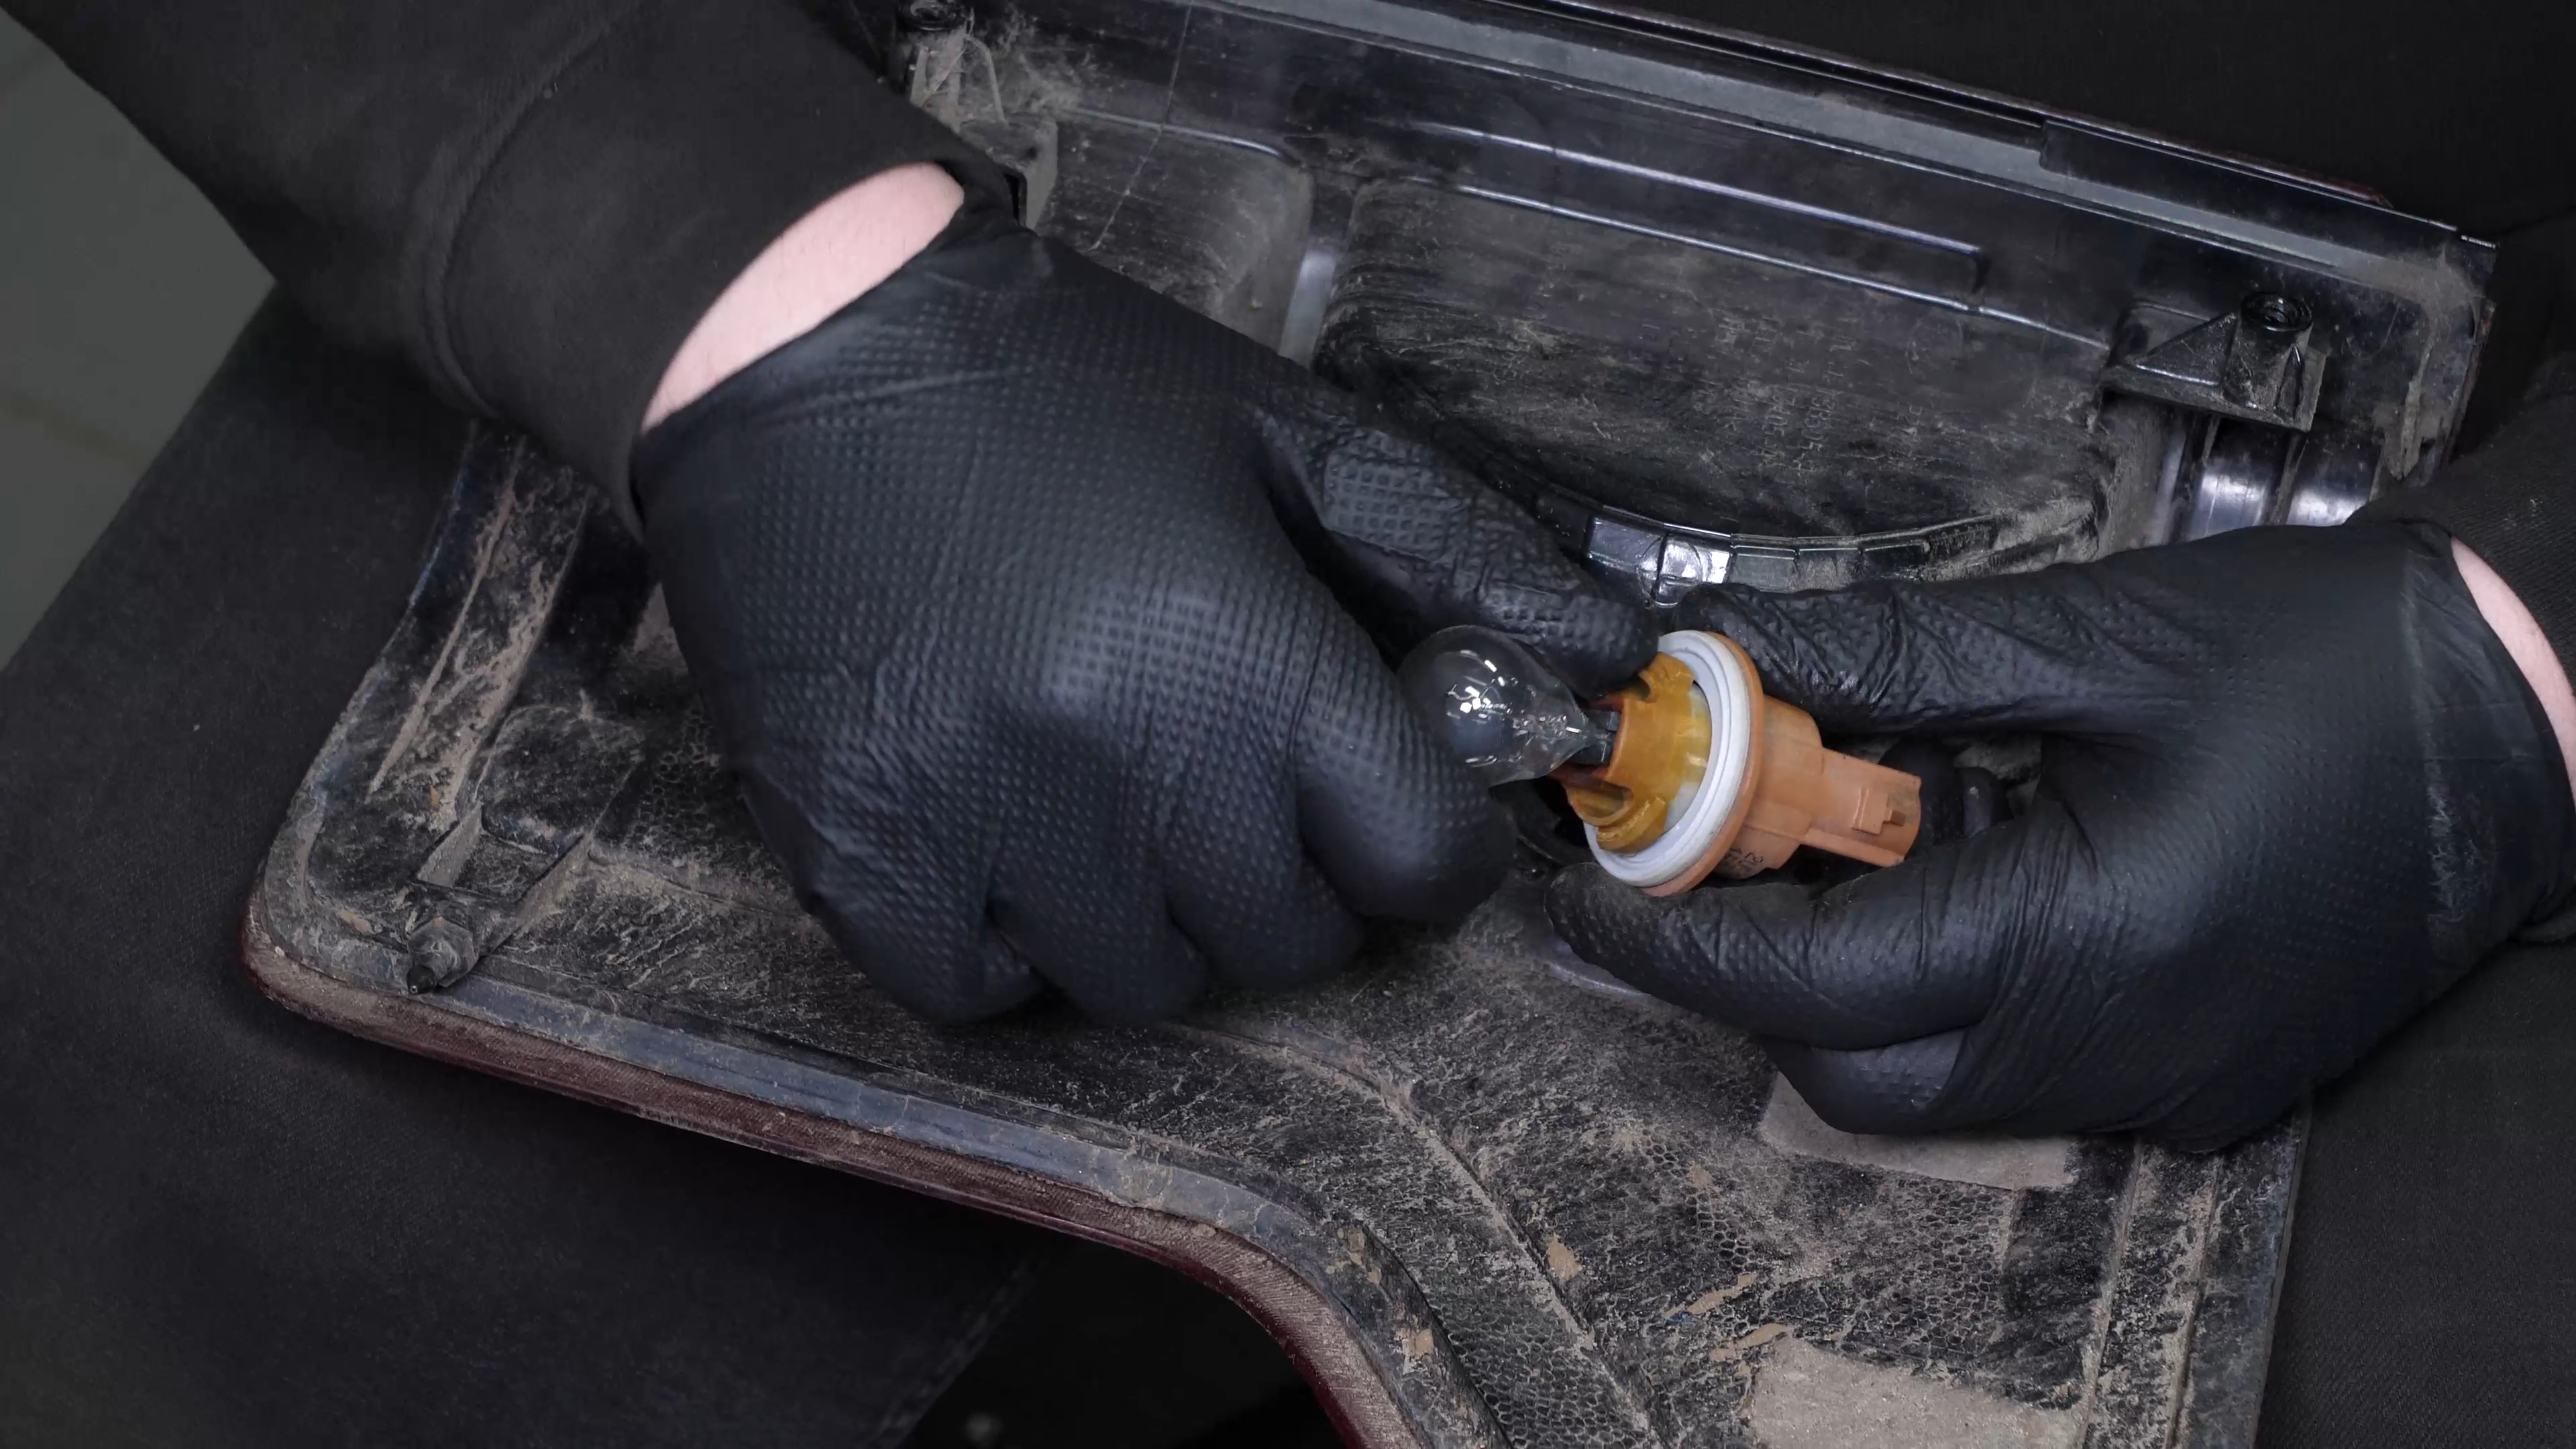
To remove the 3157 brake/taillight/turn signal bulb, simply pull on it.
Chapter 3:
Step 3/4
Take the new bulb. Put the new light bulb in the socket.

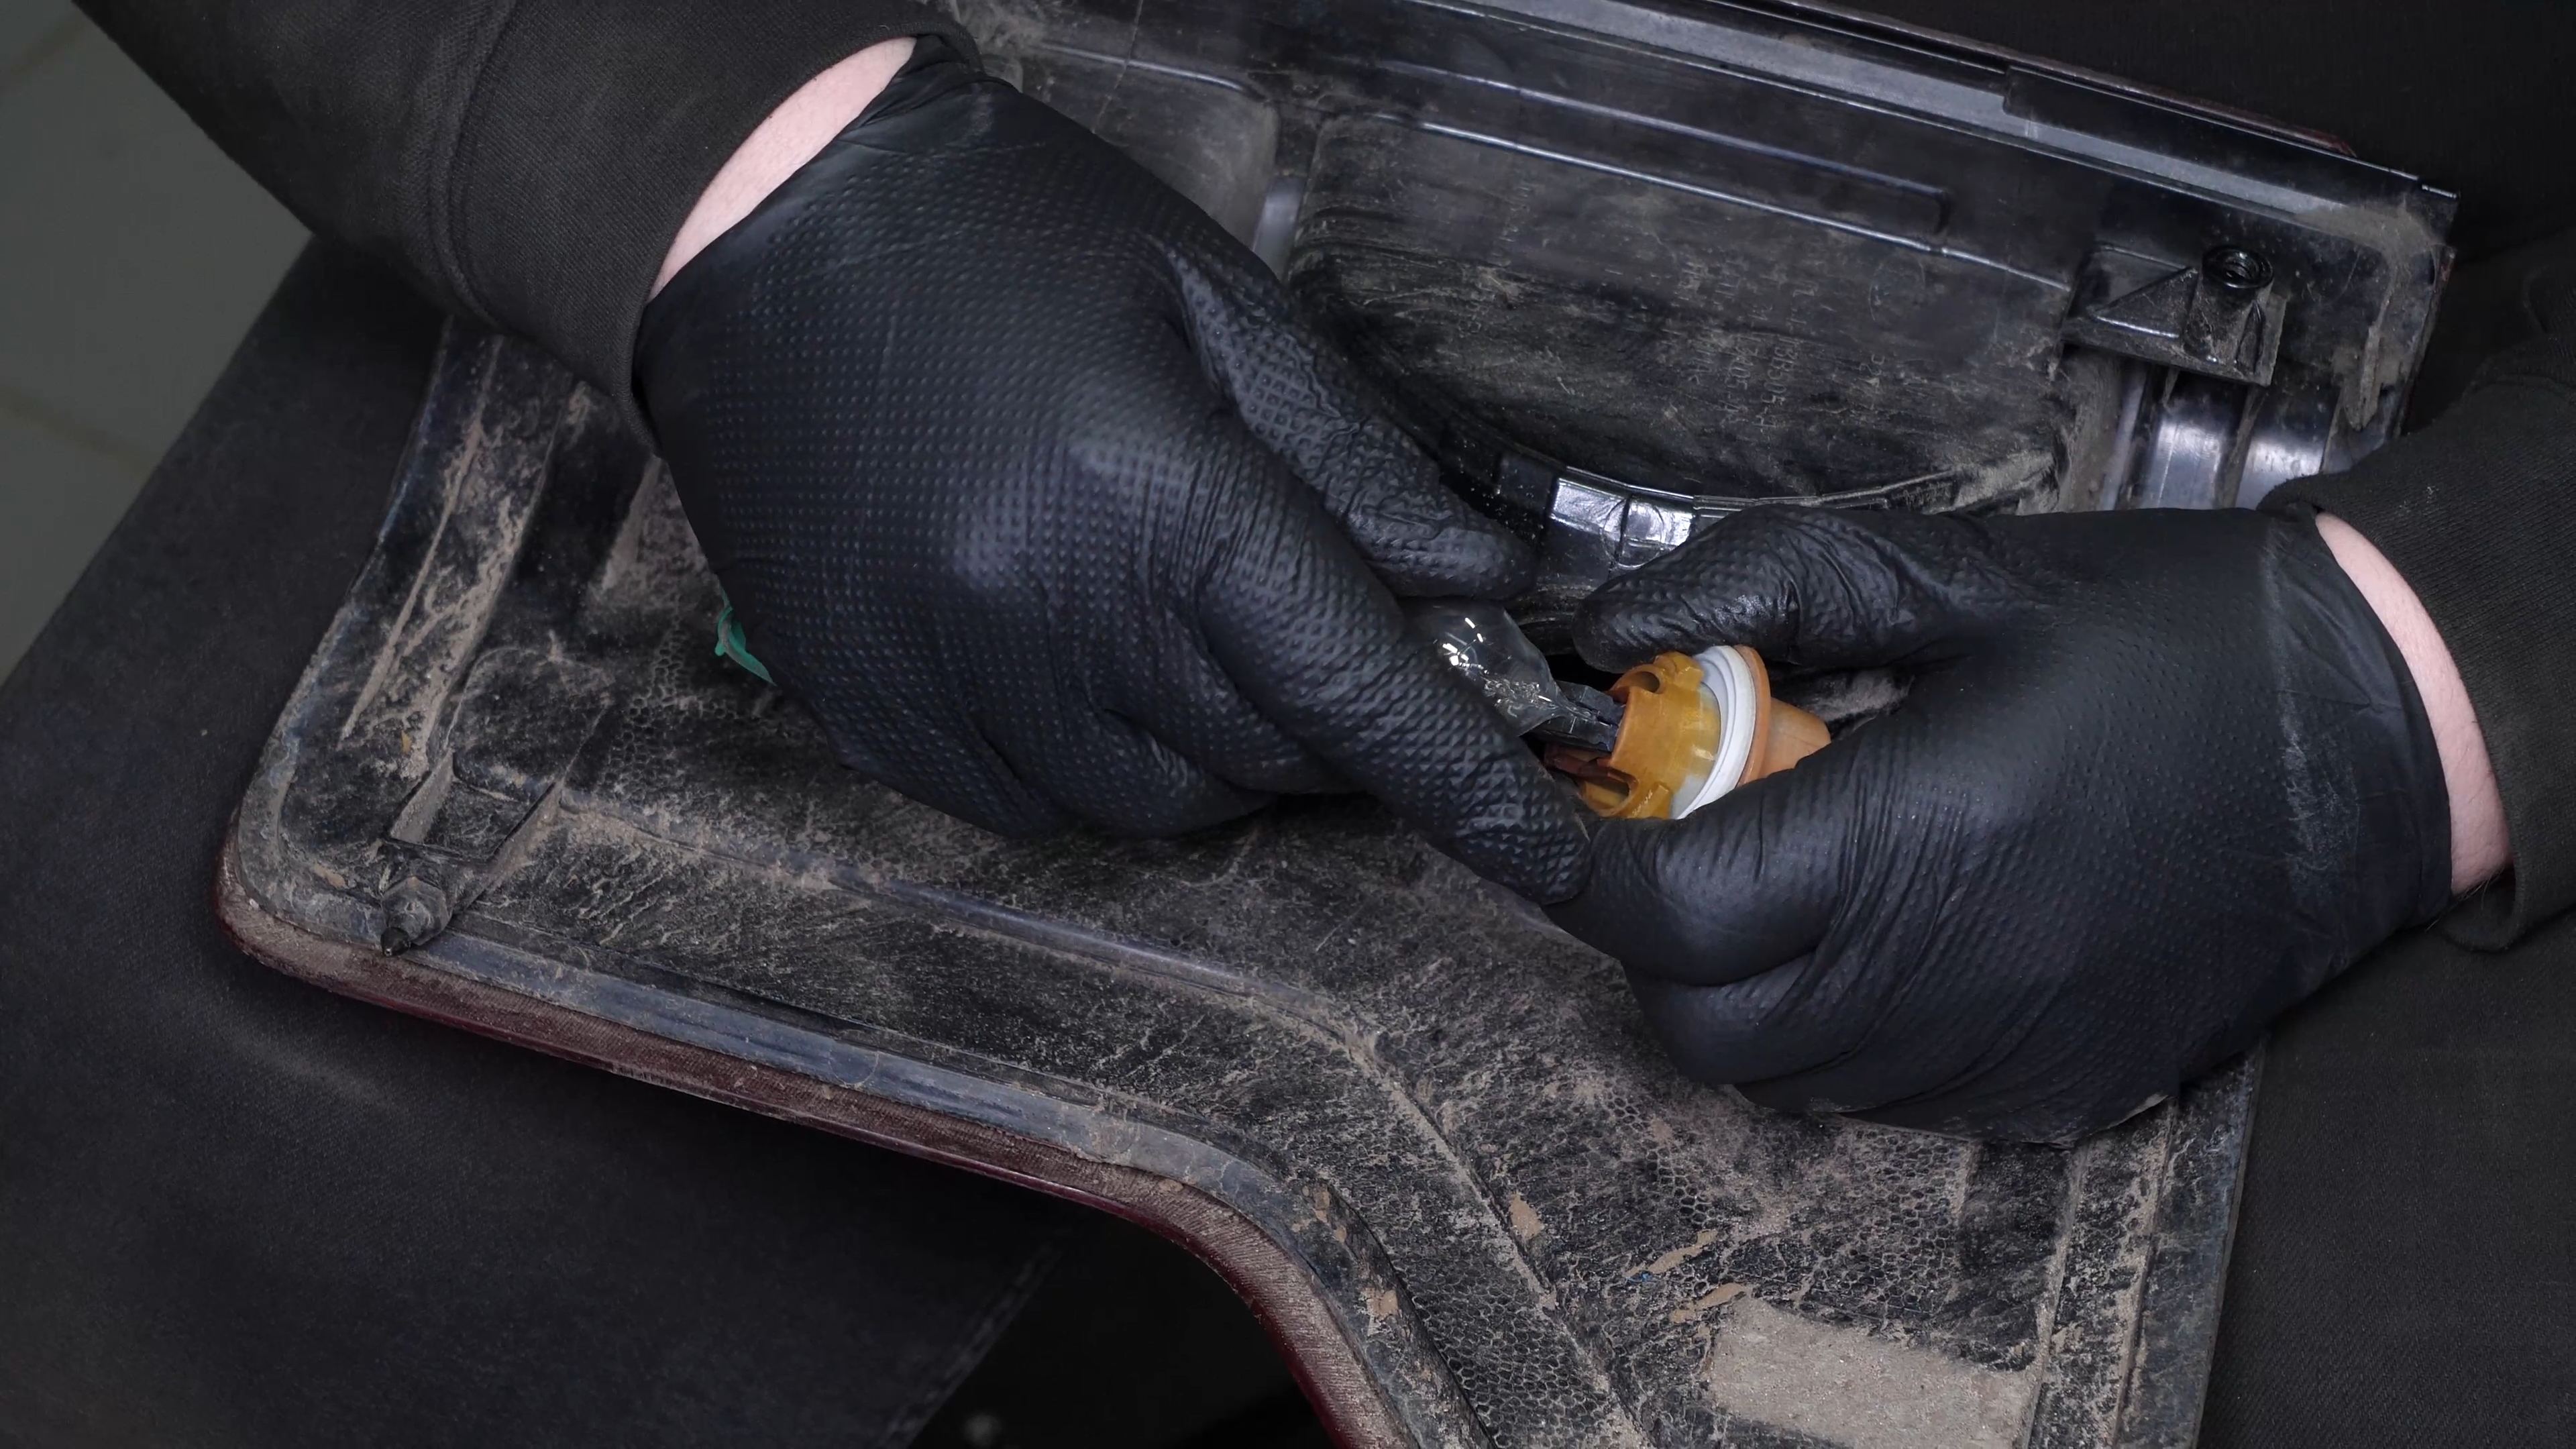
Chapter 3:
Step 4/4
Put the socket into the taillight housing and turn it clockwise to lock it in place.
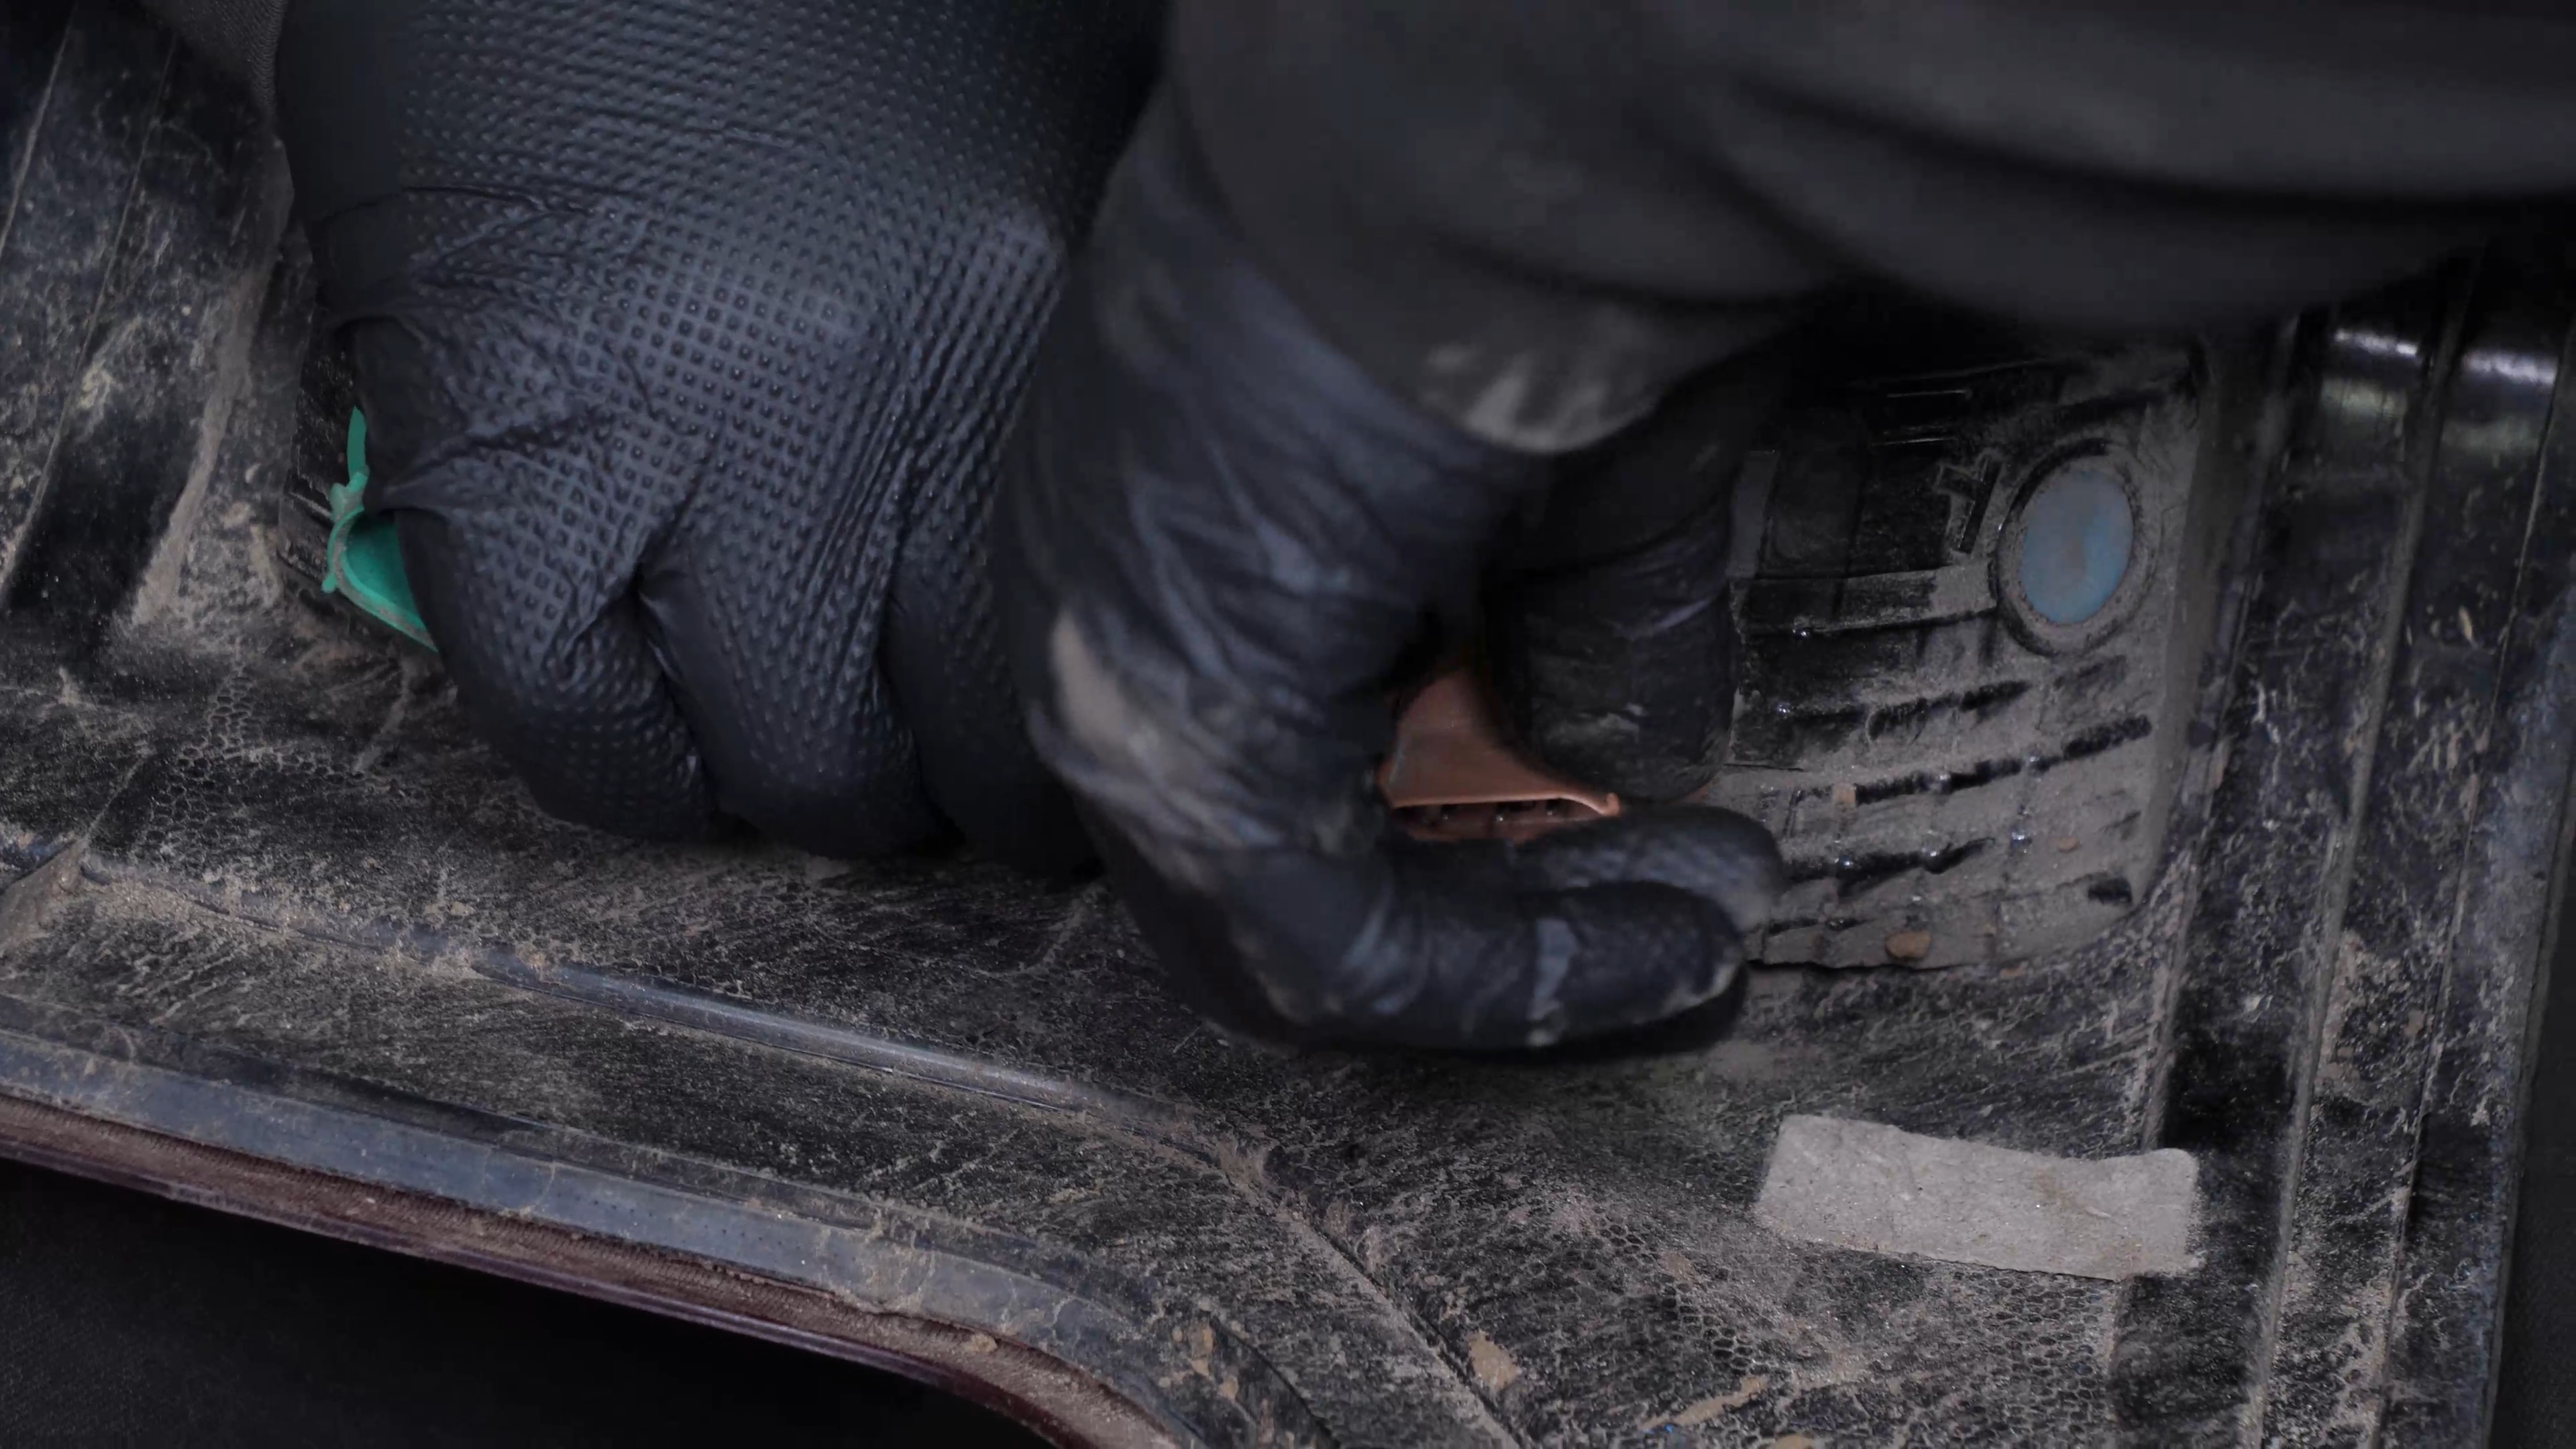
Chapter 4:
Replace the reverse light bulb
Step 1/4
To remove the 3157 reverse light bulb socket from the taillight housing, turn it counterclockwise and pull it out.
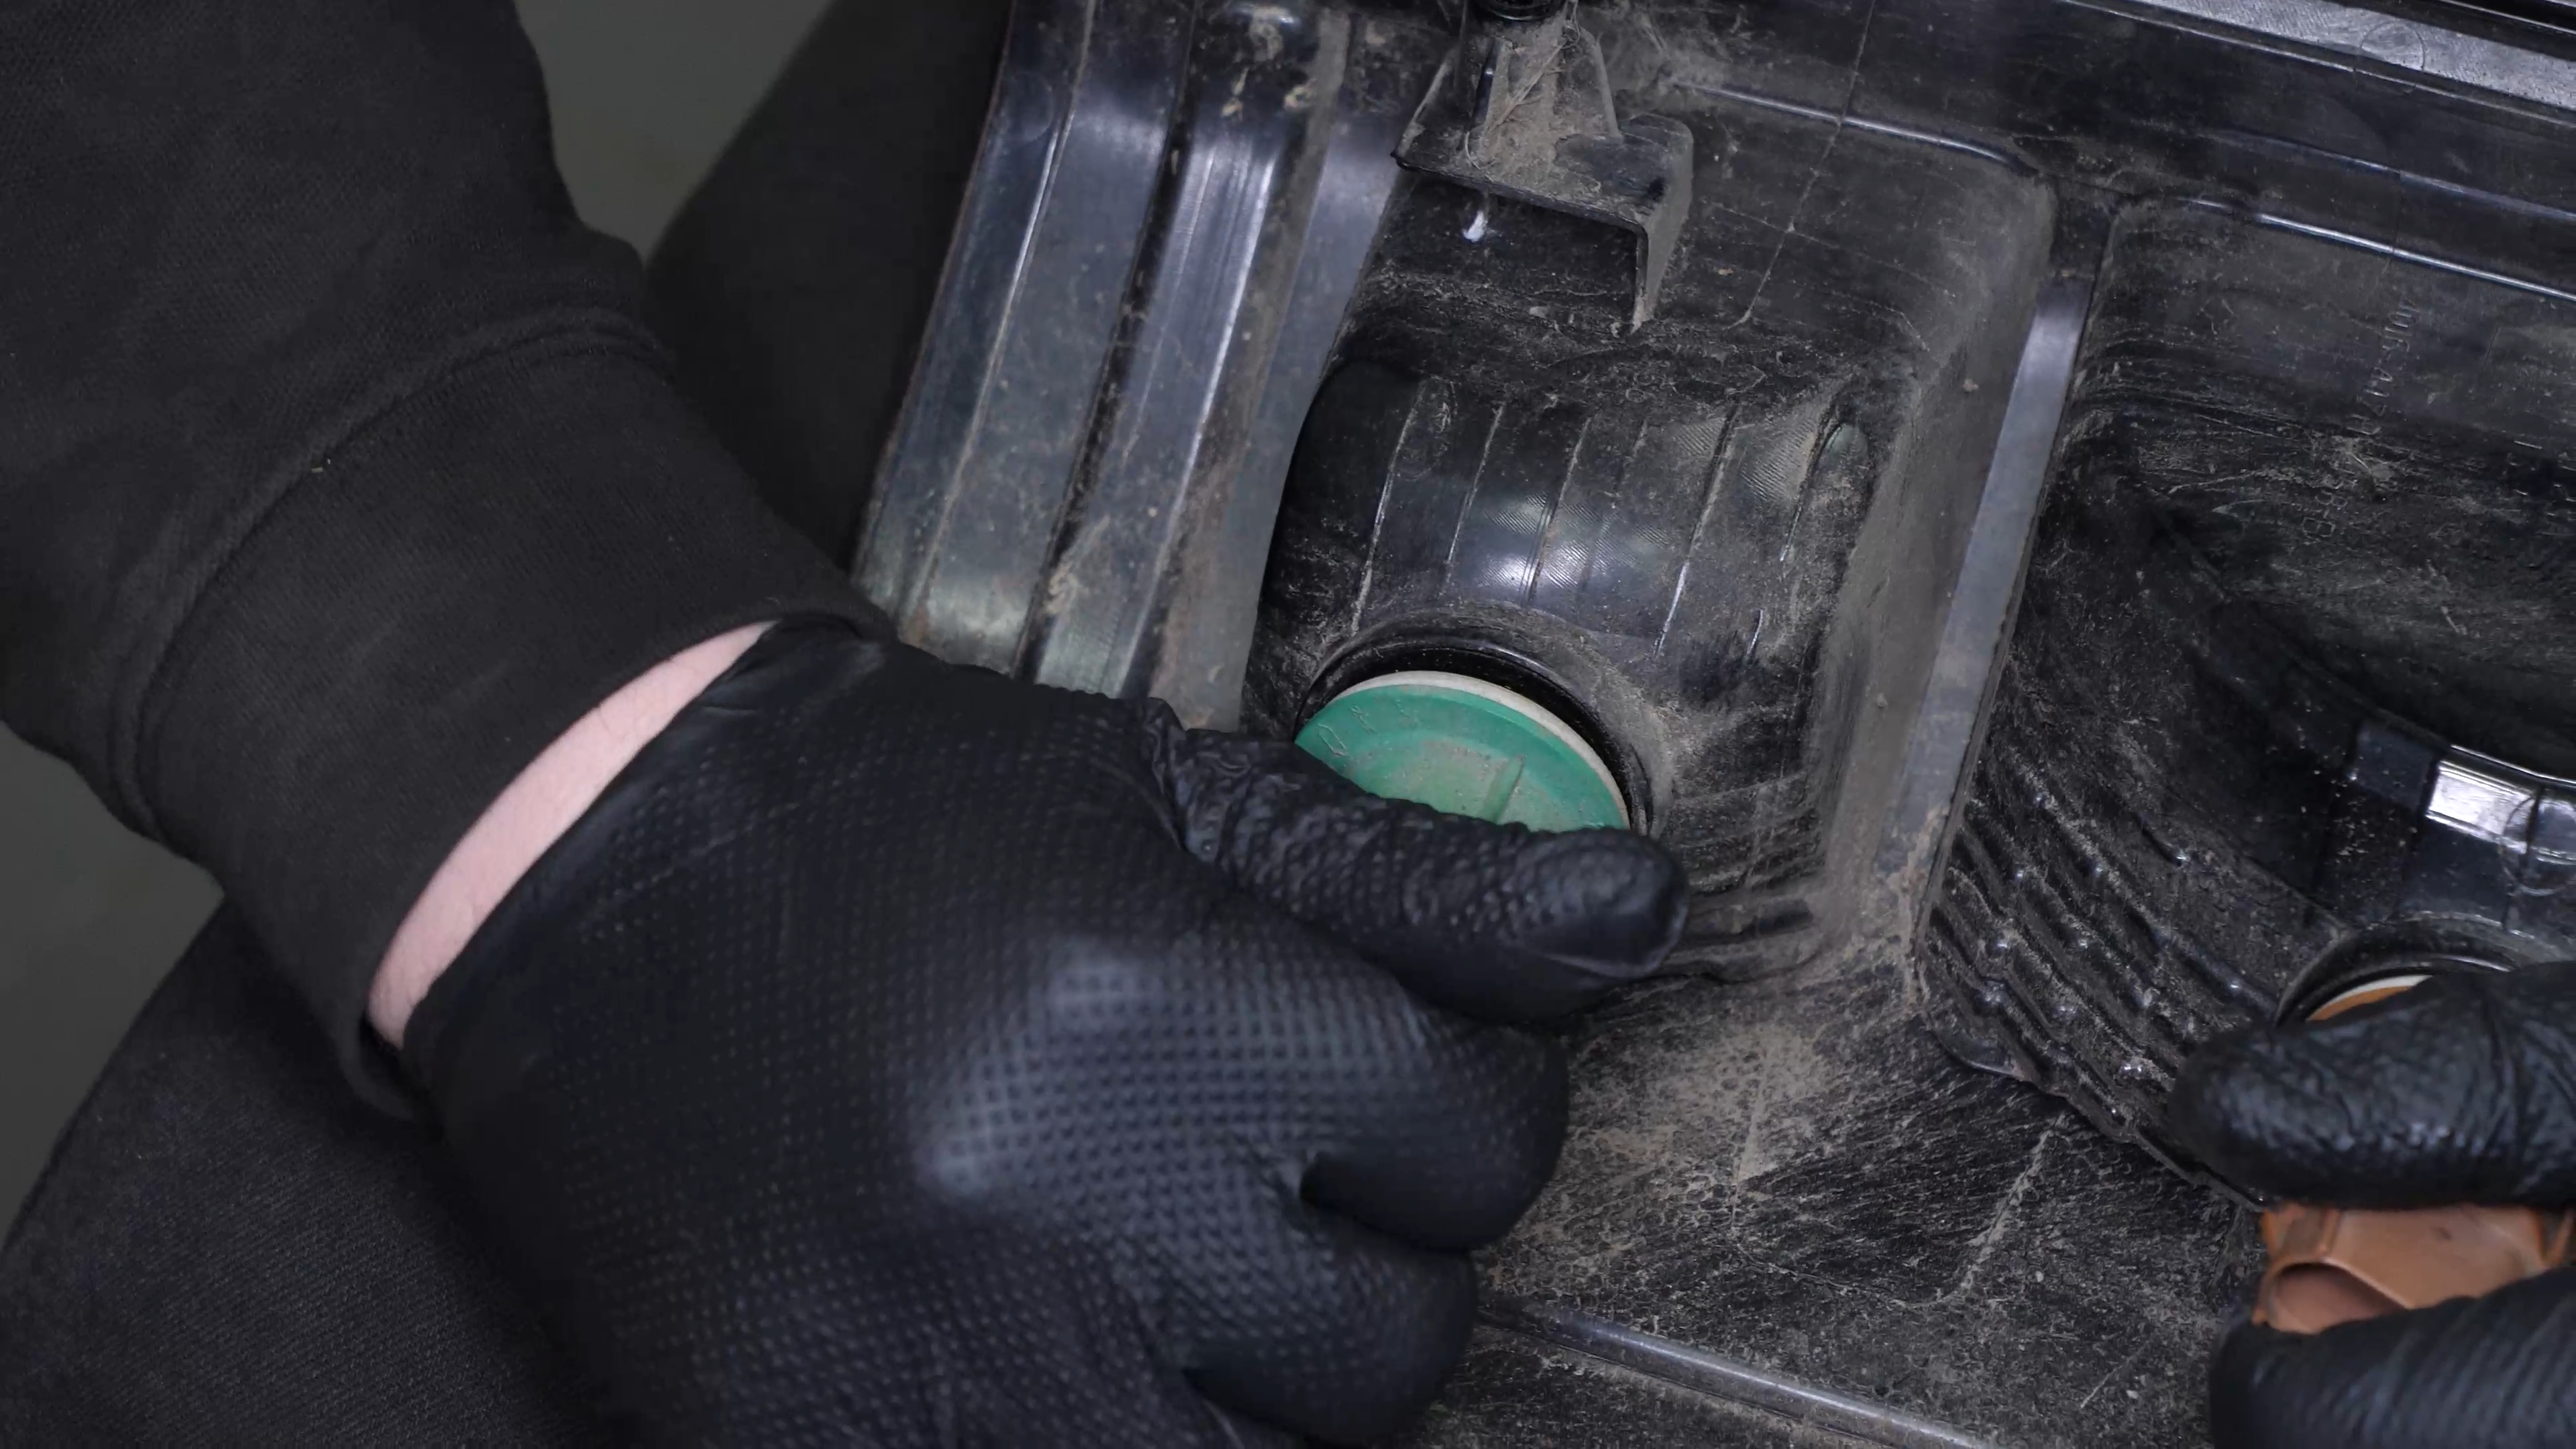
Chapter 4:
Step 2/4
To remove the bulb, simply pull on it.
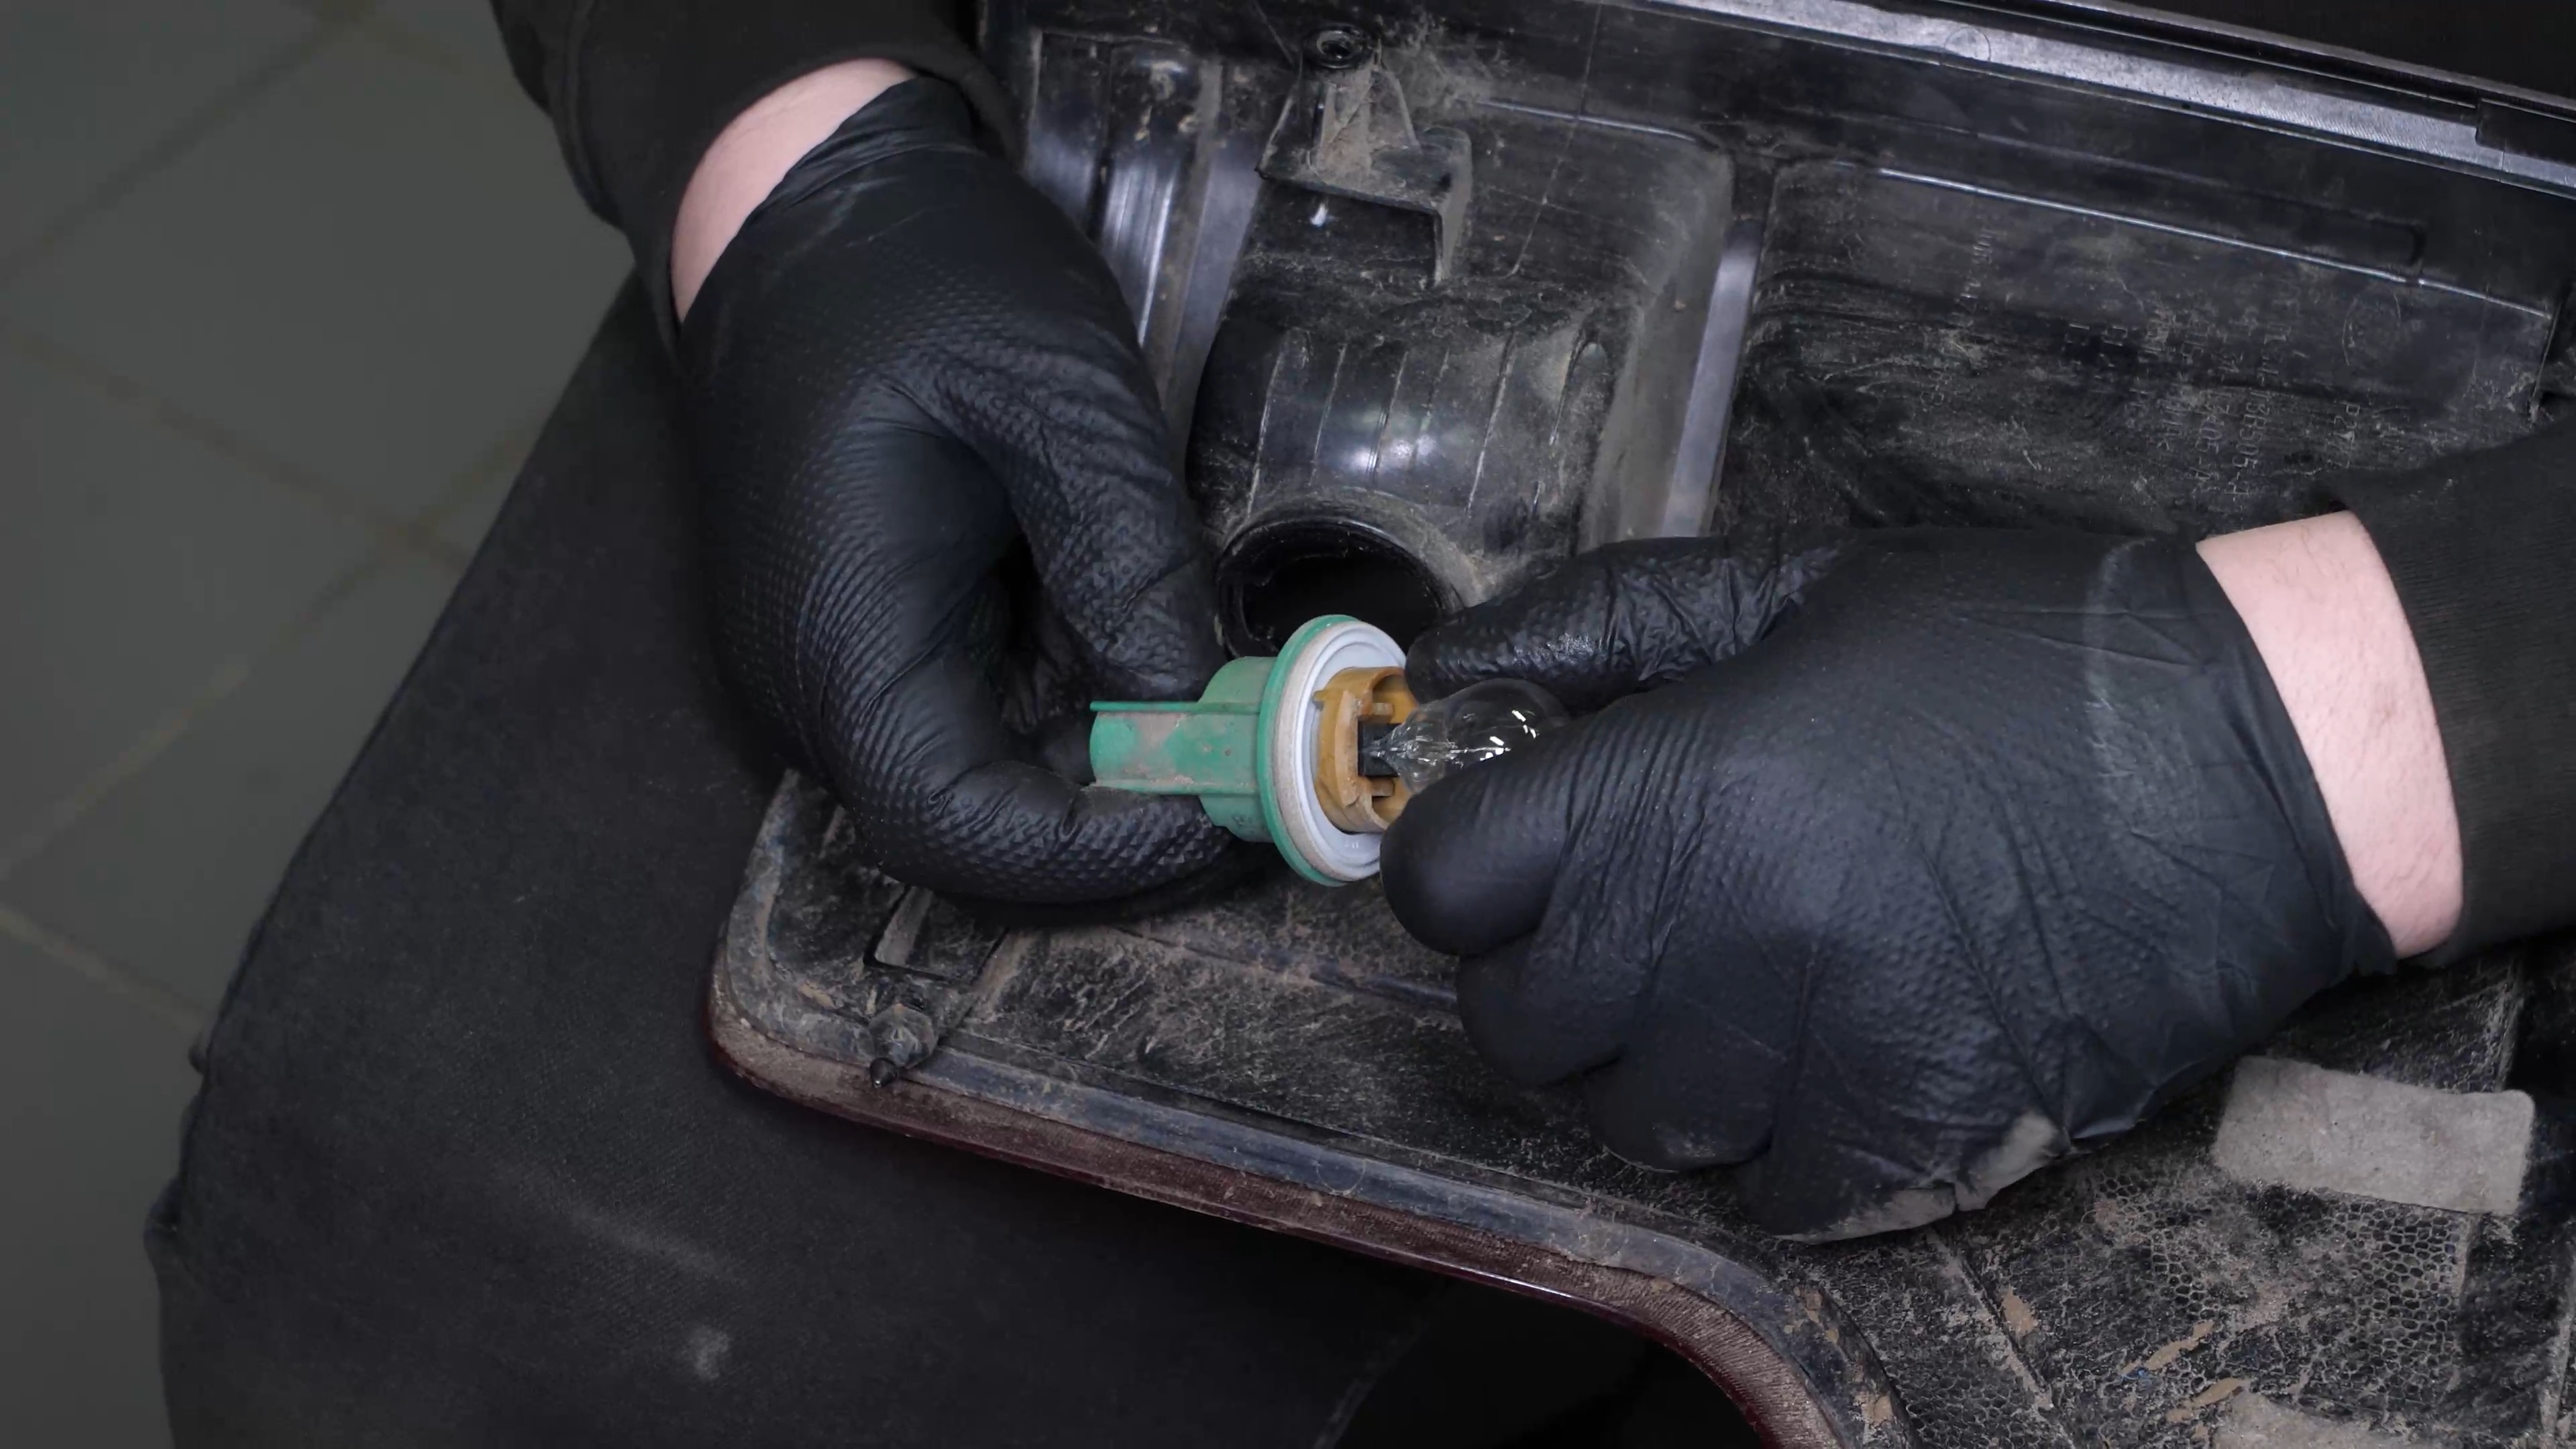
Chapter 4:
Step 3/4
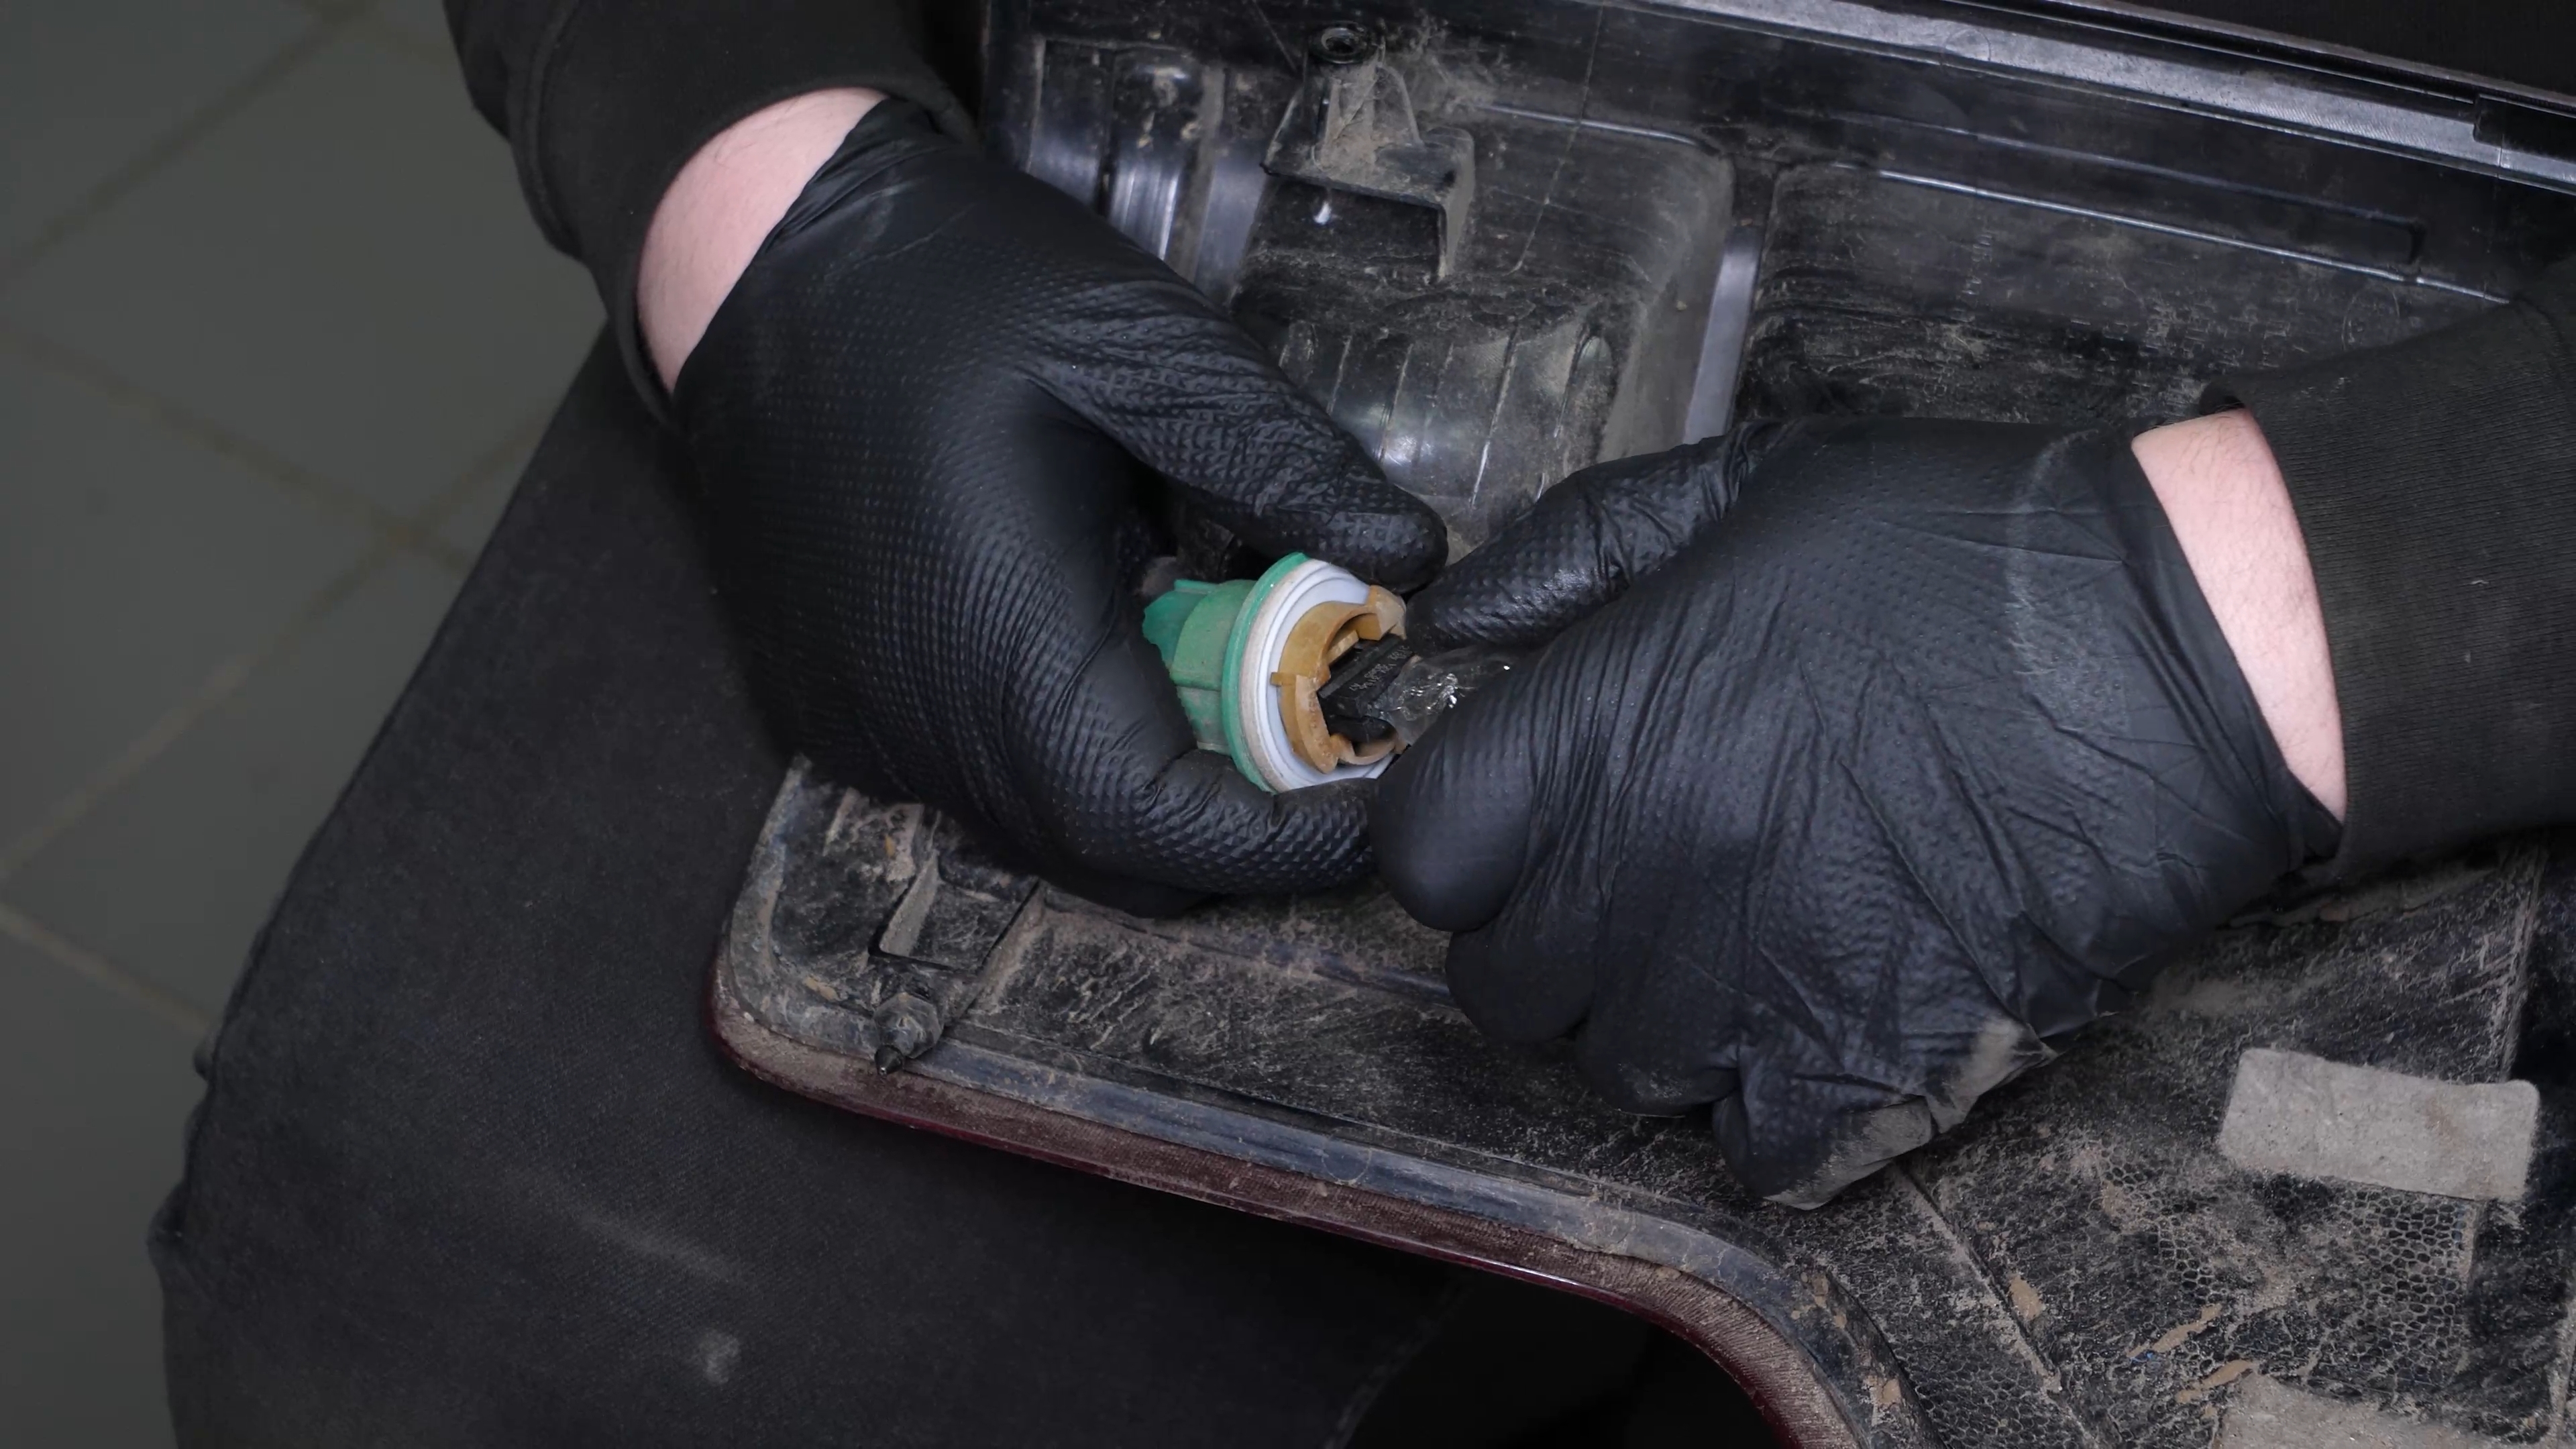
Take the new bulb. Put the new light bulb in the socket.

Chapter 4:
Step 4/4
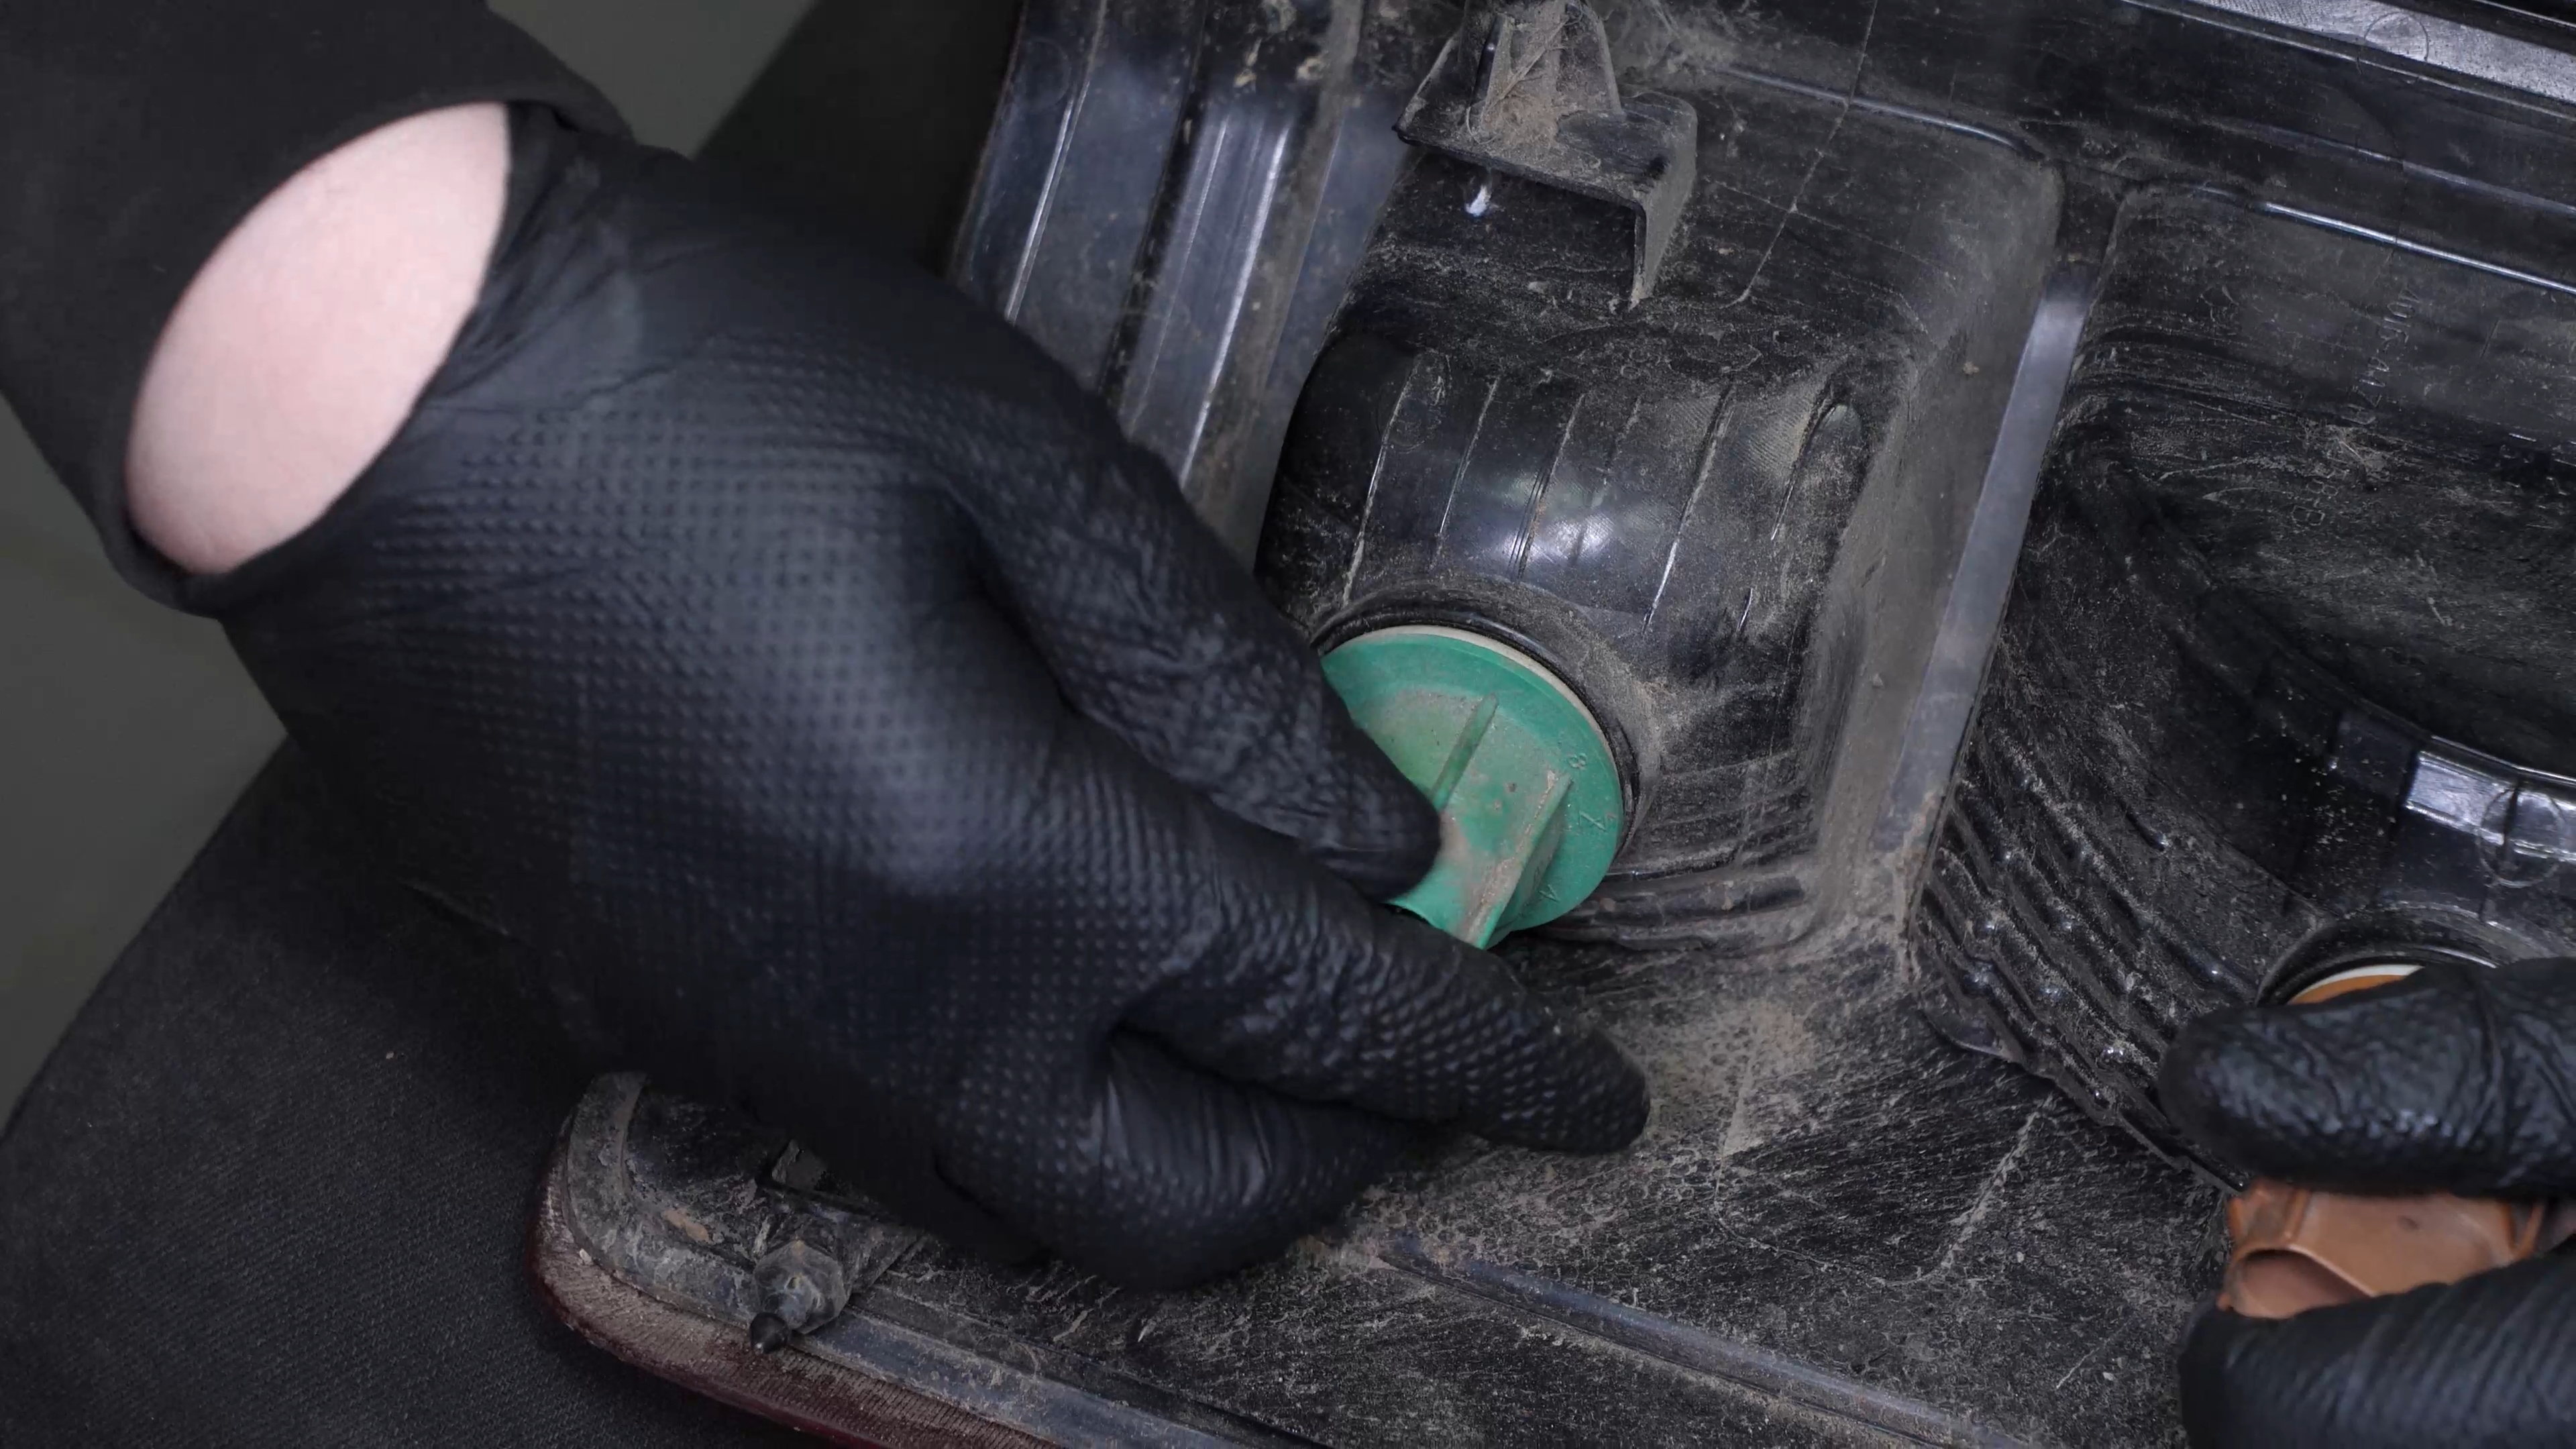
Put the sockets into the taillight housing and turn them clockwise to lock them in place.
Chapter 5:
Finalise the reassembly
Step 1/5
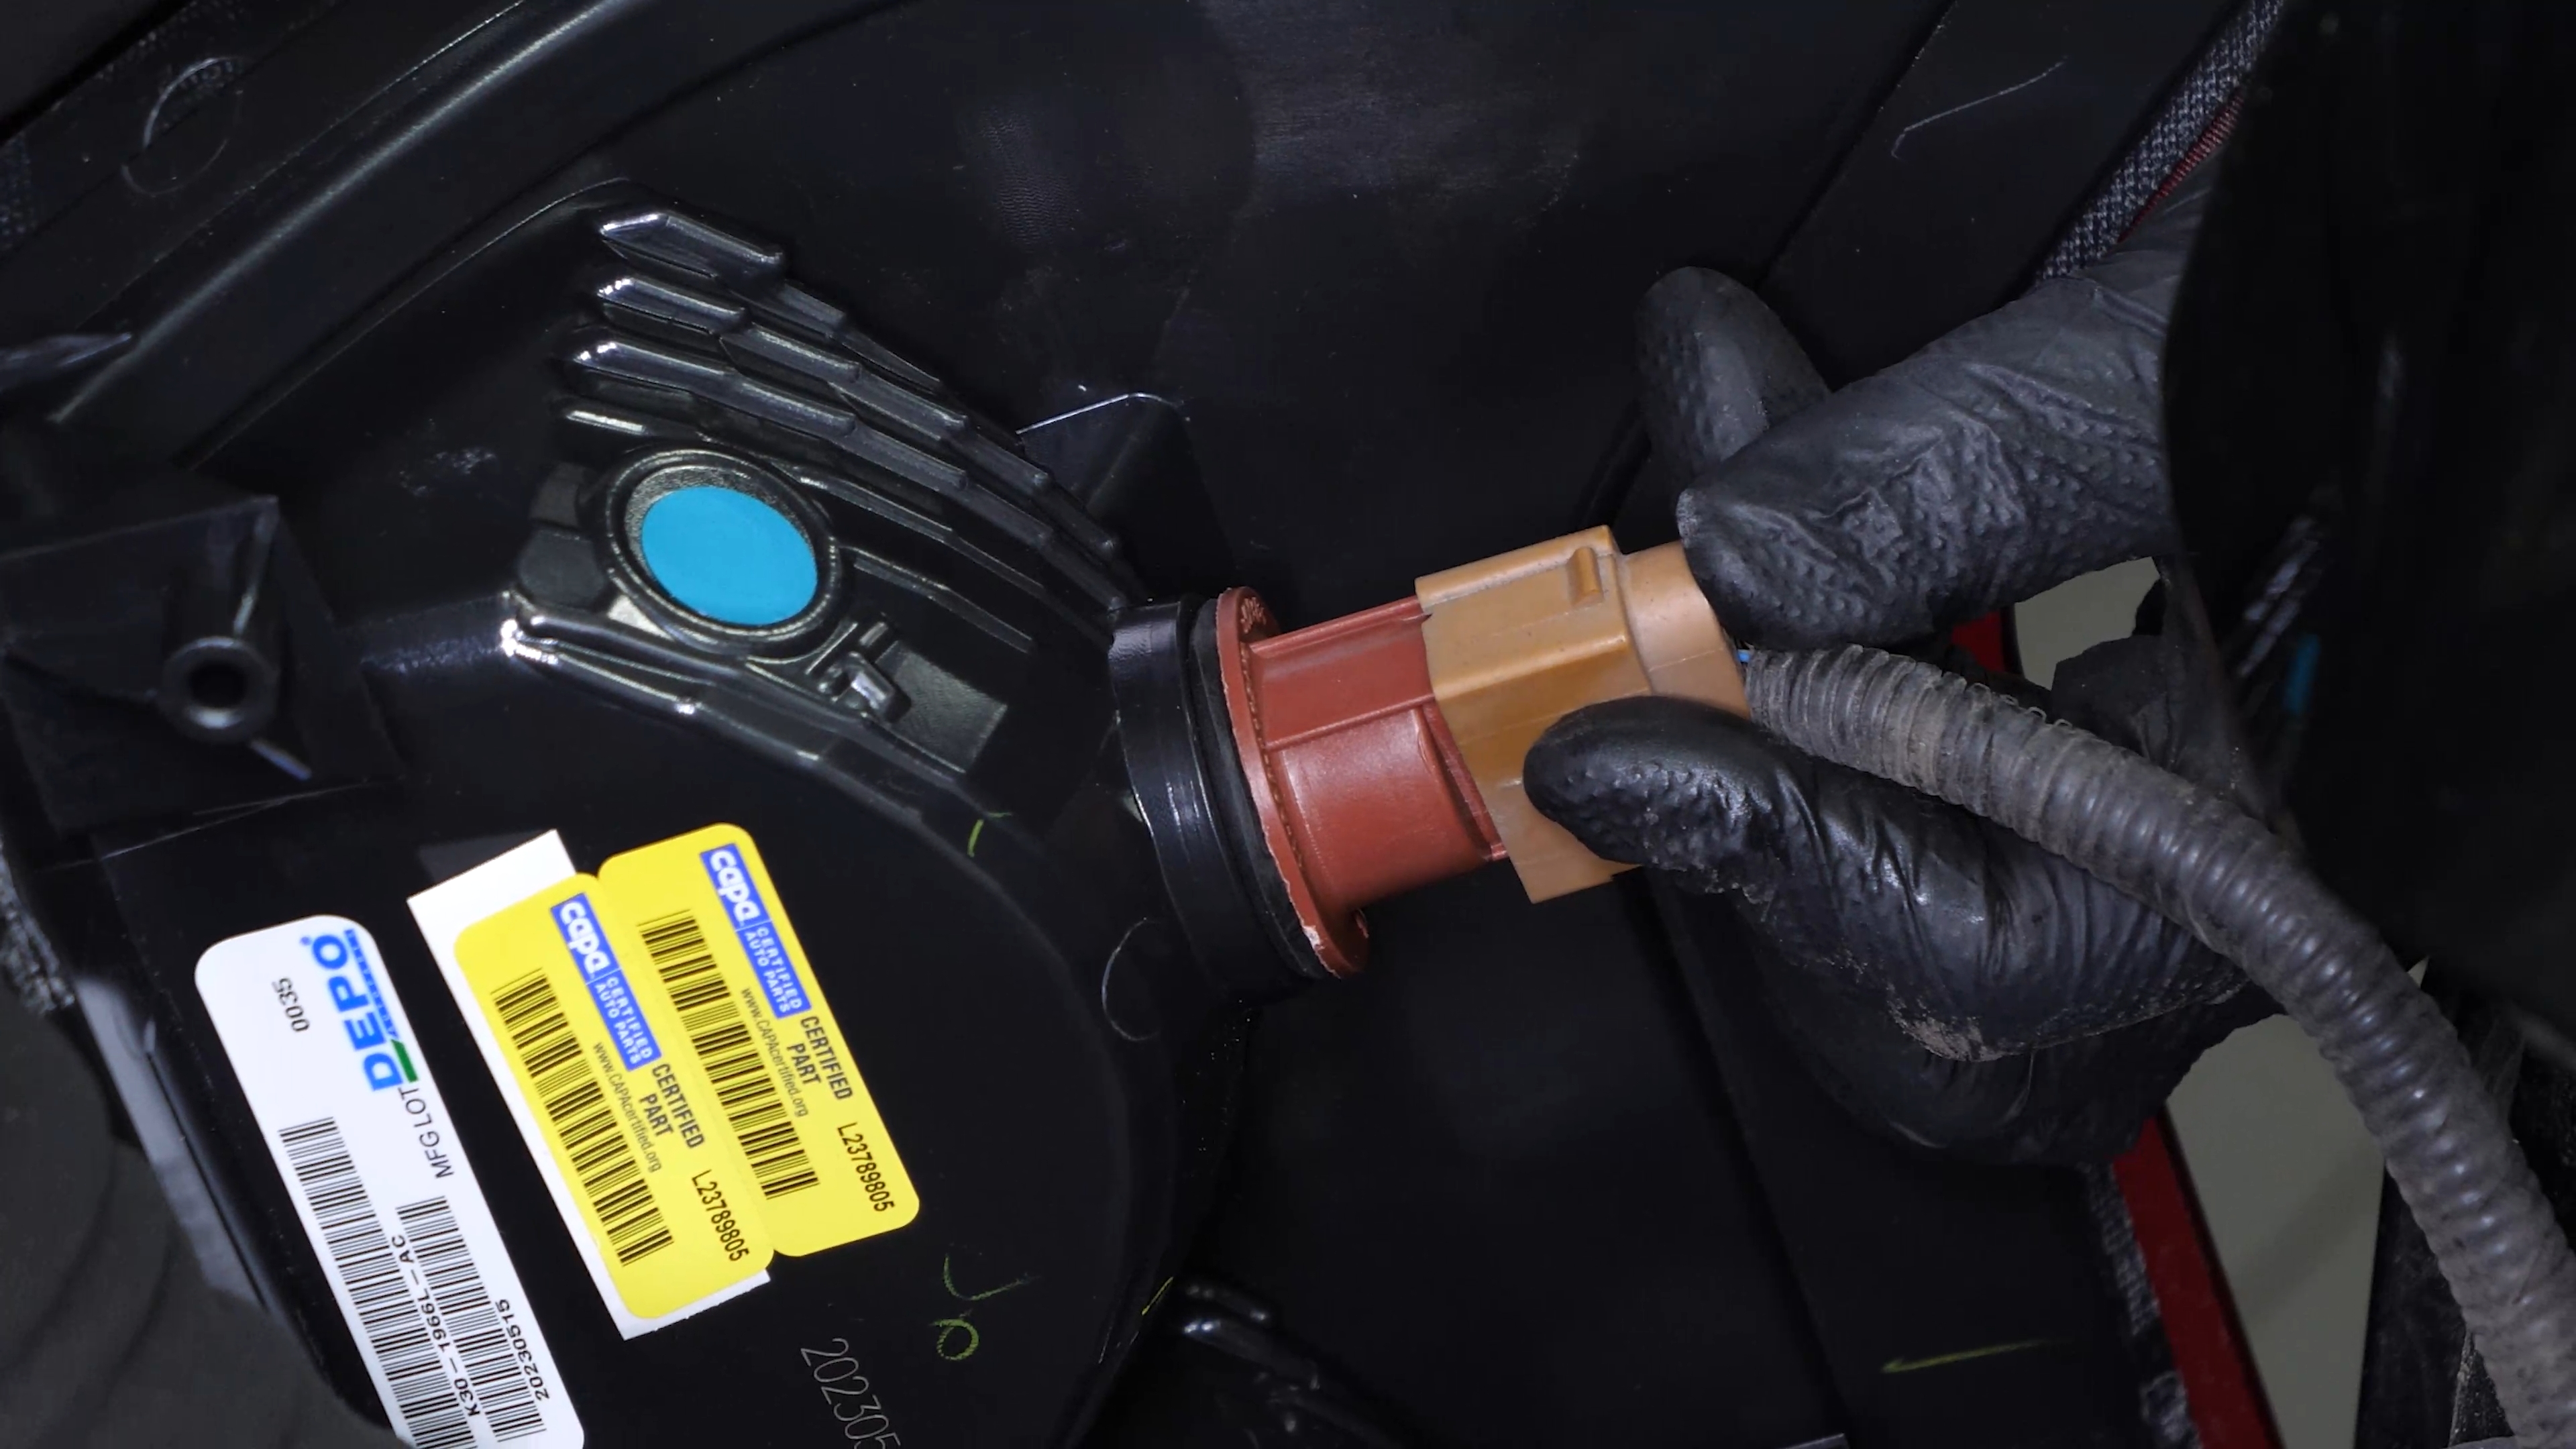
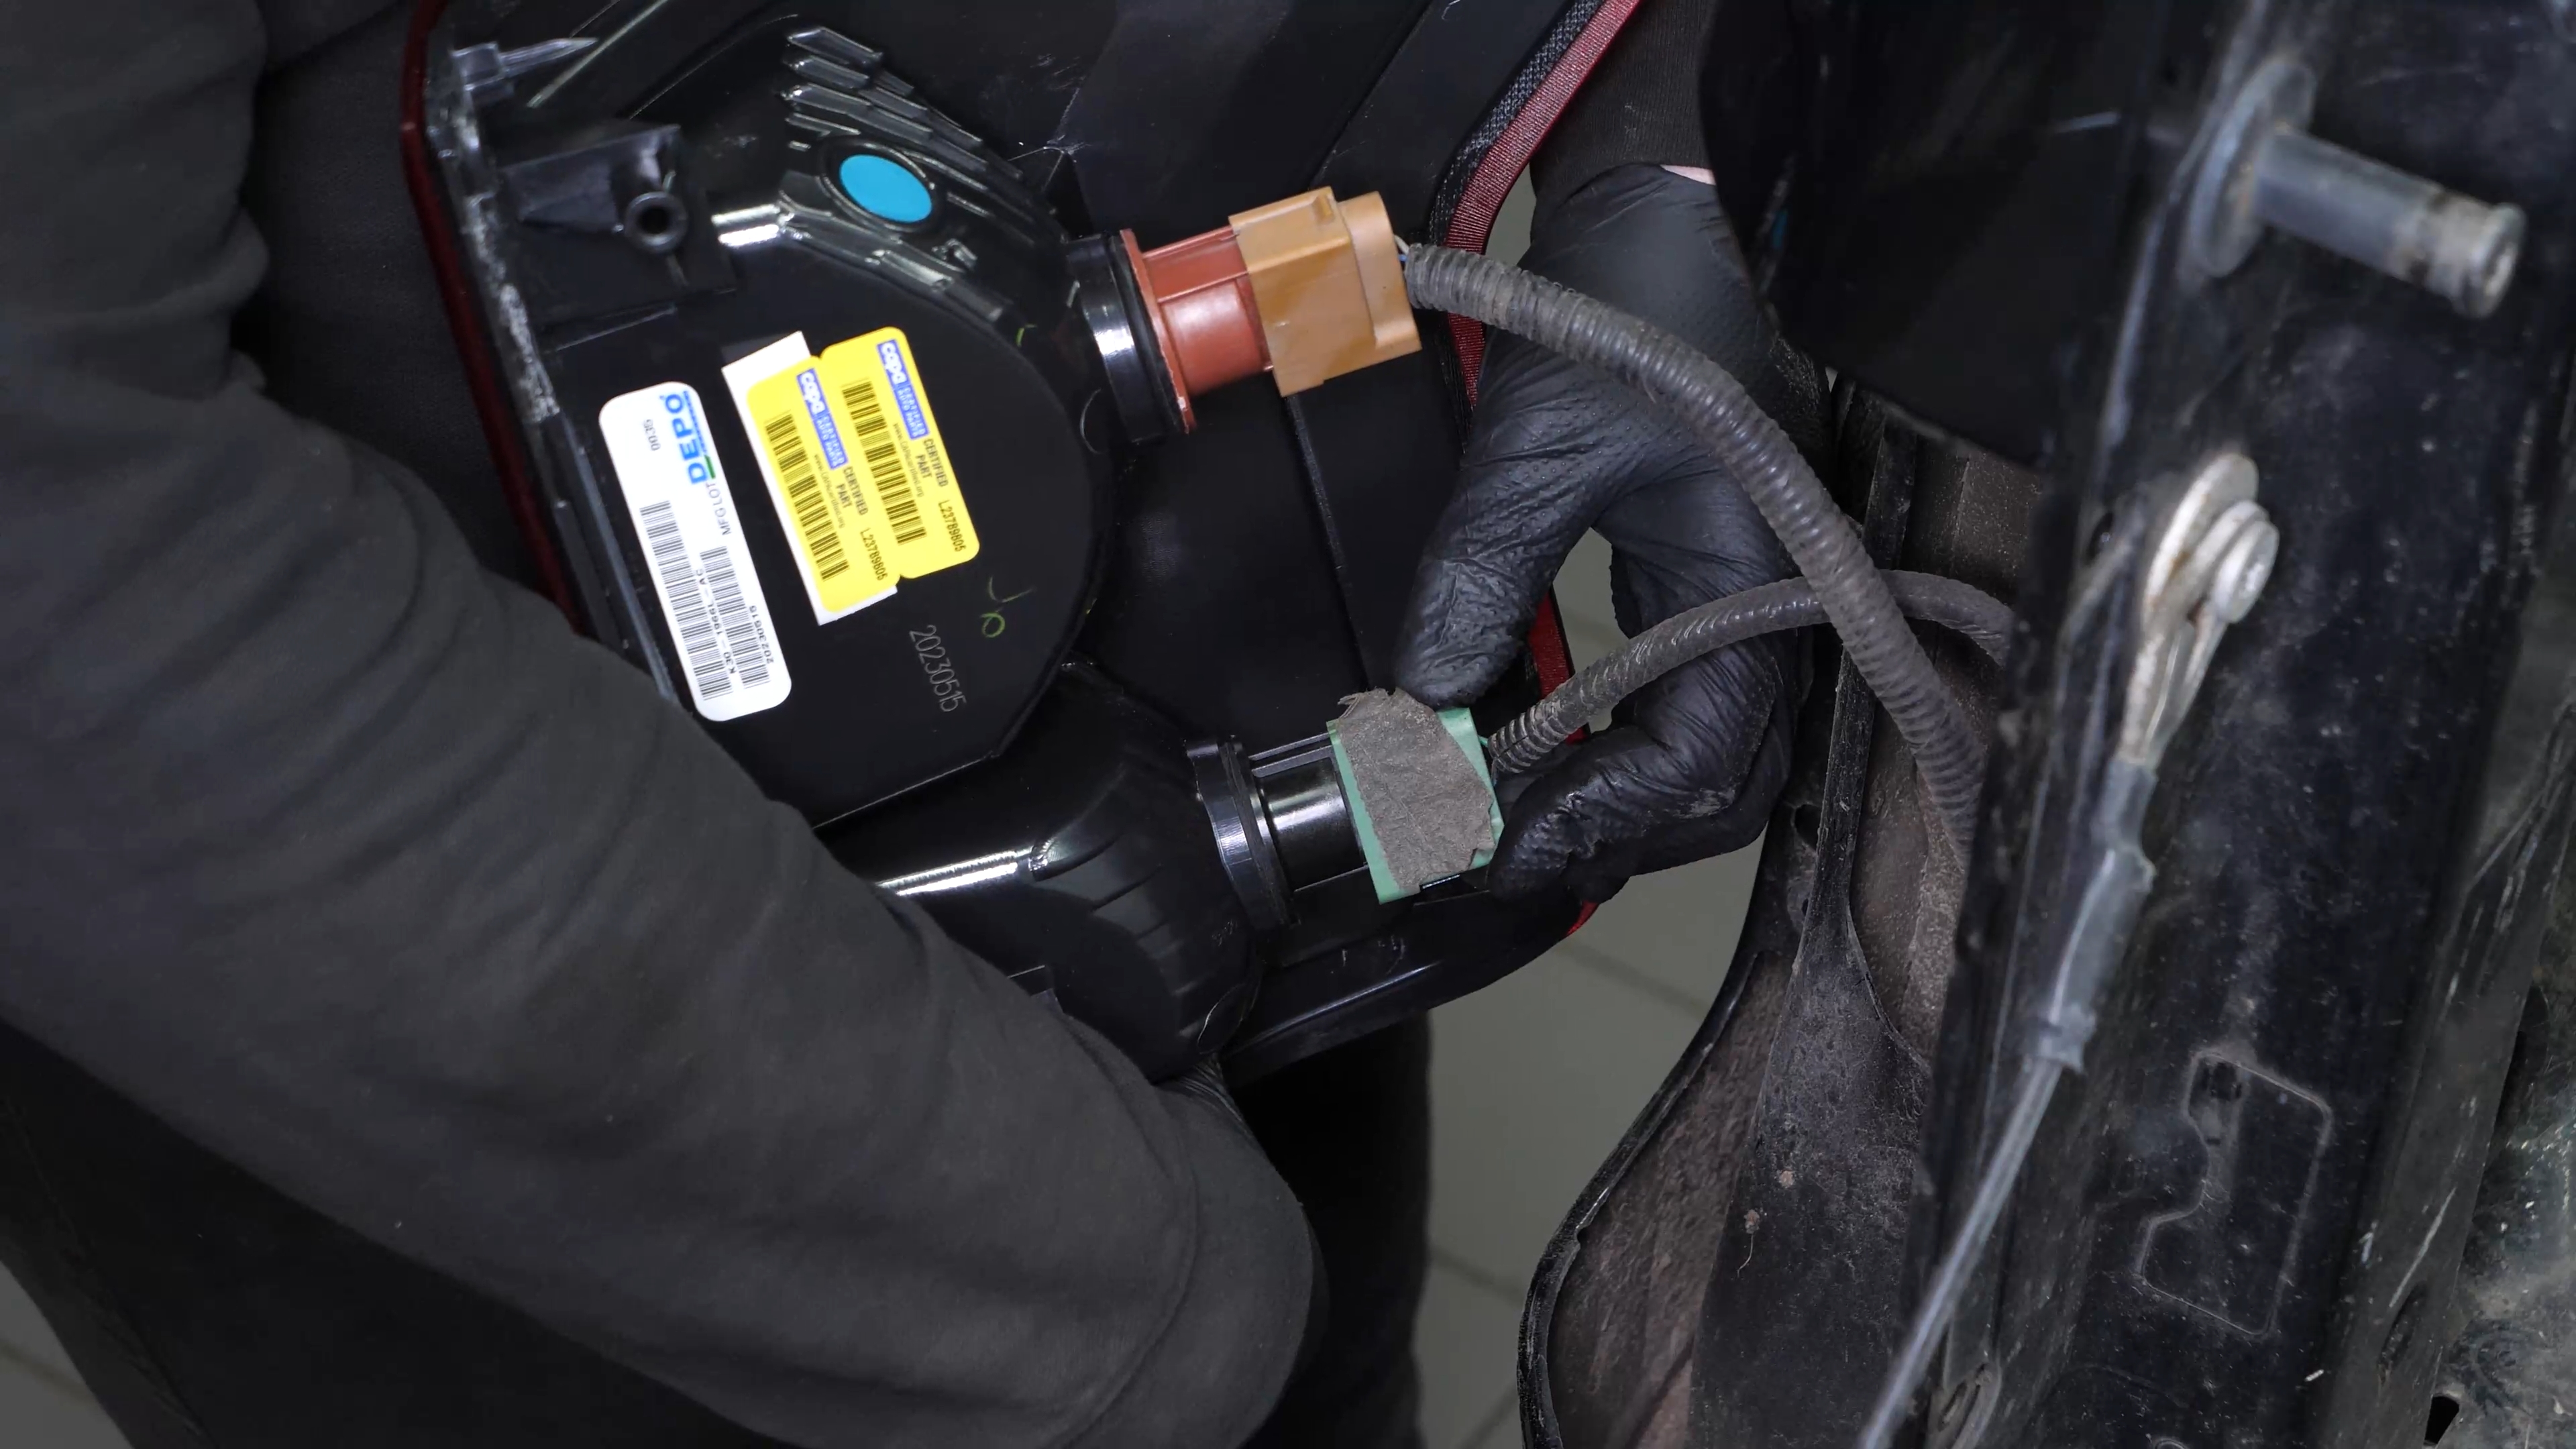
Reconnect the power connectors.
Chapter 5:
Step 2/5
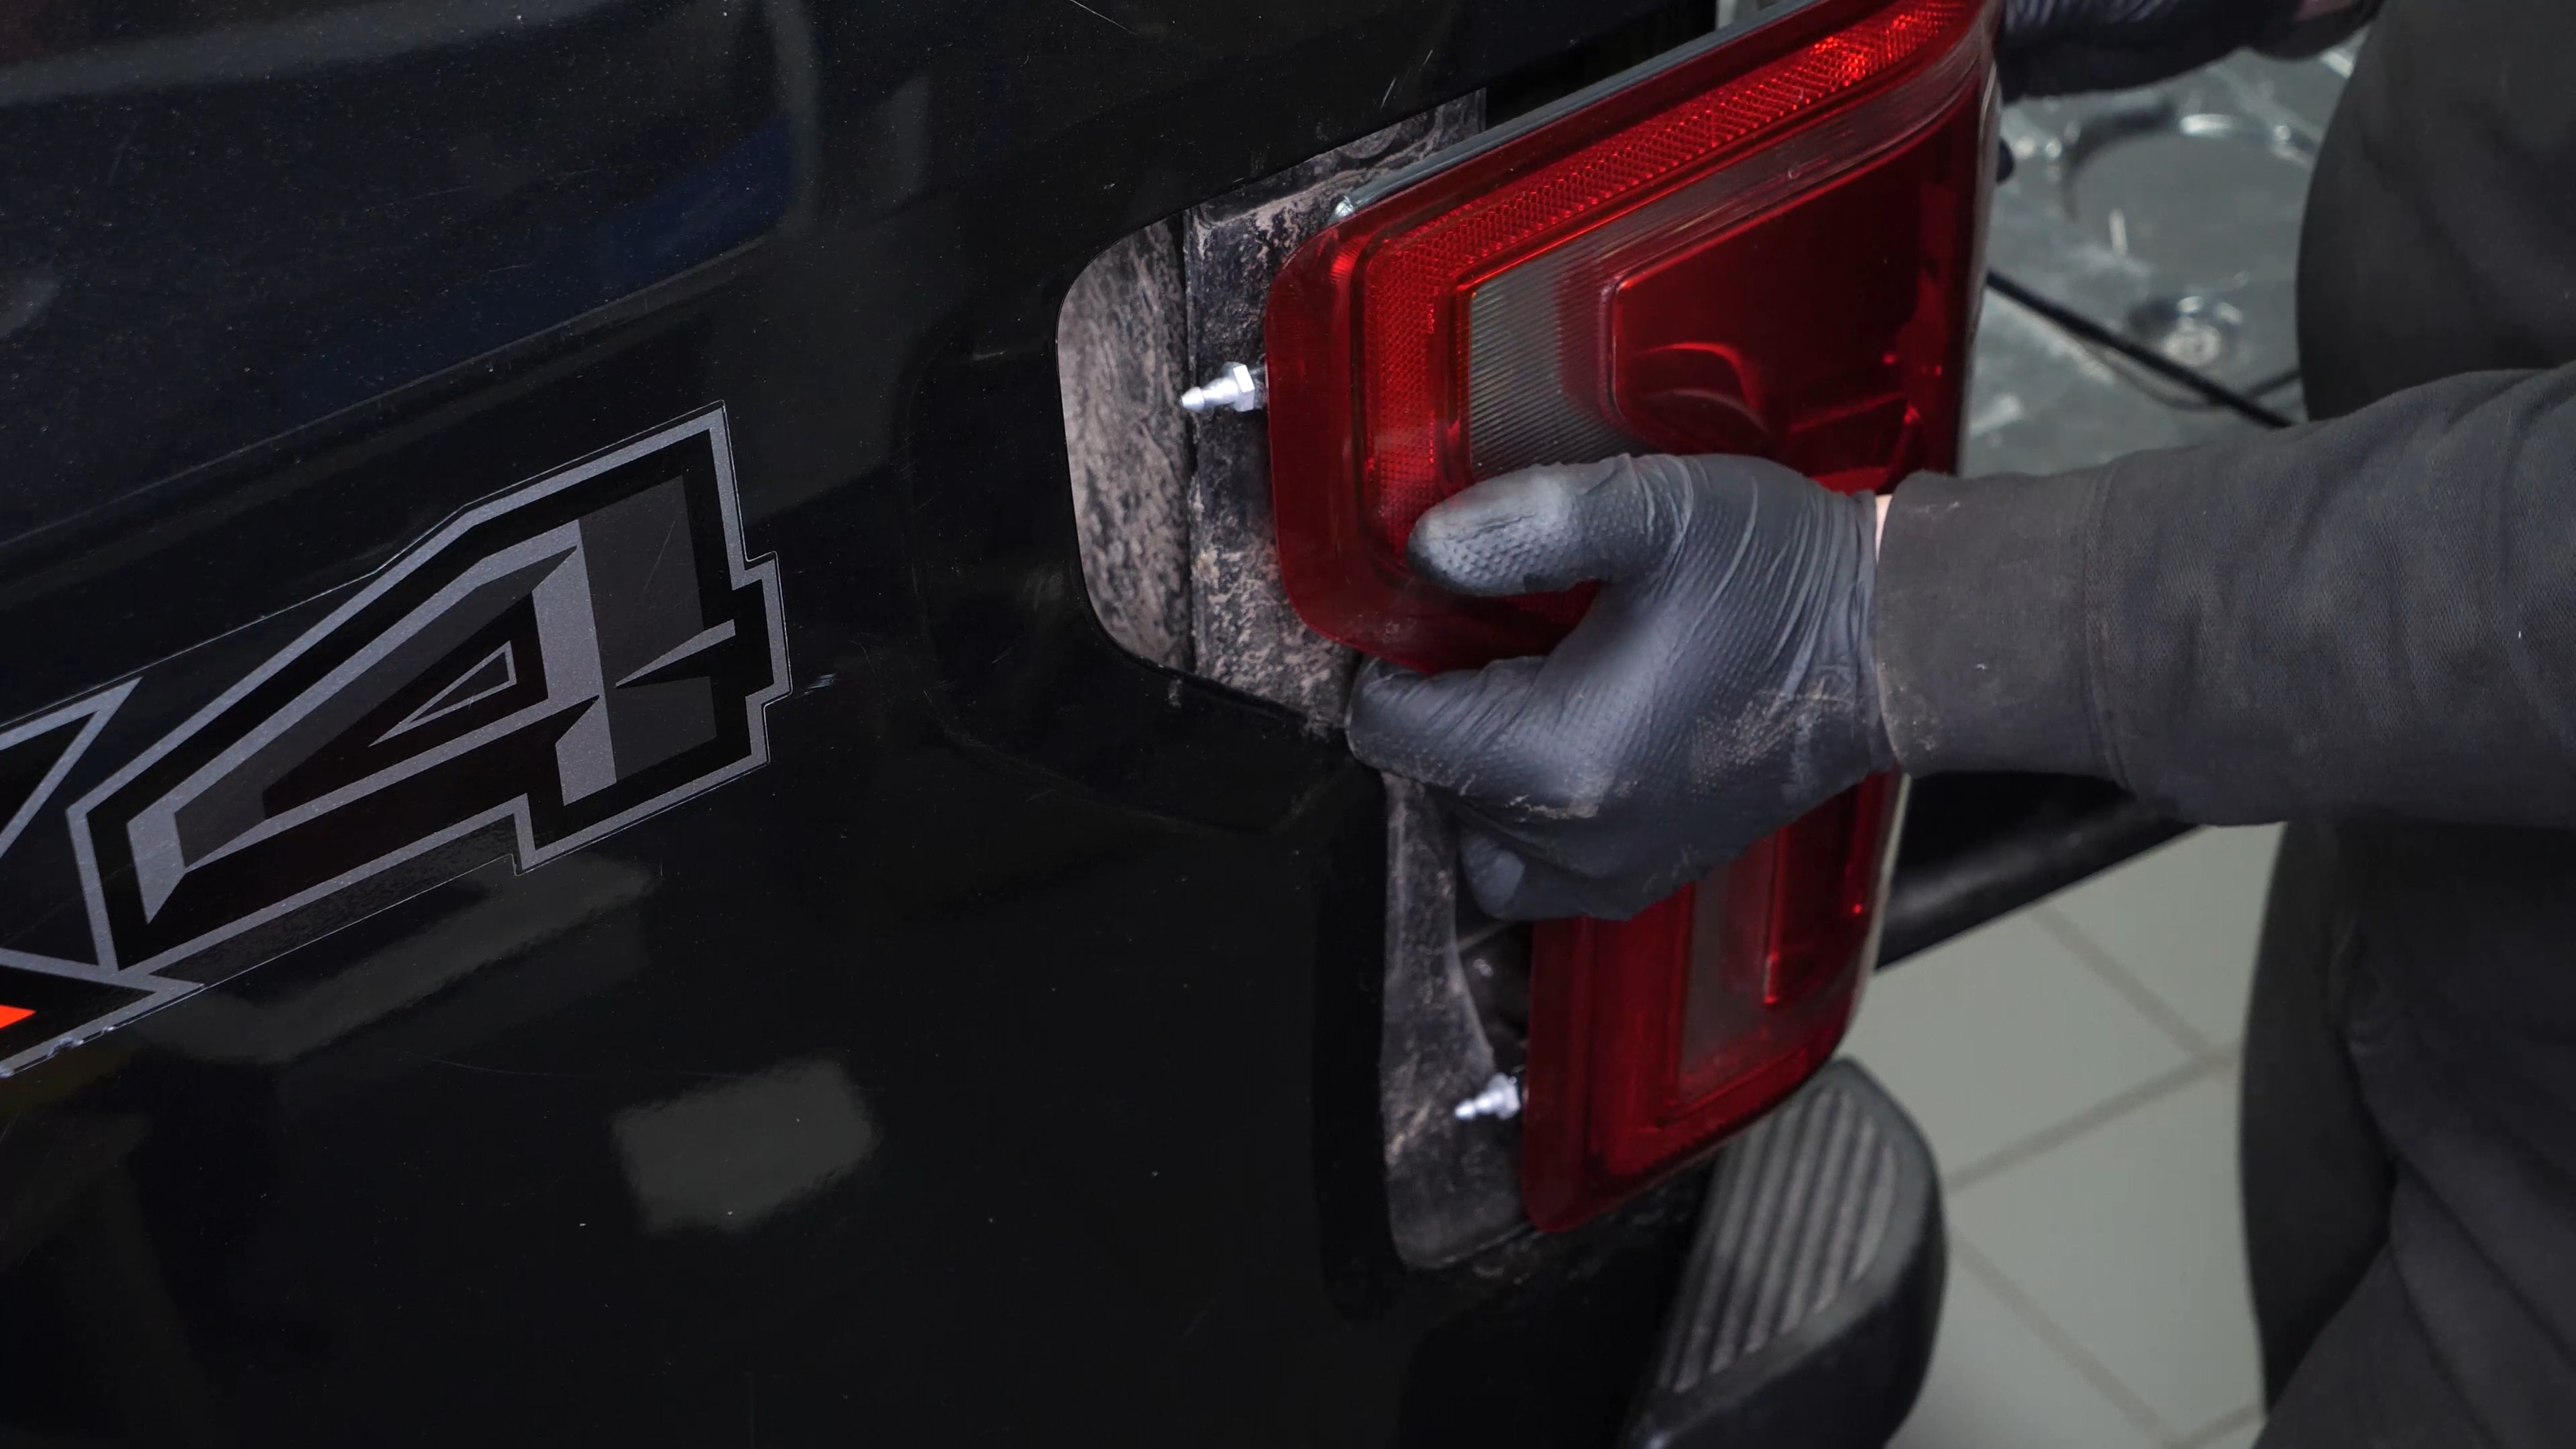
The light is held in place by studs encased directly in the car body.
Chapter 5:
Step 3/5
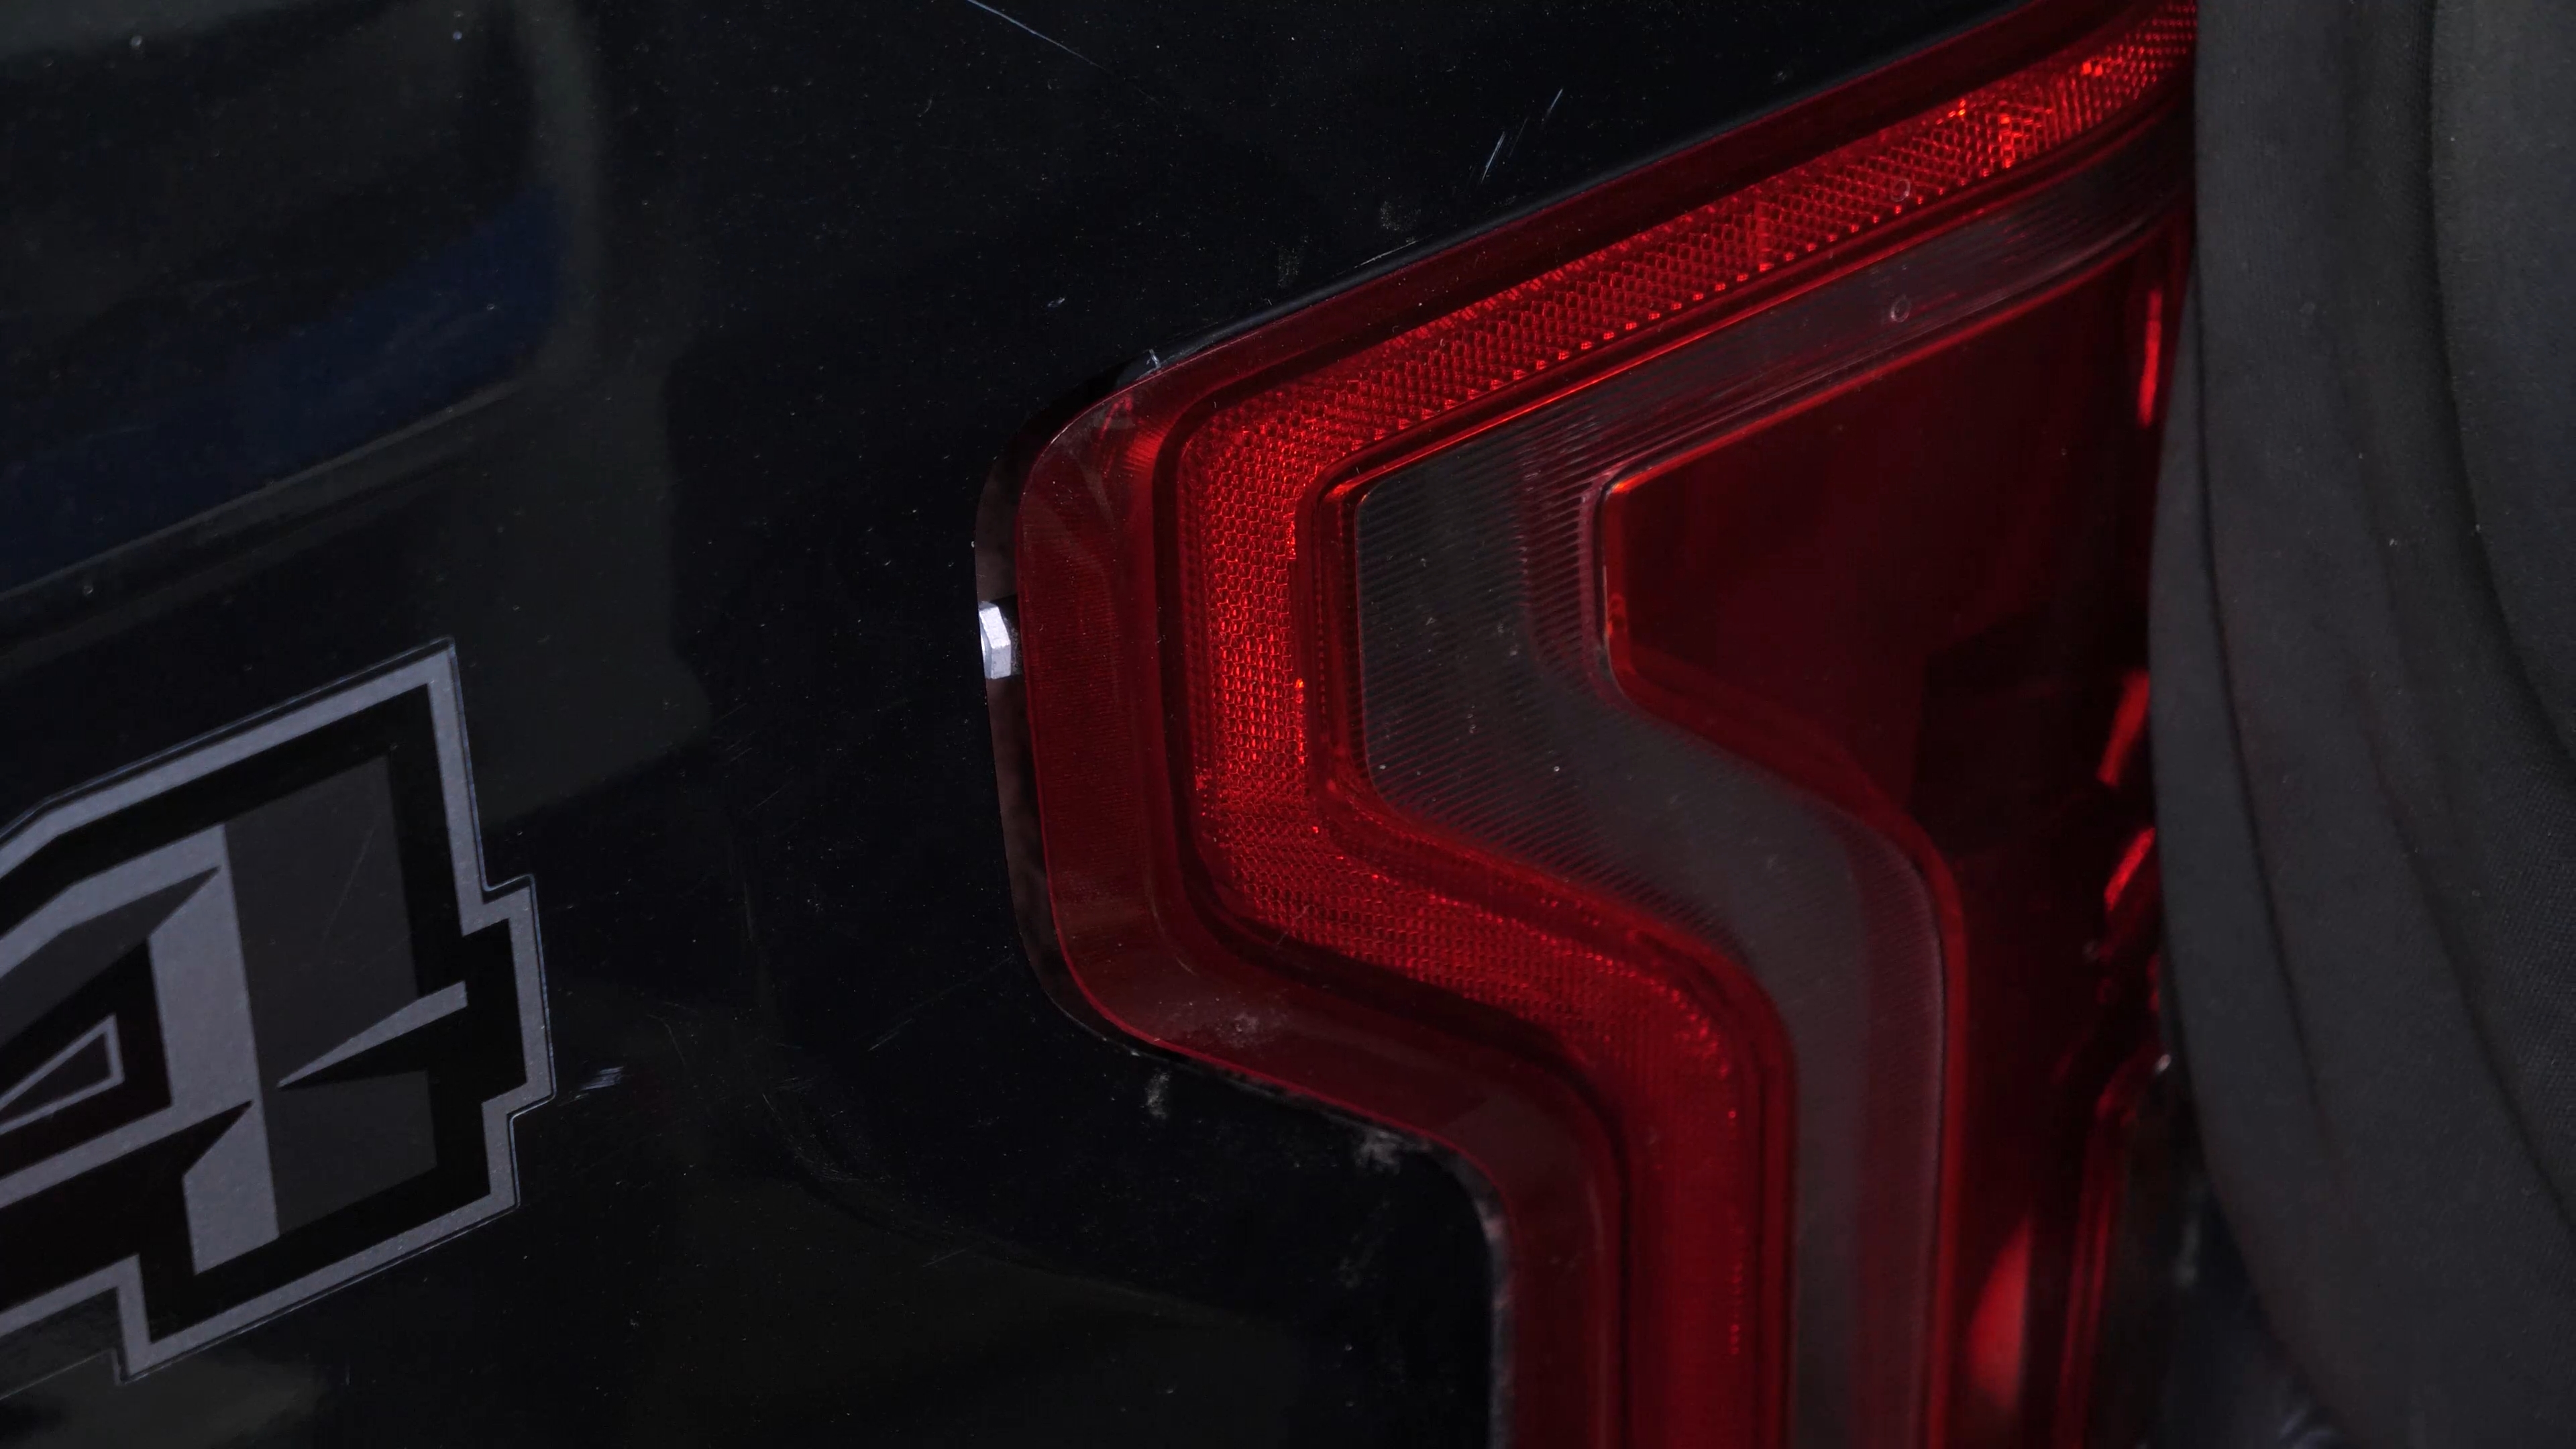
Put the light back in.
Chapter 5:
Step 4/5
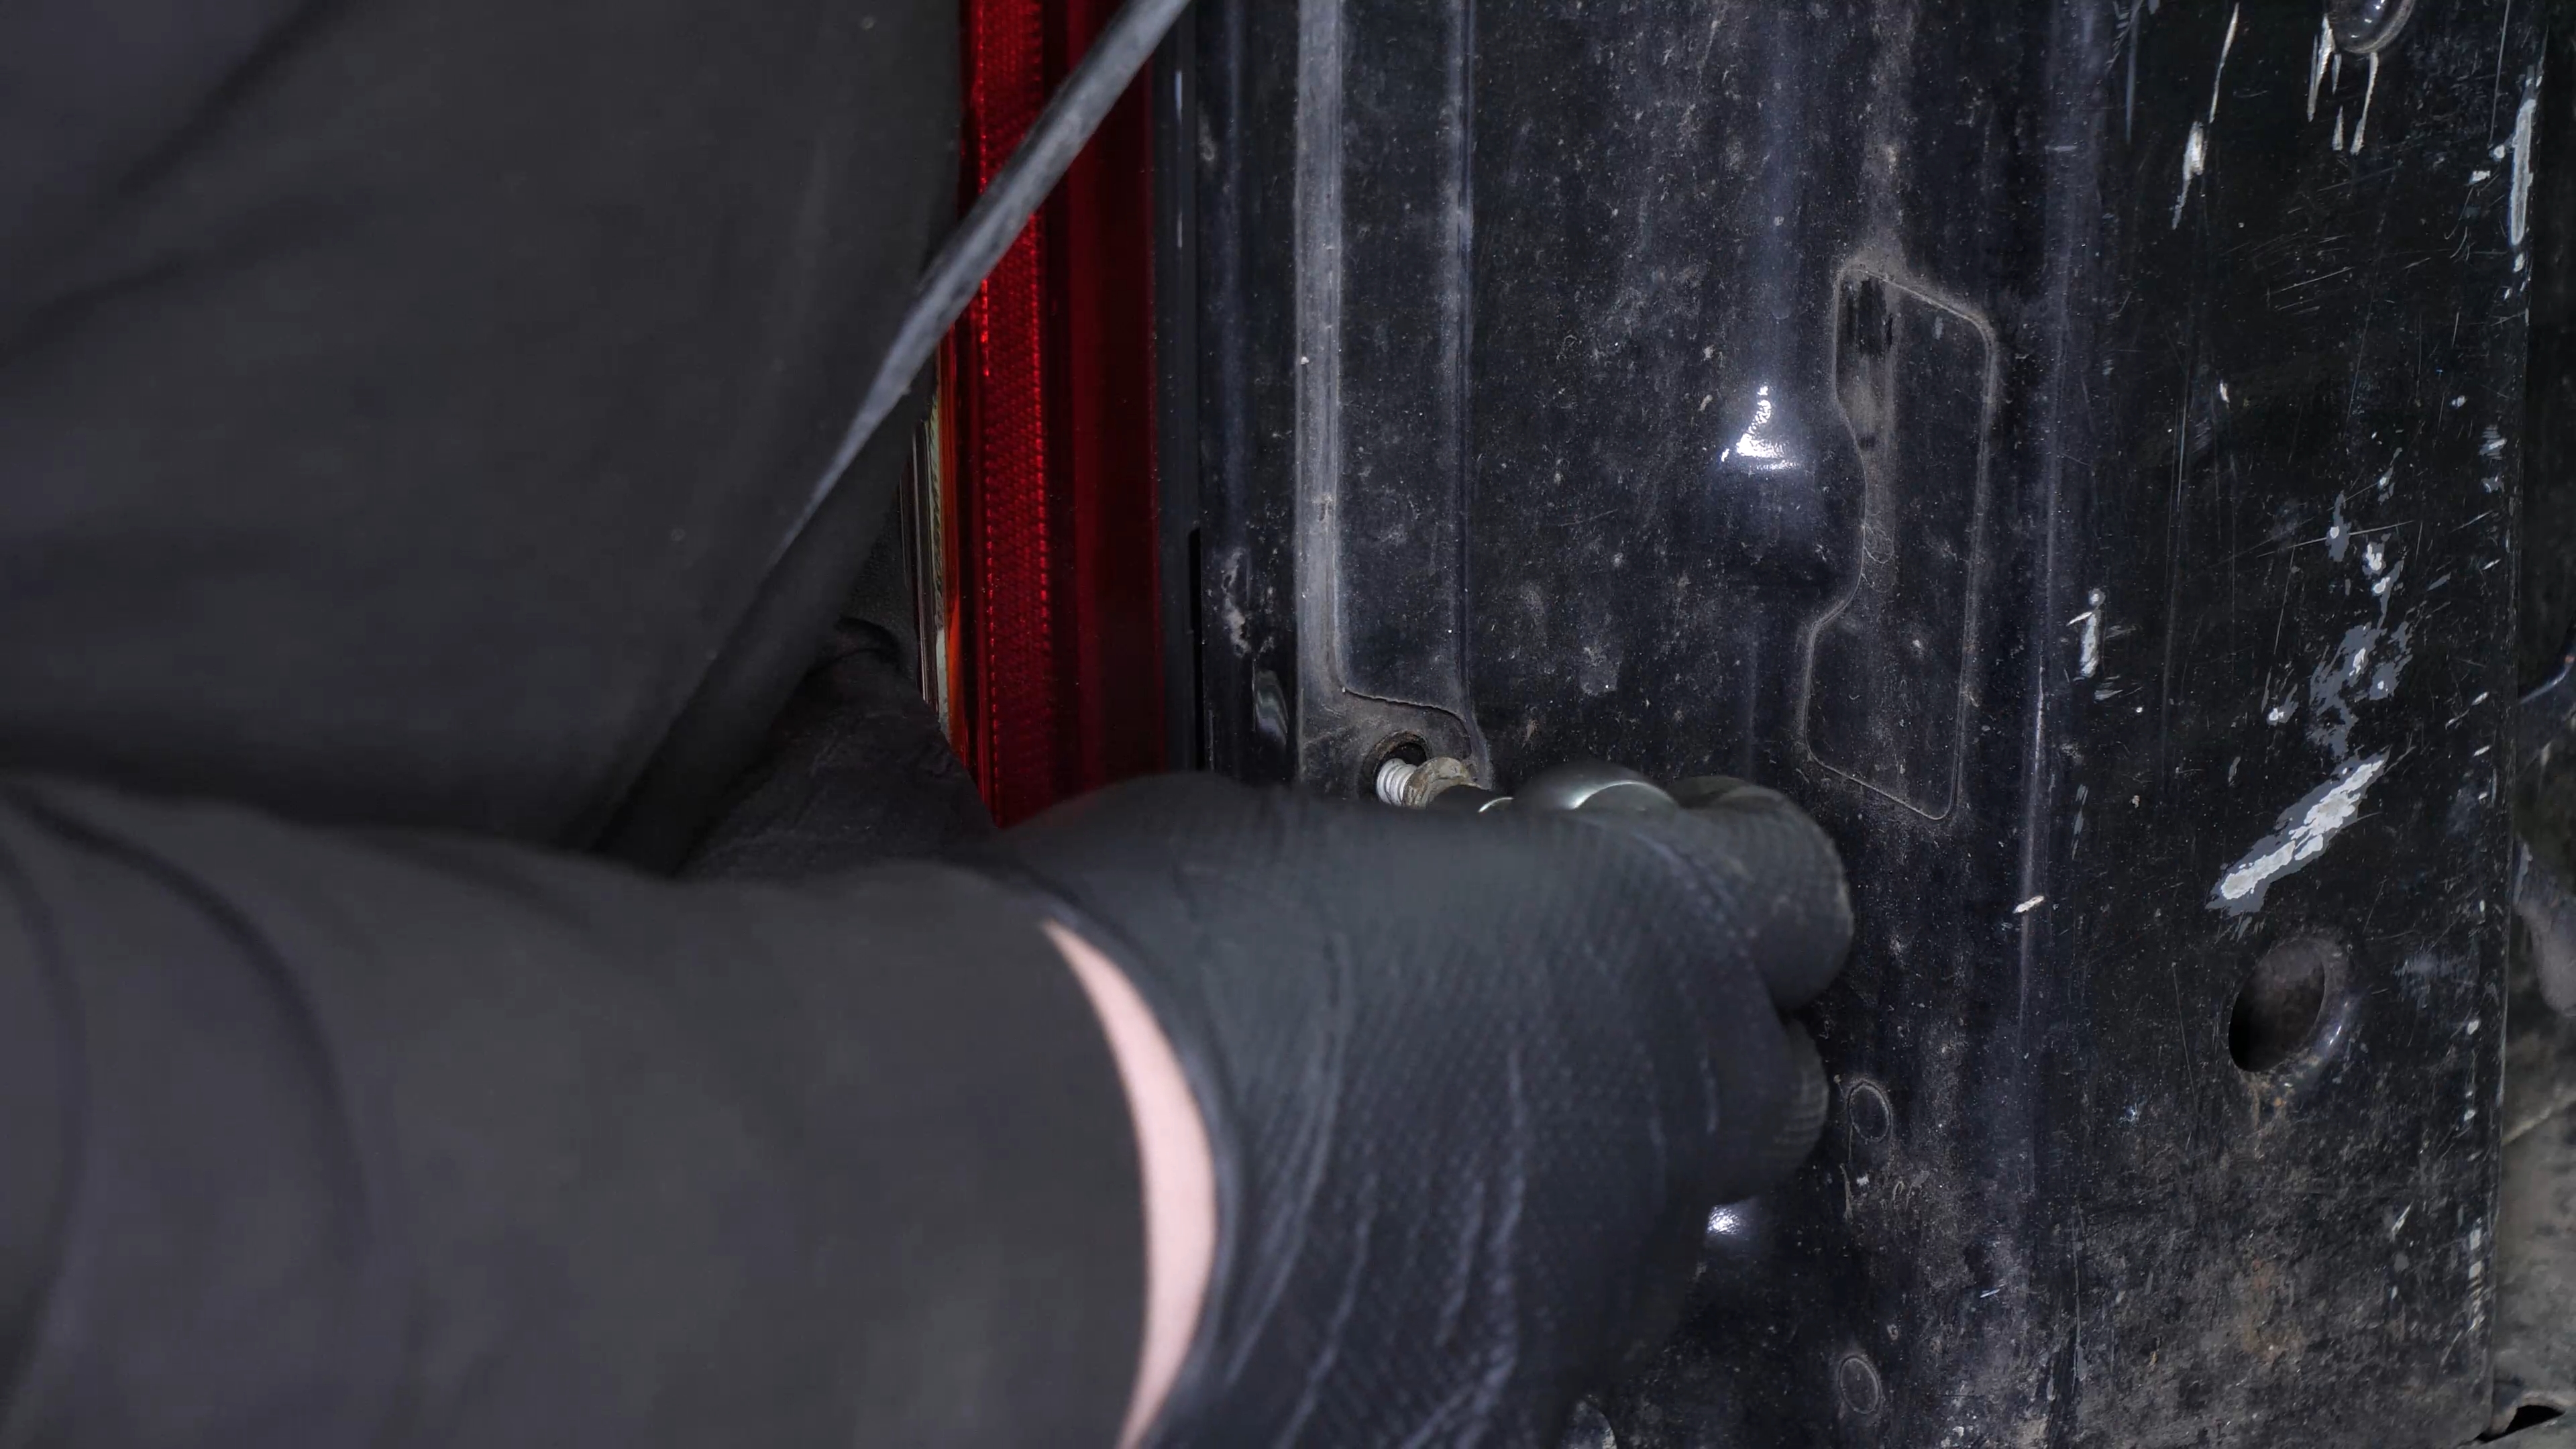
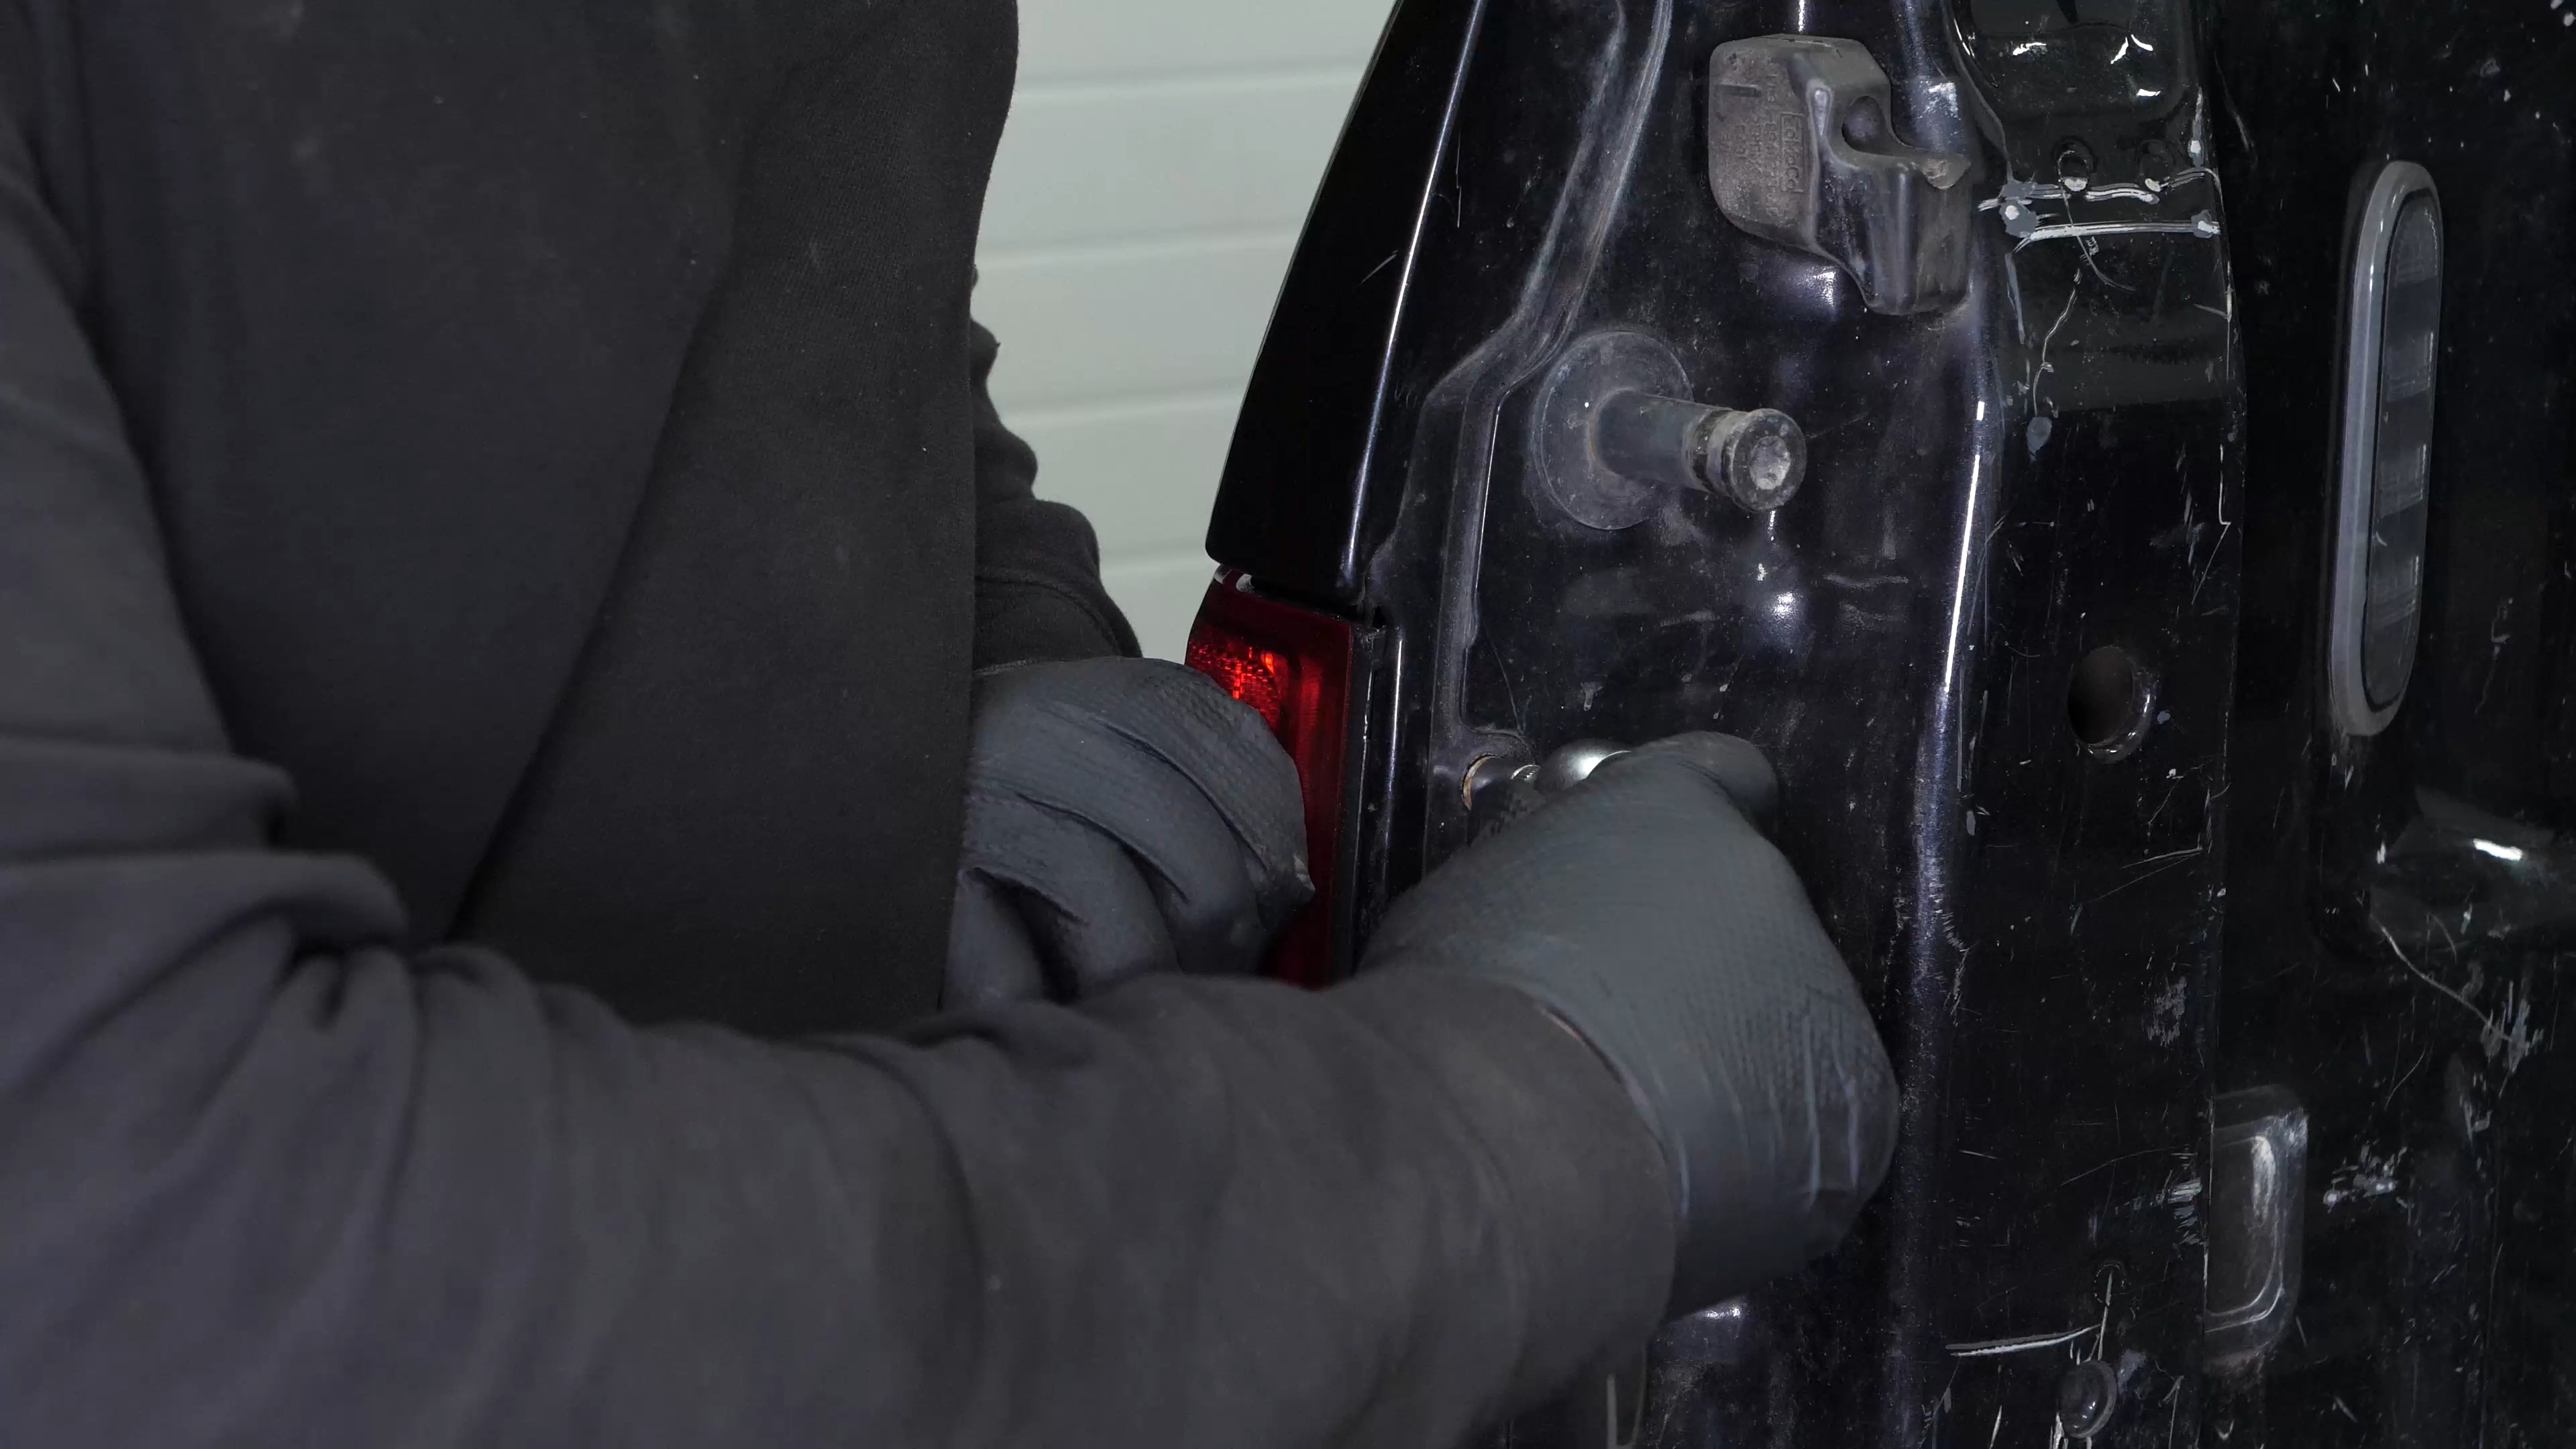
Screw the two holding bolts back in.
Chapter 5:
Step 5/5
Operation complete.