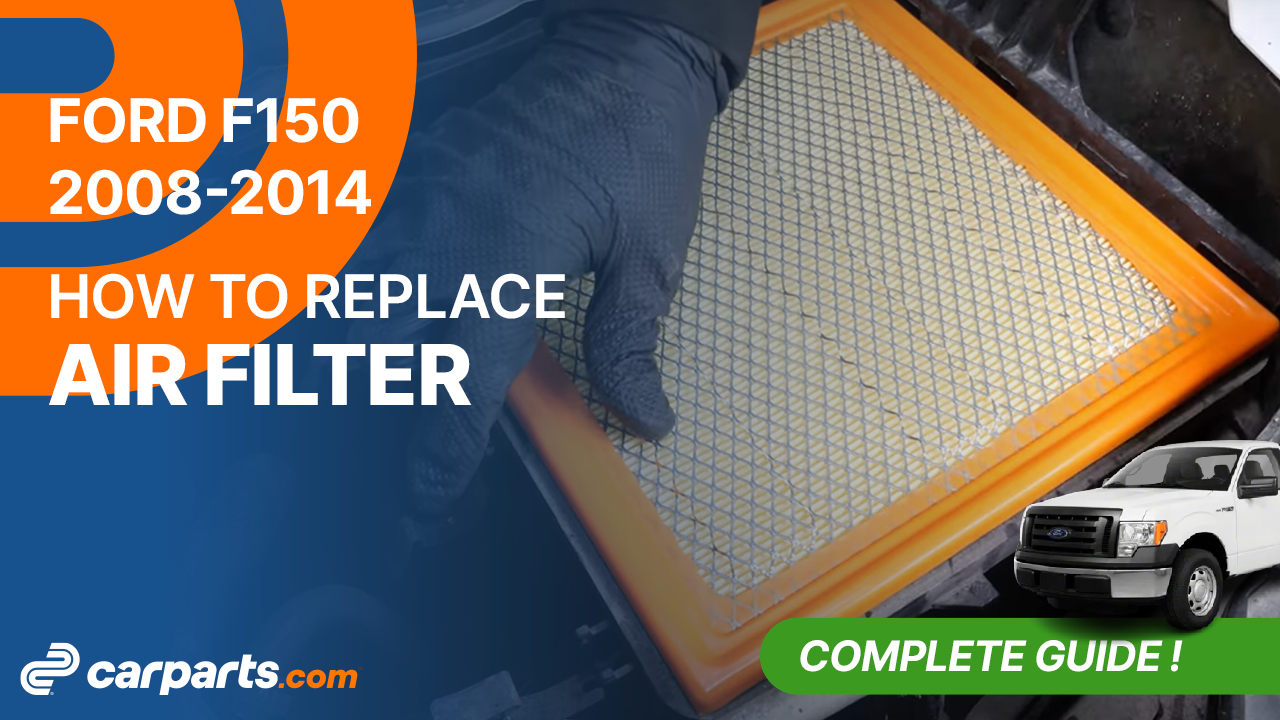
How to replace the air filter 2009-2014 Ford F-150
To replace the air filter on your F150 it couldnt’ be easier. You will need to remove the filter, clean the airbox, install the new filter and follow the next steps described below. You can accomplish this tutorial 6 chapters in 20 minutes. Take your flat head screwdriver and your vacuum and let’s get started!
Duration
20 minutes
Number of steps
6
Difficulty out of 5
1
Average savings
$50
Parts You Will Need
Tools You Will Need
Step-by-Step Installation
Chapter 1:
Open the hood
Step 1/1
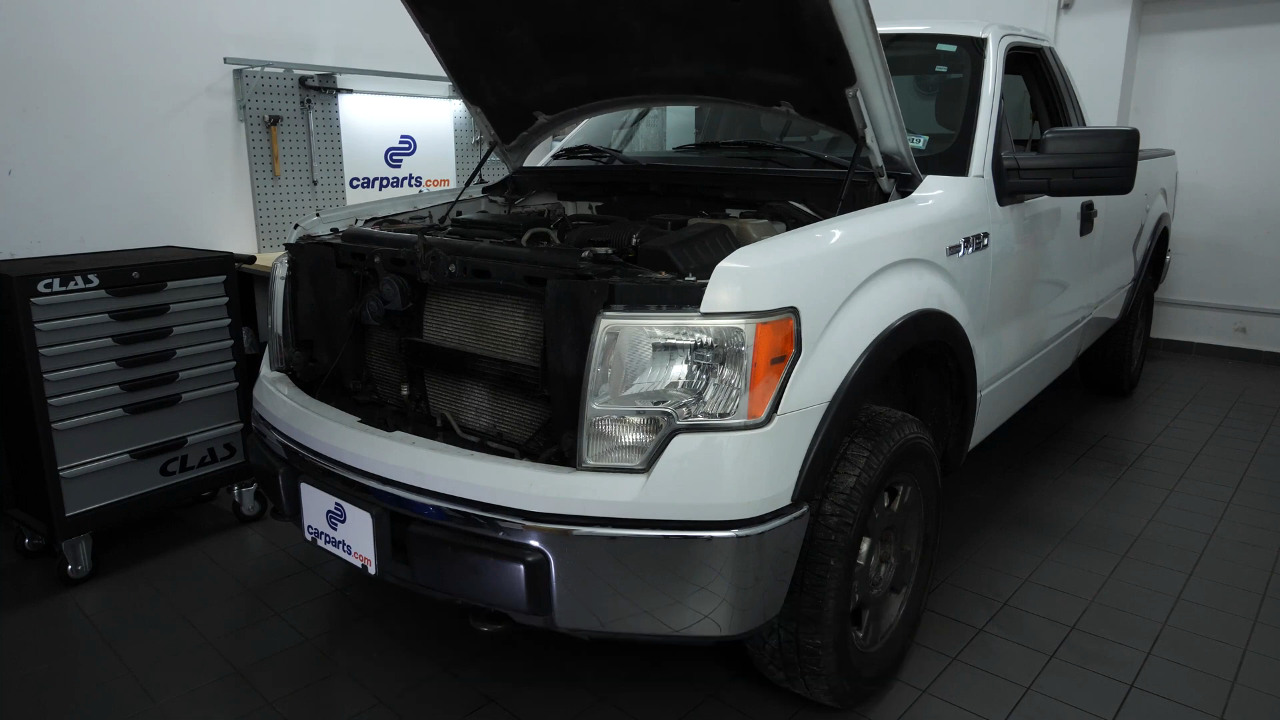
Turn off the ignition, set the parking brake. Pull on the bonnet release lever and open the bonnet.
Chapter 2:
Visualise
Step 1/1
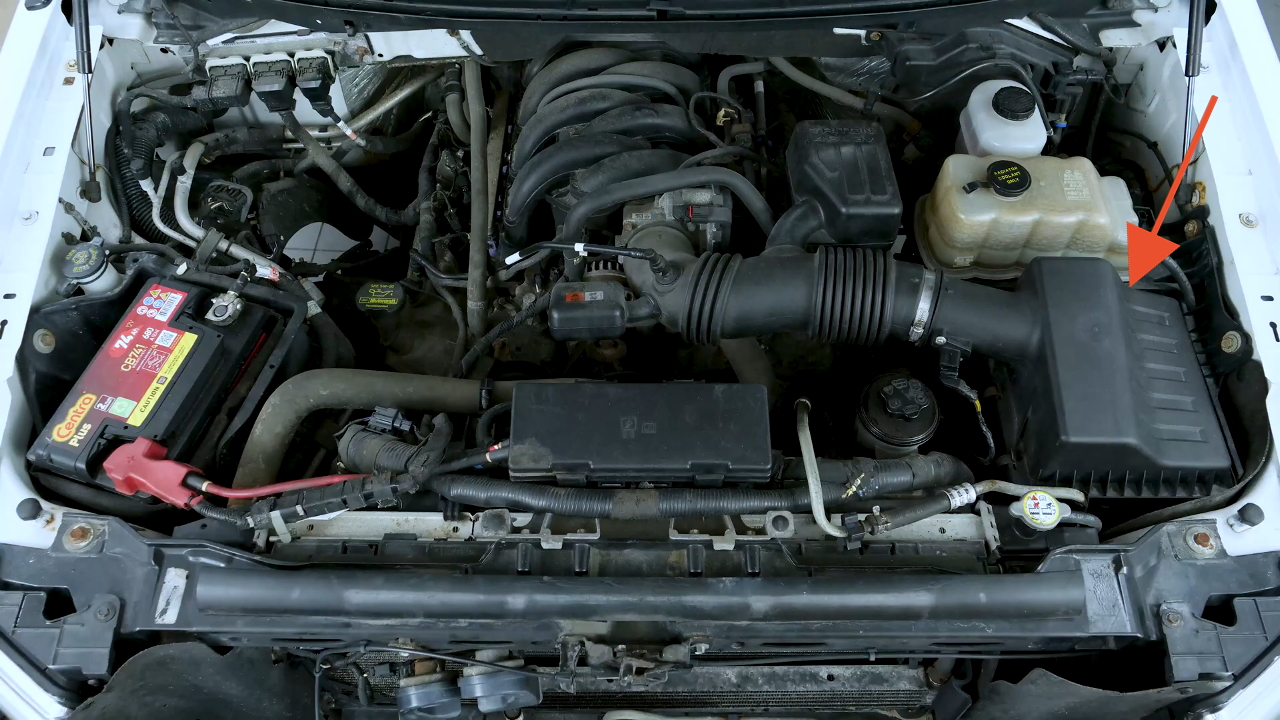
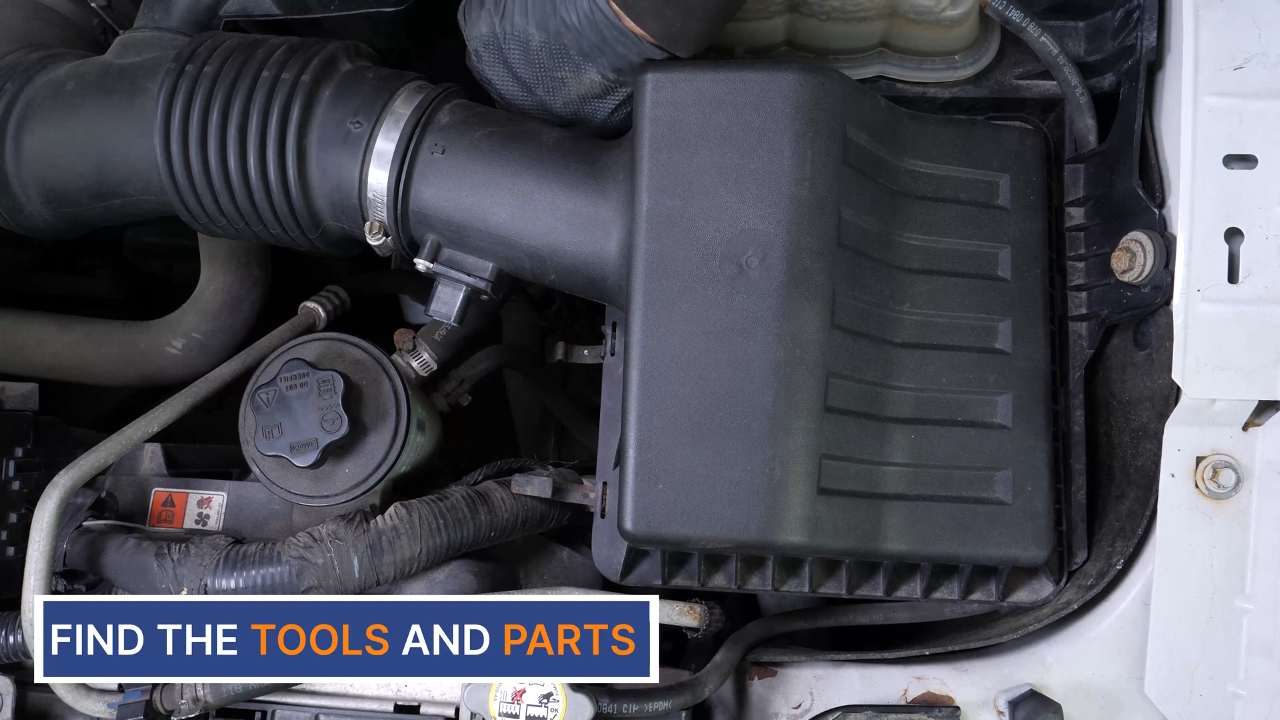
You should now be able to easily see the airbox to change the filter.
Chapter 3:
Access the air filter
Step 1/3
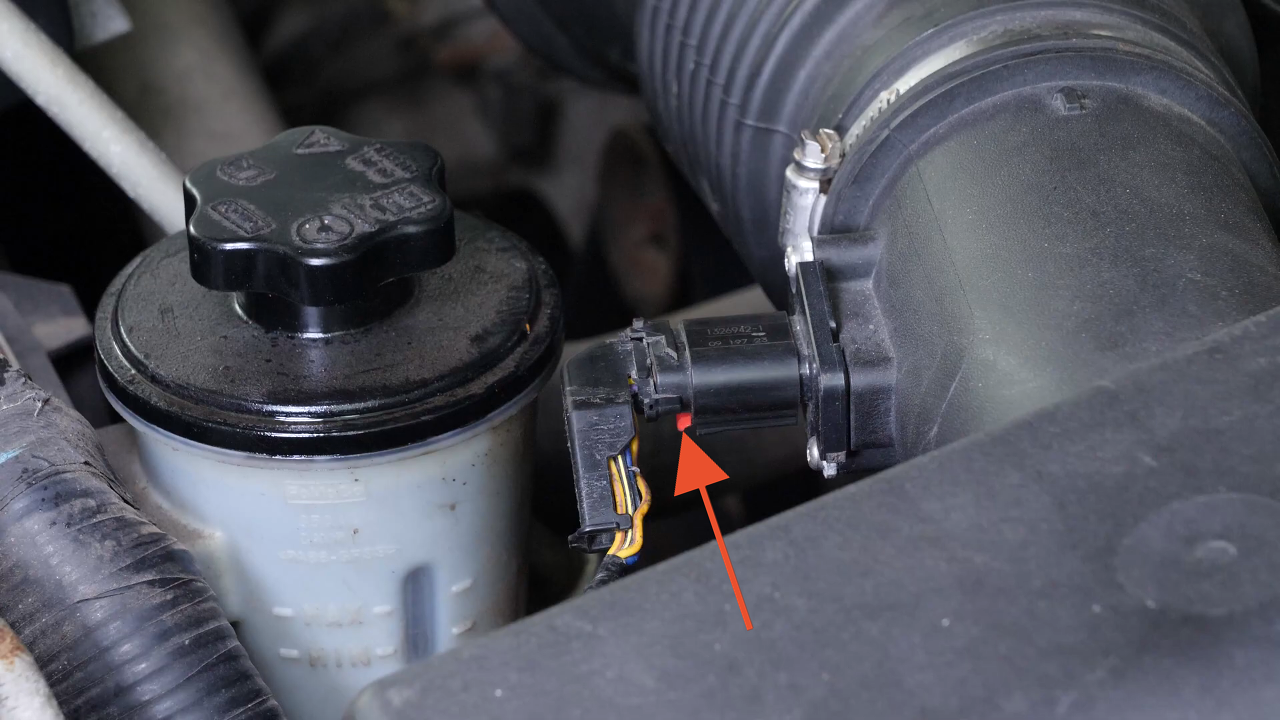
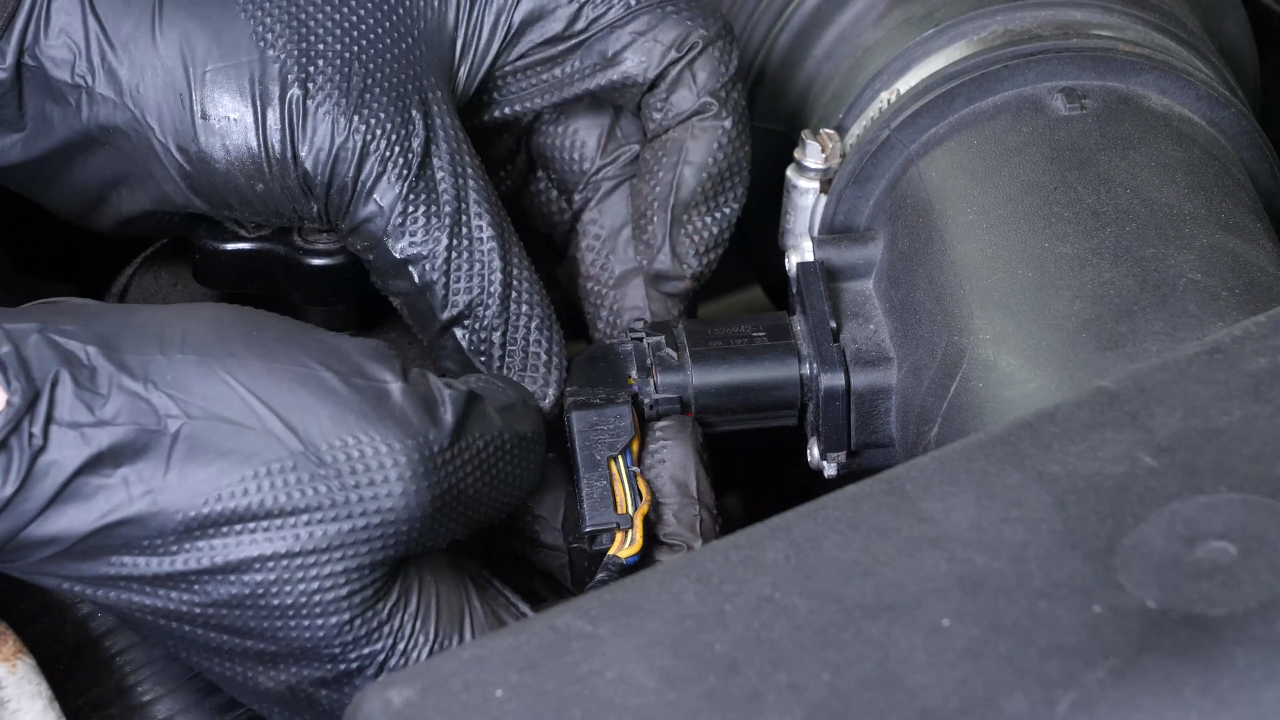
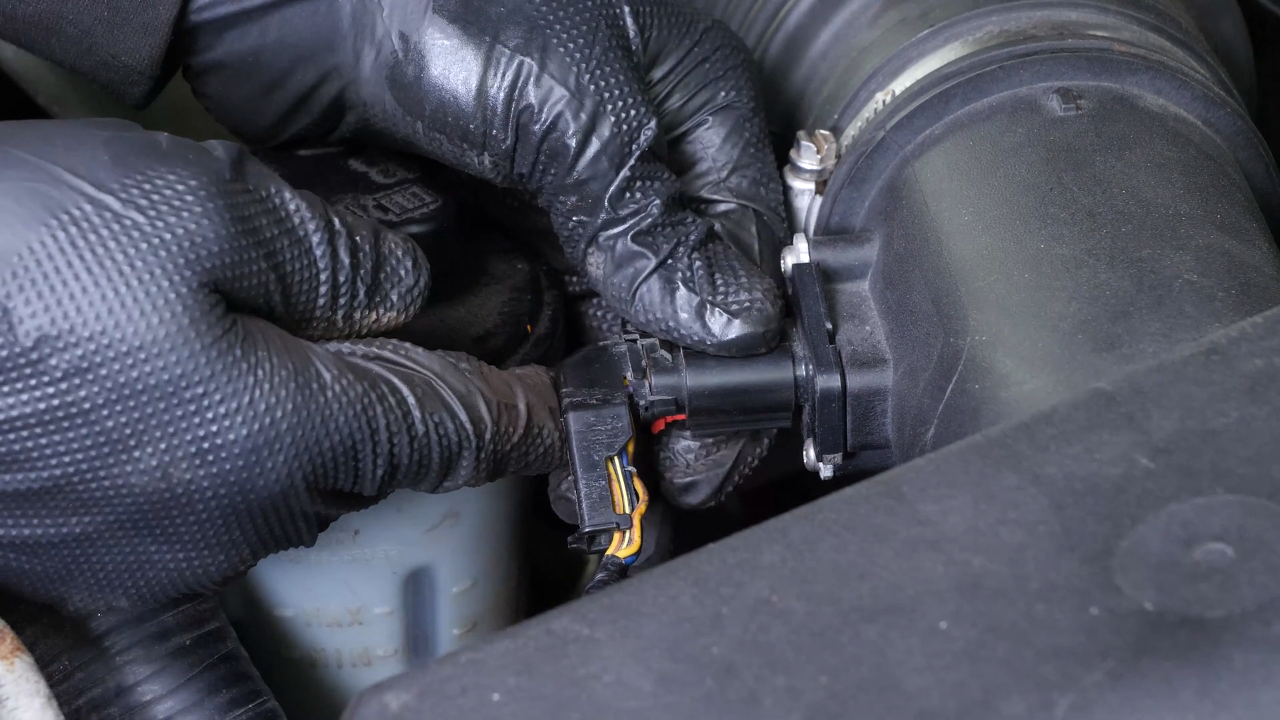
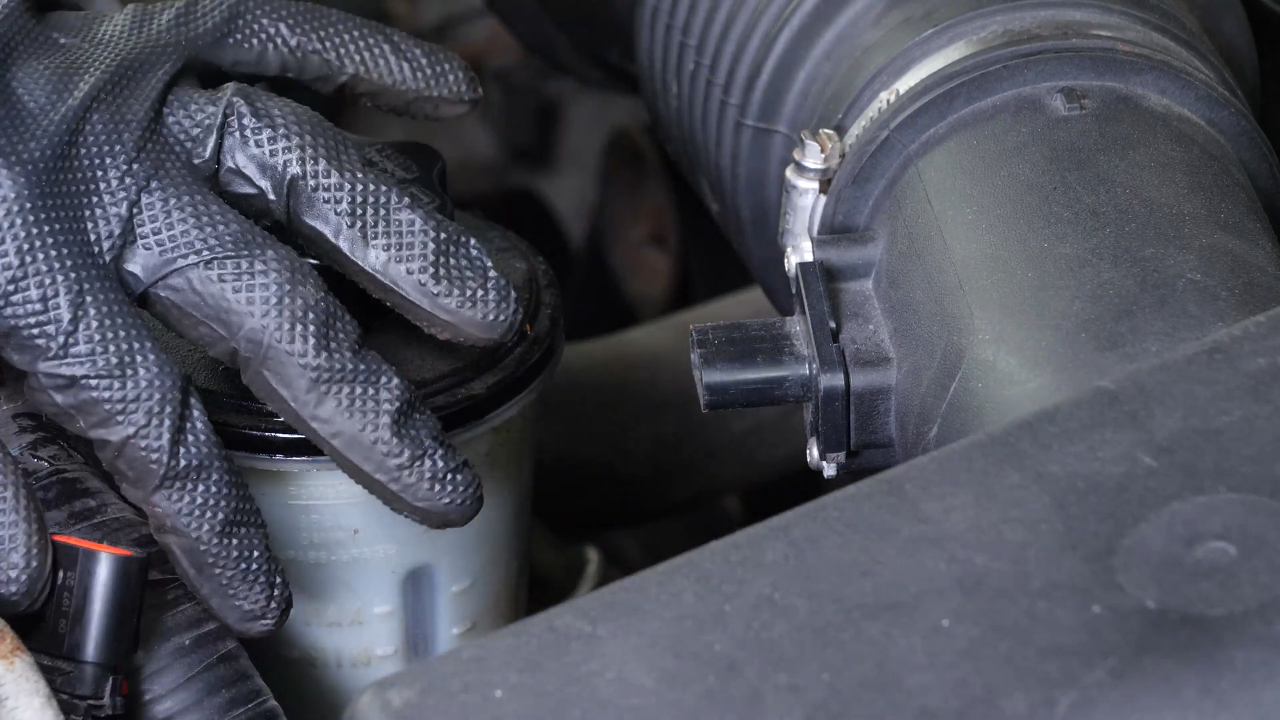
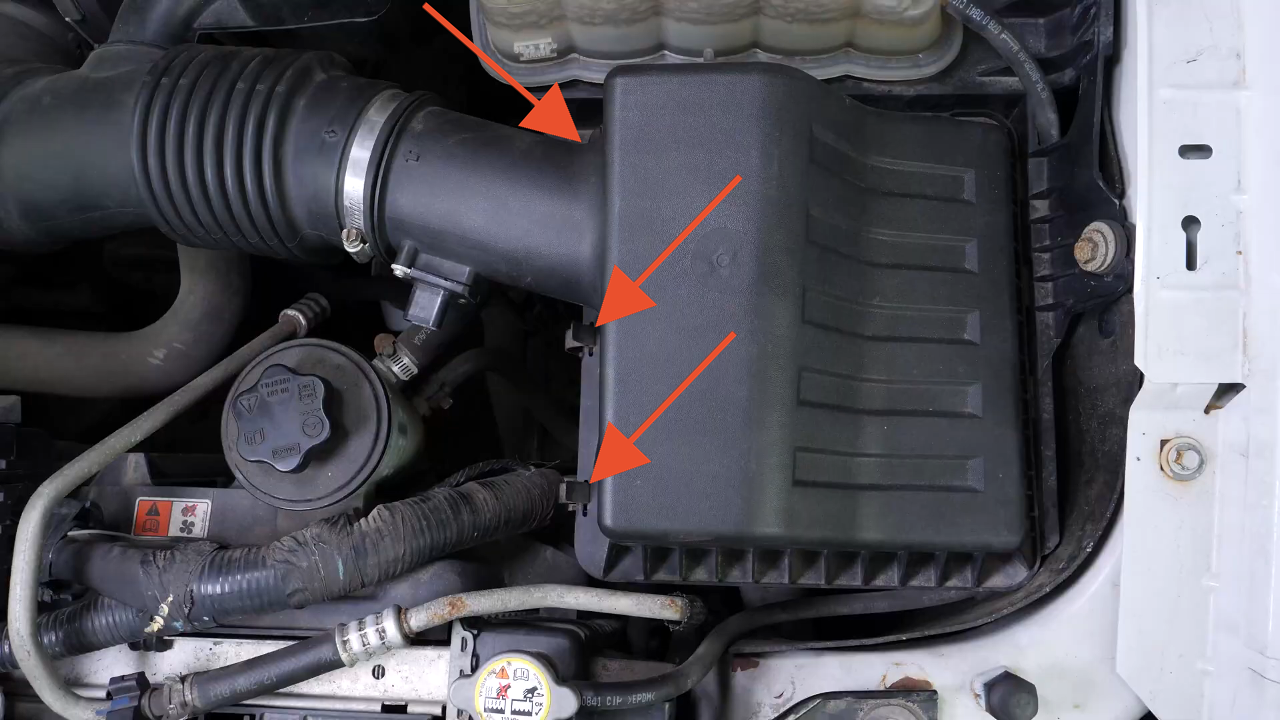
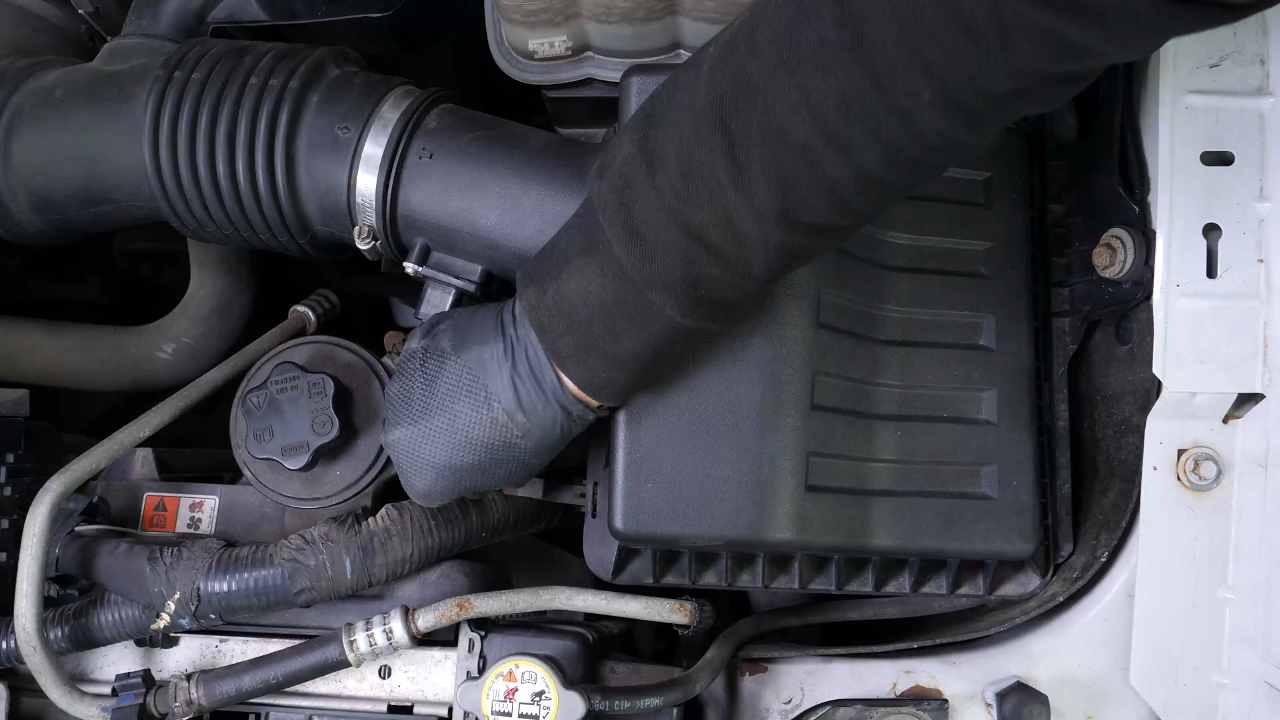
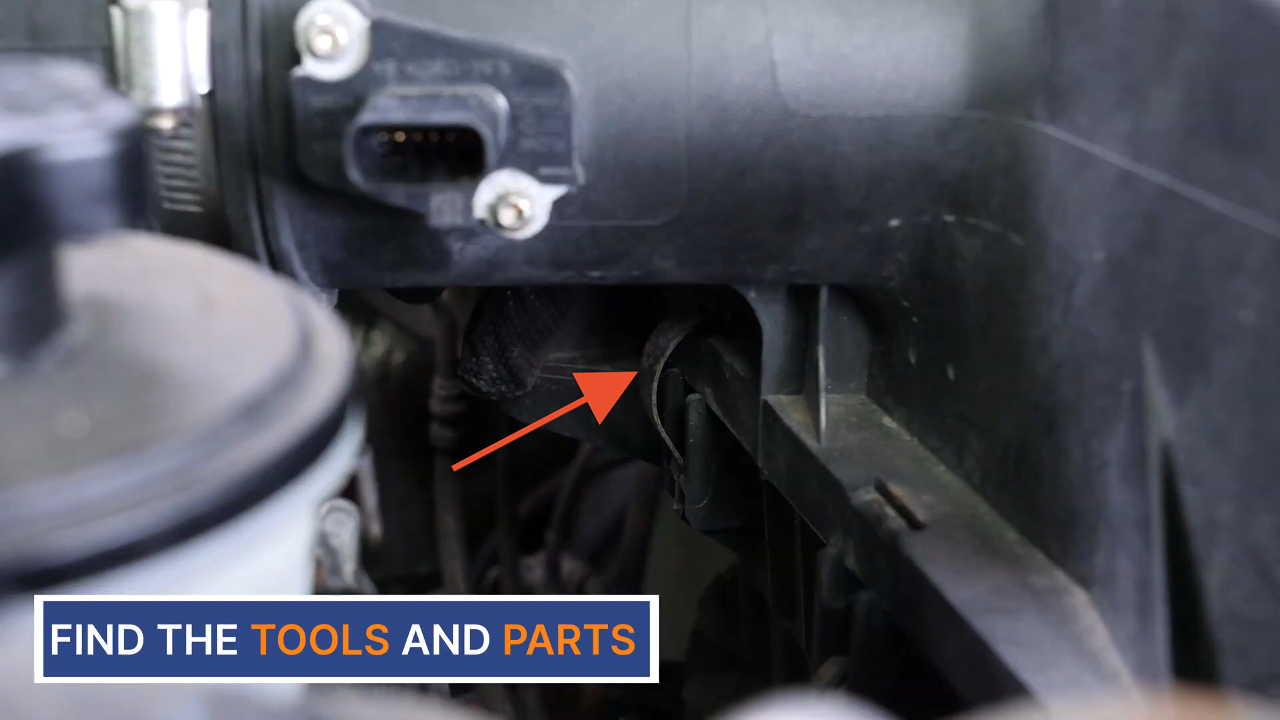
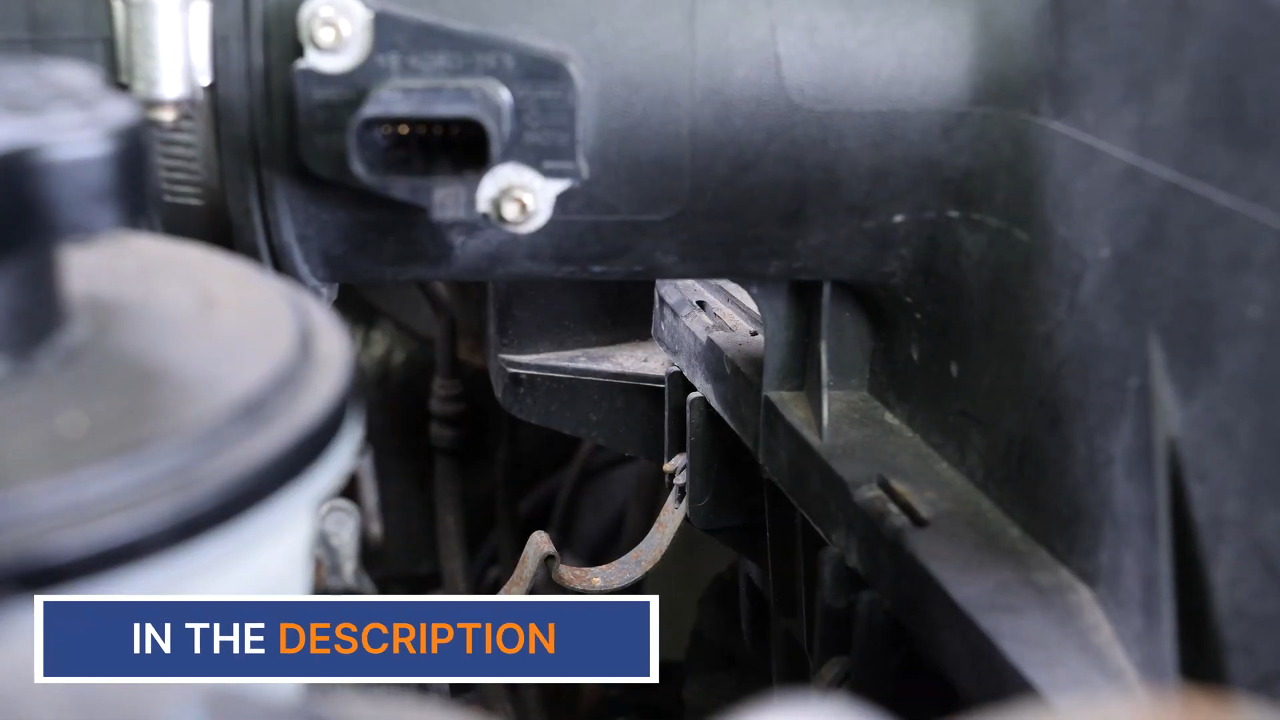
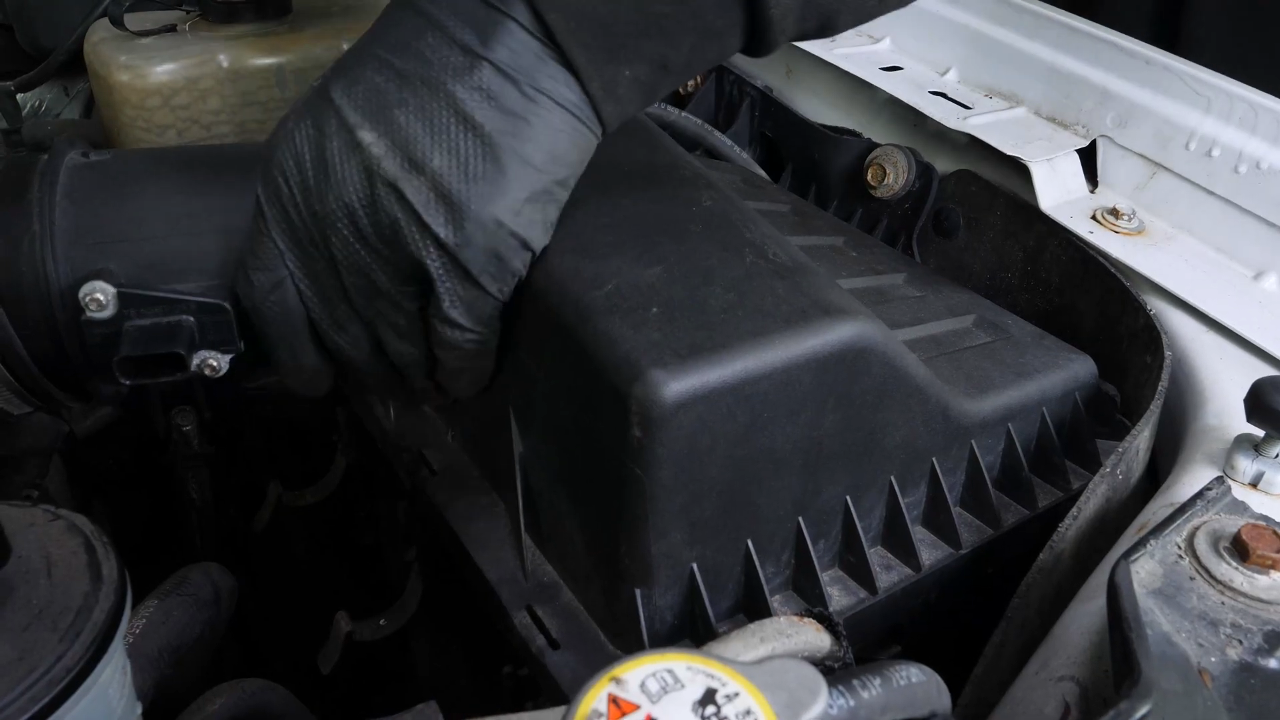
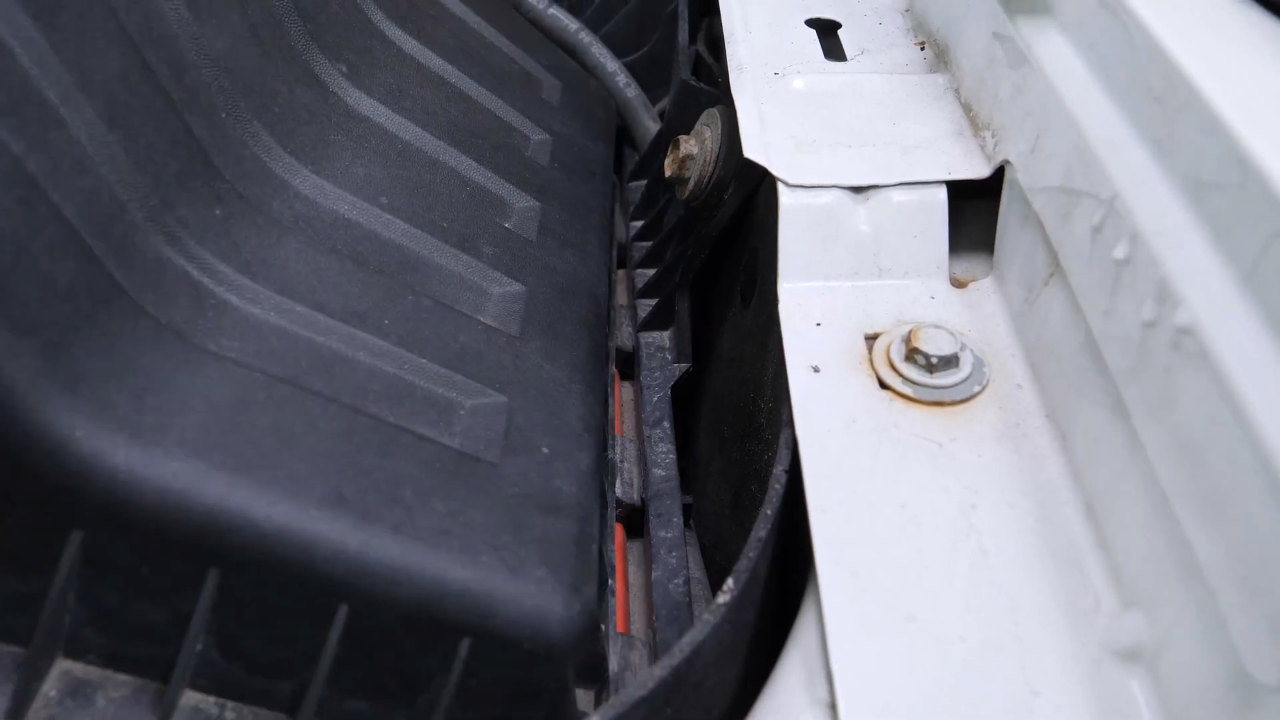
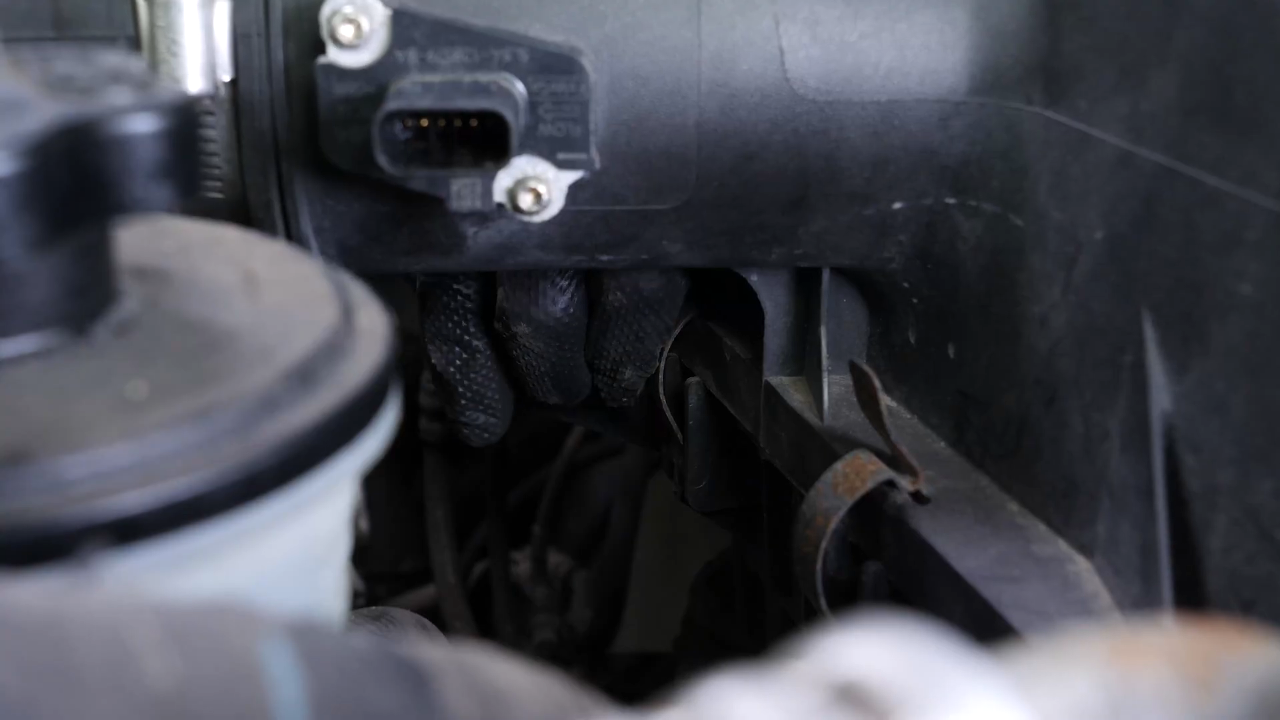
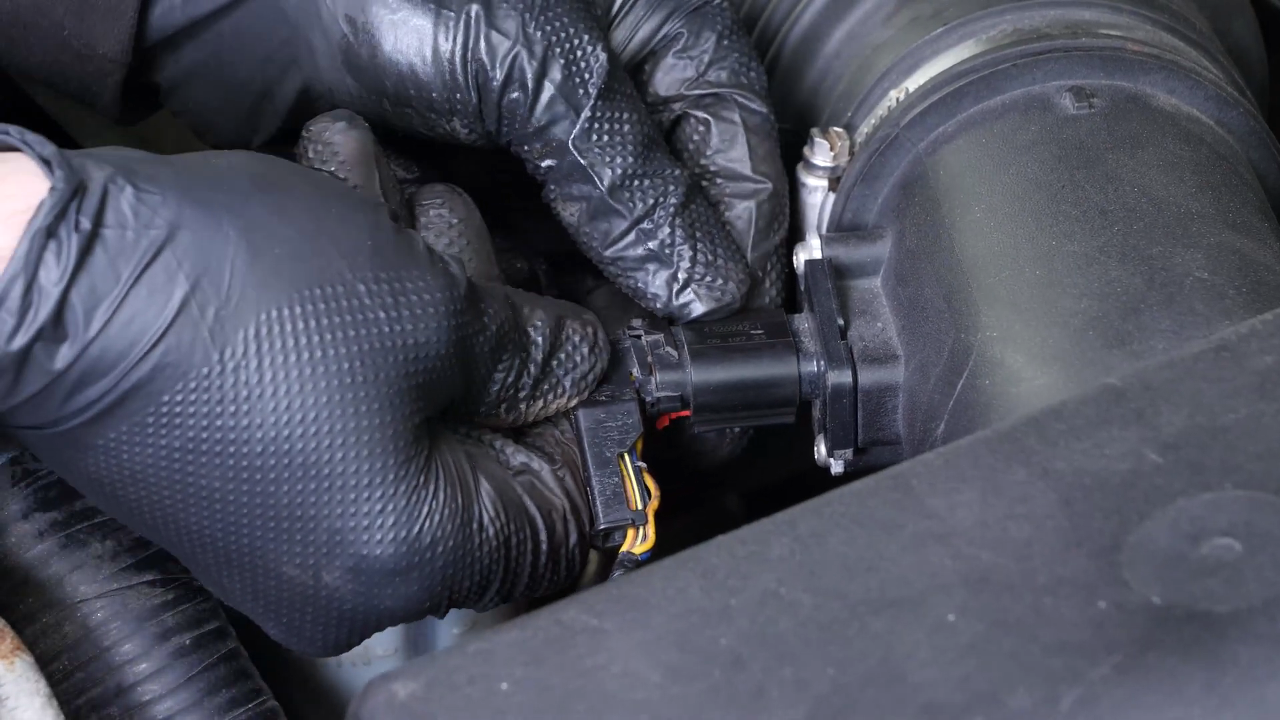
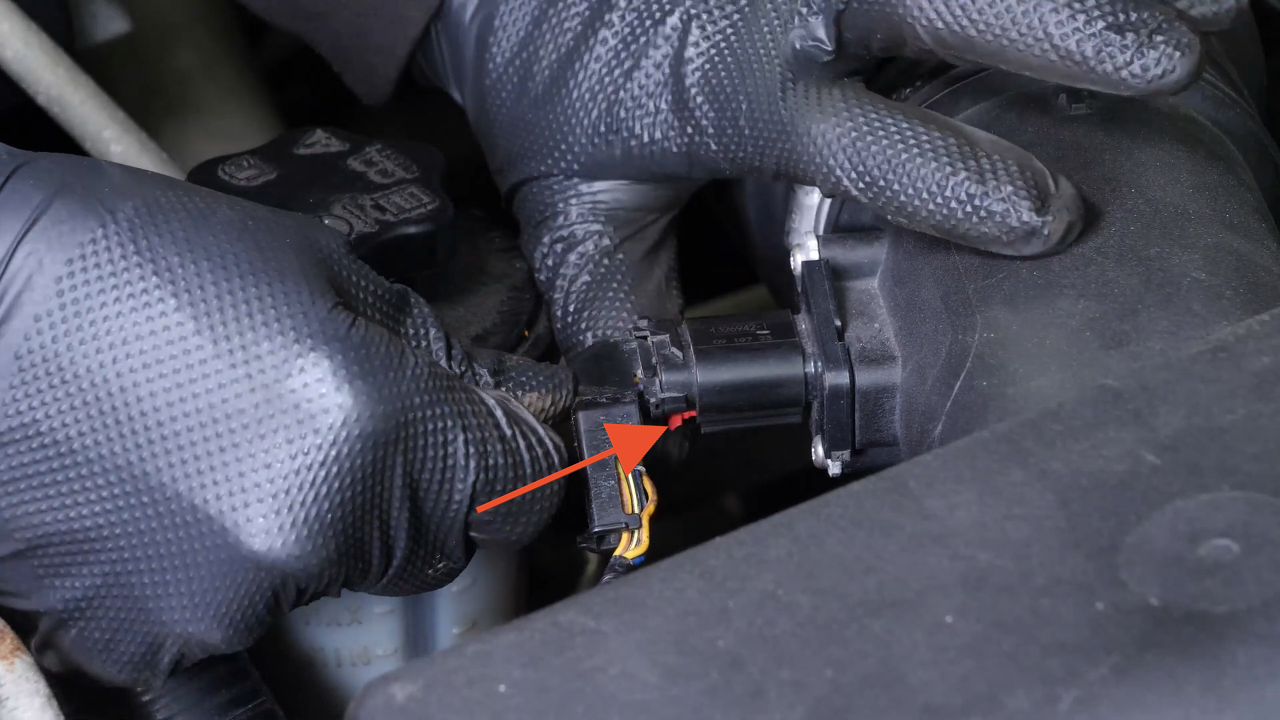
Take off the connector from the air flow meter by pulling the retaining tab. Unclip the three holding latches on the airbox cover.

Chapter 3:
Step 2/3
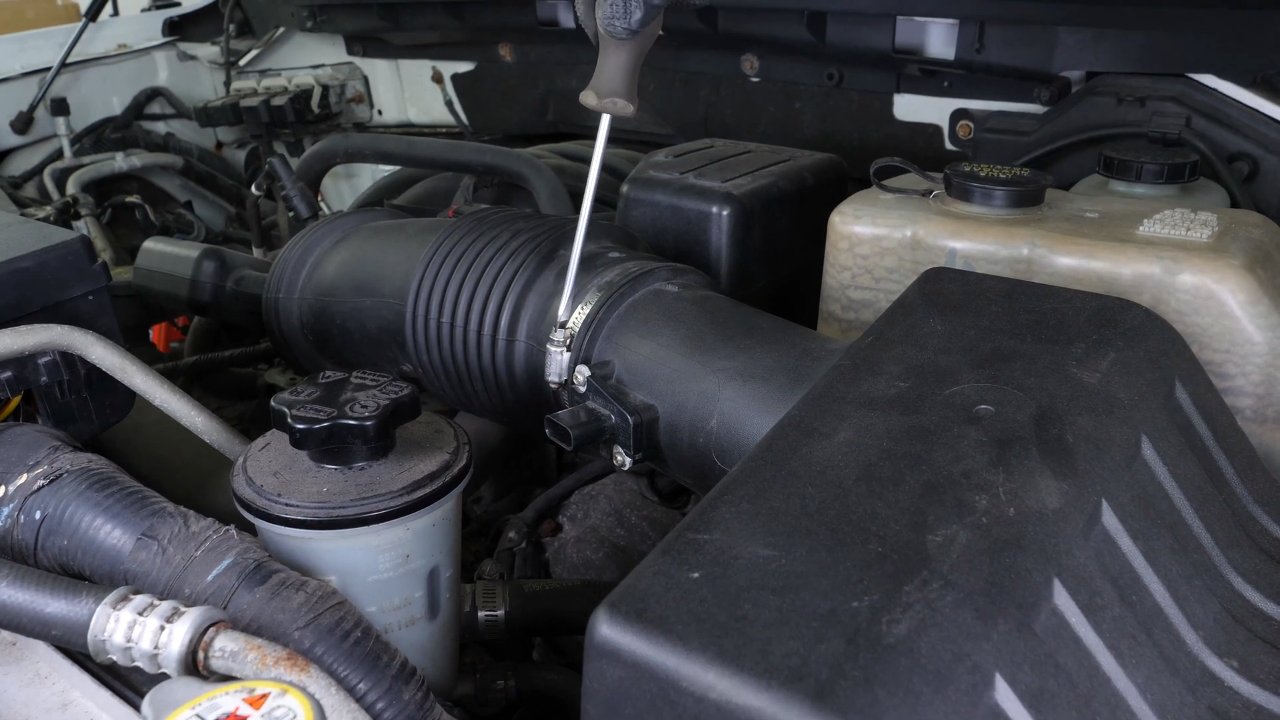
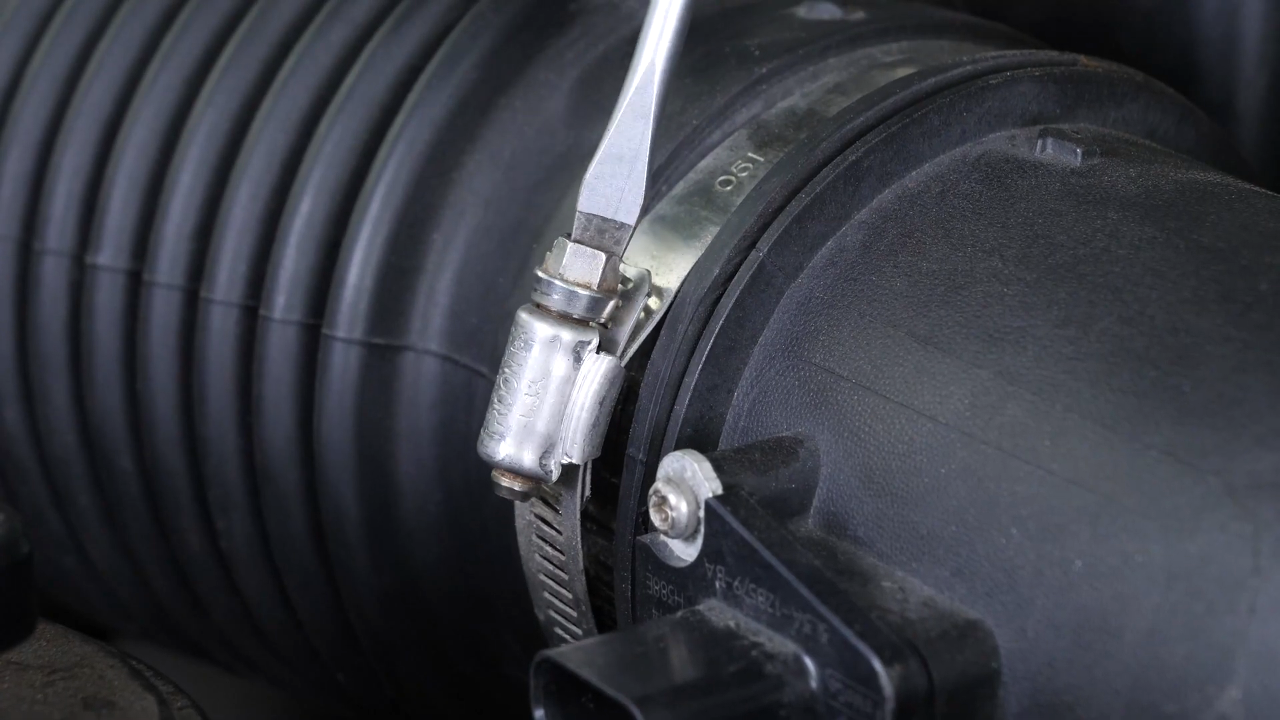
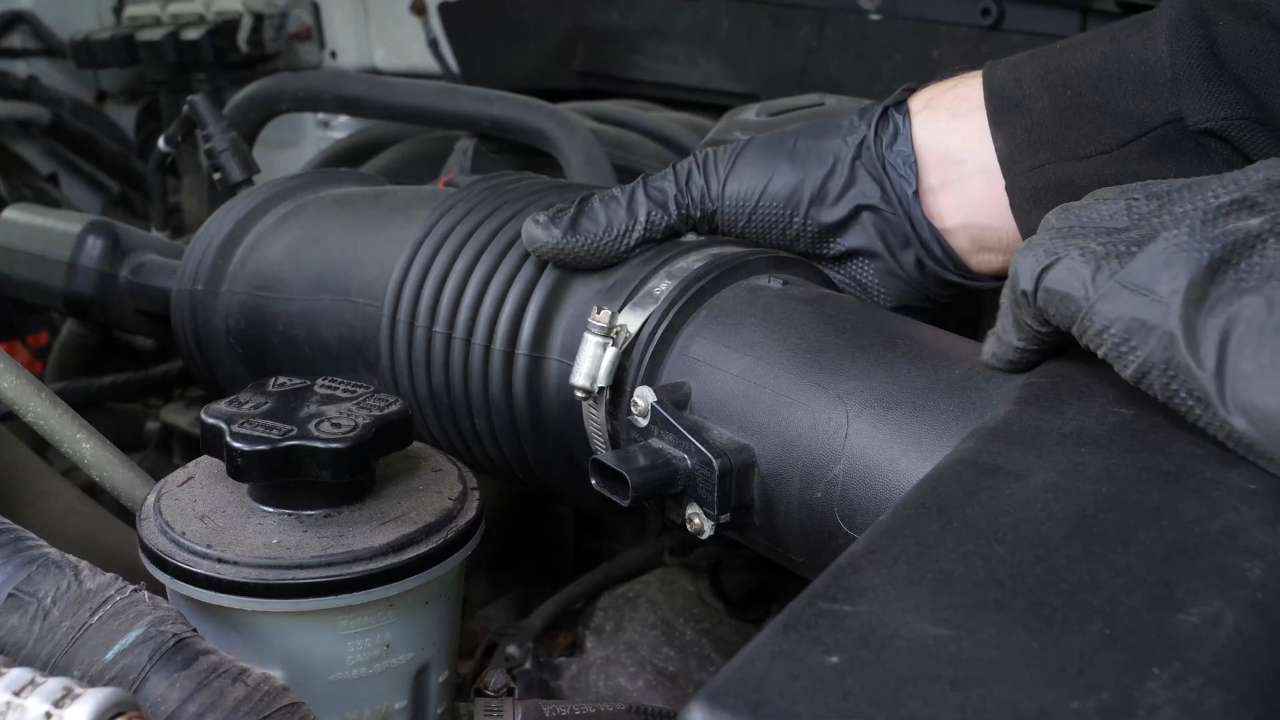
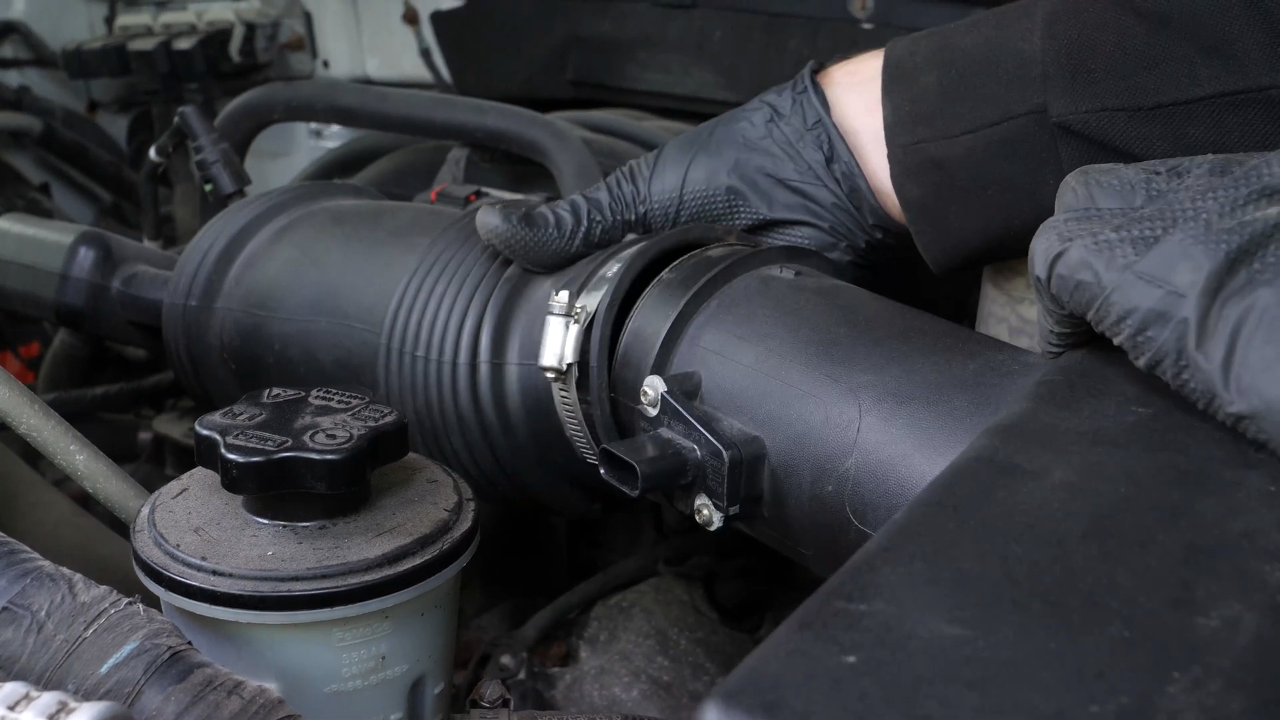
Using a flathead screwdriver, loosen the holding clip for the air intake duct on the air box. Then take out the duct.
Chapter 3:
Step 3/3
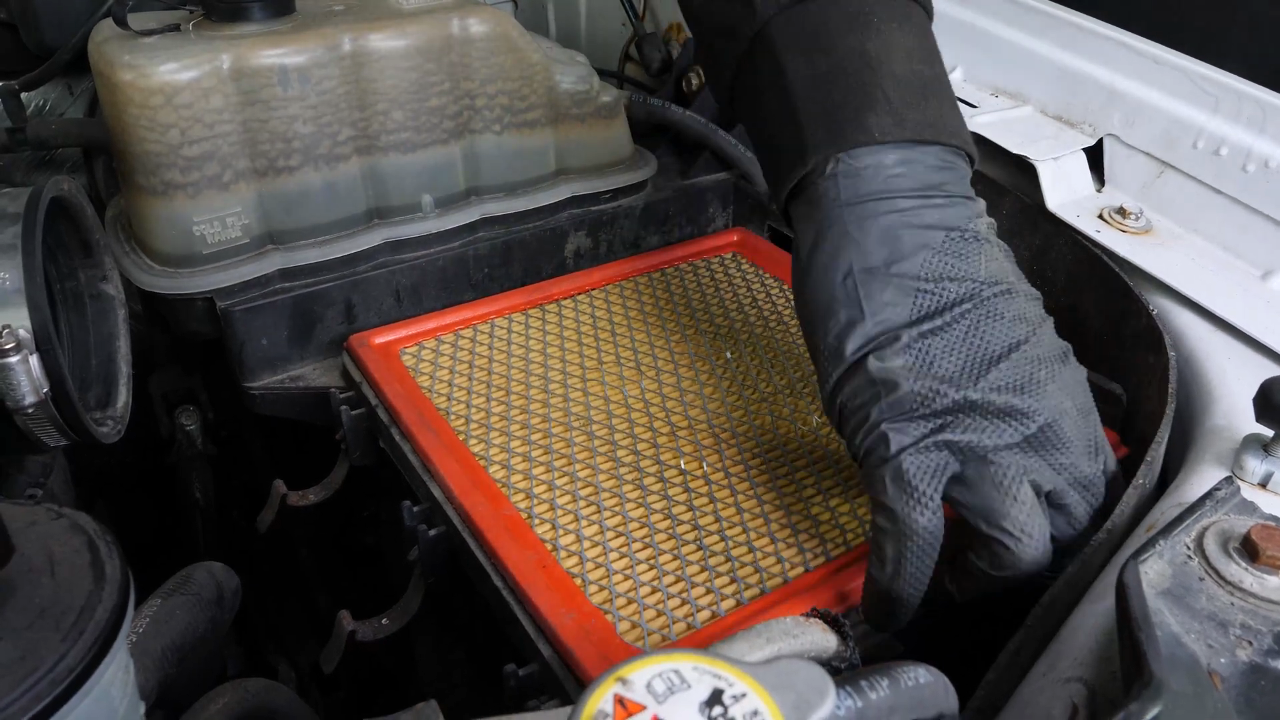
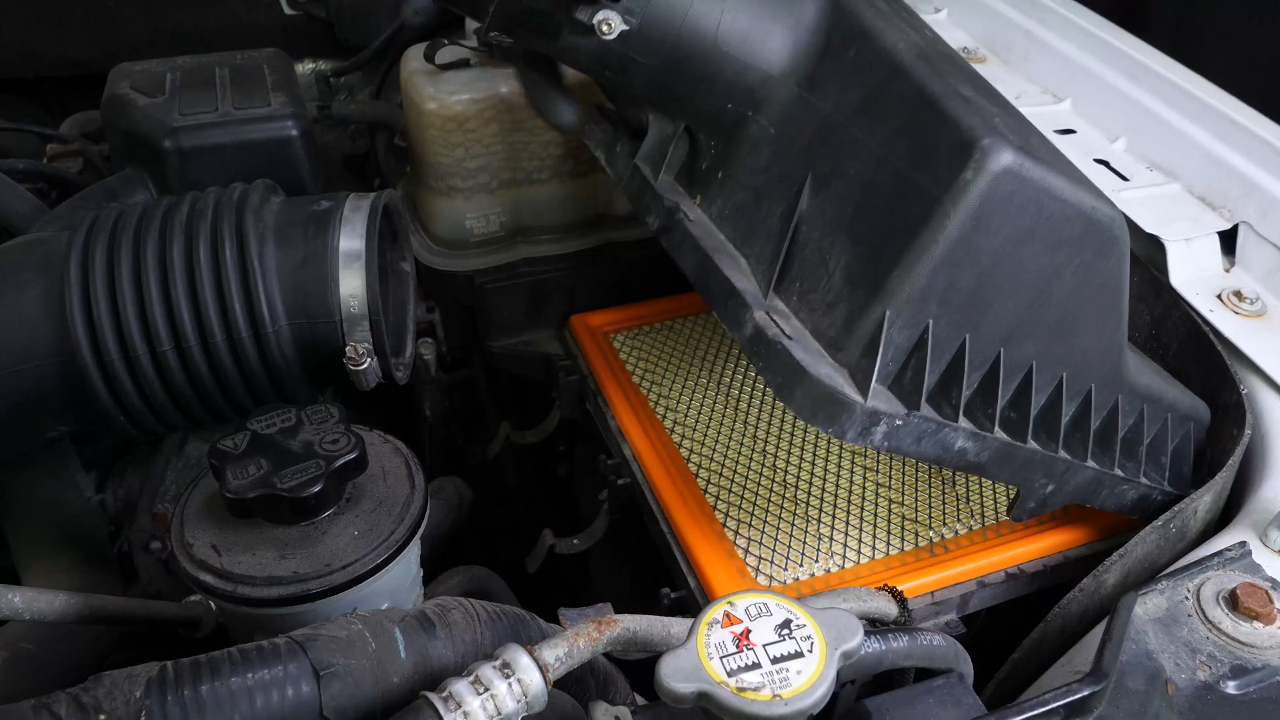
Pull out the flange. Take out the air filter.

Chapter 4:
Clean the airbox
Step 1/1
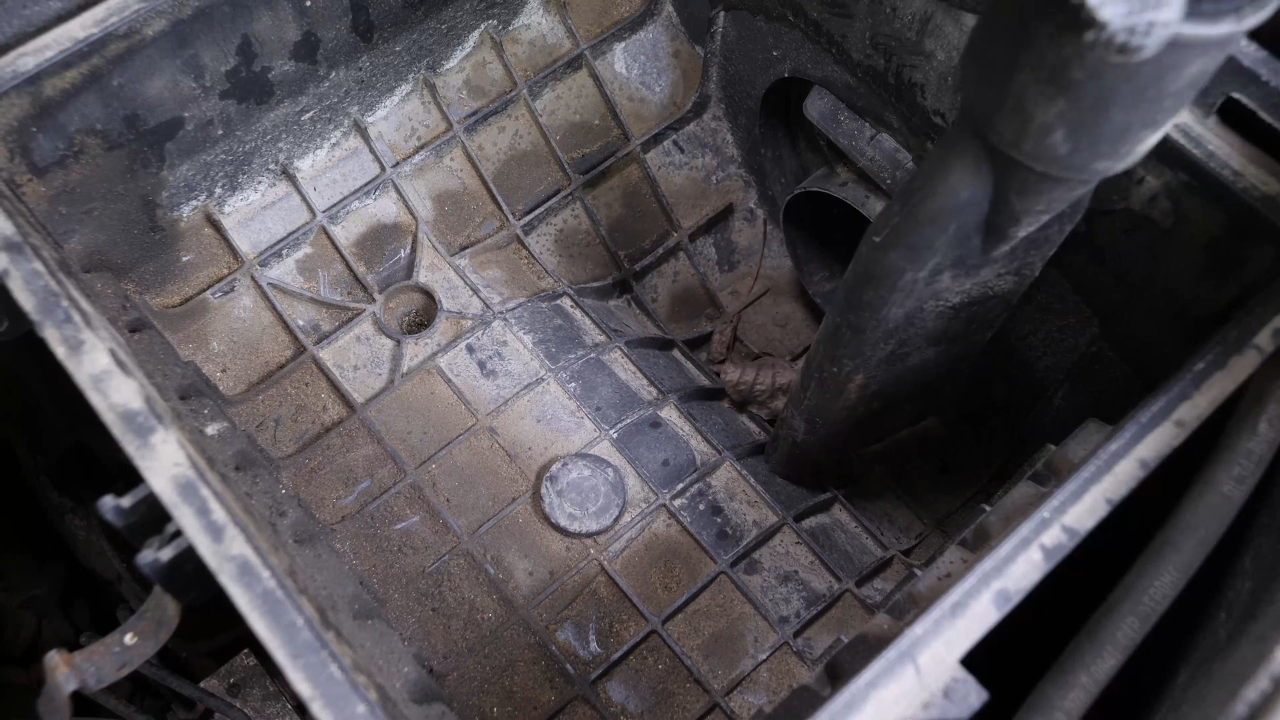
Before putting in the new filter in place, it is important to clean out any impurities or leaves stuck in the filter compartment.
Chapter 5:
Install the new filter
Step 1/1
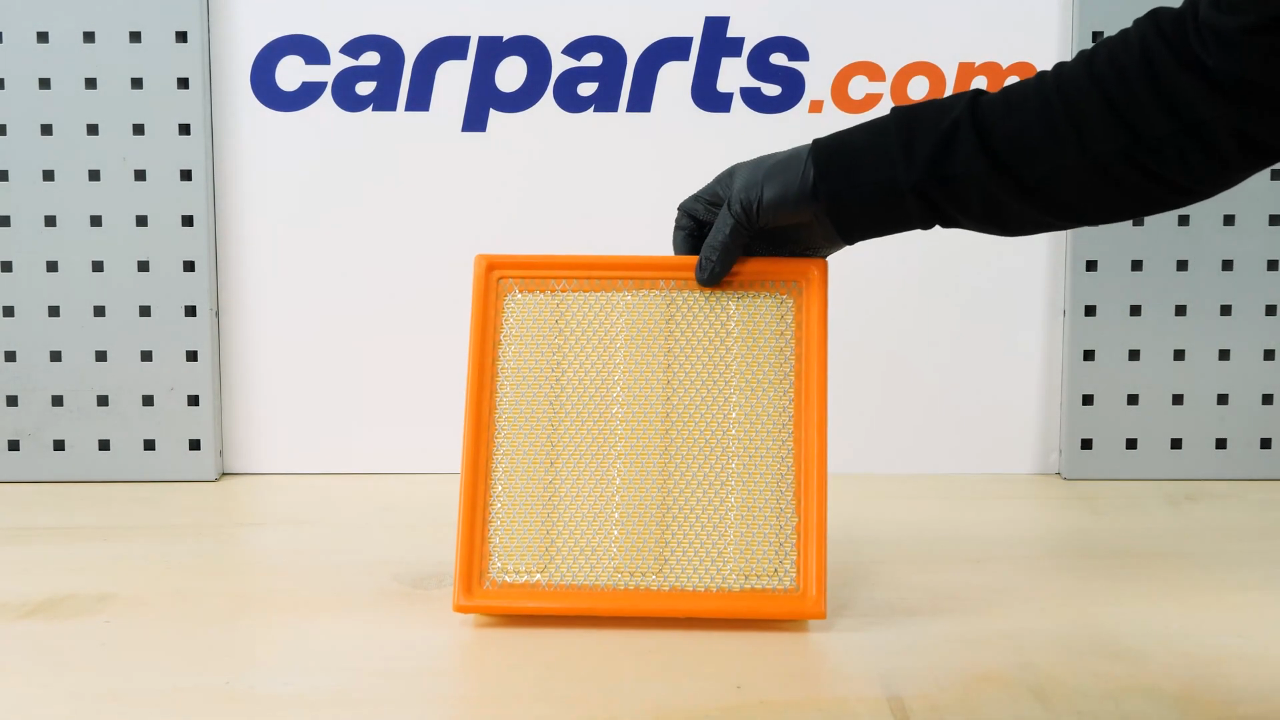
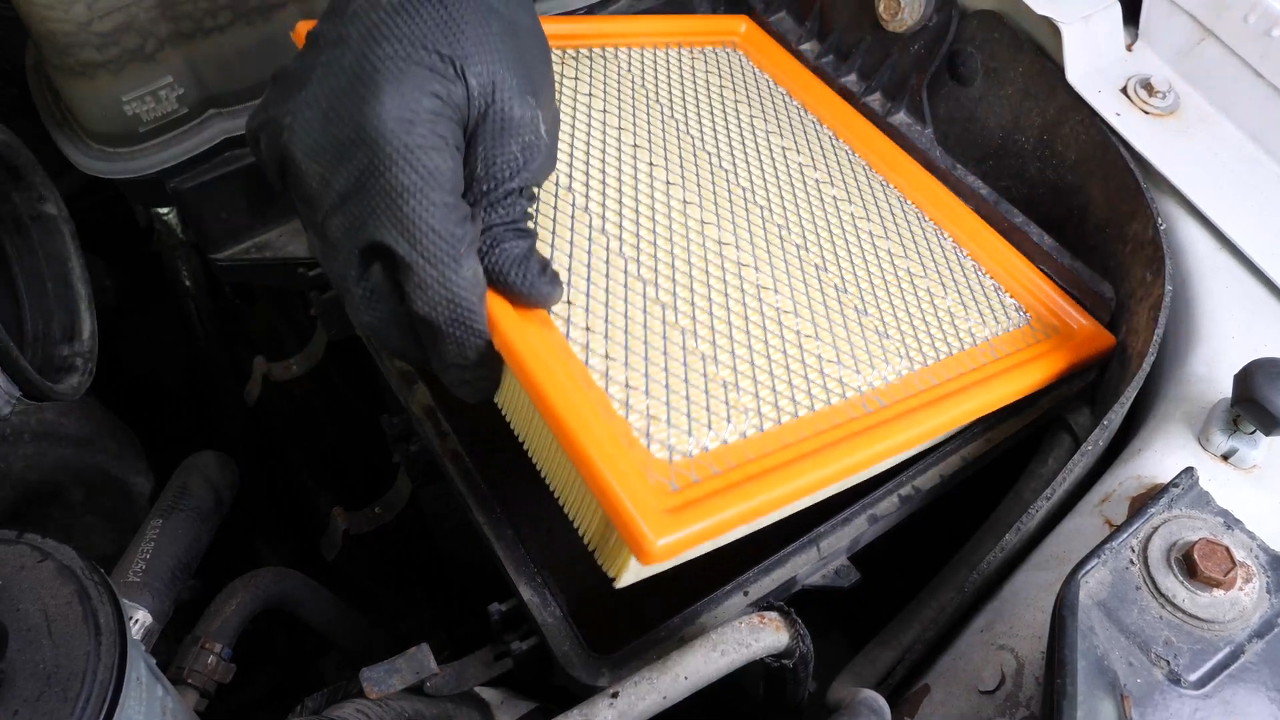
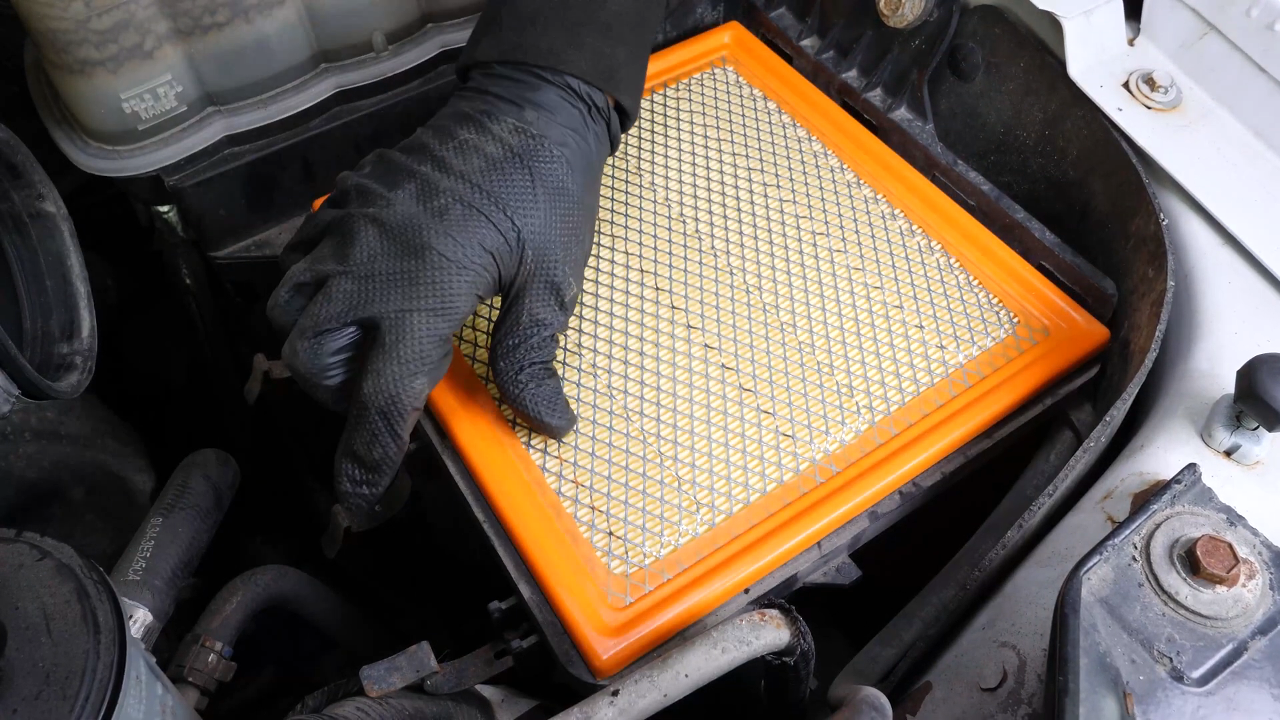
You can now put the new filter in place.
Chapter 6:
Finalise the reassembly
Step 1/4
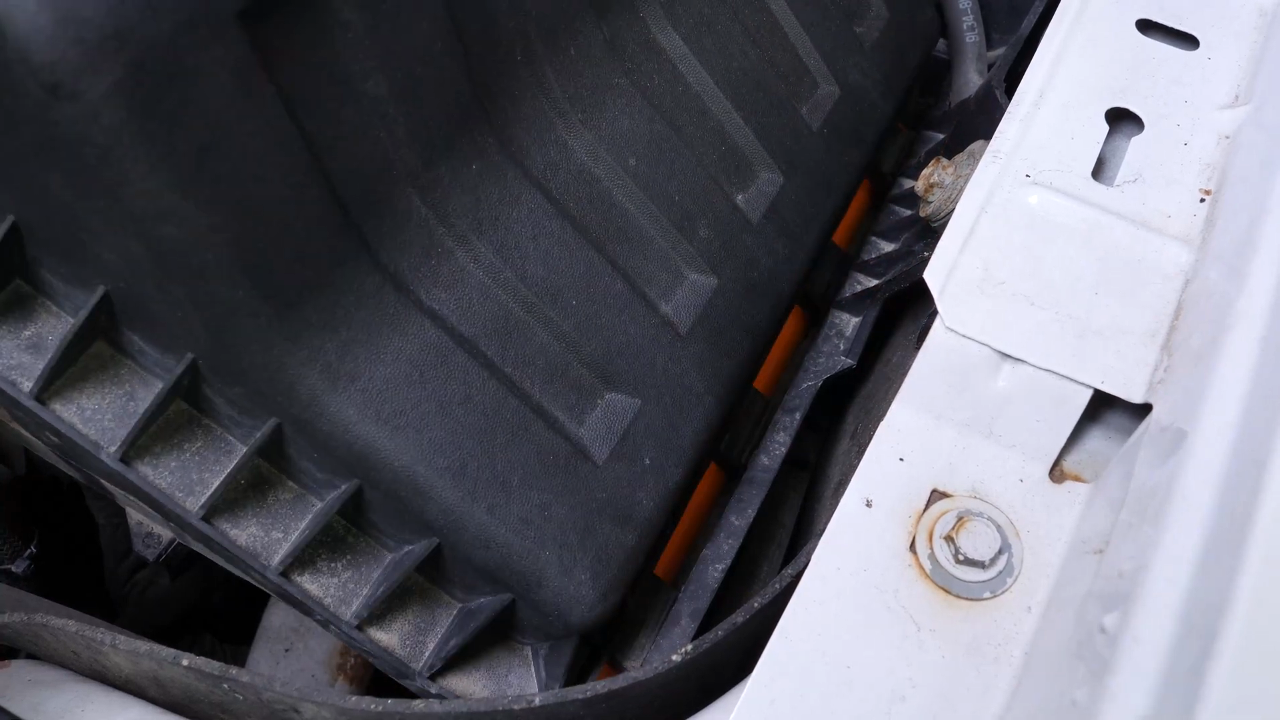
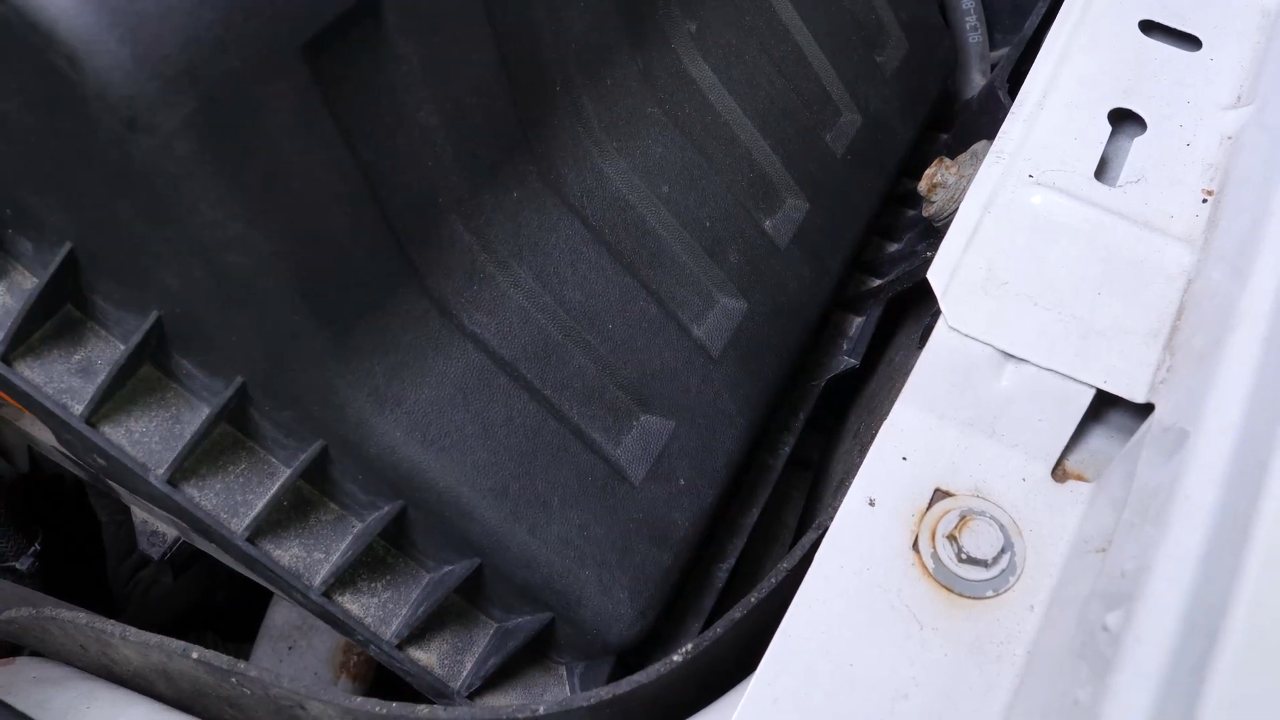
To put the flange in, incline it so that the interlocking studs go in first.
Chapter 6:
Step 2/4
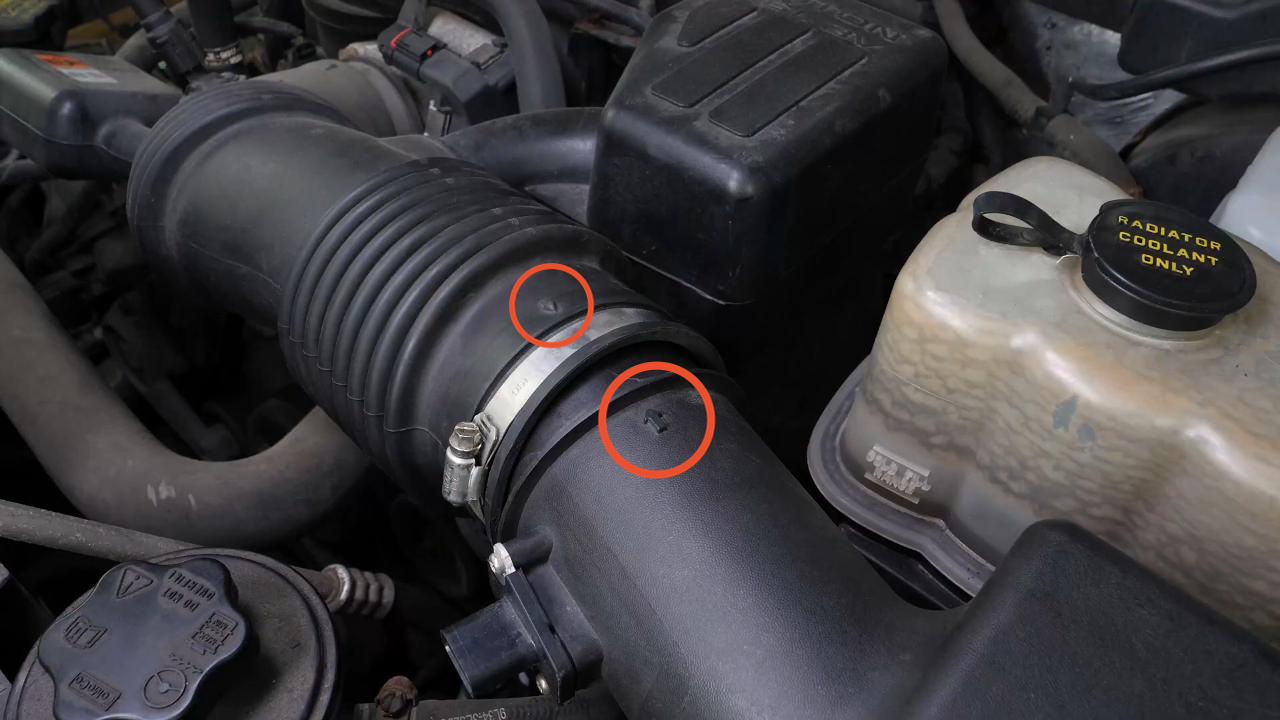
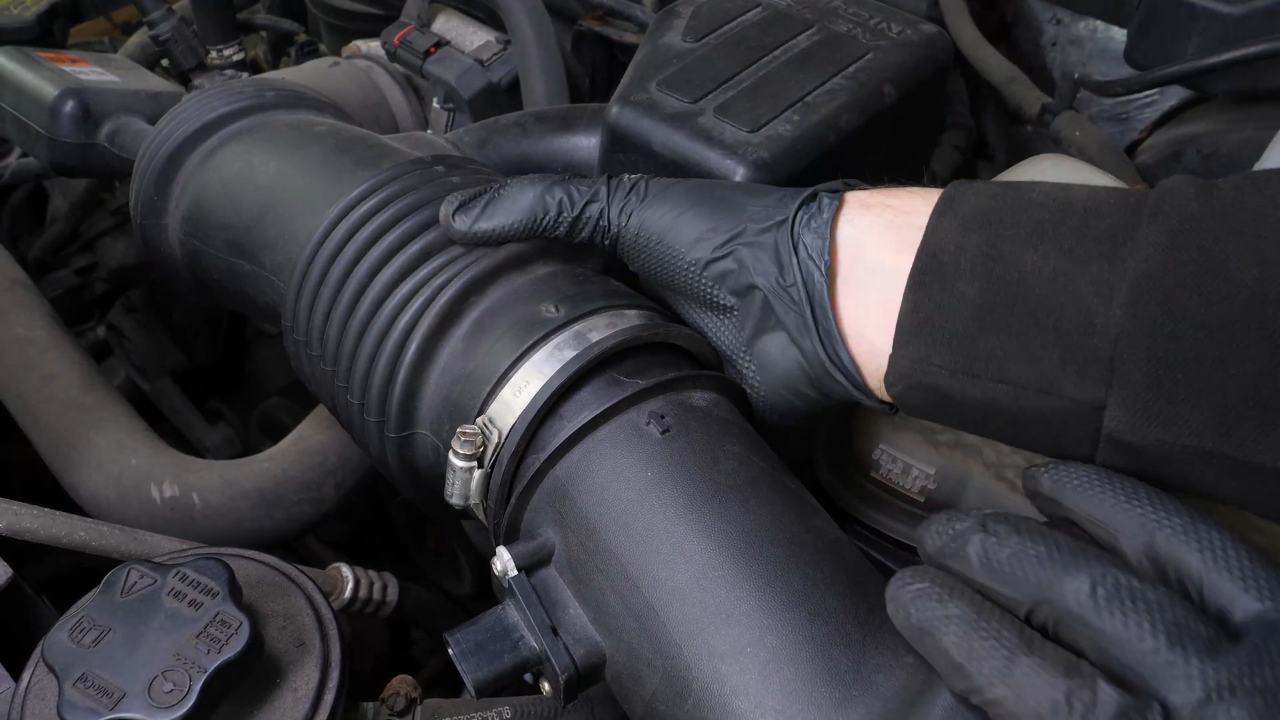
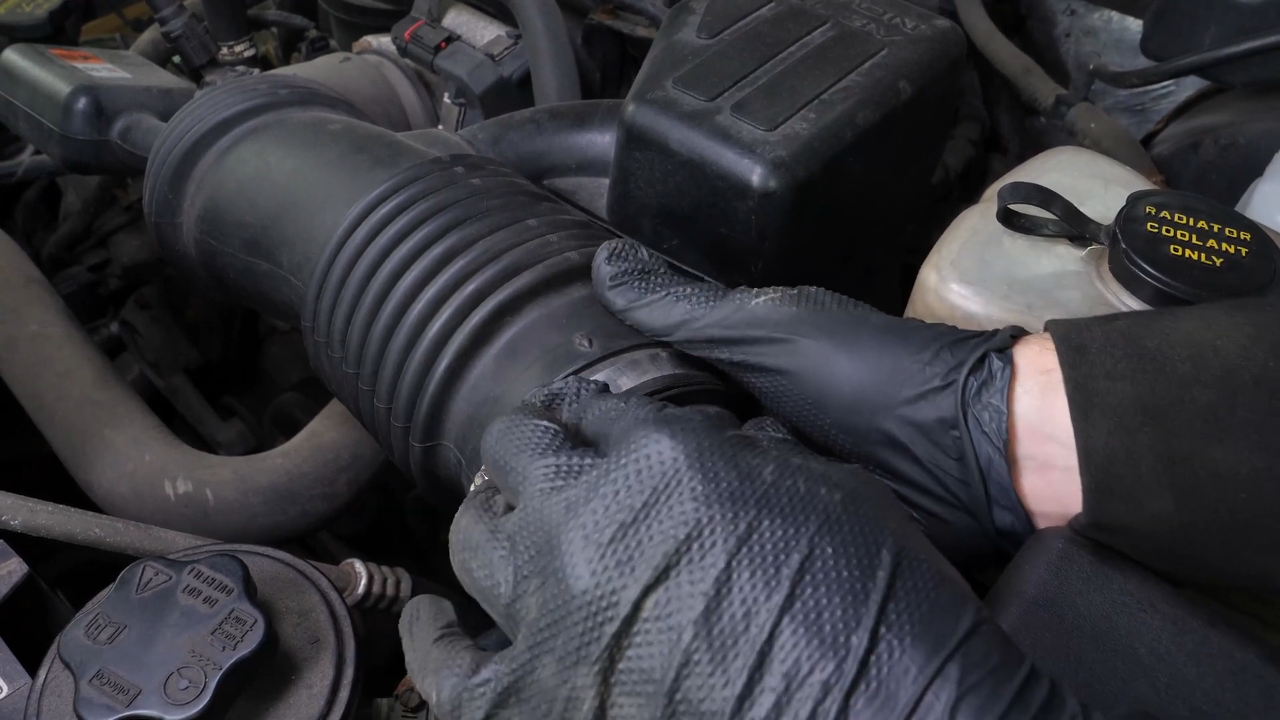
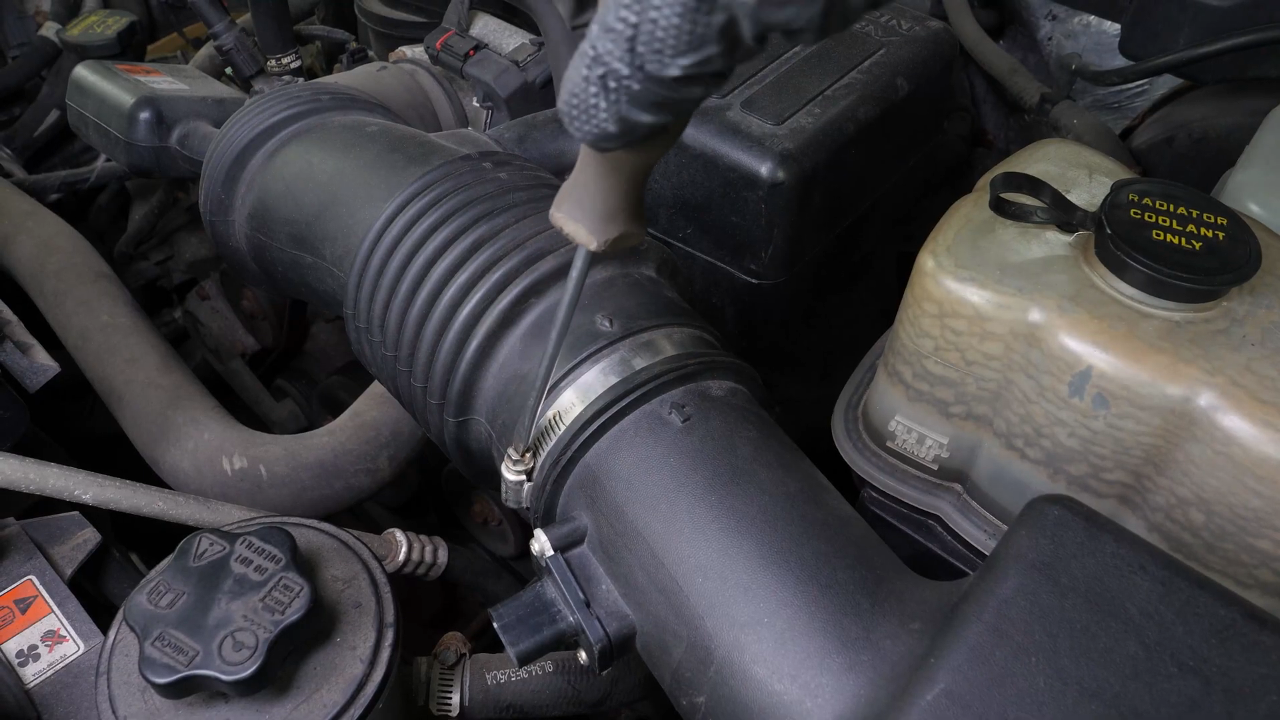
Put the duct back in place by lining up the two arrows. Tighten the clamp.
Chapter 6:
Step 3/4
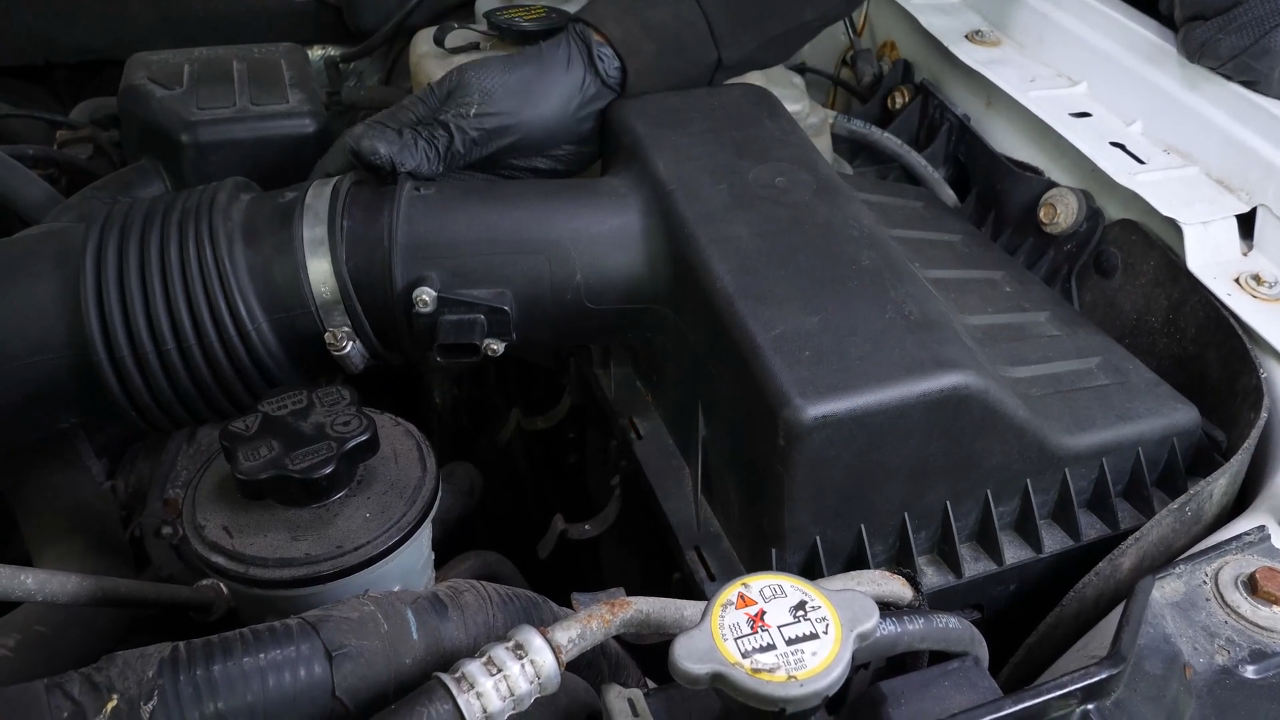
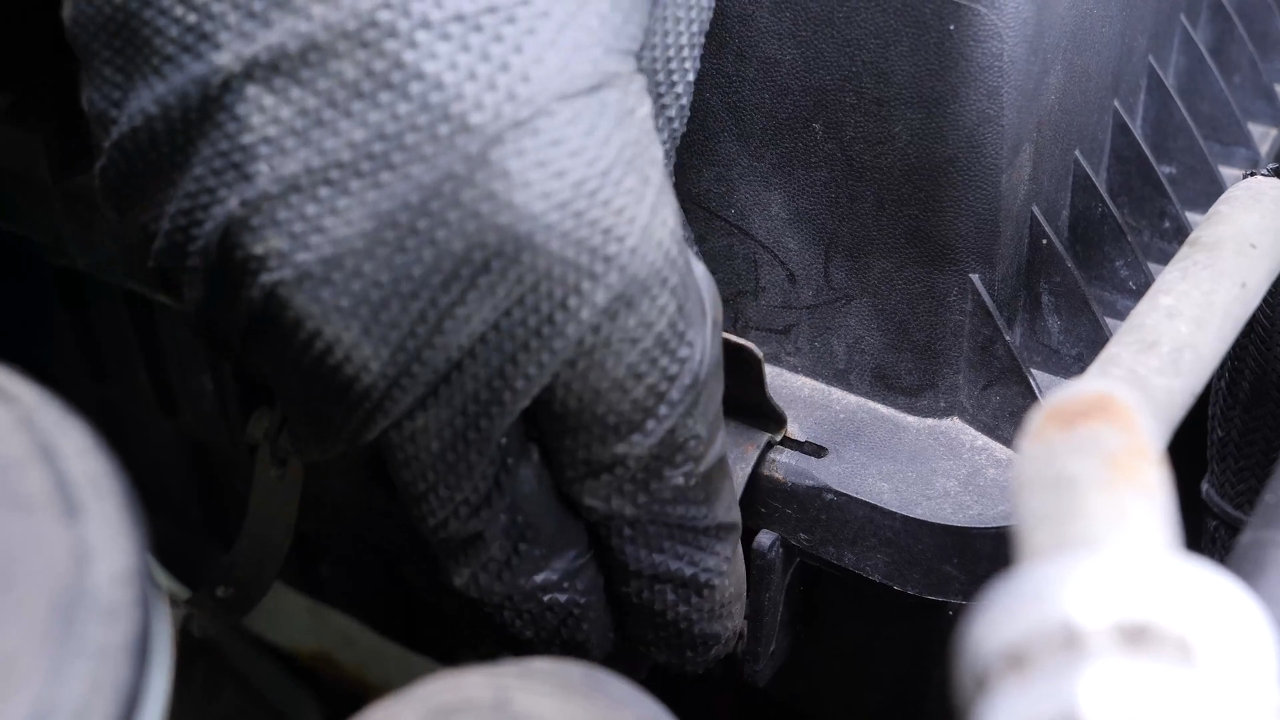
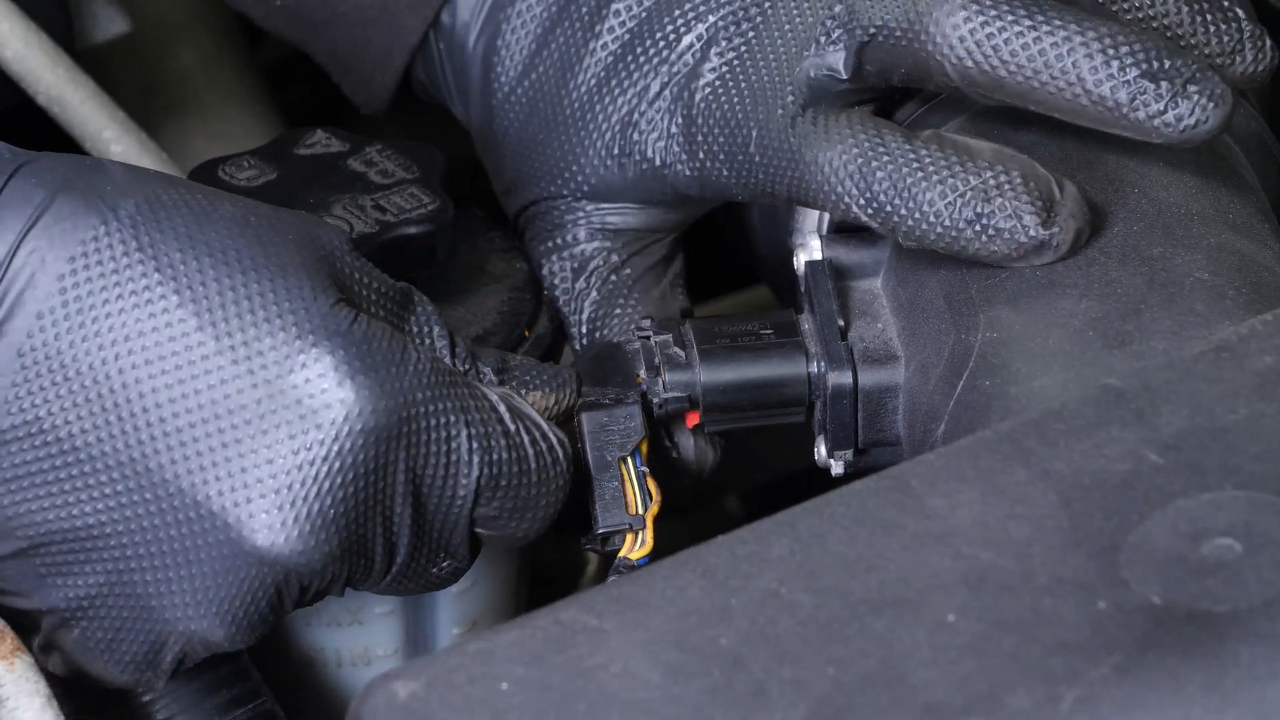
Finally, lock the flange with the three latches. Plug the electrical connector back in. Then lock it.
Chapter 6:
Step 4/4
Operation completed!
