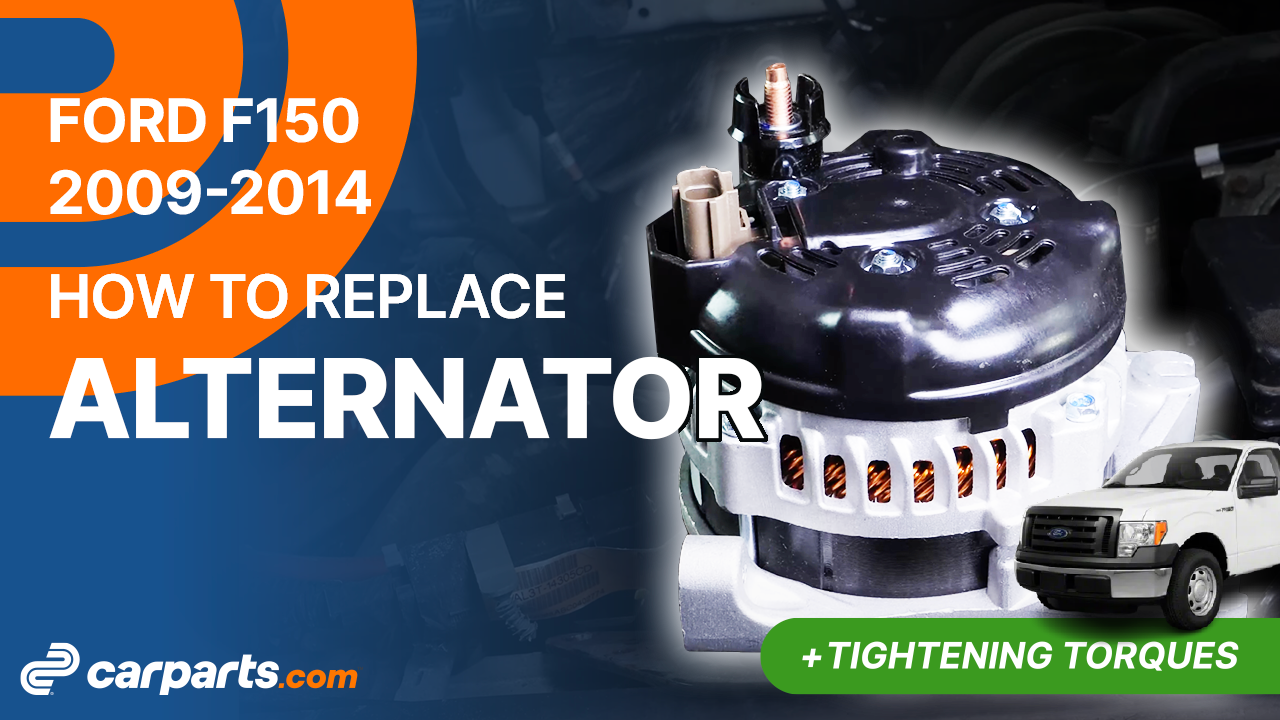
How to replace the alternator 2009-2014 Ford F-150
To replace the alternator on your F-150 it couldnt’ be easier. You will be asked to open the hood, disconnect the battery, move the serpentine belt aside as well as carry out a few other steps. You can carry out this tutorial of 11 chapters in 80 minutes. Take your 10 mm wrench and your 13 mm socket and let’s get started!
Duration
80 minutes
Number of steps
11
Difficulty out of 5
3
Average savings
$90
Parts You Will Need
Tools You Will Need
Step-by-Step Installation
Chapter 1:
Open the hood
Step 1/2
Turn your engine off and set the parking brake.


Chapter 1:
Step 2/2
Pull on the hood release handle and open the hood.


Chapter 2:
Disconnect the battery
Step 1/1
For safety reasons, we advise you to disconnect the battery.

Chapter 3:
Move the serpentine belt aside
Step 1/3
In order to remove the alternator, you need to remove the serpentine belt from the alternator pulley.

Chapter 3:
Step 2/3
Using a breaker bar and a 1/2″ drive extension socket, loosen the belt by lifting the serpentine belt tensioner.

Chapter 3:
Step 3/3
Meanwhile, remove the serpentine belt from the alternator pulley. Then release the serpentine belt tensioner. Take out the tool.

Chapter 4:
Remove the air intake hose
Step 1/3
Remove the breather from the air intake hose by pushing the green tab and pulling on the breather.


Chapter 4:
Step 2/3
Using a flathead screwdriver, unscrew the two clamps located on either side of the hose.


Chapter 4:
Step 3/3
Then, remove the hose.


Chapter 5:
Remove the metal bar
Step 1/6
Using a 10-mm wrench, unscrew the two screws from the alternator on the driver’s side of the metal bar.


Chapter 5:
Step 2/6
Using a fork, disconnect the wiring harness from the metal bar.

Chapter 5:
Step 3/6
Then, unscrew the third mounting screw from the metal bar using the wrench.

Chapter 5:
Step 4/6
Using the fork, disconnect the electrical connector from the metal bar.


Chapter 5:
Step 5/6
Then, unscrew the fourth screw.


Chapter 5:
Step 6/6
You can now remove the support bar.

Chapter 6:
Remove the alternator
Step 1/6
Using a ratchet and a 13-mm socket, unscrew the two lower mounting nuts from the alternator.


Chapter 6:
Step 2/6
You can now remove the alternator by sliding it forward.


Chapter 6:
Step 3/6
Then, disconnect the electrical connector by pressing the tab with a flathead screwdriver.

Chapter 6:
Step 4/6
Remove the plastic cover from the negative terminal of the alternator.

Chapter 6:
Step 5/6
Then, using a ratchet and a 13-mm socket, unscrew the wire mounting nut from the negative terminal.


Chapter 6:
Step 6/6
Then, remove the wire.

Chapter 7:
Reconnect the alternator
Step 1/5
Return the wire to the negative terminal.


Chapter 7:
Step 2/5
Then, screw the nut back on. Replace the plastic cover.


Chapter 7:
Step 3/5
Plug the electrical connector back in.

Chapter 7:
Step 4/5
Return the alternator to its housing.


Chapter 7:
Step 5/5
Then, screw the two lower mounting nuts back on.


Chapter 8:
Put the metal bar back
Step 1/6
Replace the support bar.

Chapter 8:
Step 2/6
Then, screw back in the first two mounting screws.


Chapter 8:
Step 3/6
Reclip the electrical harness.

Chapter 8:
Step 4/6
Reconnect the electrical connection.

Chapter 8:
Step 5/6
Then, screw the last two mounting screws back in.


Chapter 8:
Step 6/6
Finish tightening the two lower mounting nuts using a torque wrench.

Chapter 9:
Put the serpentine belt back
Step 1/1
Replace the serpentine belt on the alternator pulley and lower the idler pulley.


Chapter 10:
Put the air intake hose back
Step 1/3
Replace the air intake hose.

Chapter 10:
Step 2/3
Screw the two clamps back on.


Chapter 10:
Step 3/3
Replace the breather.

Chapter 11:
Reconnect the batterie
Step 1/1
Reconnect the battery. Operation complete.

