How to replace the catalytic converter 2009-2014 Ford F-150
To replace the catalytic converter on your F-150 we’re here to help. You’ll need to lift the vehicle, disconnect the oxygen sensor, remove the catalytic converter as well as carry out a few other steps. You can carry out this tutorial of 16 chapters in 240 minutes. Take your extender and your gimbal and let’s get started!
Duration
240 minutes
Number of steps
16
Difficulty out of 5
4
Average savings
$200
Parts You Will Need
Tools You Will Need
Step-by-Step Installation
Chapter 1:
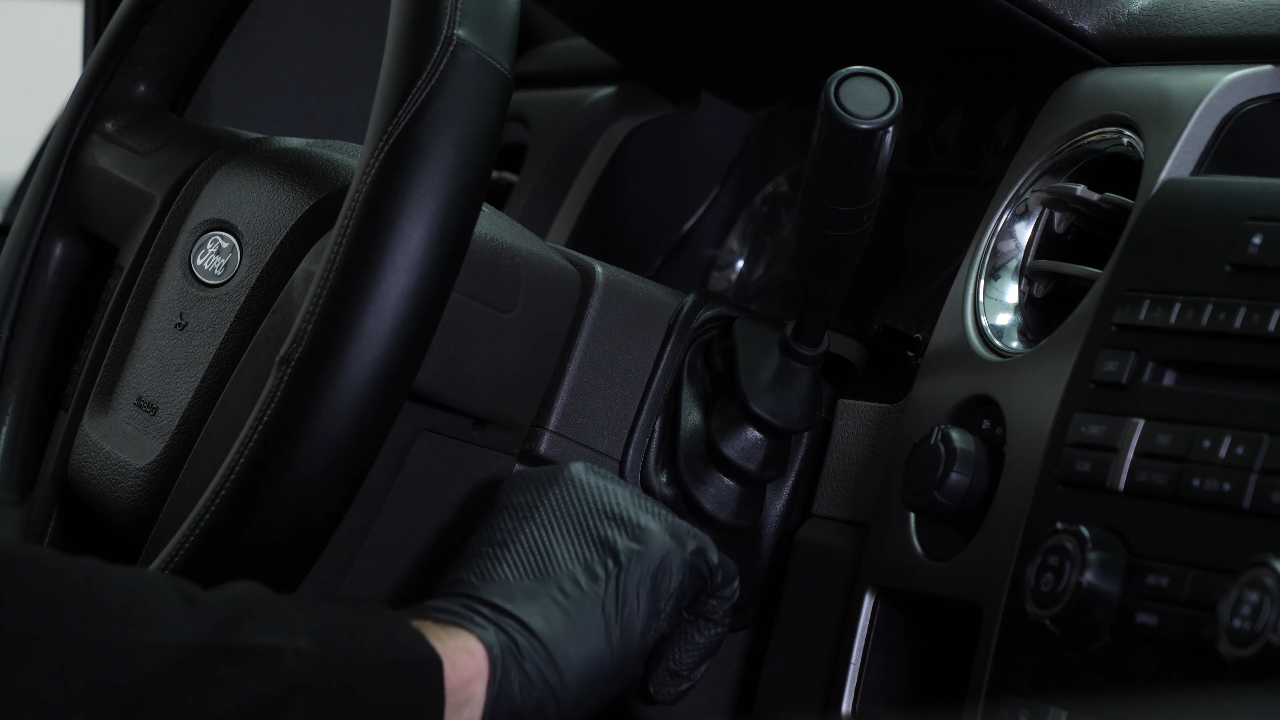
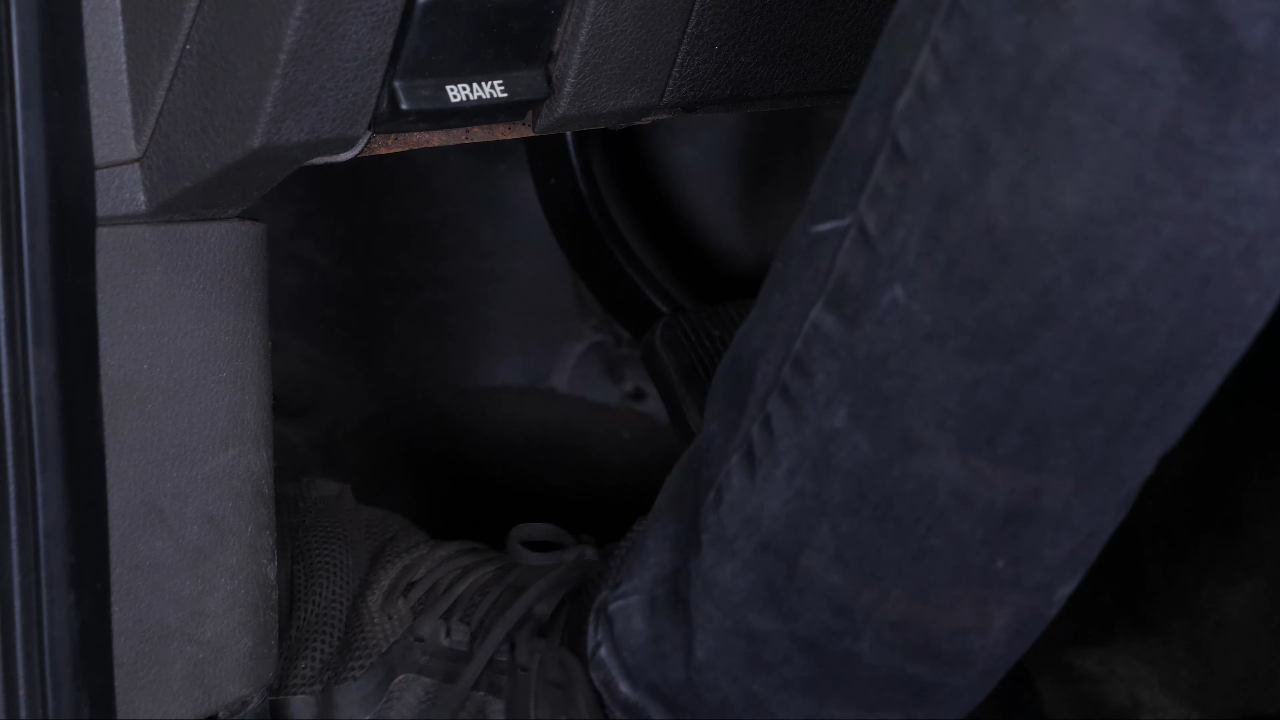
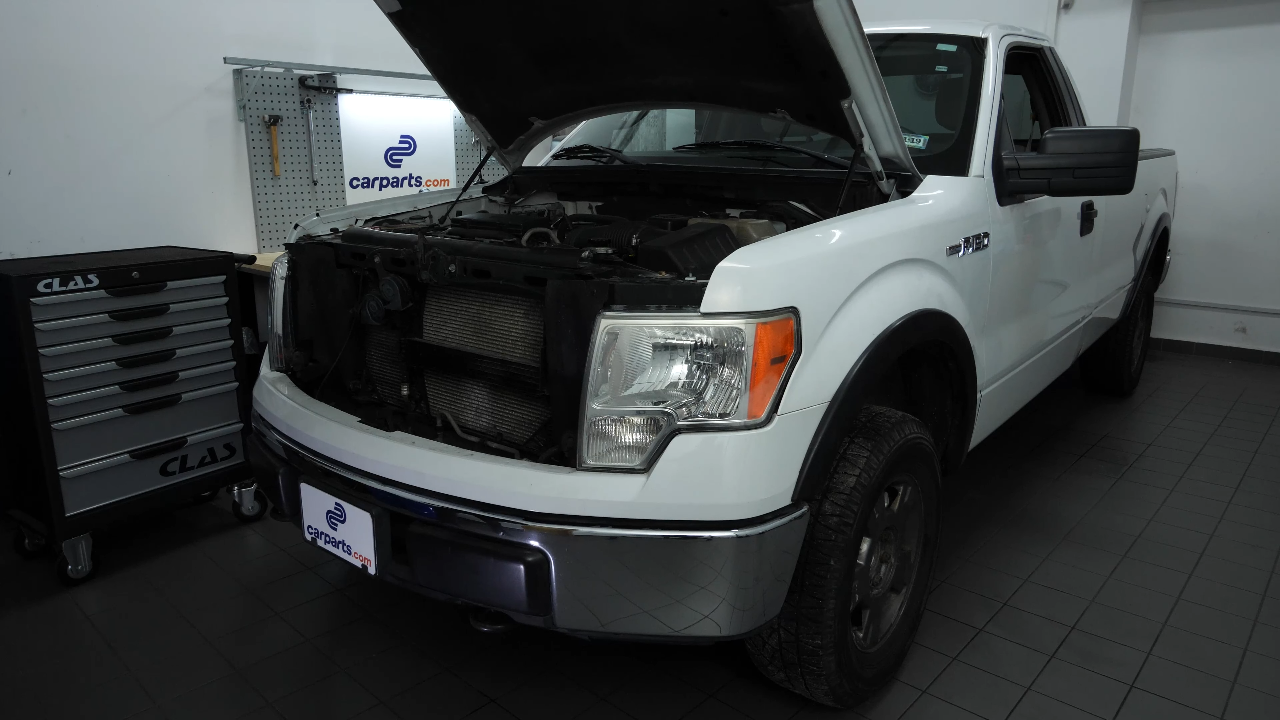
Open the hood
Step 1/1
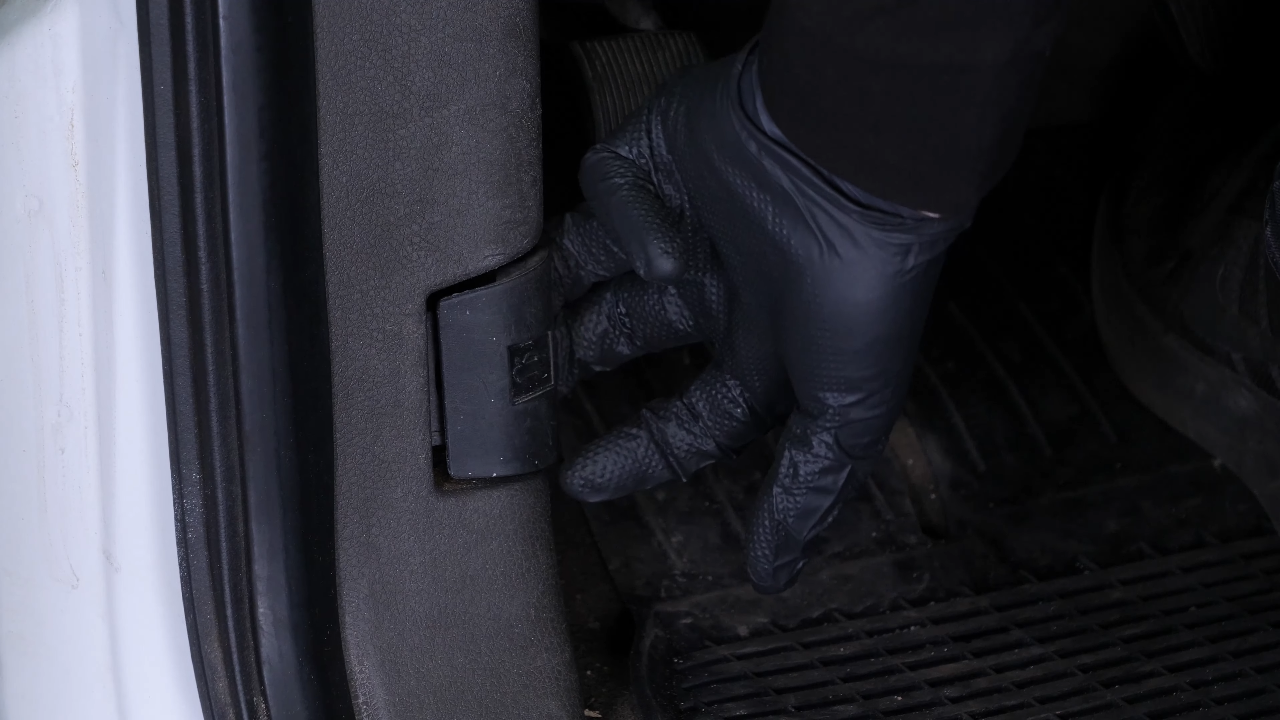
Turn off your vehicle’s ignition, set the parking brake, pull the hood release handle and open the hood.
Chapter 2:
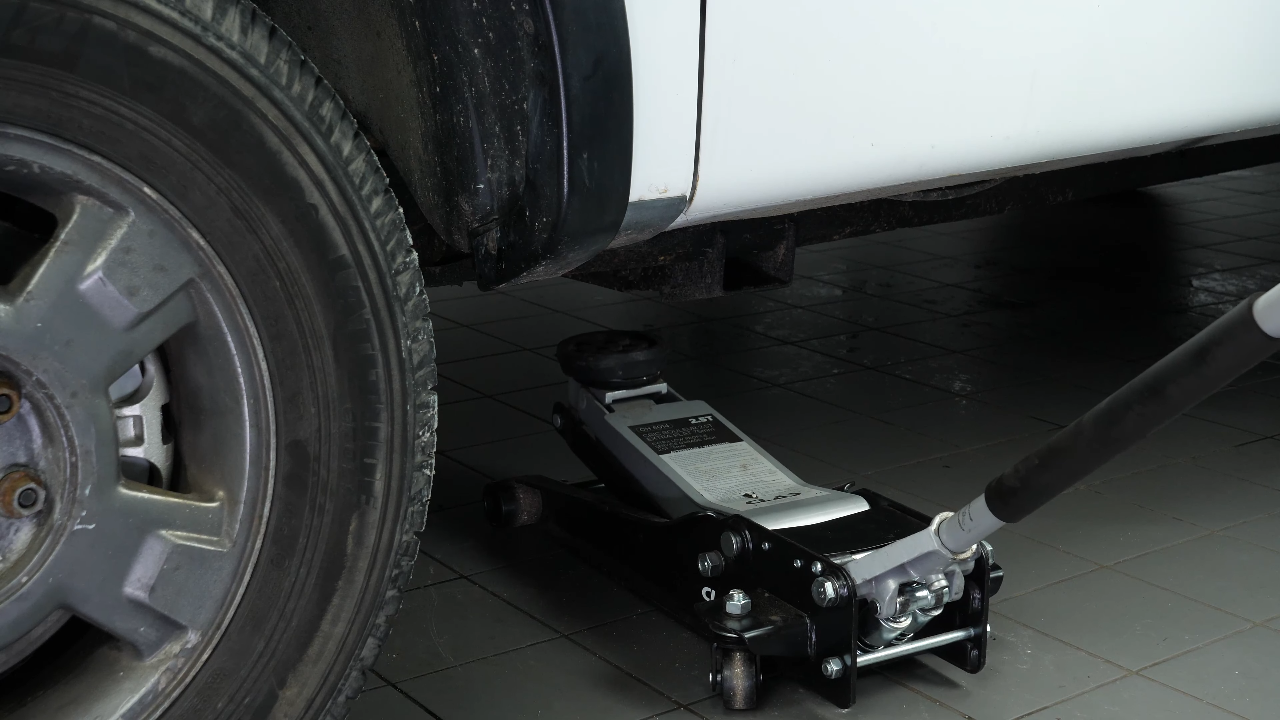
Lift the vehicle
Step 1/3
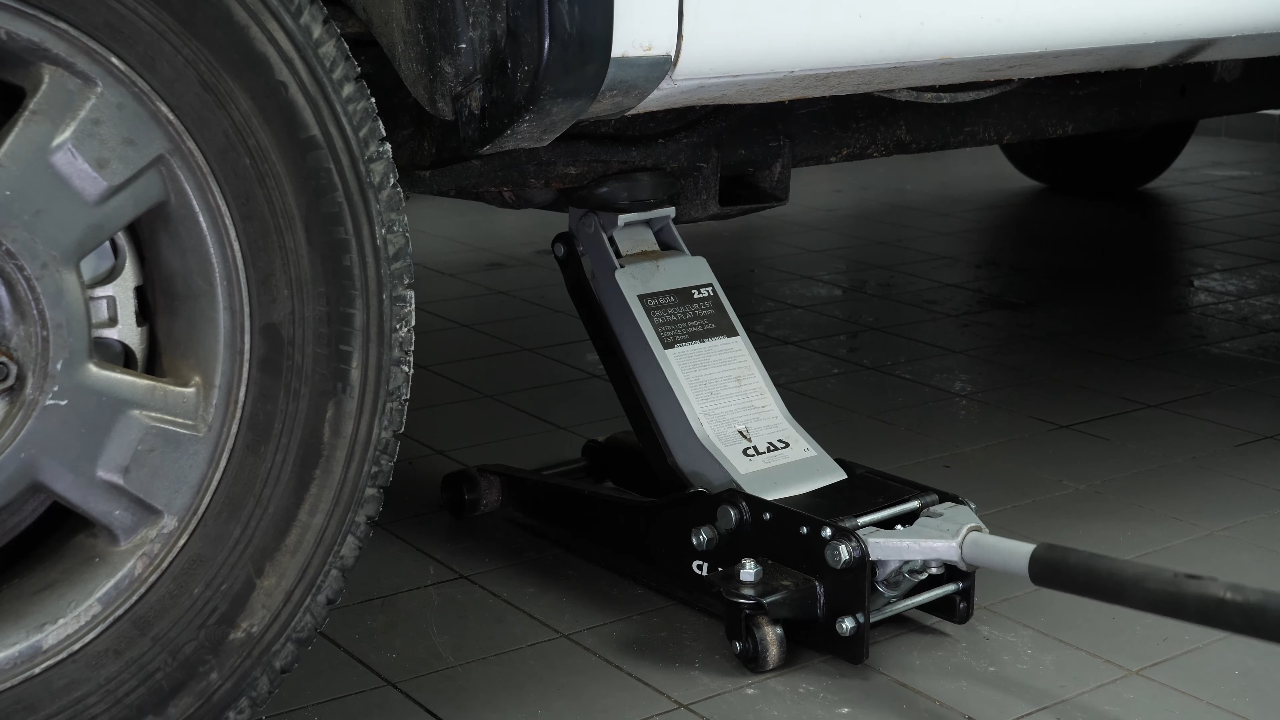
Raise the front of your vehicle high enough, which will allow you to remove the catalytic converter later.
Chapter 2:
Step 2/3
We strongly suggest watching our video on ‘How to jack your Ford F-150 safely” before carrying out this step.
Chapter 2:
Step 3/3
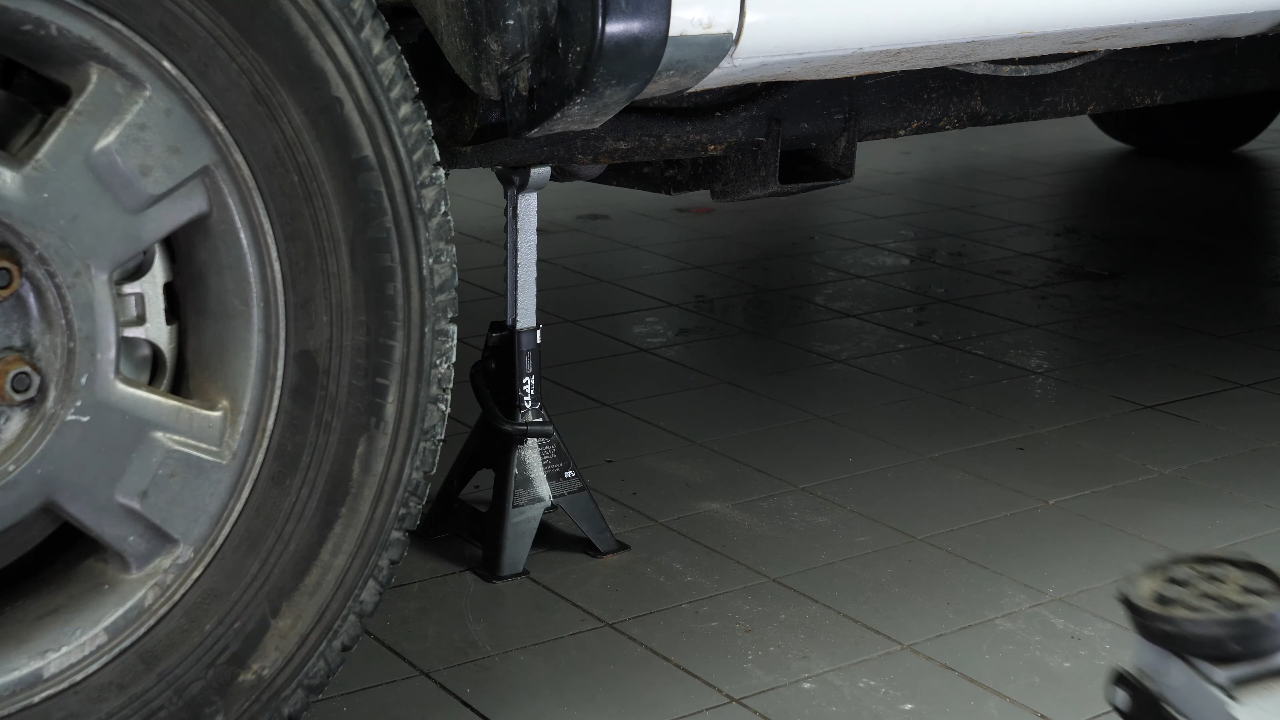
Place the vehicle on the jack stands. Position yourself under the vehicle.
Chapter 3:
Dévisser la ligne d’échappement
Step 1/2
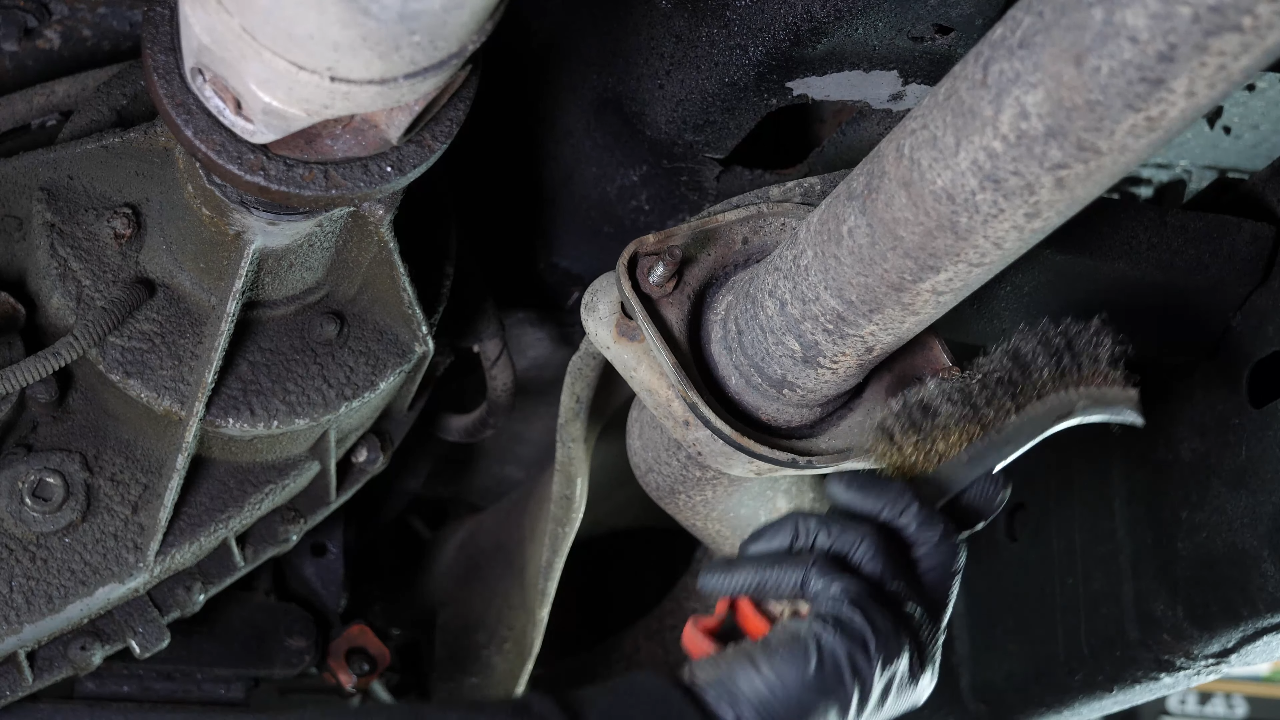
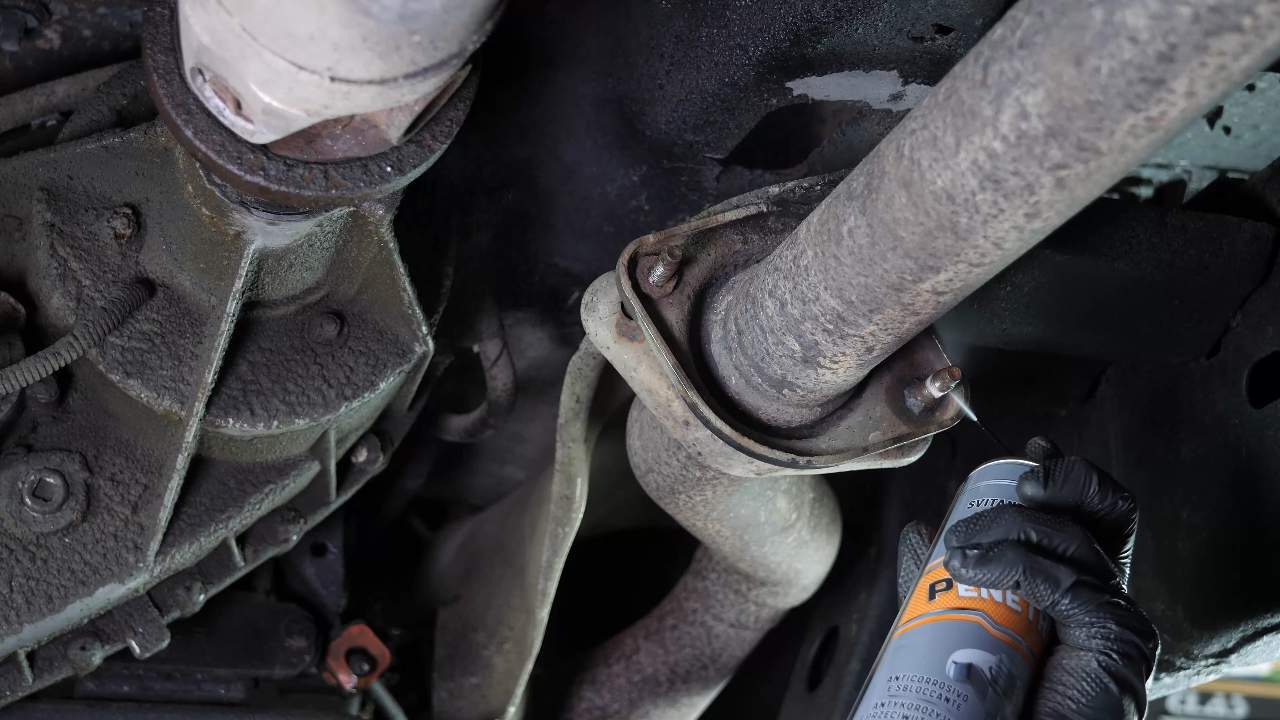
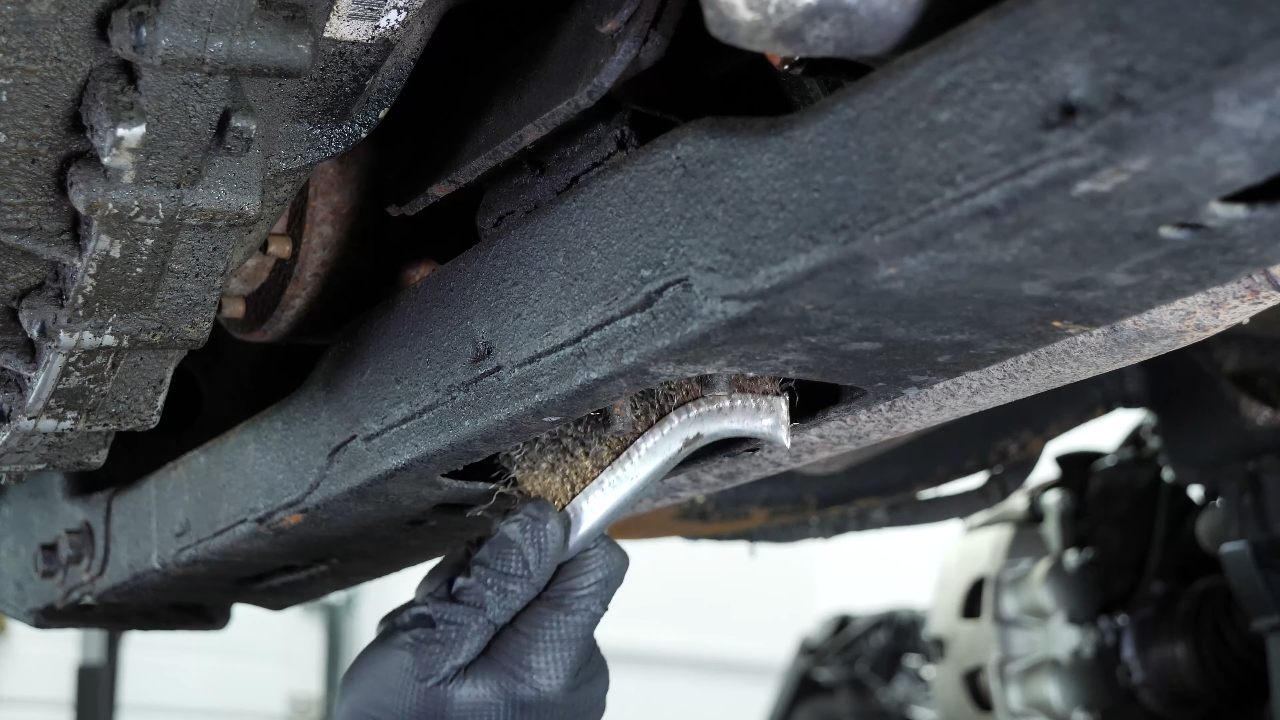
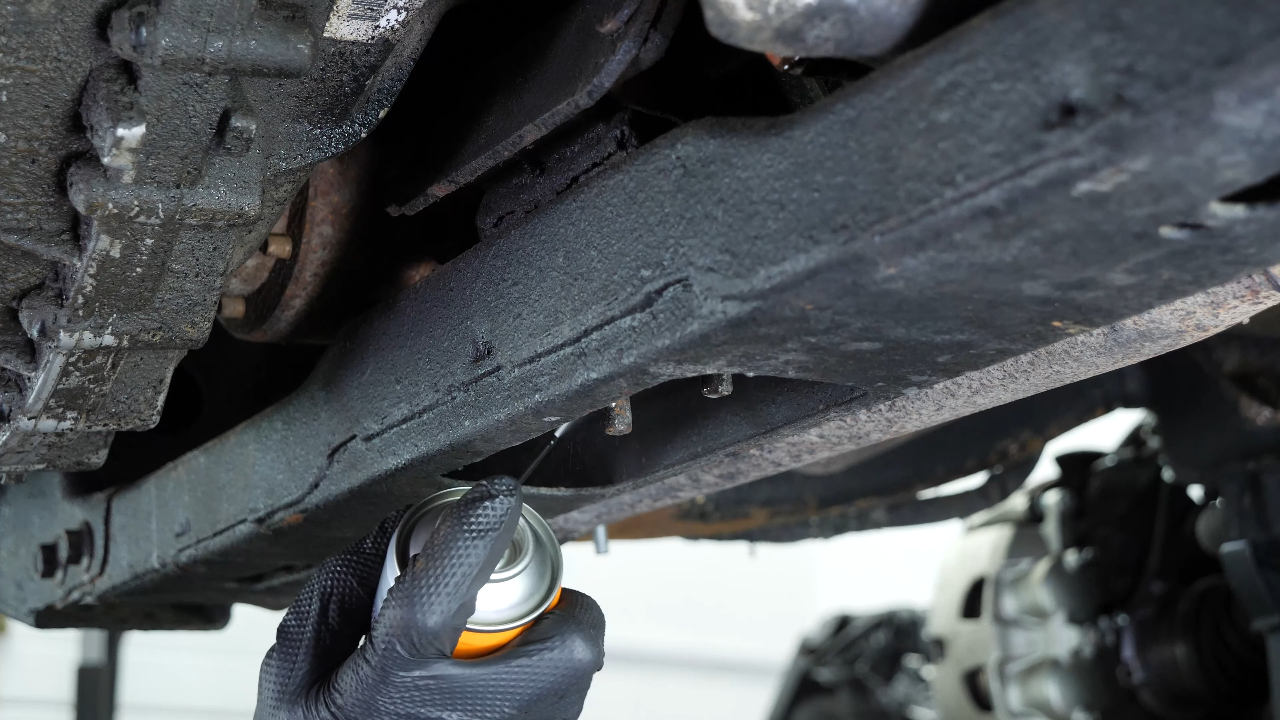
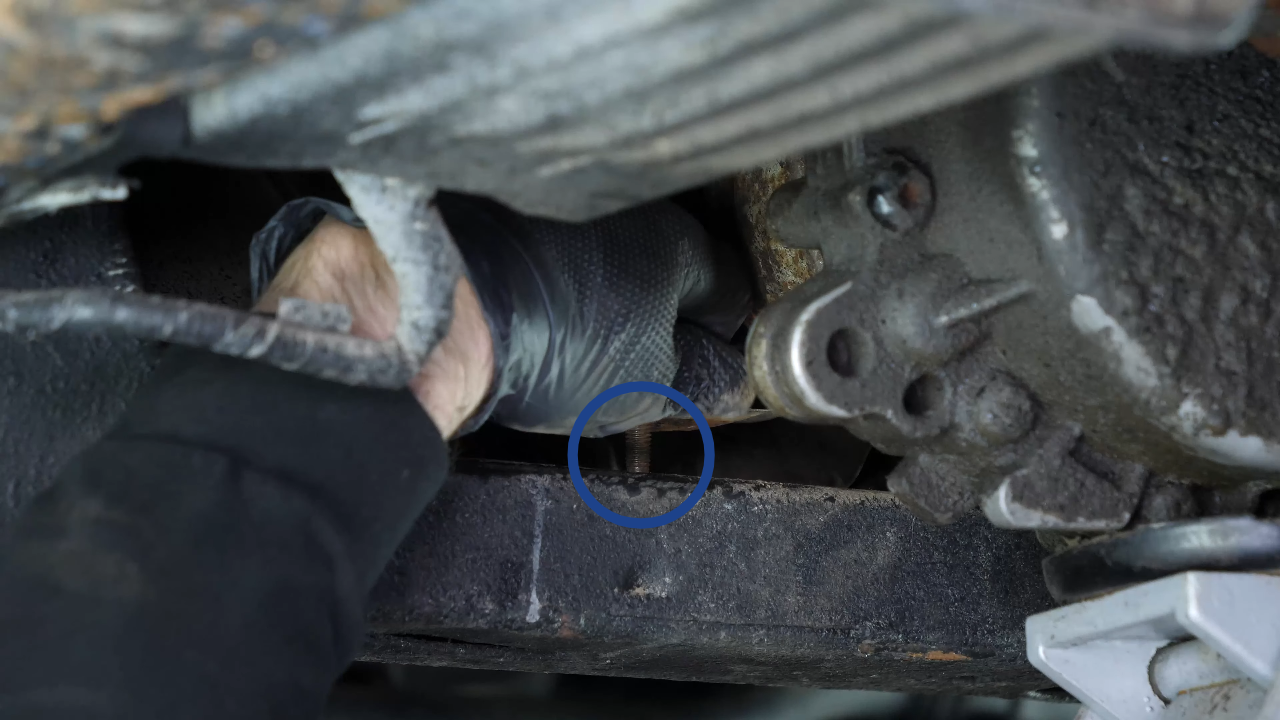
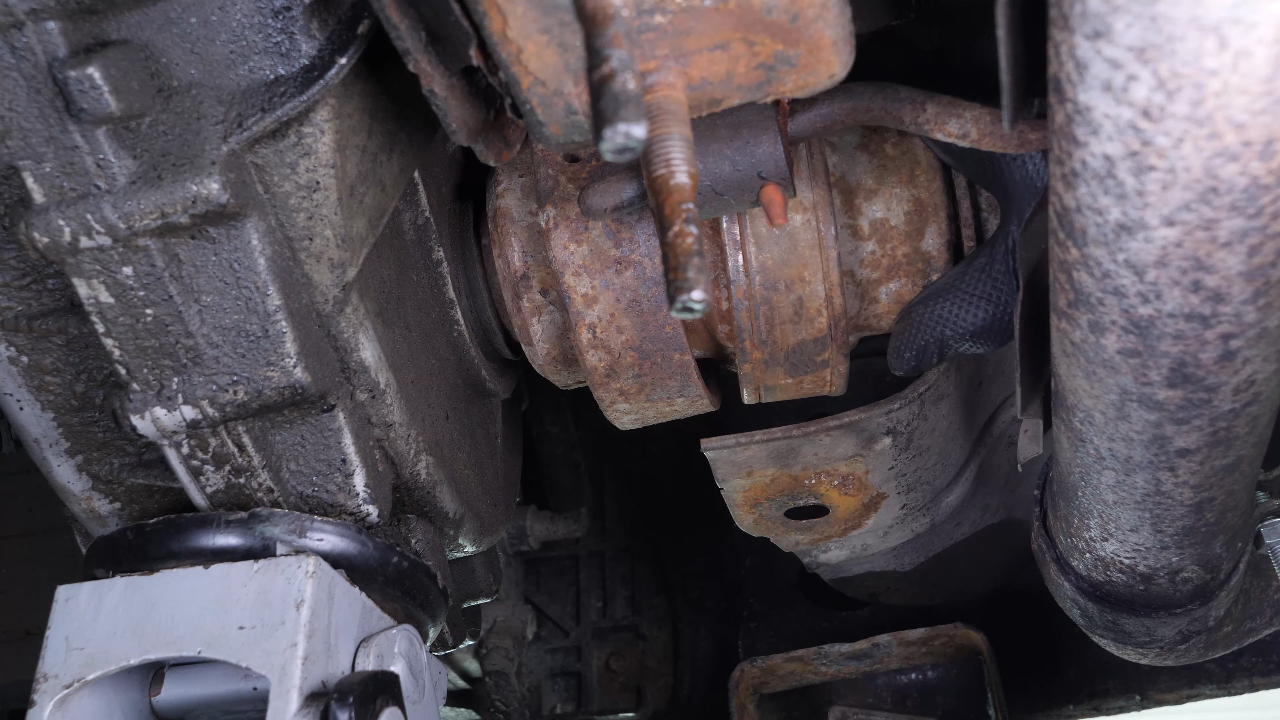
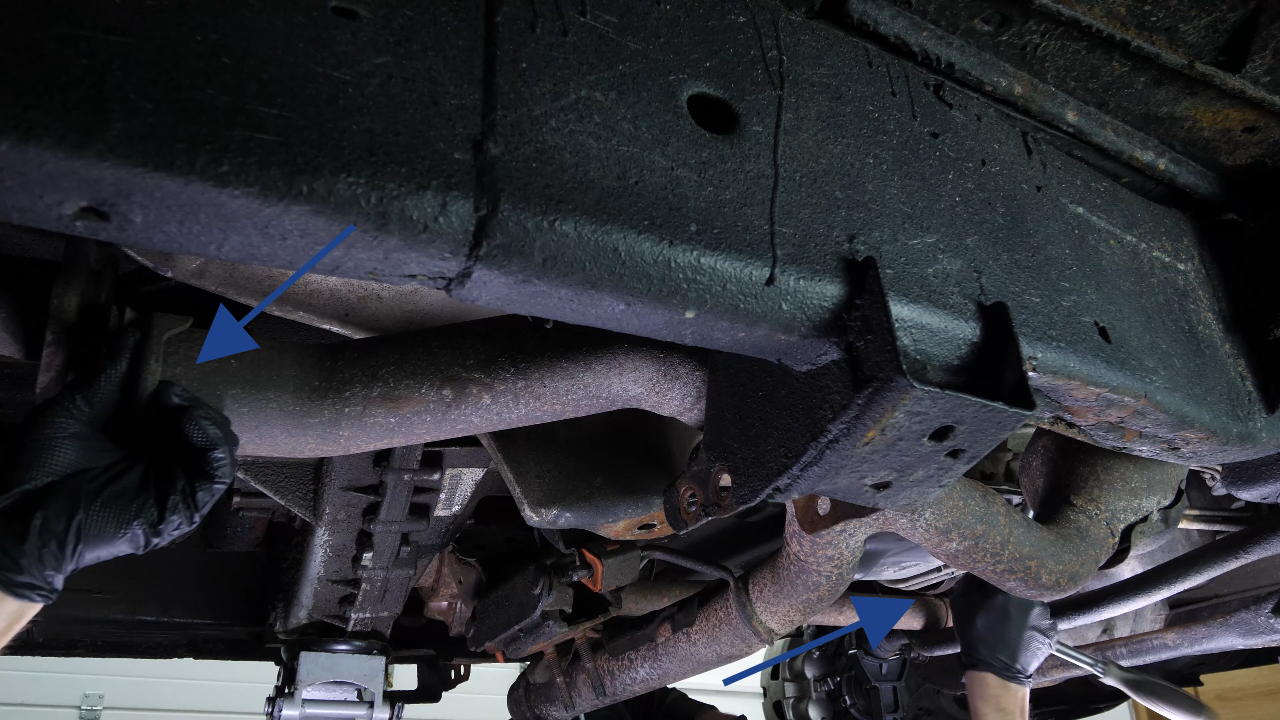
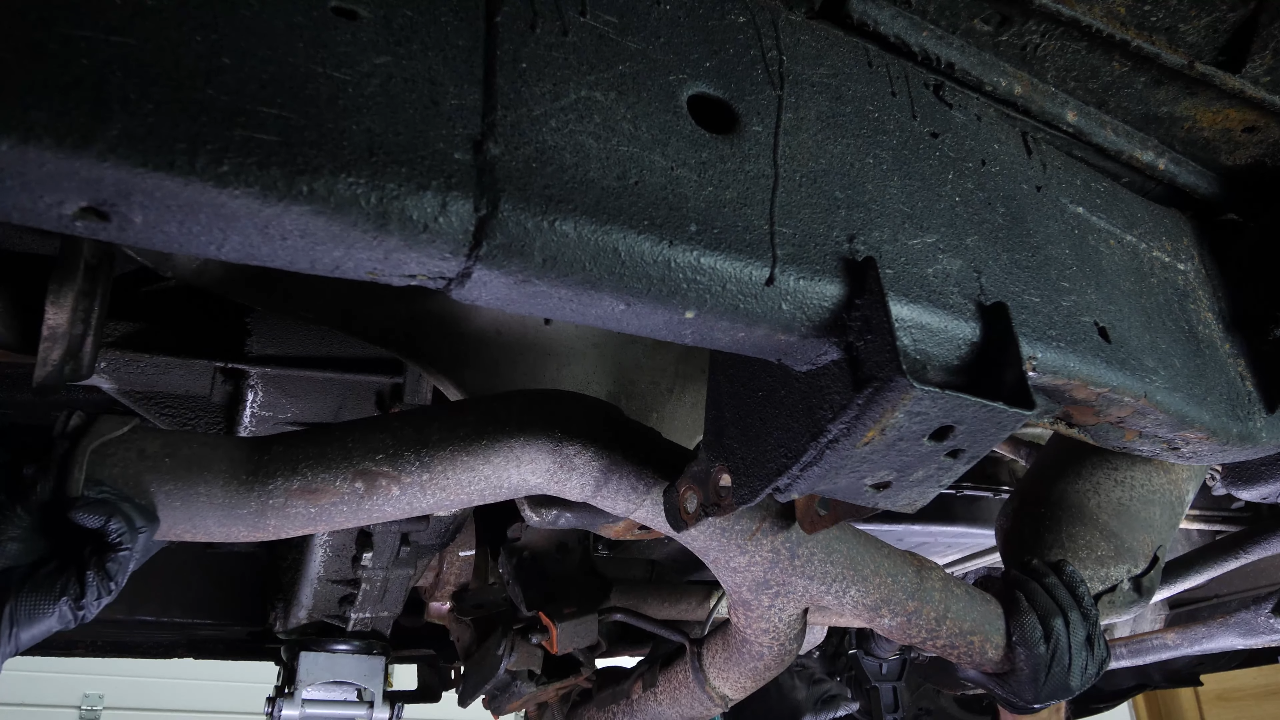
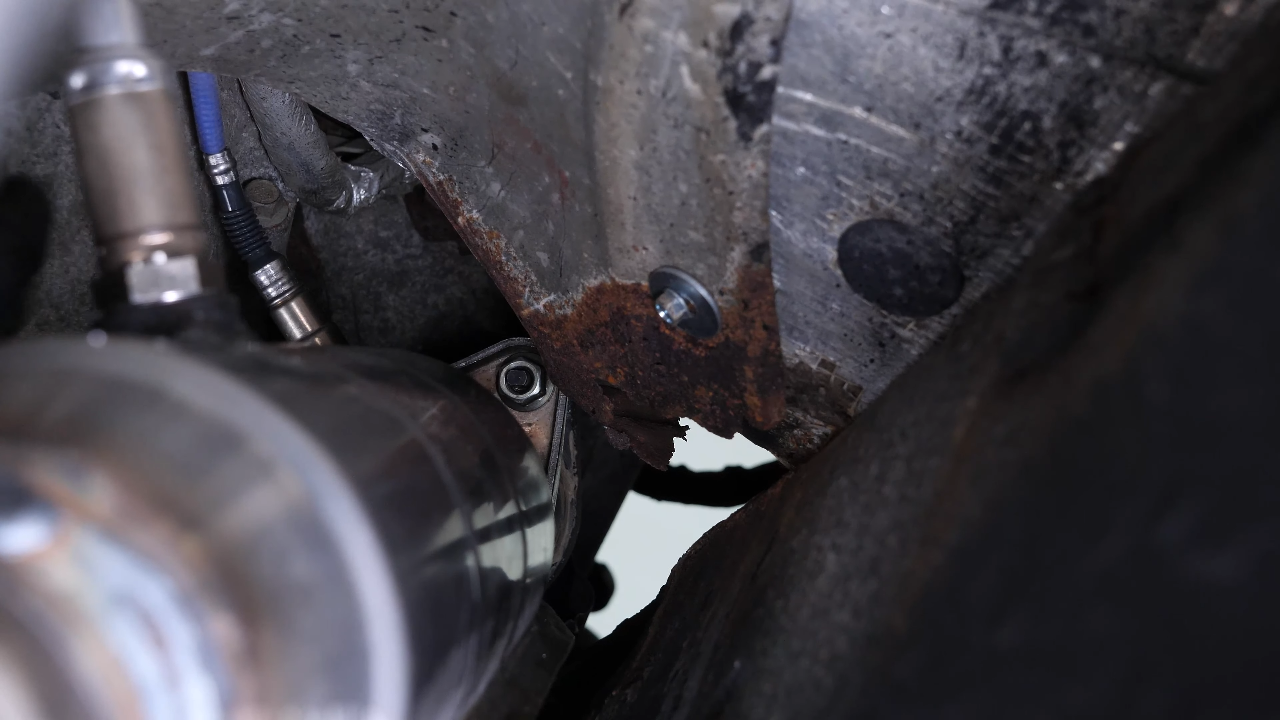
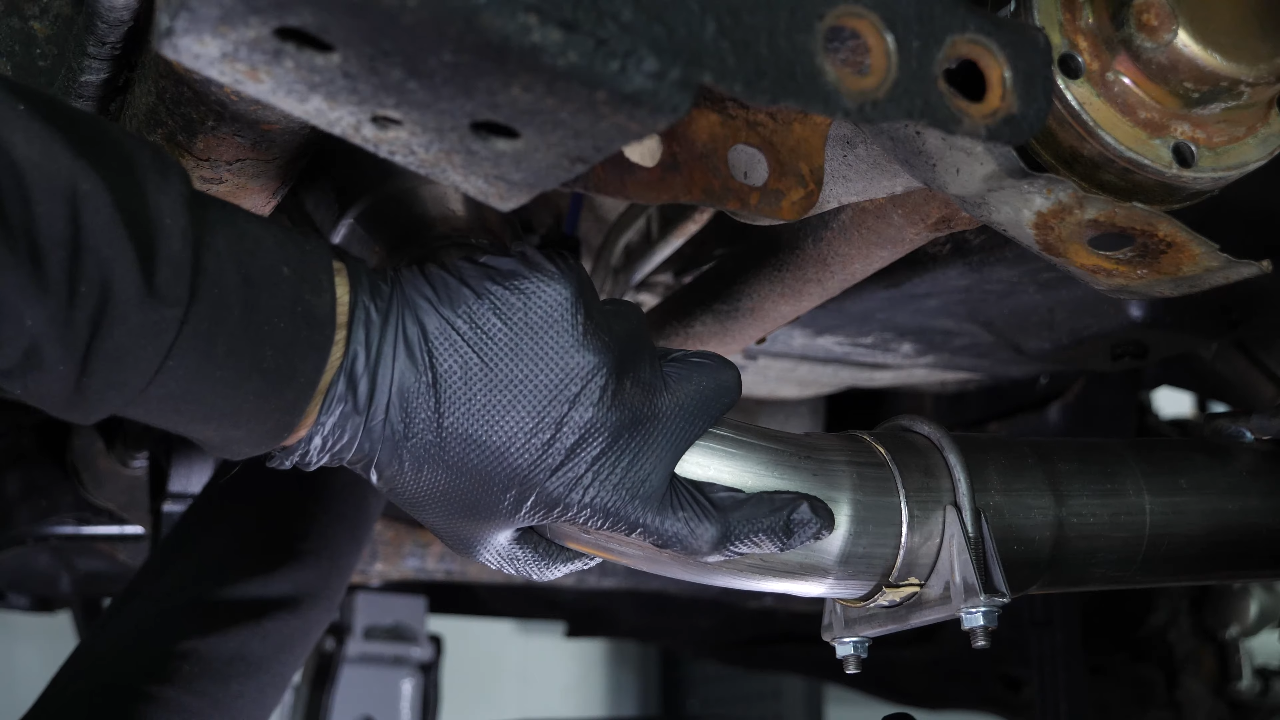
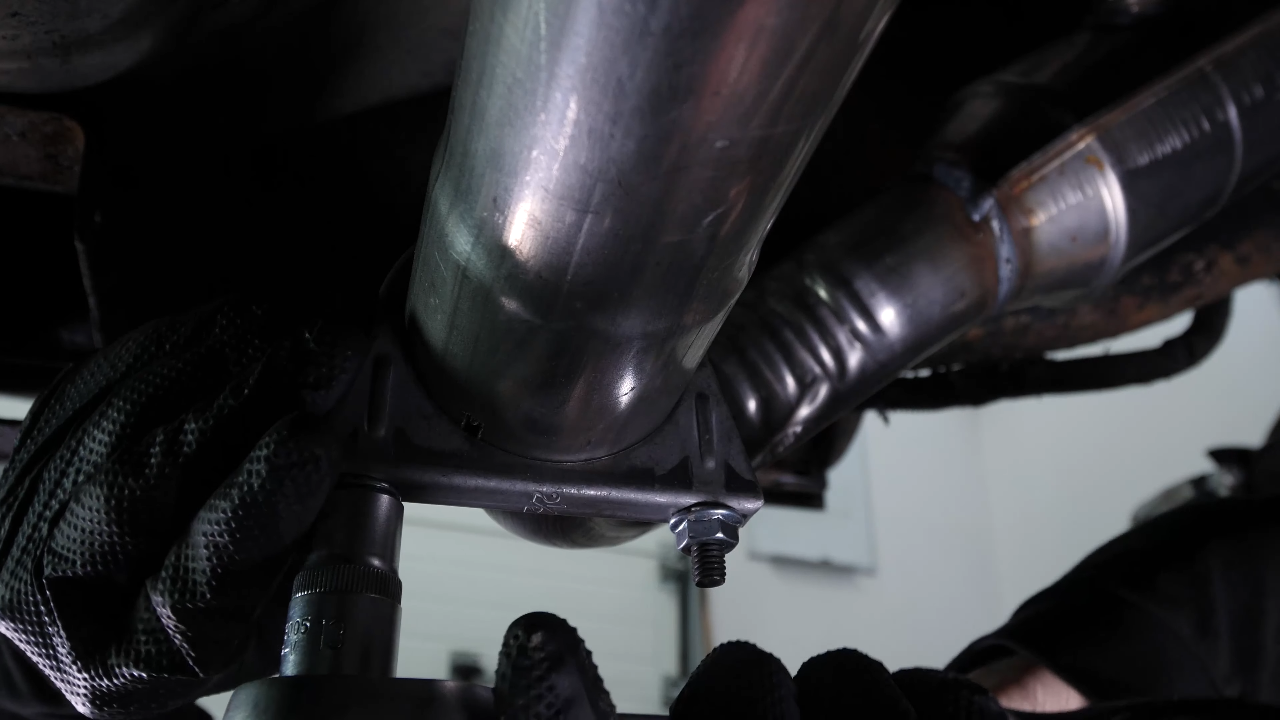
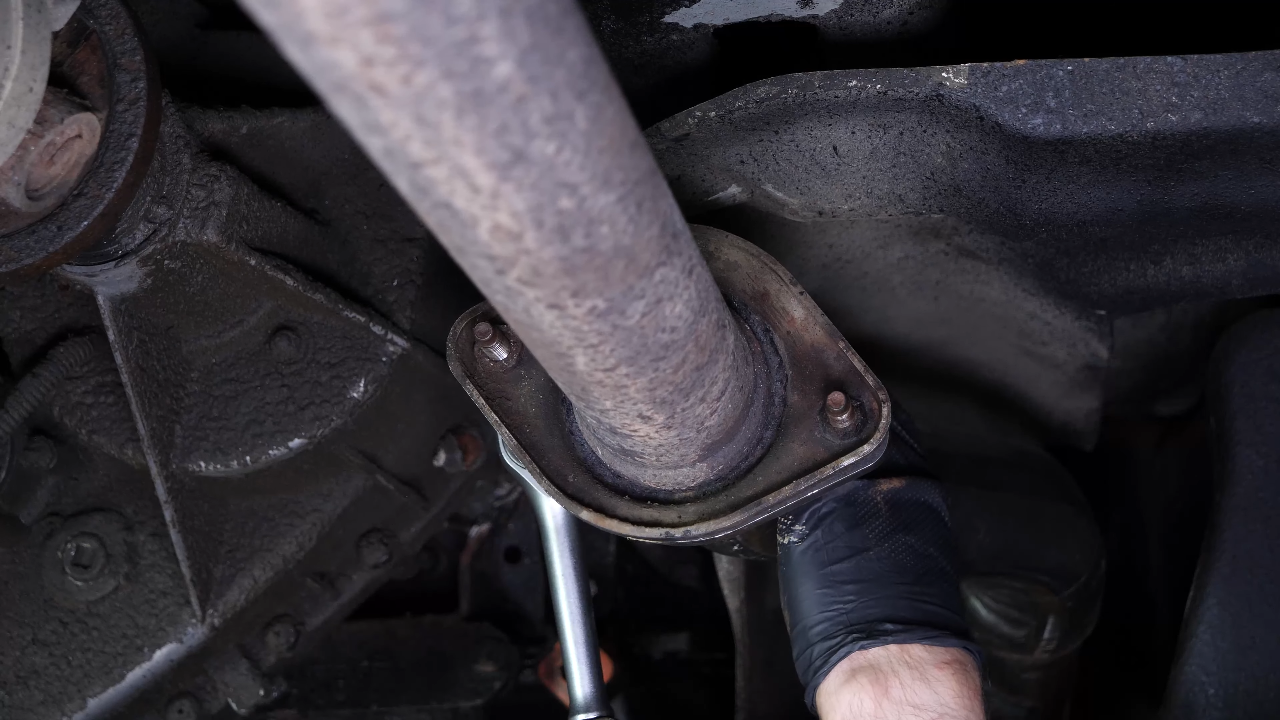
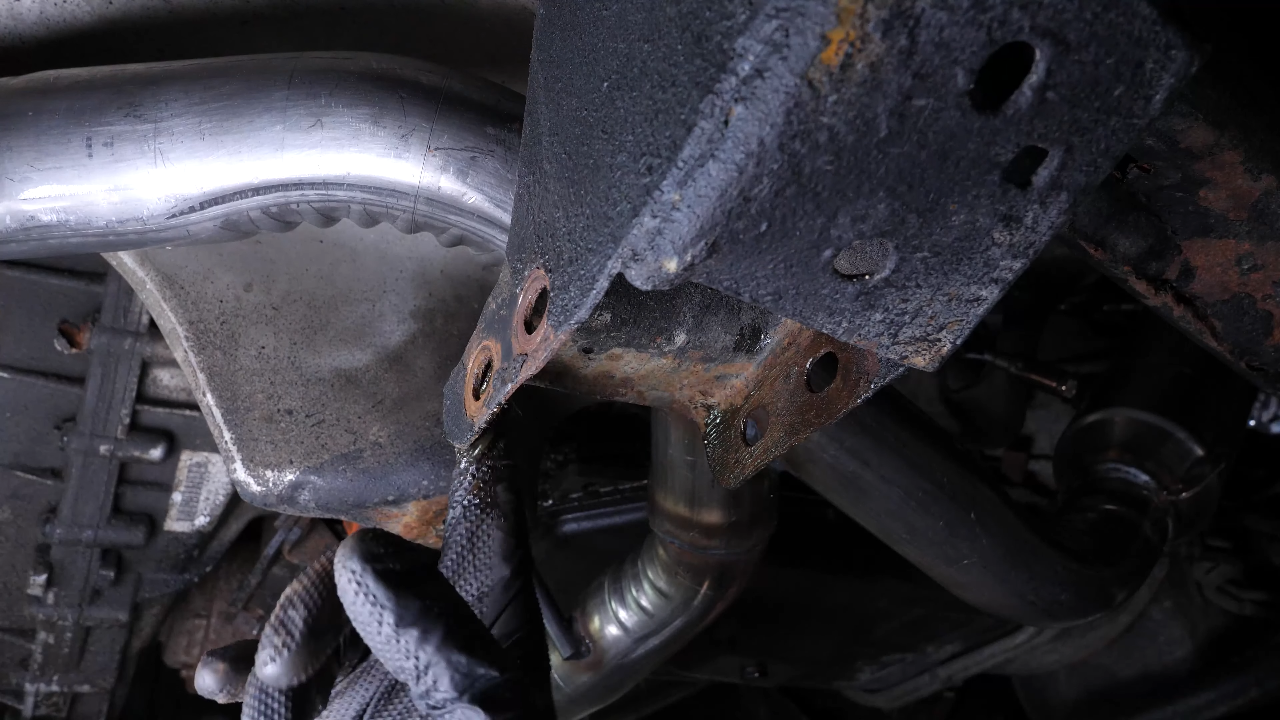
Brush and spray the two screws that hold the exhaust line to the catalytic converter with penetrating oil.
Chapter 3:
Step 2/2
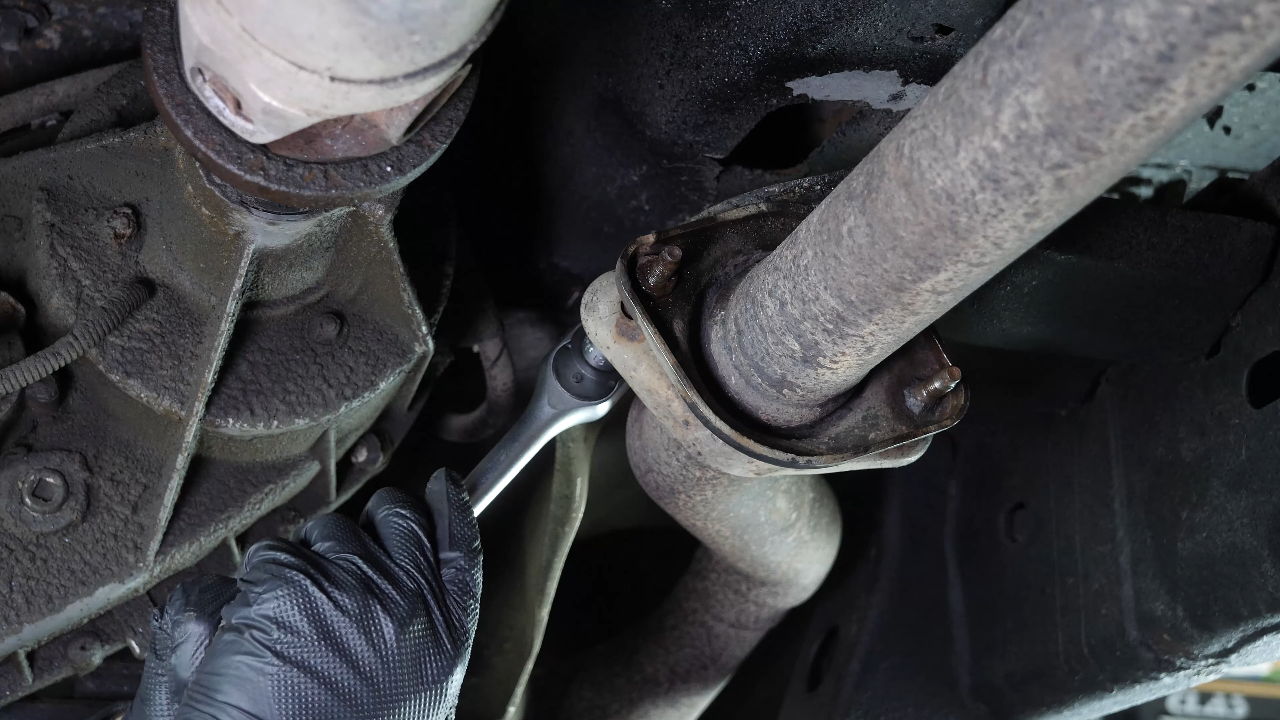
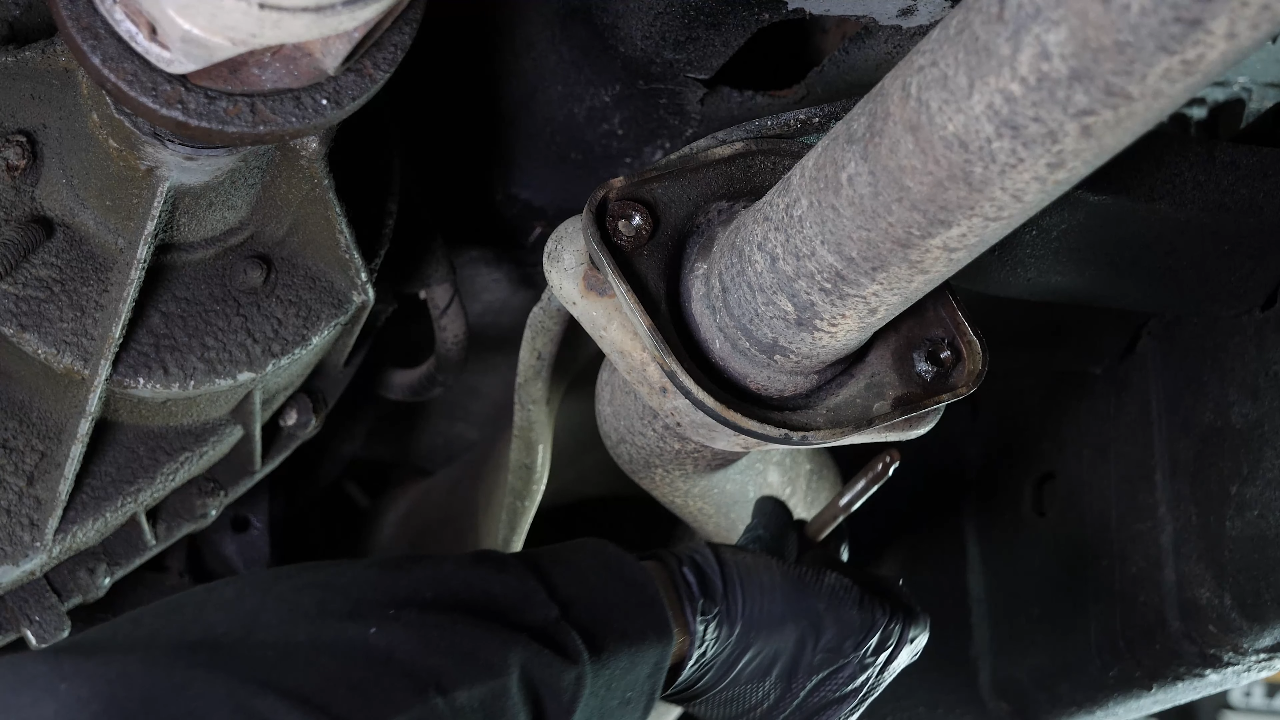
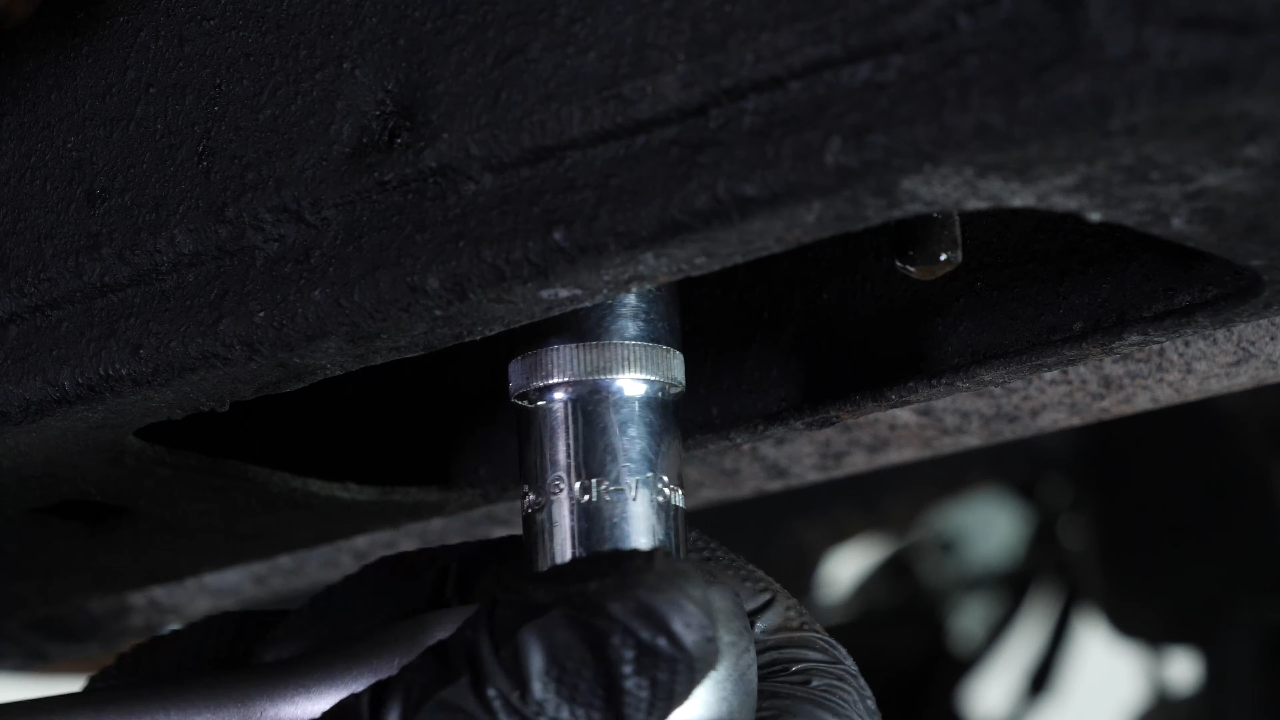
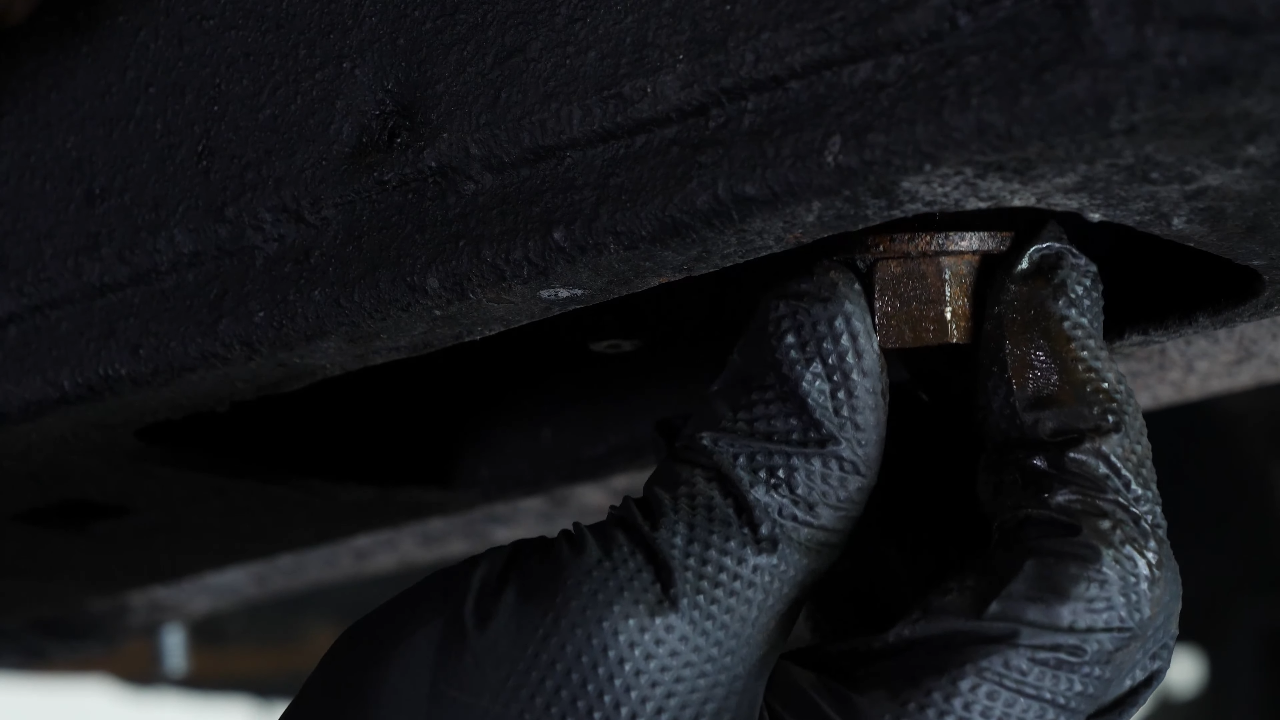
Next, using a ratchet and a 13 mm socket, unscrew the two screws.
Chapter 4:
Retirer la traverse métallique
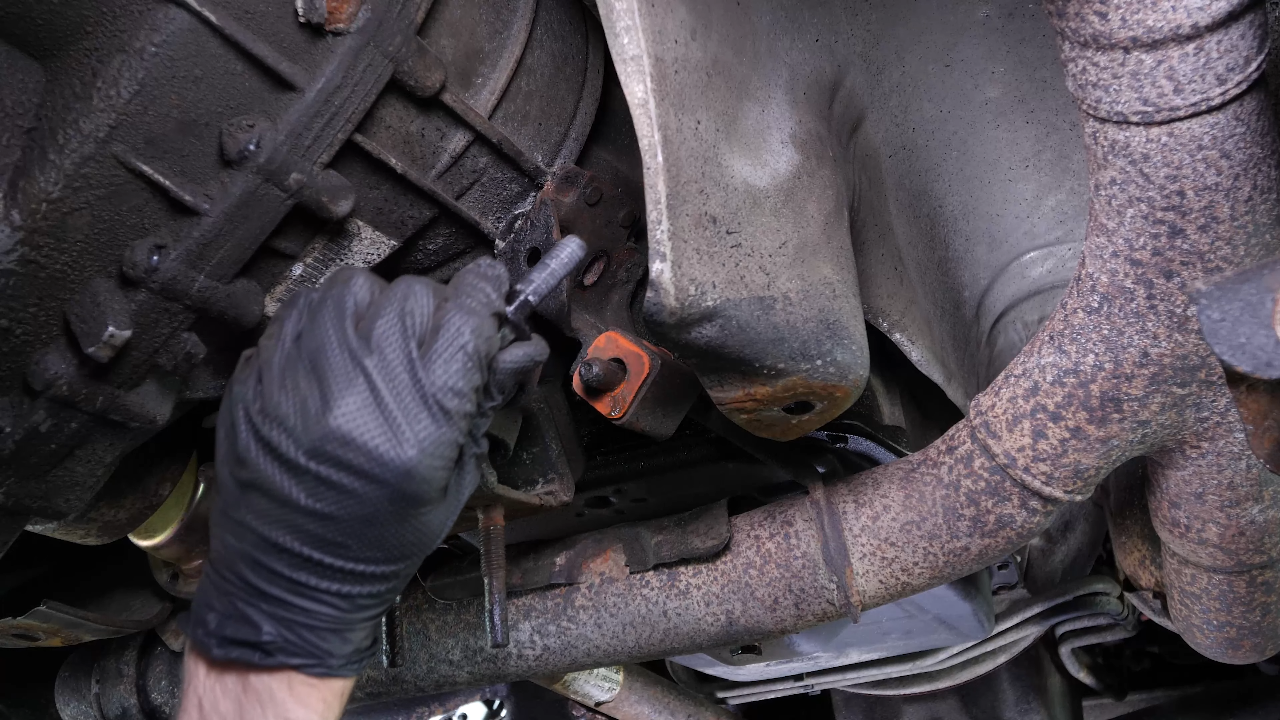
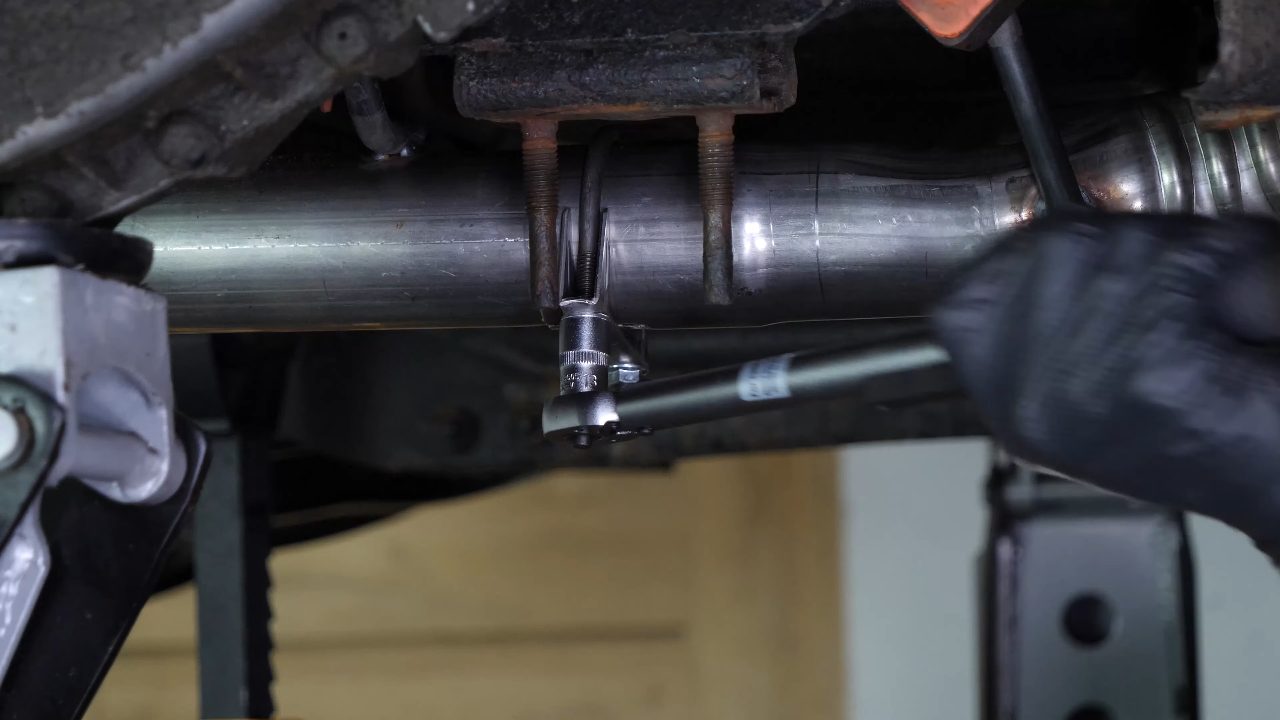
Step 1/4
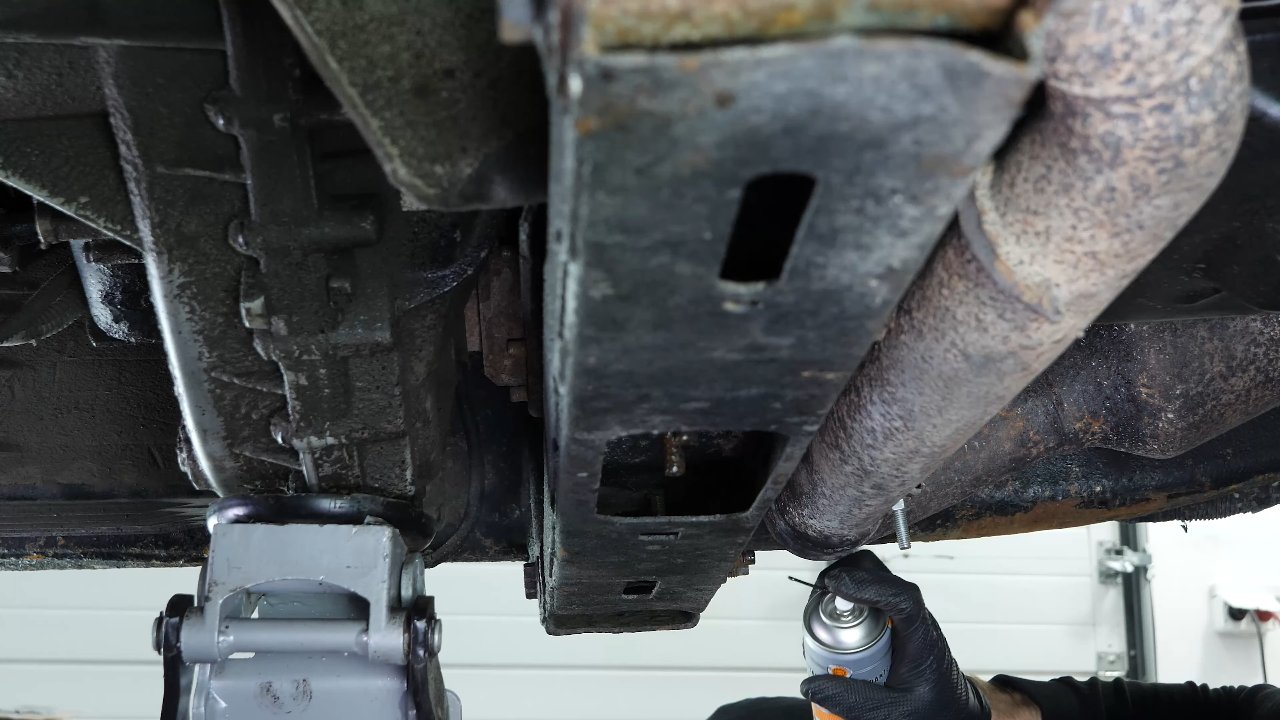
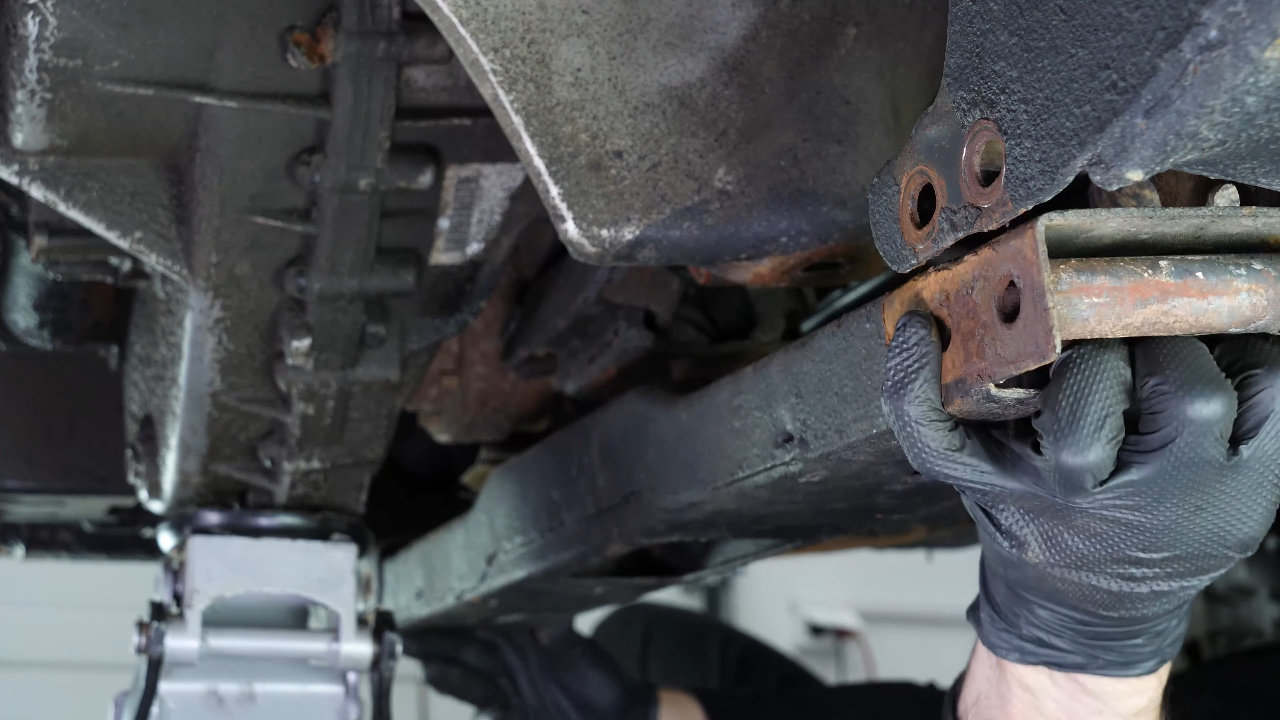
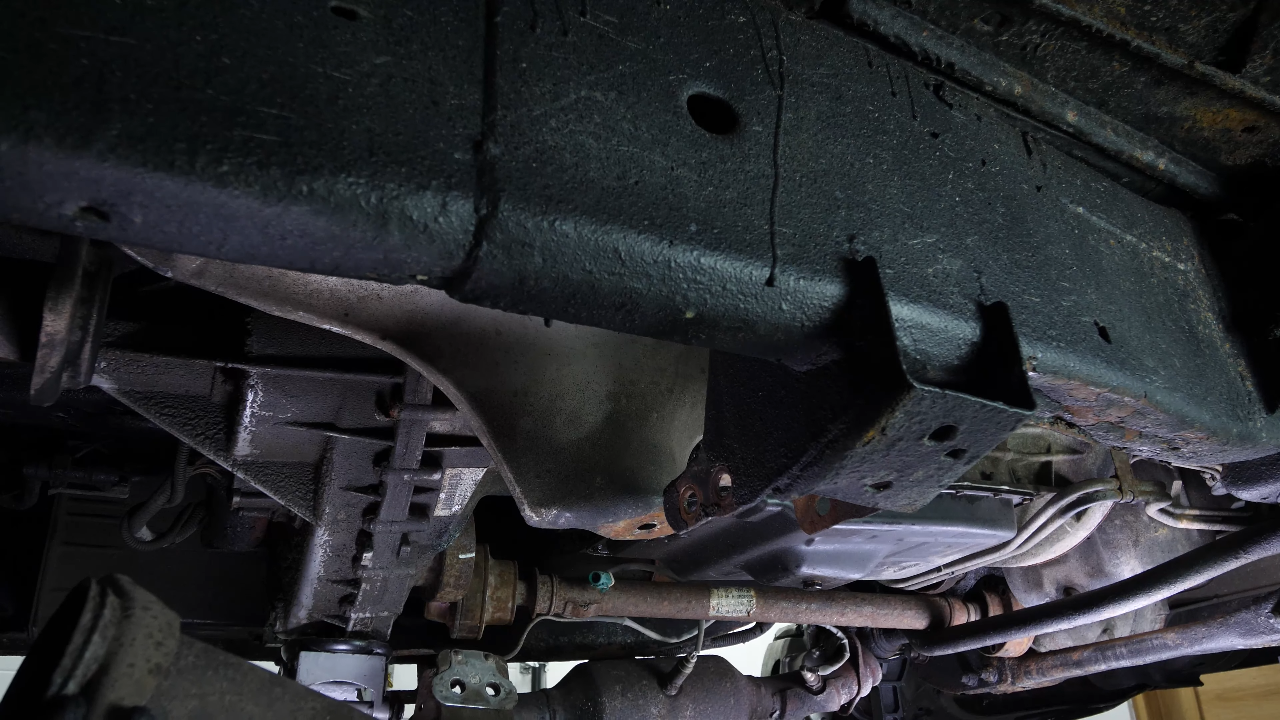
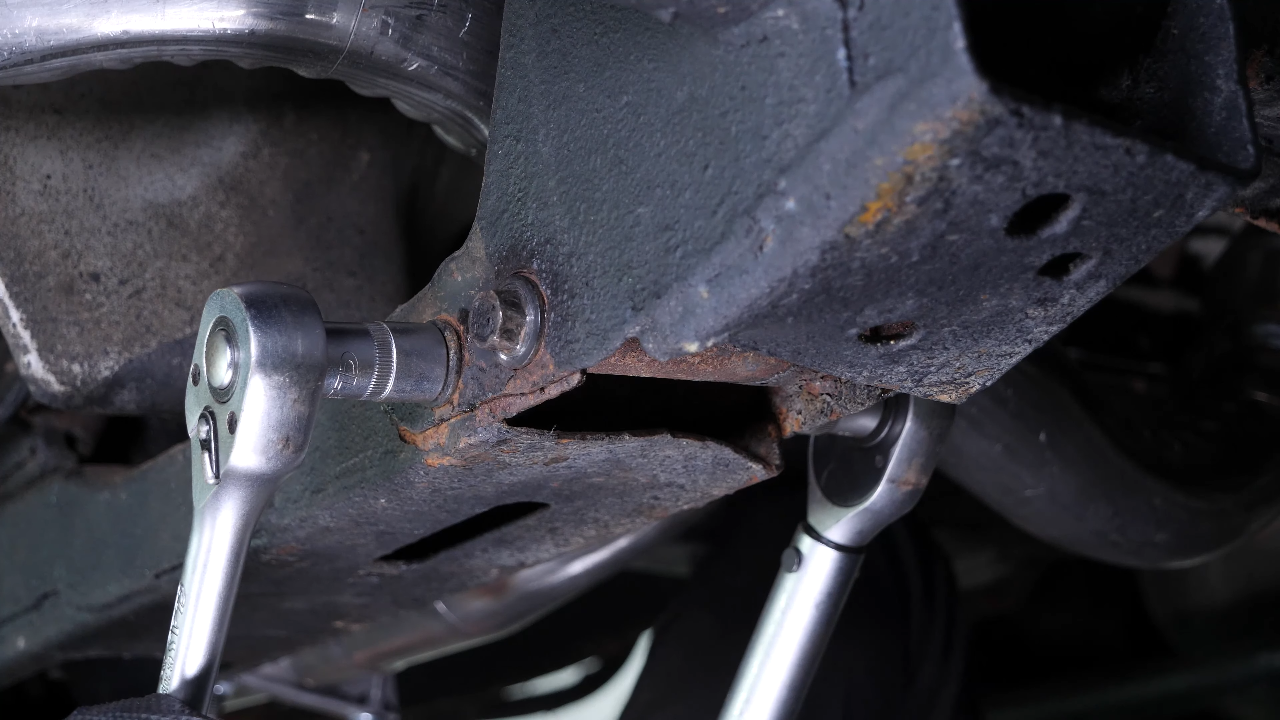
You will now have to remove the metal crosspiece that supports the gearbox. Brush the two screws in the middle of the crosspiece and lightly spray them with penetrating oil. Then, using a ratchet and an 18 mm socket, unscrew the two nuts from the Gearbox mount.
Chapter 4:
Step 2/4
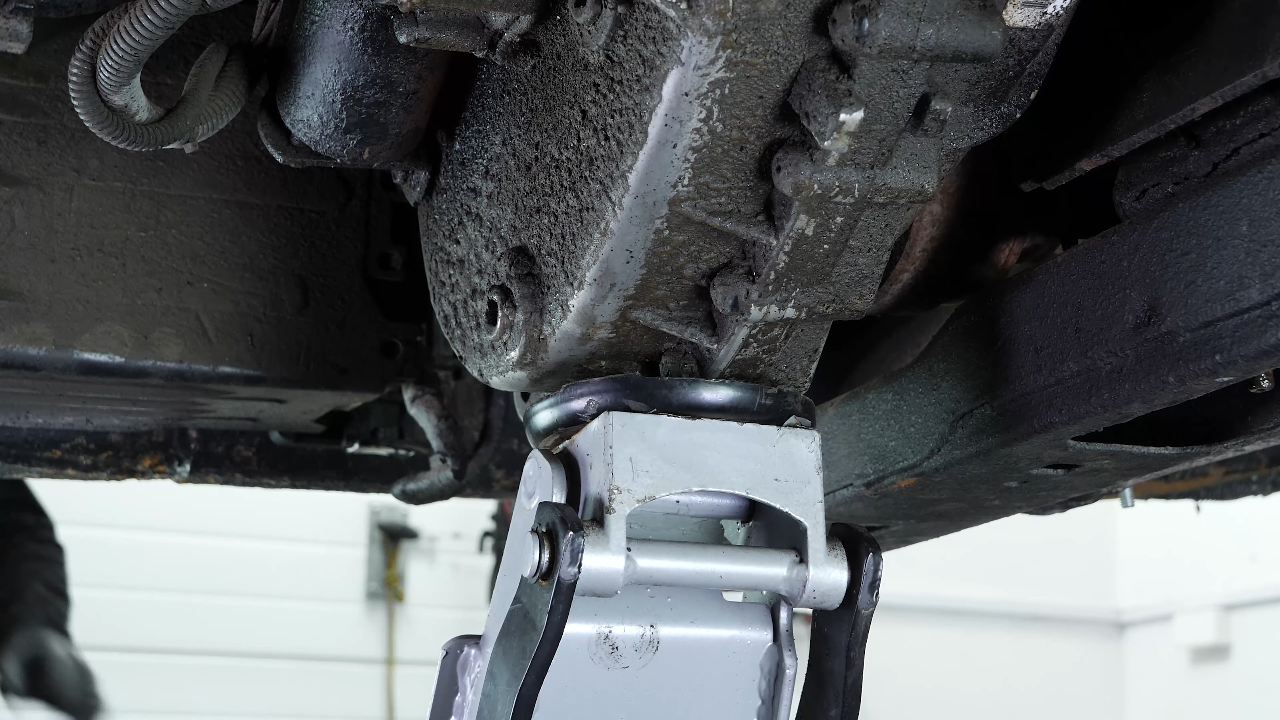
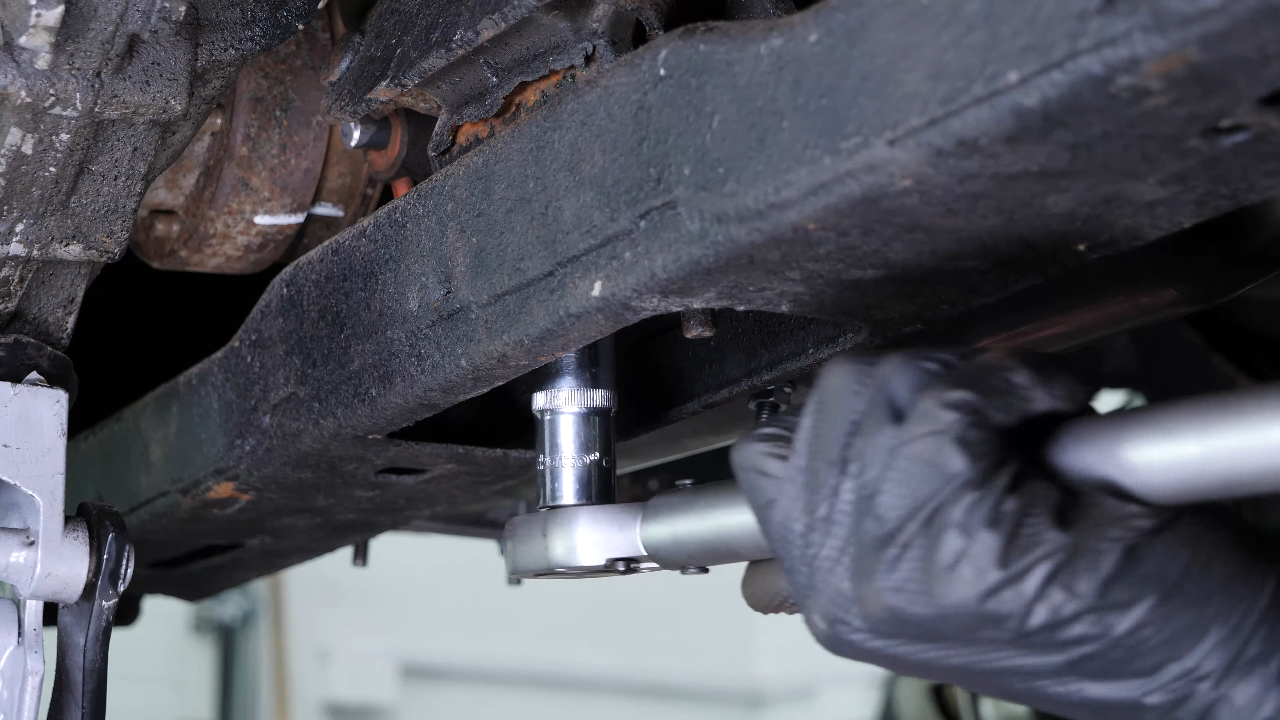
Using a jack, come to rest against the transfer case in order to hold the gearbox assembly in place when removing the metal crosspiece. Brush the four nuts located at the ends of the metal crosspiece, and lightly spray them with penetrating oil.

Chapter 4:
Step 3/4
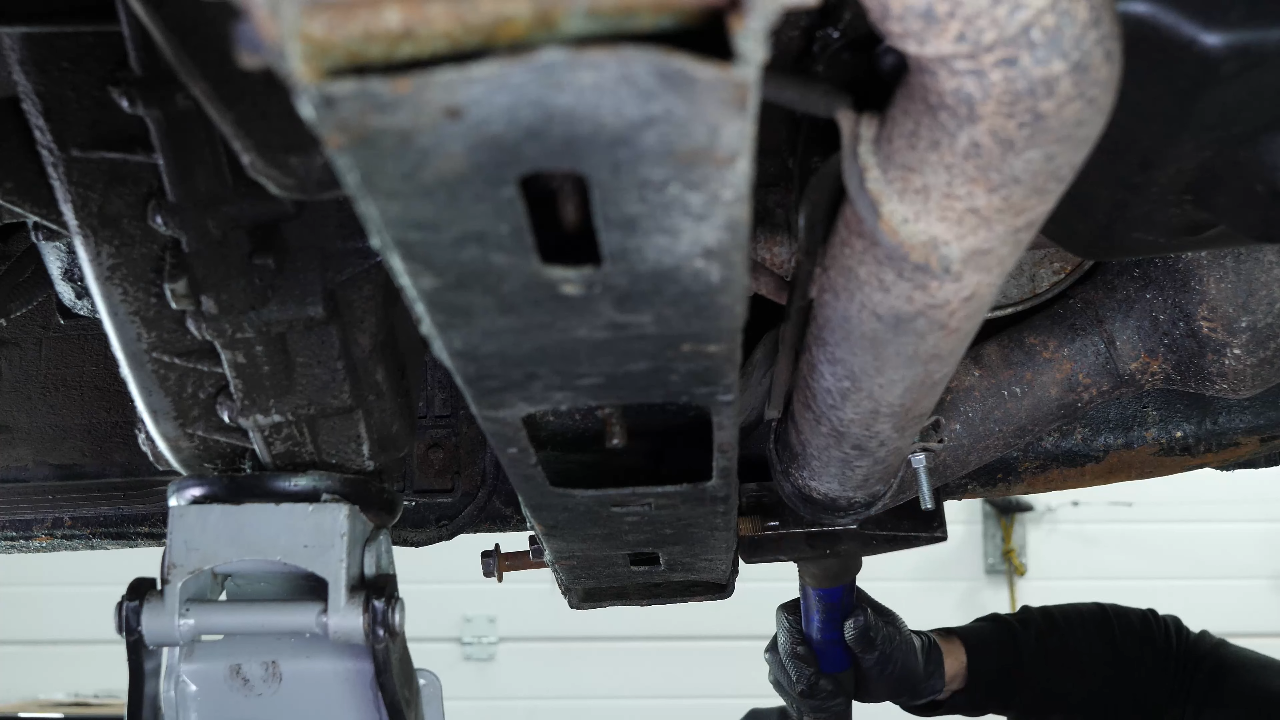
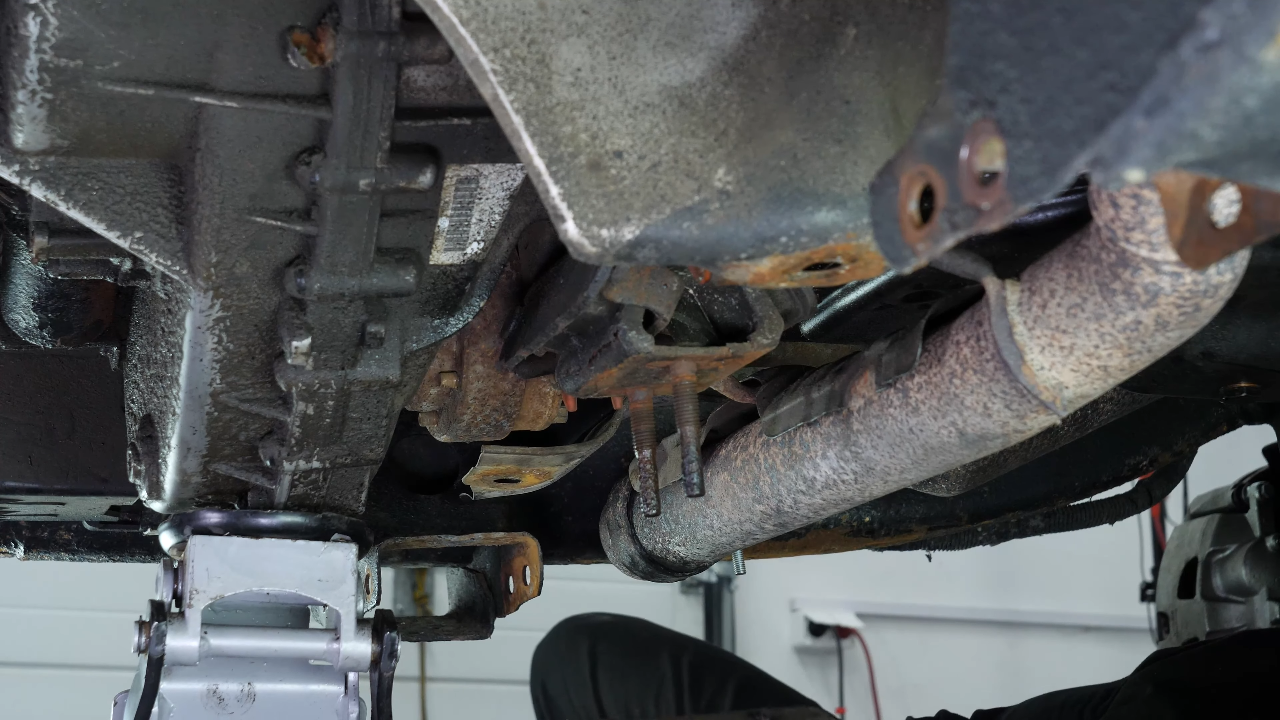
Then using two ratchets, an 18 mm socket and a 15 mm socket, unscrew the nuts. Then remove the screws. Before being able to remove the metal crosspiece, you need to remove the two screws holding the heat shields on each side of the crosspiece using a ratchet and a 10 mm socket.


Chapter 4:
Step 4/4
You can now remove the metal crosspiece.
Chapter 5:
Dévisser le driveshaft
Step 1/3
You also need to remove the Gearbox mount, which is held by four screws. In order to remove the two screws on the driver’s side, you need to remove the driveshaft which connects the transfer case to the front differential in order to access the two screws.

Chapter 5:
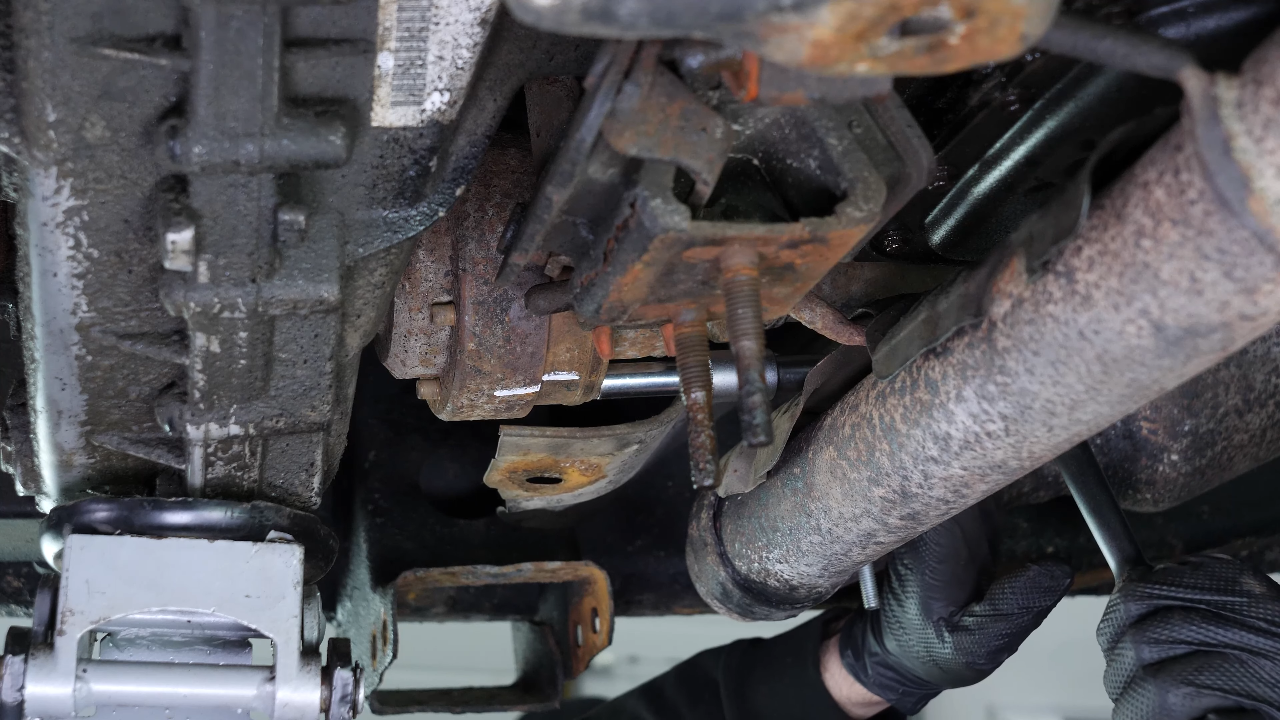
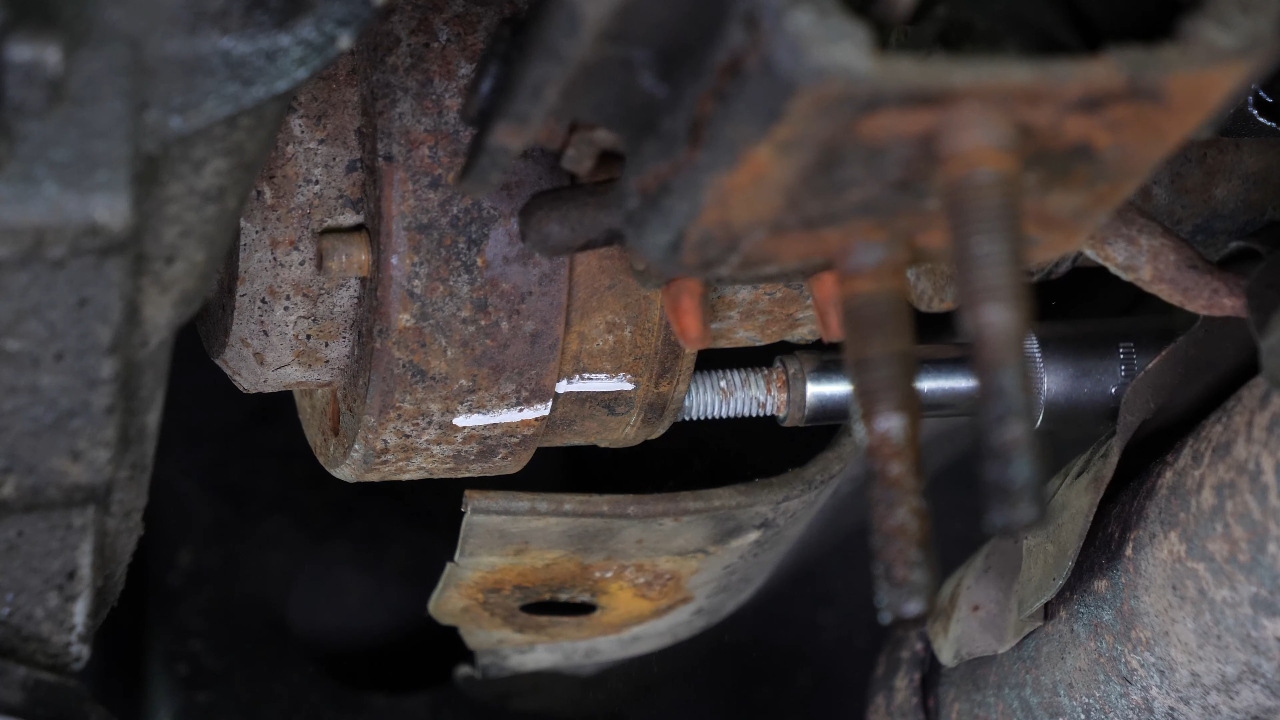
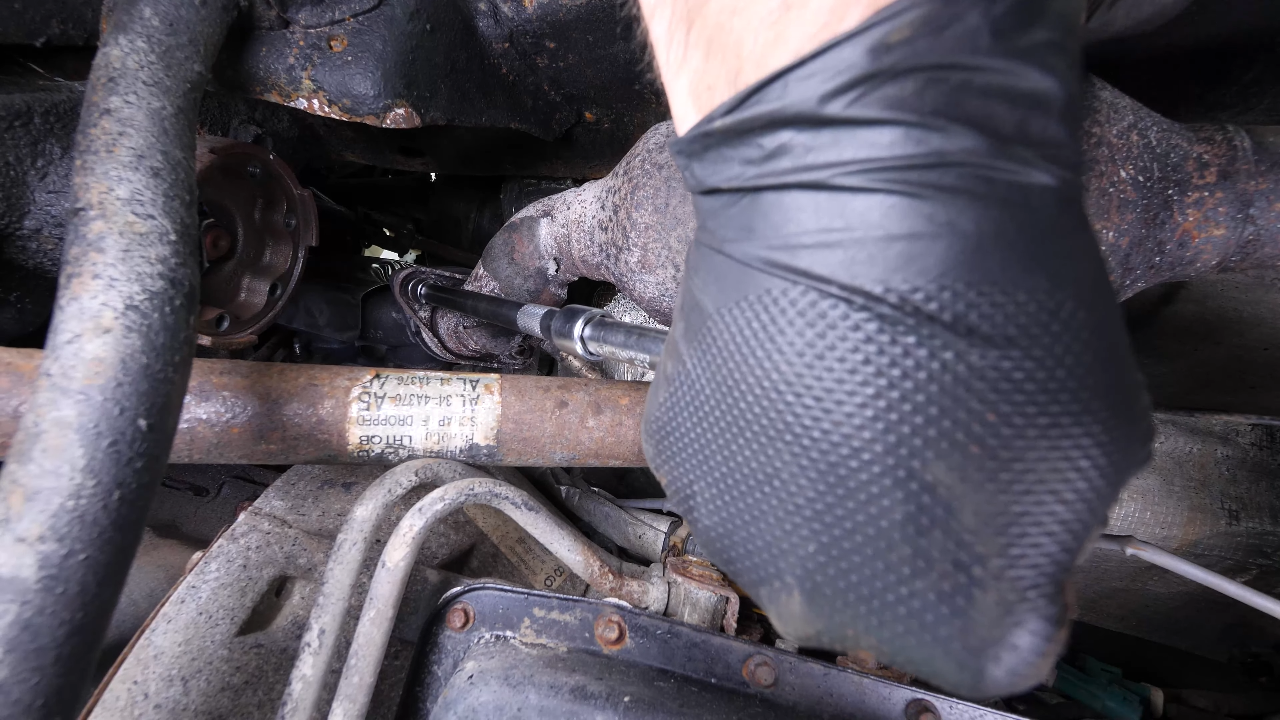
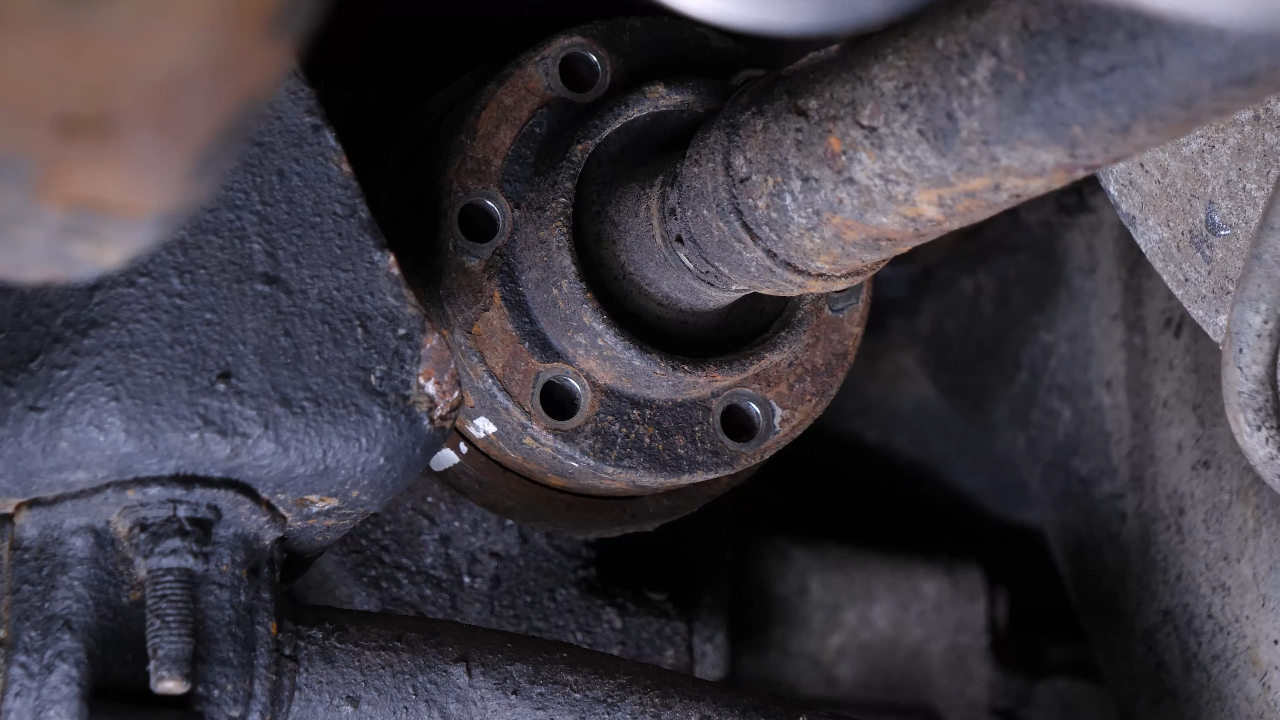
Step 2/3
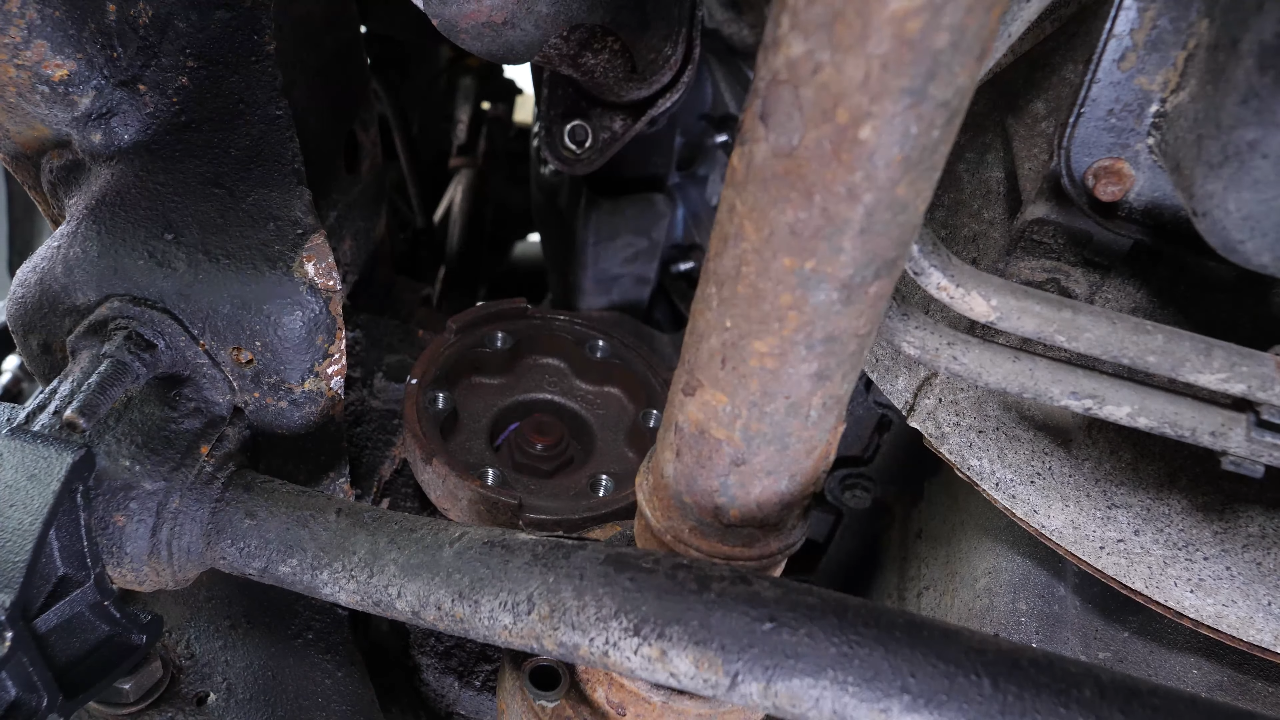
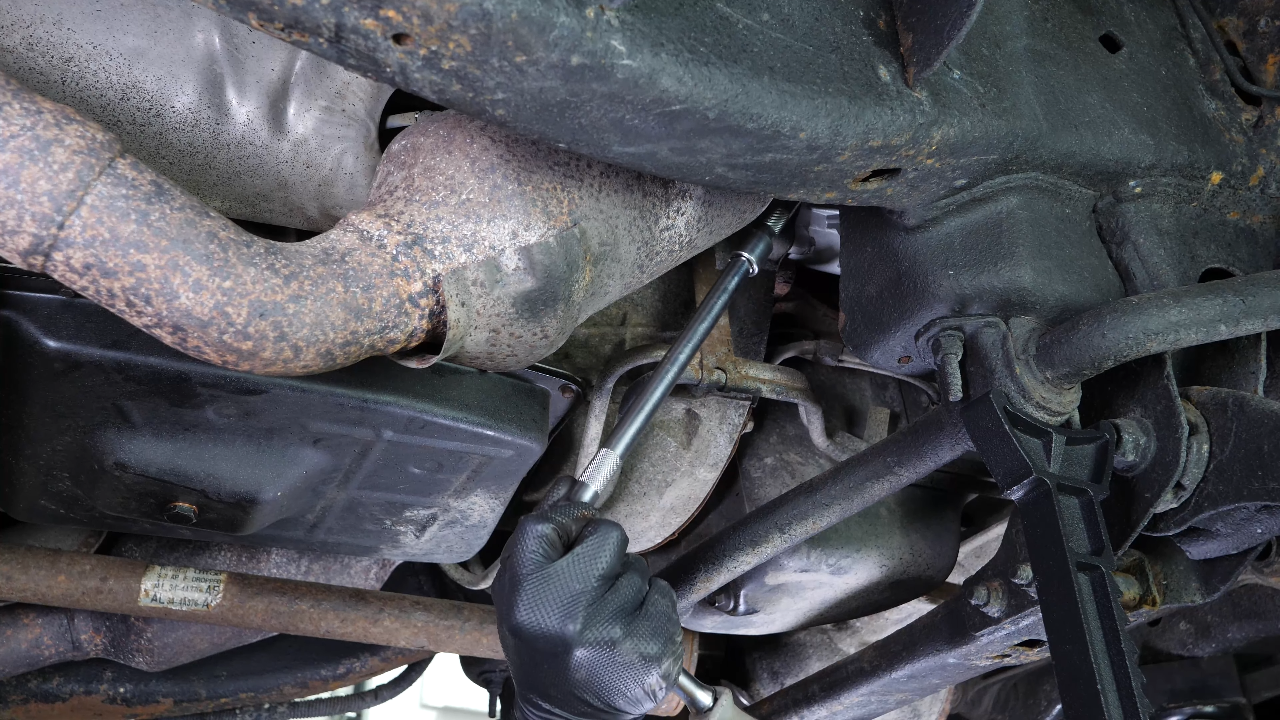
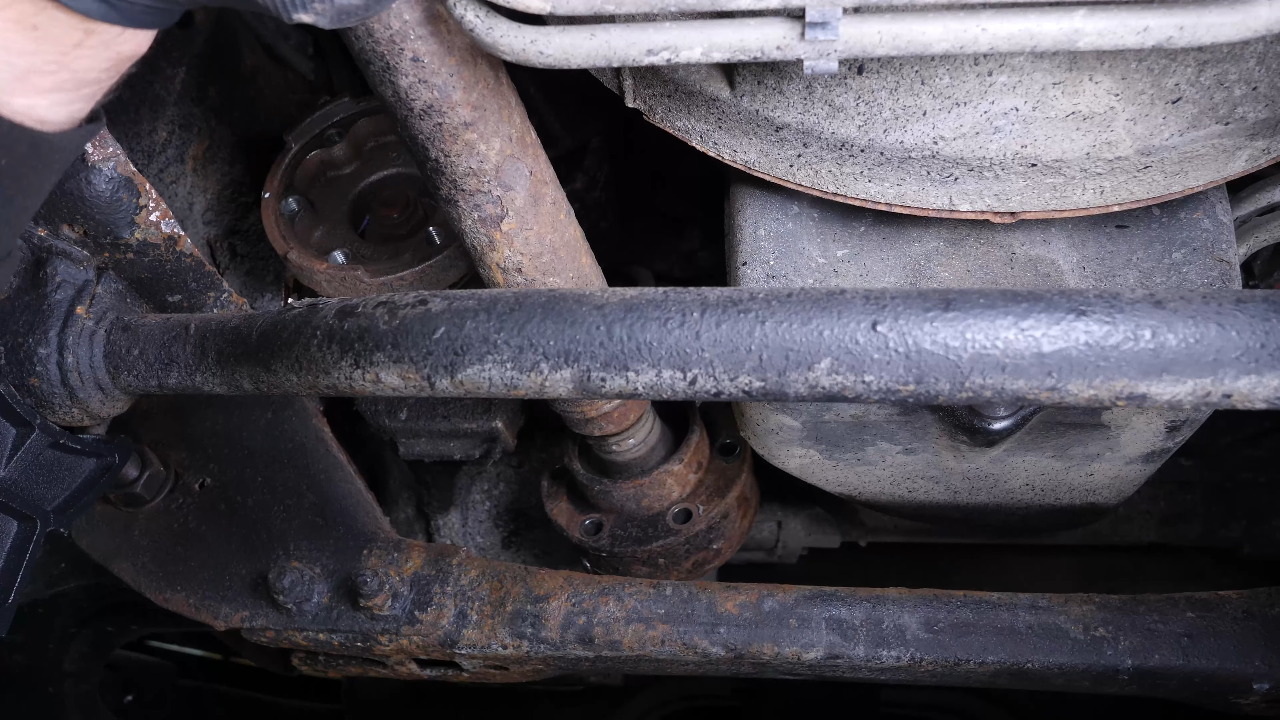
On the transfer case side, start by drawing a mark on the driveshaft that will allow you to position it correctly when reassembling. Then, using a ratchet, an extender and a long 10 mm socket, unscrew the 6 retaining screws on the transfer case side.

Chapter 5:
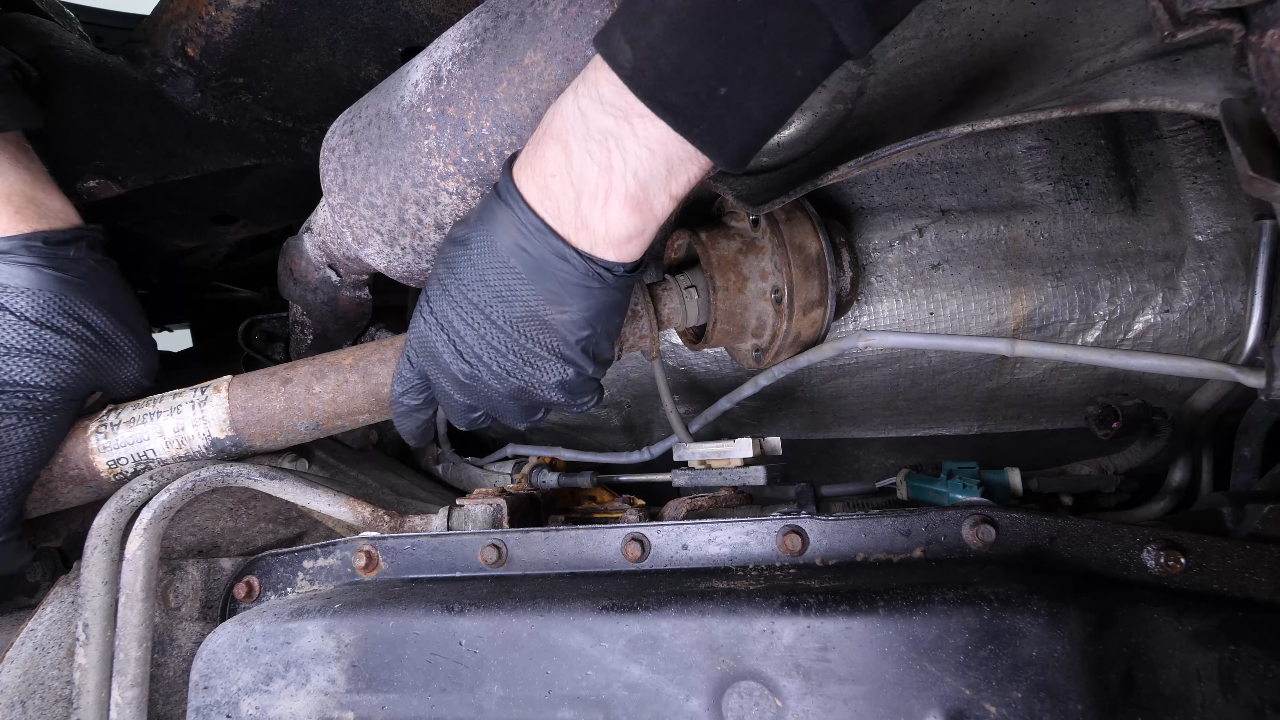
Step 3/3
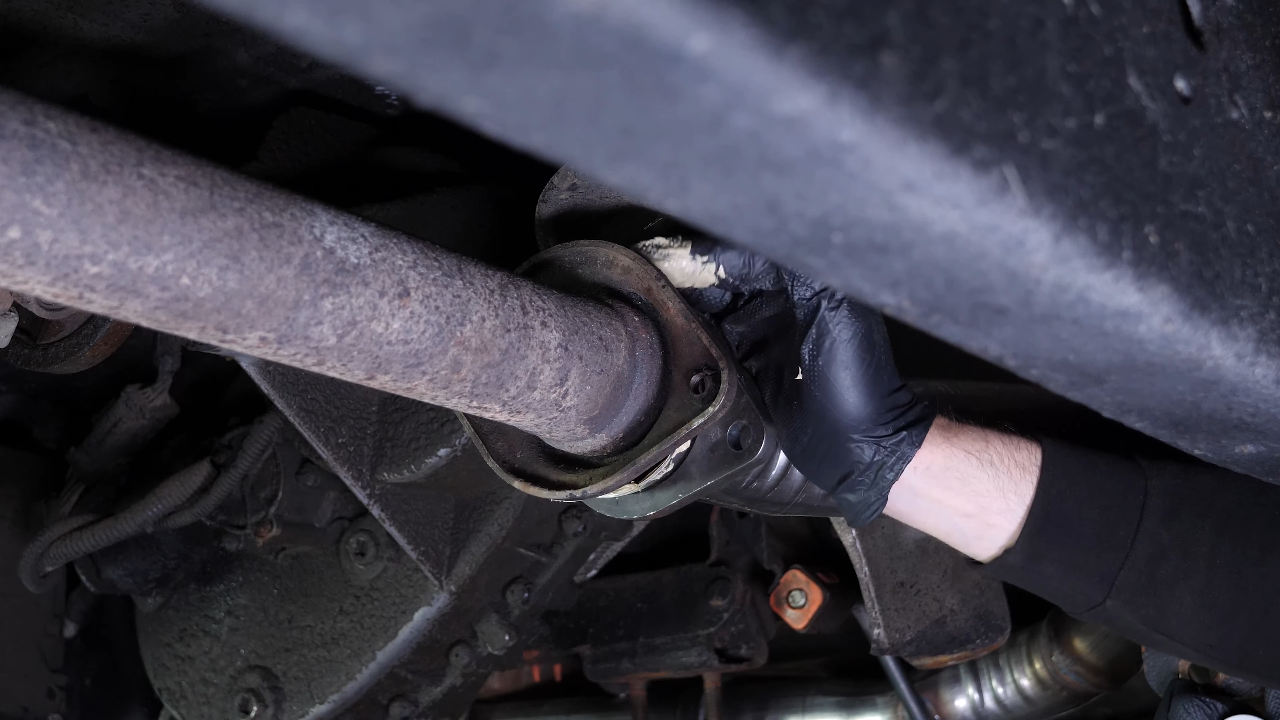
You can rotate the driveshaft as you unscrew to access all the screws. Perform the same operation on the front differential side. Once all the screws have been removed, tap the driveshaft lightly at the ends in order to uncouple it.


Chapter 6:
Dévisser le gearbox mount
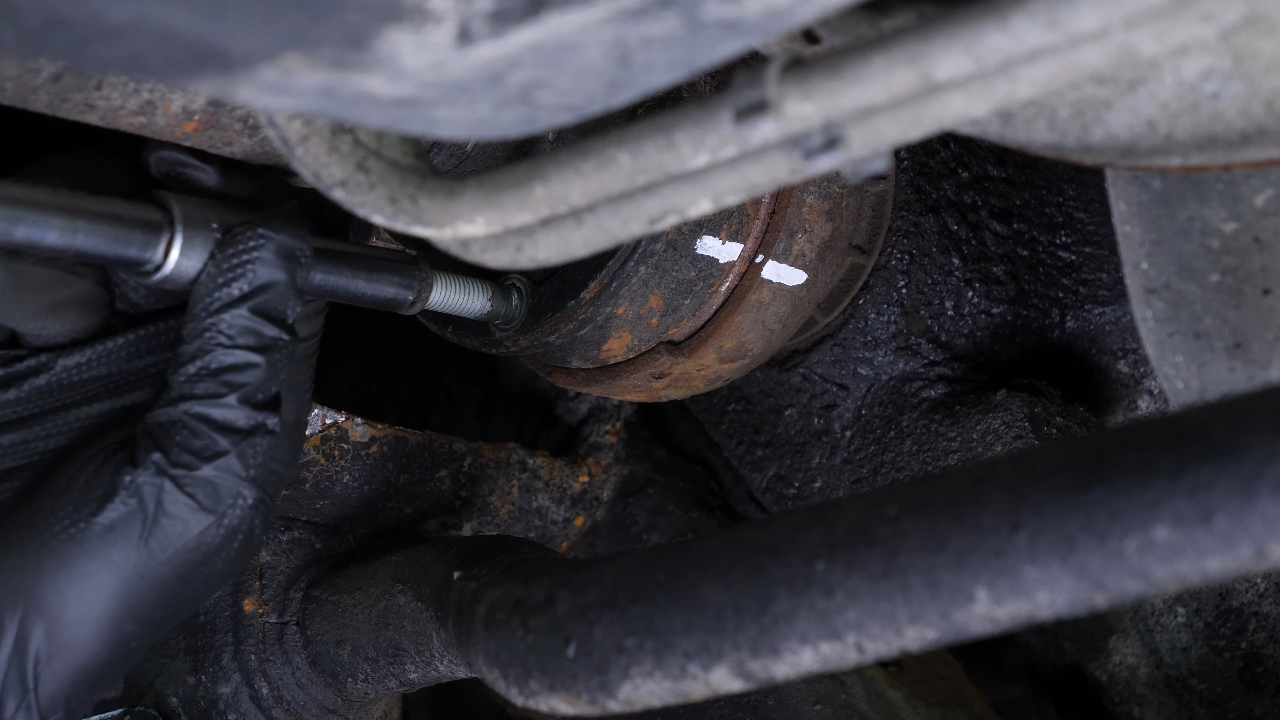
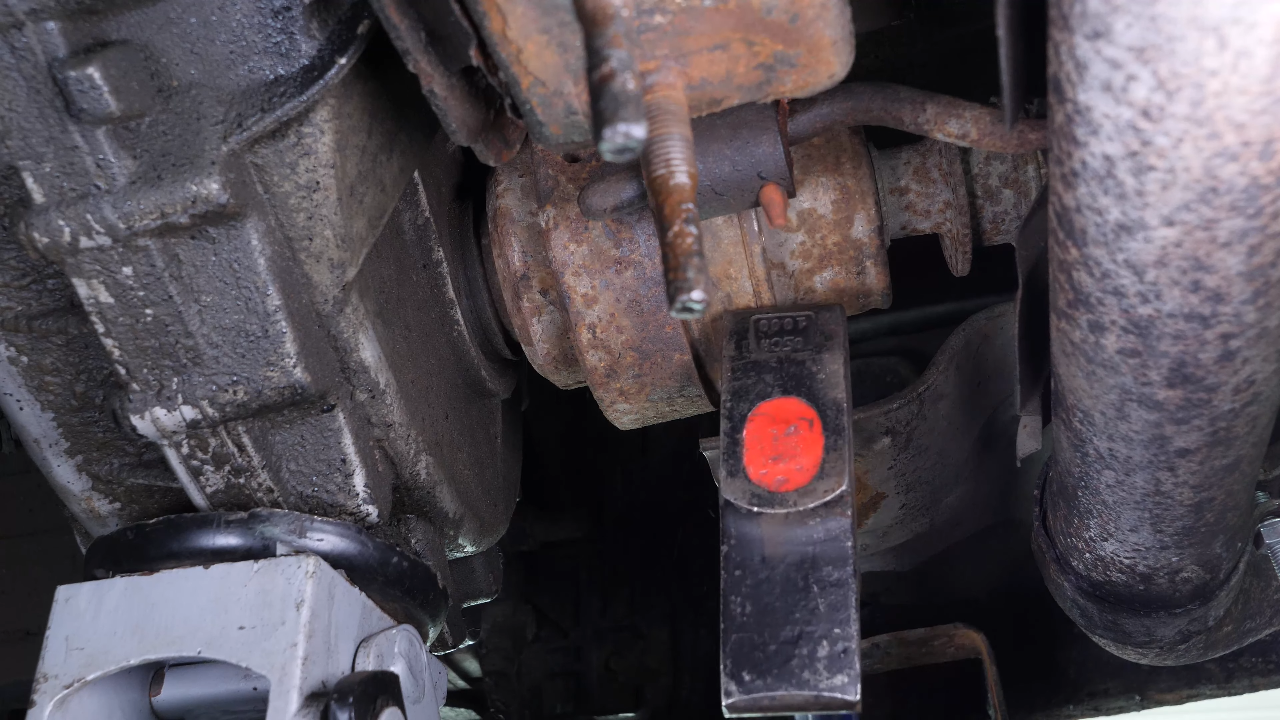
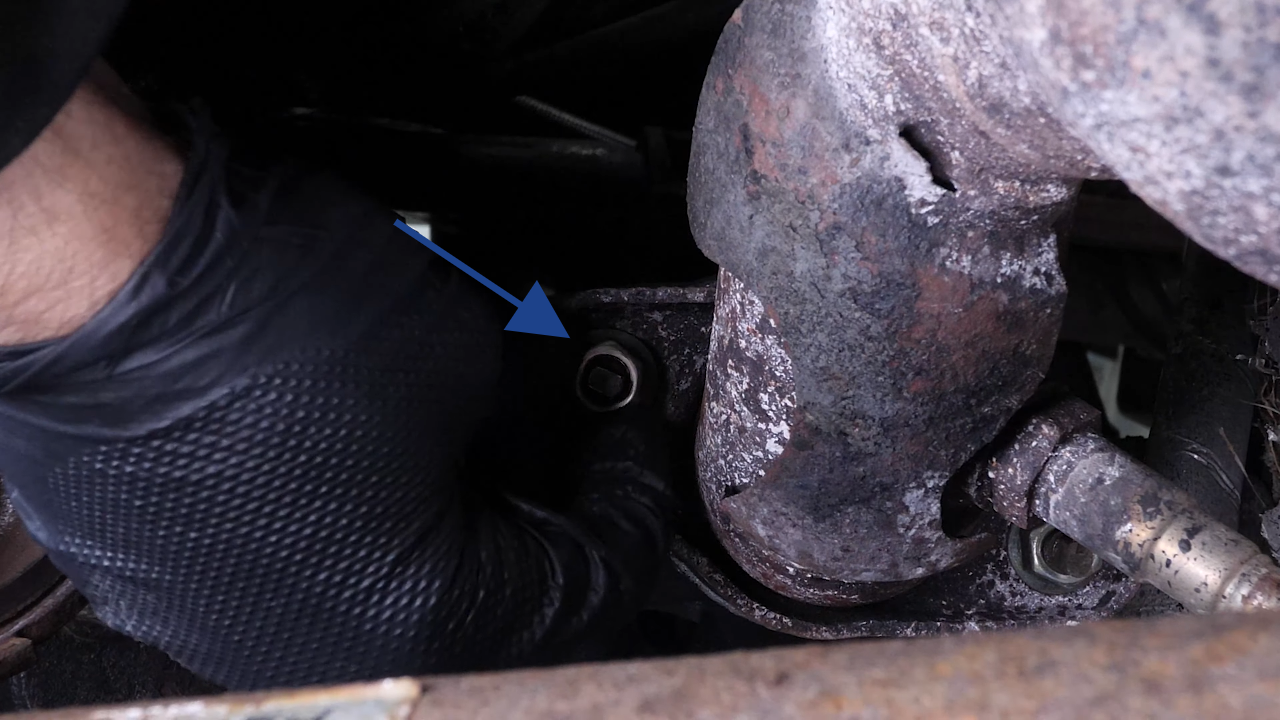
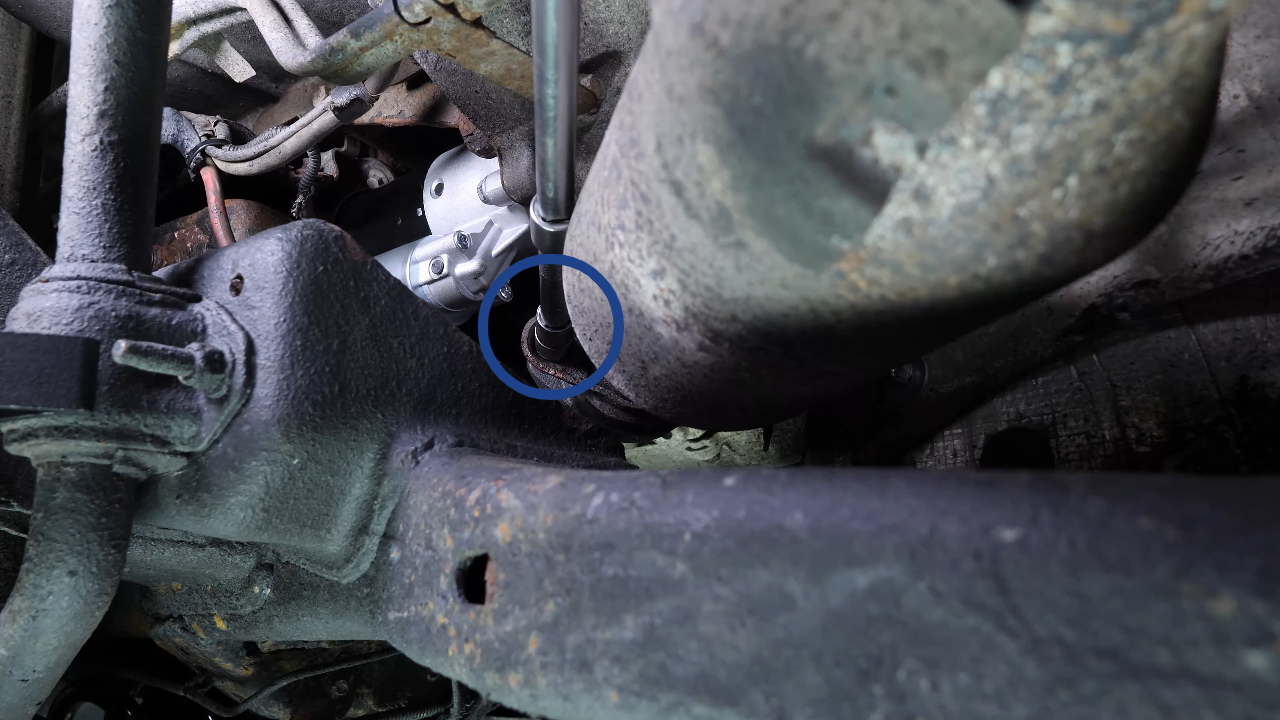
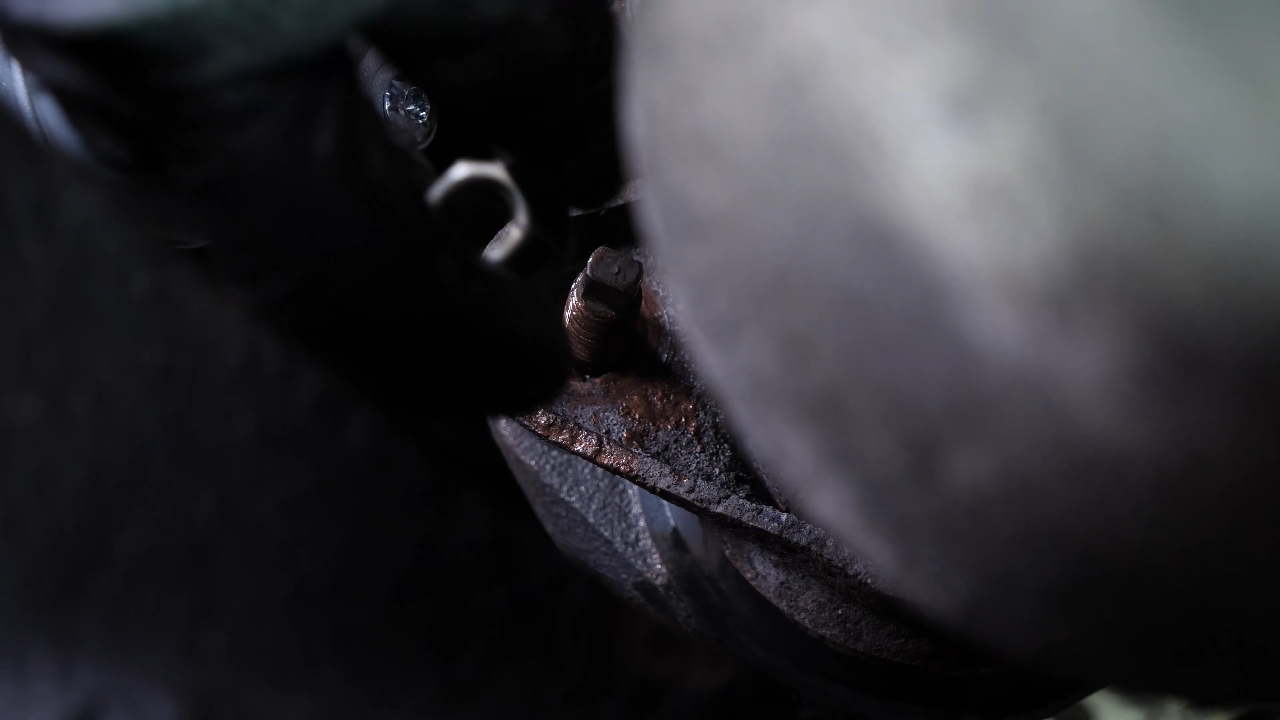
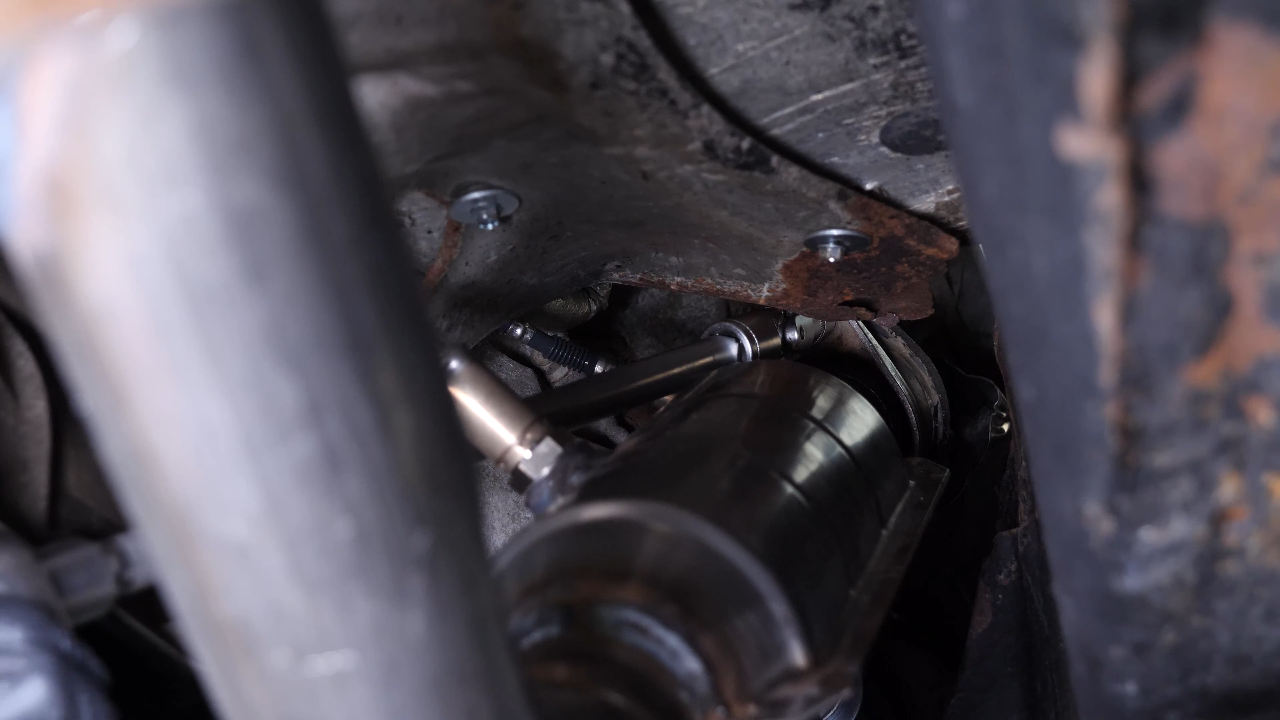
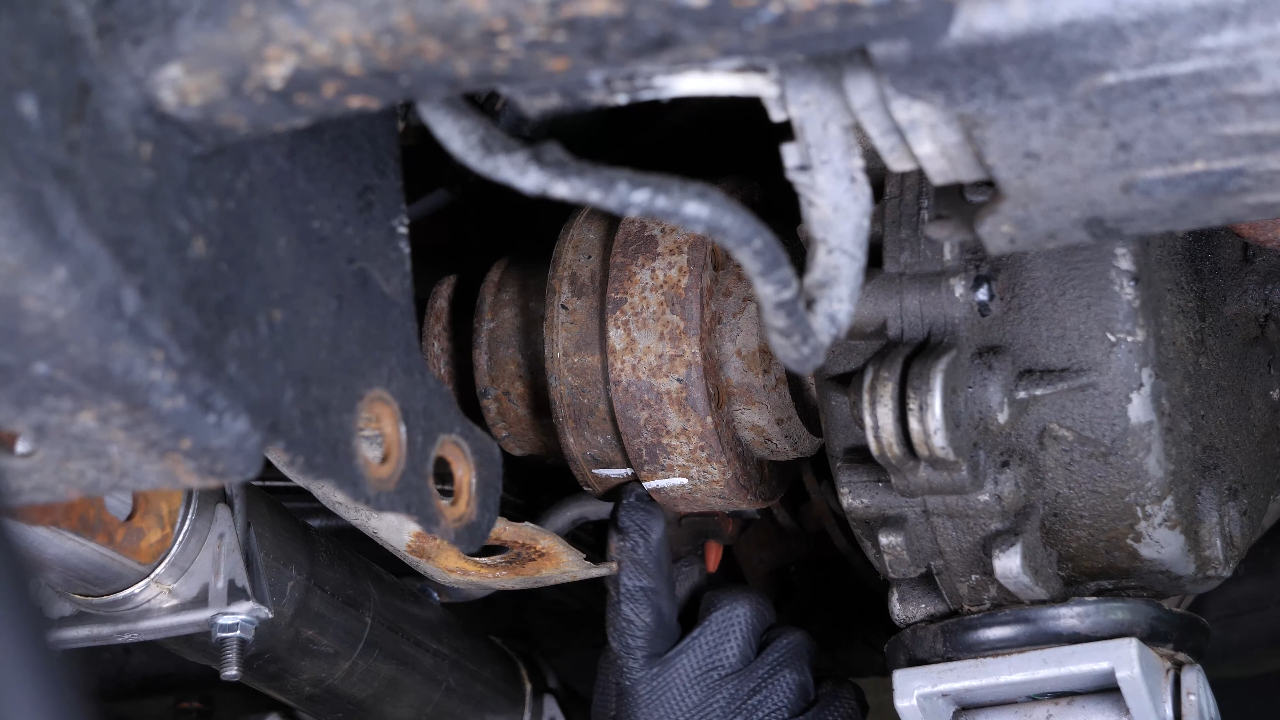
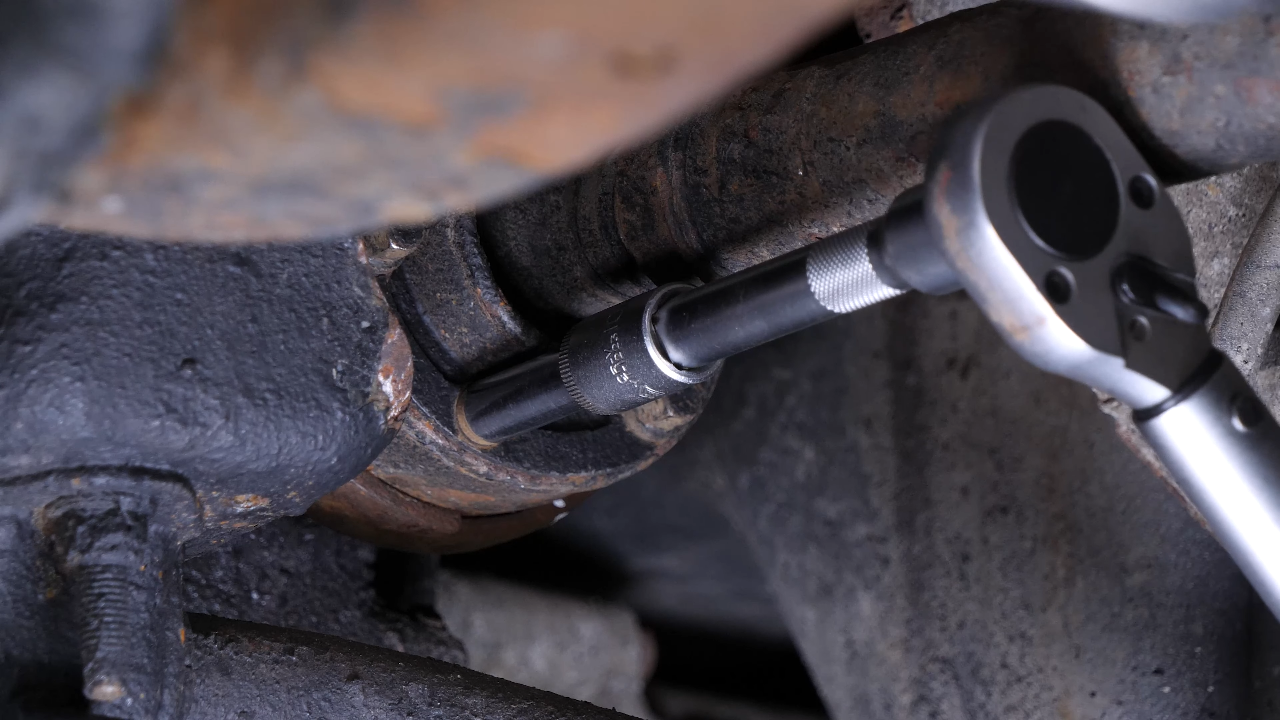
Step 1/2
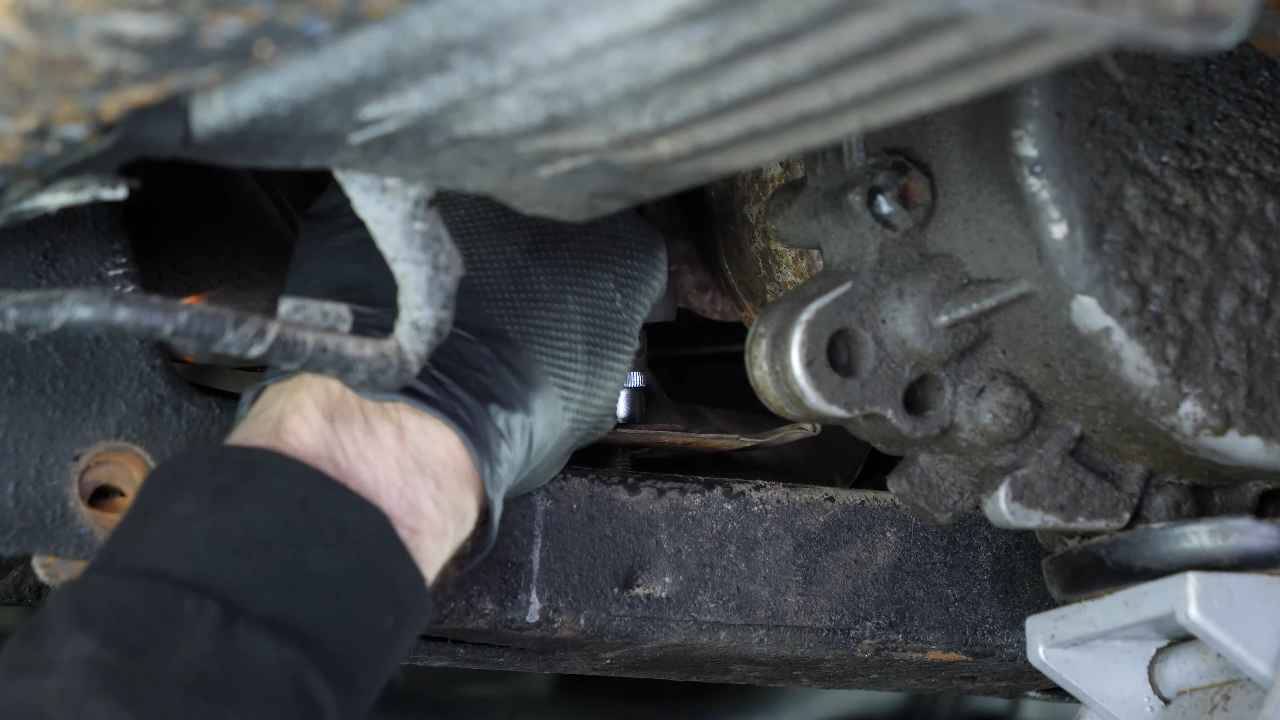
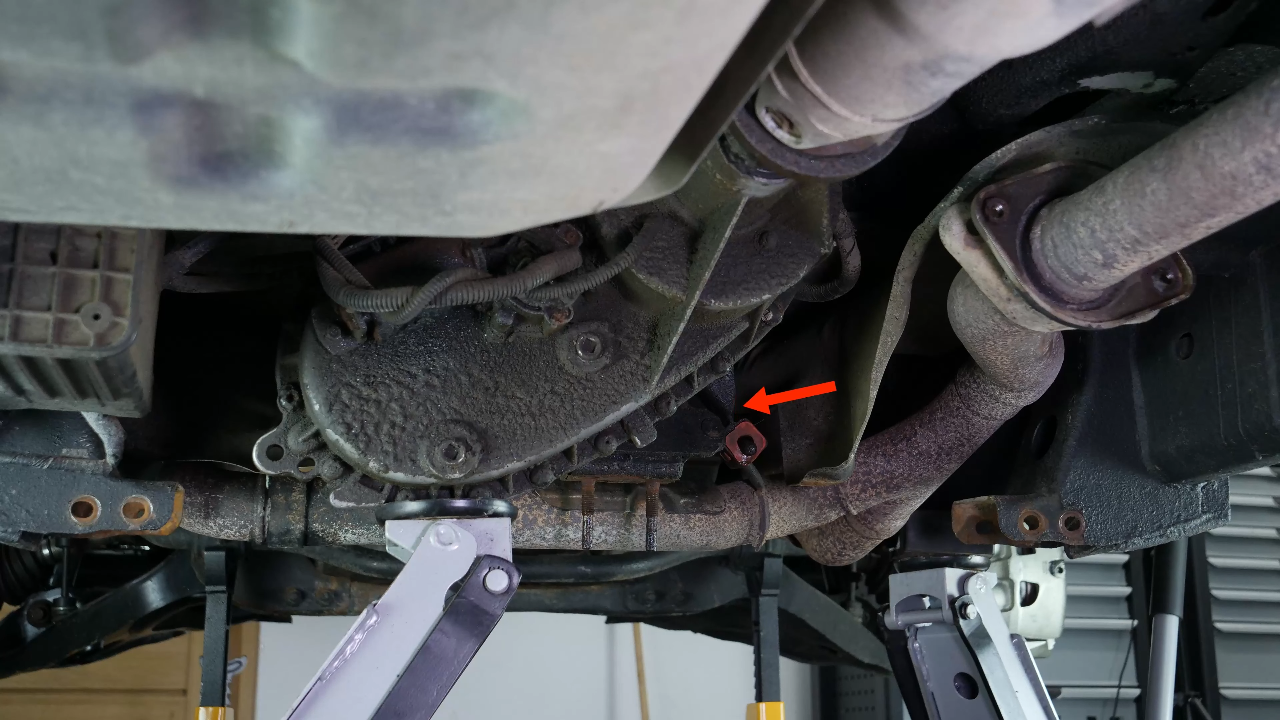
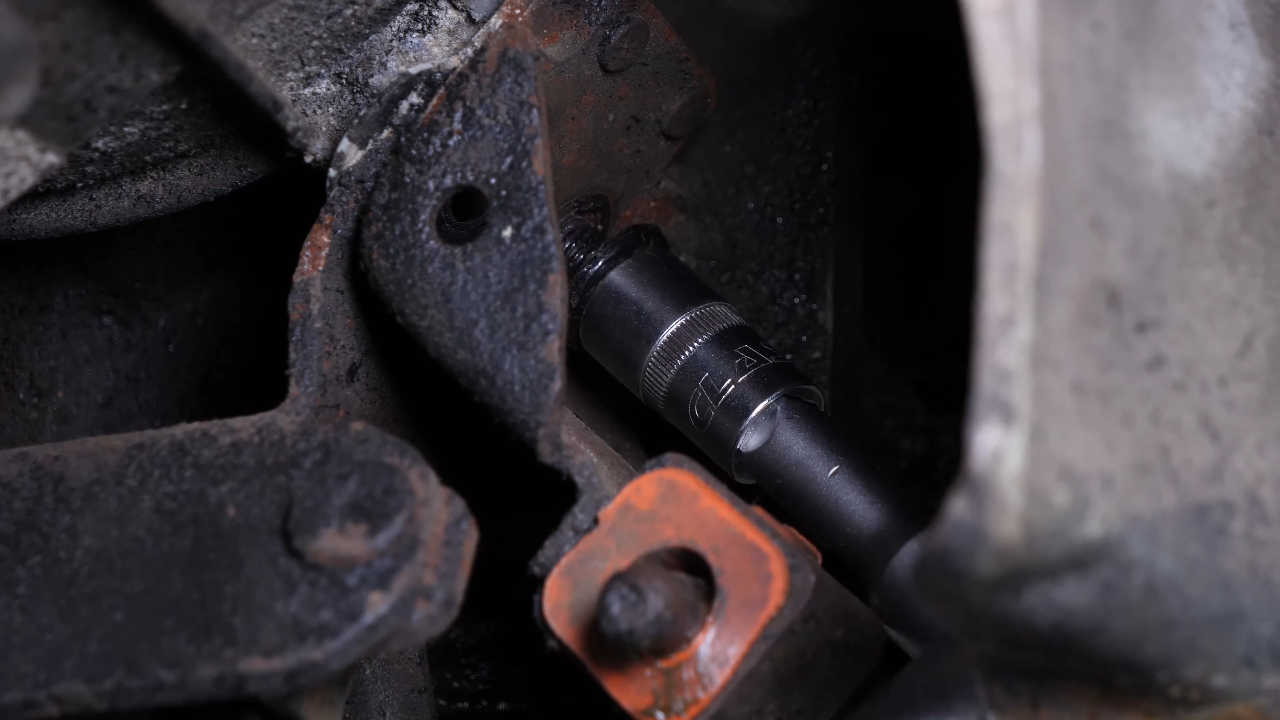
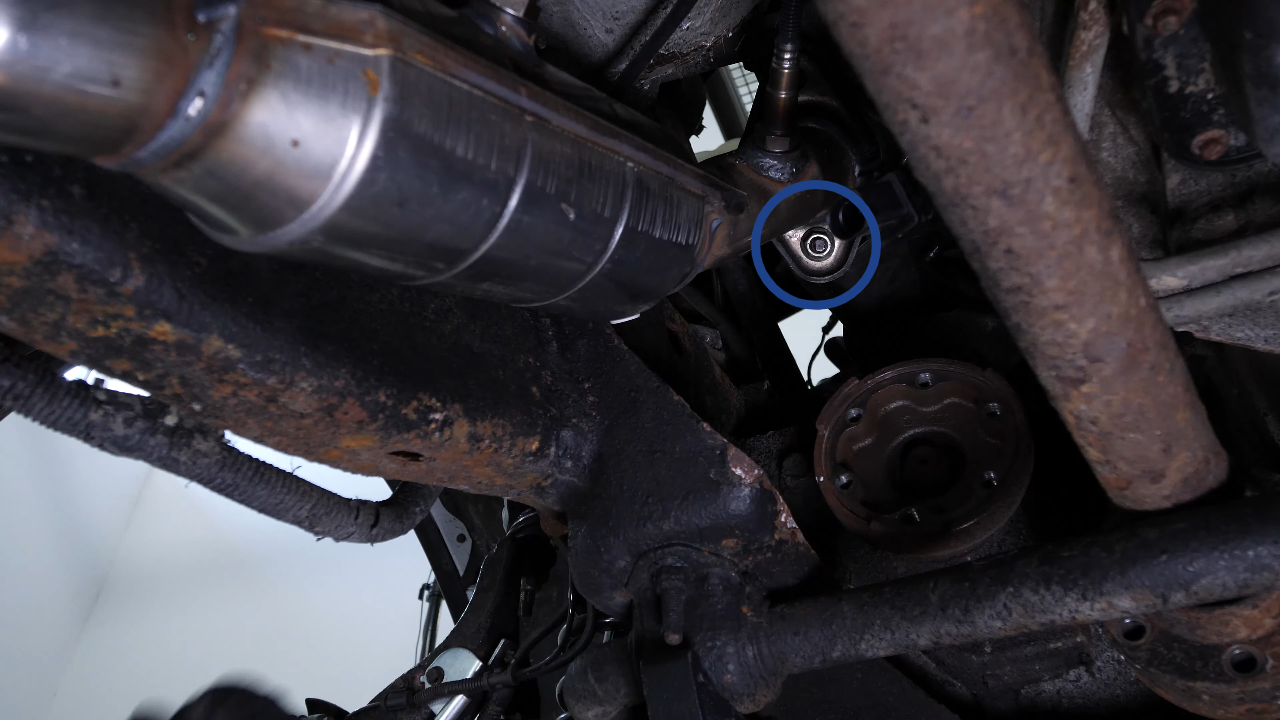
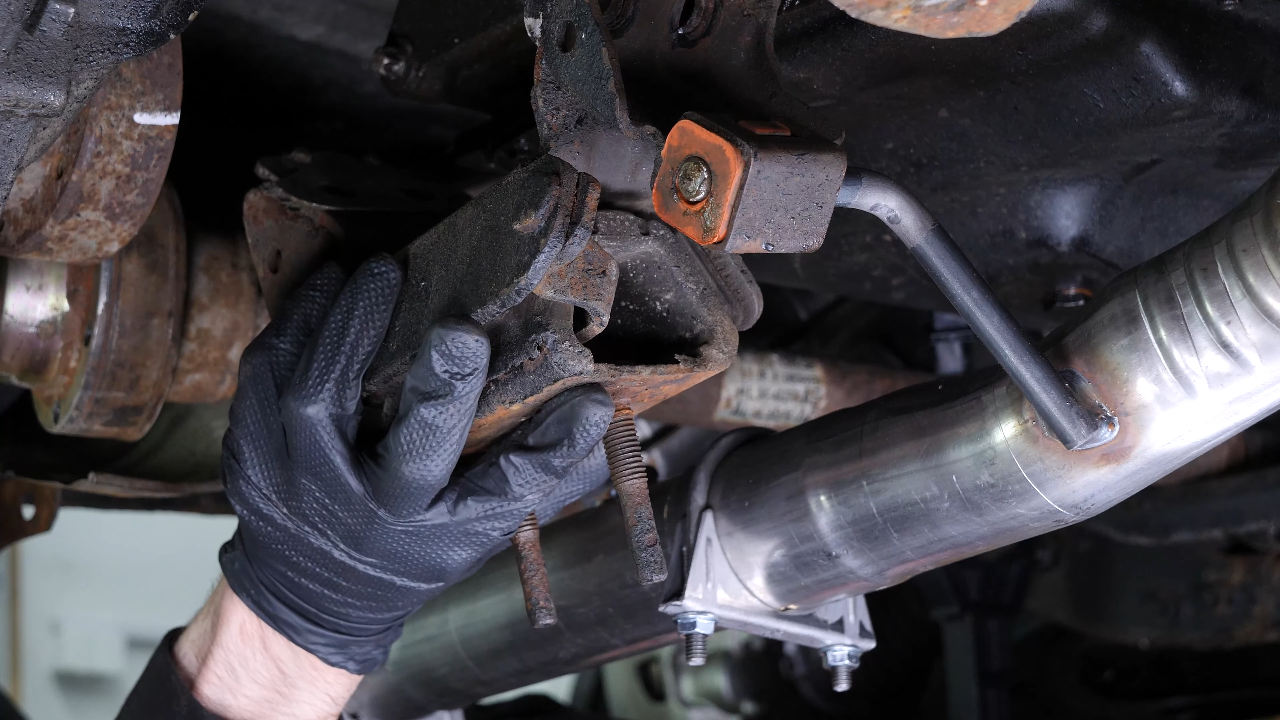
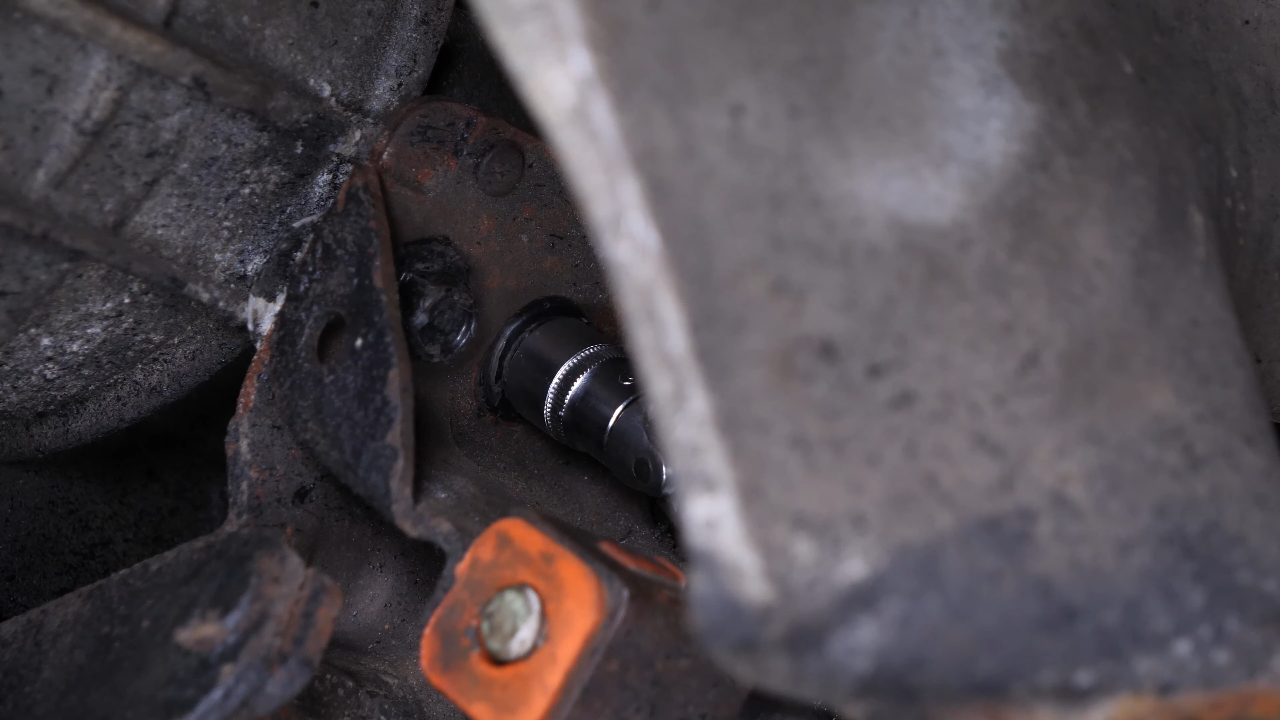
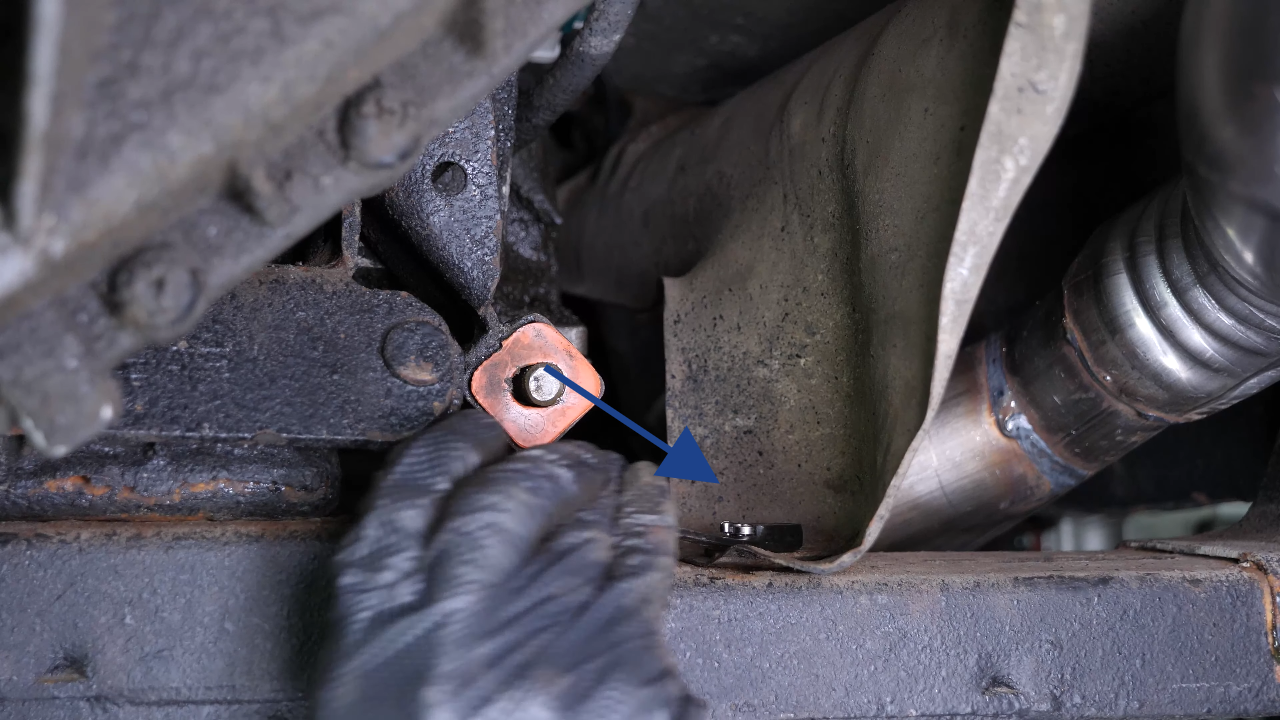
To access the two retaining screws of the driver’s side gearbox support, you need to remove the retaining screw of the upper silent block using a 15 mm wrench, finish the unscrewing by hand.


Chapter 6:
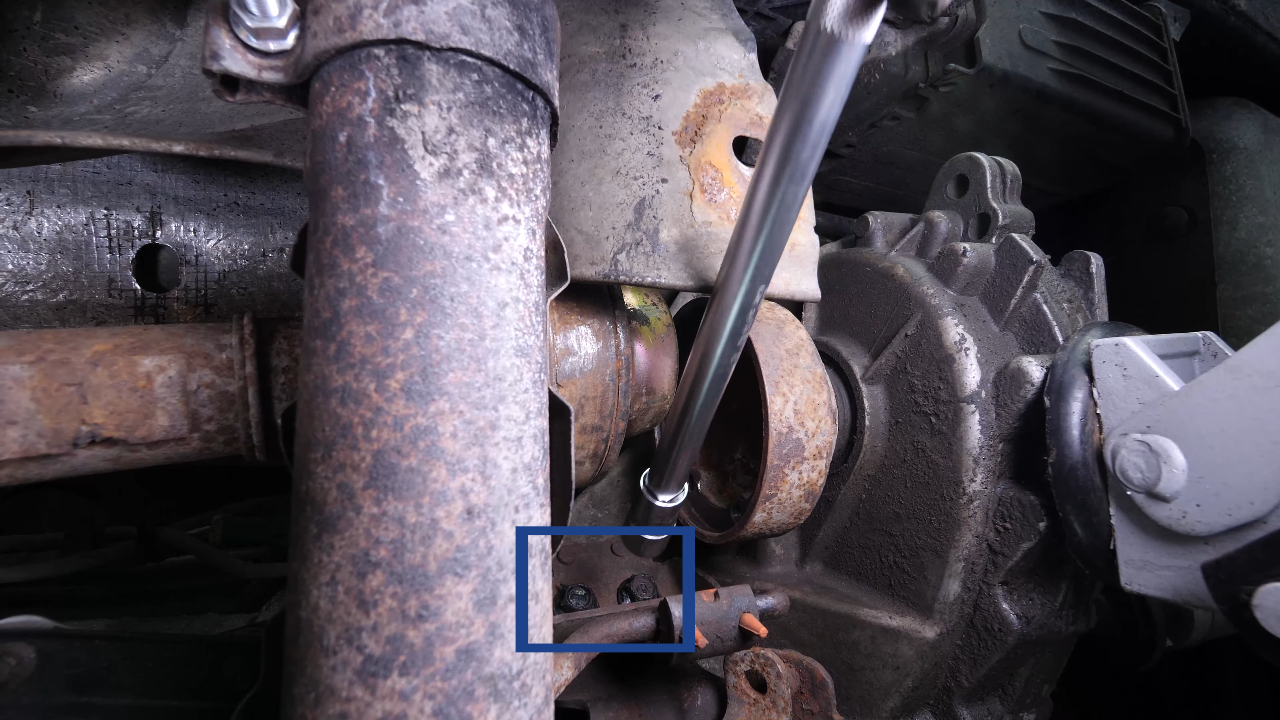
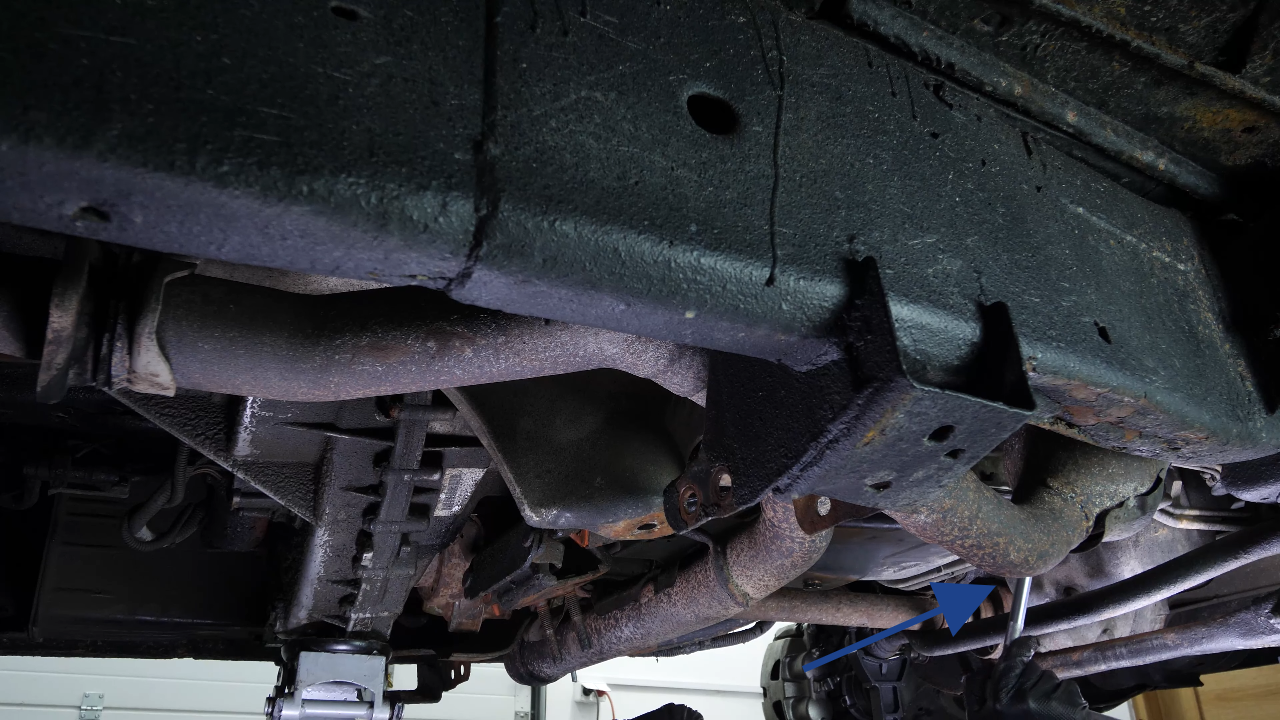
Step 2/2
Shift the driveshaft to make it easier for you to access. You can now remove the two screws holding the Gearbox mount on the driver’s side using a ratchet, an extender and a 15 mm socket. Do the same on the passenger side.

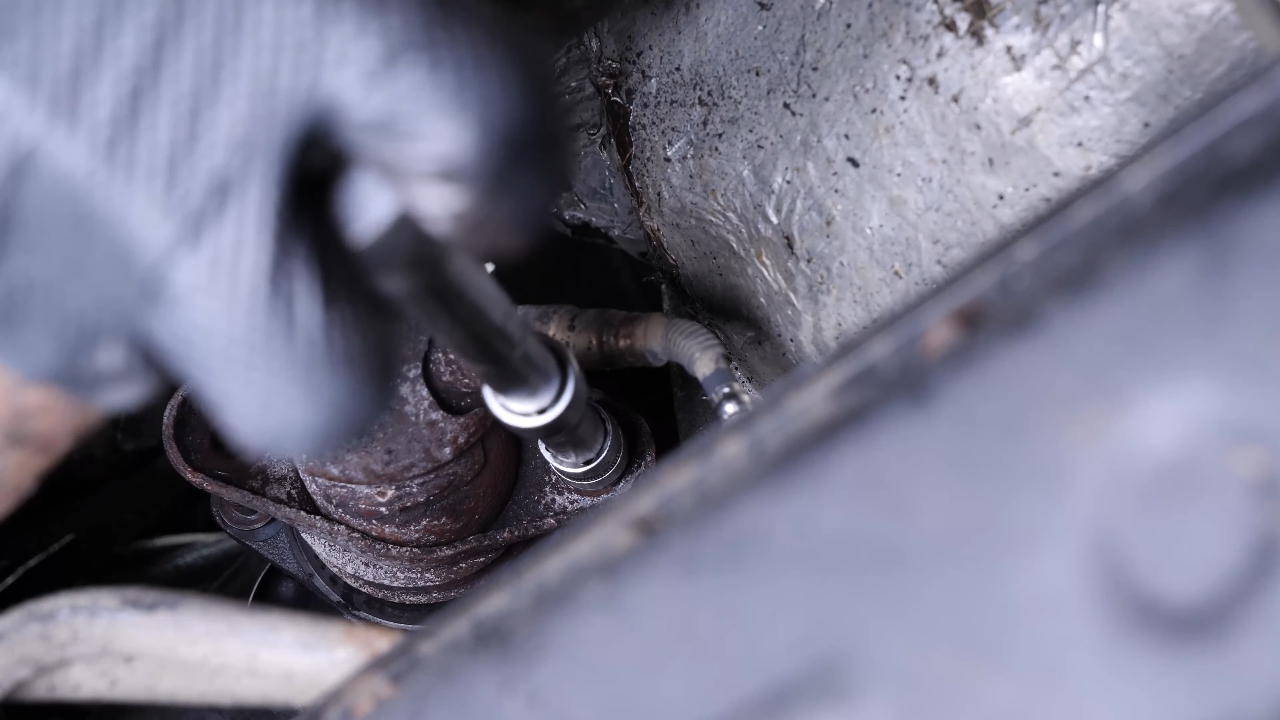
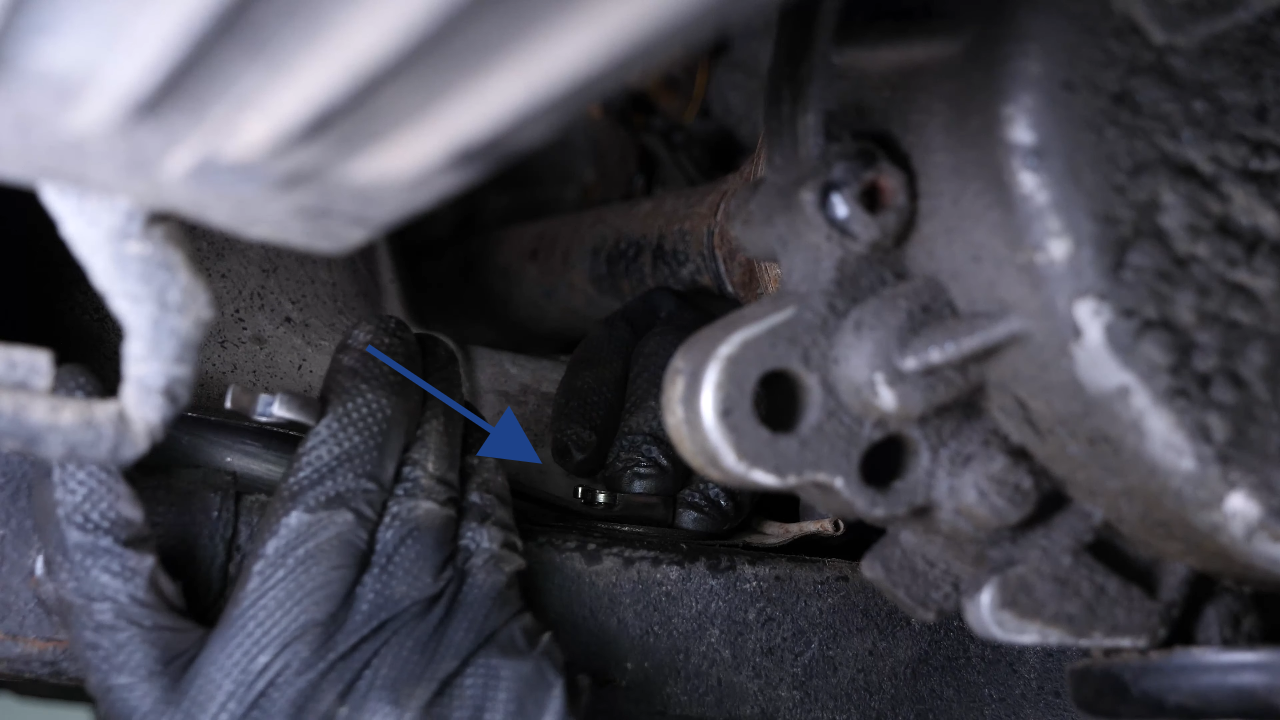
Chapter 7:
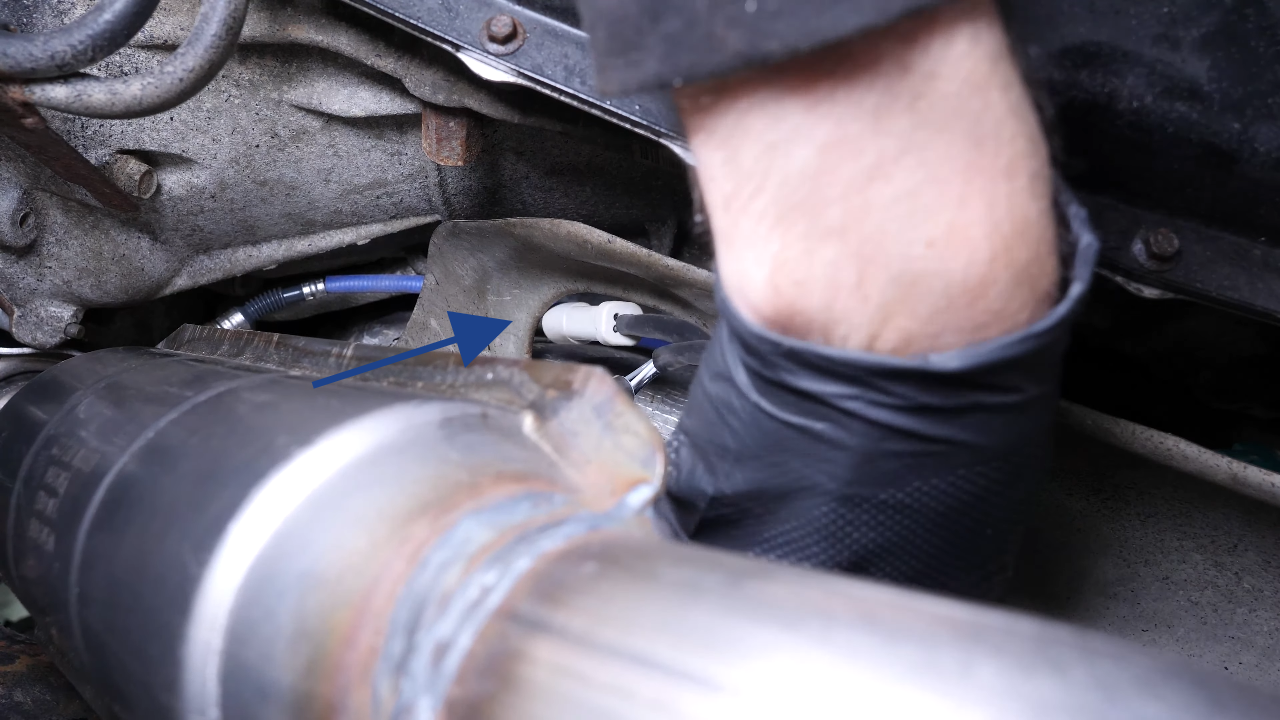
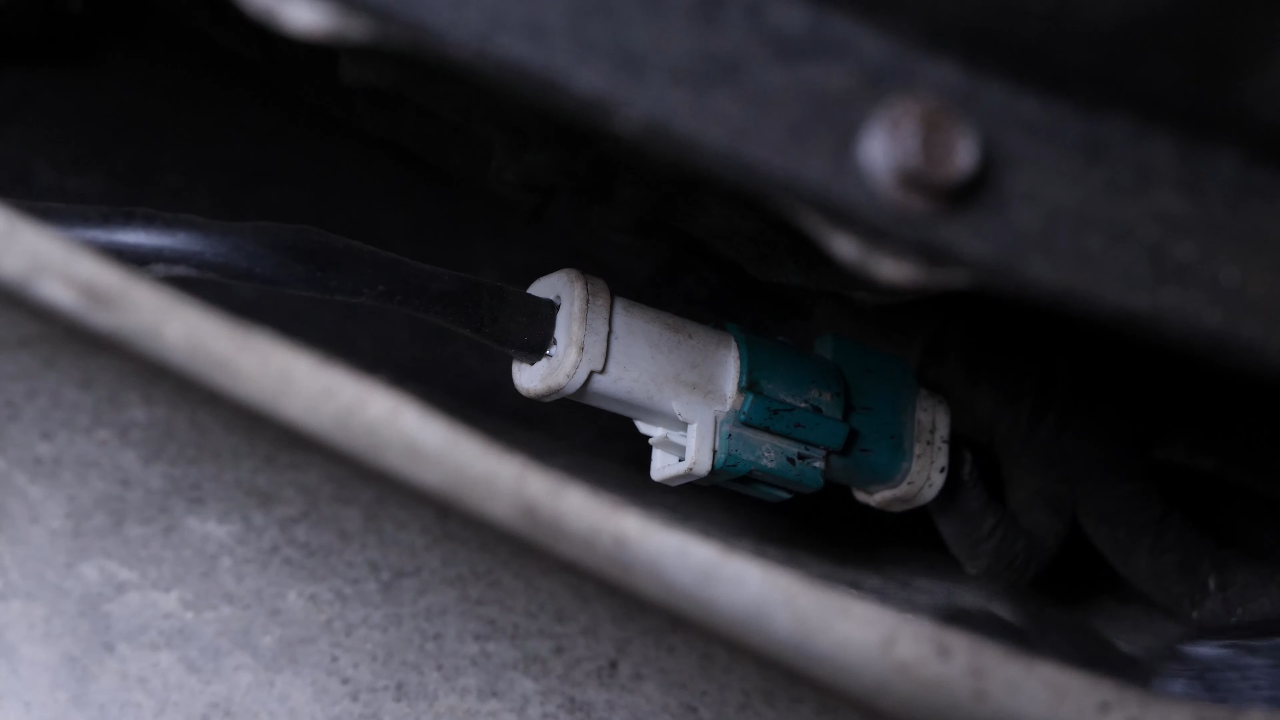
Disconnect the oxygen sensor
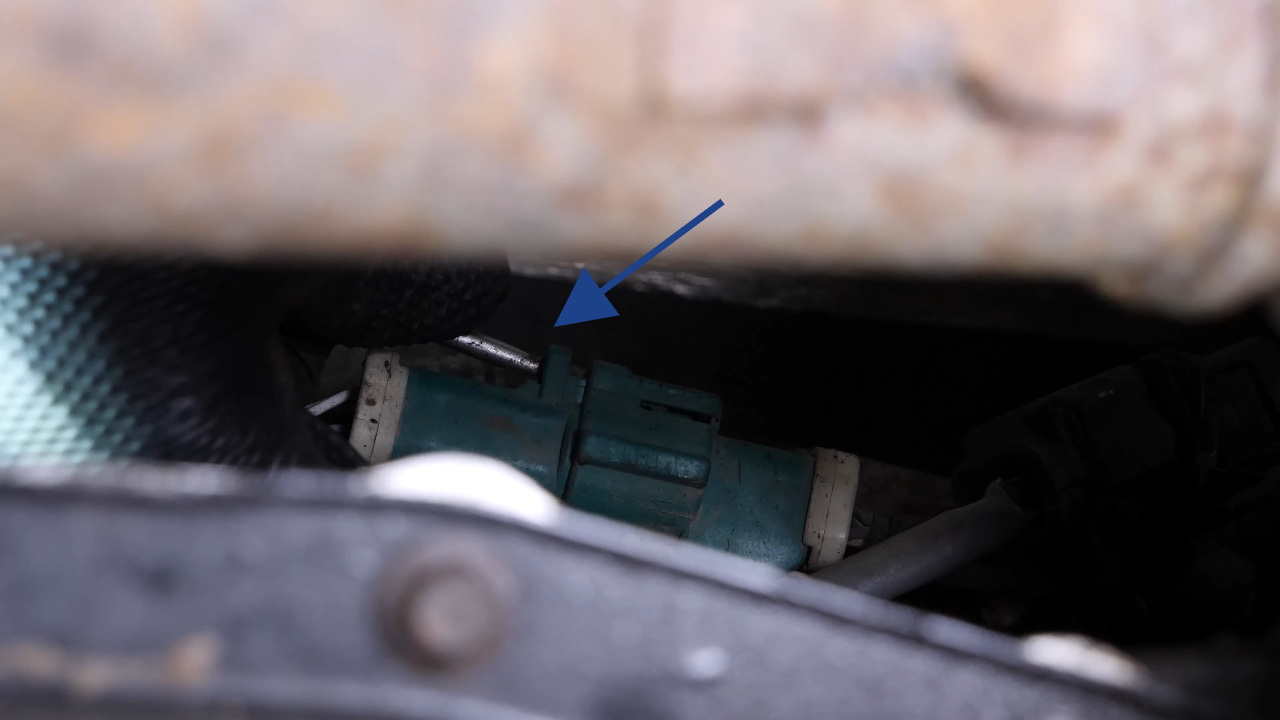
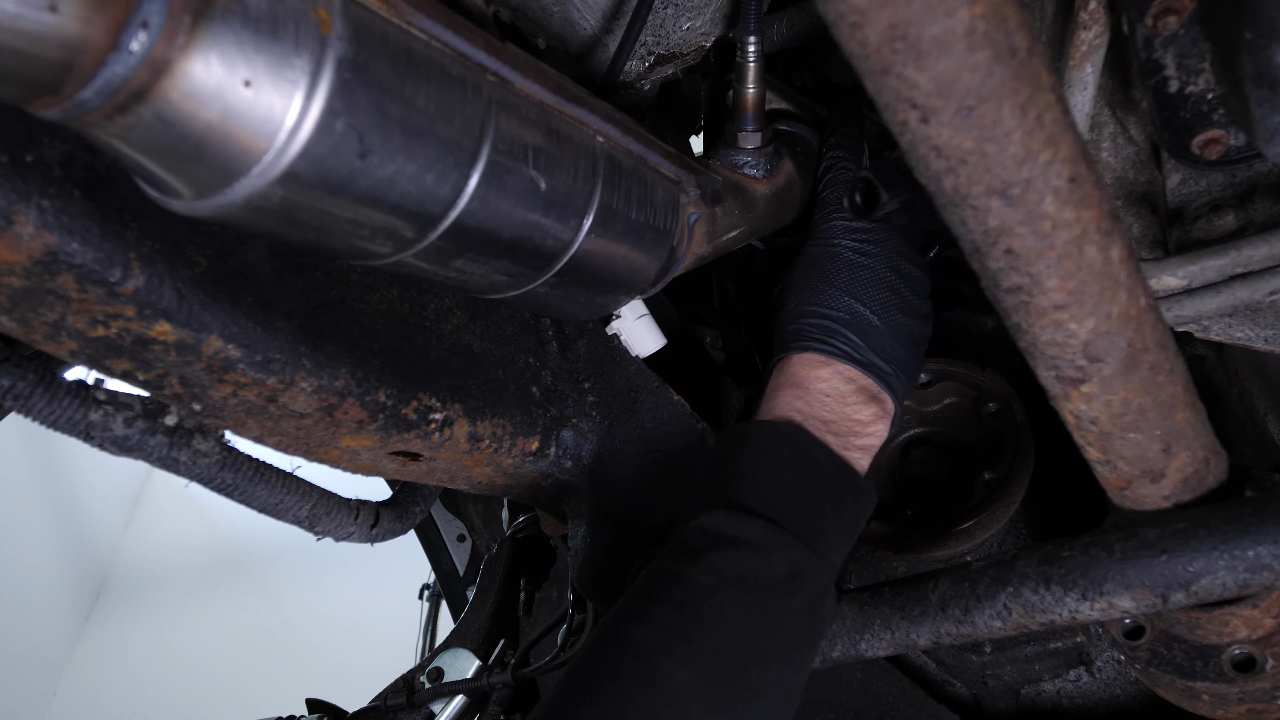
Step 1/2
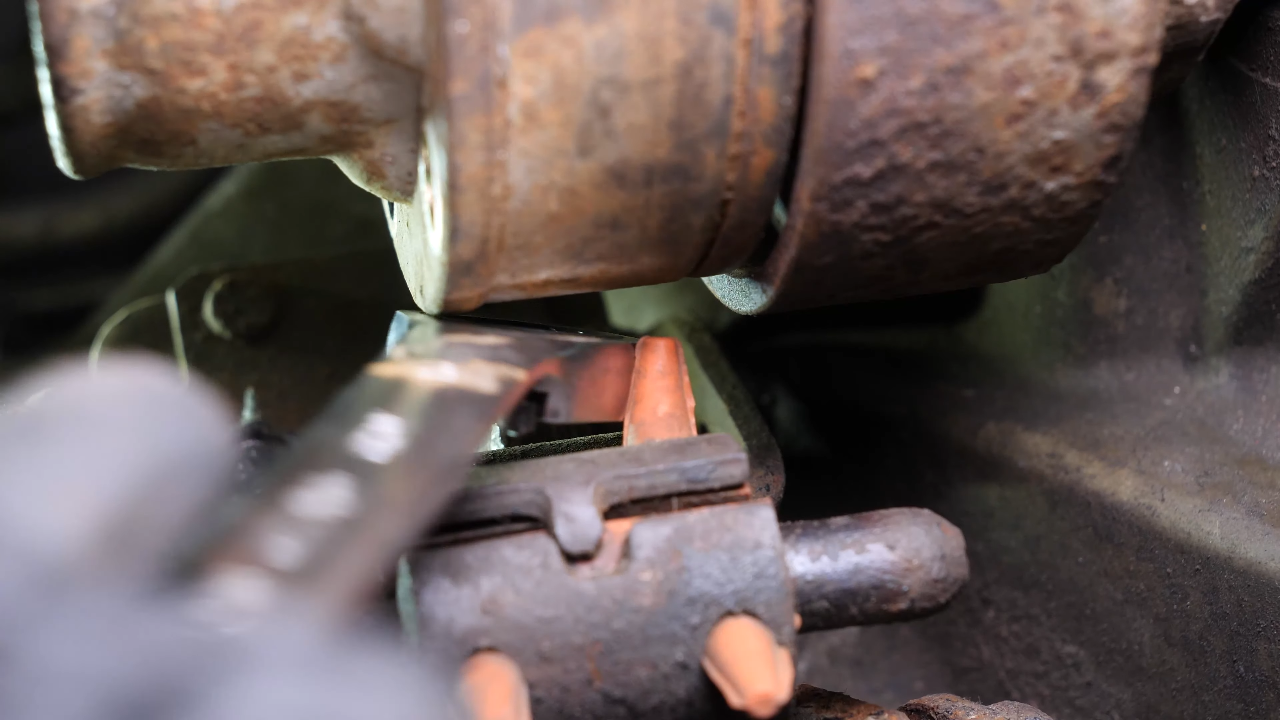
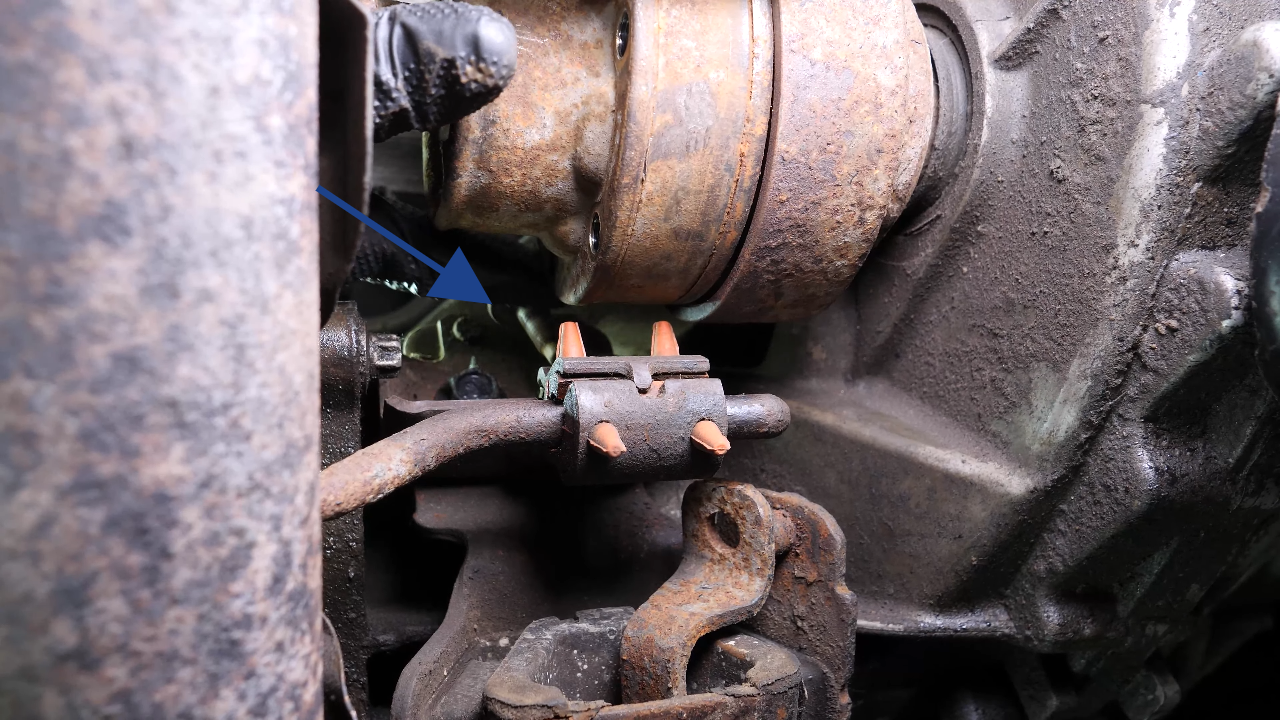
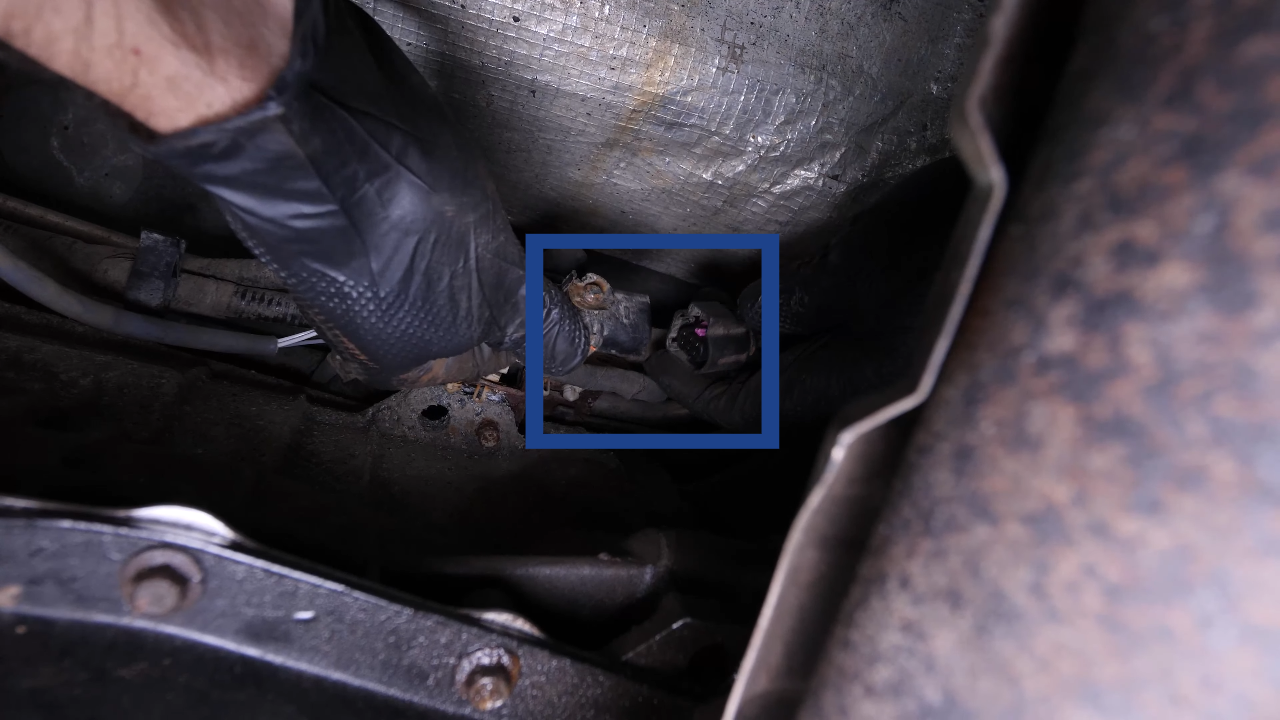
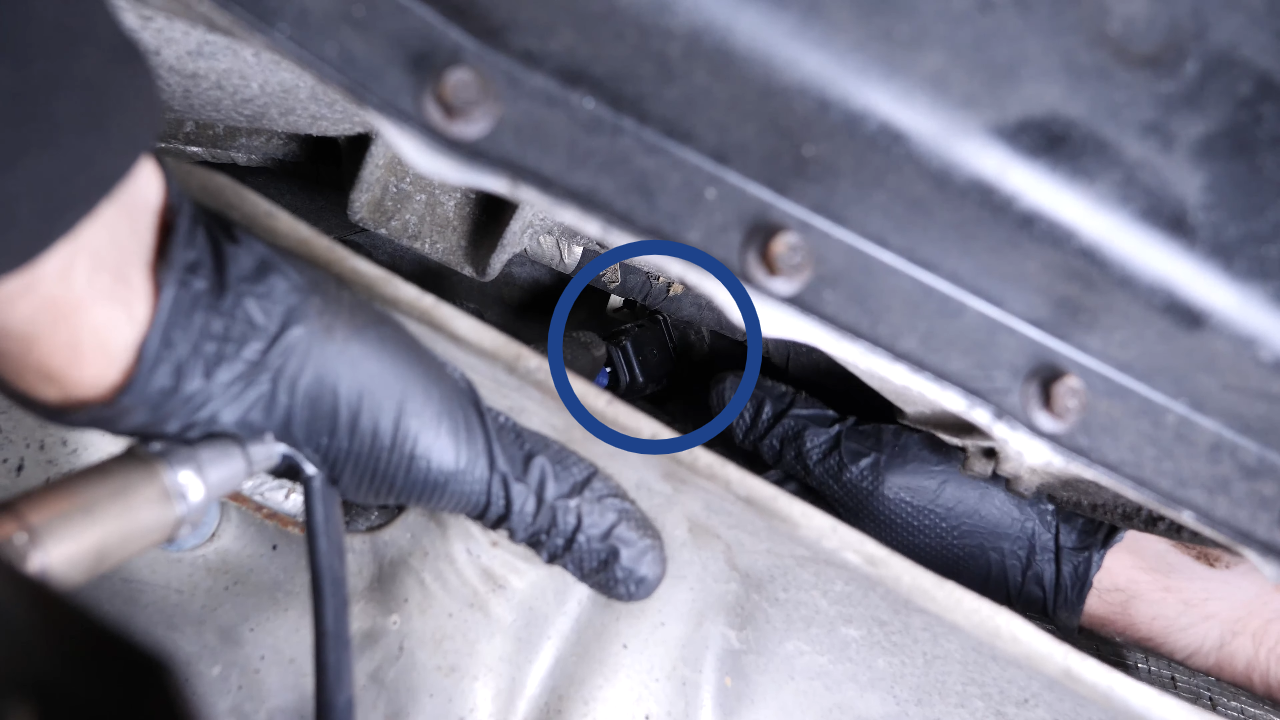
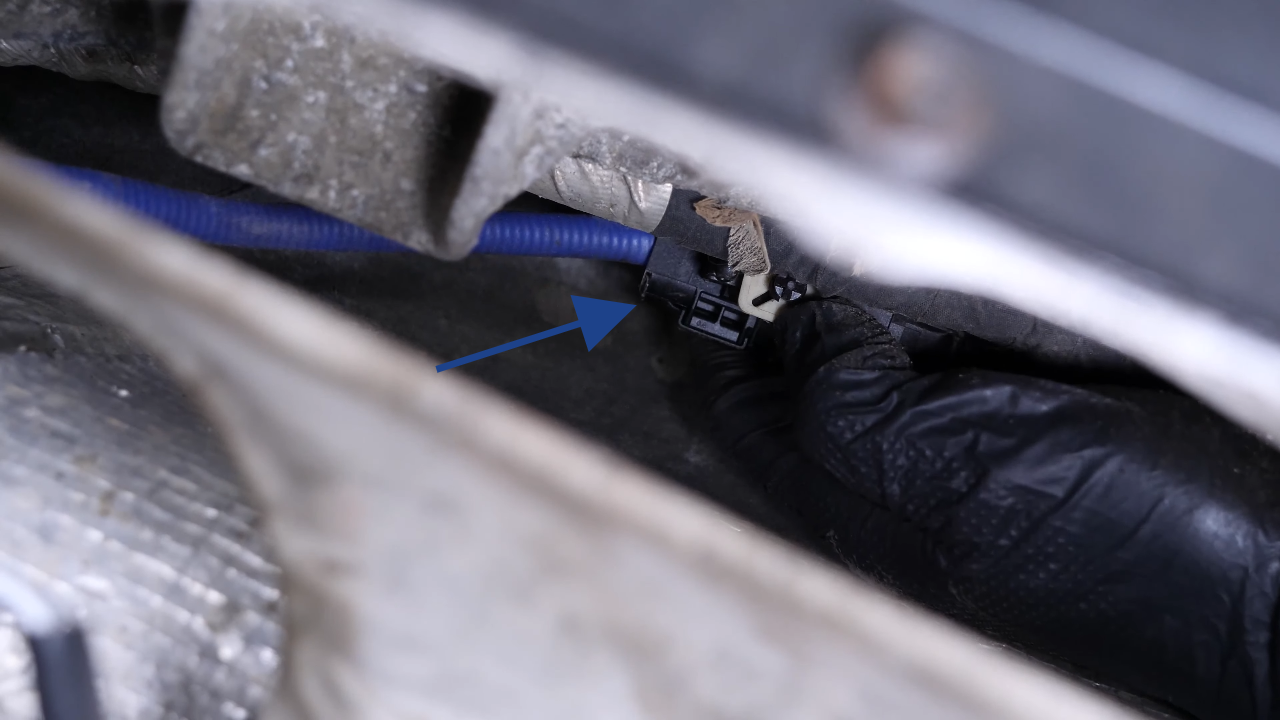
Using a flathead screwdriver, disconnect the two connectors of the oxygen sensors on the driver’s side.
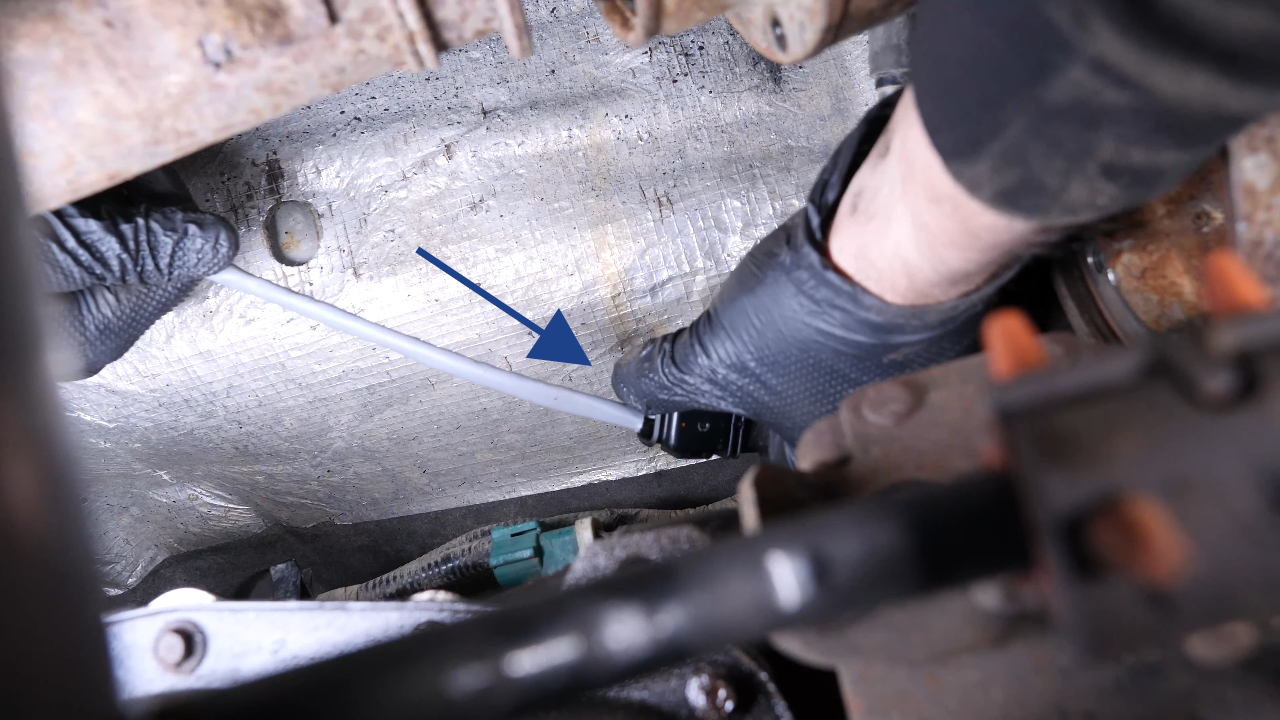
Chapter 7:
Step 2/2
You can shift the driveshaft to make it easier for you to access.

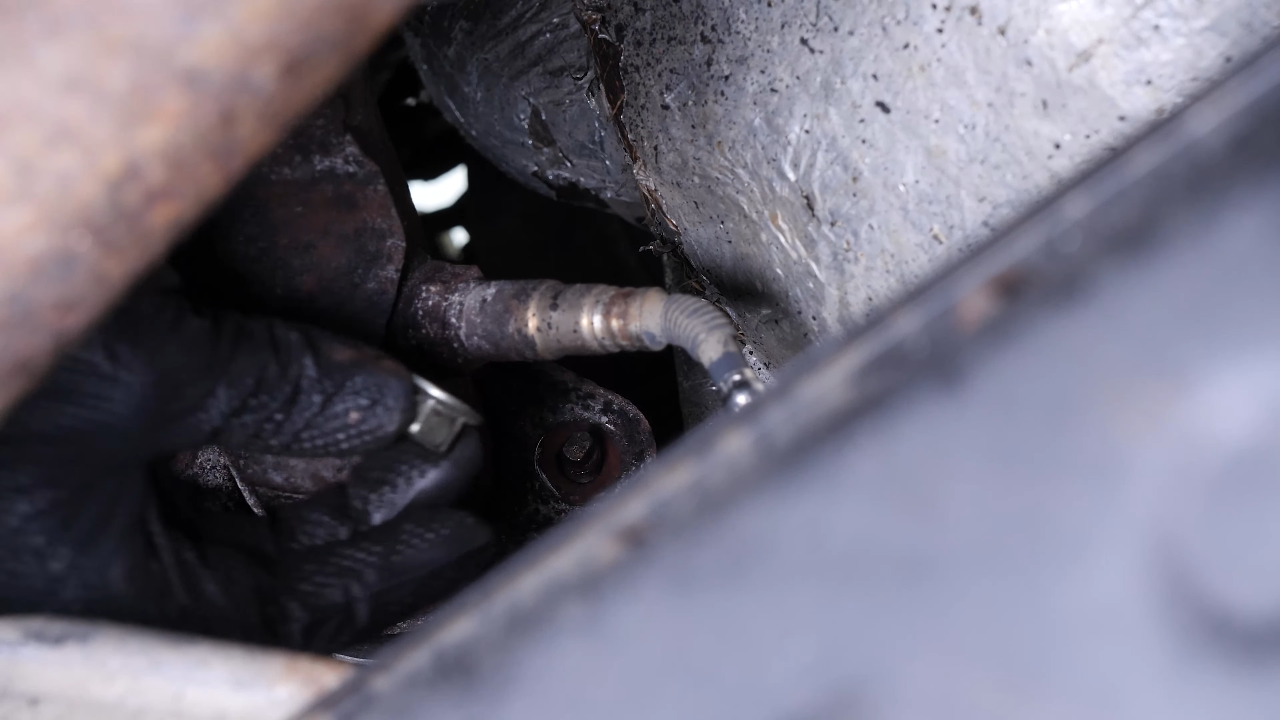
Chapter 8:
Dévisser le catalyseur
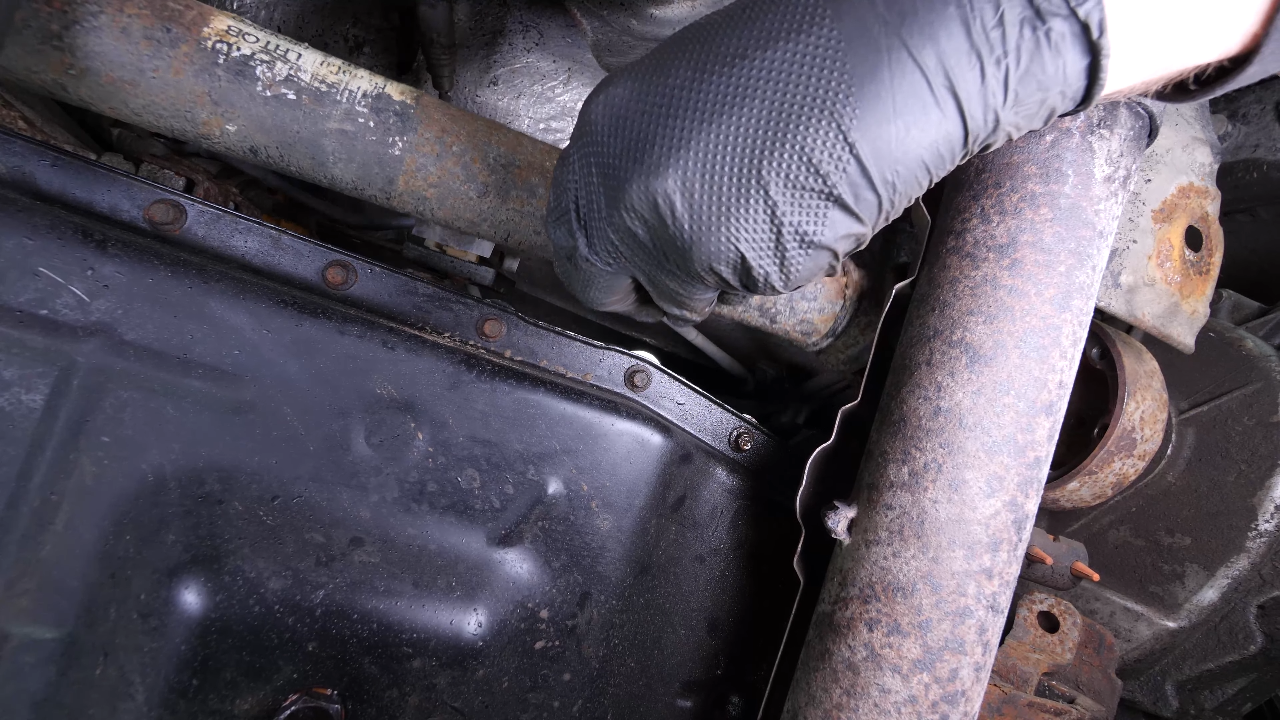
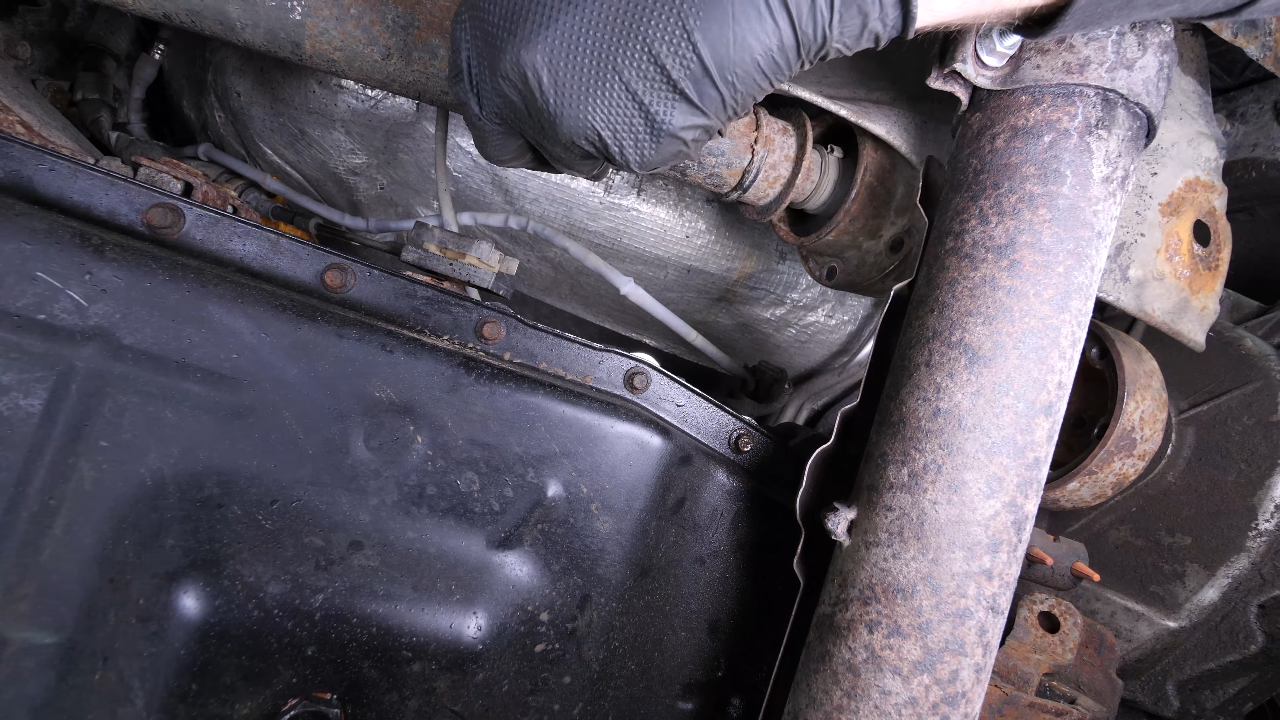
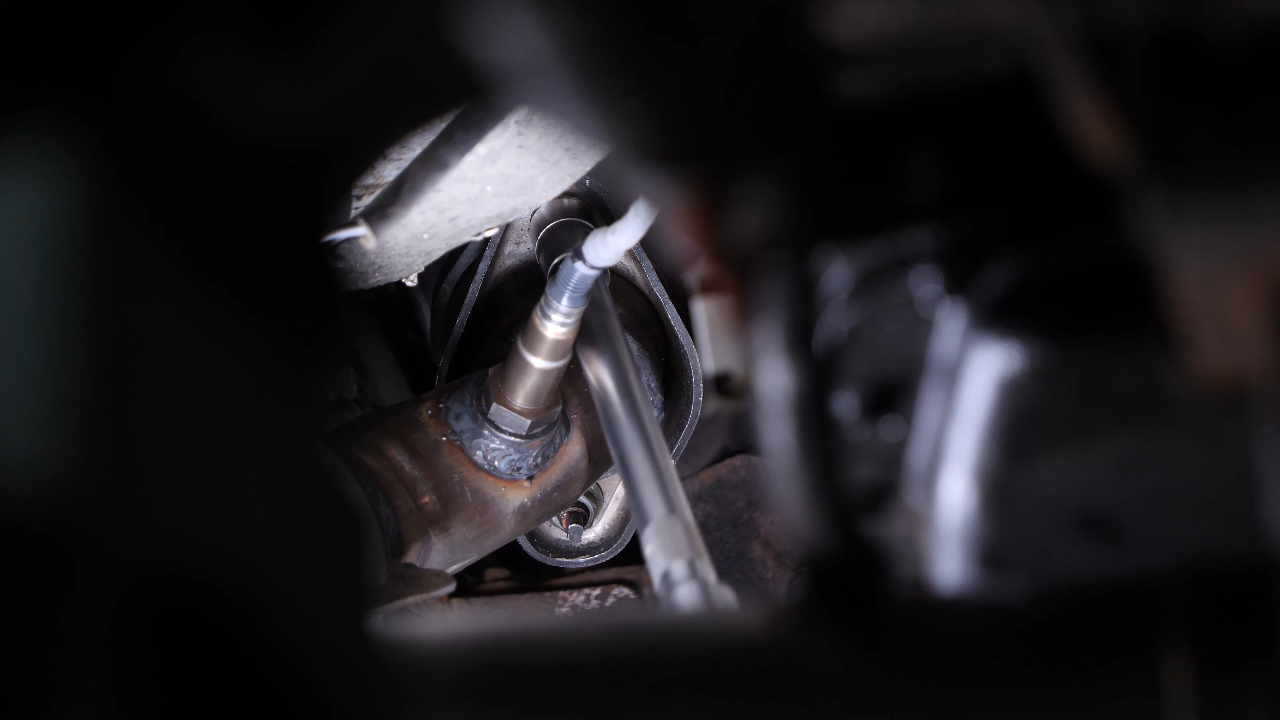
Step 1/3
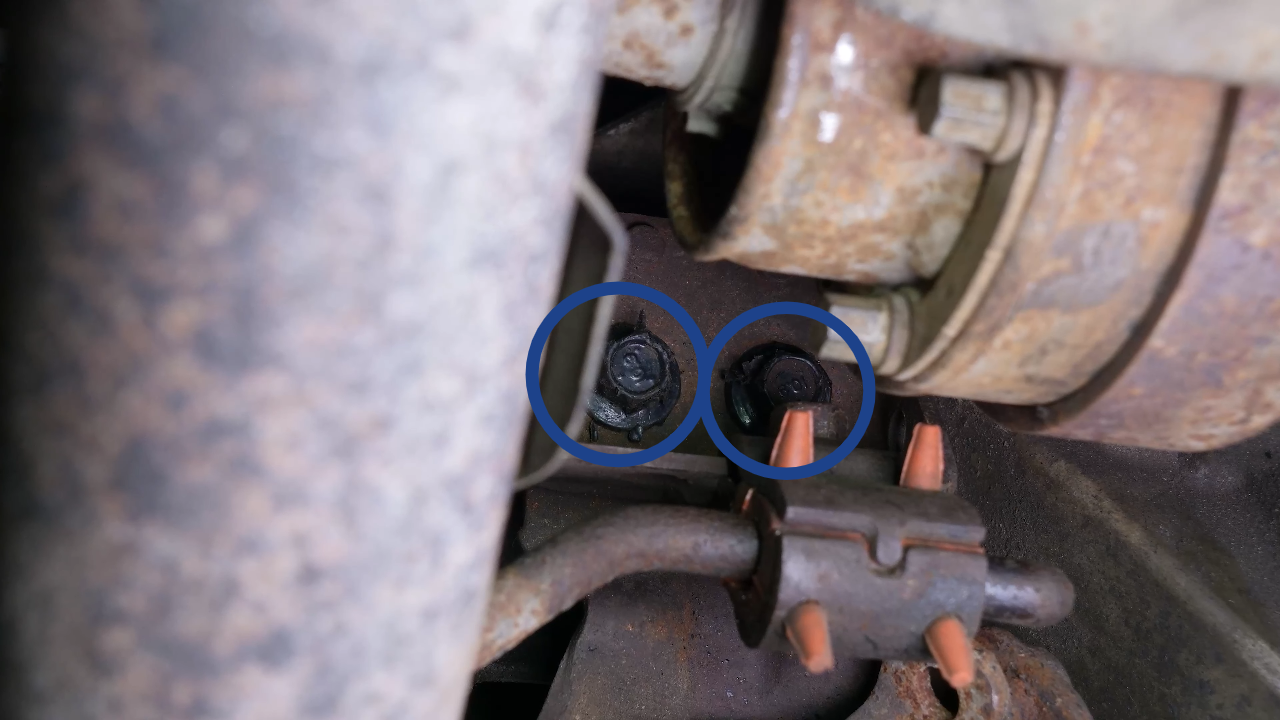
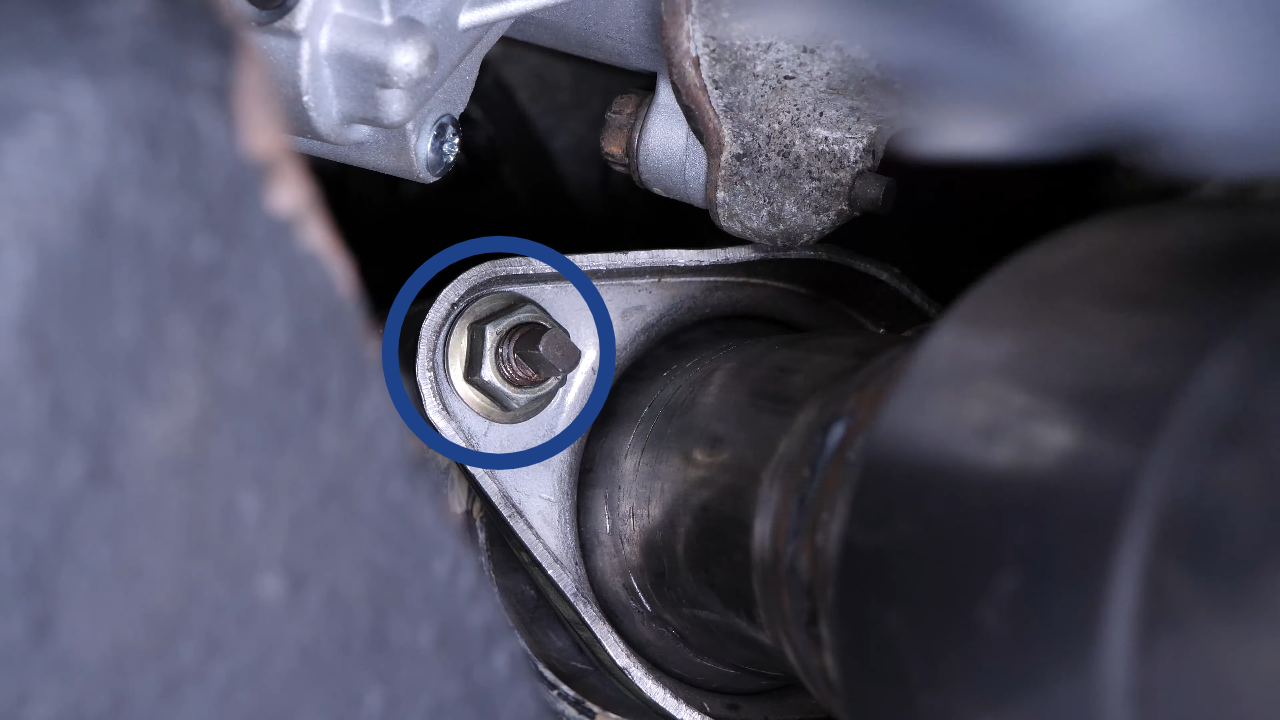
Using a ratchet, two large extenders and a 15 mm socket, unscrew the two nuts that hold the driver’s side catalytic converter to the exhaust manifold. You can shift the driveshaft to facilitate access to the different screws.

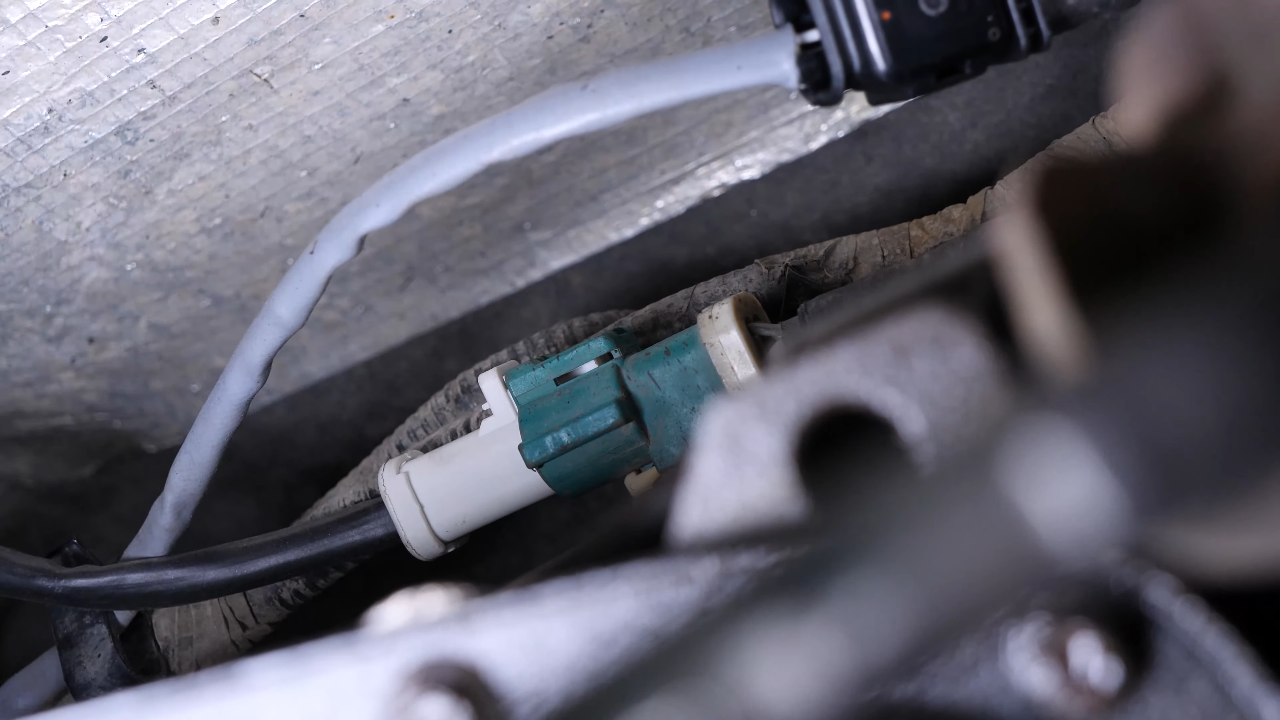
Chapter 8:
Step 2/3
Using a flathead screwdriver, disconnect the two oxygen sensor connectors on the passenger side.
Chapter 8:
Step 3/3
Using a ratchet, two large extenders and a 15 mm socket, unscrew the two nuts that hold the passenger side catalytic converter to the exhaust manifold. You can use a gimbal to help you for the second.
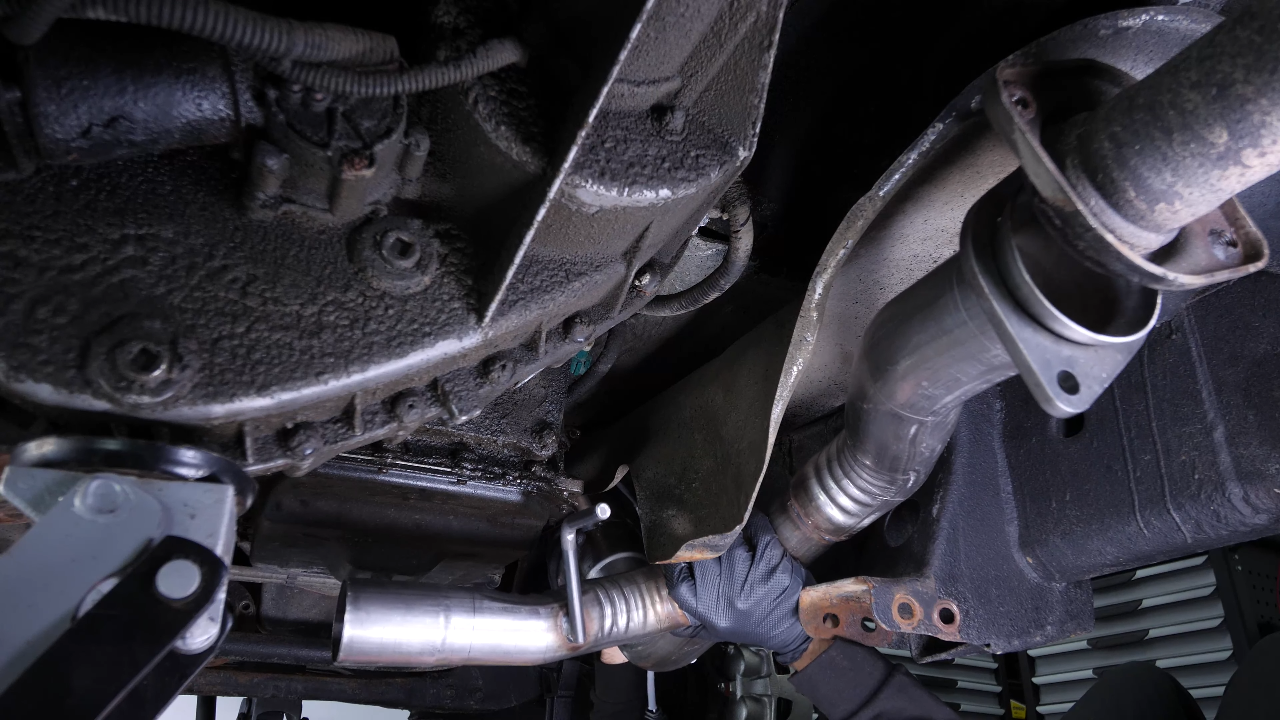
Chapter 9:
Remove the catalytic converter
Step 1/2
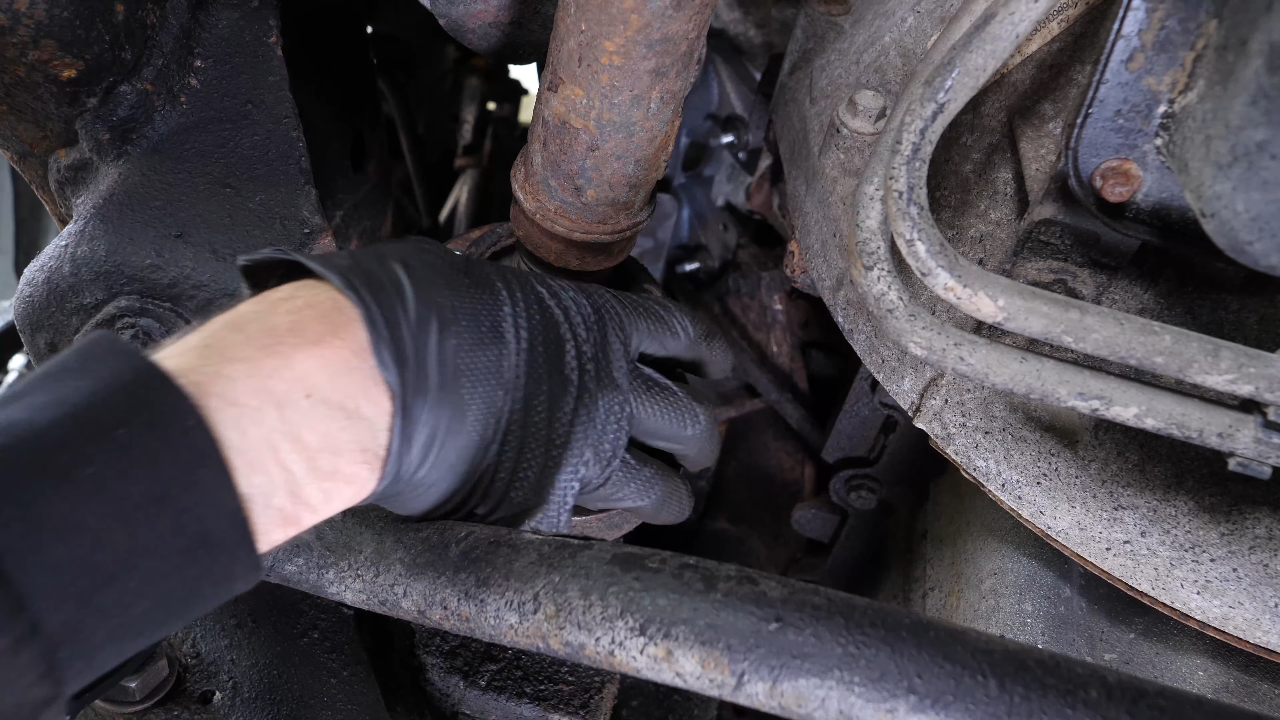
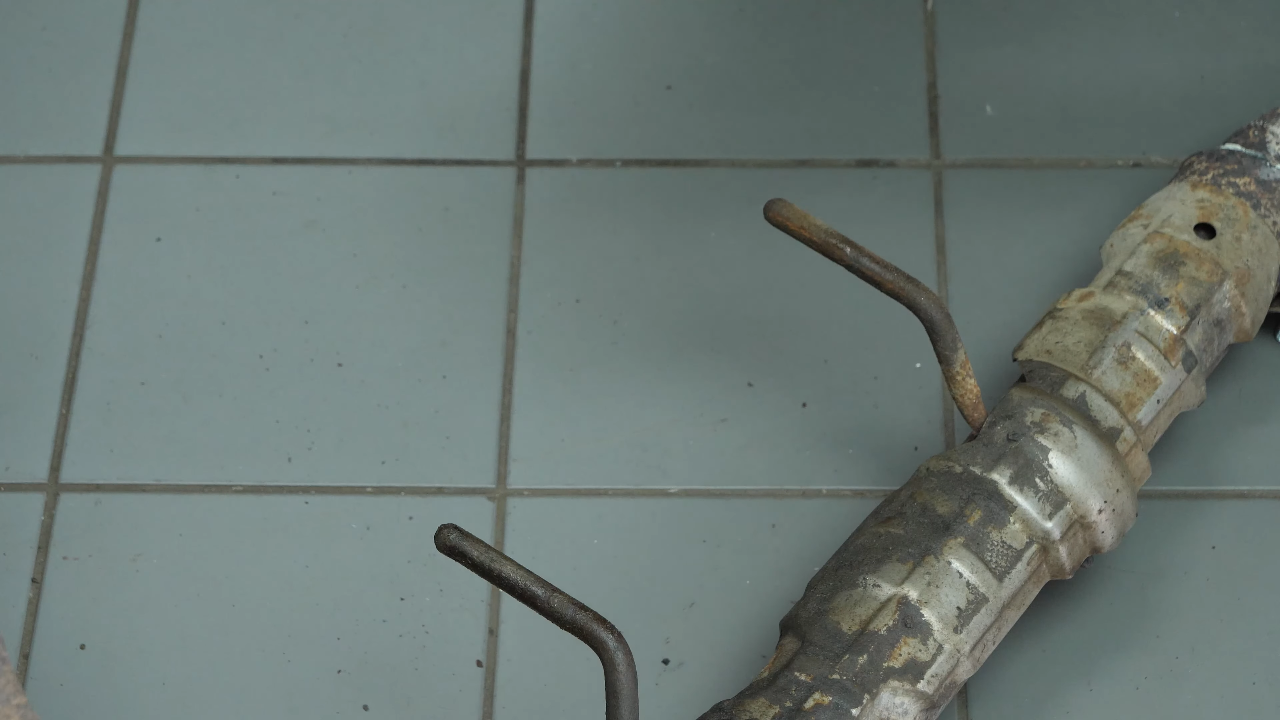
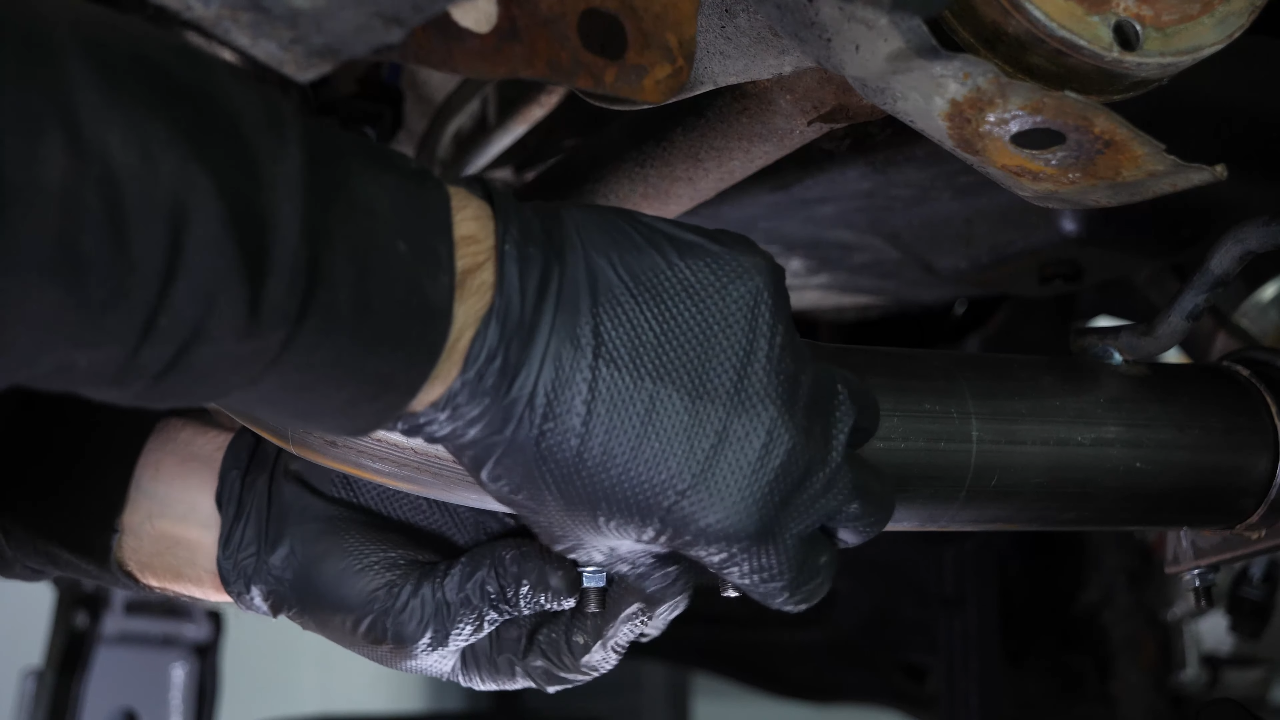
We advise you to have someone help you to hold the catalytic converter assembly in place to prevent it from falling when unscrewing. Once the two screws have been removed, you can extract the catalytic converter from its location.
Chapter 9:
Step 2/2
You can now remove the Gearbox mount from the old catalytic converter.

Chapter 10:
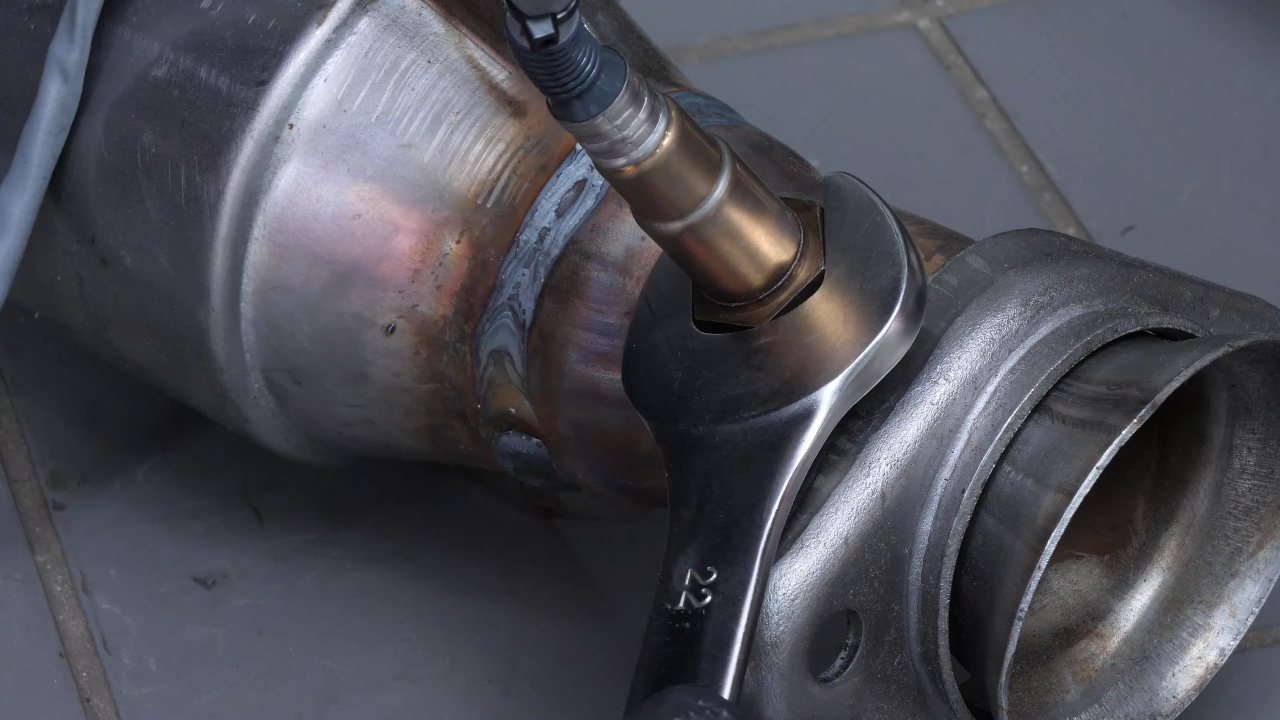
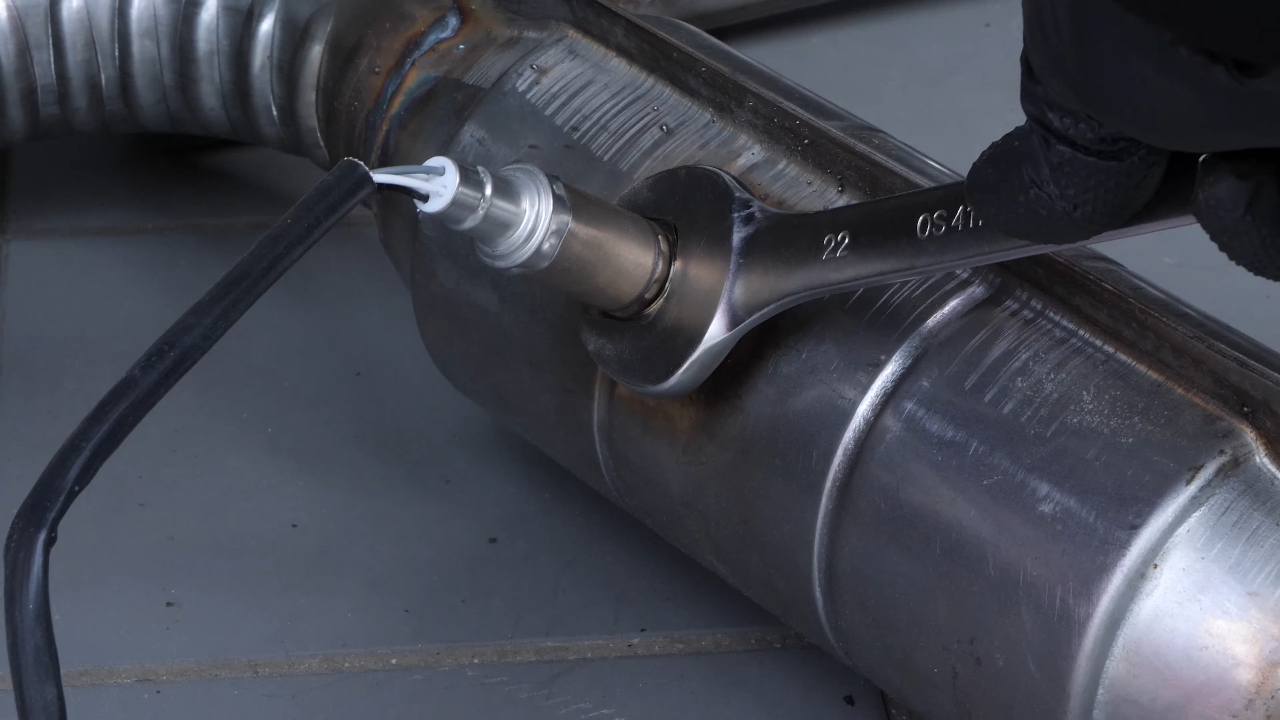
Install the oxygen sensor
Step 1/2
Start by putting the new oxygen sensors back in place by screwing them back in using a 22 mm wrench. Each oxygen sensor has a different cable length.
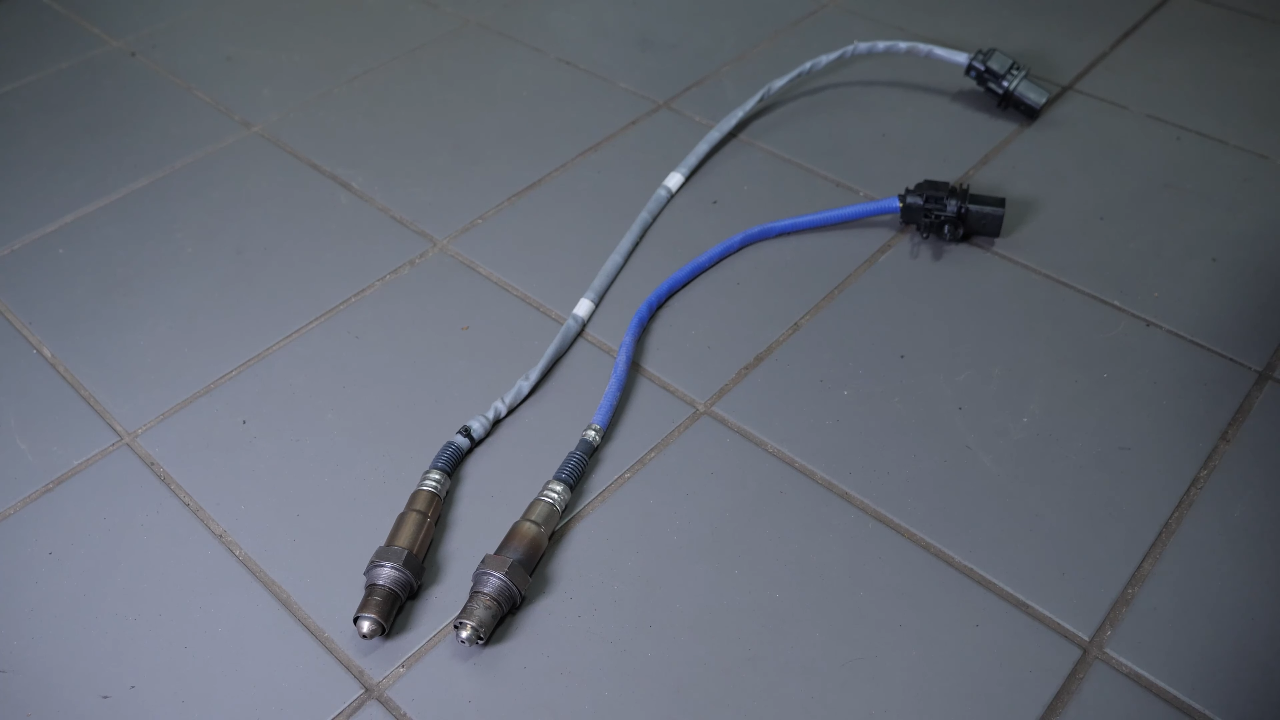
Chapter 10:
Step 2/2
Take the example of the old line so as not to invert the sensors. Take the passenger part of the catalytic converter, and install it on the exhaust manifold.

Chapter 11:
Prepare the installation of the new catalytic converter
Step 1/5
Briefly retighten the two catalytic converter retaining nuts on the exhaust manifold to hold the assembly together.
Chapter 11:
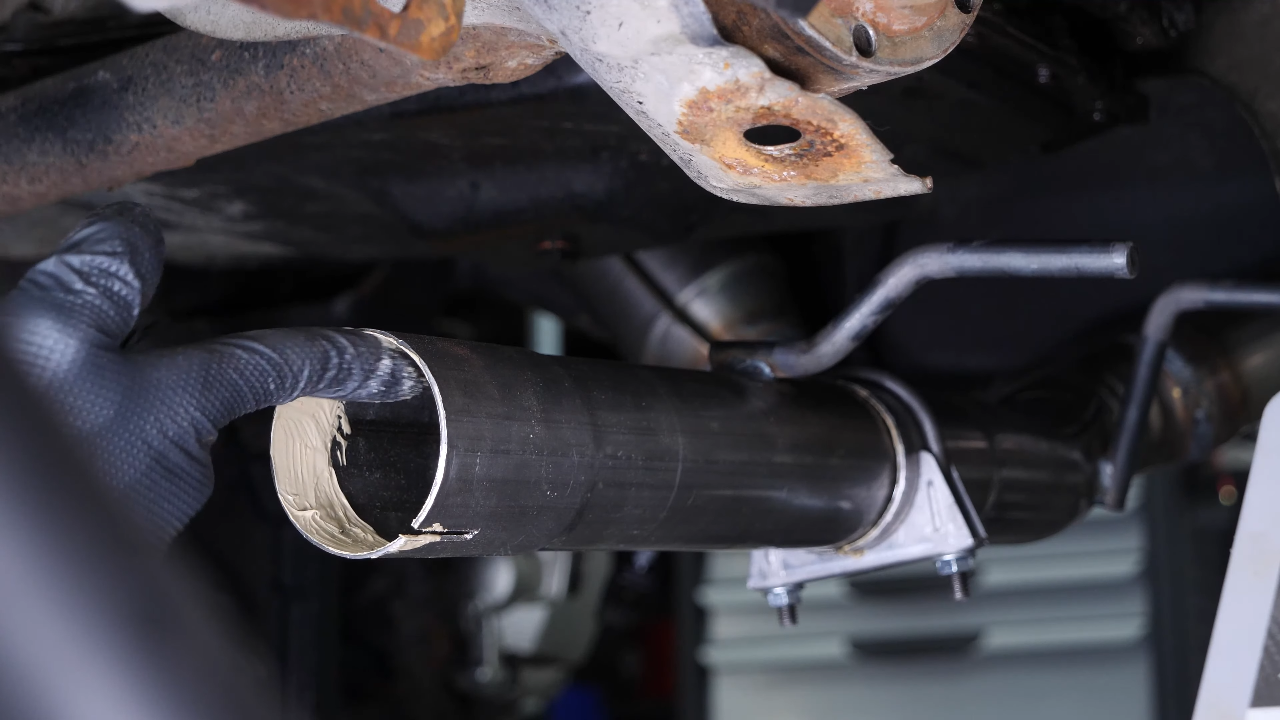
Step 2/5
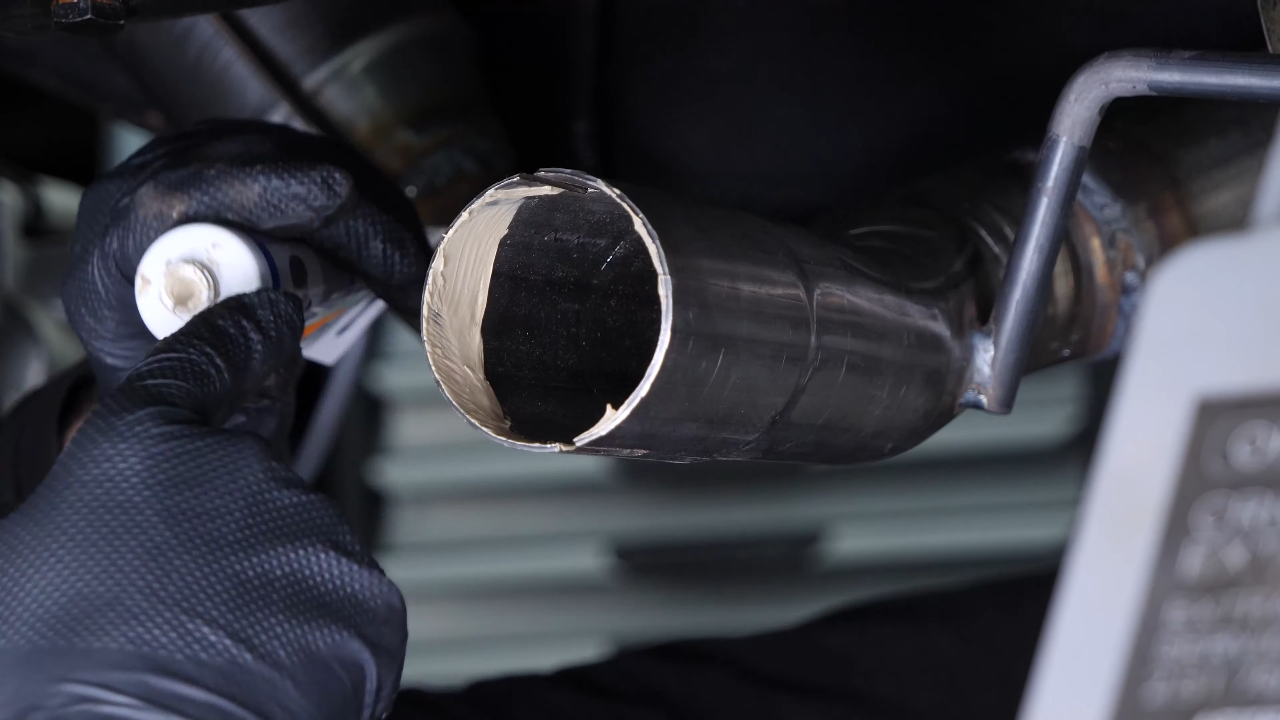
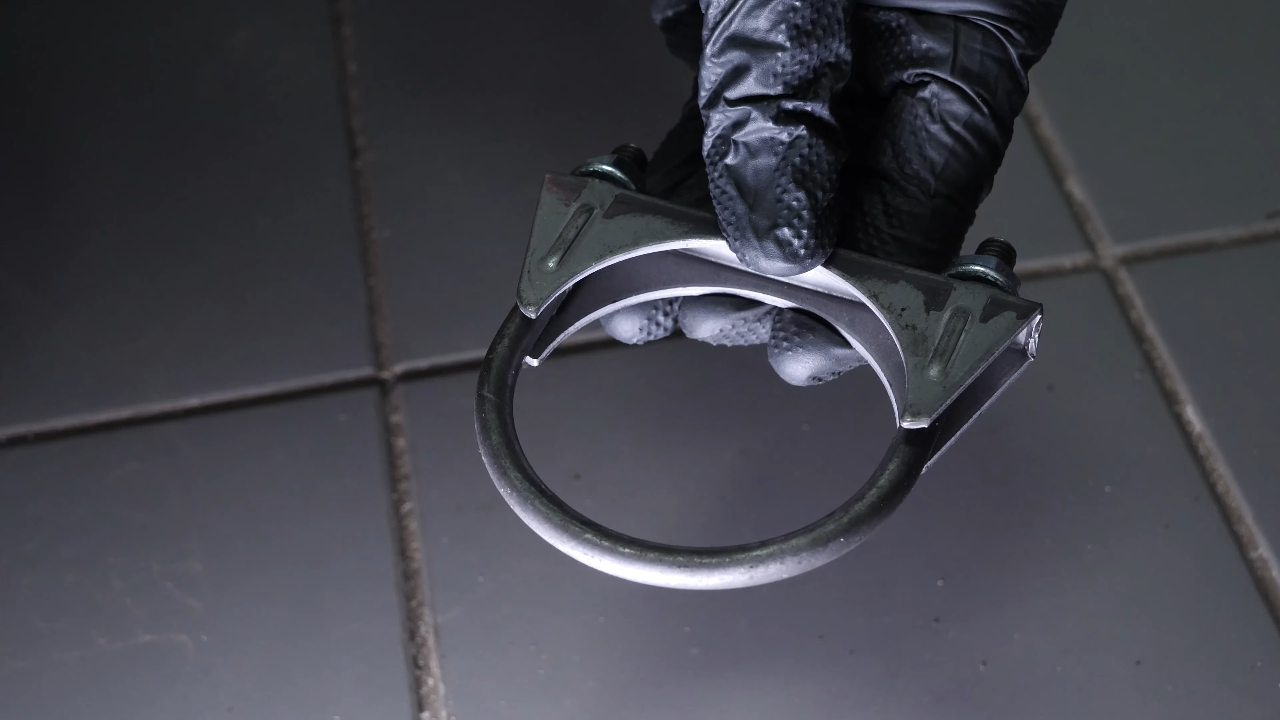
You can coat the junction tube of the two catalytic converters with exhaust sealant. Then put on the holding clamp provided in the kit, then the second tube.
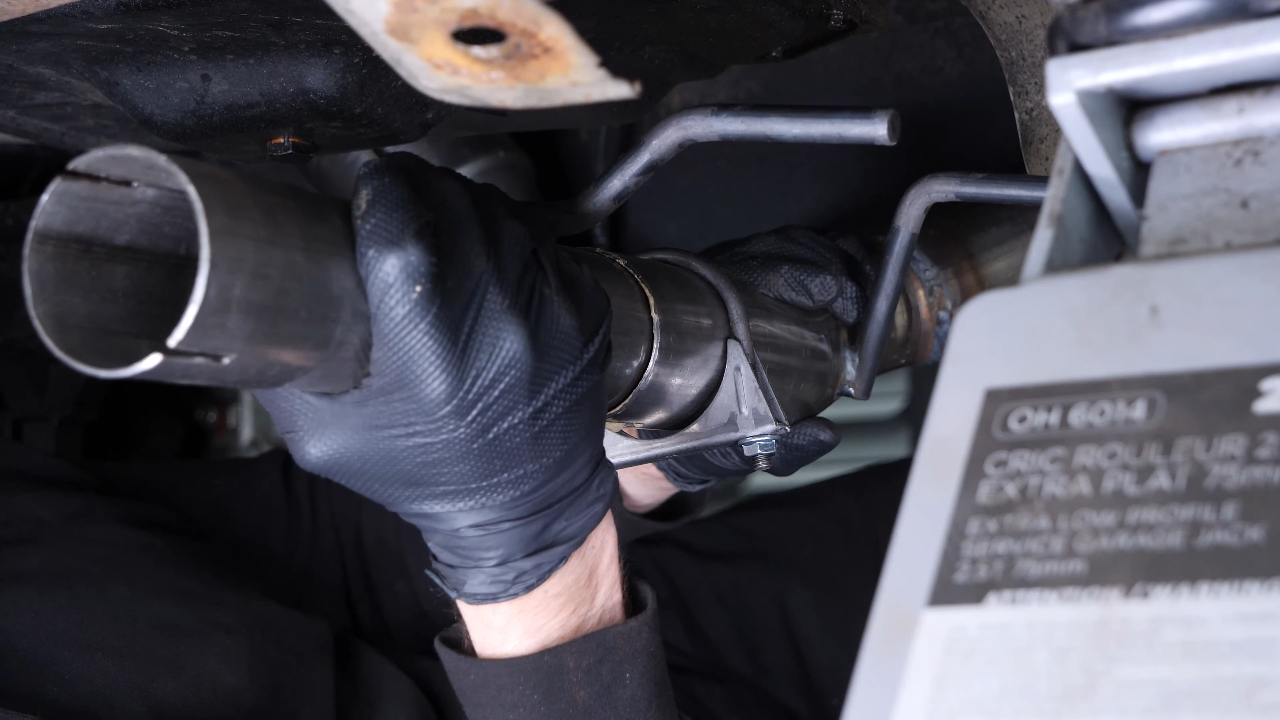
Chapter 11:
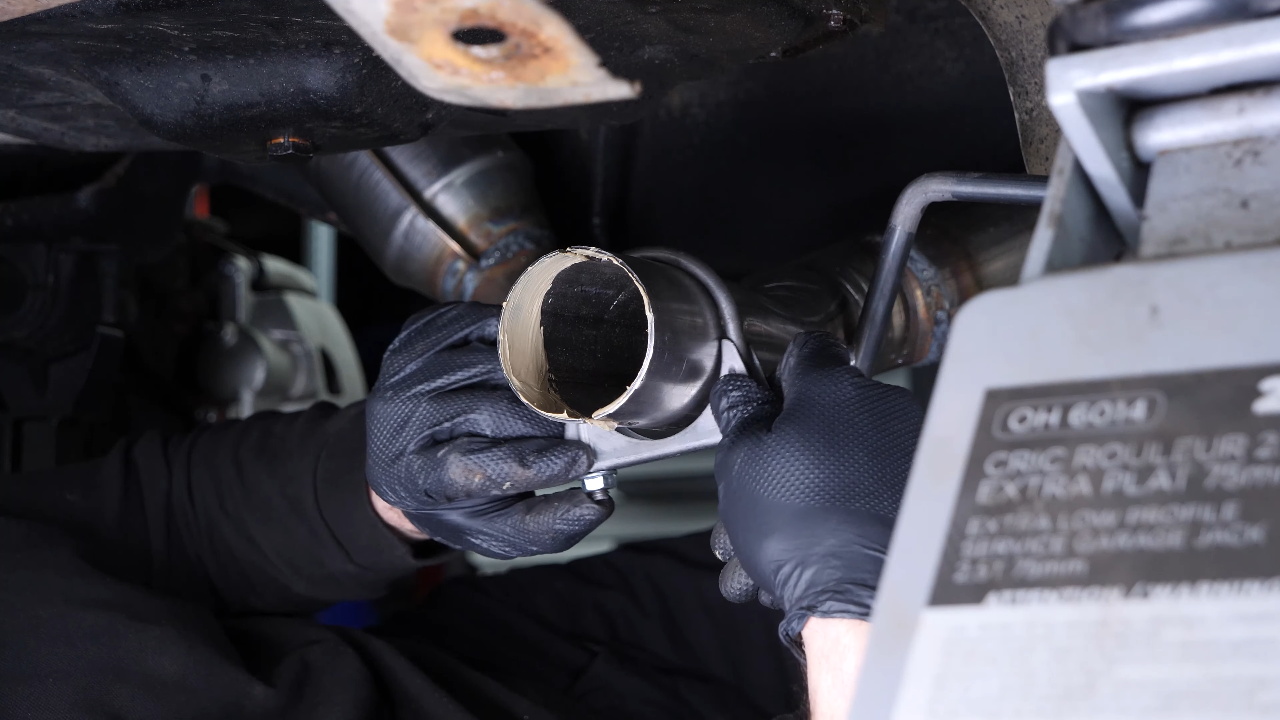
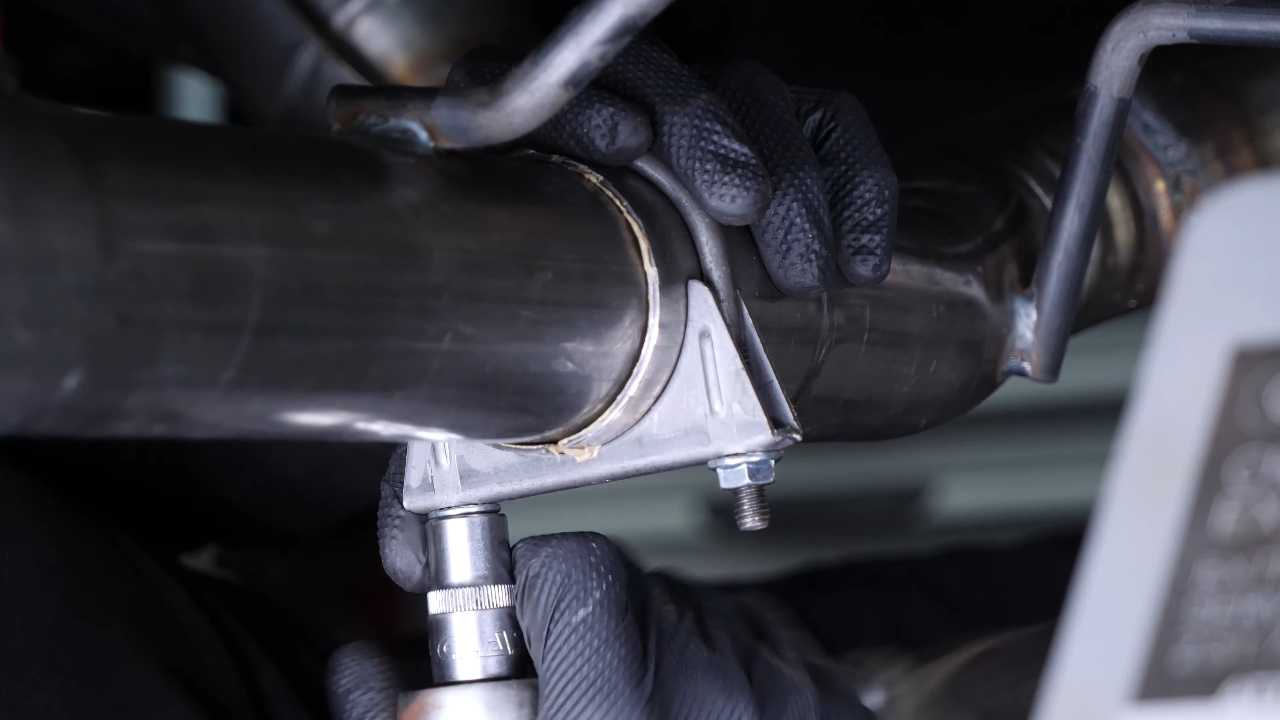
Step 3/5
Briefly screw the holding clamp back on. Then coat the second tube with exhaust sealant.
Chapter 11:
Step 4/5
Get the catalytic converter on the driver’s side. Install it in its location. Then thread it into the tube. Briefly retighten the two catalytic converter retaining nuts on the exhaust manifold to hold the assembly together.
Chapter 11:
Step 5/5
You can now correctly thread the catalytic converter into the tube. Briefly screw the holding clamp back on. The final tightening will take place once all the elements have been put back in place.

Chapter 12:
Reconnect the sensor
Step 1/3
Replace the Gearbox mount on the exhaust line retaining rods.
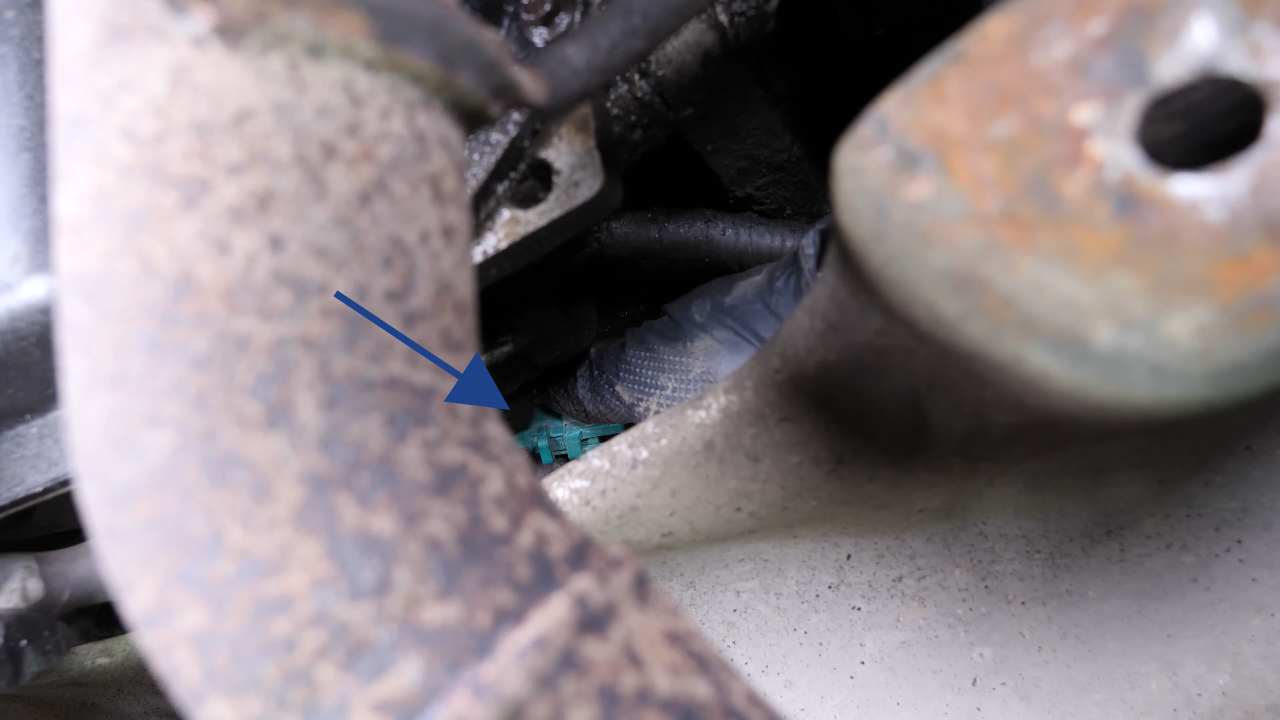
Chapter 12:
Step 2/3
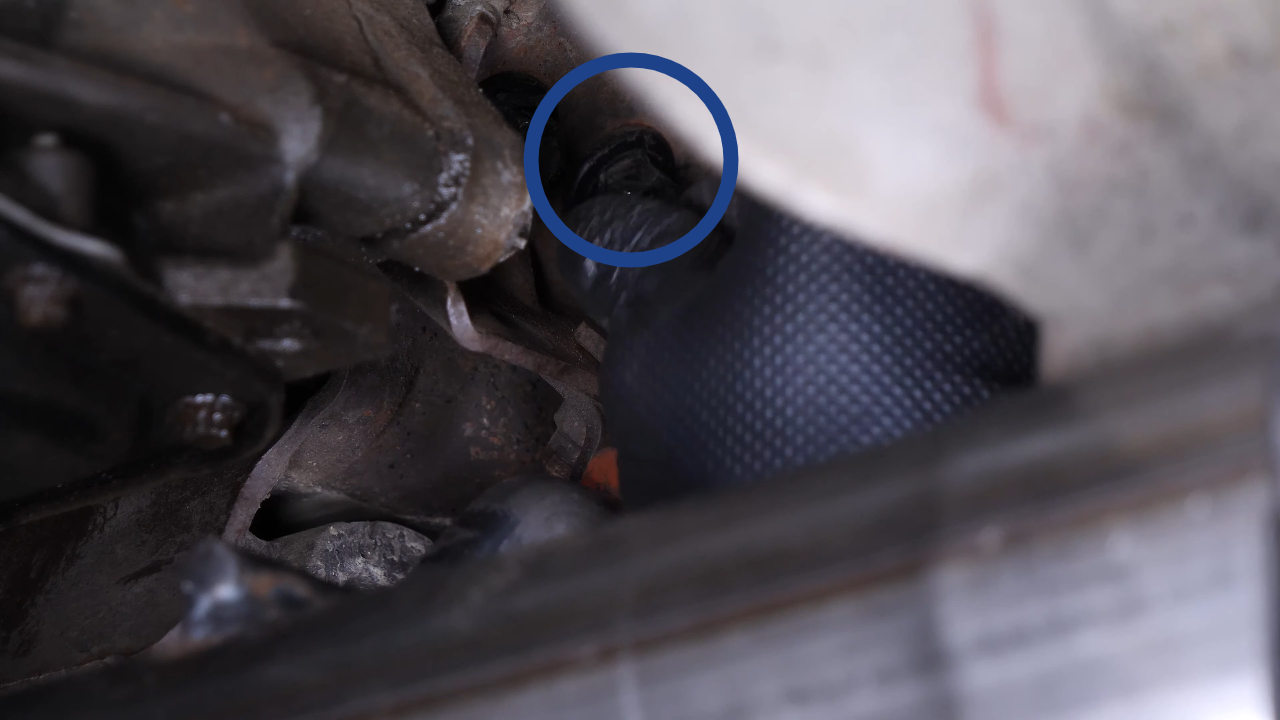
Reconnect the first oxygen sensor on the passenger side. Then clip it back on its support to prevent the boot from melting and to allow the sensor to operate properly.
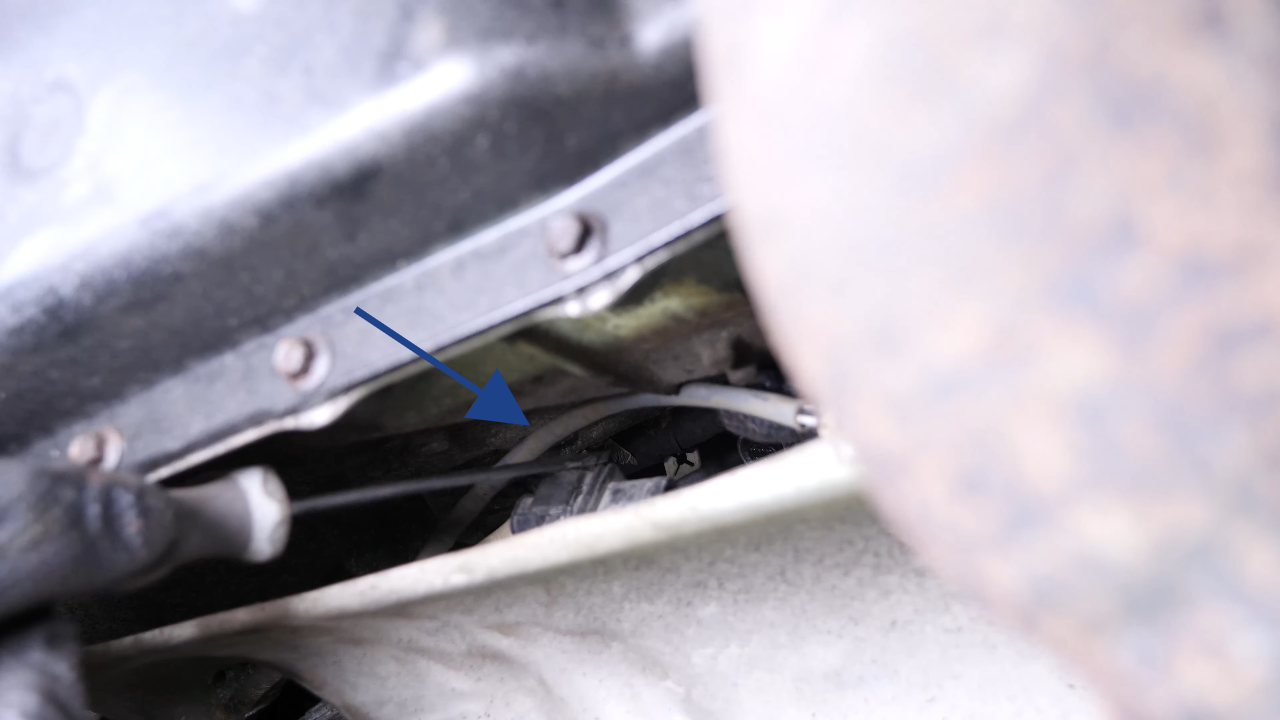
Chapter 12:
Step 3/3
Reconnect the second oxygen sensor, taking care to first pass it through the hole in the heat shield. Reconnect the two oxygen sensors on the driver’s side, then clip the cables back in their location. Shift the driveshaft to facilitate access to the screws.

Chapter 13:
Revisser le geabox mount
Step 1/3
Lift the catalytic converter assembly in order to be able to replace the Gearbox mount retaining screws, first screw the two screws on the passenger side by hand. Finish tightening using a torque wrench.

Chapter 13:
Step 2/3
Tighten the two screws on the driver’s side. Finish tightening using a torque wrench.

Chapter 13:
Step 3/3
Refit the screw retaining the upper silent block.
Chapter 14:
Finalise the reassembly
Step 1/3
Coat the junction between the exhaust line and the catalytic converter with exhaust sealant. Screw the two holding screws back in.

Chapter 14:
Step 2/3
You can now finish the tightening of the two holding clamps with the torque wrench.
Chapter 14:
Step 3/3
Then finish the tightening of the catalytic converter on the exhaust manifold on the passenger side with the torque wrench. Do the same on the driver’s side.
Chapter 15:
Reassemble the different parts
Step 1/4
Replace the driveshaft on the front differential and on the transfer case, following the markings you made during disassembly. Then tighten the screws on each side. Finish tightening using a torque wrench.
Chapter 15:
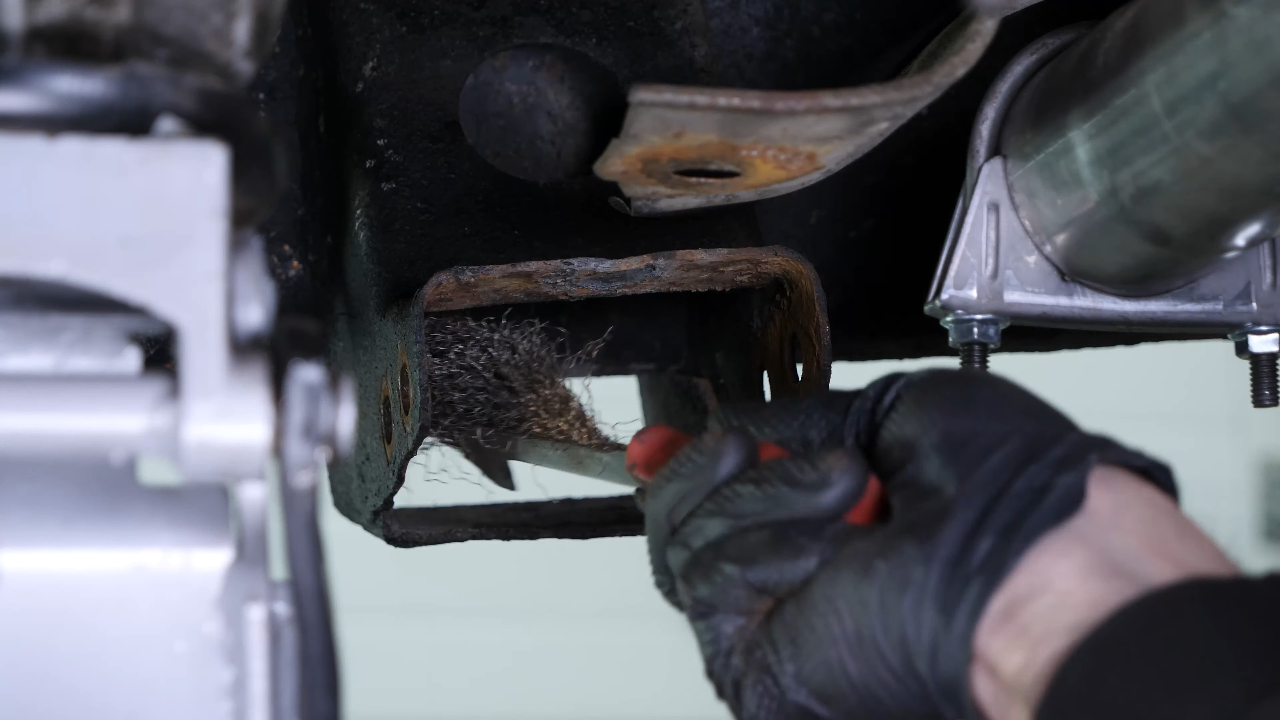
Step 2/4
Brush and grease the location of the metal crosspiece. Replace the metal crosspiece. Then tighten the four screws. Finish tightening using a torque wrench.

Chapter 15:
Step 3/4
Tighten the two Gearbox mount retaining nuts. Finish tightening using a torque wrench.
Chapter 15:
Step 4/4
Tighten the two heat shield retaining screws on the metal crosspiece. You can now lower the jack and put the gearbox assembly on the metal crosspiece.
Chapter 16:
Put the vehicle back on the ground
Step 1/1
Then you can rest your vehicle on the ground. Operation complete.