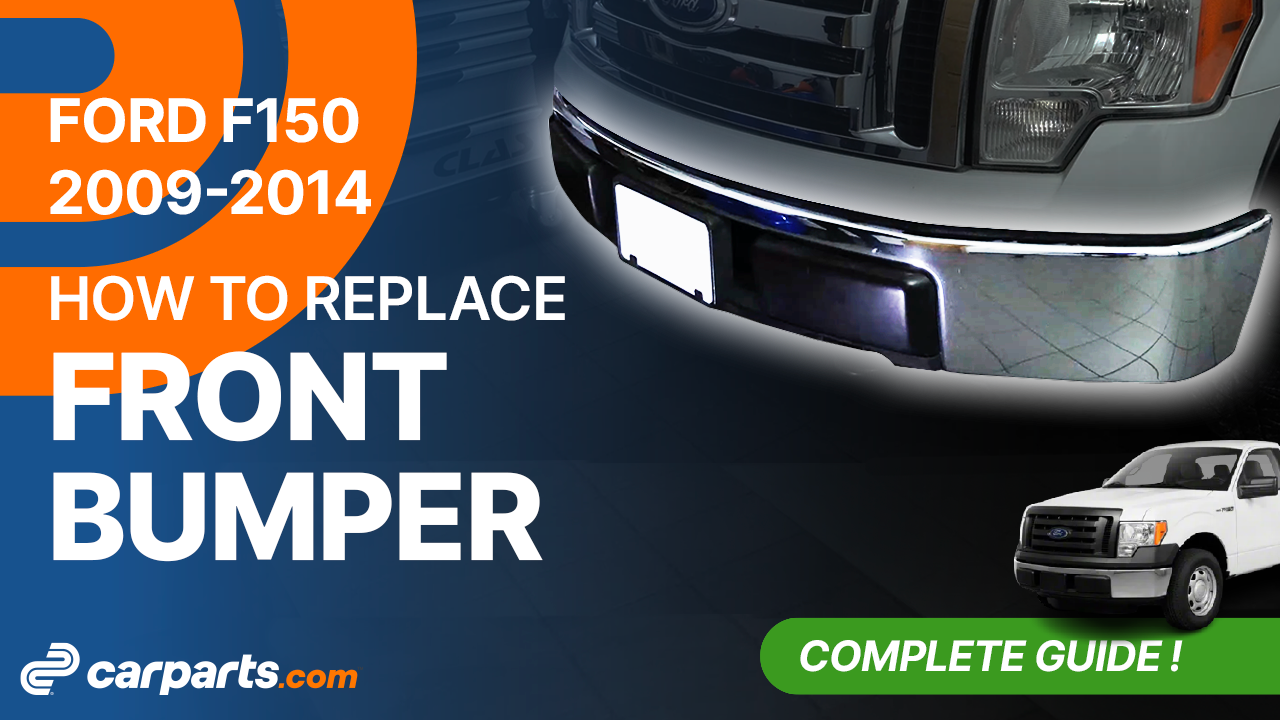
How to replace the front bumper 2009-2014 Ford F-150
To replace the front bumper on your F-150 we’re here to help. You’ll need to open the hood, unscrew the screw from the engine compartment, remove the bumper as well as carry out a few other steps. You can carry out this tutorial of 10 chapters in 90 minutes. Take your 10 mm socket and your ratchet and let’s get started!
Duration
90 minutes
Number of steps
10
Difficulty out of 5
4
Average savings
$130
Parts You Will Need
Tools You Will Need
Step-by-Step Installation
Chapter 1:
Open the hood
Step 1/1
Turn your engine off and set the parking brake. Pull on the hood release handle and open the hood.


Chapter 2:
loosen the bumper cover
Step 1/3
Using a ratchet and a long 10mm socket, unscrew the front bumper’s four upper retaining screws, which are easily accessible from the engine compartment.


Chapter 2:
Step 2/3
Still from the engine compartment, spray with penetrating oil the two lower retaining screws located on either side of the protective rubber.


Chapter 2:
Step 3/3
Then, unscrew them using the ratchet and the long 10mm socket.


Chapter 3:
Unscrew the bottom screws from the wheel arch
Step 1/4
Next, via the driver’s side wheel arch, spray the front bumper’s retaining screw with penetrating oil.

Chapter 3:
Step 2/4
Then, unscrew it with a ratchet, an extender, and a 10mm socket.


Chapter 3:
Step 3/4
You can now remove the screw and the metal bracket.

Chapter 3:
Step 4/4
Do the same on the passenger side.


Chapter 4:
Remove the 3 bottom clips
Step 1/2
Via the engine compartment, using a fork, remove the three clips from the front bumper’s rubber protector.


Chapter 4:
Step 2/2
The front bumper is now free: you can remove it, preferably with help from a second person.


Chapter 5:
Tips
Step 1/1
When you change your front bumper due to a collision, you may need to replace the bumper brackets as well.


Chapter 6:
Remove the valance
Step 1/7
You now need to separate the valance from the front bumper.

Chapter 6:
Step 2/7
Start by spraying with degreaser the screws that hold the metal bracket.

Chapter 6:
Step 3/7
Next, using a ratchet and a 10mm socket, unscrew the three screws.


Chapter 6:
Step 4/7
Then, remove the metal bracket.

Chapter 6:
Step 5/7
Repeat the same steps on the other side.

Chapter 6:
Step 6/7
Using the same tools, you can now remove the 15 screws that attach the valance to the front bumper.


Chapter 6:
Step 7/7
Don’t hesitate to spray some penetrating oil on these screws as they are typically locked in place by rust.
Chapter 7:
Remove the plastic protections + licence plate holder + lower cover valance
Step 1/4
Using a pair of needle-nose pliers, press the clips holding the two plastic pieces attached to the front bumper. Then, remove them.


Chapter 7:
Step 2/4
Do the same with the license plate holder.


Chapter 7:
Step 3/4
Finally, perform the same steps on the two clips that hold the lower cover valance on the front bumper.


Chapter 7:
Step 4/4
You can now separate the front bumper from the lower cover valance.

Chapter 8:
Set up
Step 1/4
Take the new front bumper.

Chapter 8:
Step 2/4
Replace the mounting clips recovered from the old bumper.

Chapter 8:
Step 3/4
Then, screw the metal bracket back onto the front bumper.


Chapter 8:
Step 4/4
Do the same on the passenger side.

Chapter 9:
Reinstall the valance
Step 1/5
You can use this operation as an opportunity to replace the valance with a new one. Replace the front bumper on the lower cover valance.

Chapter 9:
Step 2/5
Then, reattach the clips.

Chapter 9:
Step 3/5
Reinstall the license plate holder.

Chapter 9:
Step 4/5
Next, reclip the two plastic pieces on the front bumper.

Chapter 9:
Step 5/5
You can now screw back in the 15 screws that attach the front bumper to the lower cover valance.


Chapter 10:
Reinstall the bumper cover
Step 1/8
Your new front bumper is now ready to be installed. For the installation, again get help to make it easier to install the bumper. Slide the bumper under the bumper cover.

Chapter 10:
Step 2/8
Once in place, we recommend that you screw back in the two upper retaining screws located on each side of the hood opening system in order to hold all the parts together.


Chapter 10:
Step 3/8
You can then screw back in the two screws on the rubber protector.

Chapter 10:
Step 4/8
Reattach the rubber protector’s three clips on the front bumper.

Chapter 10:
Step 5/8
Replace the bracket in its lower slot. Then, screw back in the lower screw by hand.

Chapter 10:
Step 6/8
Do the same on the top of the bracket.

Chapter 10:
Step 7/8
Once in place, finish tightening the screws.

Chapter 10:
Step 8/8
Operation complete.
