How to replace the ignition coils 2009-2014 Ford F-150
To replace the ignition coils on your F-150 we’re here to help. You will be asked to open the hood, remove the ignition coil, install the new ignition coil and follow the next steps described below. You can carry out this tutorial of 6 chapters in 20 minutes. Take your 7 mm socket and your extender and let’s get started!
Duration
20 minutes
Number of steps
6
Difficulty out of 5
2
Average savings
$60
Parts You Will Need
Tools You Will Need
Step-by-Step Installation
Chapter 1:
Open the hood
Step 1/1
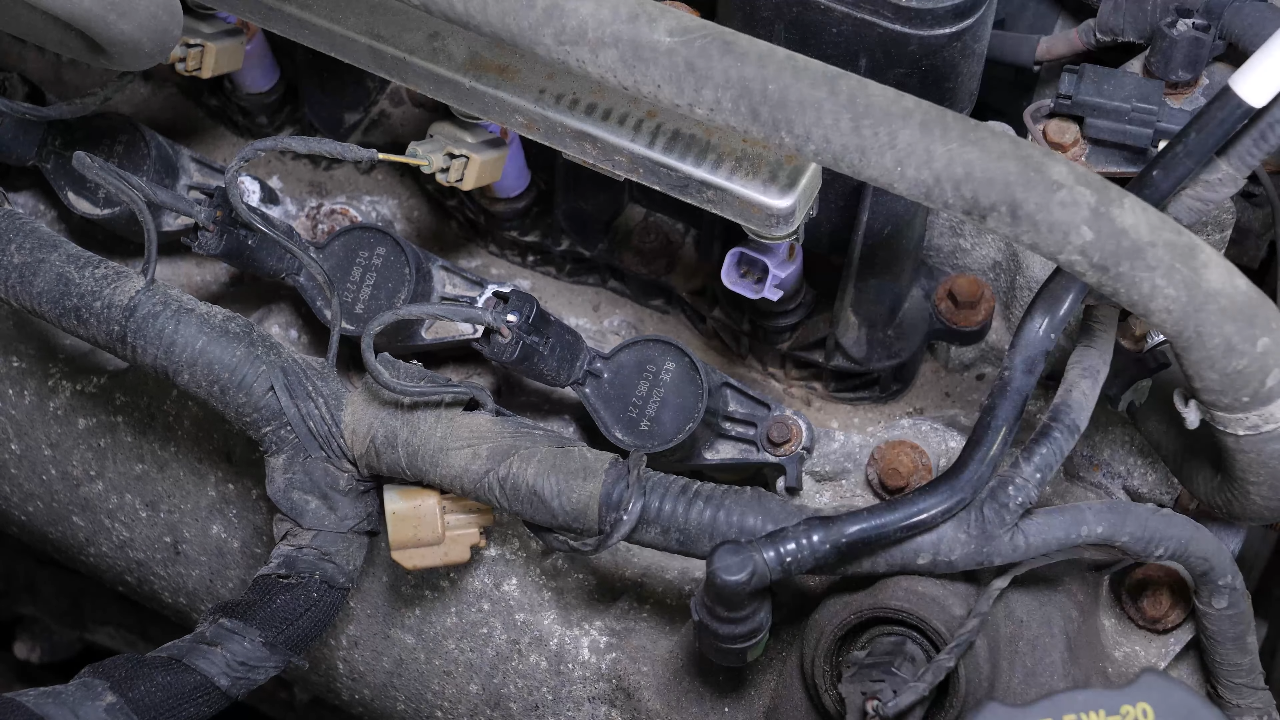
Turn off your vehicle’s ignition, set the parking brake, pull the hood release handle and open the hood. You can now see the location of the ignition coils.


Chapter 2:
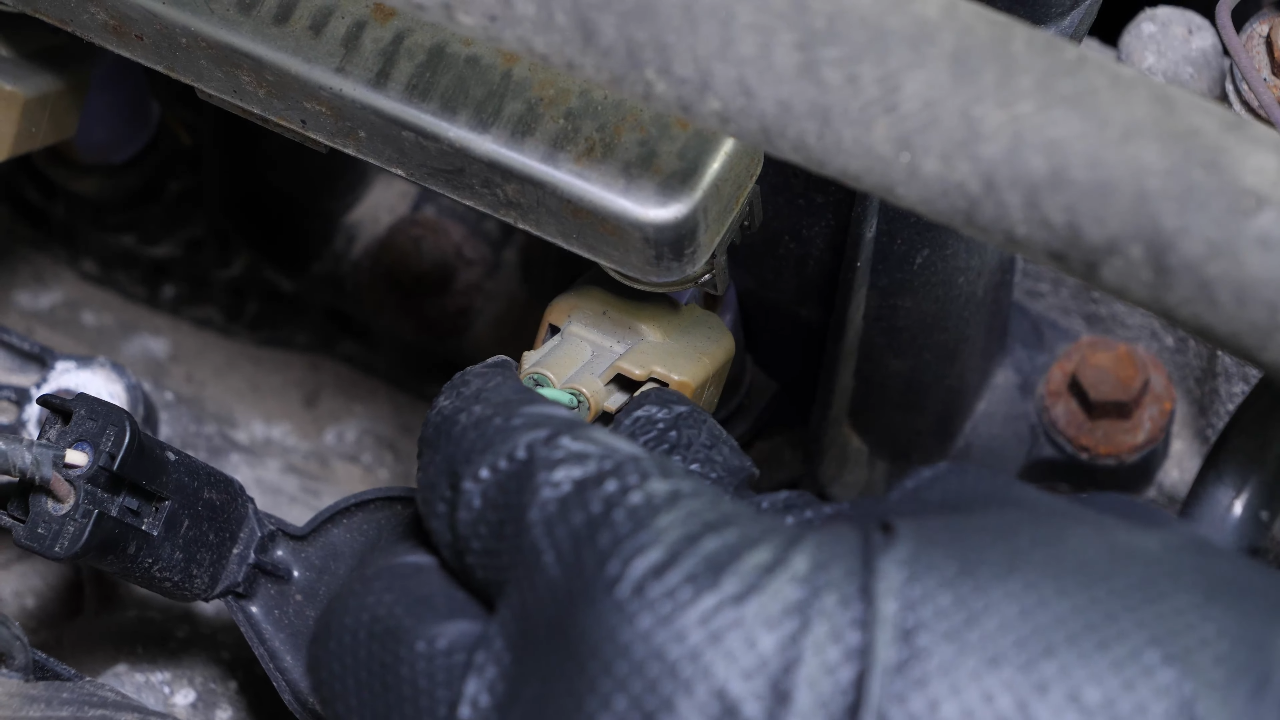
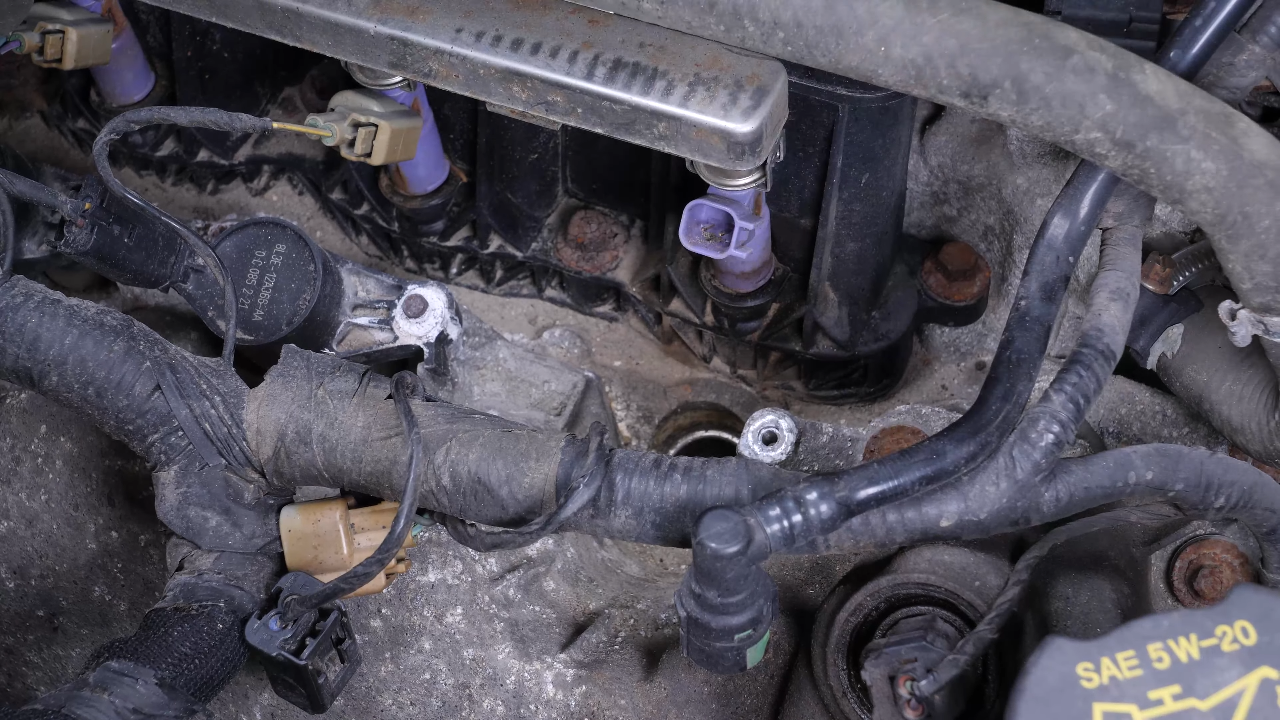
Disconnect the fuel injector
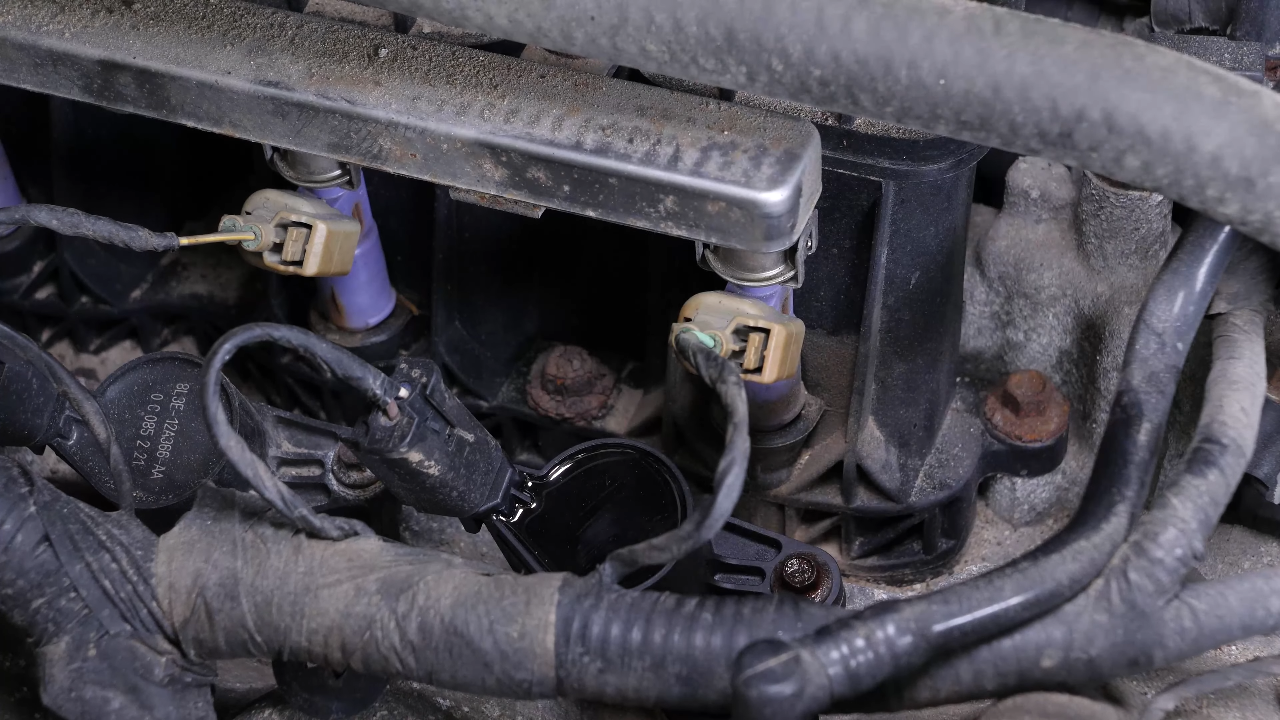
Step 1/1
In order to have better access to each coil, disconnect the injector. To do this, push on the tab and pull on the connector.
Chapter 3:
Remove the ignition coil
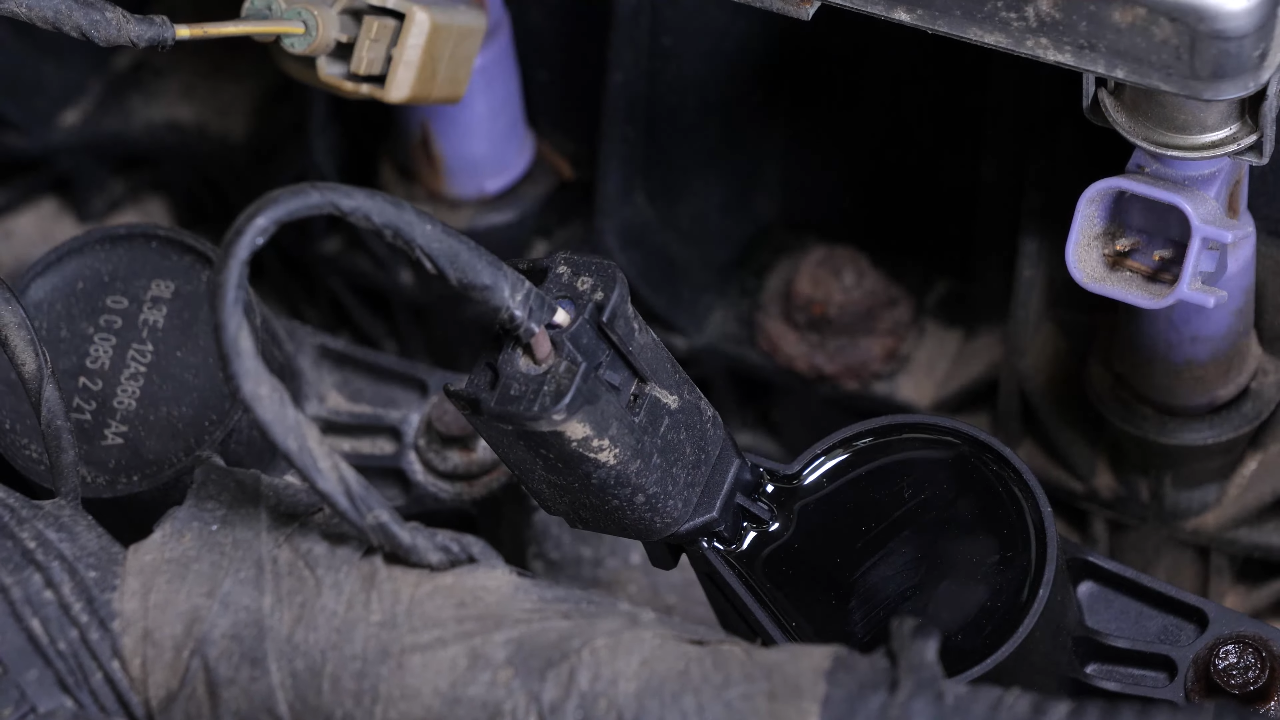
Step 1/3
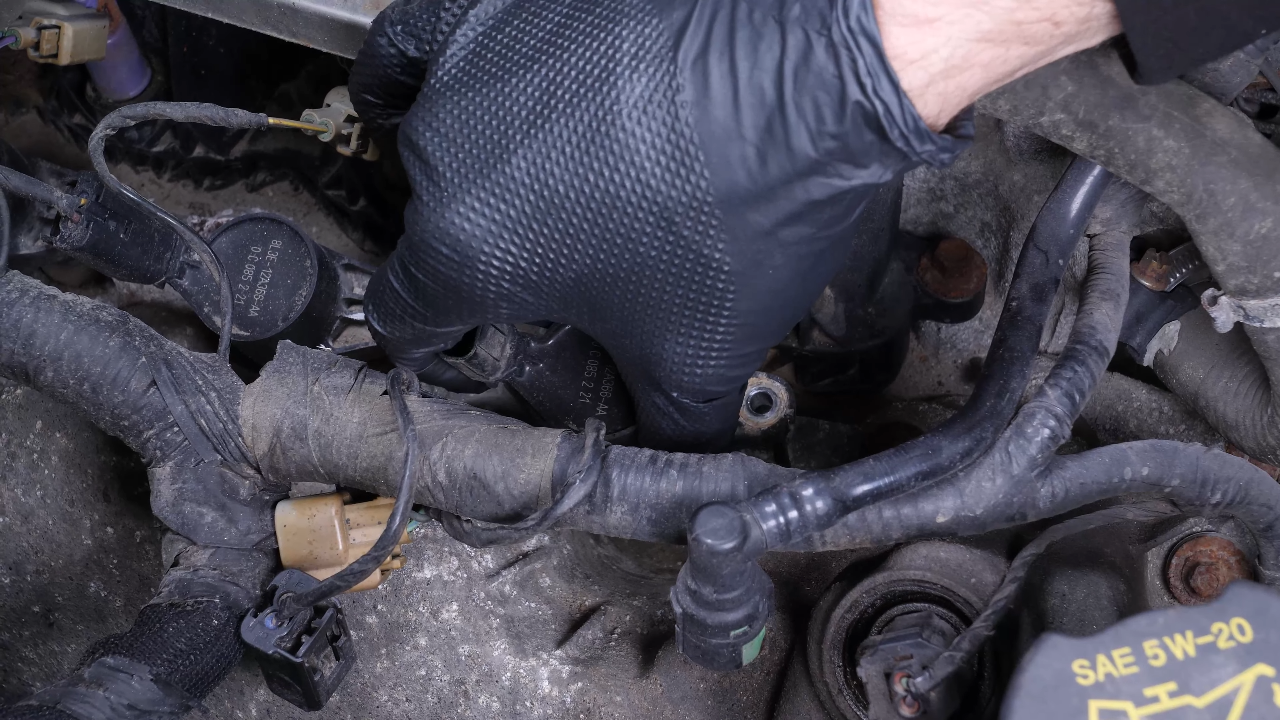
Disconnect the power from the ignition coil. To do this, push on the tab and pull on the connector.


Chapter 3:
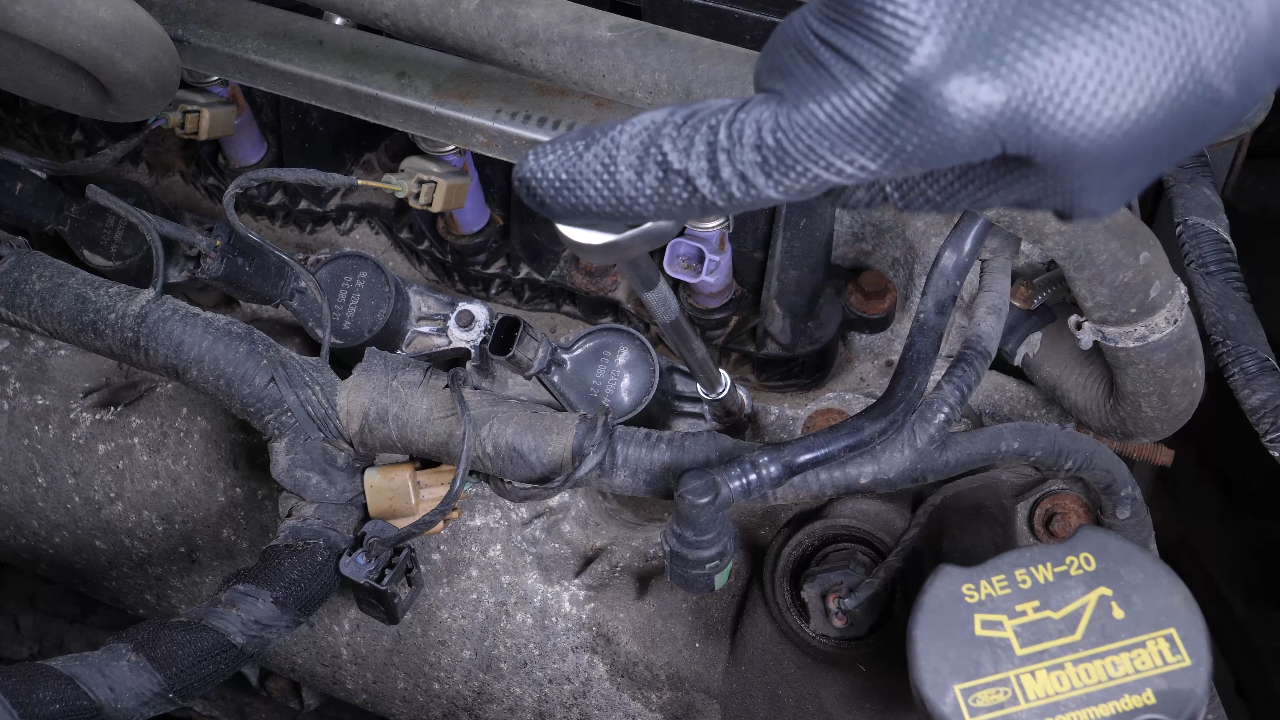
Step 2/3
Using a socket wrench, an extender and a 7 mm socket, remove the holding screw from the coil.
Chapter 3:
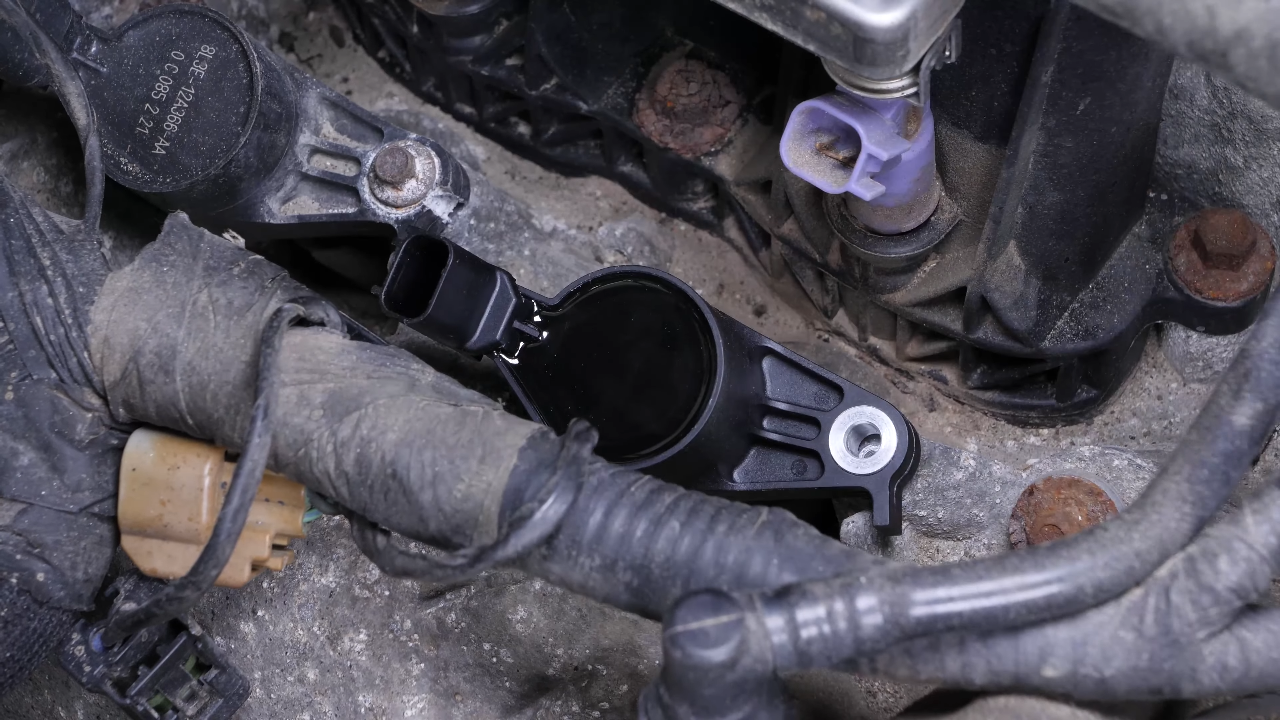
Step 3/3
You can now carefully remove the coil, making small lateral back and forward movements.
Chapter 4:
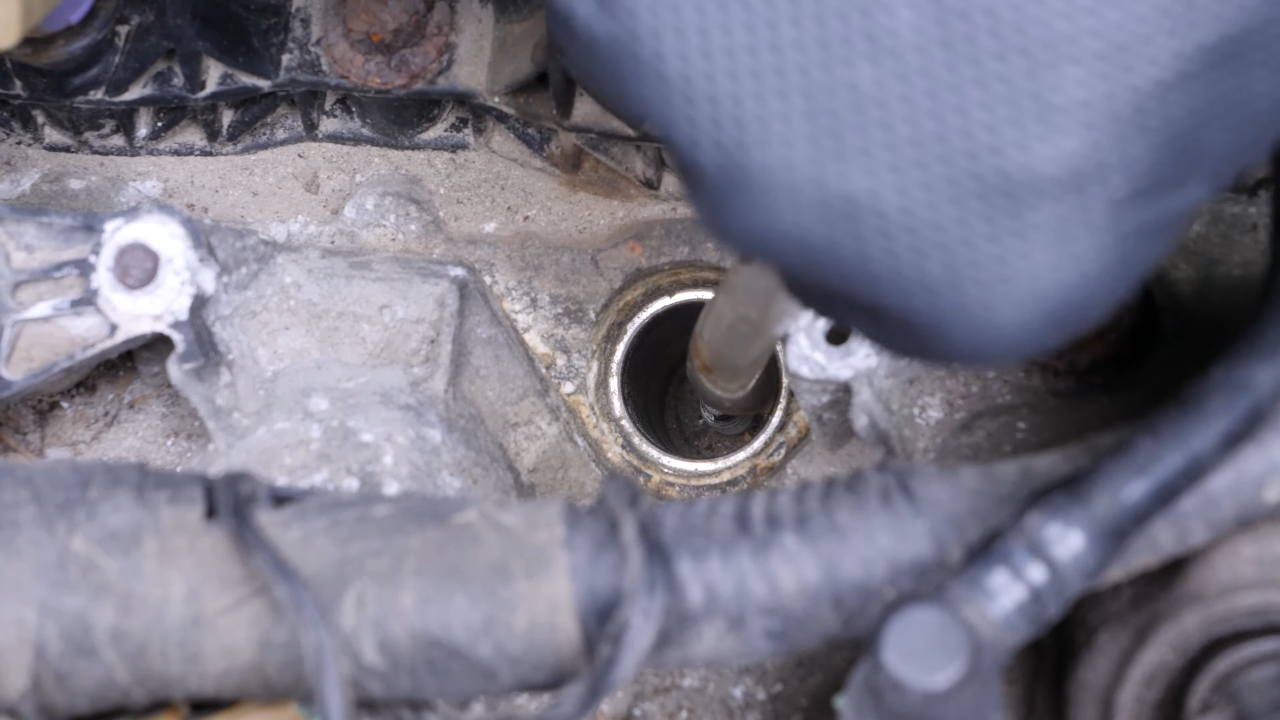
Clean around the spark plug
Step 1/1
Tip: we recommend using a thin plastic tube taped to the end of a vacuum to properly clean around the spark plug.
Chapter 5:
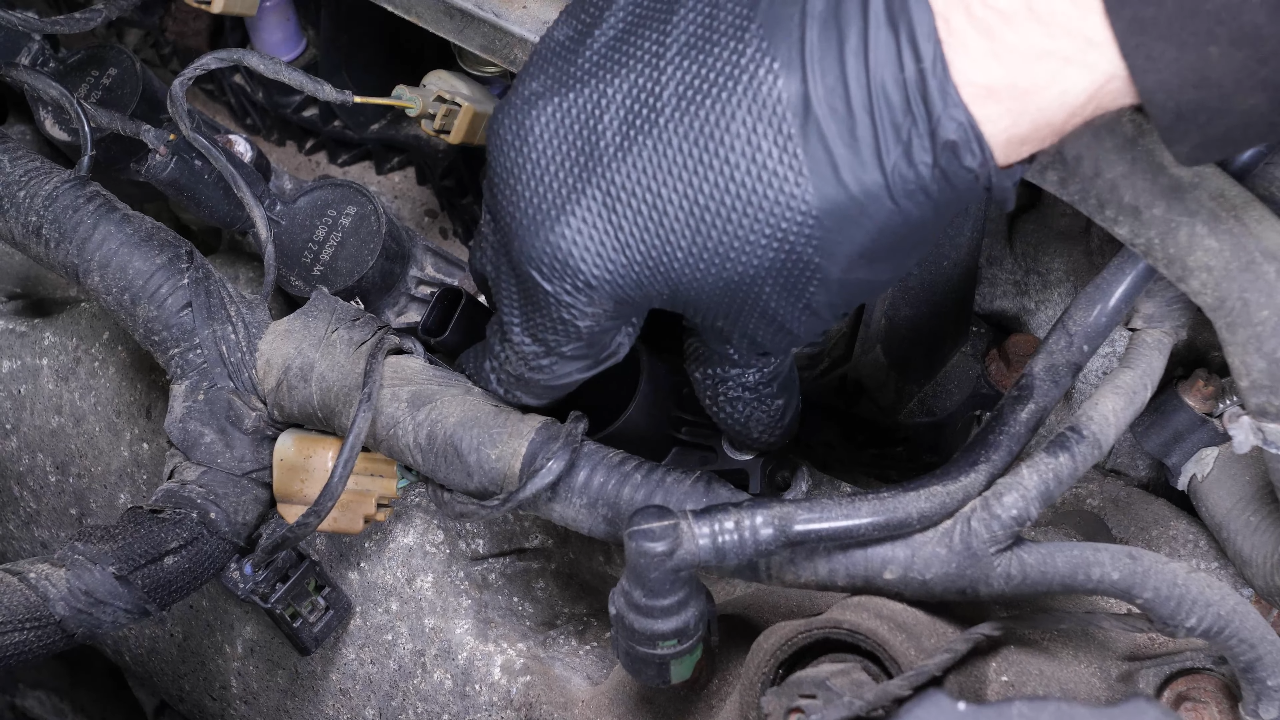
Install the new ignition coil
Step 1/2
Take the new coil. Put the coil back, pushing it in as far as possible.
Chapter 5:
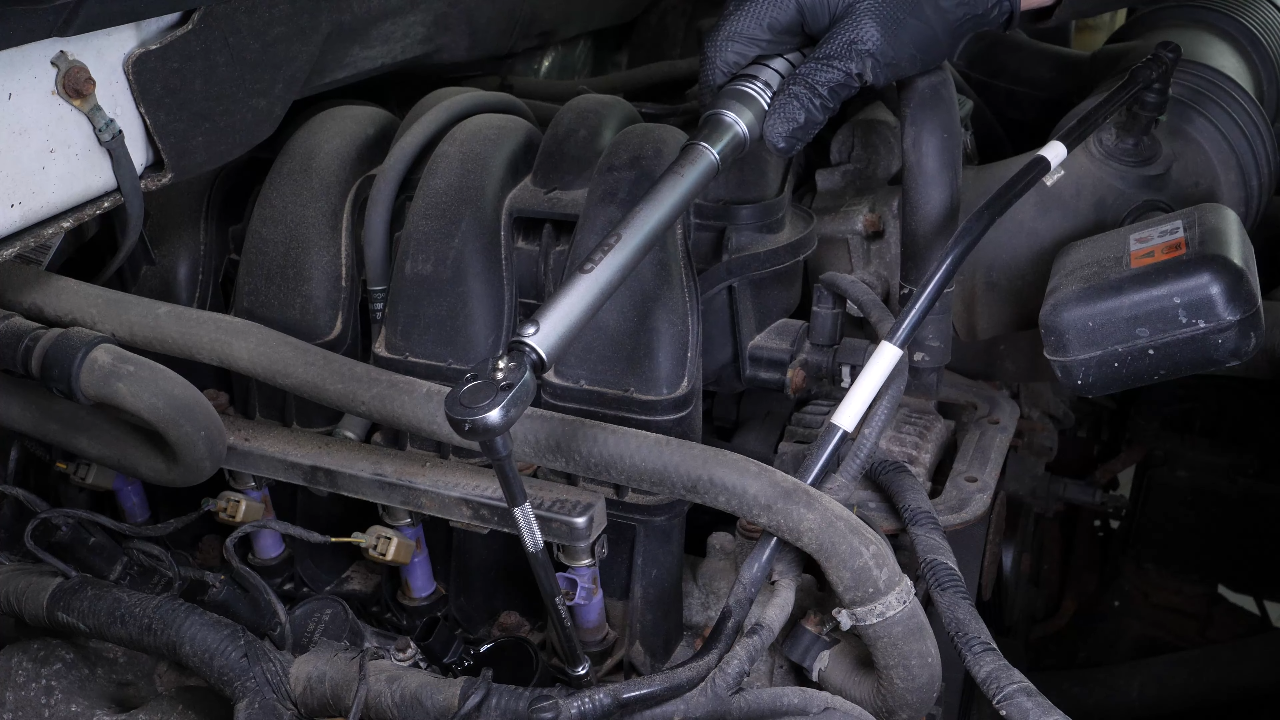
Step 2/2
You can then screw the nut that holds the coil back in with a socket wrench Finish tightening using a torque wrench.
Chapter 6:
Finalise the reassembly
Step 1/2
Reconnect the ignition coil. Reconnect the injector.

Chapter 6:
Step 2/2
You can now repeat the process on the other ignition coils. Operation complete.