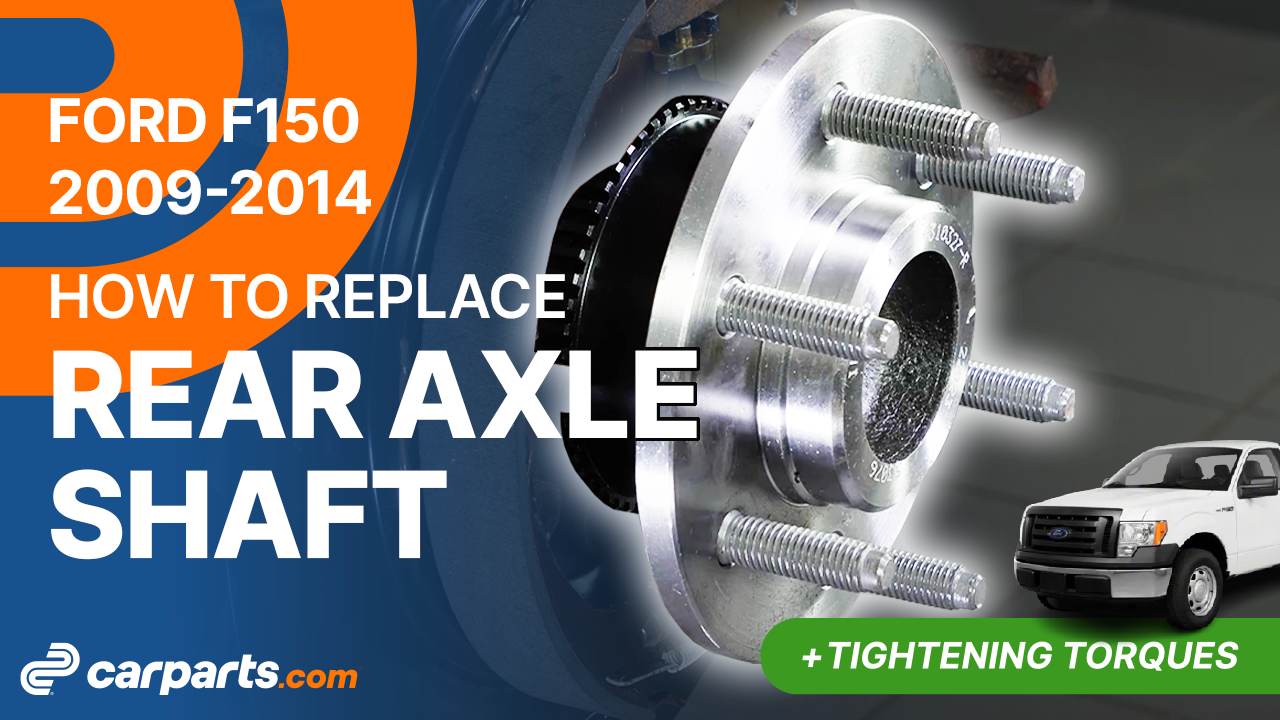
How to replace the rear axle shaft 2009-2014 Ford F-150
To replace the rear axle shaft on your F-150 just follow the steps. You’ll need to lift the vehicle, remove the rear axle shaft, clean the differential surface as well as carry out a few other steps. You can carry out this tutorial of 14 chapters in 100 minutes. Take your 10 mm socket and your 8 mm wrench and let’s get started!
Duration
100 minutes
Number of steps
14
Difficulty out of 5
4
Average savings
$125
Parts You Will Need
Tools You Will Need
Step-by-Step Installation
Chapter 1:
Set up
Step 1/2
Turn your engine off and set the parking brake.


Chapter 1:
Step 2/2
Pull on the hood release handle and open the hood. Open the brake fluid reservoir.


Chapter 2:
Lift the vehicle
Step 1/2
Loosen the Wheel lug nuts on the rear wheels. Lift the rear of your vehicle.


Chapter 2:
Step 2/2
Place the vehicle on the jack stands. Don’t forget to put the wheels under the vehicle!


Chapter 3:
Remove the rear brake system
Step 1/1
Now you need to remove the brake system.


Chapter 4:
Informations
Step 1/2
You now have access to part of your rear axle shaft.


Chapter 4:
Step 2/2
In order to remove the rear axle shaft, you need to disengage it from the differential.

Chapter 5:
Bleed the differential fluid
Step 1/4
Place a fluid collection tray under the differential to catch the differential fluid that will flow out.

Chapter 5:
Step 2/4
Using a ratchet and a 10-mm socket, unscrew the 10 bolts holding the differential cover.


Chapter 5:
Step 3/4
Then, using a flathead screwdriver, pry along the edge of the differential to remove the differential cover.


Chapter 5:
Step 4/4
Let the fluid flow out for about 10 minutes.


Chapter 6:
Disengage the rear axle shaft from the differential
Step 1/8
Set the gear shift lever to “Neutral” so that you can easily turn the differential and access the pinion shaft lock bolt.

Chapter 6:
Step 2/8
Using an 8-mm wrench, unscrew the lock bolt from the pinion shaft. Then, remove it.


Chapter 6:
Step 3/8
You can now extract the pinion shaft by pushing it outward.

Chapter 6:
Step 4/8
You can reinsert the lock bolt to more easily remove the pinion shaft by jiggling it back and forth.


Chapter 6:
Step 5/8
Rotate the differential to access the retaining clip.

Chapter 6:
Step 6/8
You need to push the rear axle shaft toward the differential in order to have full access to the retaining clip.


Chapter 6:
Step 7/8
To remove the retaining clip, you can use a hex wrench to take it off the rear axle shaft.


Chapter 6:
Step 8/8
You can now remove the rear axle shaft.


Chapter 7:
Tips
Step 1/1
When you perform this operation, you can take the opportunity to change the outer seals and bearings, which are often subject to leakage.

Chapter 8:
Put the rear axle shaft back
Step 1/7
Take the new rear axle shaft and insert it all the way into its slot.


Chapter 8:
Step 2/7
Replace the retaining clip.

Chapter 8:
Step 3/7
Then, push the rear axle shaft outward so that the pinion shaft can be inserted.


Chapter 8:
Step 4/7
Rotate the differential to replace the pinion shaft.


Chapter 8:
Step 5/7
Reinsert the pinion shaft.

Chapter 8:
Step 6/7
Then, put the lock bolt back in place, first by hand, then with the 8-mm wrench.


Chapter 8:
Step 7/7
Finish tightening using a torque wrench.

Chapter 9:
Clean the differential surface
Step 1/4
Before replacing the differential cover, you need to clean the seal surface to ensure a perfect seal.


Chapter 9:
Step 2/4
Remove the used seal with a razor blade. Then, scrub with fine sandpaper.

Chapter 9:
Step 3/4
Finish with brake cleaner and wipe with a paper towel.

Chapter 9:
Step 4/4
Repeat the same operations on the differential cover.


Chapter 10:
Close the differential
Step 1/3
Once perfectly clean, thinly apply silicone gasket maker in order to ensure a perfect seal on the differential.


Chapter 10:
Step 2/3
Replace the differential cover, first tightening the bolts by hand until they are finger-tight.


Chapter 10:
Step 3/3
Finish tightening the bolts in staggered order using a torque wrench.

Chapter 11:
Add diferential fluid
Step 1/2
Now you need to add fluid back into the differential.

Chapter 11:
Step 2/2
This step must be done with care and precision.

Chapter 12:
Put the rear brake system back
Step 1/1
Replace the brake system.


Chapter 13:
Put the vehicle back on the ground
Step 1/2
Then, you will be able to put the wheels back on your vehicle.


Chapter 13:
Step 2/2
Put the car back on the ground and block the wheels properly.

Chapter 14:
Safety tips
Step 1/4
Don’t forget to screw the brake fluid cap back on before starting the car.

Chapter 14:
Step 2/4
Attention! Before using your vehicle again, start your car, and pump the brake pedal a few times to push the brake pads together again.


Chapter 14:
Step 3/4
Try to drive smoothly and avoid sudden braking for the first 30 miles or so, to avoid glazing the new pads.

Chapter 14:
Step 4/4
Operation complete.
