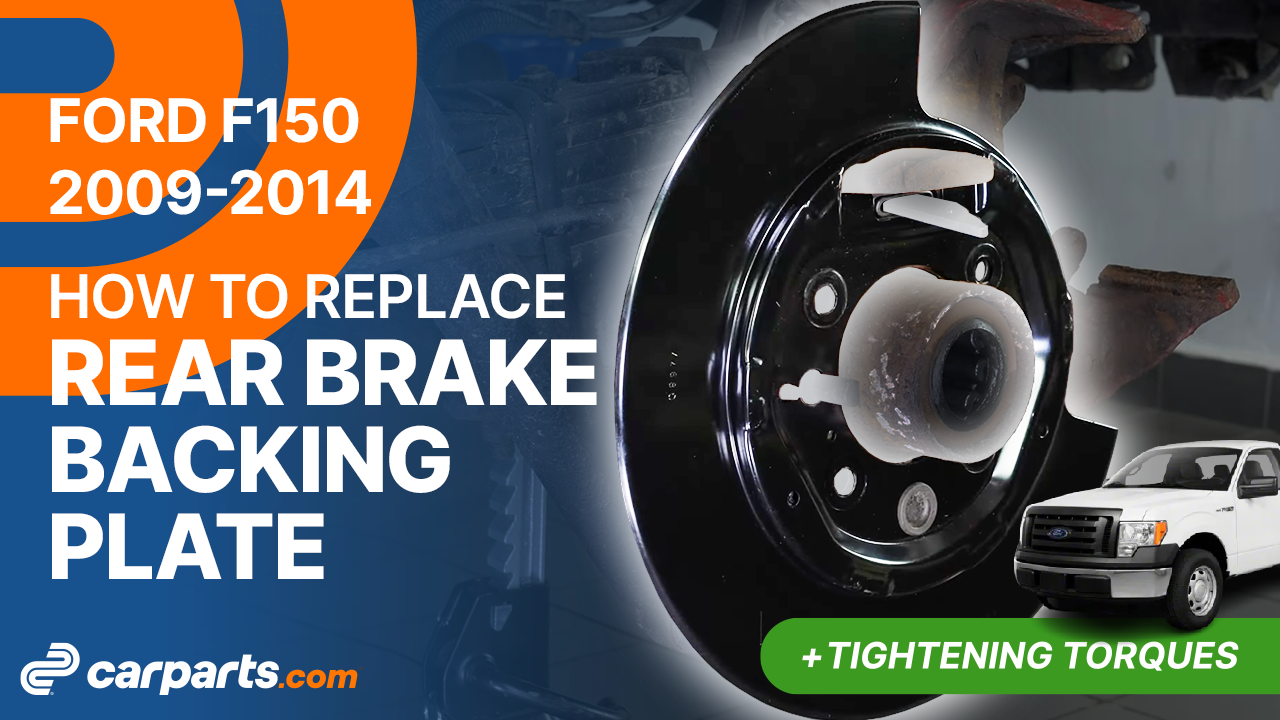
How to replace the rear brake backing plate 2009-2014 Ford F-150
To replace the rear brake backing plate on your F-150 it couldnt’ be easier. You will be asked to lift the vehicle, remove the rear brake system, remove the rear axle shaft as well as carry out a few other steps. You can carry out this tutorial of 13 chapters in 120 minutes. Take your 18 mm socket and your torque wrench and let’s get started!
Duration
120 minutes
Number of steps
13
Difficulty out of 5
4
Average savings
$130
Parts You Will Need
Tools You Will Need
Step-by-Step Installation
Chapter 1:
Set up
Step 1/2
Turn your engine off and set the parking brake.


Chapter 1:
Step 2/2
Pull on the hood release handle and open the hood. Open the brake fluid reservoir.


Chapter 2:
Lift the vehicle
Step 1/2
Loosen the wheel lug nuts on the rear wheels. Lift the rear of your vehicle.


Chapter 2:
Step 2/2
Place the vehicle on the jack stands. Don’t forget to put the wheels under the vehicle!


Chapter 3:
Remove the rear brake system
Step 1/1
Now you need to remove the brake system.


Chapter 4:
Remove the rear axle shaft
Step 1/1
To access your backing plate, you need to remove the rear axle shaft.


Chapter 5:
Remove the parking brake shoes
Step 1/1
Now you need to remove the parking brake shoes.


Chapter 6:
Remove the anchor plate
Step 1/5
You now have access to the four bolts holding the brake backing plate.

Chapter 6:
Step 2/5
Using a breaker bar and an 18-mm socket, unscrew the four bolts holding the backing plate.


Chapter 6:
Step 3/5
The bolts are held by nuts located behind the backing plate.

Chapter 6:
Step 4/5
Remove the nuts and bolts.


Chapter 6:
Step 5/5
You can now remove the backing plate.

Chapter 7:
Remove the dust shield
Step 1/1
Retrieve the cover piece from the backing plate so that it can be reused on the new one.

Chapter 8:
Put the anchor plate back
Step 1/4
Put the shutter cover back on, Replace the backing plate.


Chapter 8:
Step 2/4
Then, screw the first bolt back in until it’s finger-tight, holding the nut behind the backing plate with your fingers.


Chapter 8:
Step 3/4
Do the same on the other three bolts.


Chapter 8:
Step 4/4
Finish tightening using a torque wrench.

Chapter 9:
Reinstall the parking brake shoes
Step 1/1
Now you need to reinstall the parking brake shoes.


Chapter 10:
Put the rear axle shaft back in place
Step 1/1
Now put the rear axle shaft back in place.


Chapter 11:
Put the rear brake system back
Step 1/1
Now put the brake system back in place.


Chapter 12:
Put the vehicle back on the ground
Step 1/3
Then, you will be able to put the wheels back on your vehicle.


Chapter 12:
Step 2/3
Put the car back on the ground and block the wheels properly.

Chapter 12:
Step 3/3
Don’t forget to screw the brake fluid cap back on before starting the car.

Chapter 13:
Safety tips
Step 1/2
Attention! Before using your vehicle again, start your car, and pump the brake pedal a few times to push the brake pads together again.


Chapter 13:
Step 2/2
Try to drive smoothly and avoid sudden braking for the first 30 miles or so, to avoid glazing the new pads. Operation complete.
