How to replace the rear brake calipers 2009-2014 Ford F-150
To replace the rear brake calipers on your F-150 this tutorial was tailor-made for you. You will be asked to open the hood, open the brake fluid reservoir, lift the vehicle as well as carry out a few other steps. You can carry out this tutorial of 14 chapters in 70 minutes. Take your fluid container and your torque wrench and let’s get started!
Duration
70 minutes
Number of steps
14
Difficulty out of 5
4
Average savings
$170
Parts You Will Need
Tools You Will Need
Step-by-Step Installation
Chapter 1:
Open the brake fluid reservoir
Step 1/3
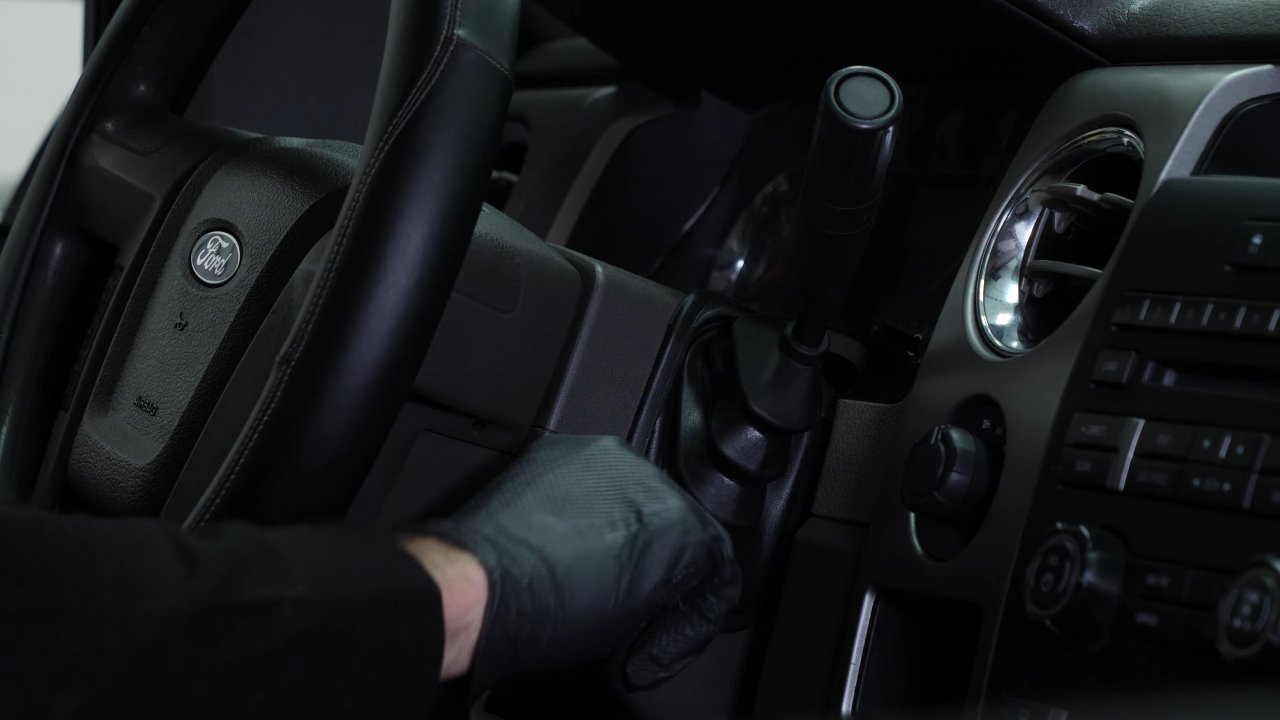
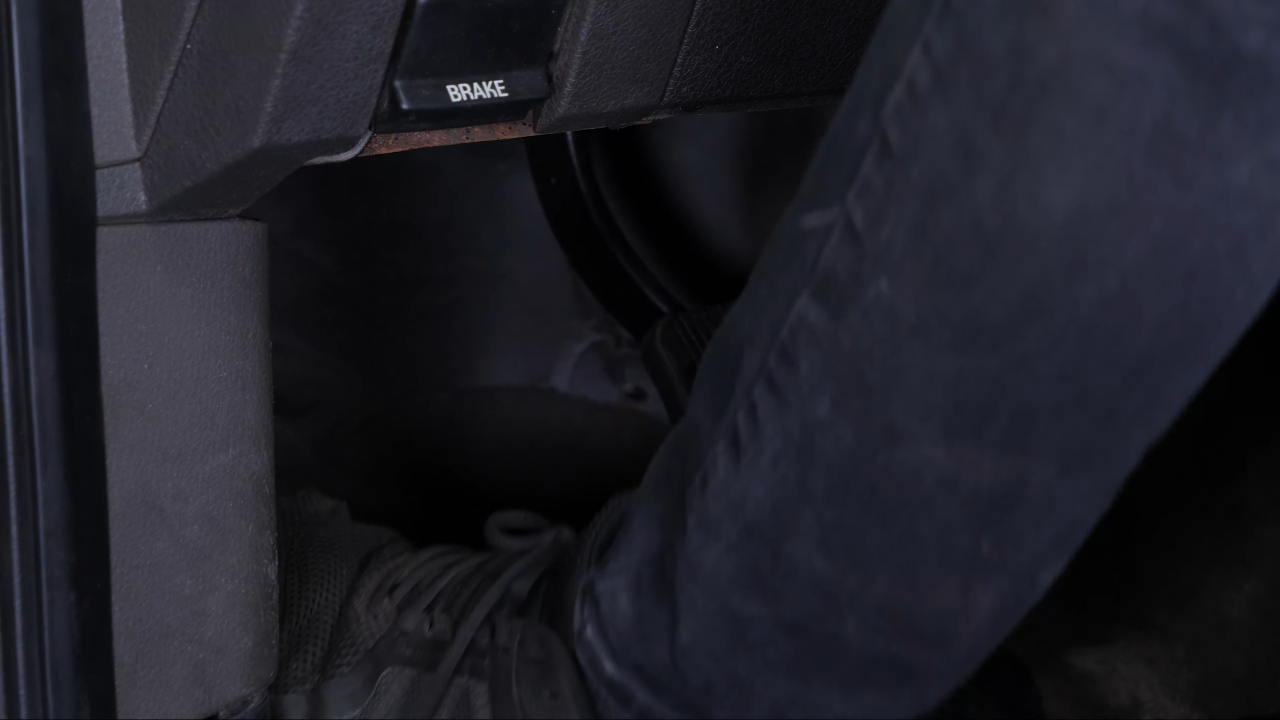
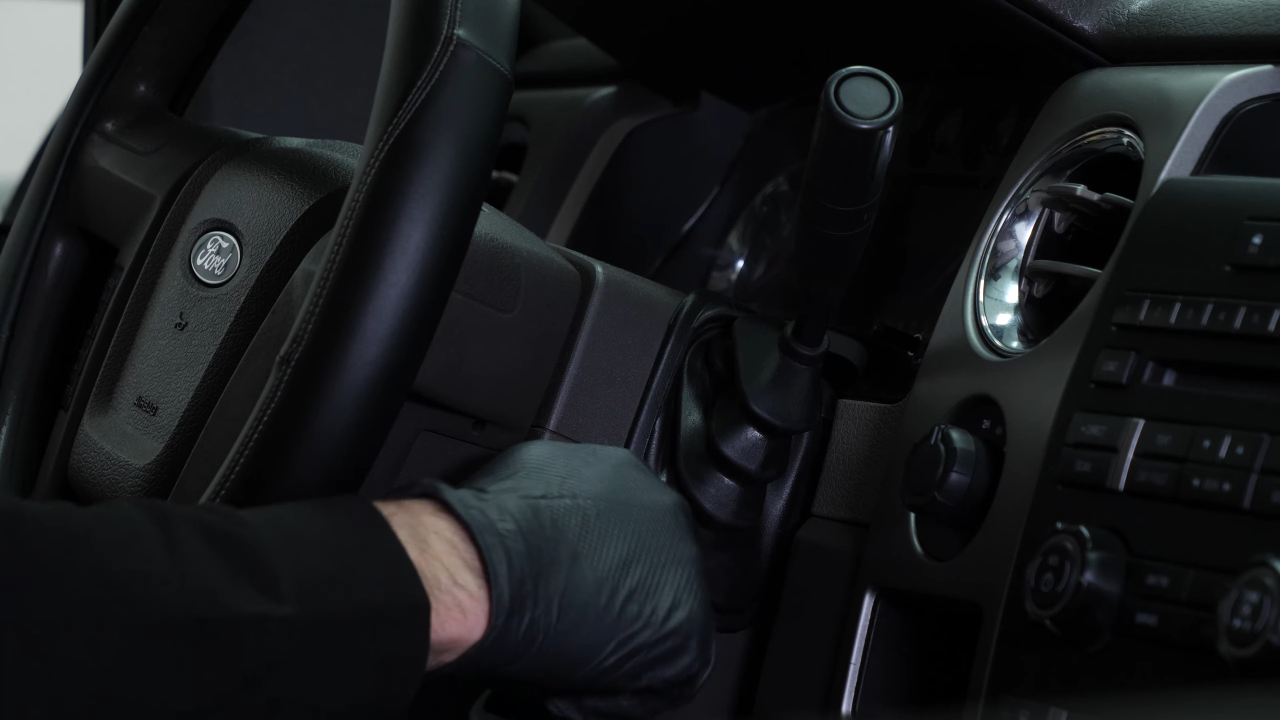
Turn your engine off and set the parking brake.
Chapter 1:
Step 2/3
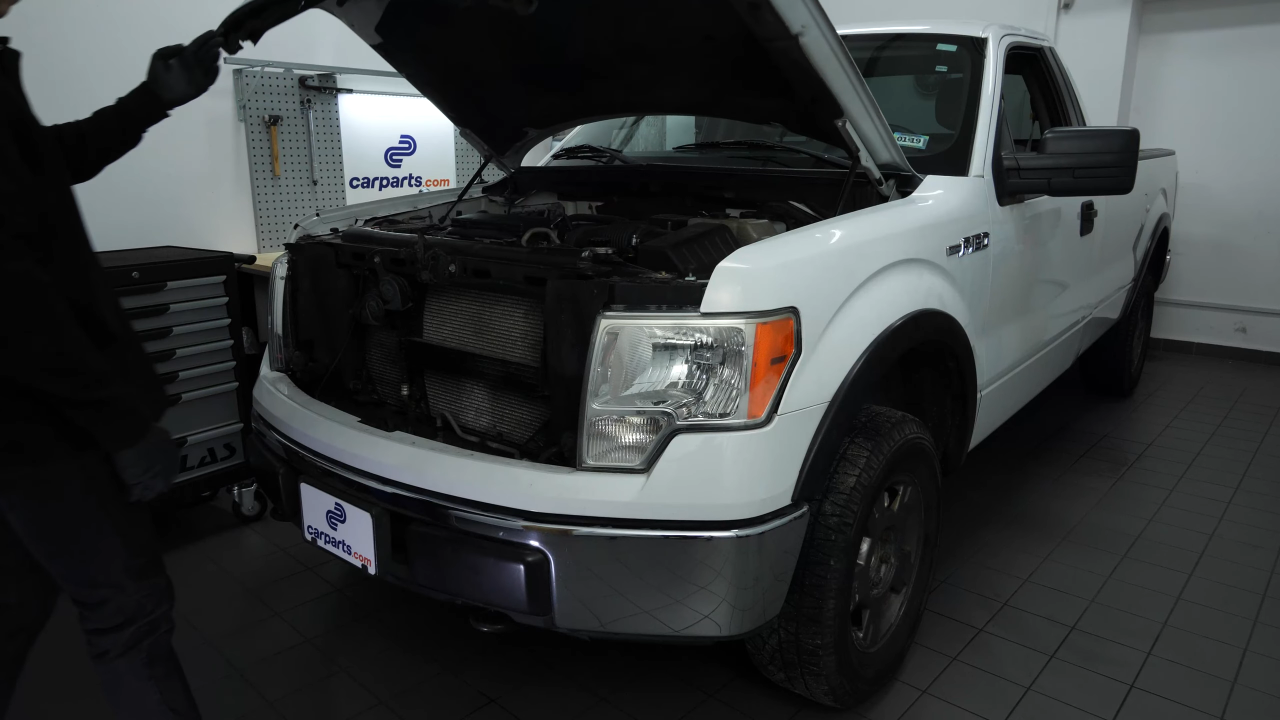
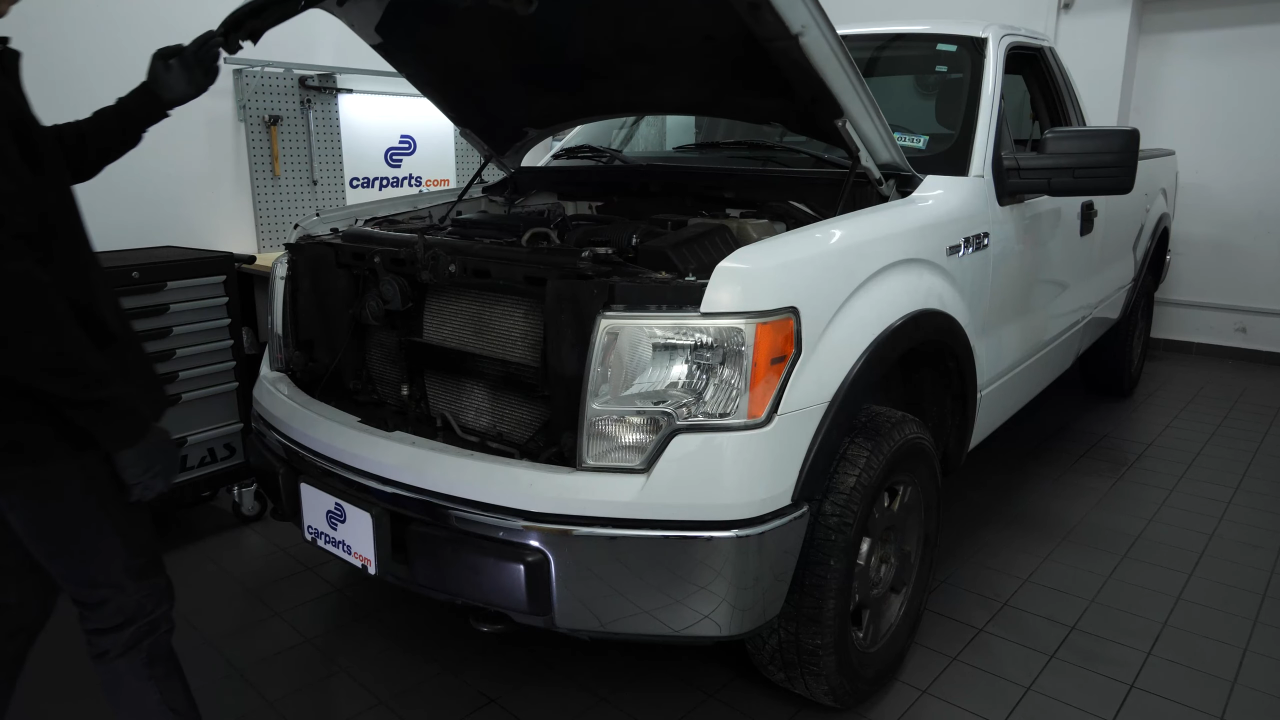
Pull on the hood release handle and open the hood.

Chapter 1:
Step 3/3
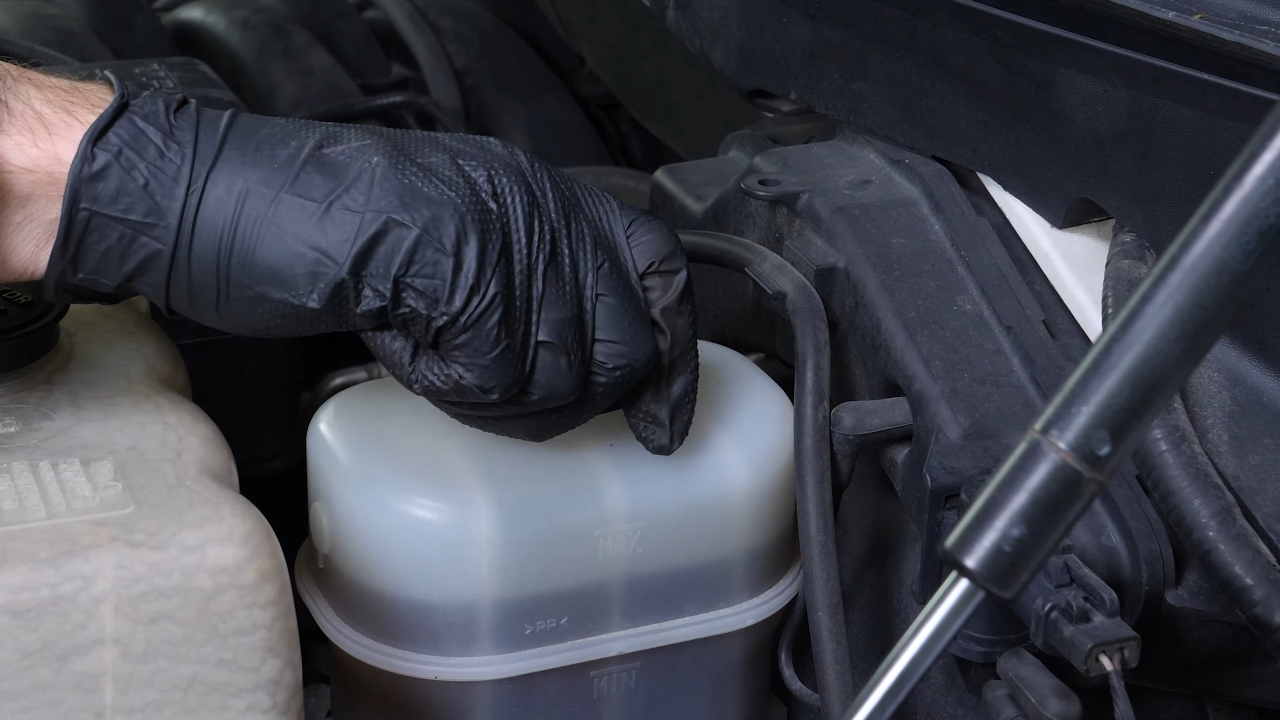
Open the brake fluid reservoir.
Chapter 2:
Lift the vehicle
Step 1/2
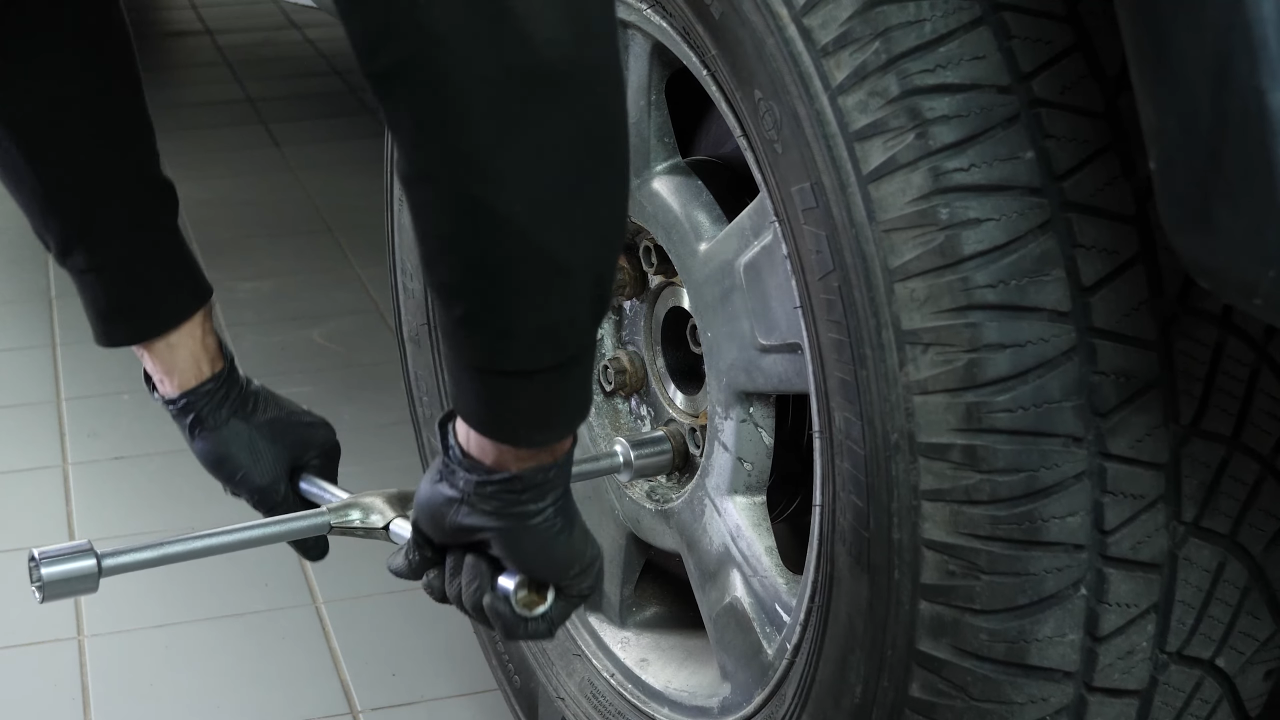
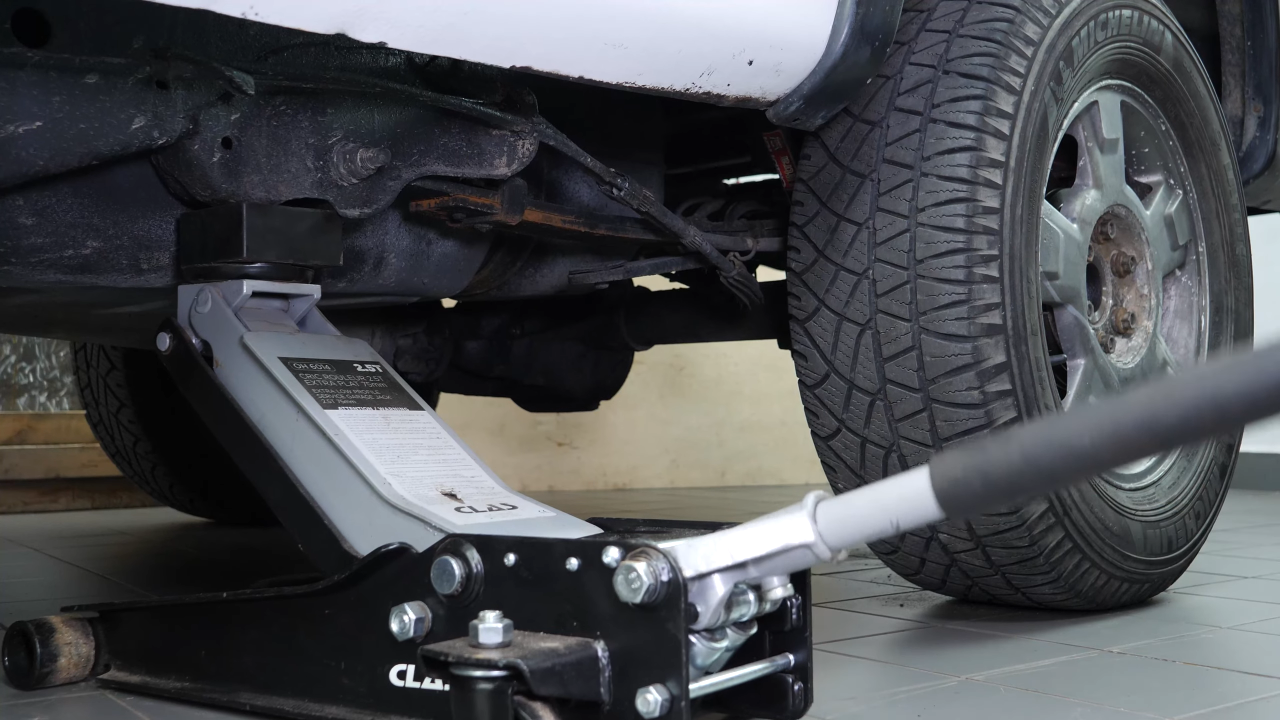
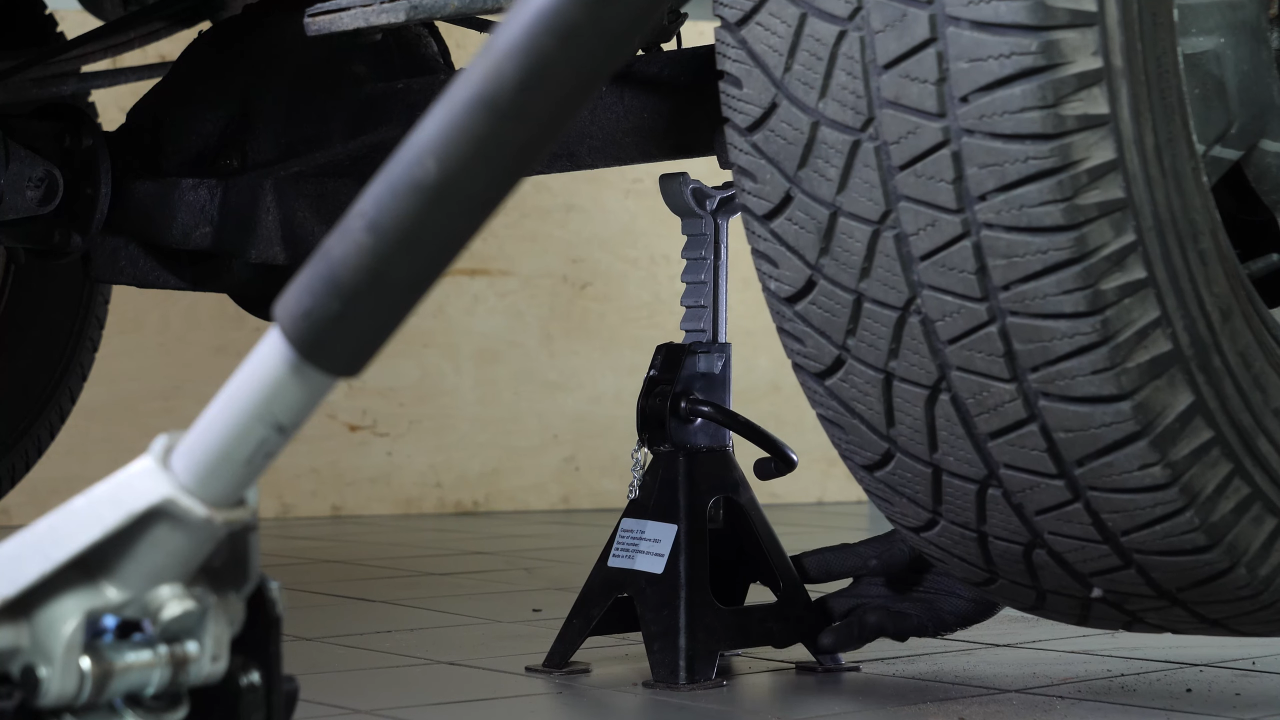
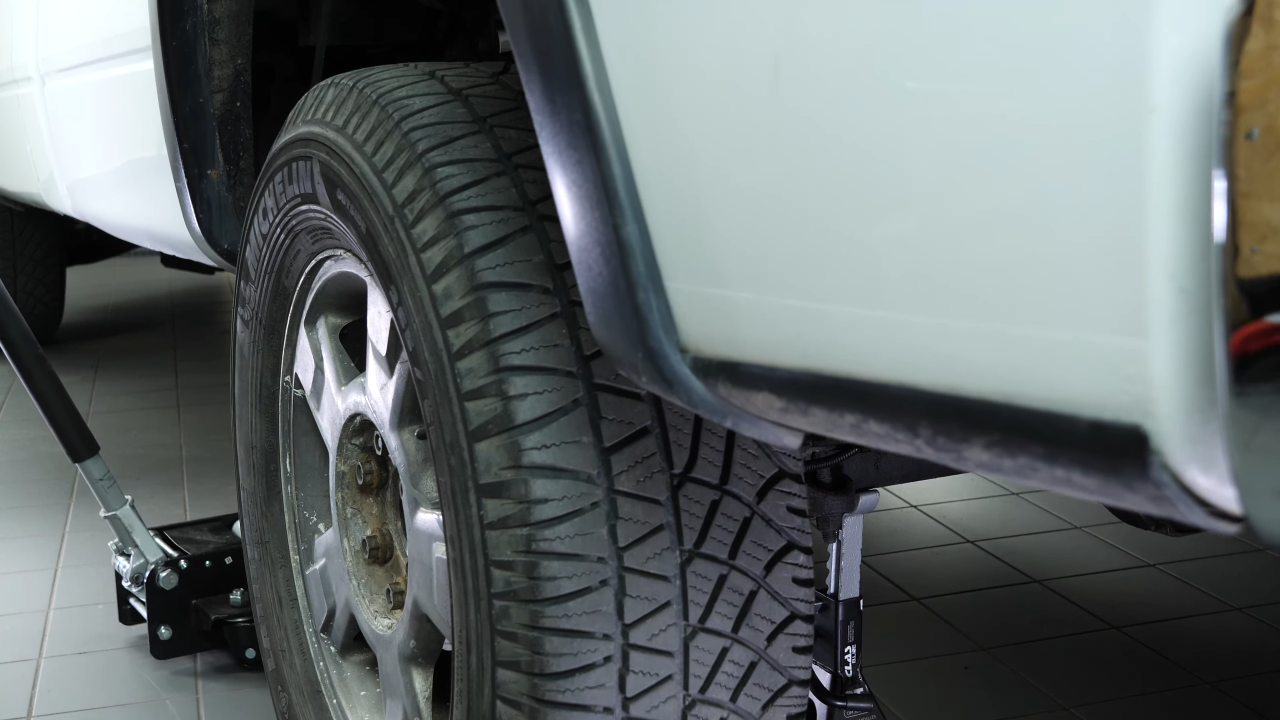
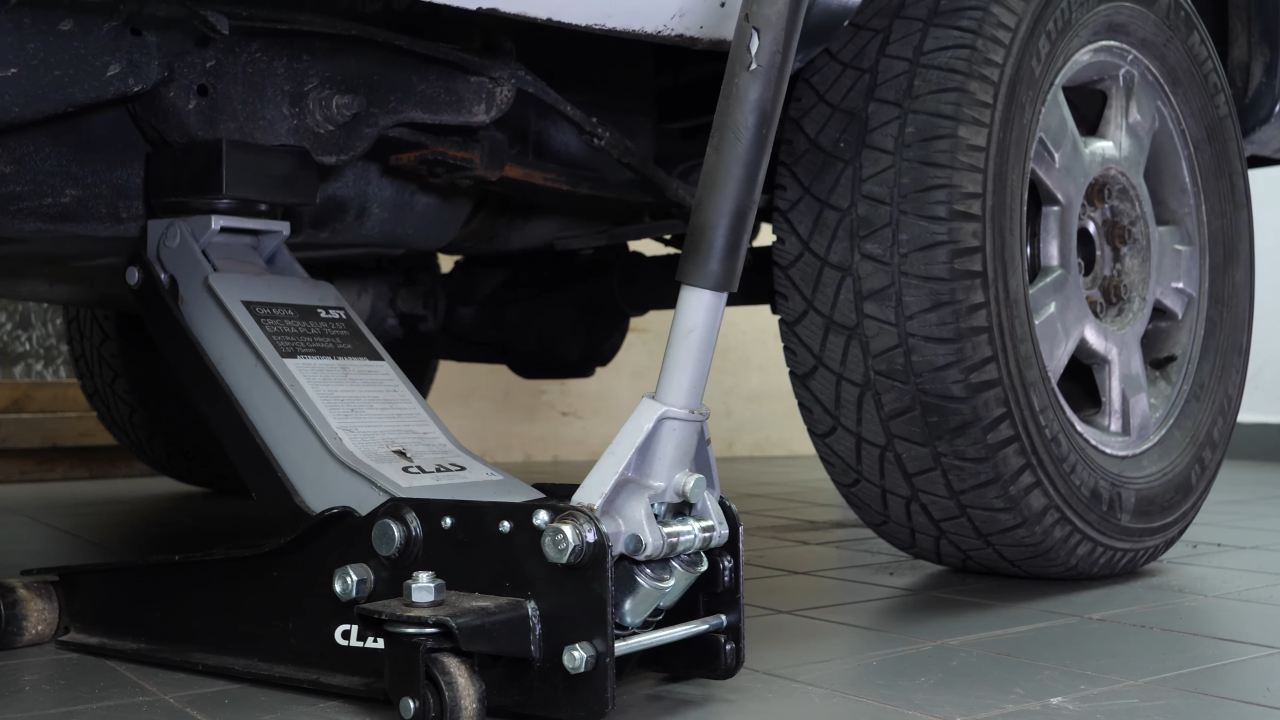
Loosen the wheel lug nuts on the rear wheels. Lift the rear of your vehicle.
Chapter 2:
Step 2/2
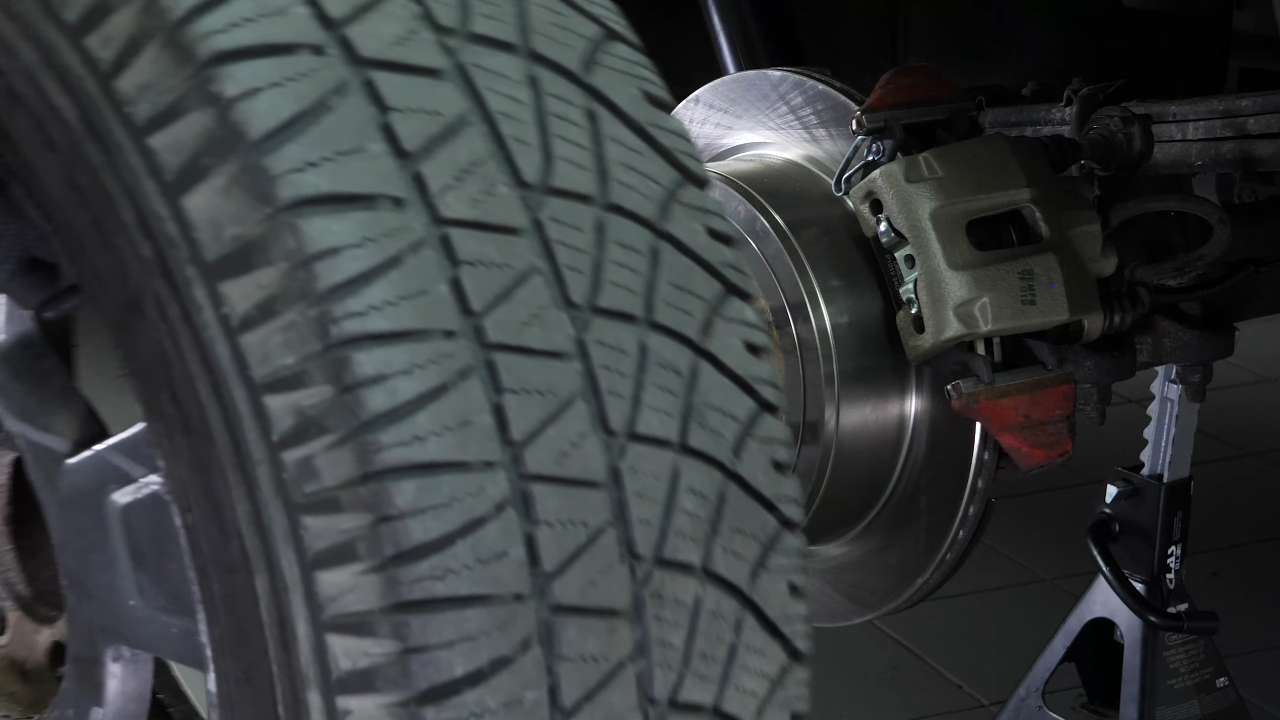
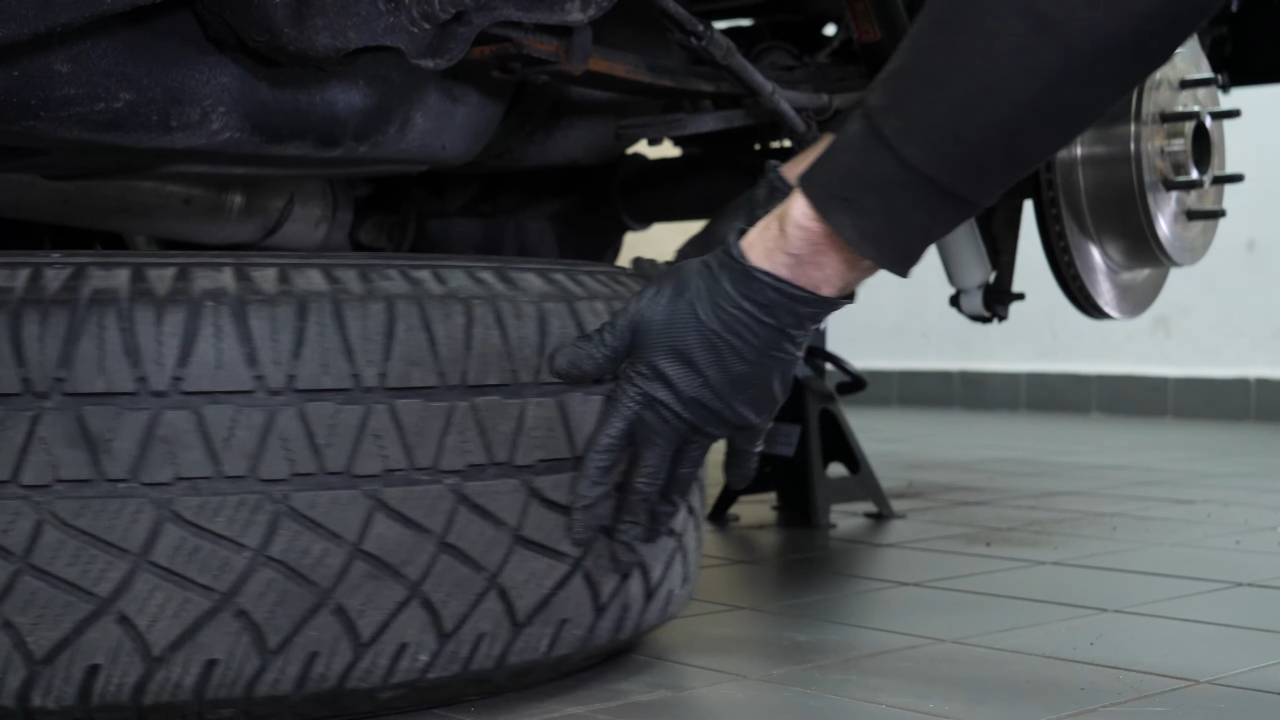
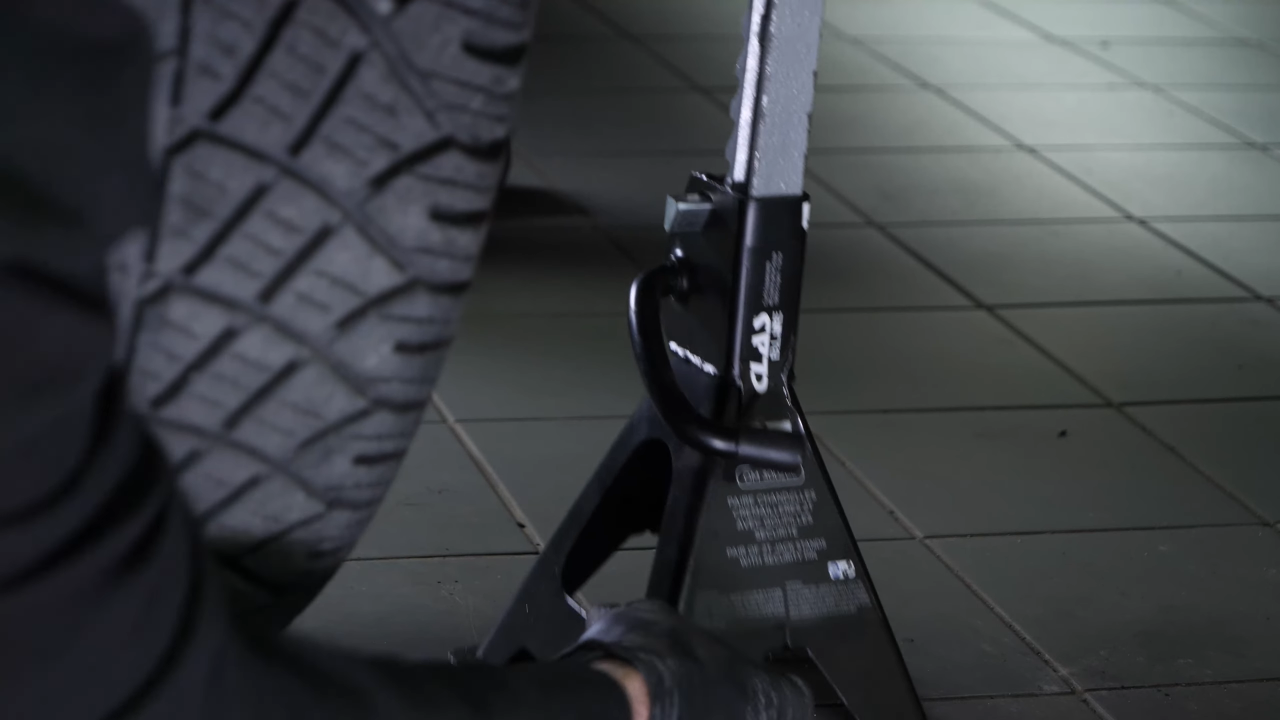
Place the vehicle on the jack stands. Don’t forget to put the wheels under the vehicle!
Chapter 3:
Push the piston in
Step 1/2
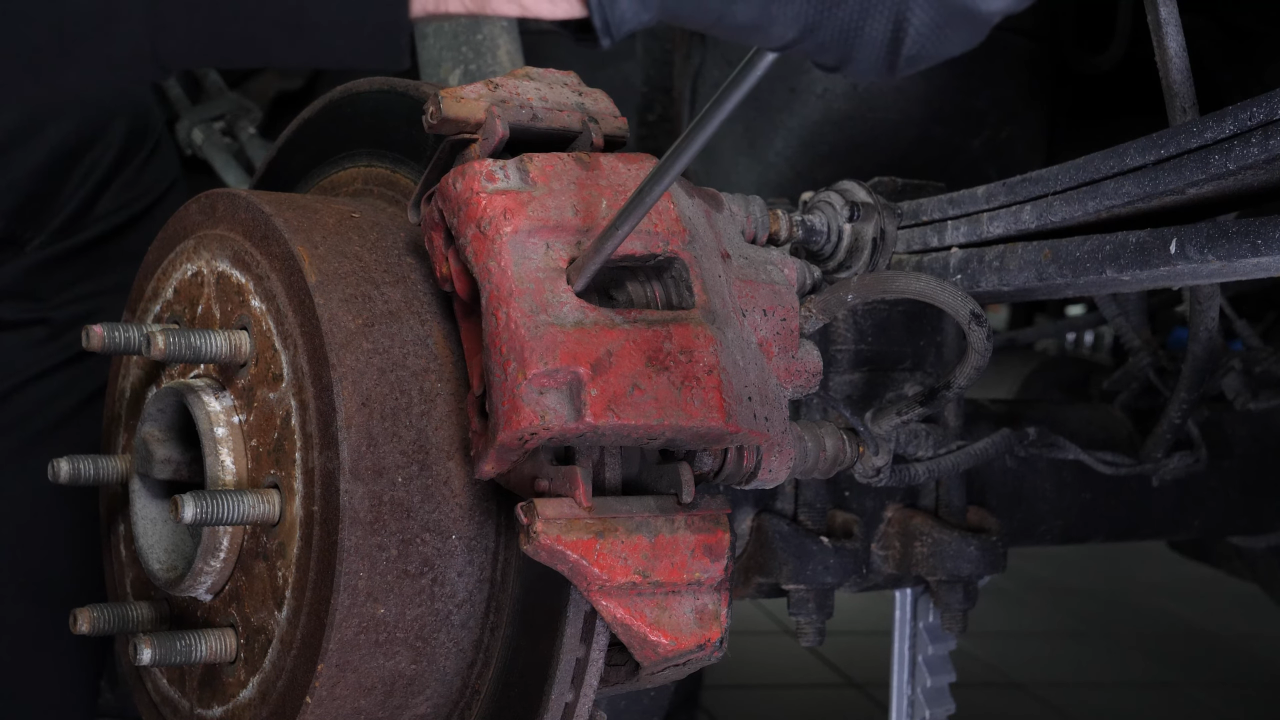
Insert a flathead screwdriver to the outer extremity of the oblong hole located on the front of the brake caliper.
Chapter 3:
Step 2/2
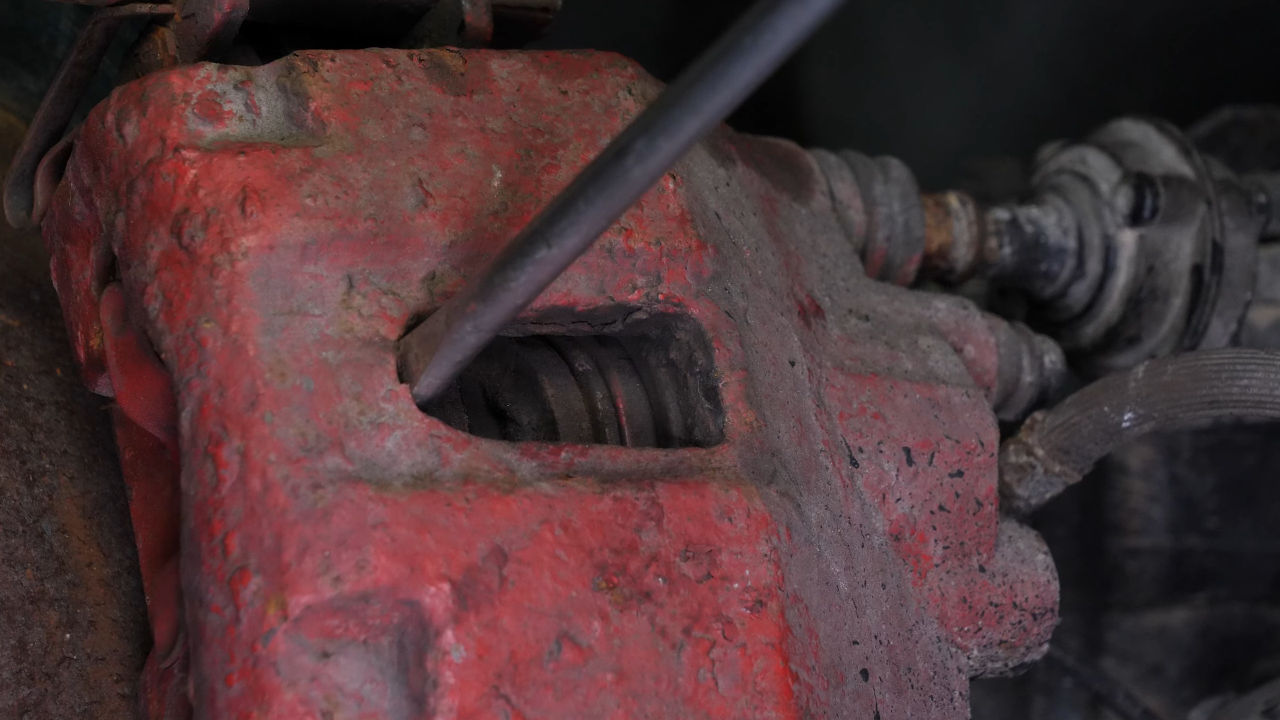
Lift it off using the screwdriver as a lever by pulling it towards you. This will cause the piston to retract slightly, so that the caliper can be removed more easily for the next steps.
Chapter 4:
Remove the caliper
Step 1/4
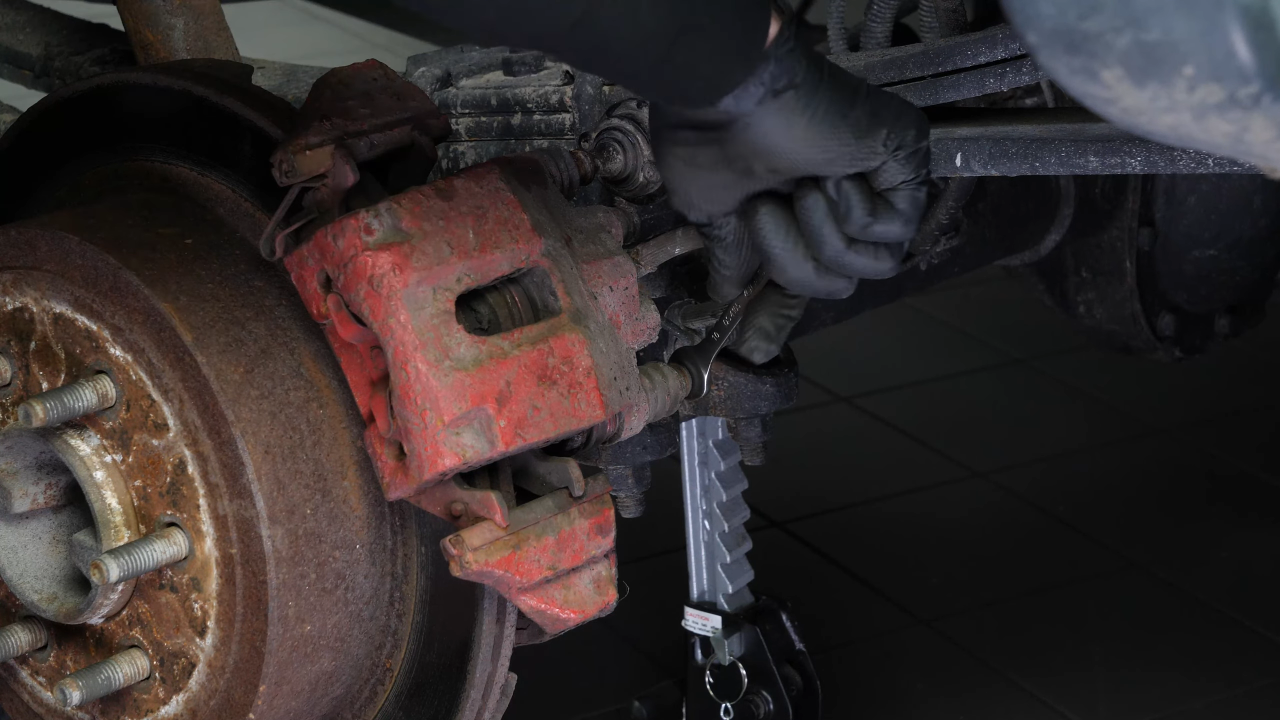
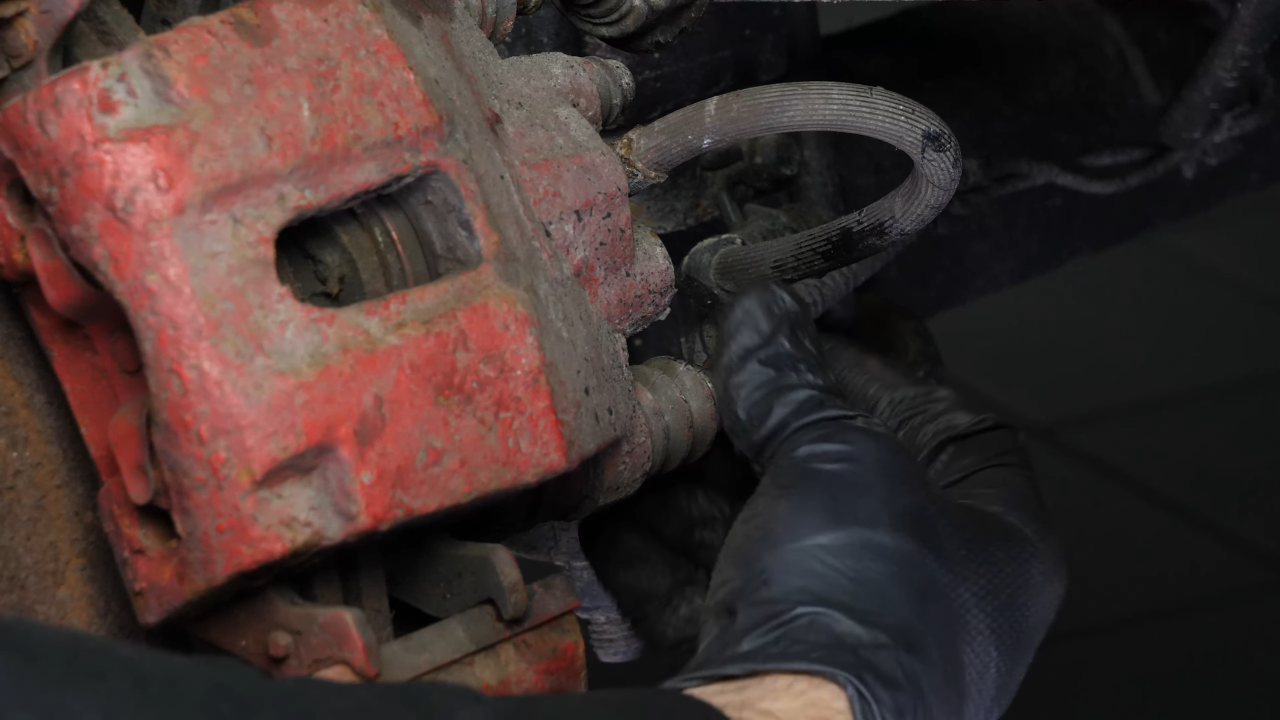
Using an 10 mm wrench, unscrew the lower slide pin.
Chapter 4:
Step 2/4
Then, using the same tool, unscrew the stop rubber balancer.
Chapter 4:
Step 3/4
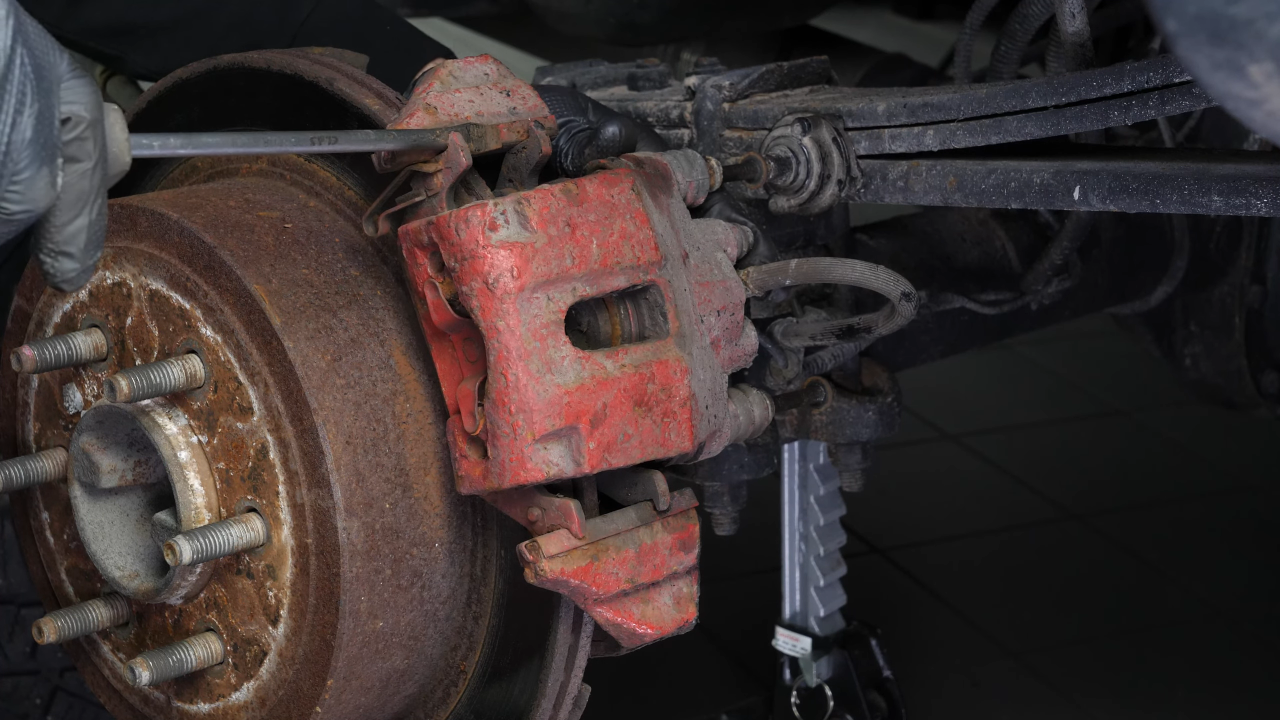
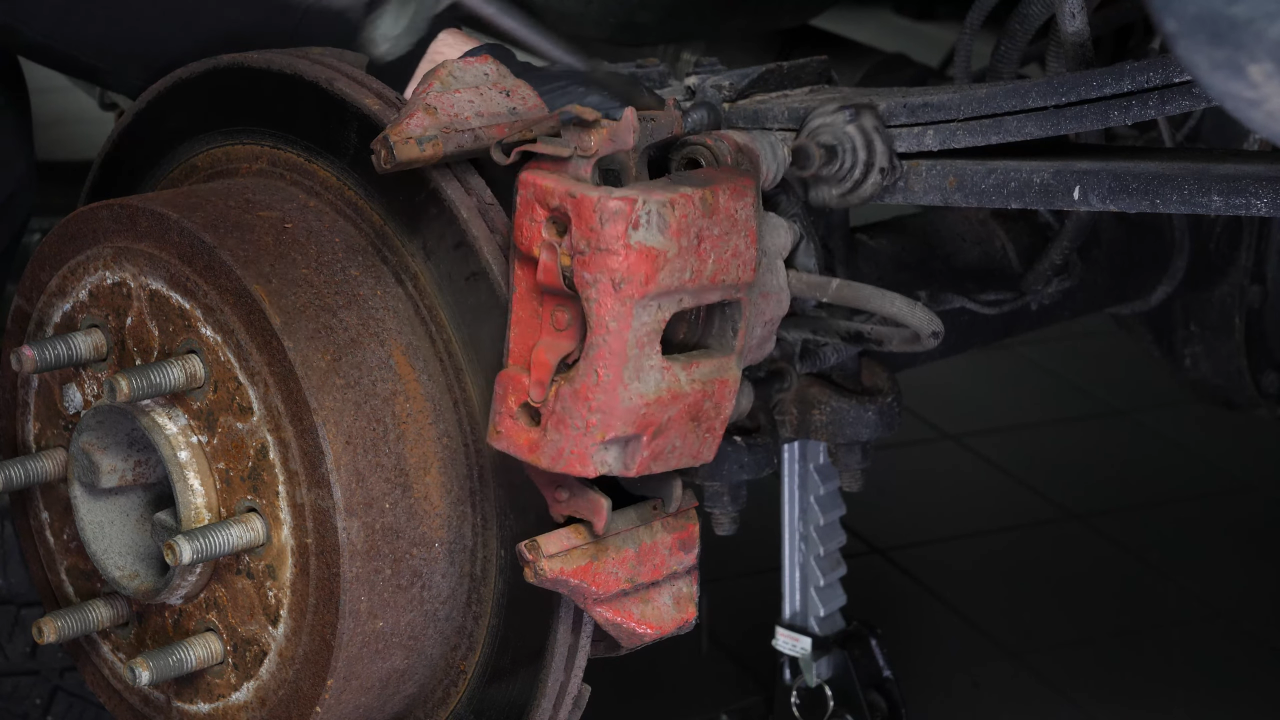
Using a large flathead screwdriver, push on the pressure spring, then release the brake caliper from the caliper mount.
Chapter 4:
Step 4/4
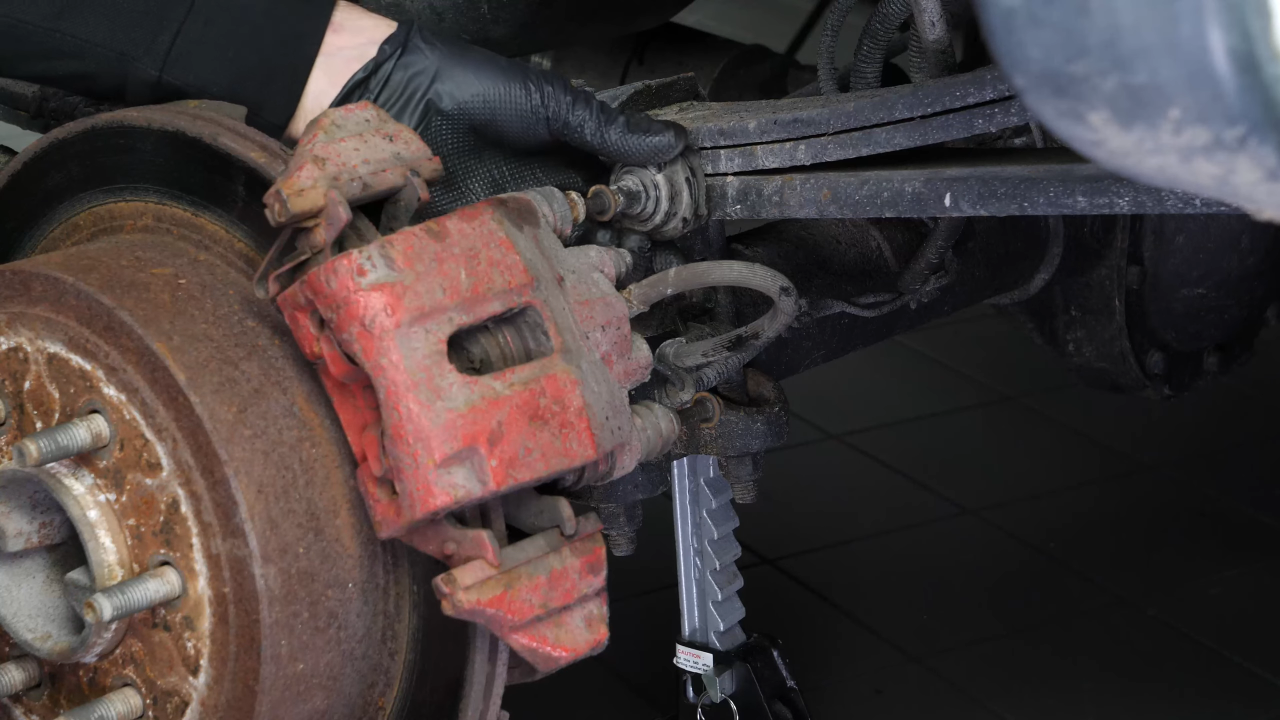
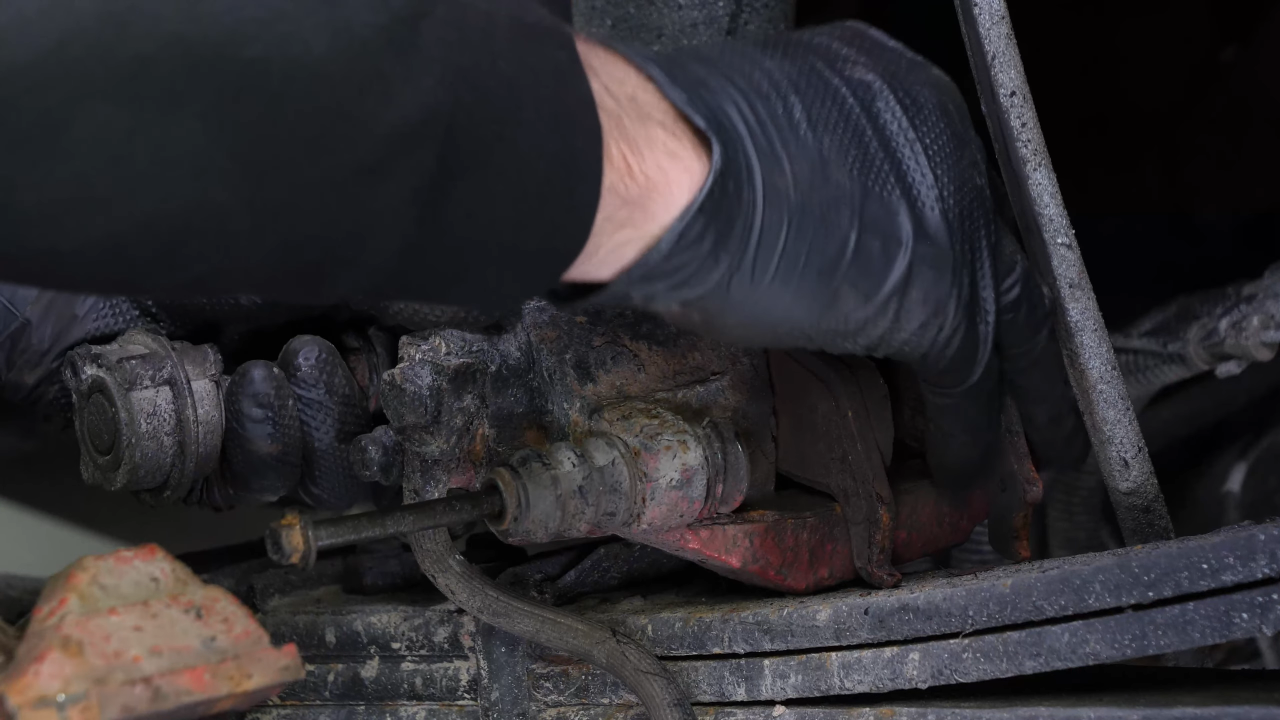
You can now place the brake caliper on the leaf springs.
Chapter 5:
Tips
Step 1/3
Place a container to collect the fluid under the caliper, since the brake fluid may leak out.

Chapter 5:
Step 2/3
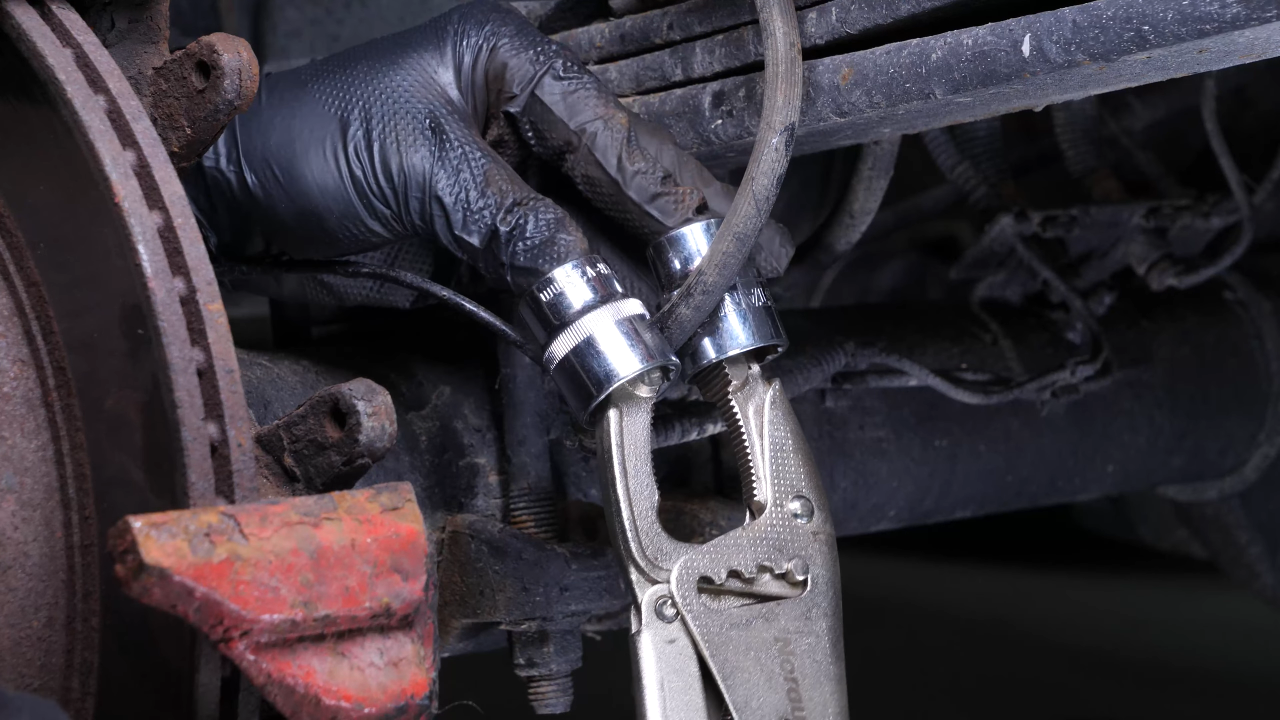
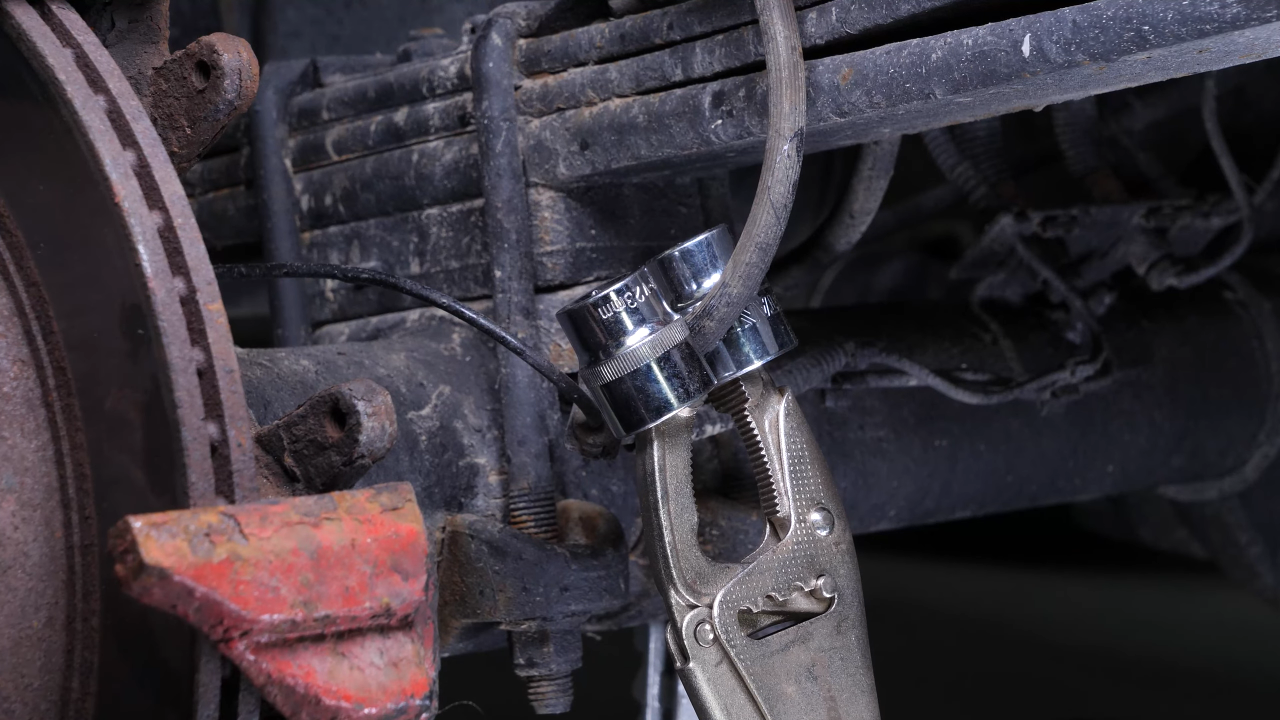
Here’s a tip: You can limit the amount of fluid leakage by clamping the brake hose with a vise grip and two sockets.
Chapter 5:
Step 3/3
It is better to use this technique if you’re planning to also change the brake hose.
Chapter 6:
Remove the brake hose from the caliper
Step 1/2
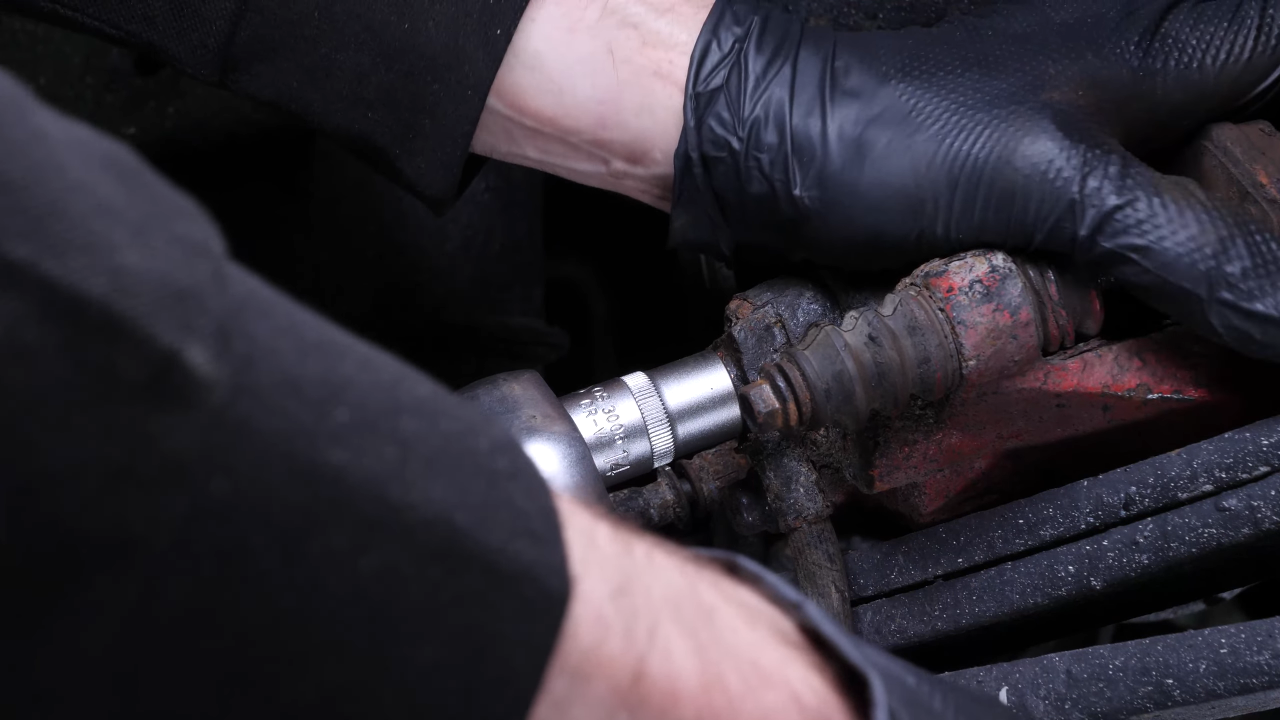
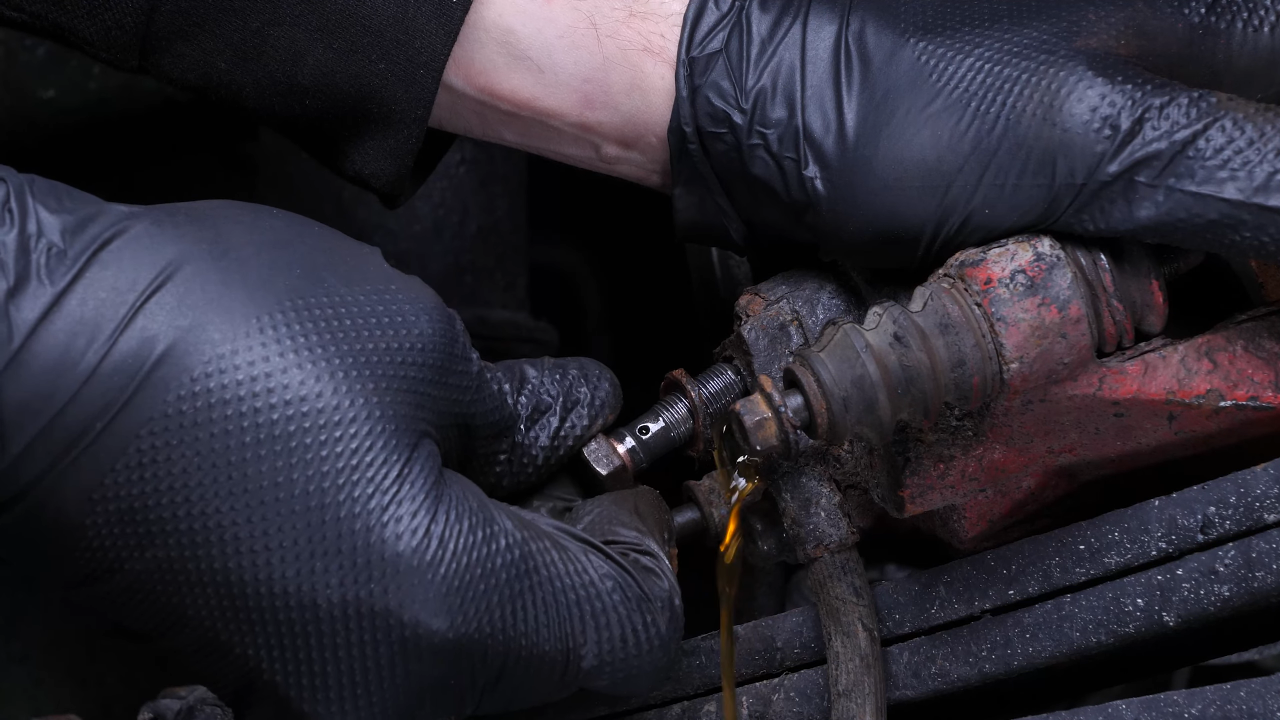
Using a ratchet and a 14 mm socket, unscrew the banjo screw connecting the hose to the caliper.
Chapter 6:
Step 2/2
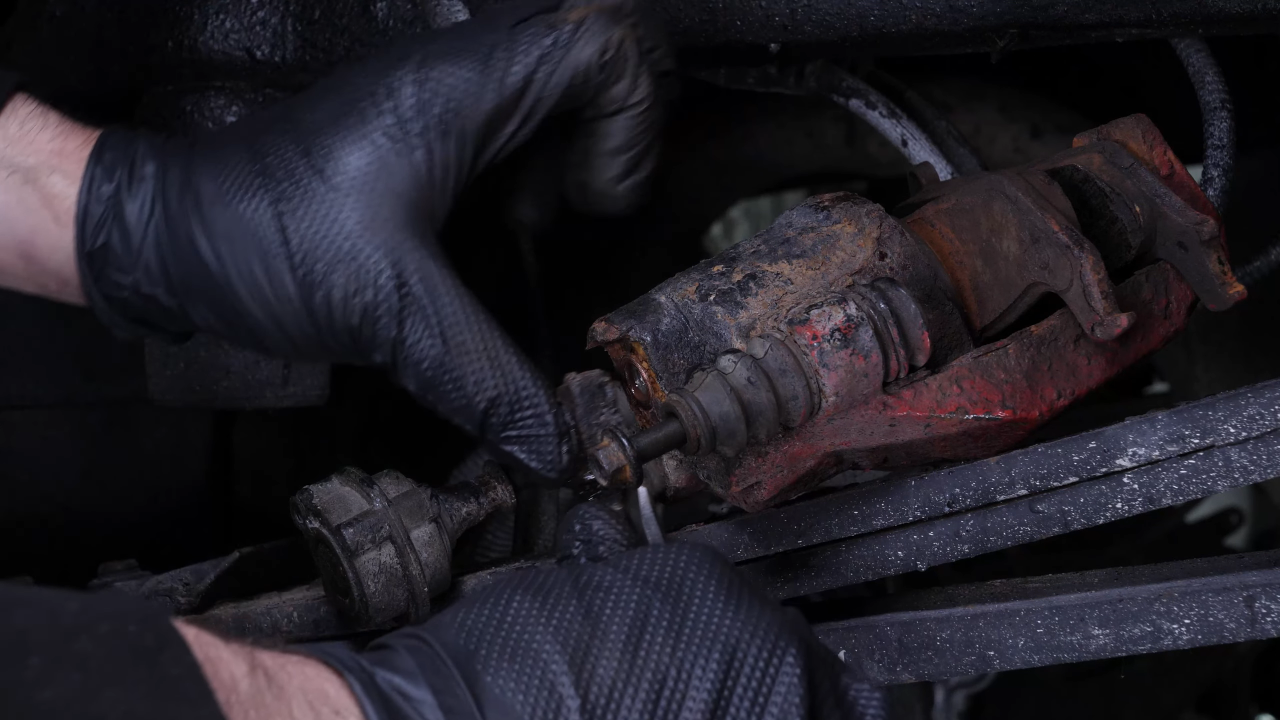
Then, using a flathead screwdriver, pry the brake hose off the caliper.
Chapter 7:
Remove the lower slide pin and the stop rubber balancer
Step 1/3
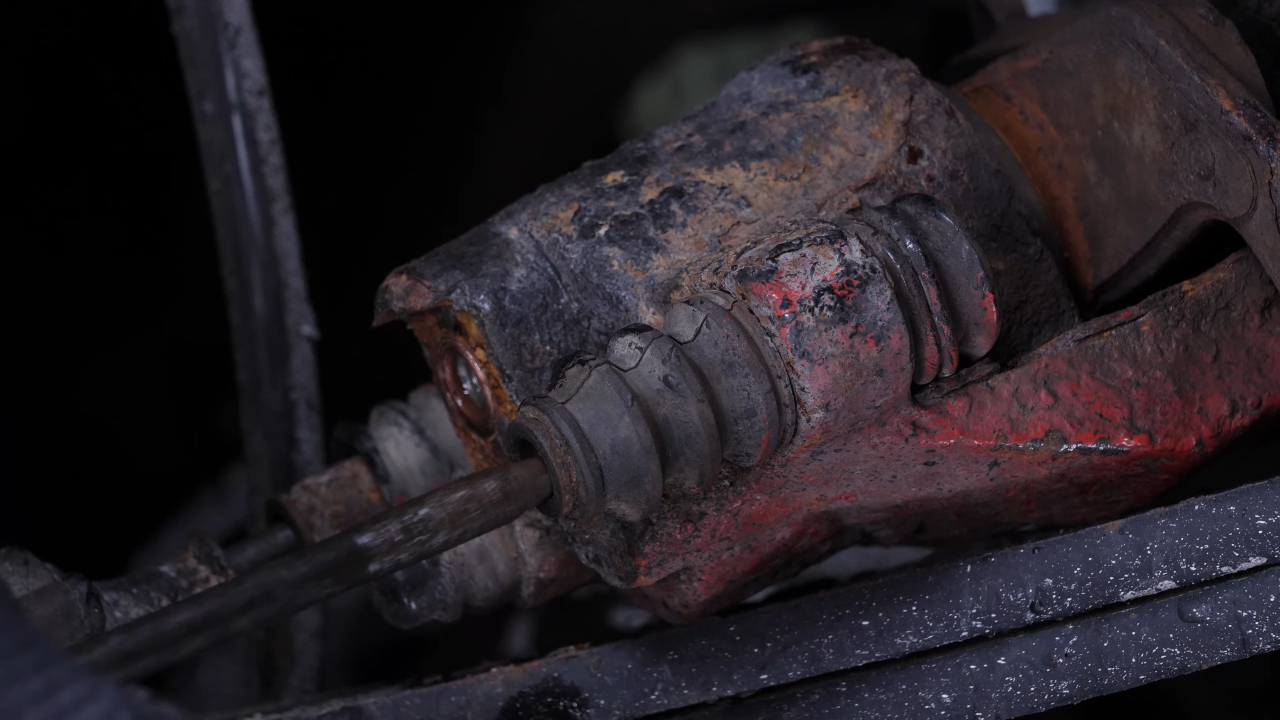
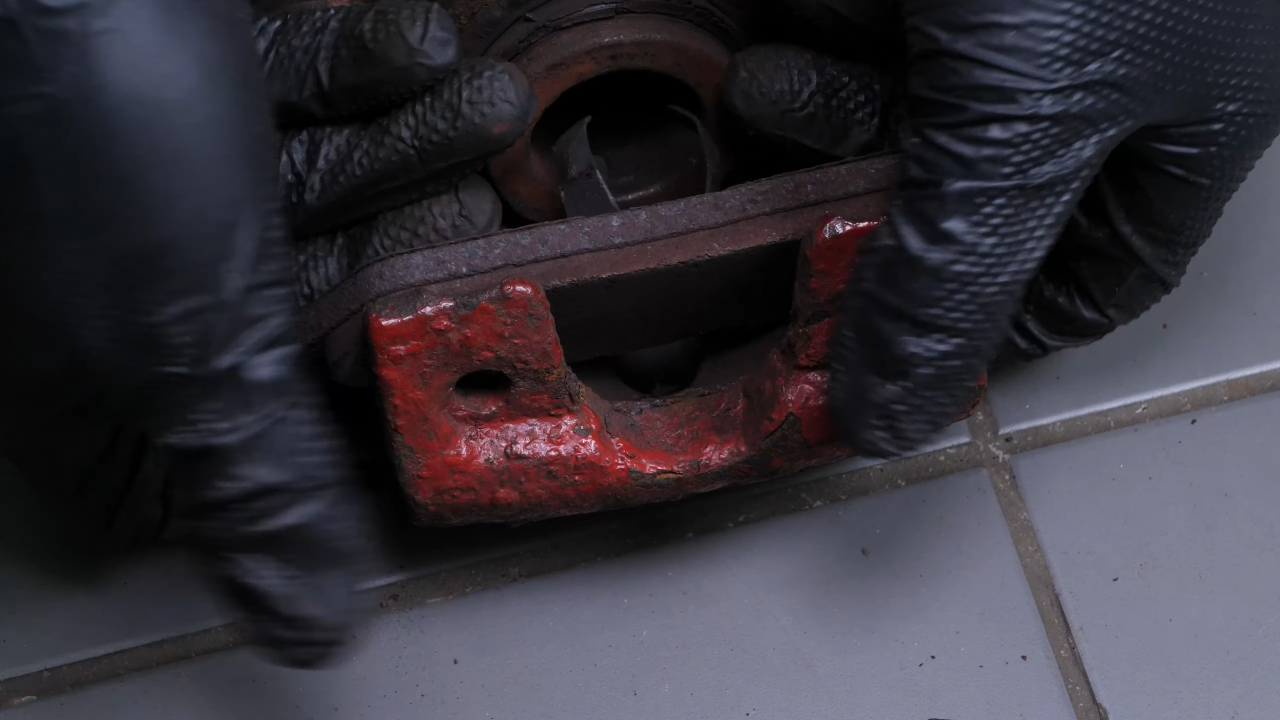
Take the lower slide pin, then the stop rubber balancer, which you will install later on the new caliper.

Chapter 7:
Step 2/3
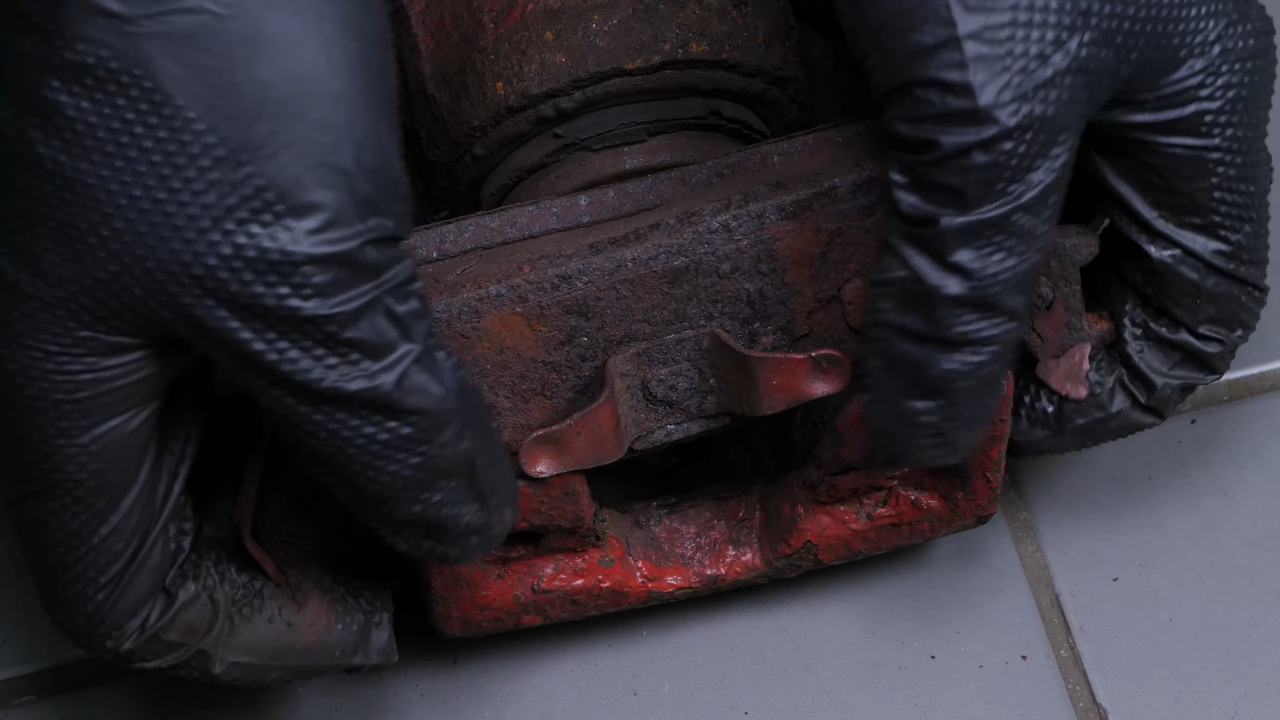
You can also recover the old brake pads if they are in good condition and you want to reuse them.
Chapter 7:
Step 3/3
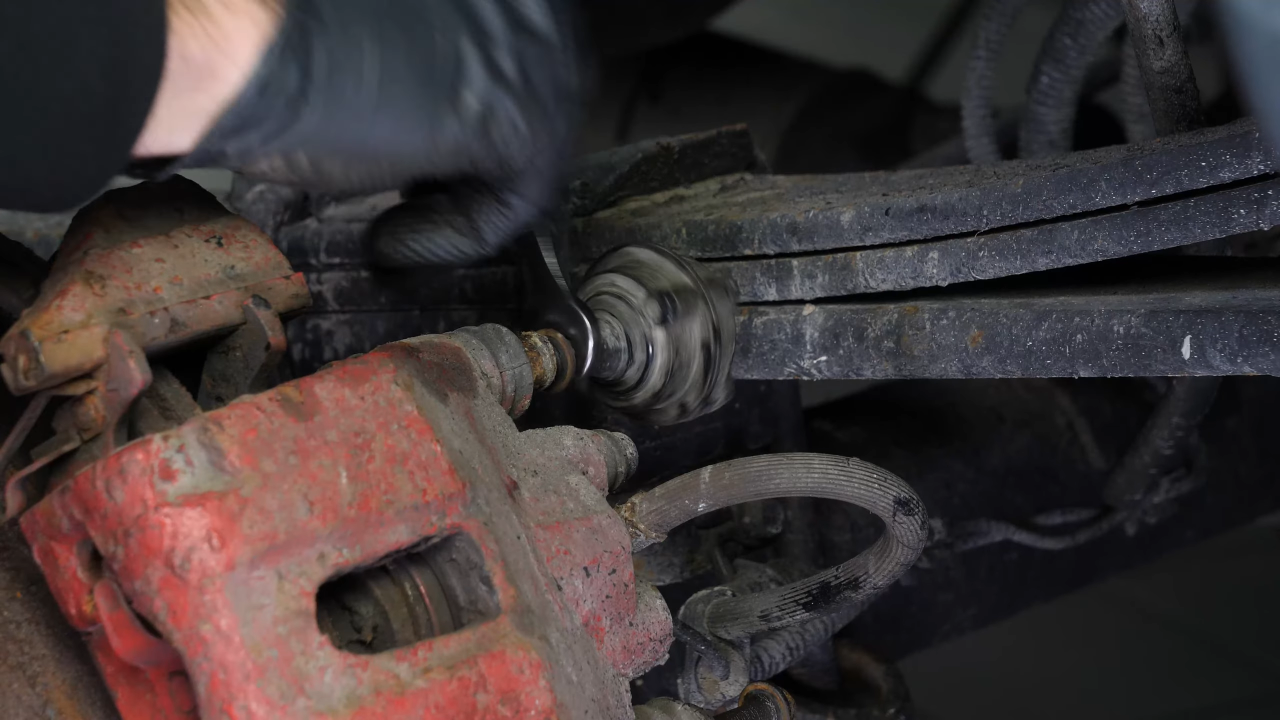
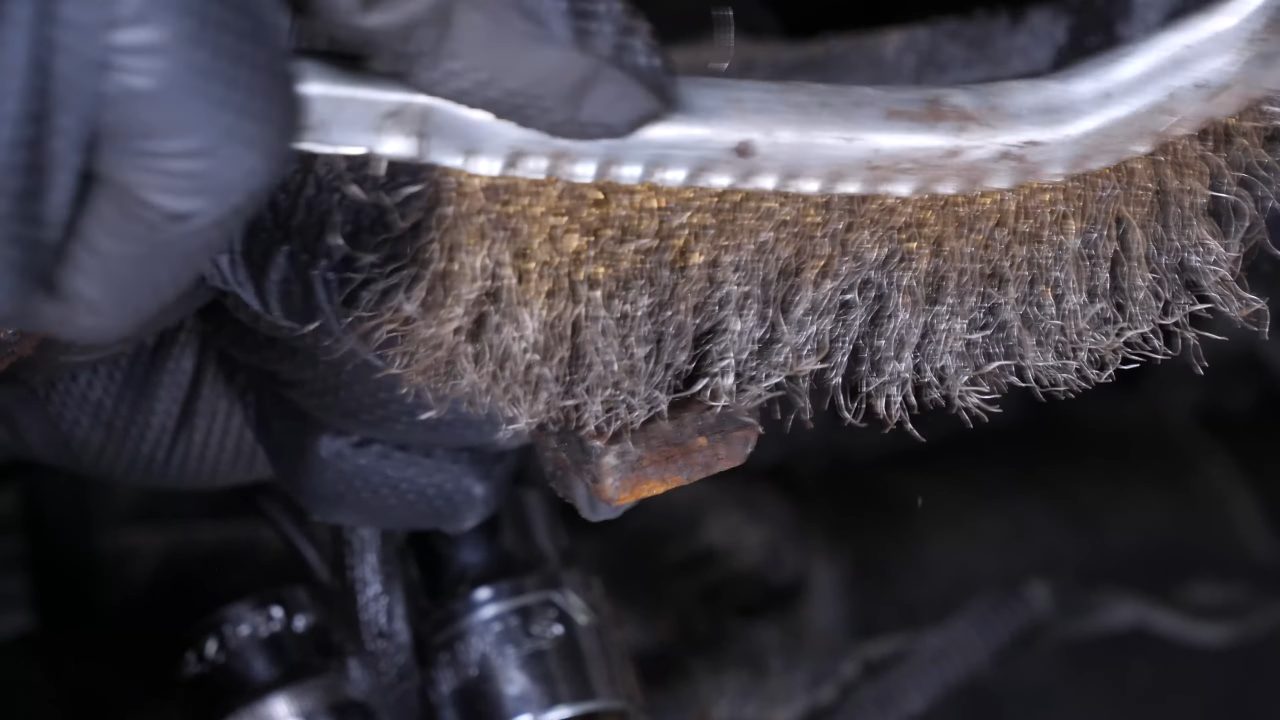
If you are not replacing the hose, carefully brush the surface where the hose and caliper make contact using a wire brush or sandpaper.
Chapter 8:
Screw the brake hose back + Tightening
Step 1/5
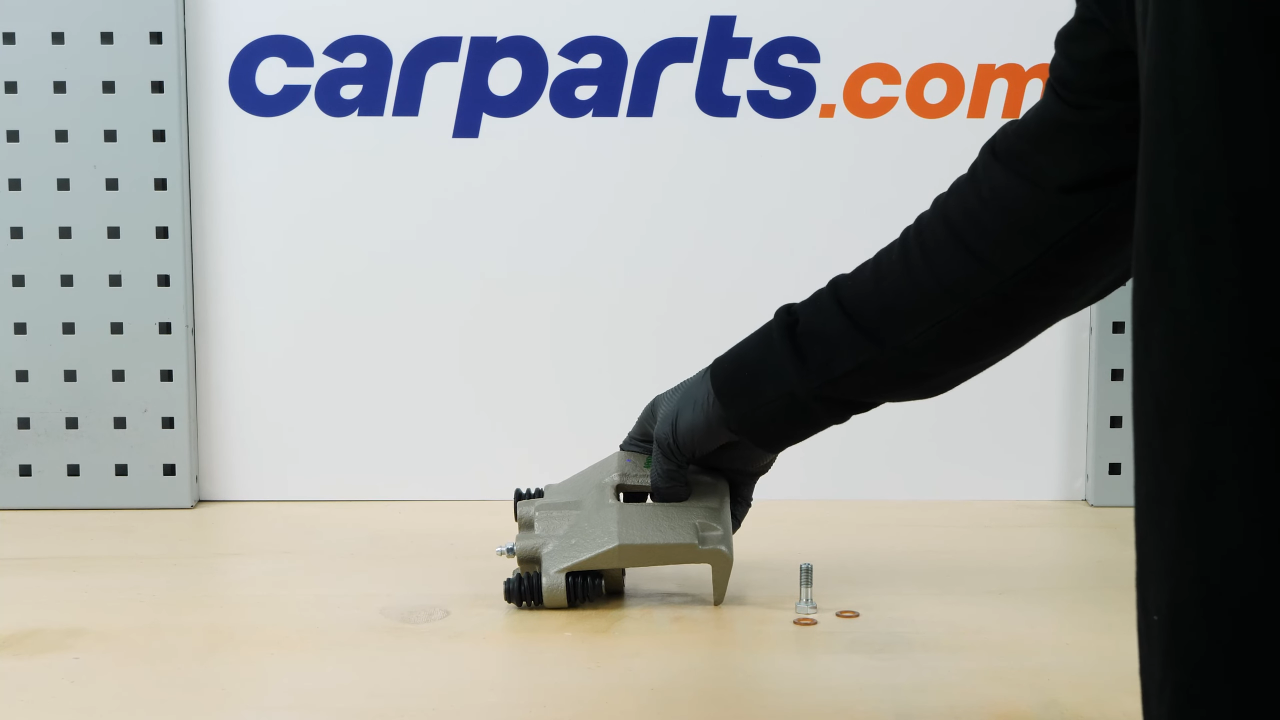
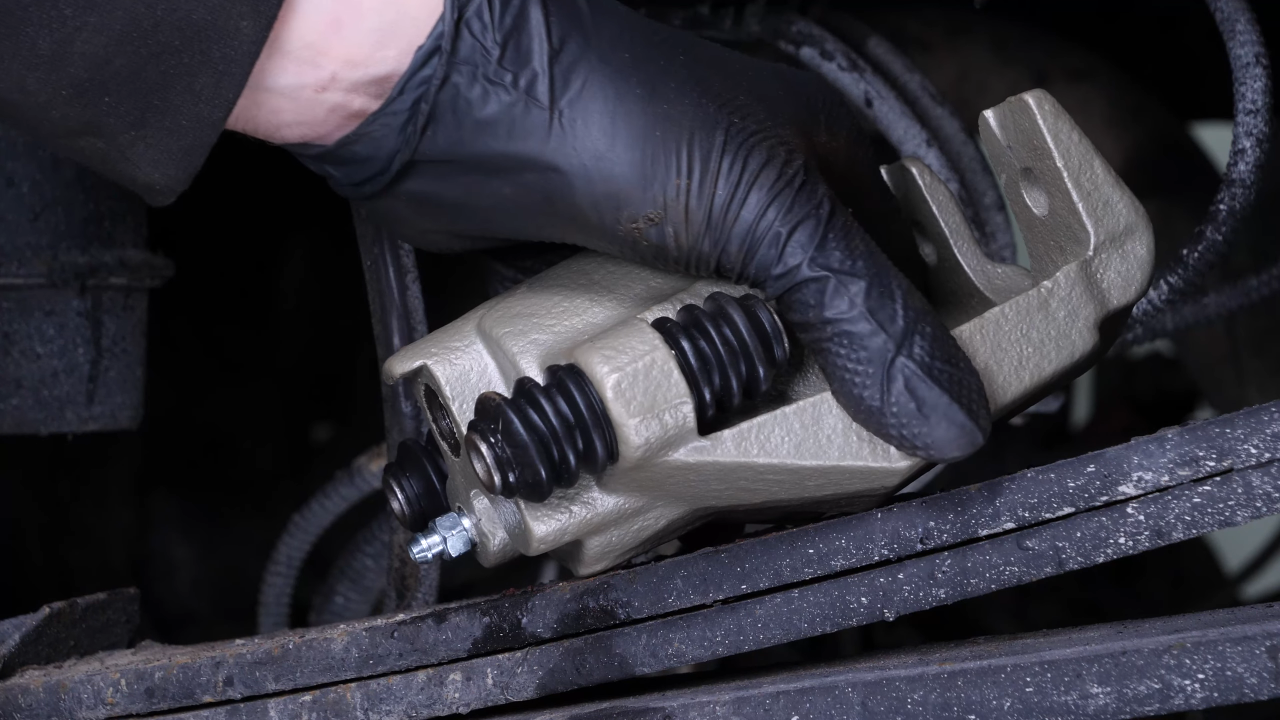
Grab the brake caliper.
Chapter 8:
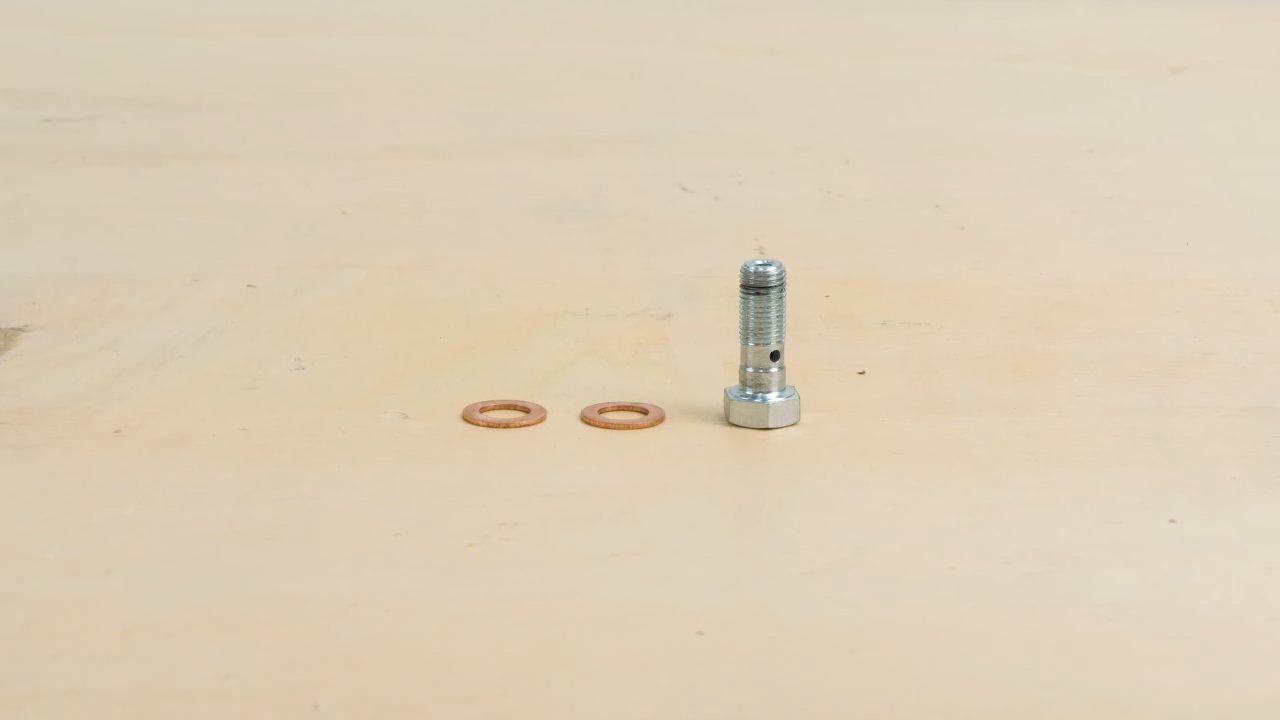
Step 2/5
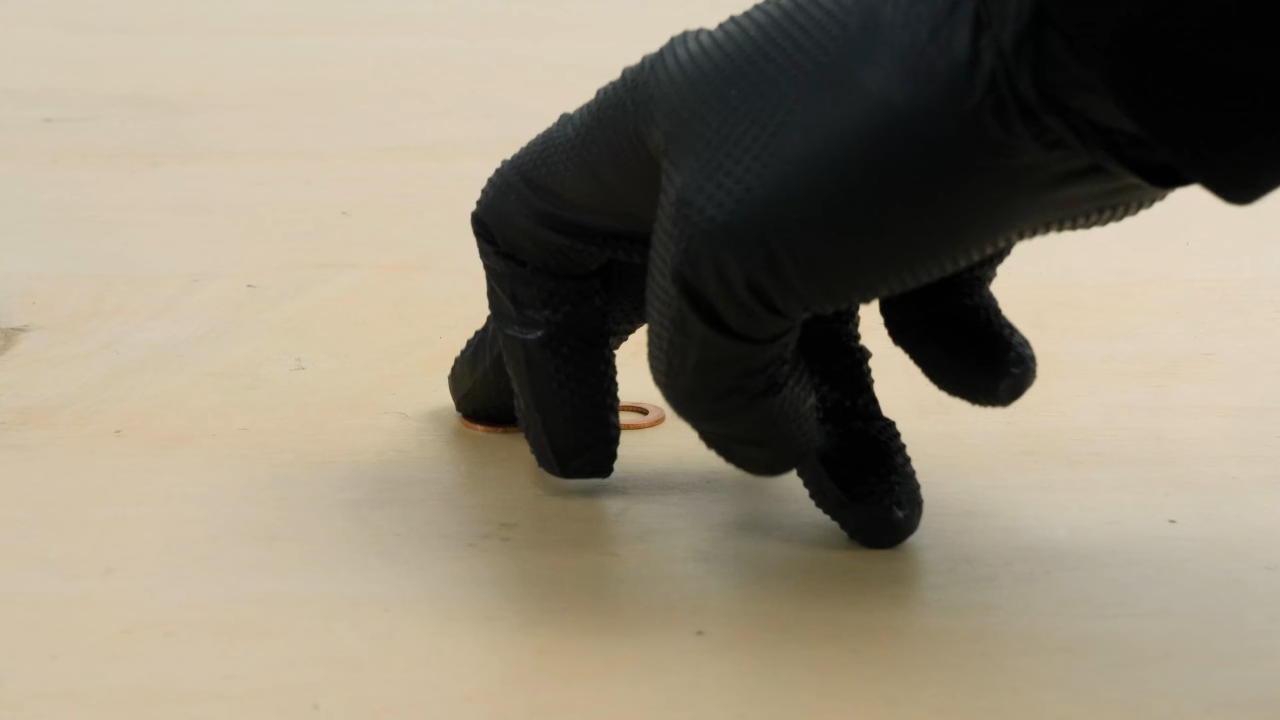
Grab the new seals and the new banjo screw.
Chapter 8:
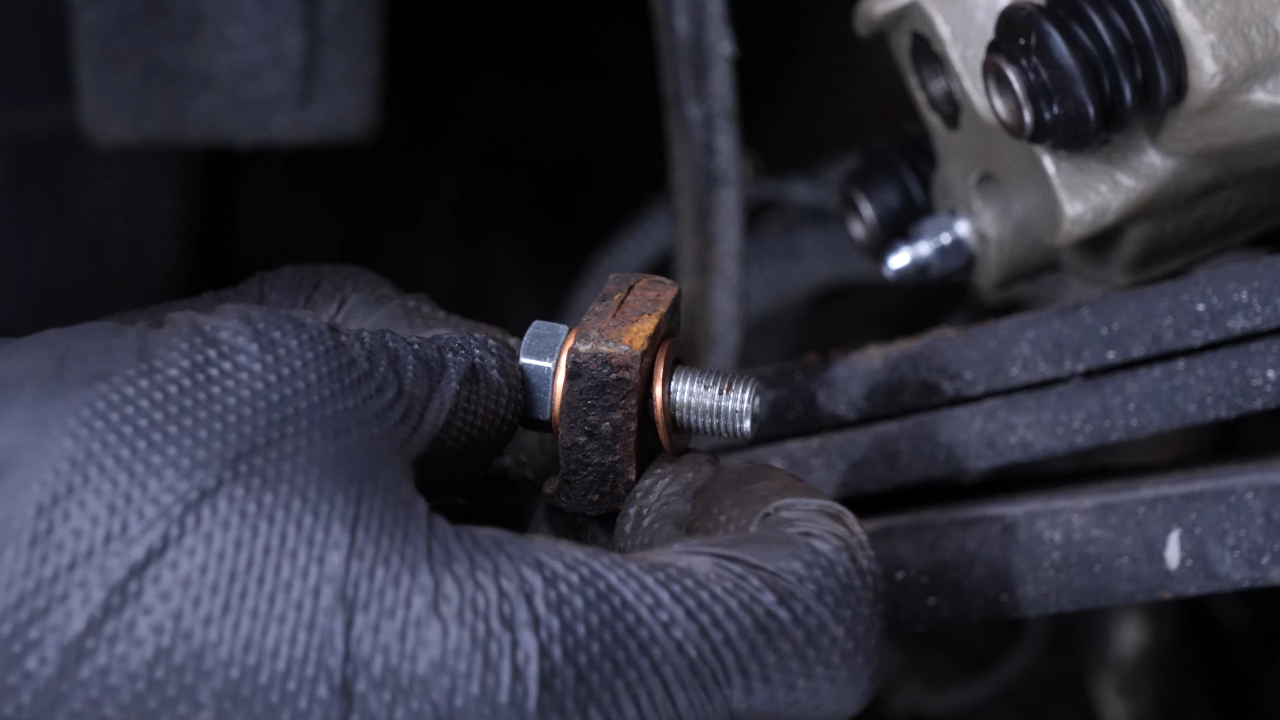
Step 3/5
Install all of them on the hose.
Chapter 8:
Step 4/5
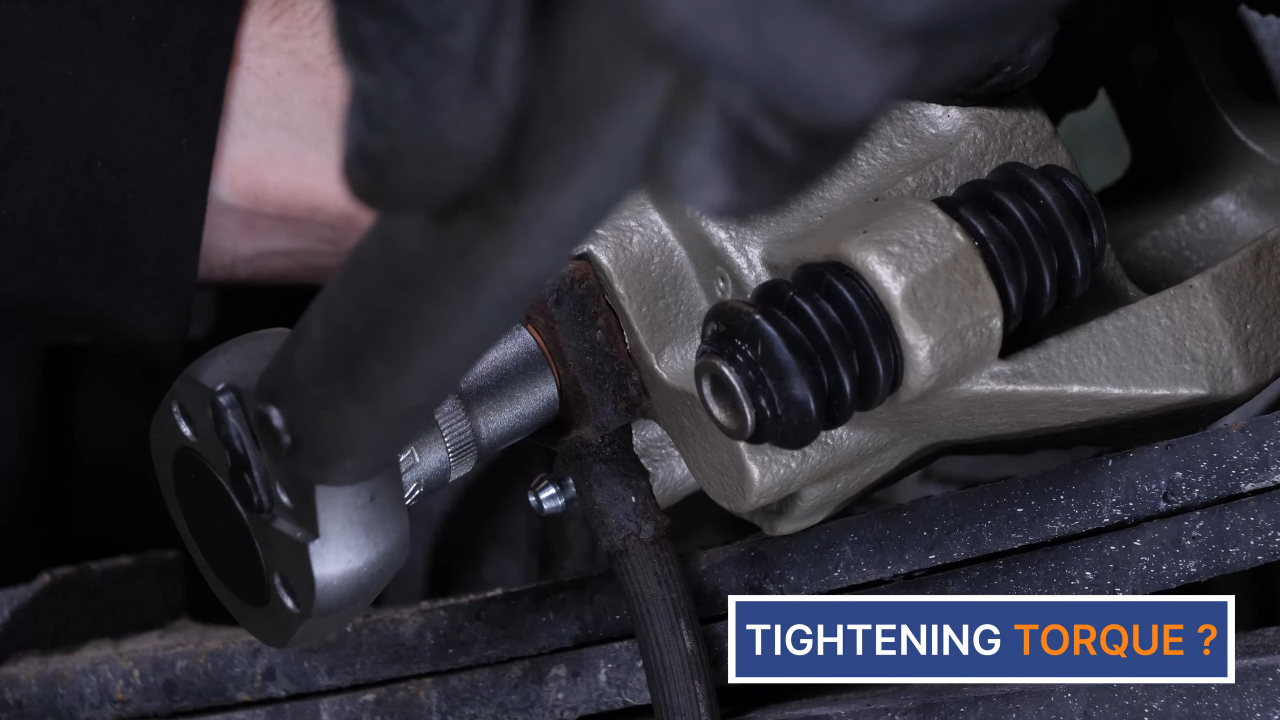
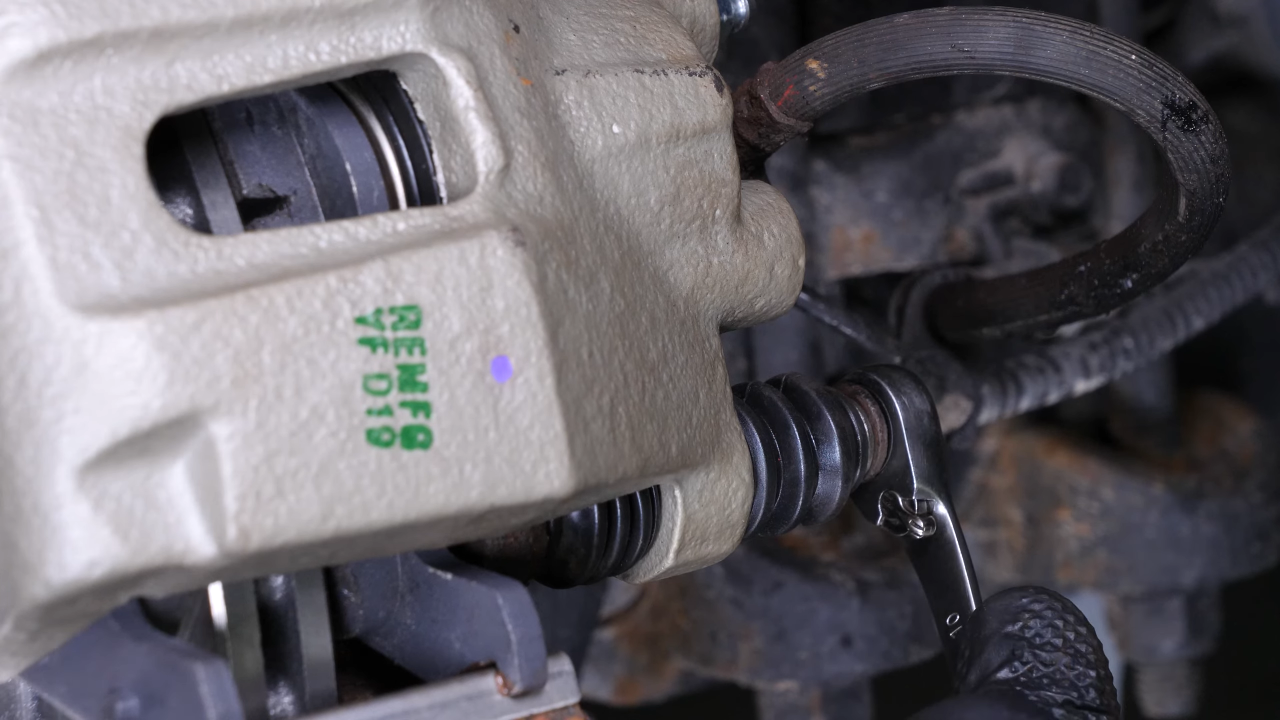
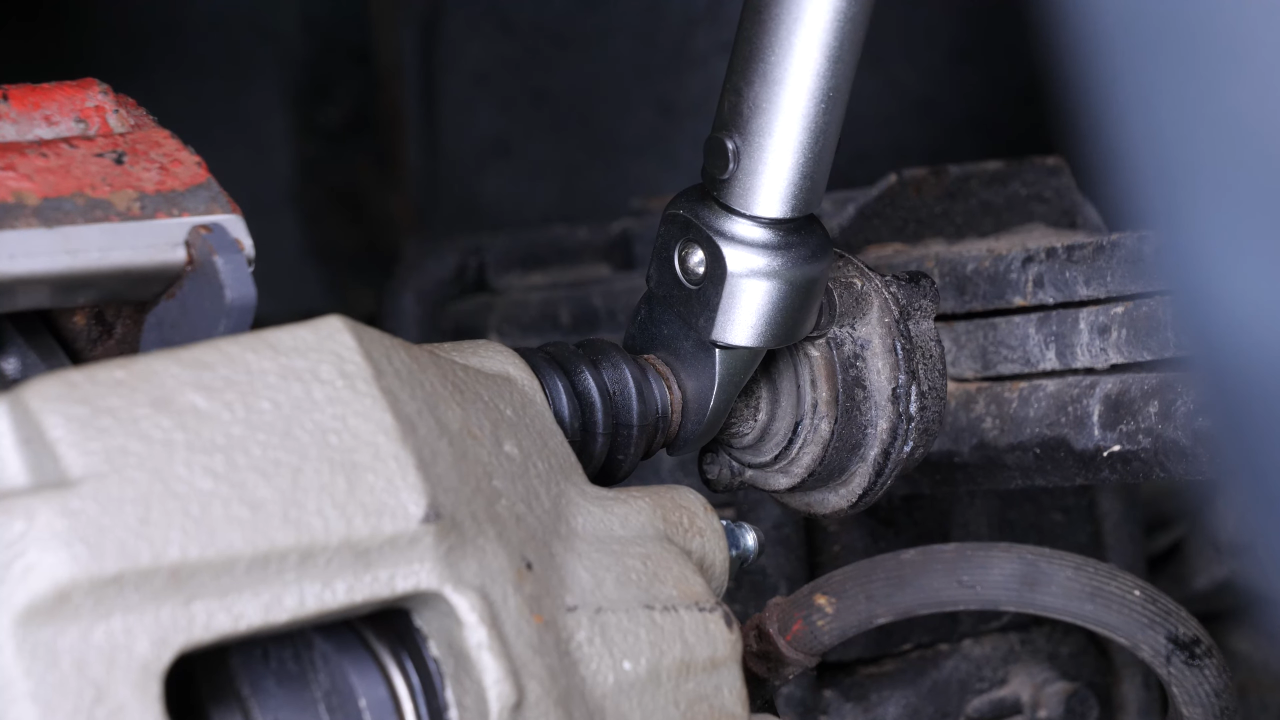
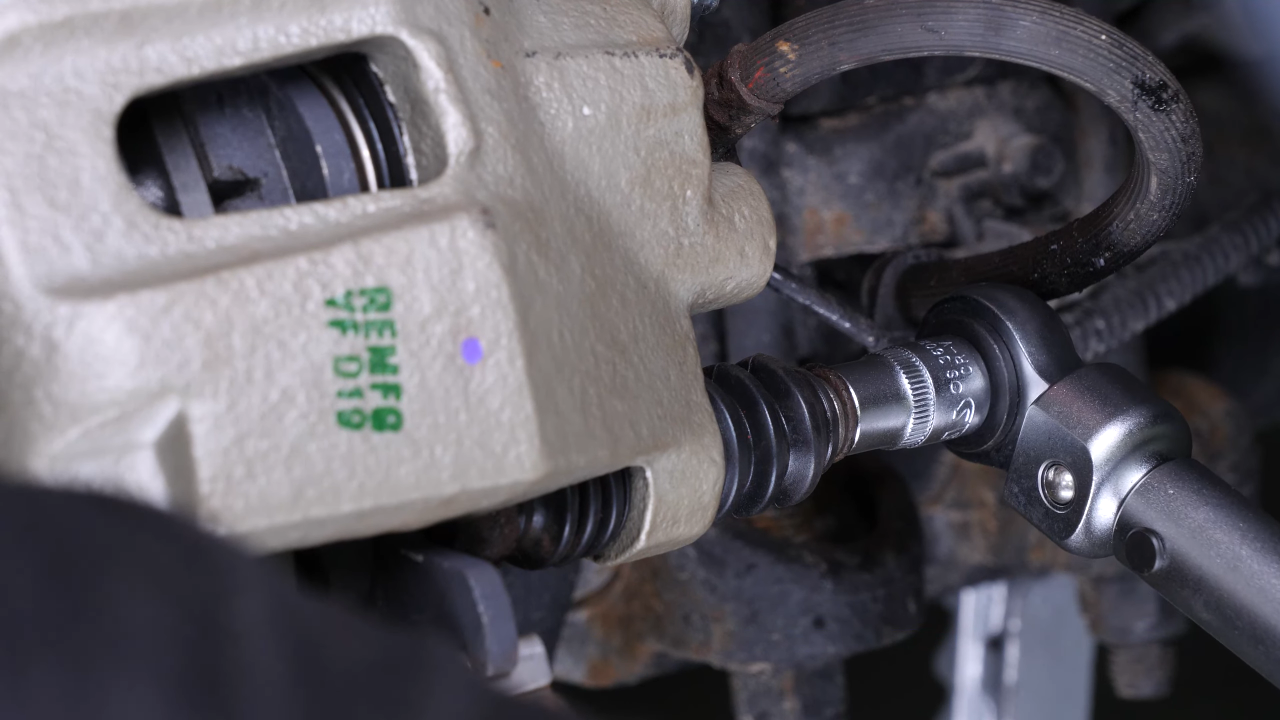
Screw the banjo screw, that connects the brake hose to the caliper, back in.

Chapter 8:
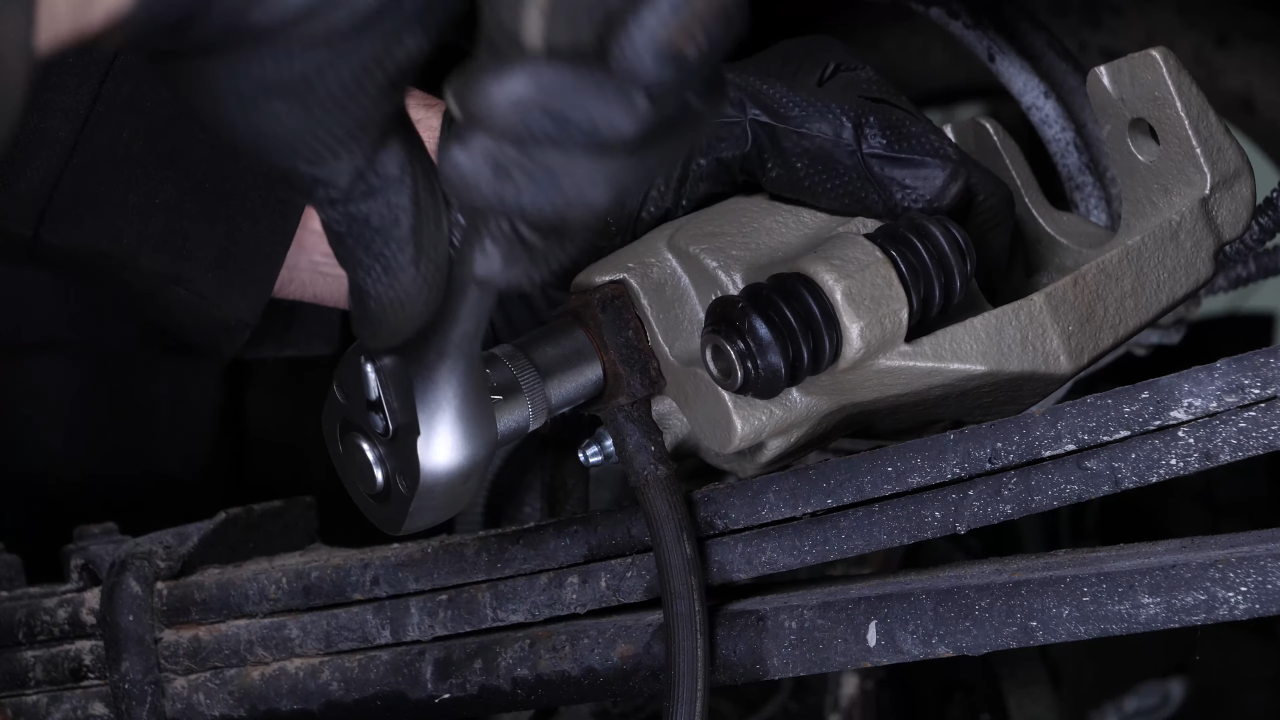
Step 5/5
Then, finish tightening using a torque wrench.
Chapter 9:
Tips
Step 1/1
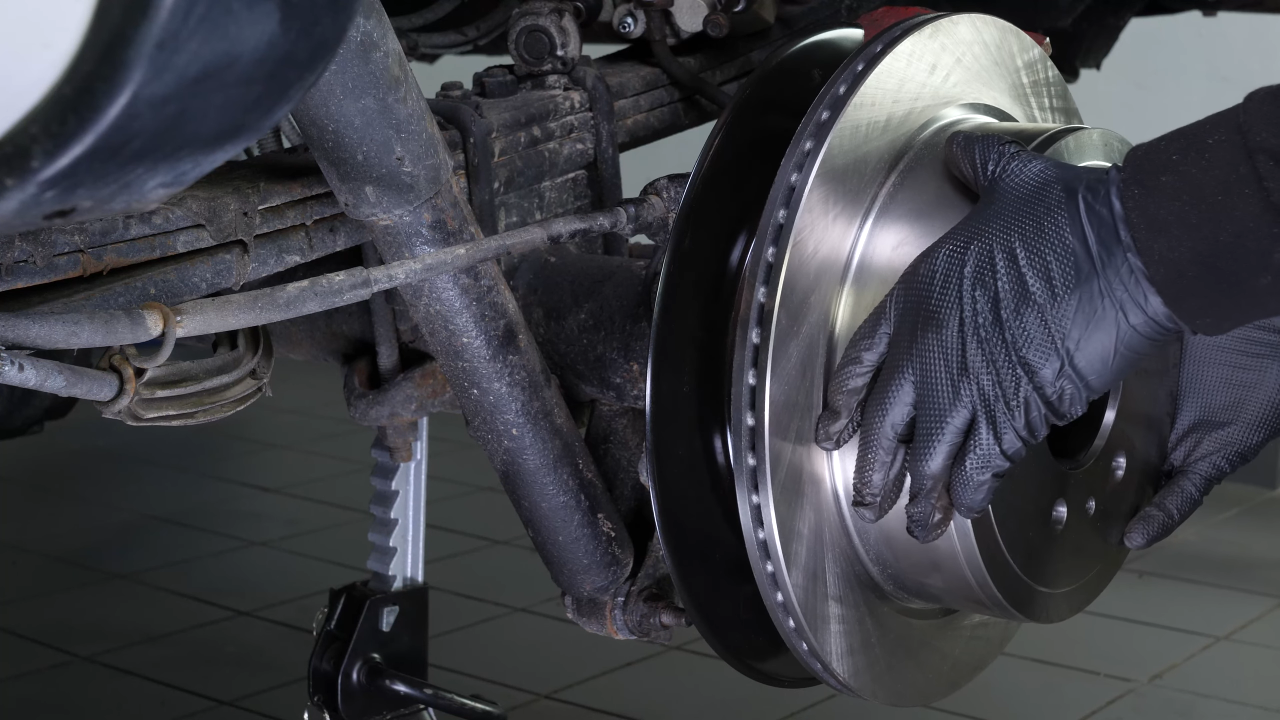
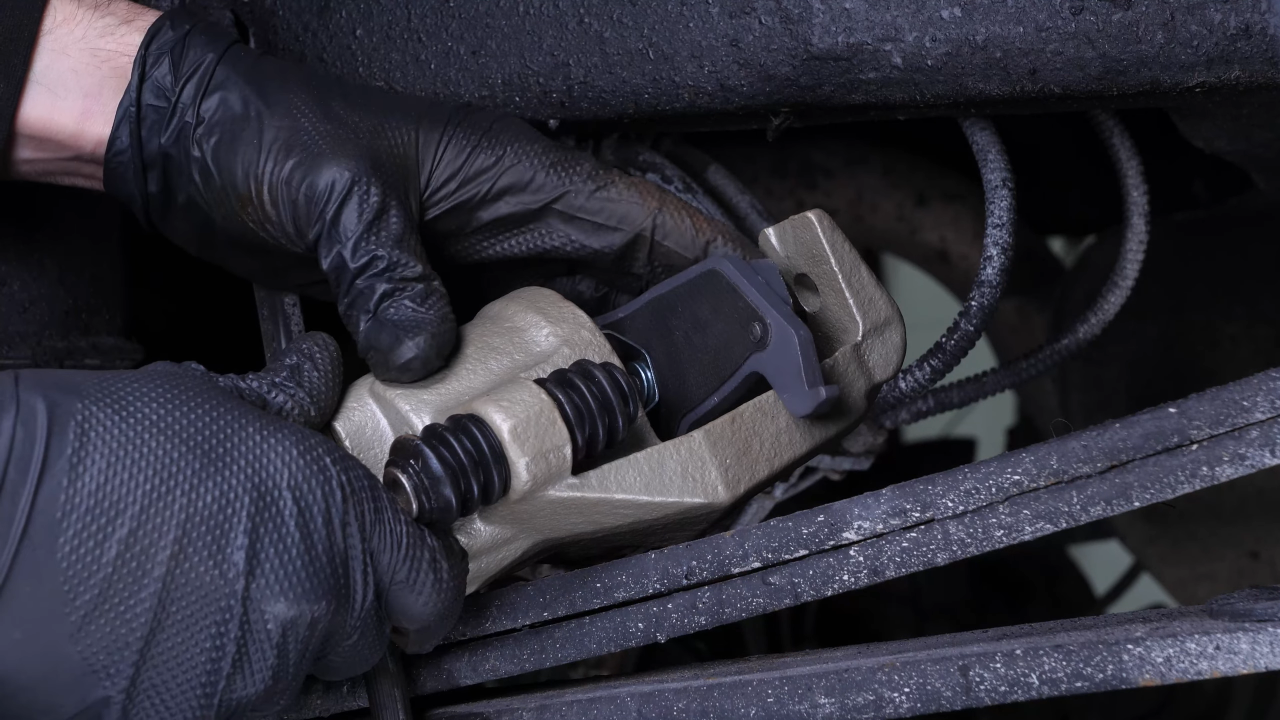
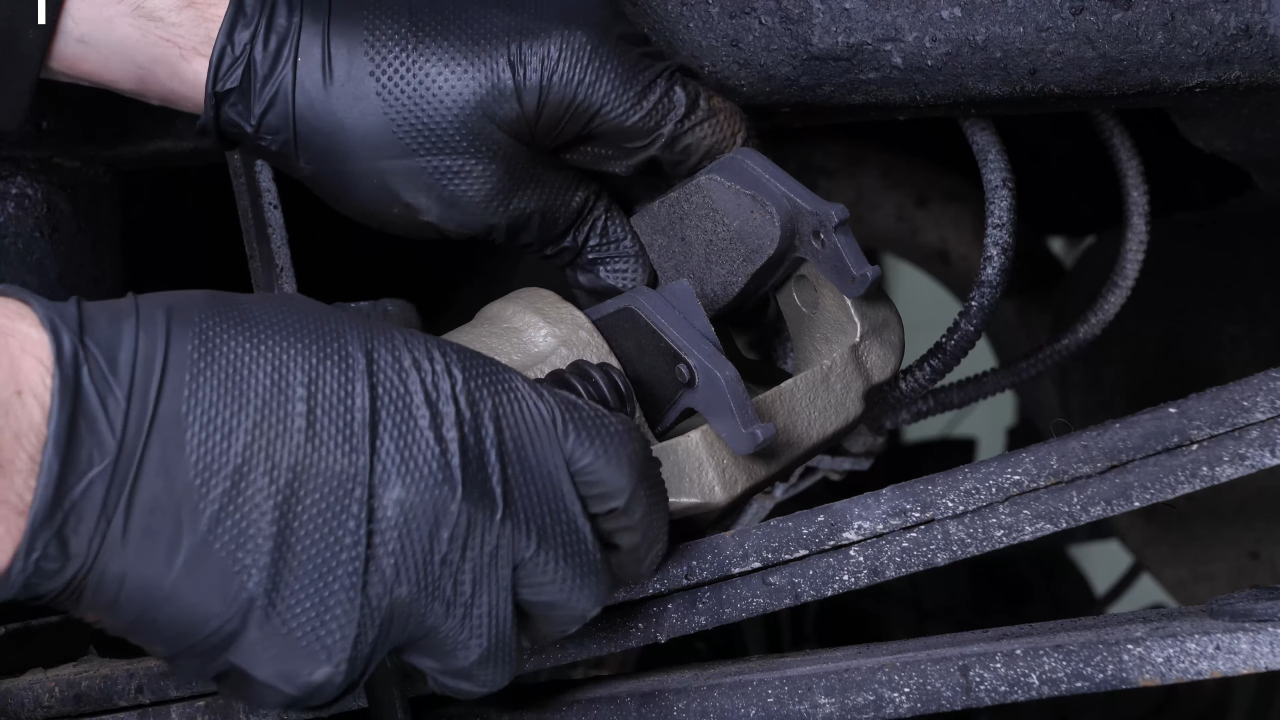
In our case, we took advantage of this operation to change the brake discs and pads.
Chapter 10:
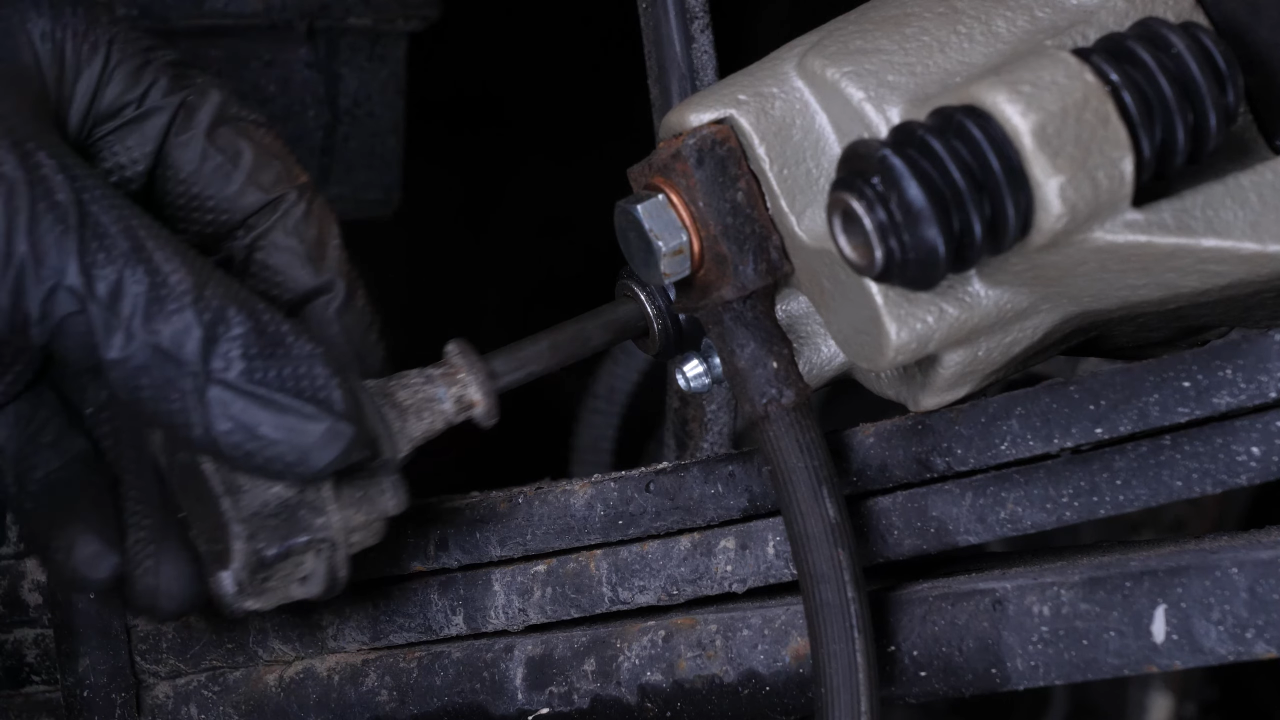
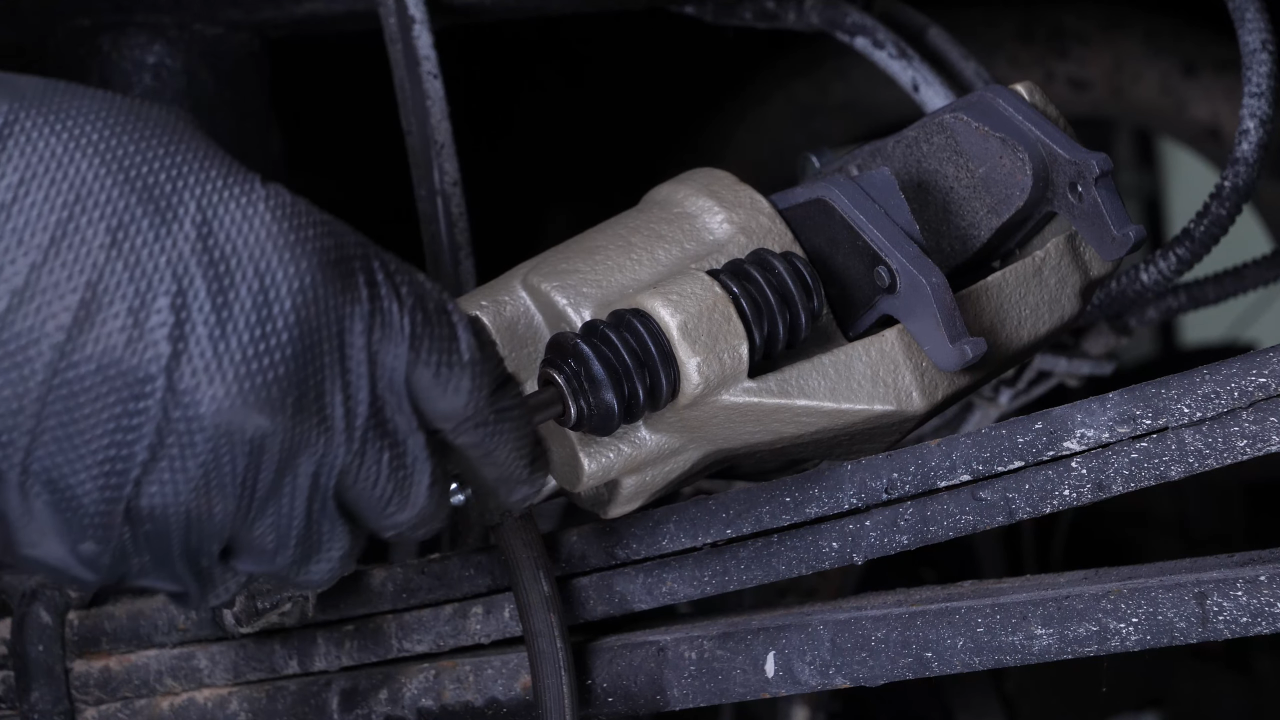
Put the lower slide pin and the stop rubber balancer back + Tightening
Step 1/6
Replace the stop rubber balancer, then the lower slide pin.
Chapter 10:
Step 2/6
Remove the vise grip.

Chapter 10:
Step 3/6
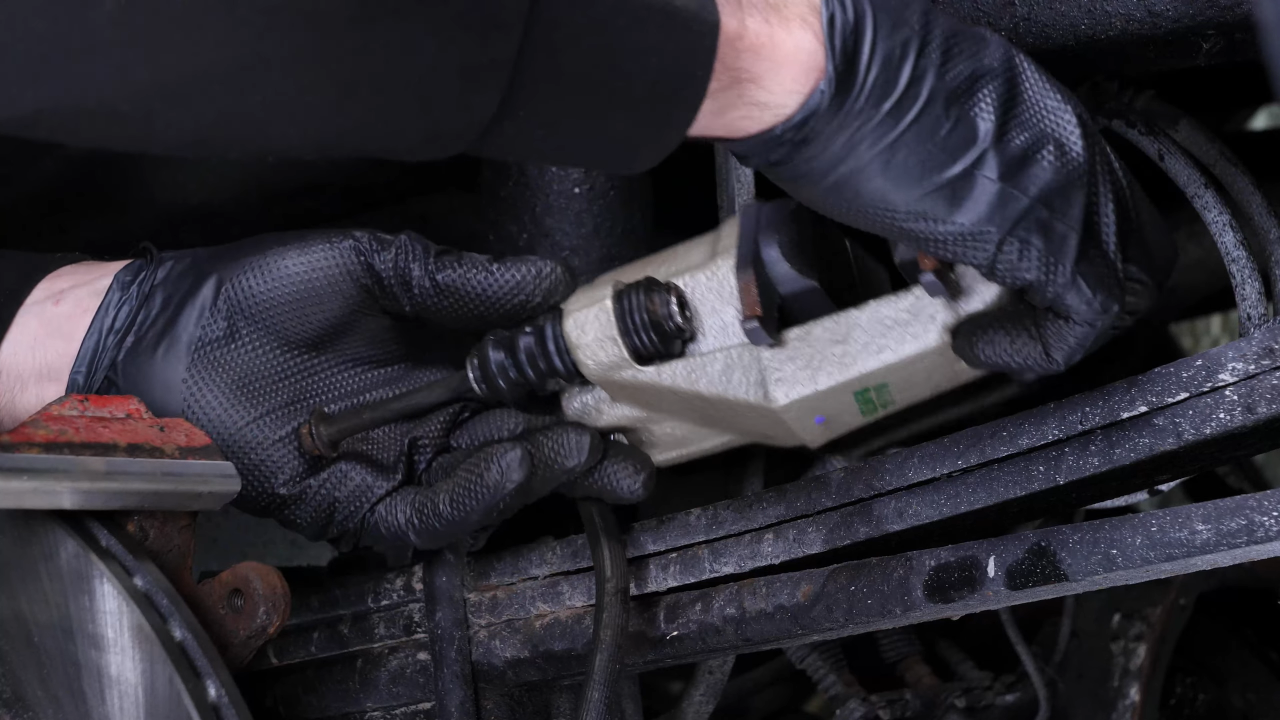
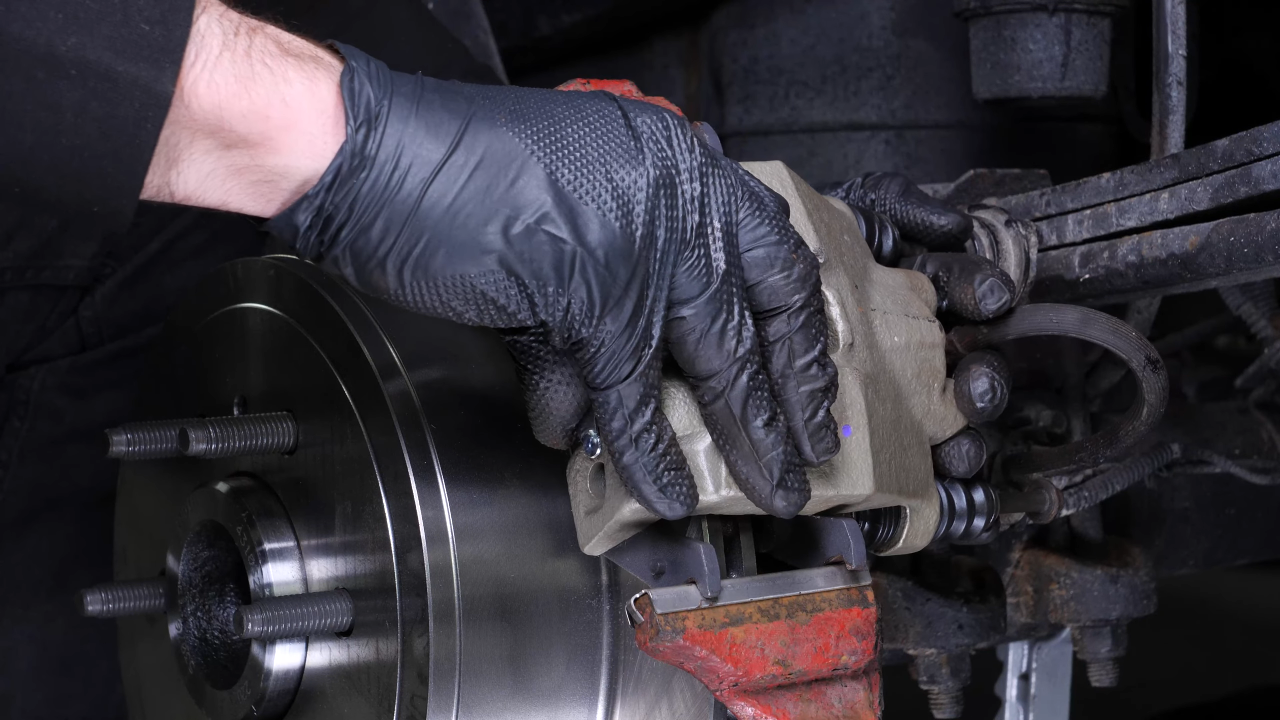
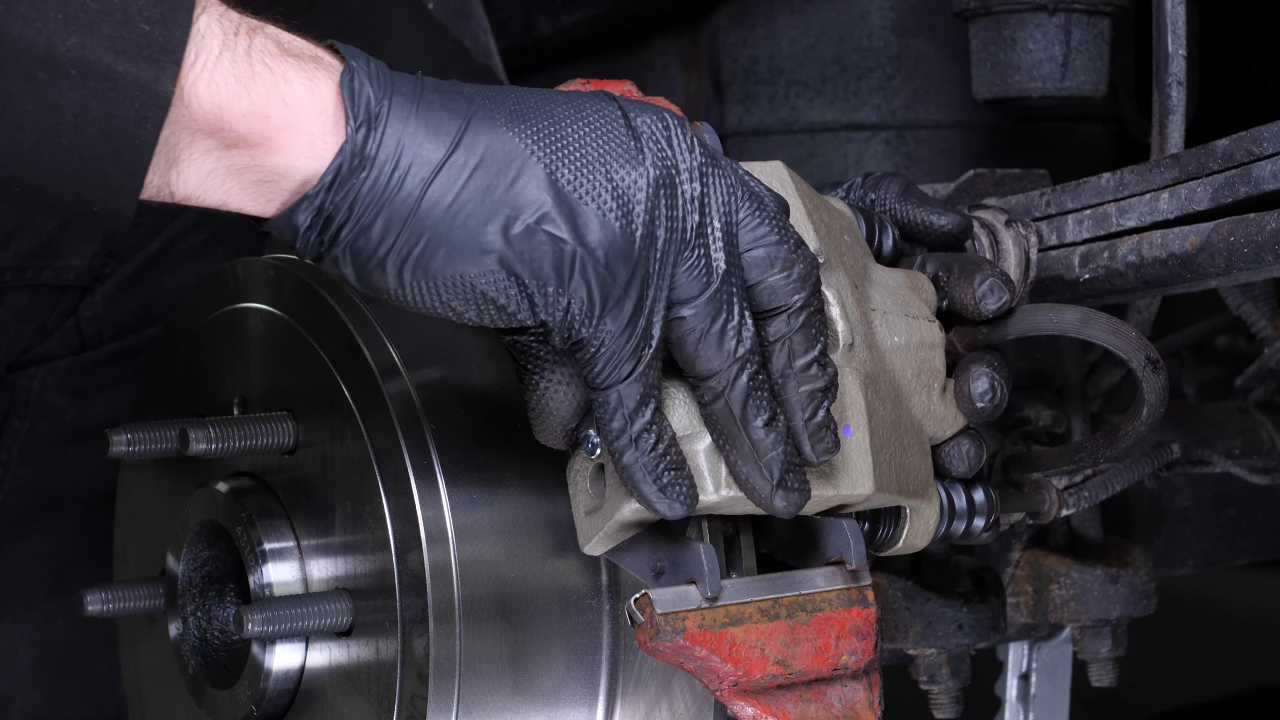
Now, put the brake caliper back on the caliper mount.
Chapter 10:
Step 4/6
Then push it down until the pressure spring locks.
Chapter 10:
Step 5/6
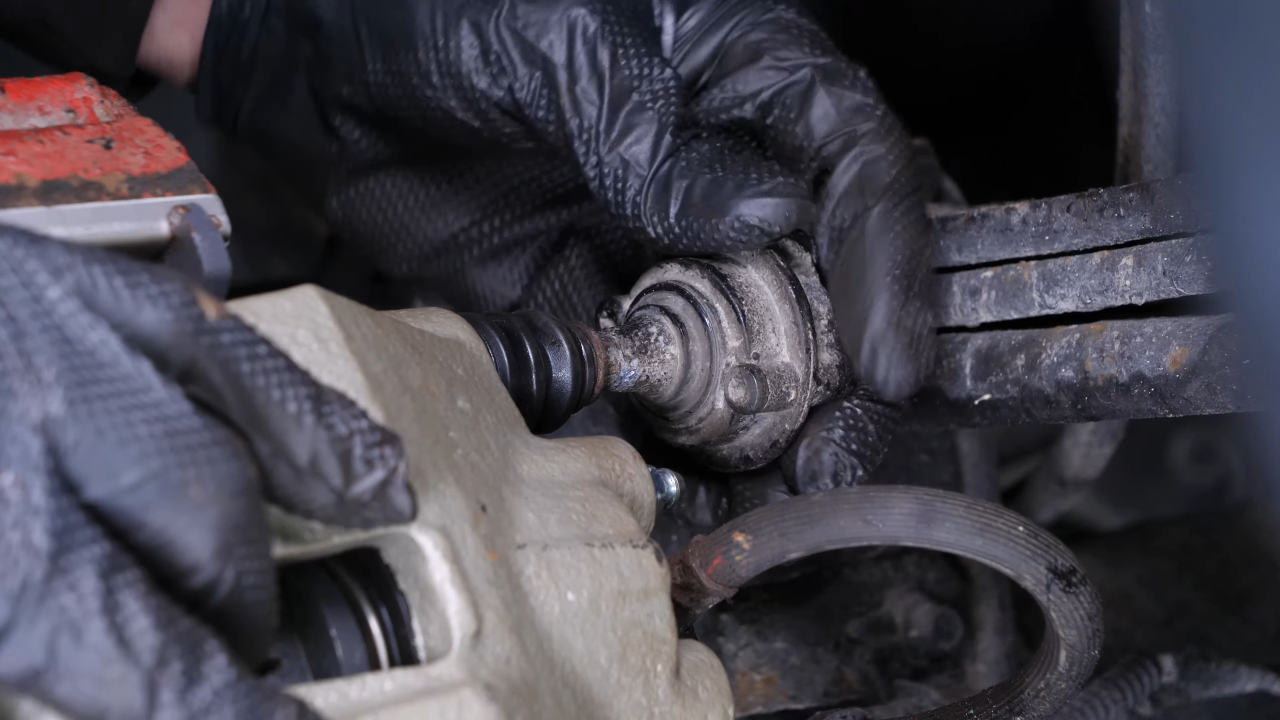
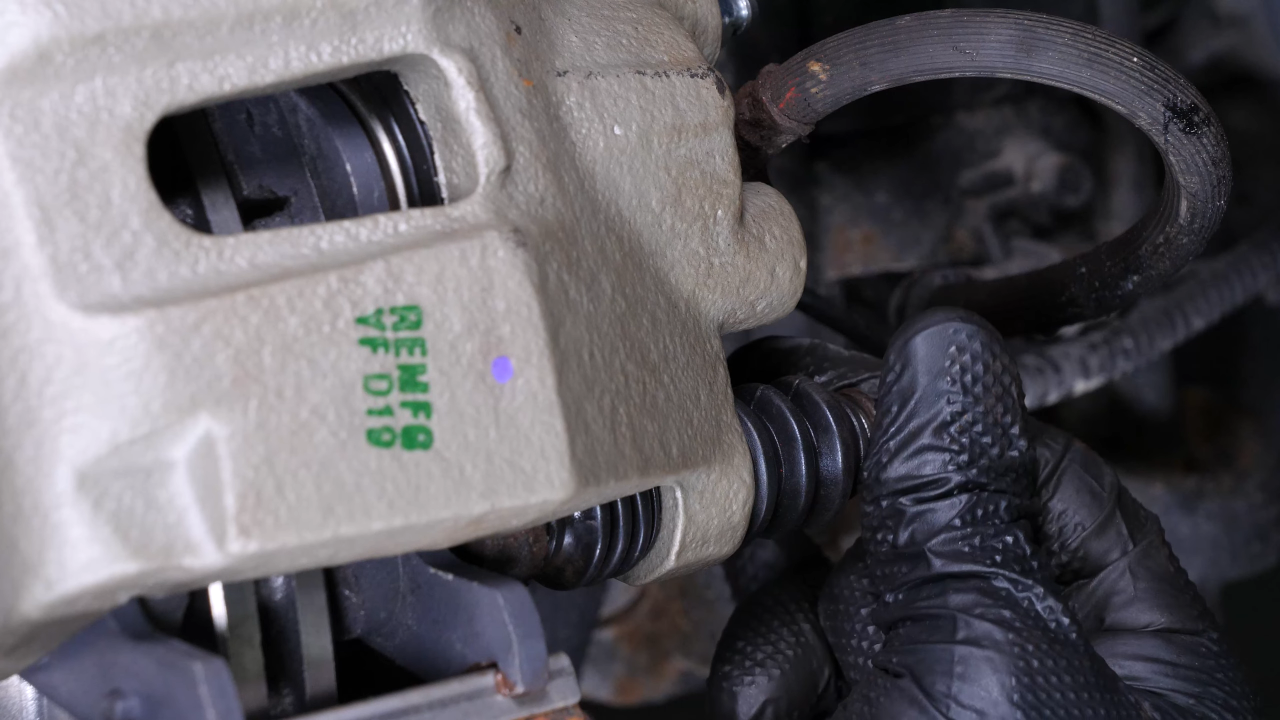
Screw the stop rubber blancer back by hand at first, then the lower slide pin.
Chapter 10:
Step 6/6
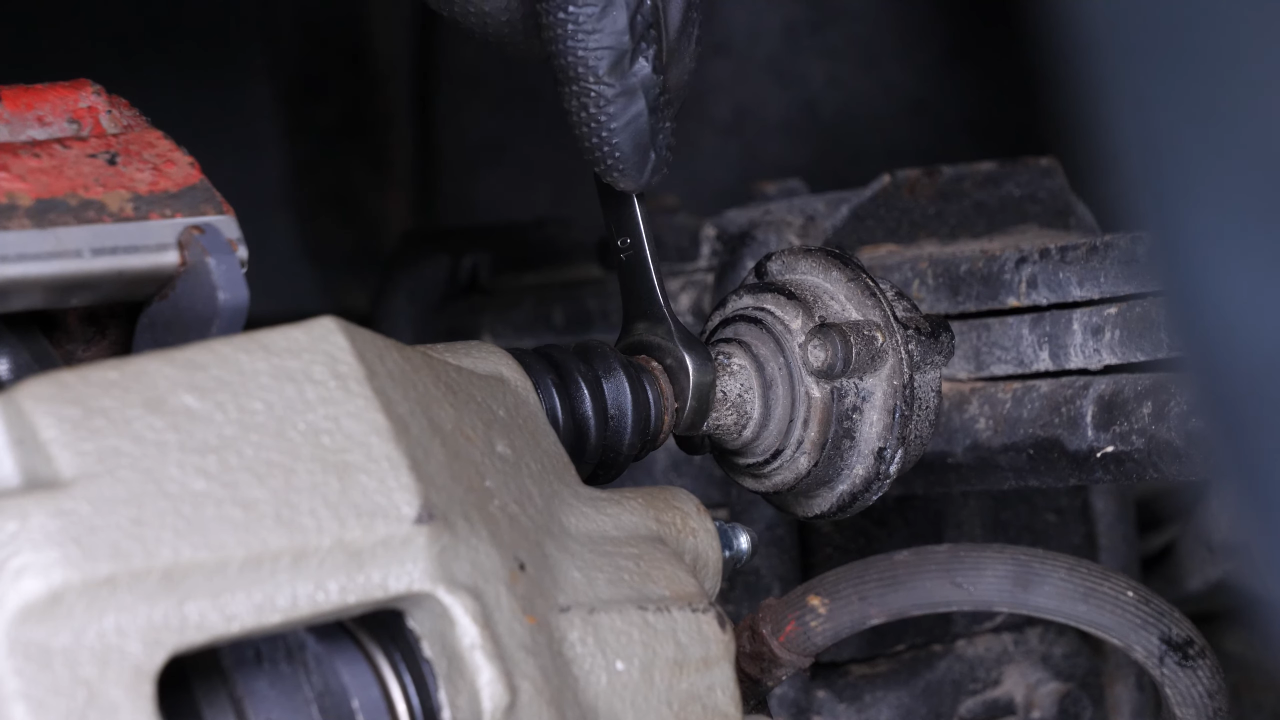
Then screw them back on with a 10 mm wrench. Finish tightening using a torque wrench.
Chapter 11:
Clean
Step 1/1
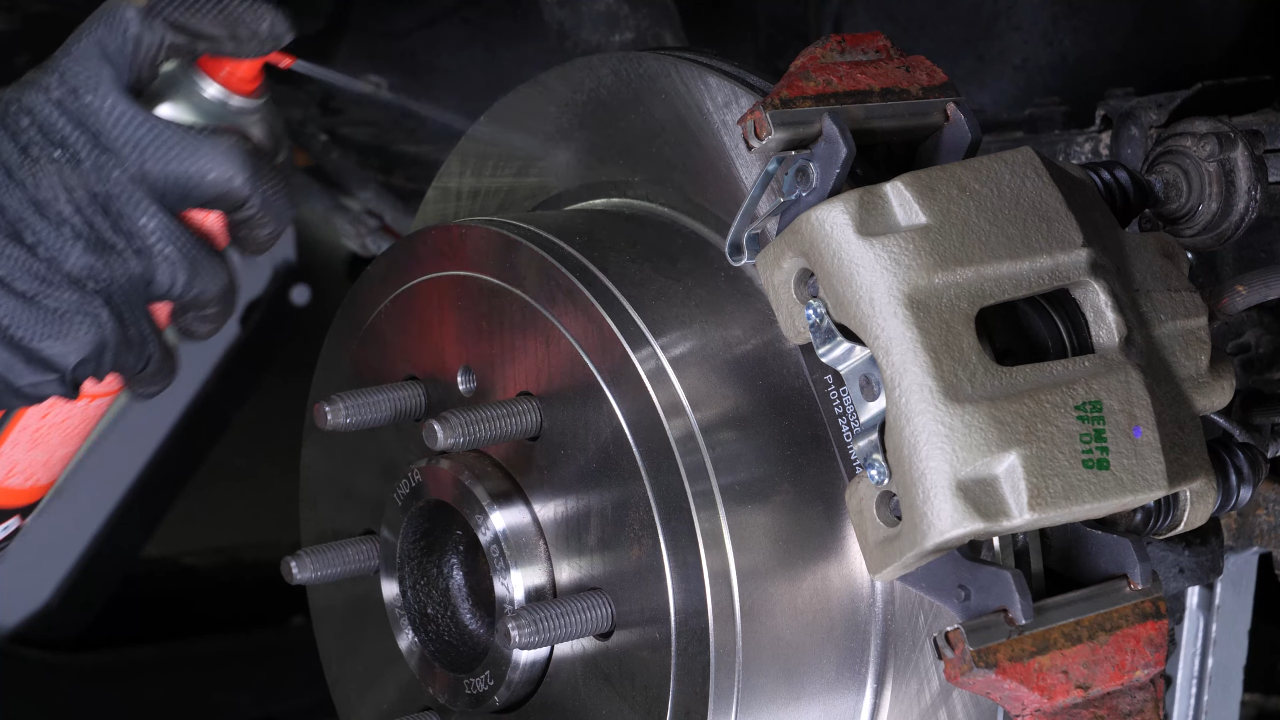
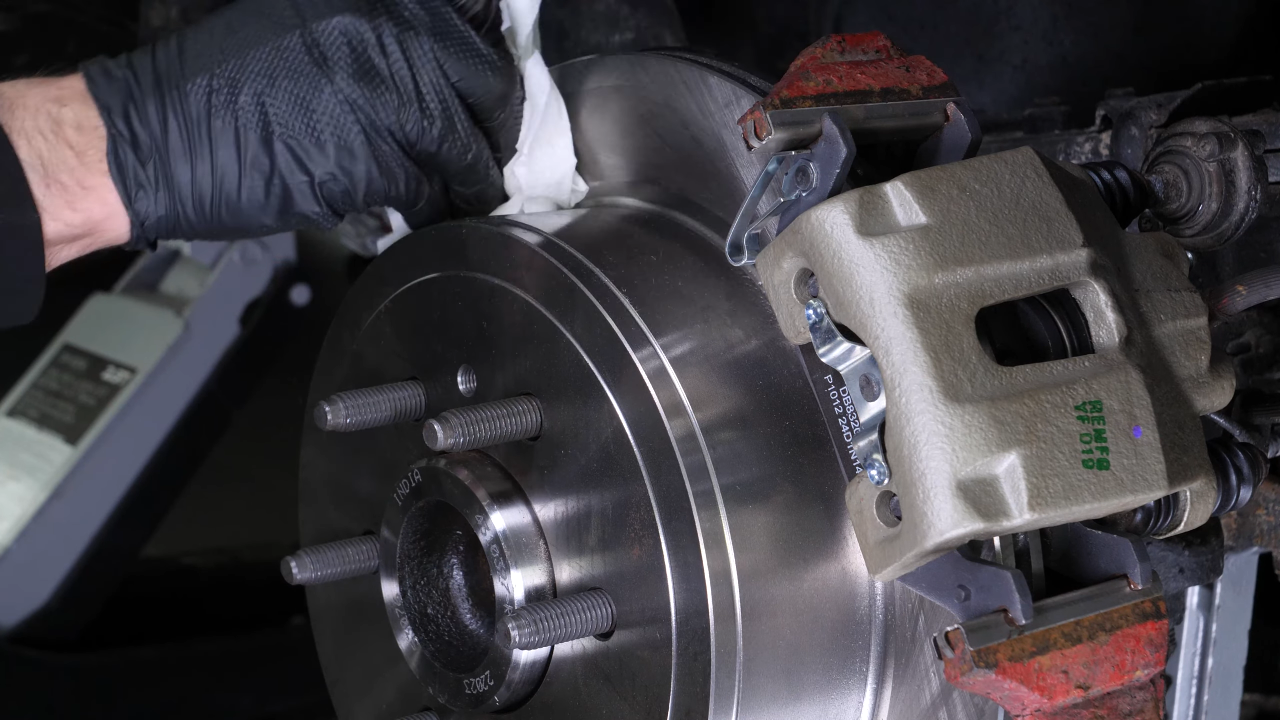
Clean both sides of the brake disc with brake cleaner and a cloth to remove the grease before installing the new pads.
Chapter 12:
Bleed the brake fluid system
Step 1/1
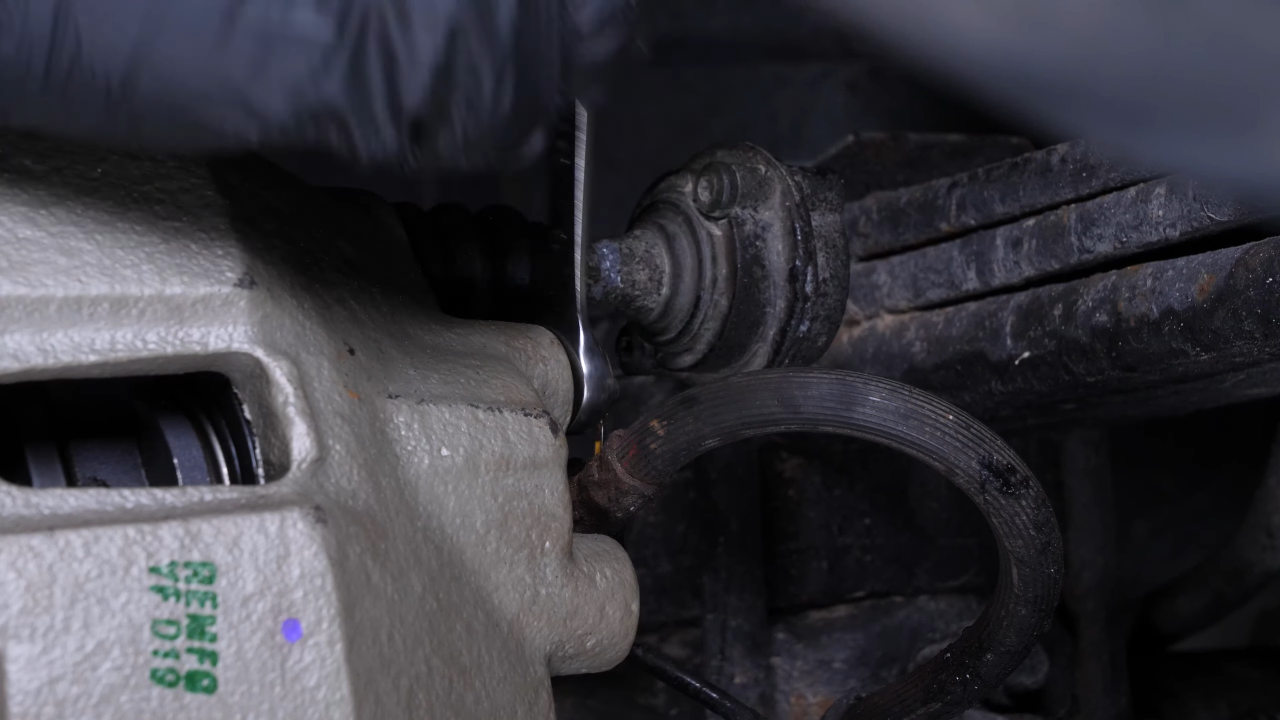
When replacing a brake caliper, you need to bleed the brake fluid system to remove air from the system.
Chapter 13:
Put the vehicle back on the ground
Step 1/2
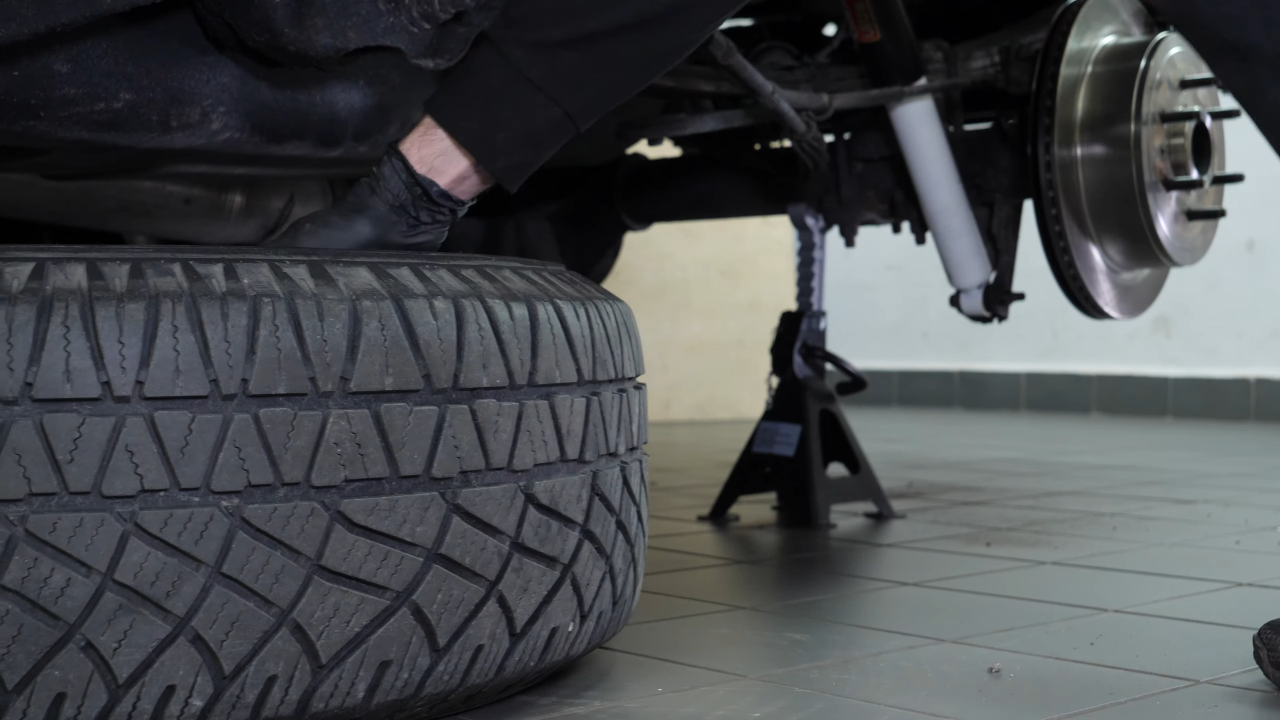
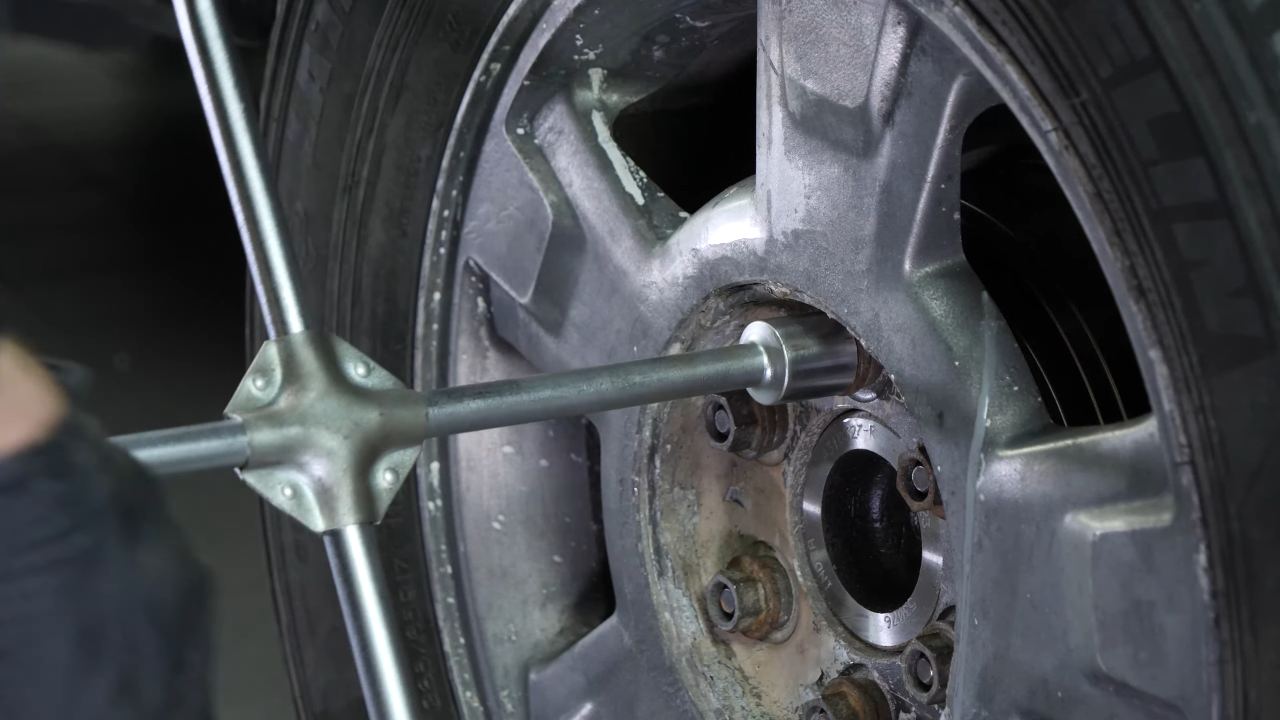
Then, you will be able to put the wheels back on your vehicle.
Chapter 13:
Step 2/2
Put the car back on the ground and block the wheels properly.
Chapter 14:
Safety tips
Step 1/4
Don’t forget to screw the brake fluid cap back on before starting the car.

Chapter 14:
Step 2/4
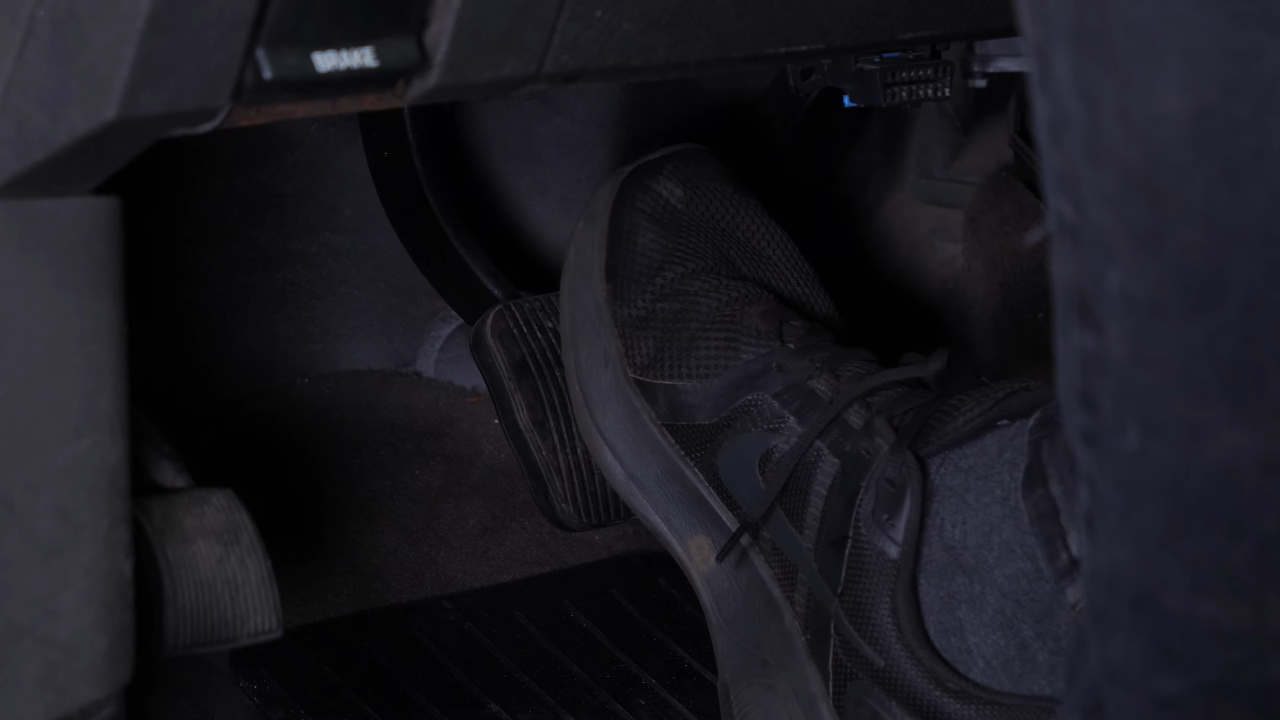
Attention! Before using your vehicle again, start your car, and pump the brake pedal a few times to push the brake pads together again.
Chapter 14:
Step 3/4
Try to drive smoothly and avoid sudden braking for the first 30 miles or so, to avoid glazing the new pads.
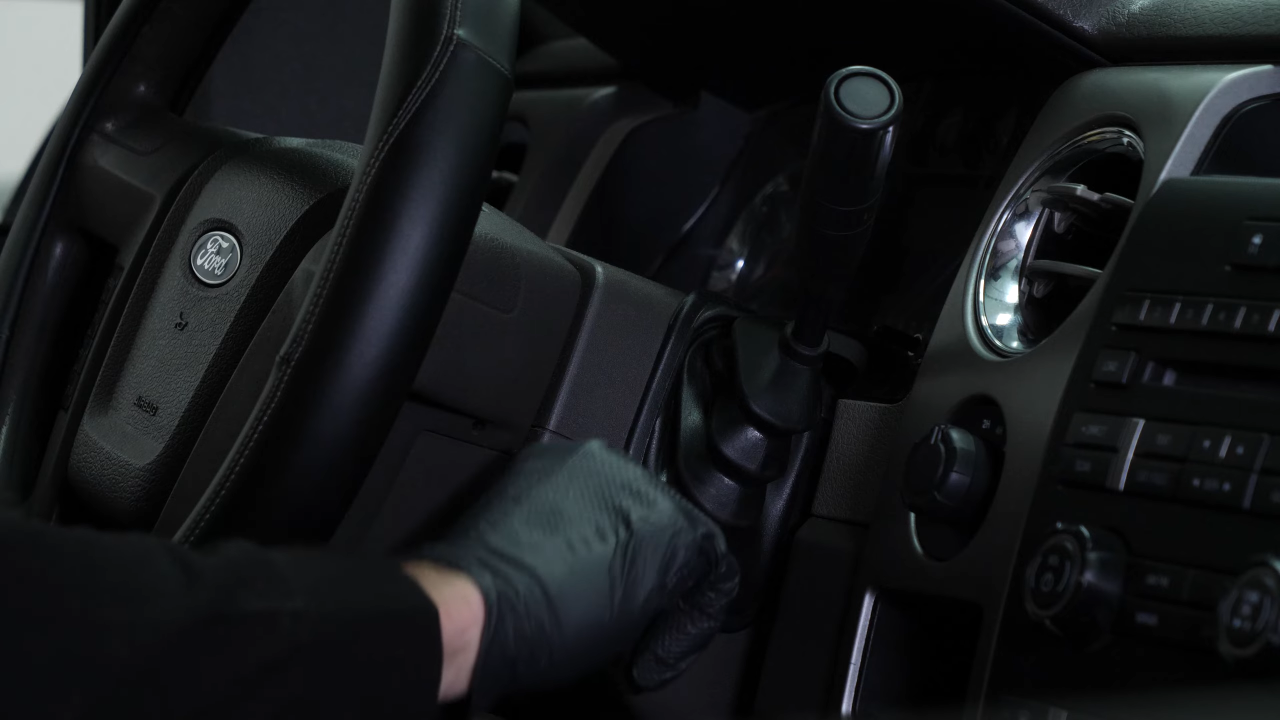
Chapter 14:
Step 4/4
Operation complete.