How to replace the step bumper 2009-2014 Ford F-150
To replace the step bumper on your F-150 it couldnt’ be easier. You will be asked to set up, remove the bumper holding nuts, put the new bumper in place and other steps you’ll need to follow in the correct order. You can follow this tutorial of 6 chapters in 90 minutes. Take your 21 mm socket and your ratchet and let’s get started!
Duration
90 minutes
Number of steps
6
Difficulty out of 5
2
Average savings
$150
Parts You Will Need
Tools You Will Need
Step-by-Step Installation
Chapter 1:
Set up
Step 1/1
Turn your engine off and set the parking brake.
Chapter 2:
Remove the licence plate lights
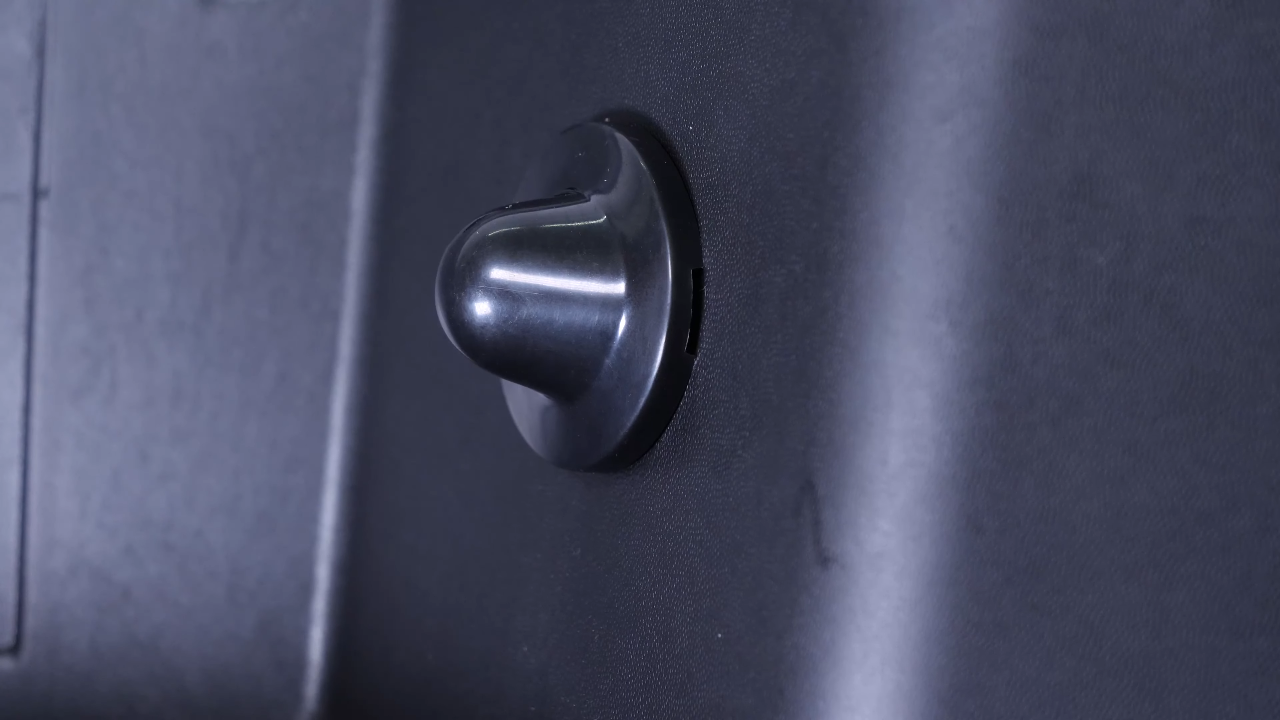
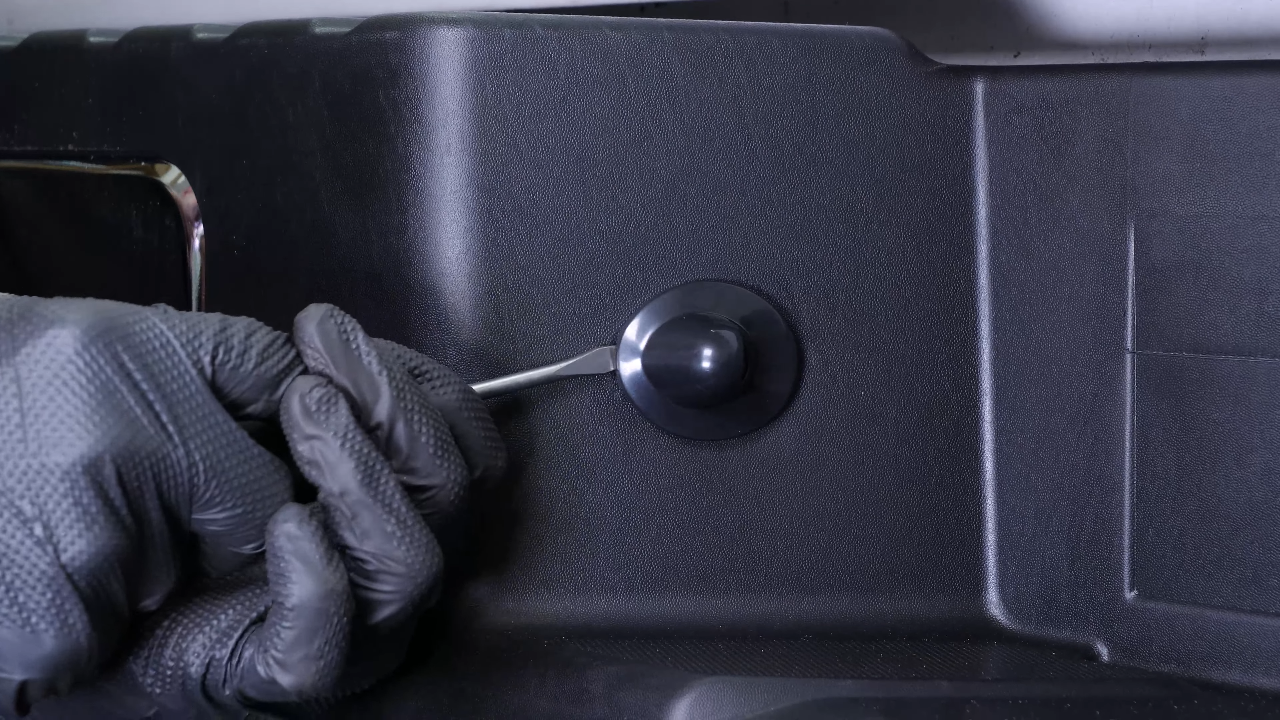
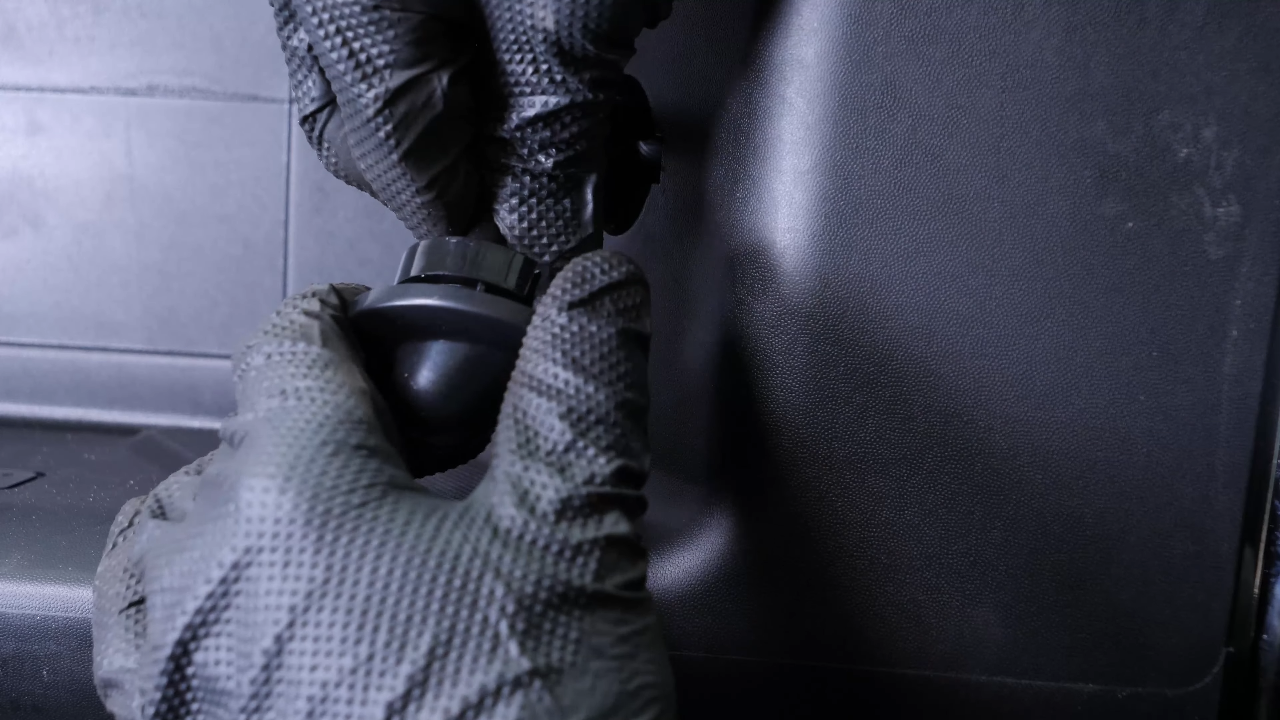
Step 1/3
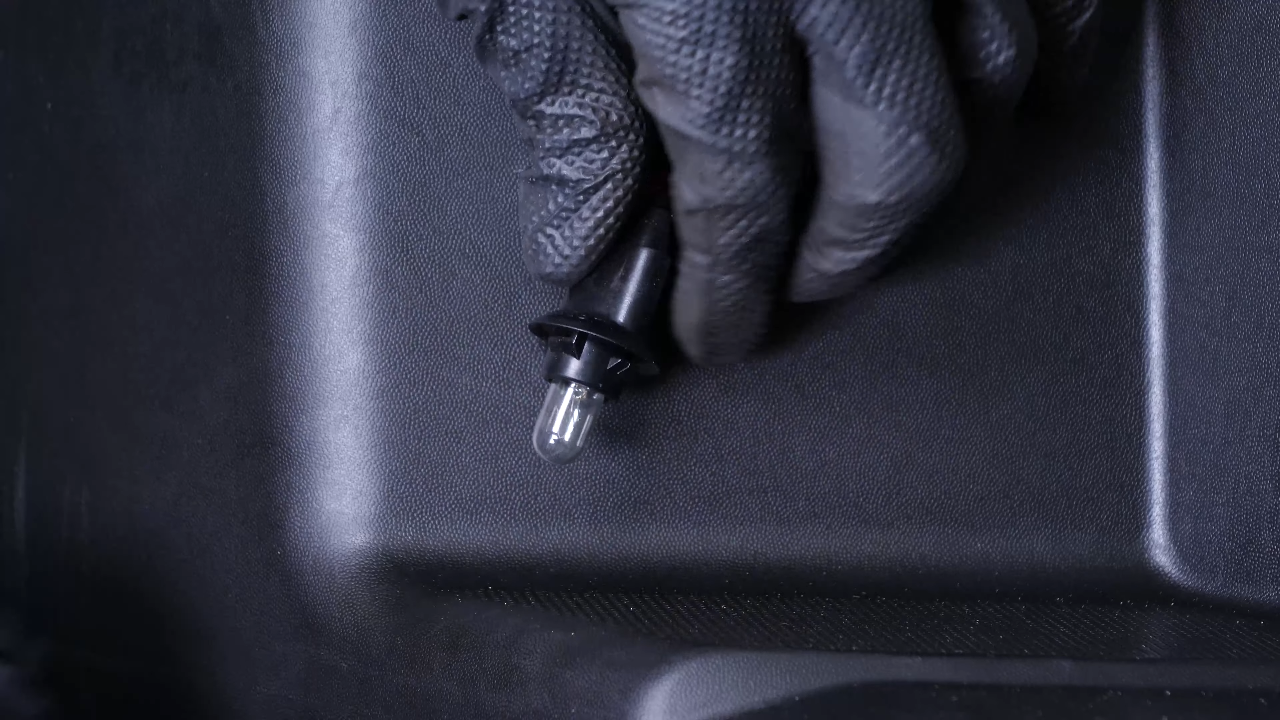
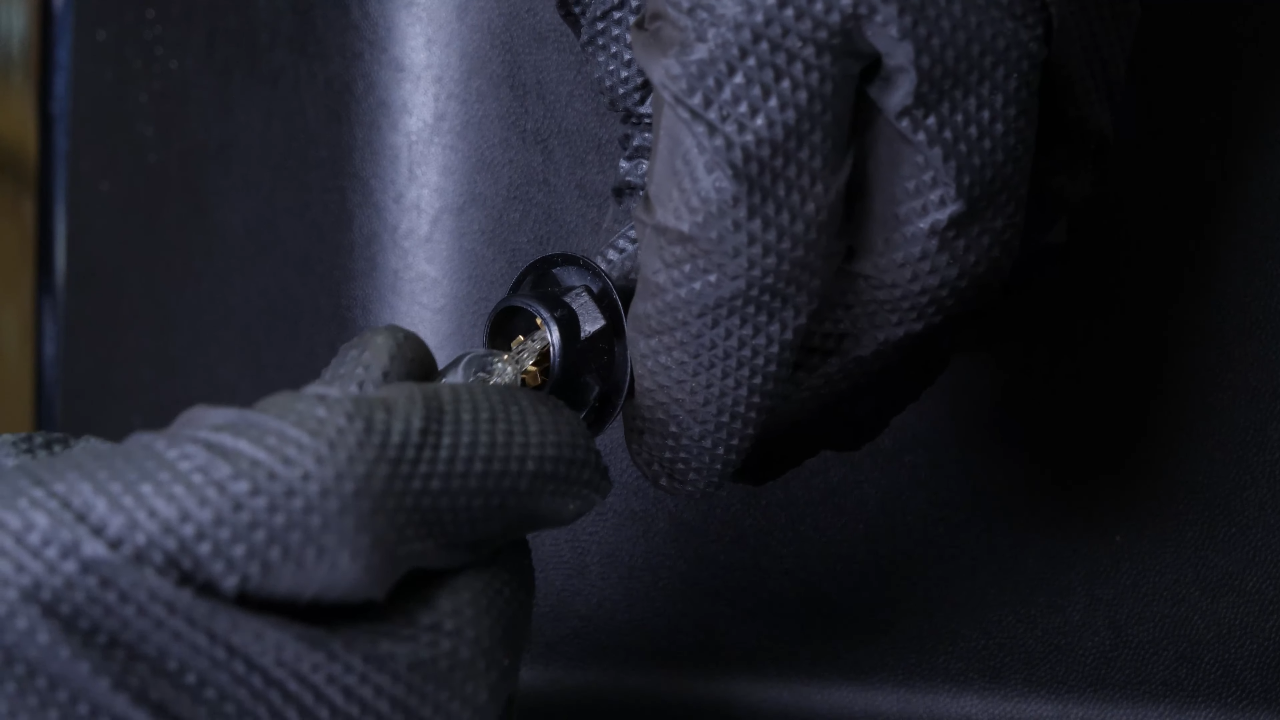
Using a thin flathead screwdriver, remove the first license plate lightbulb holder from the rear bumper.
Chapter 2:
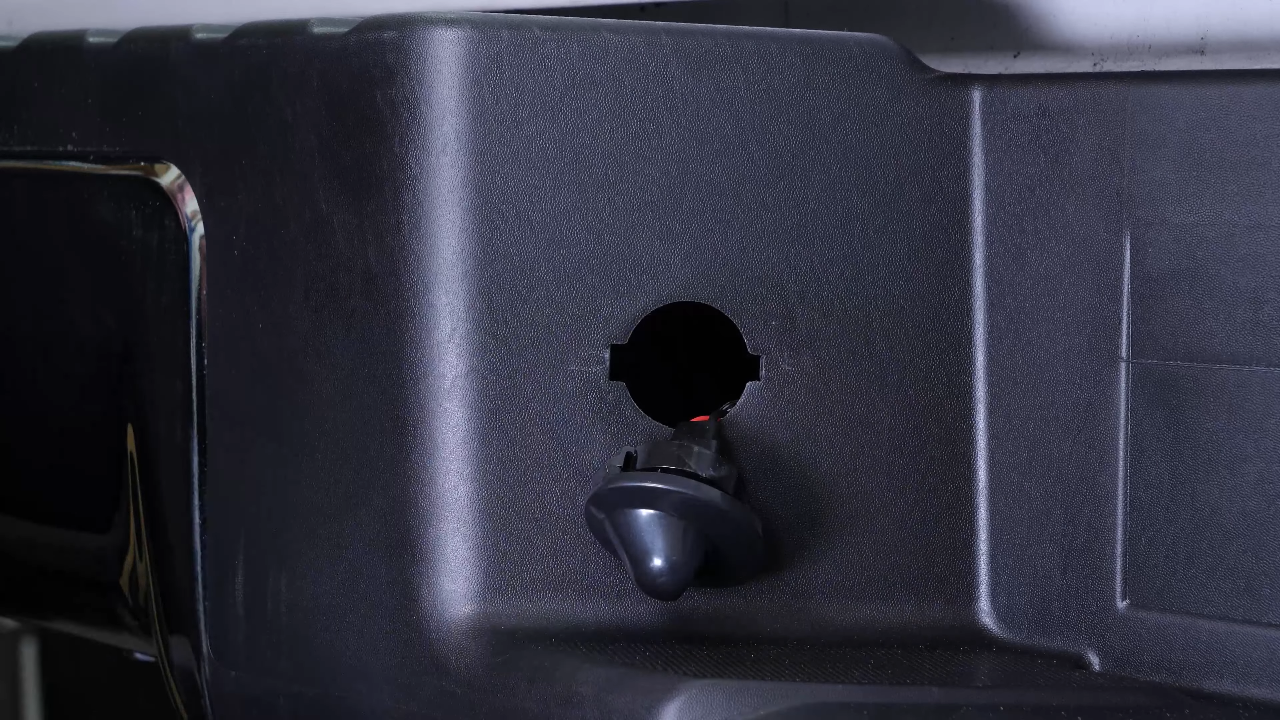
Step 2/3
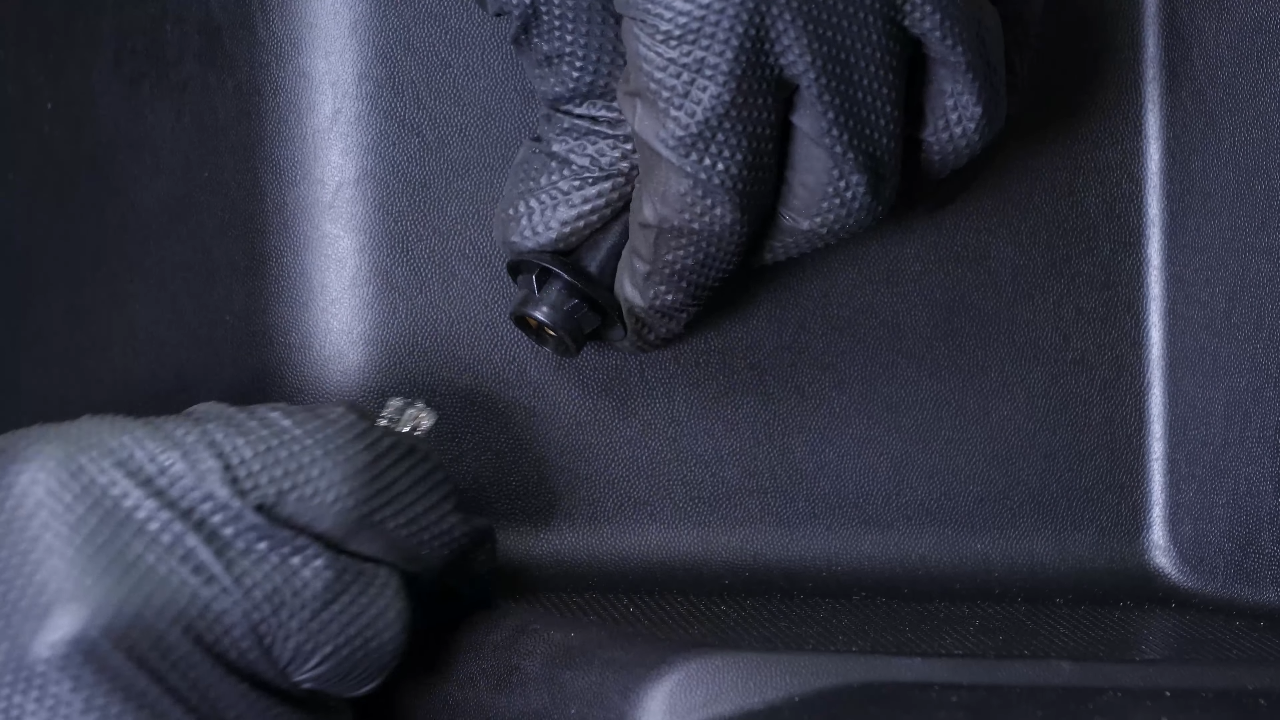
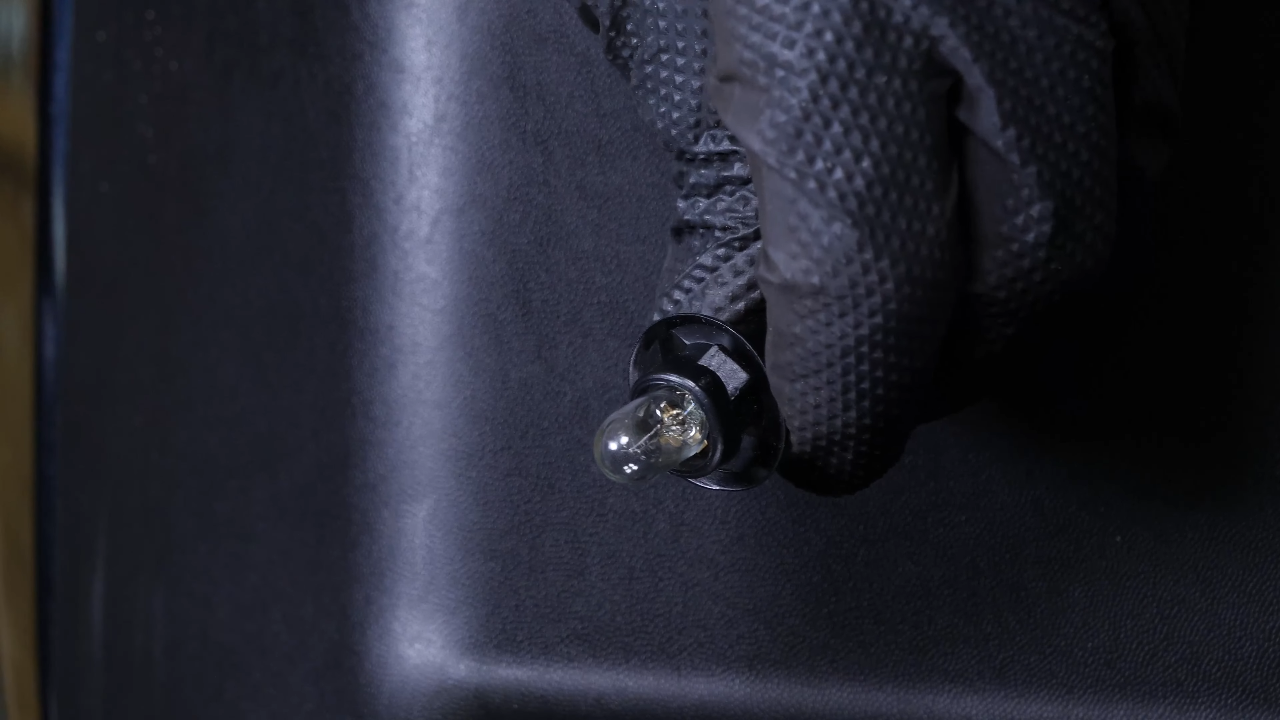
Then, turn the holder counterclockwise to disengage it from the bulb. Remove the bulb by simply pulling it out. Slide the bulb’s connector through the rear bumper.
Chapter 2:
Step 3/3
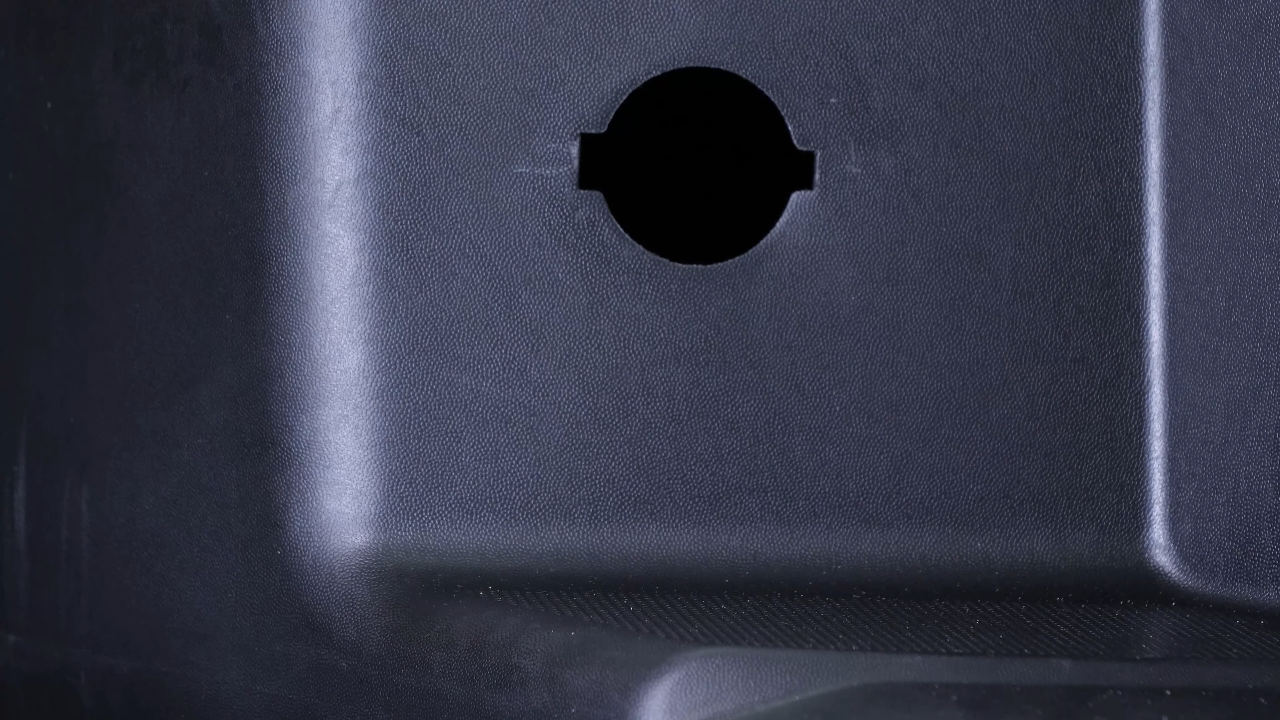
Do the same for the second license plate lightbulb.


Chapter 3:
Remove the bumper holding nuts
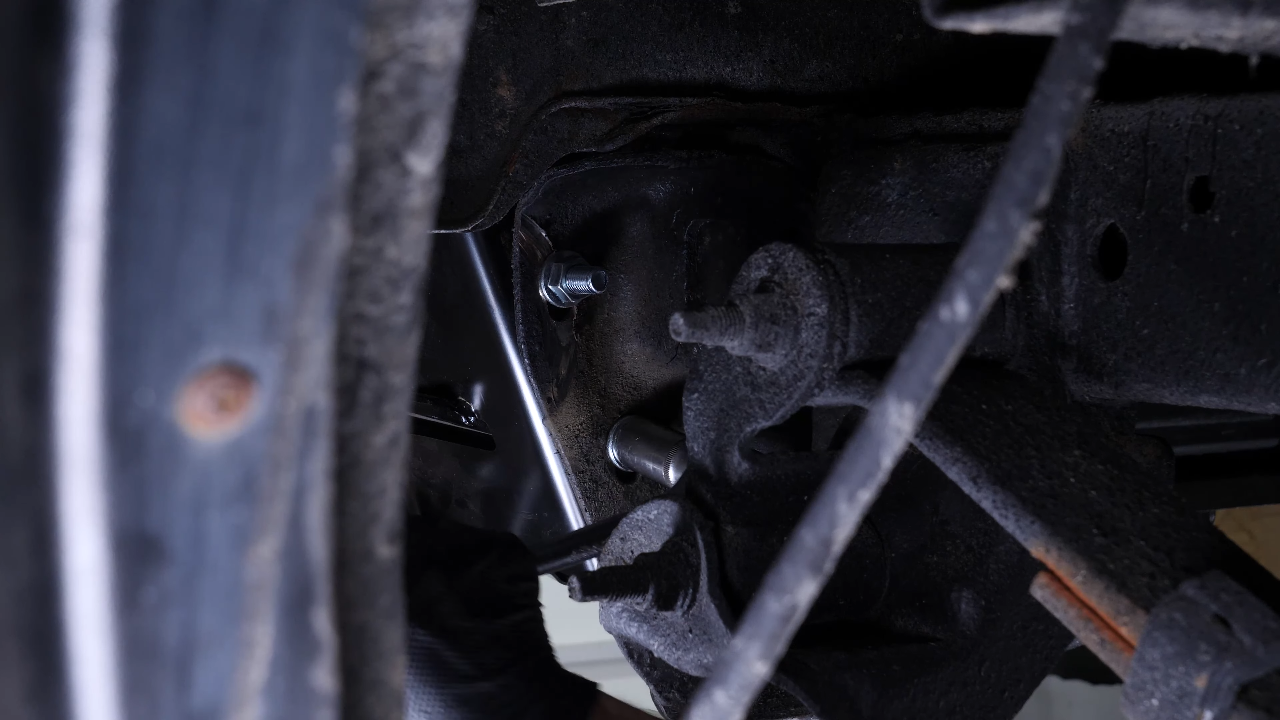
Step 1/2
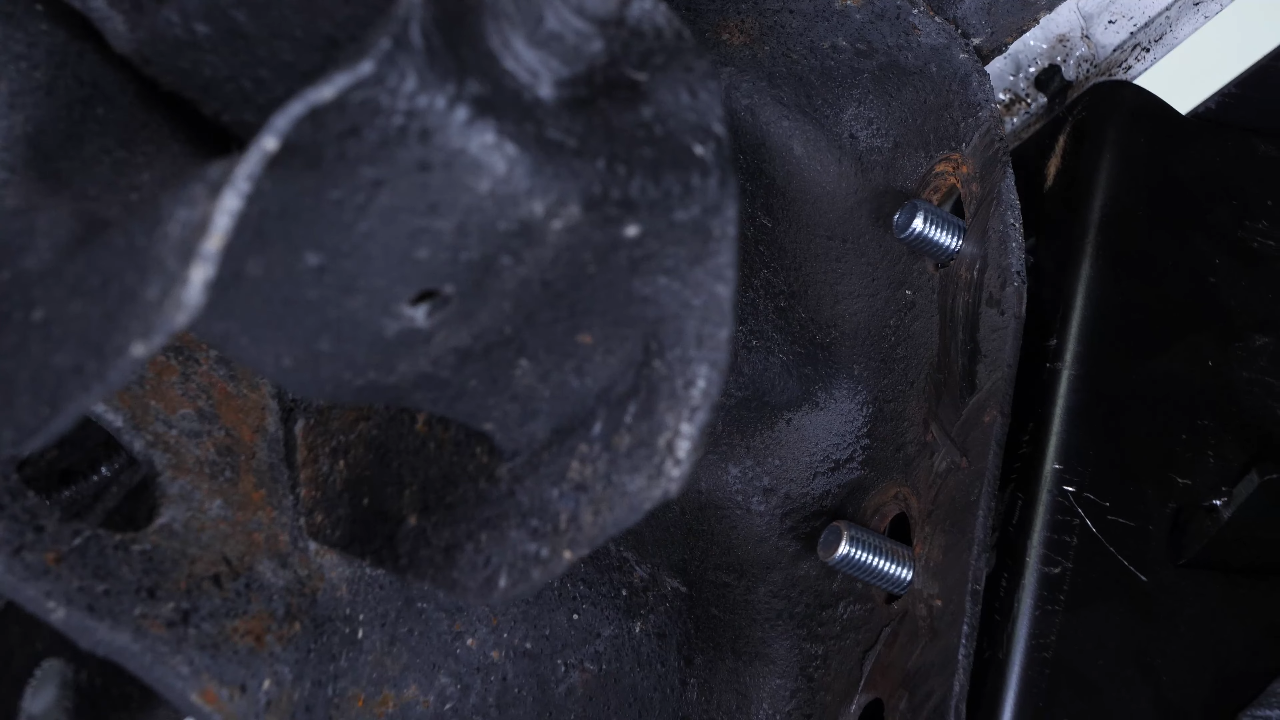
Position yourself under the vehicle. Now you need to unscrew the four nuts holding the rear bumper, or six depending on the version.
Chapter 3:
Step 2/2
Using a ratchet and a 21-mm socket, unscrew the two nuts located near the attachments for the leaf springs. Then, remove them.


Chapter 4:
Remove the step bumper
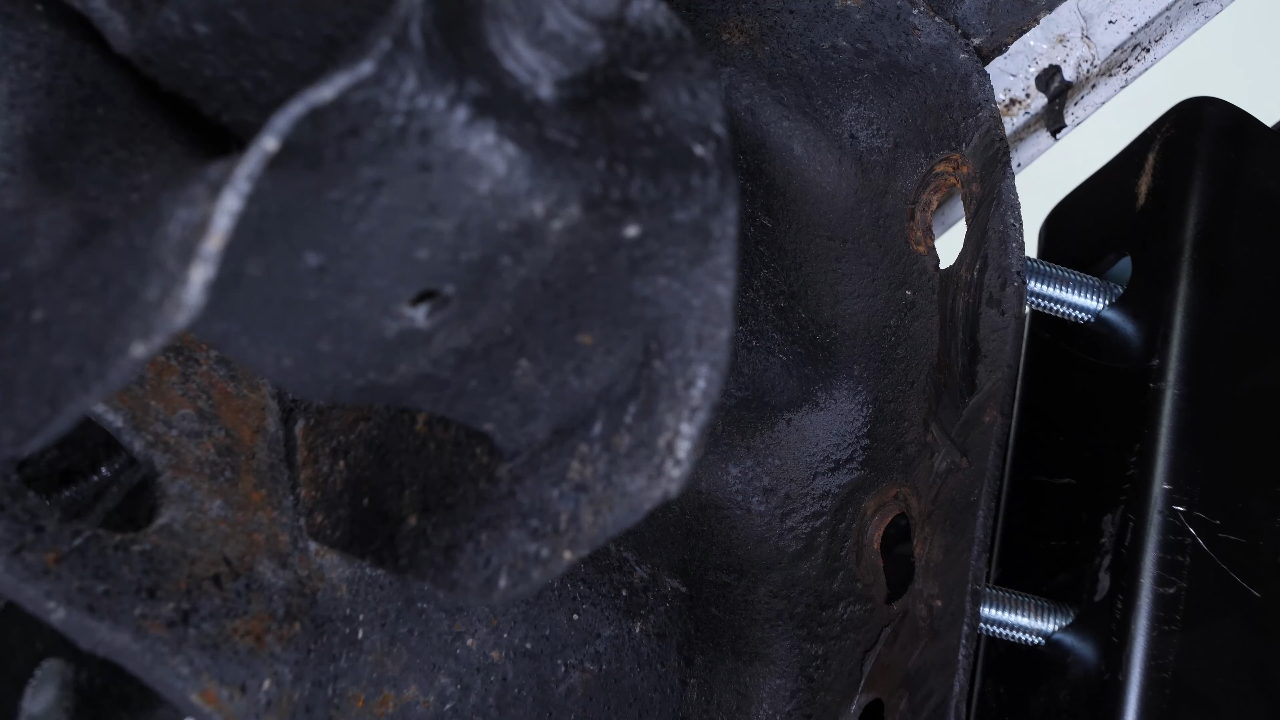
Step 1/2
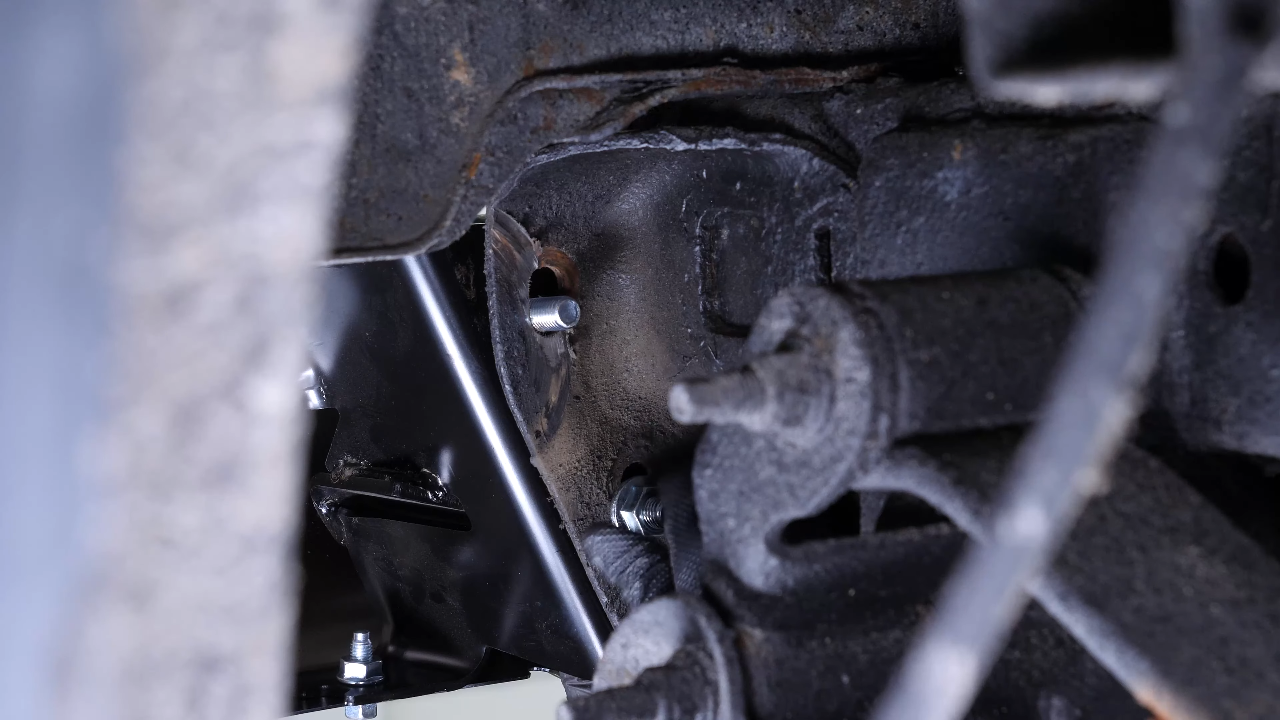
Before unscrewing the nuts on the other side, make sure someone is holding the rear bumper to prevent it from falling. Then, unscrew the other two mounting nuts.


Chapter 4:
Step 2/2
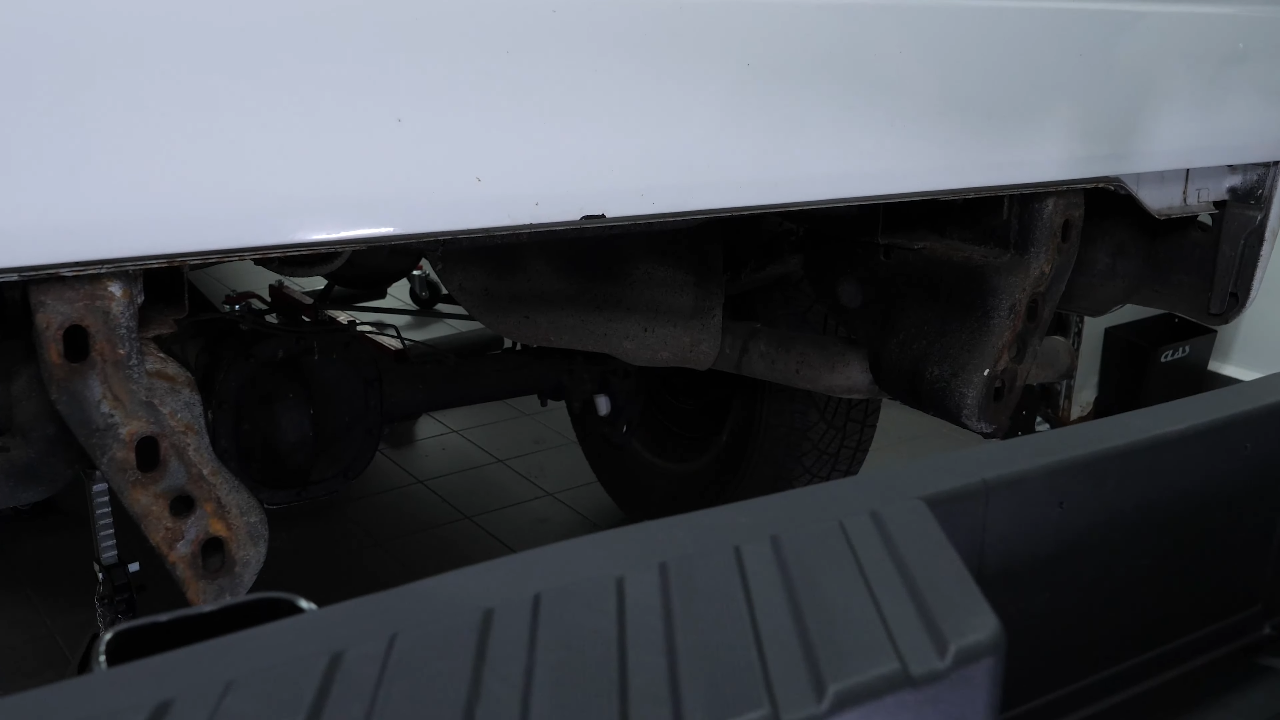
You can now remove the rear bumper.

Chapter 5:
Put the new bumper in place
Step 1/3
Put the new rear bumper in place by inserting the mounting screws into their slots.


Chapter 5:
Step 2/3
Again, have someone hold the rear bumper while tightening the screws so as not to damage the bumper. Start by screwing the nuts back on finger-tight to hold the assembly together.

Chapter 5:
Step 3/3
You can adjust the height of the rear bumper thanks to the oblong holes in the supports. Once in place and perfectly horizontal, finish tightening the nuts with the ratchet.

Chapter 6:
Put the licence plate lights back
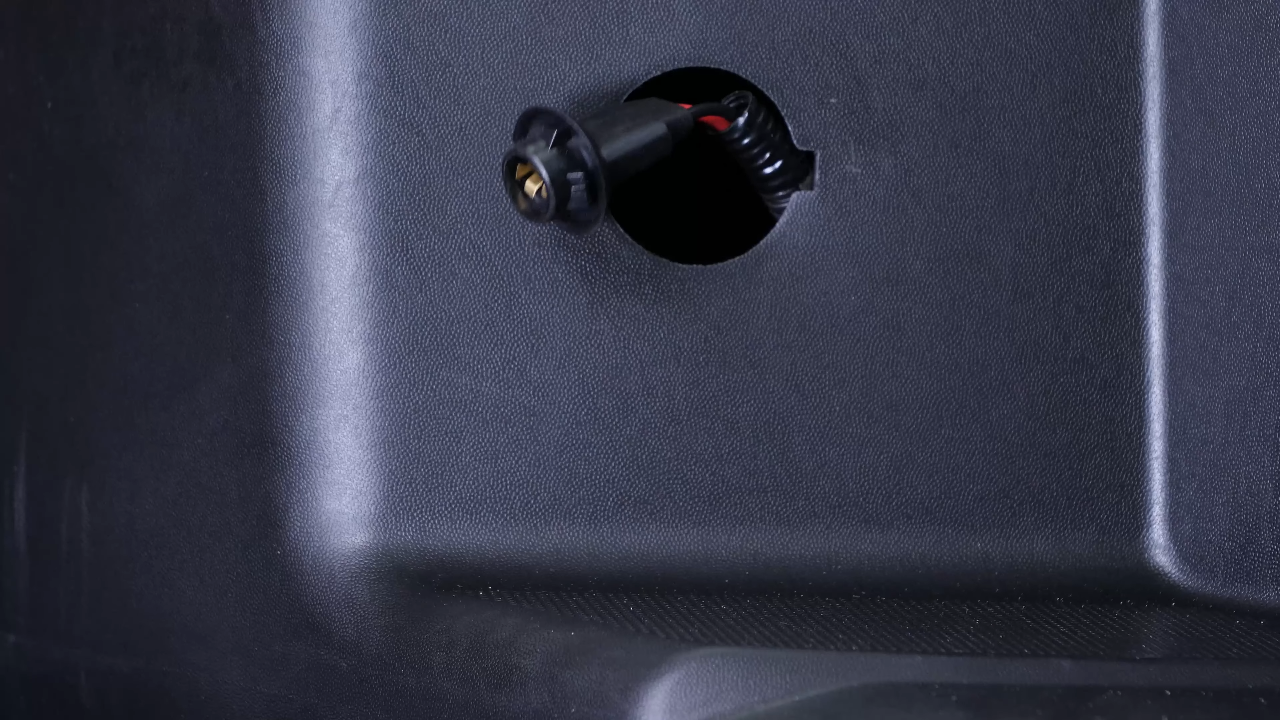
Step 1/3
You can now pass the connector of the first license plate lightbulb through the rear bumper.

Chapter 6:
Step 2/3
Reinsert the bulb into the base. Replace the holder by turning it clockwise. Then, reattach it back in the rear bumper.
Chapter 6:
Step 3/3
Do the same for the second license plate lightbulb. Operation complete.