
How to replace the water pump 2009-2014 Ford F-150
To replace the water pump on your F-150 we’re here to help. You’ll need to set up, bleed the coolant, remove the water pump and other steps you’ll need to follow in the correct order. You can carry out this tutorial of 13 chapters in 60 minutes. Take your ratchet and your hammer and let’s get started!
Duration
60 minutes
Number of steps
13
Difficulty out of 5
2
Average savings
$45
Parts You Will Need
Tools You Will Need
Step-by-Step Installation
Chapter 1:
Open the hood
Step 1/2
Turn your engine off and set the parking brake.


Chapter 1:
Step 2/2
Pull on the hood release handle and open the hood.

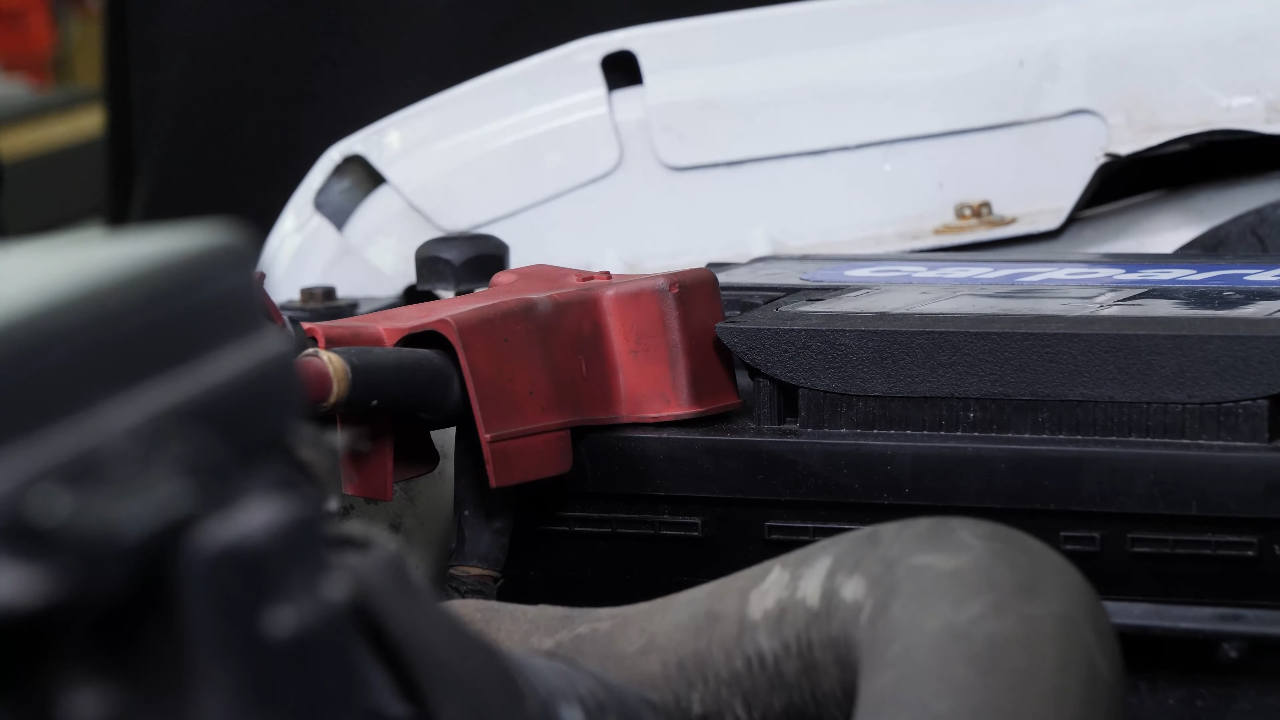
Chapter 2:
Disconnect the battery
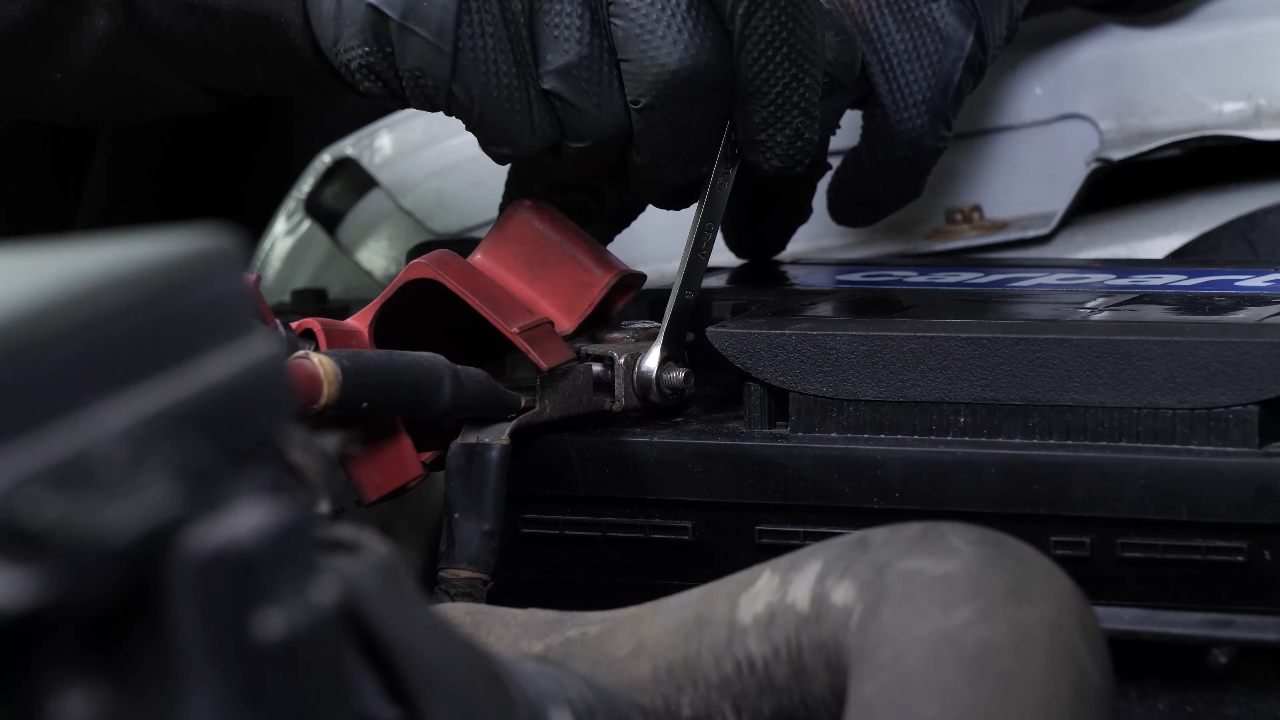
Step 1/1
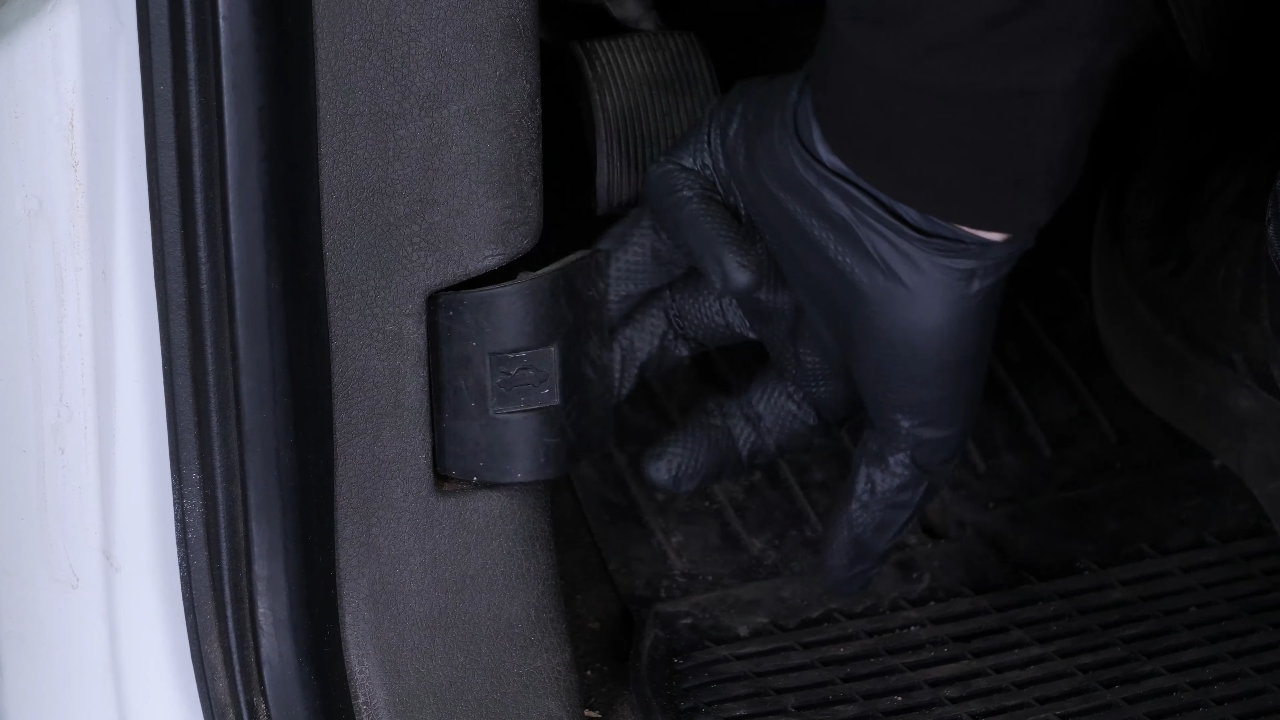
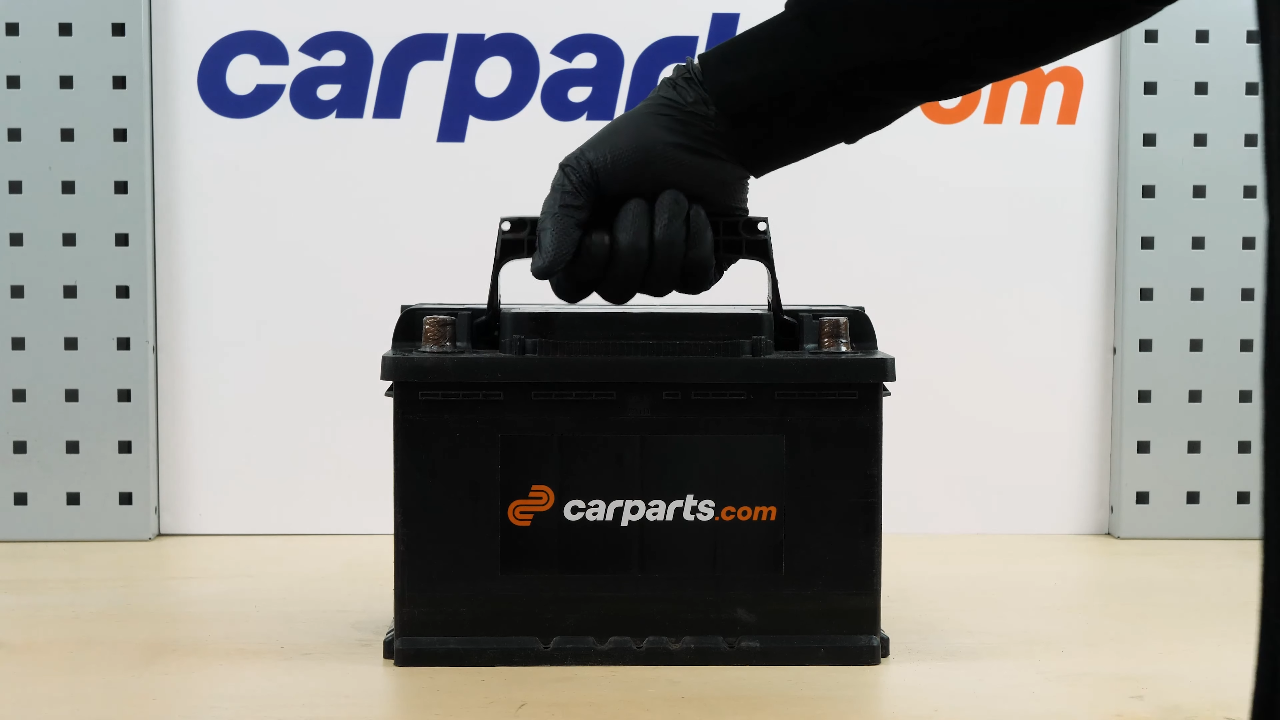
For safety reasons, we advise you to disconnect the battery. To do so, we recommend watching the video : ‘How to replace the Ford F-150 car battery’.
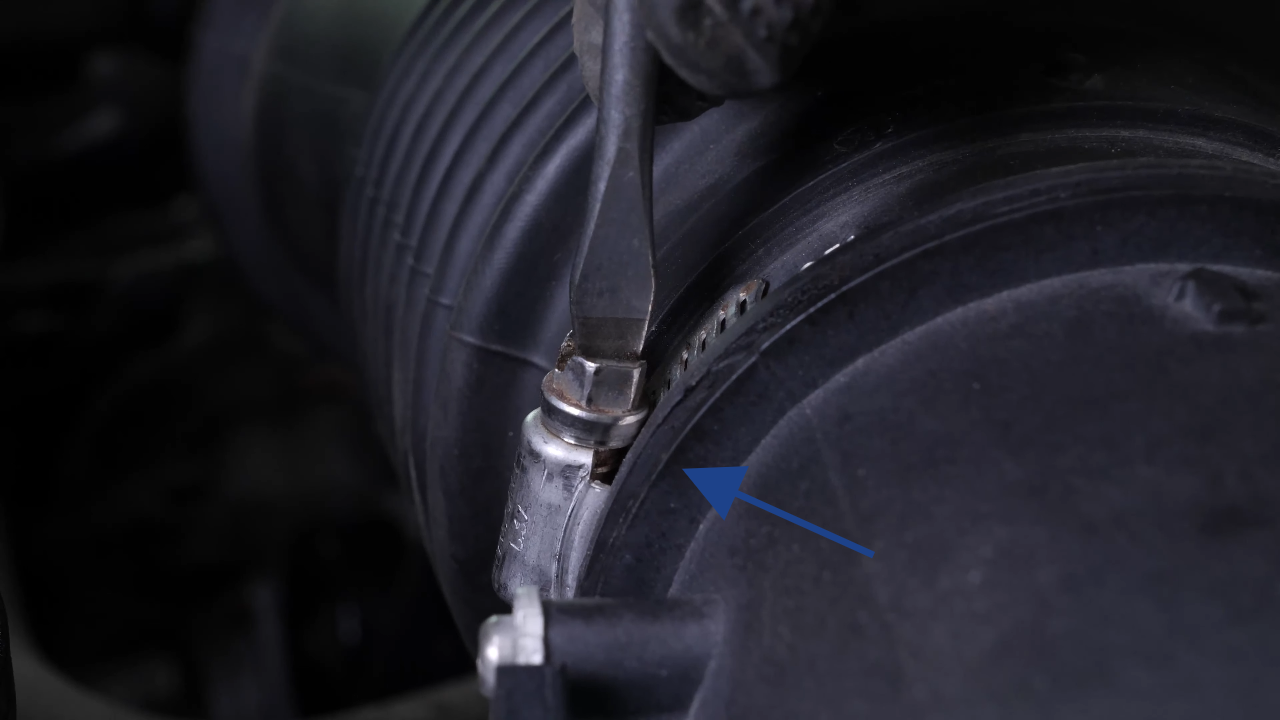
Chapter 3:
Remove several components
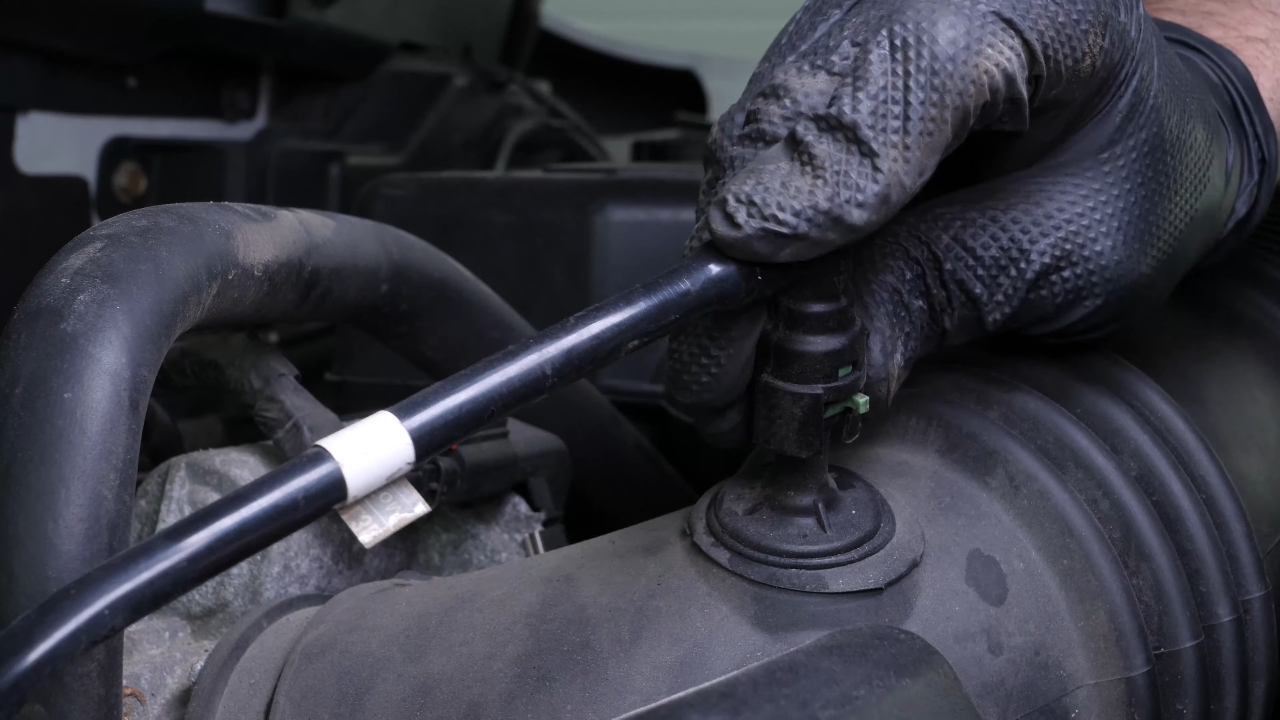
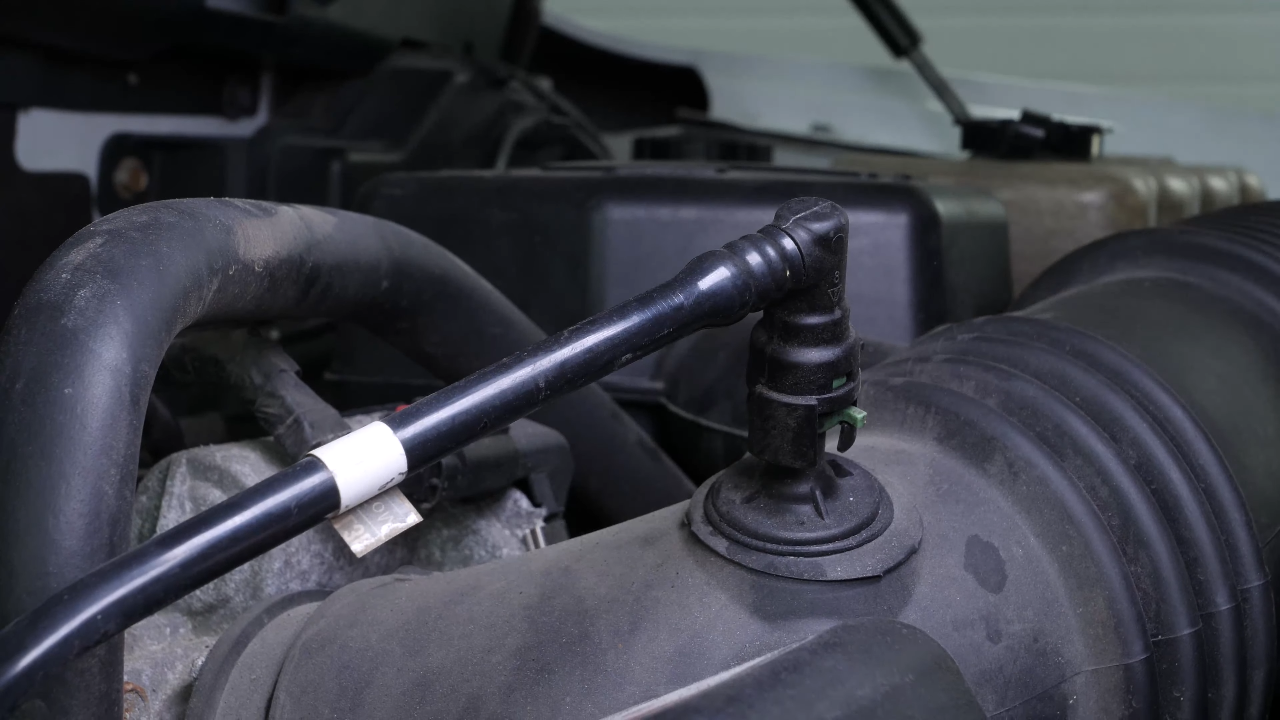
Step 1/2
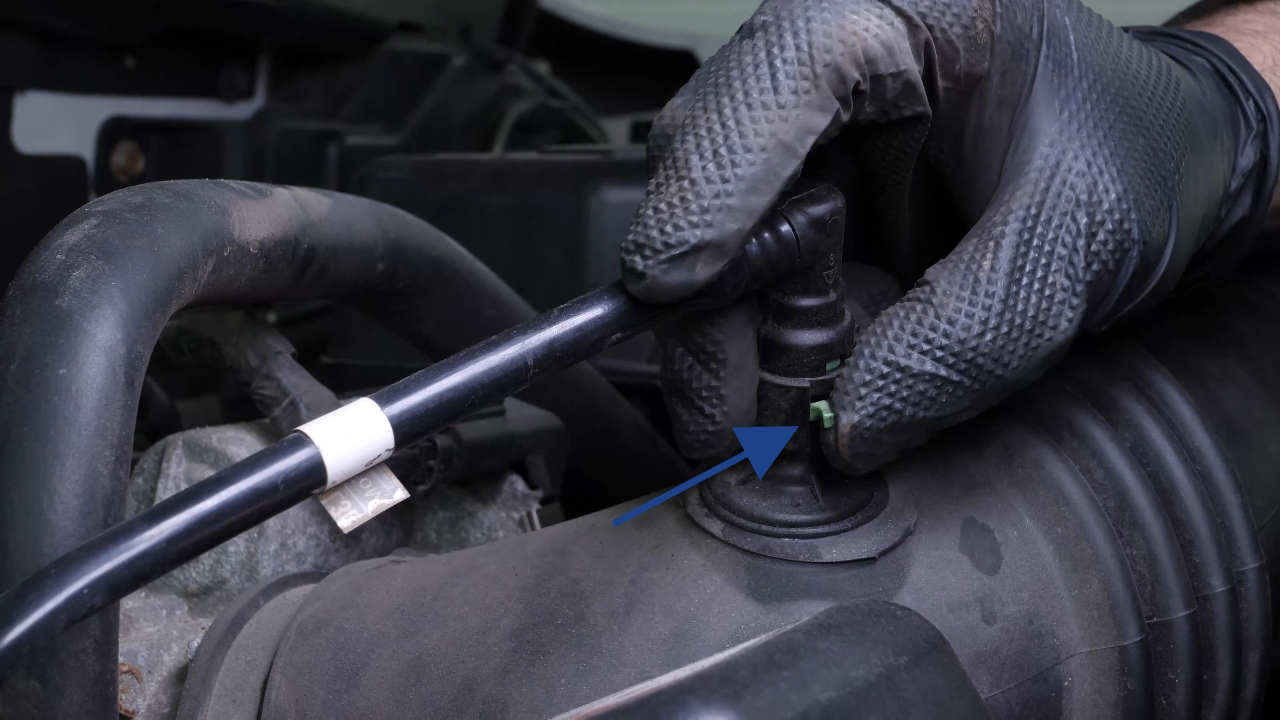
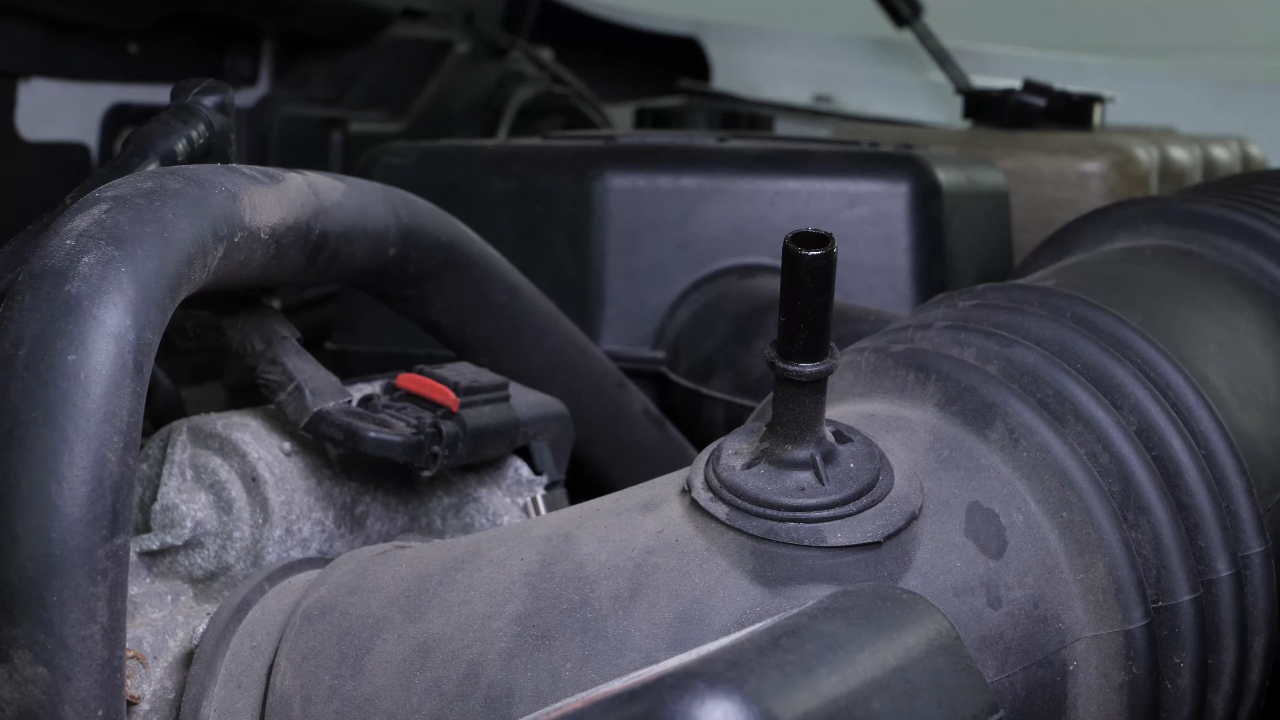
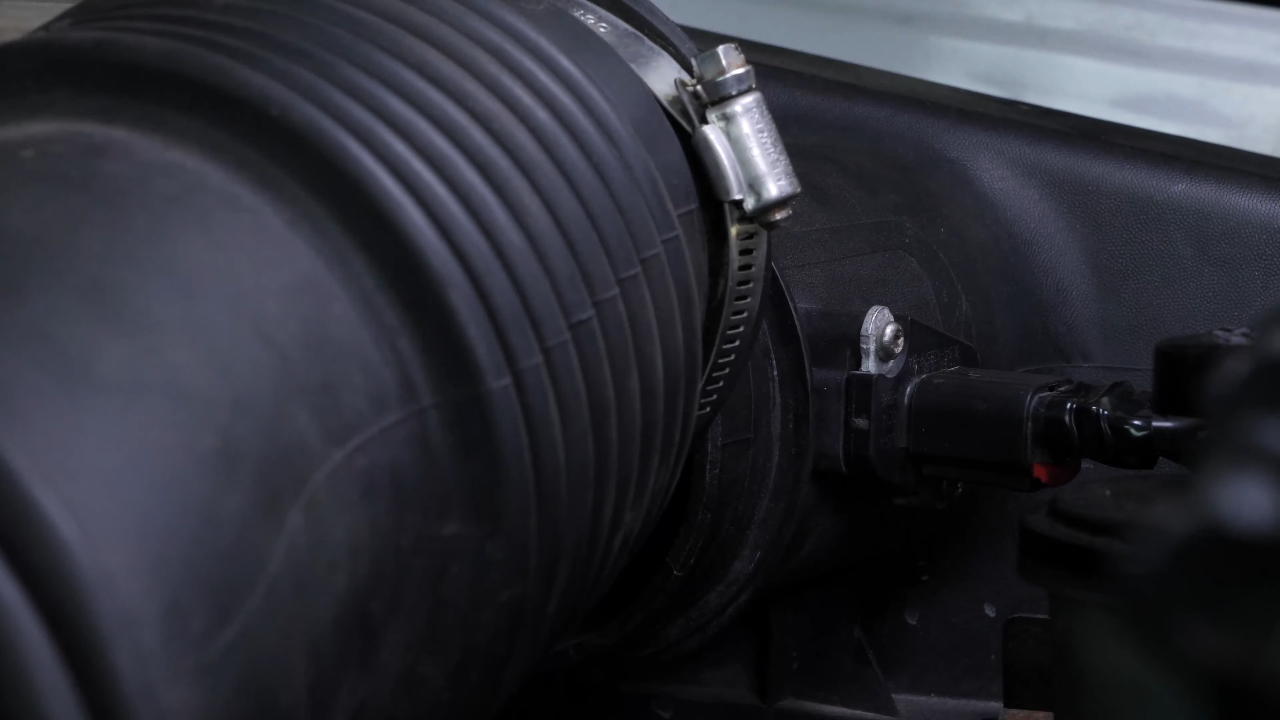
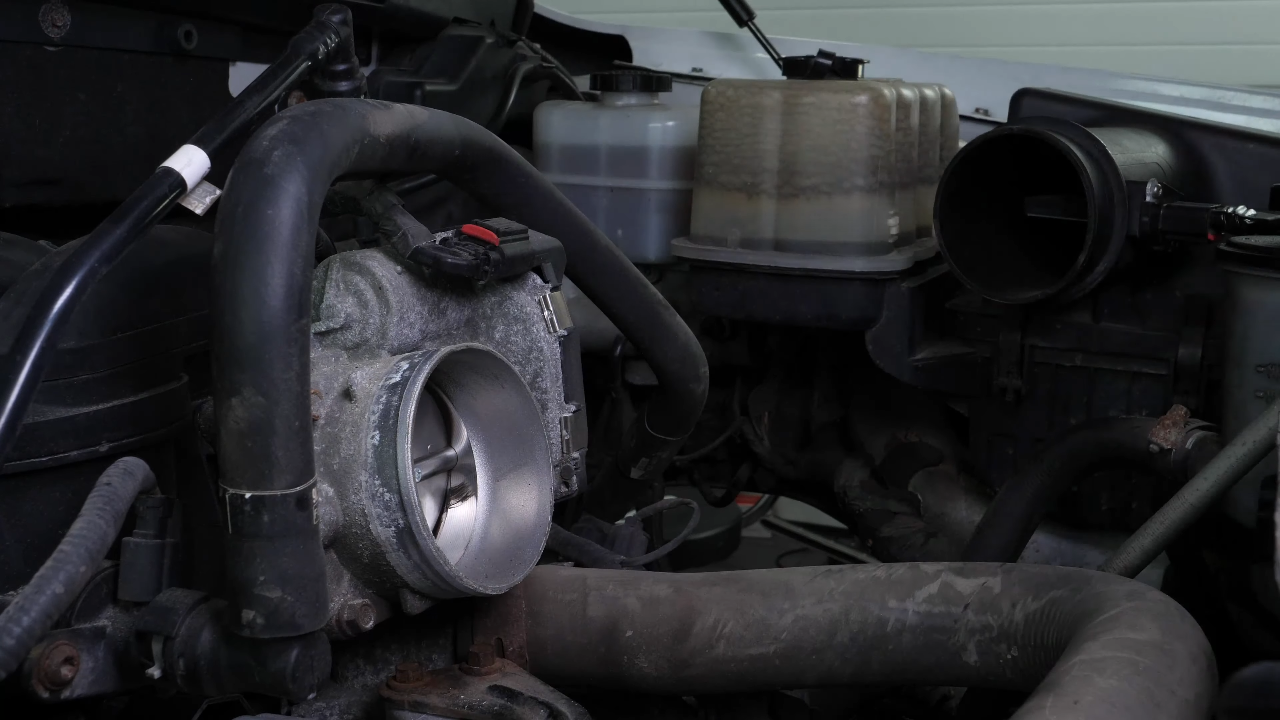
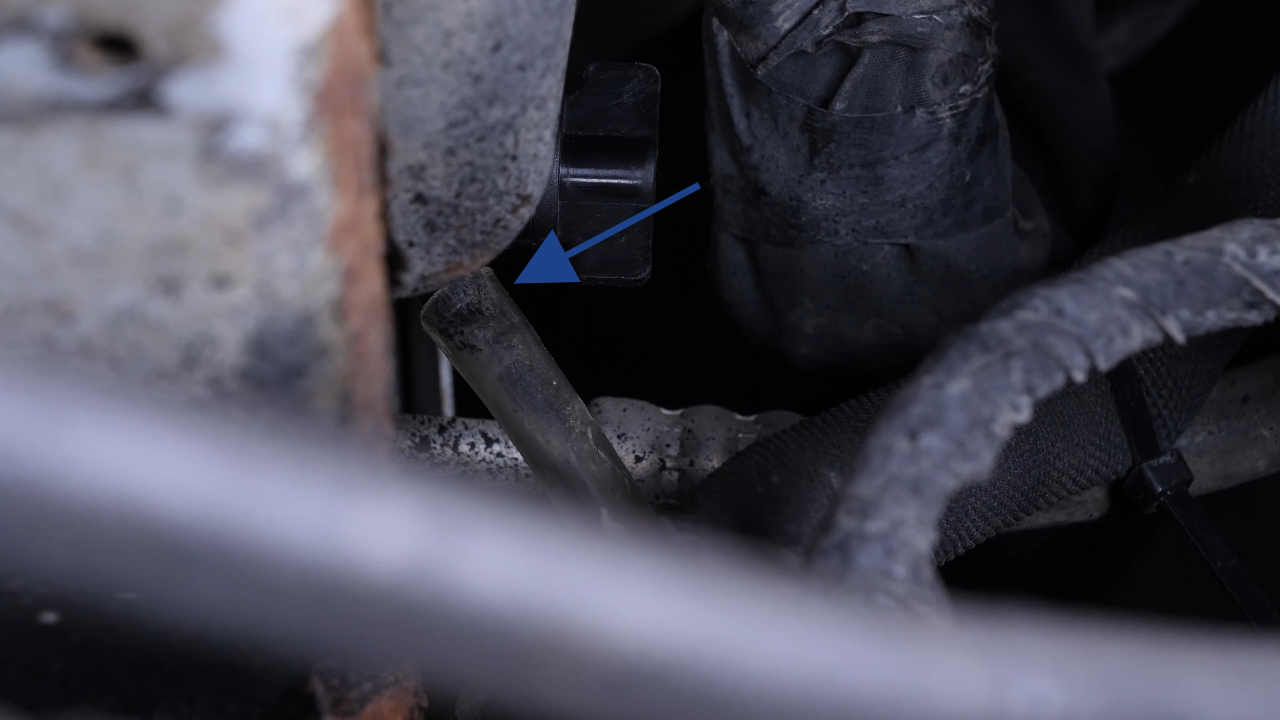
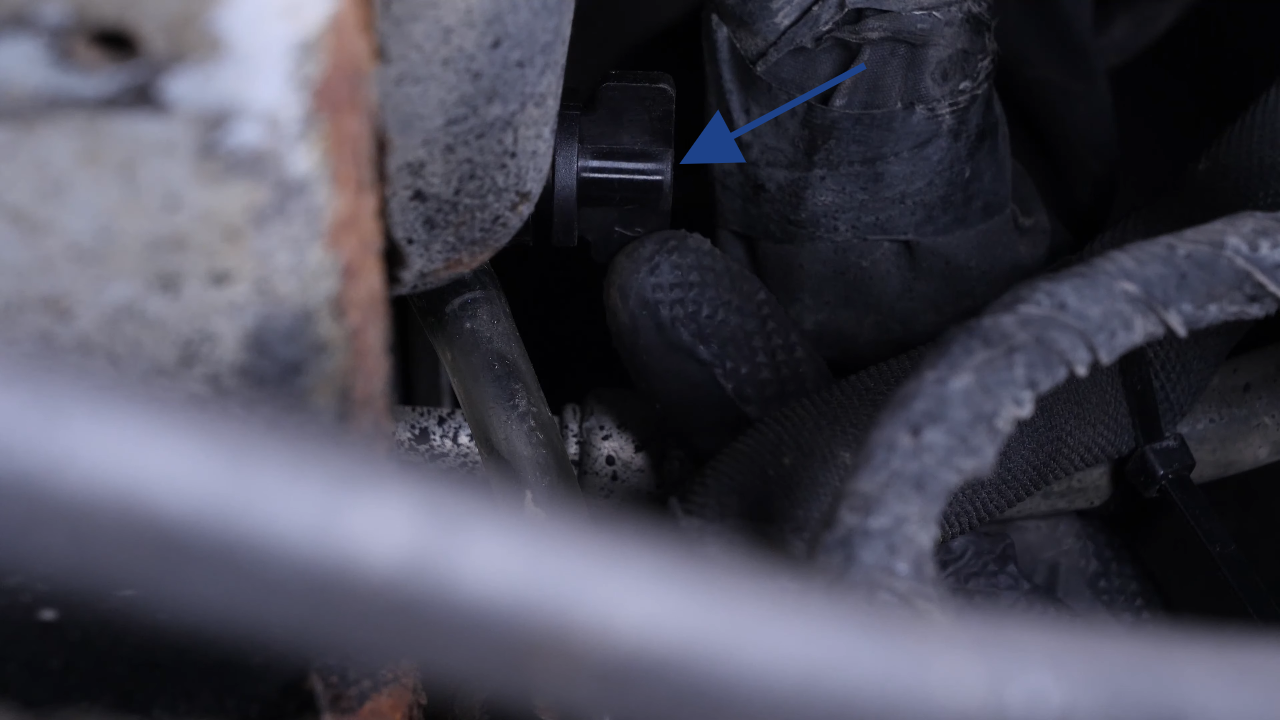
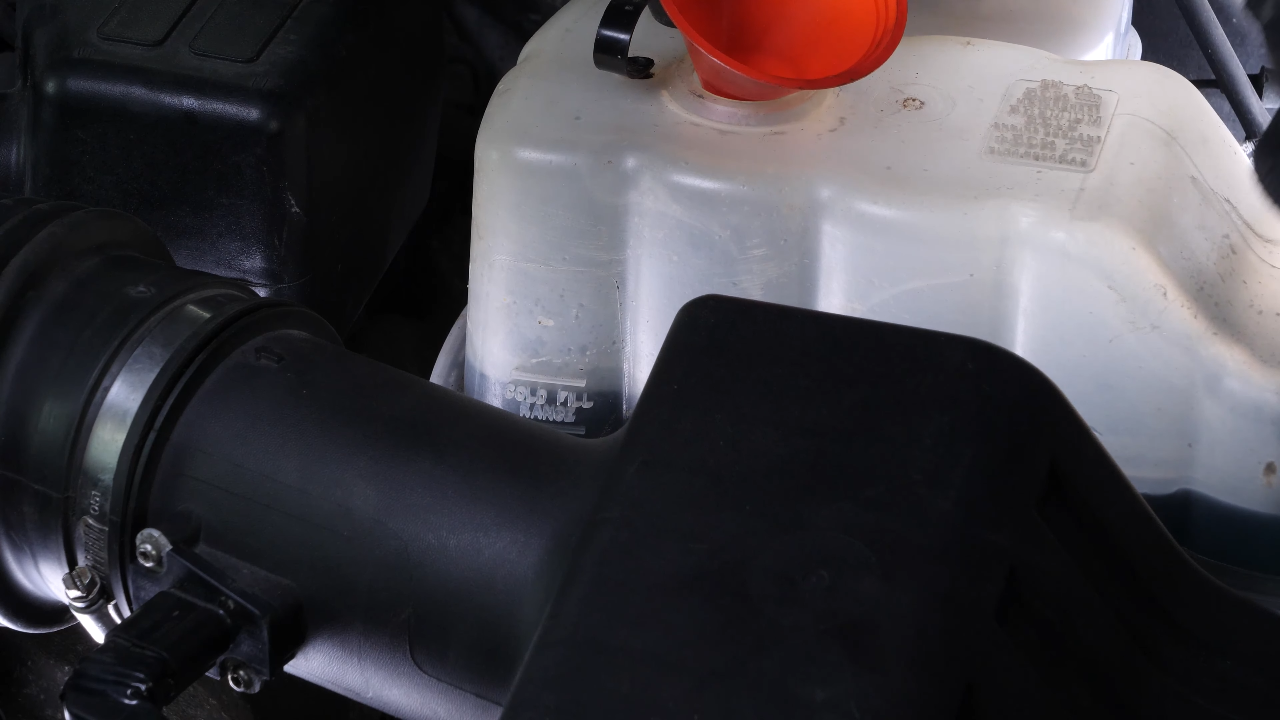
In order to access your water pump, it is necessary to remove certain elements. Remove the breather from the air intake duct by pushing the green tab and pulling on the breather.
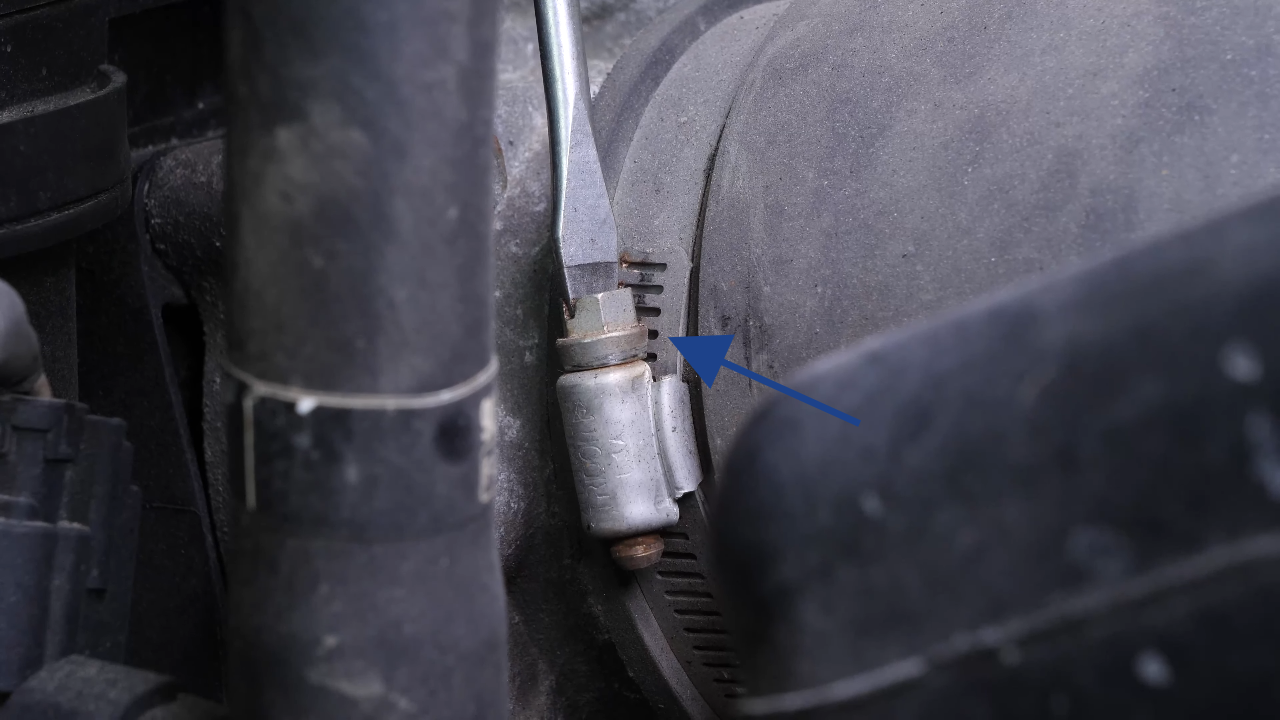
Chapter 3:
Step 2/2
Using a flat head screwdriver, unscrew the two clamps located on either side of the duct. Then, remove the duct.


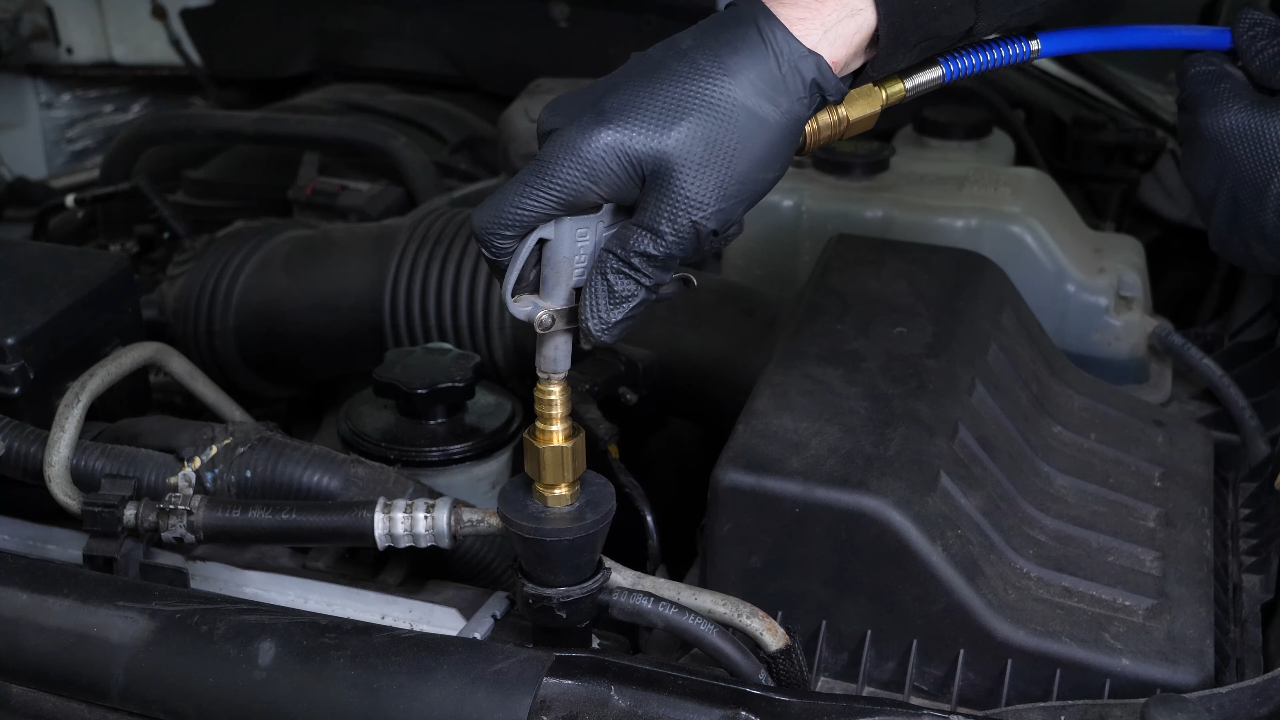
Chapter 4:
Bleed the coolant
Step 1/1
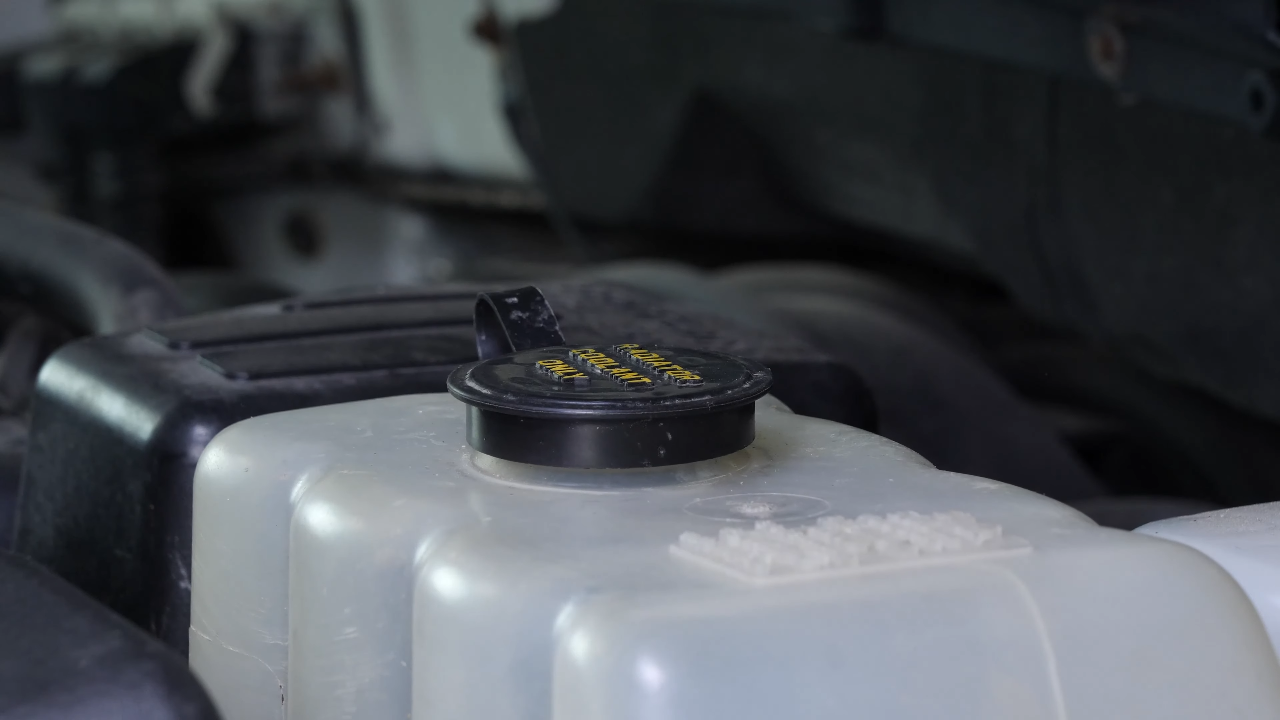
In order to change the water pump, it is necessary to carry out a complete bleed of your cooling system. To do this, we recommend that you watch our video: “How to perform a coolant flush on a Ford F150.”

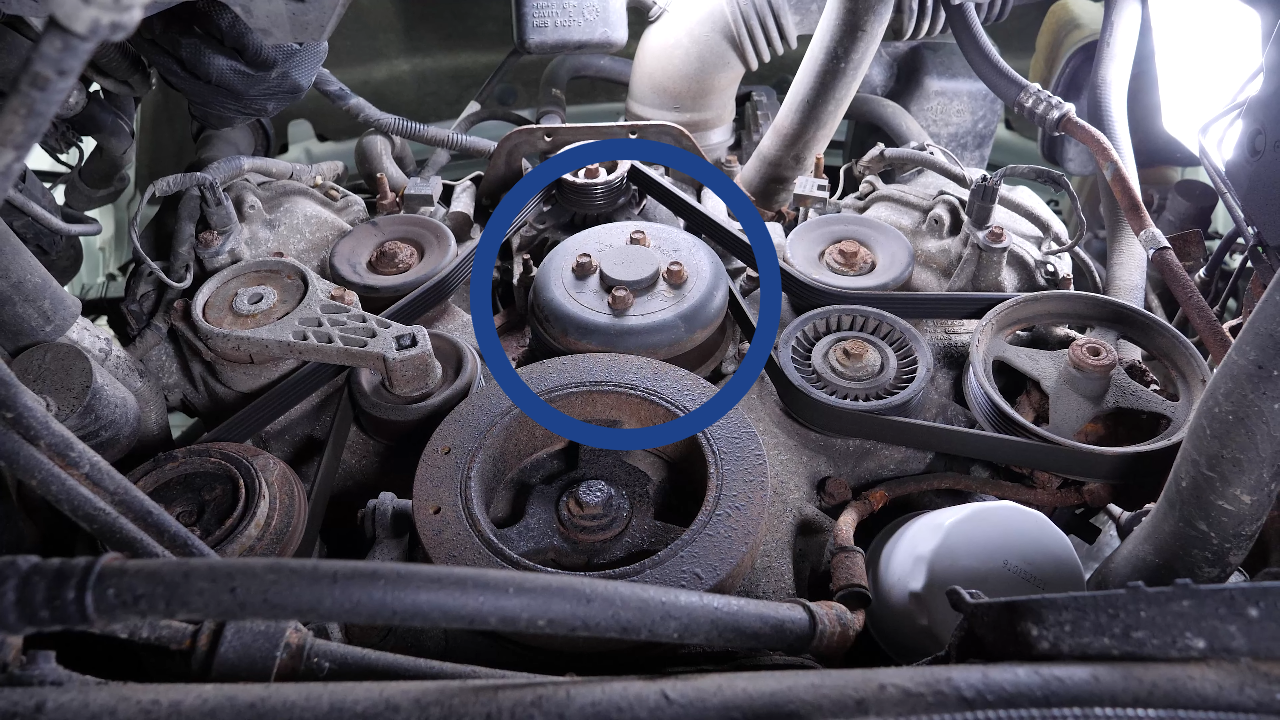
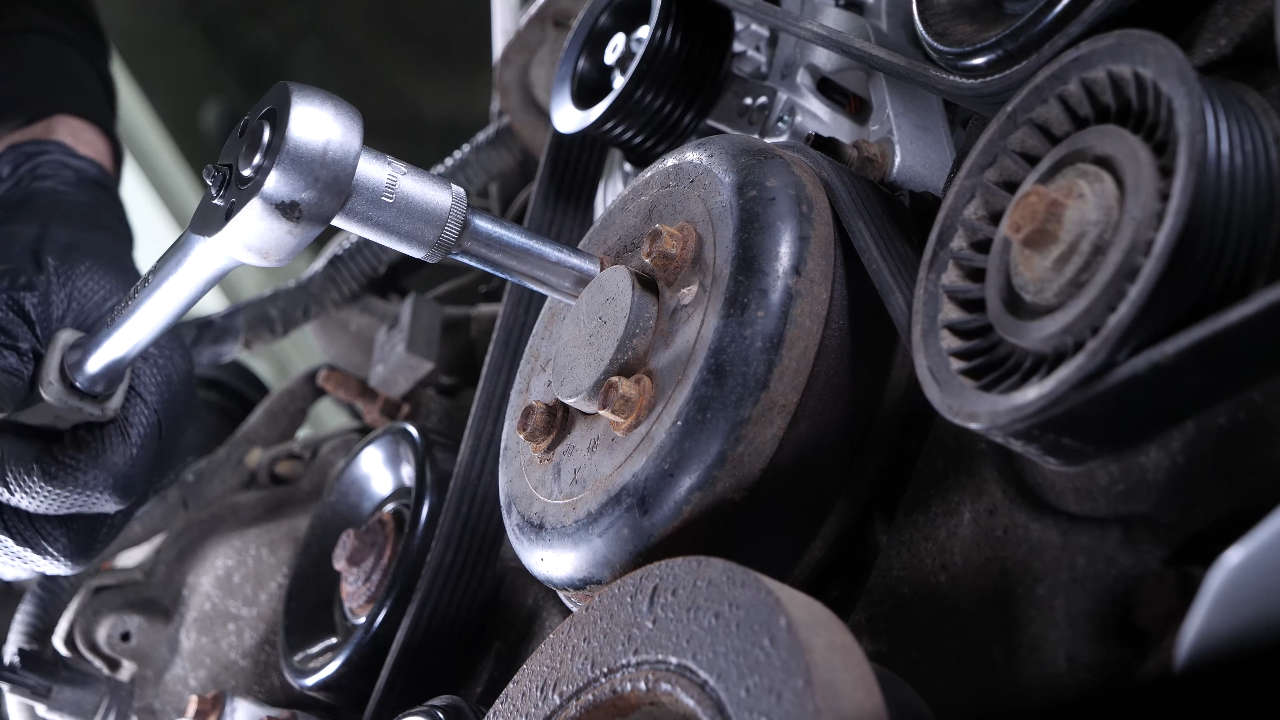
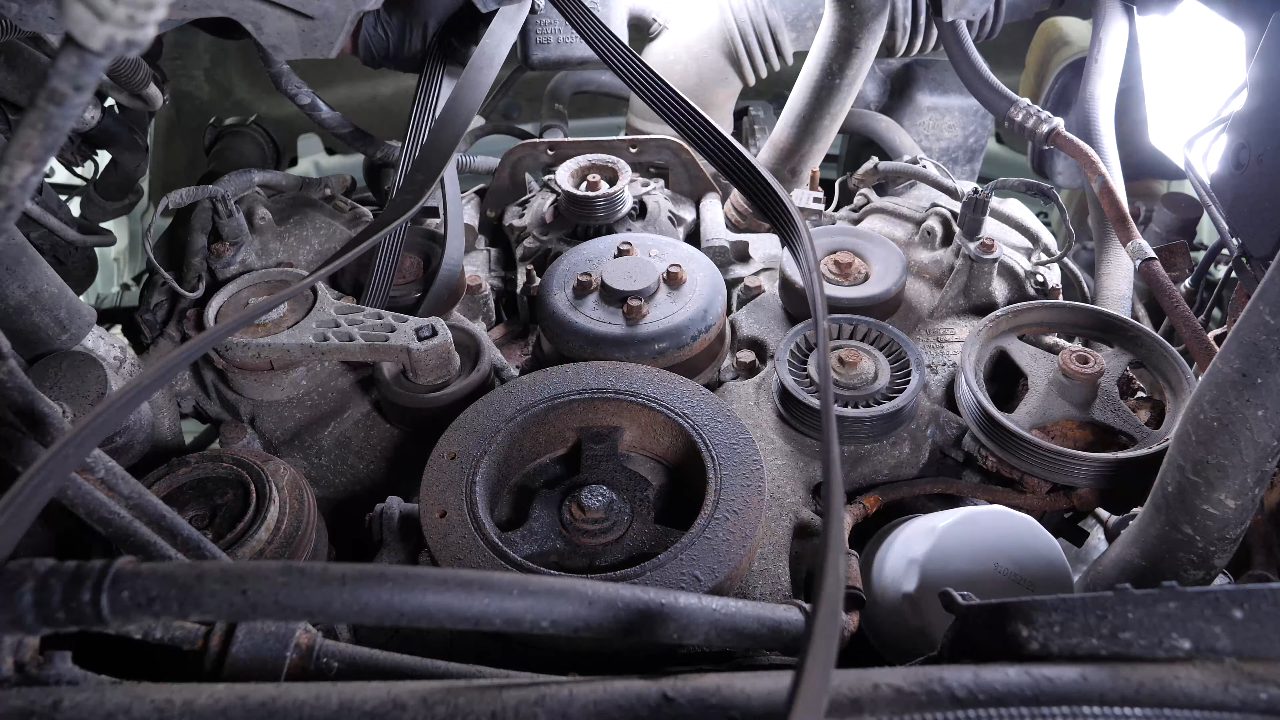
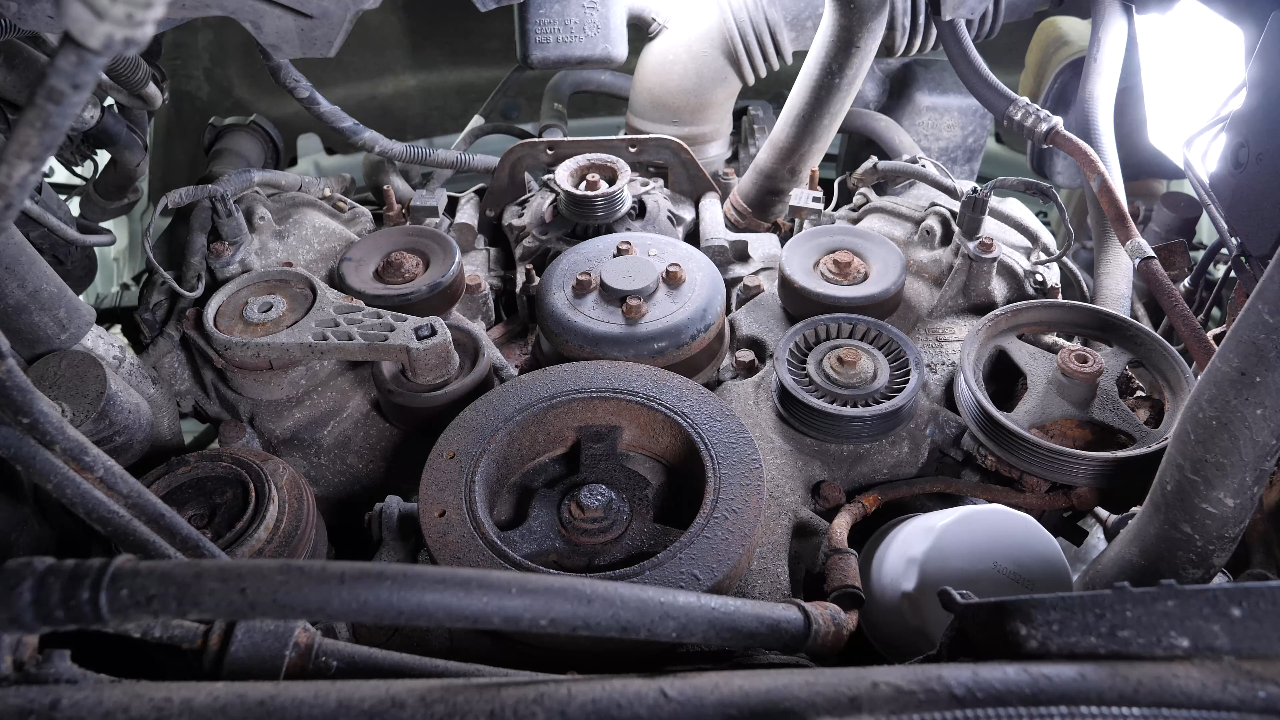
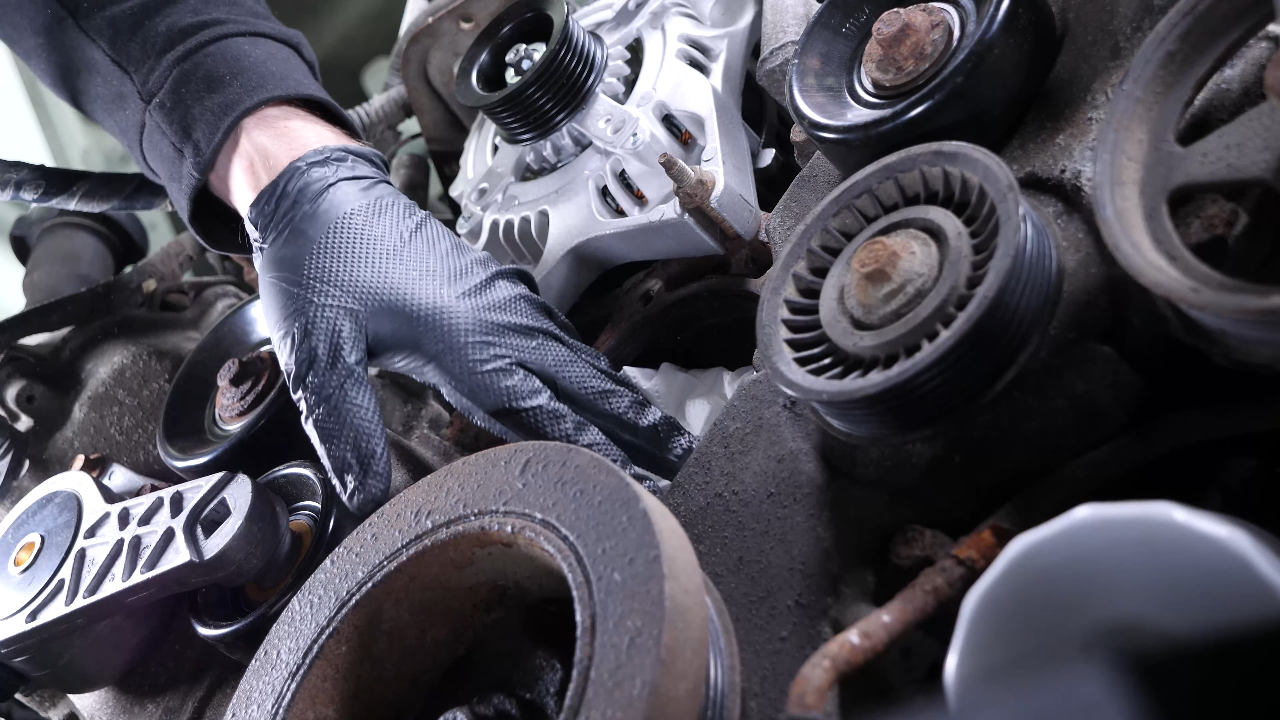
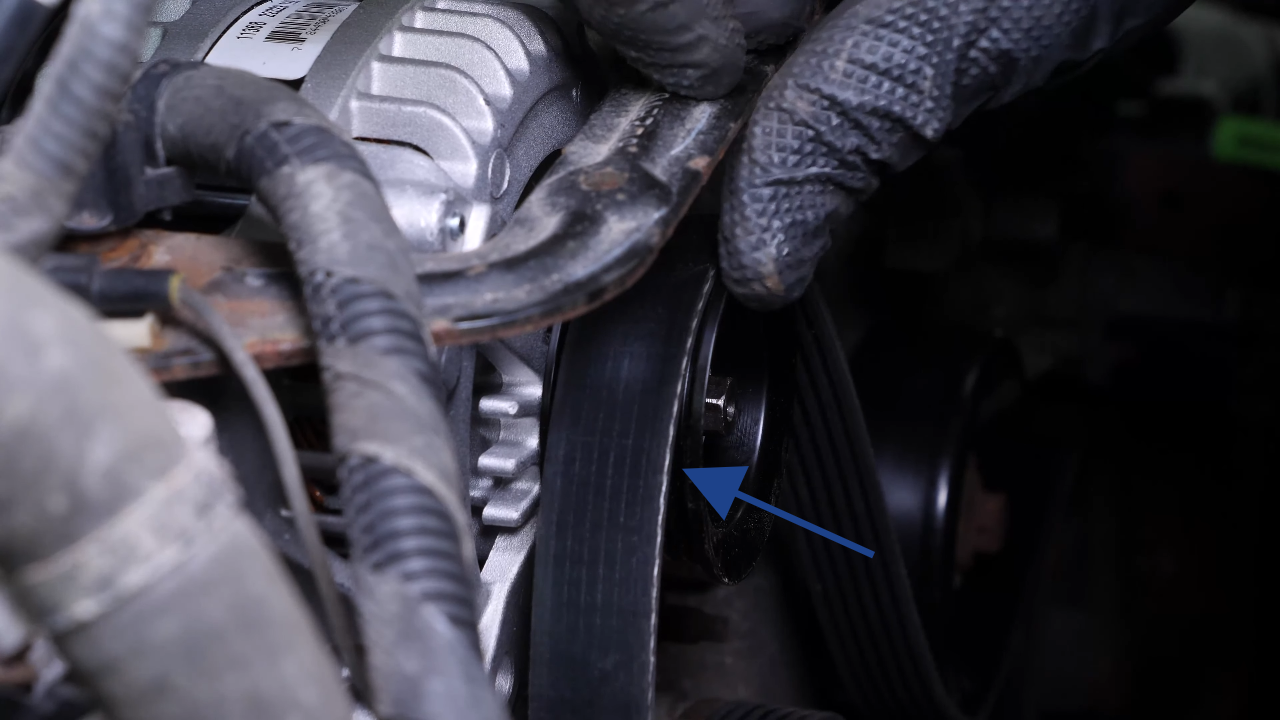
Chapter 5:
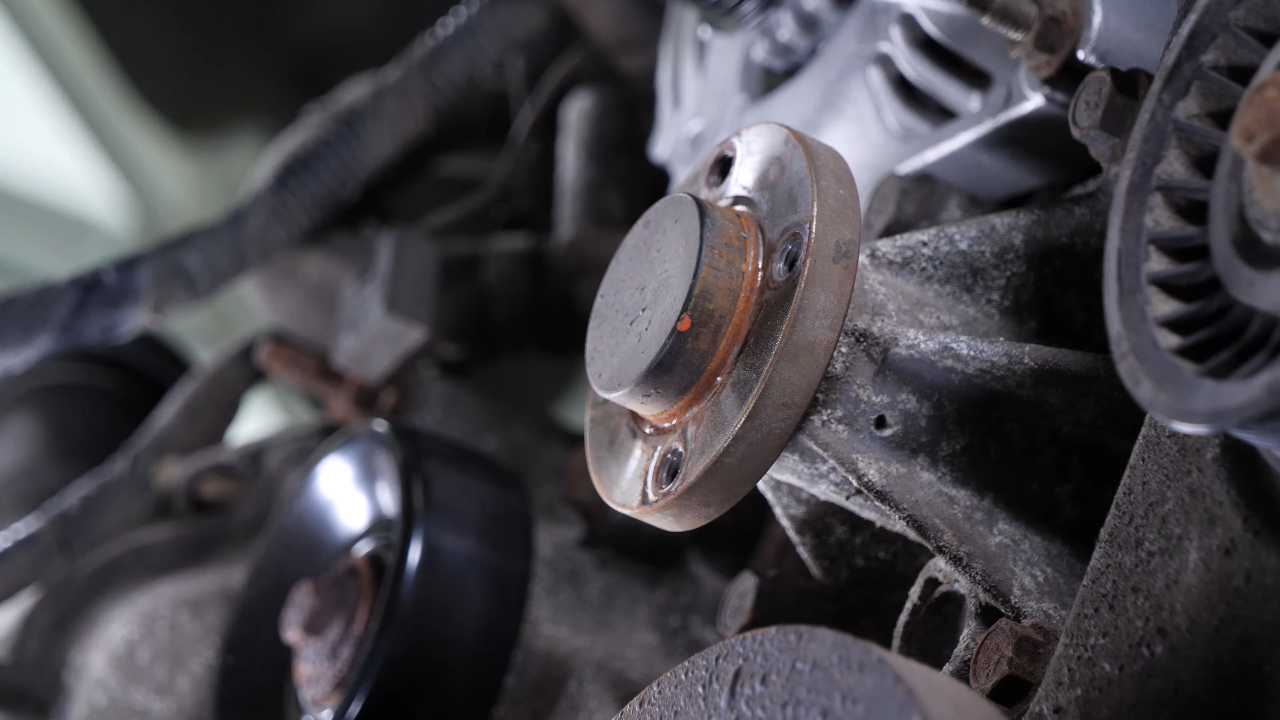
Loosen the water pump pulley bolts
Step 1/2
You can now see the serpentine belt which drives the water pump pulley behind which you will find the water pump.
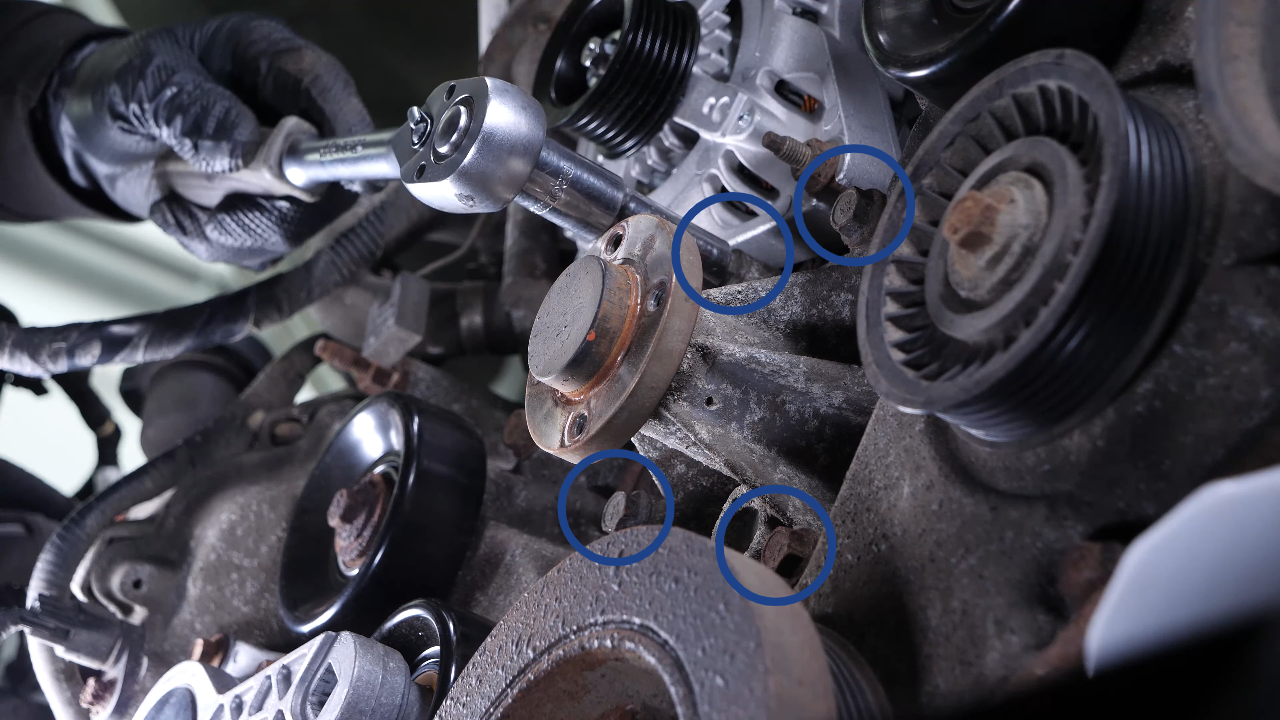
Chapter 5:
Step 2/2
Using a ratchet and a 10mm socket, release the 4 screws holding the water pump pulley. It is important to leave the serpentine belt in place in order to retain pulley rotation during unscrewing.
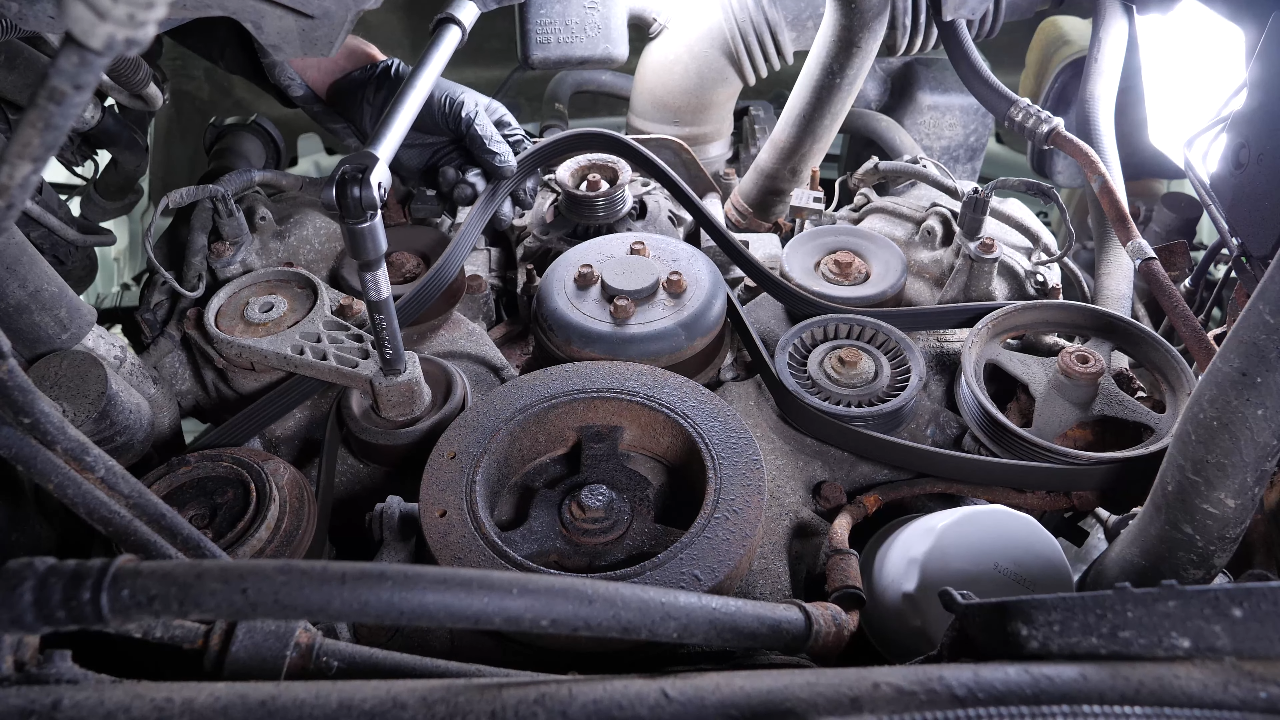
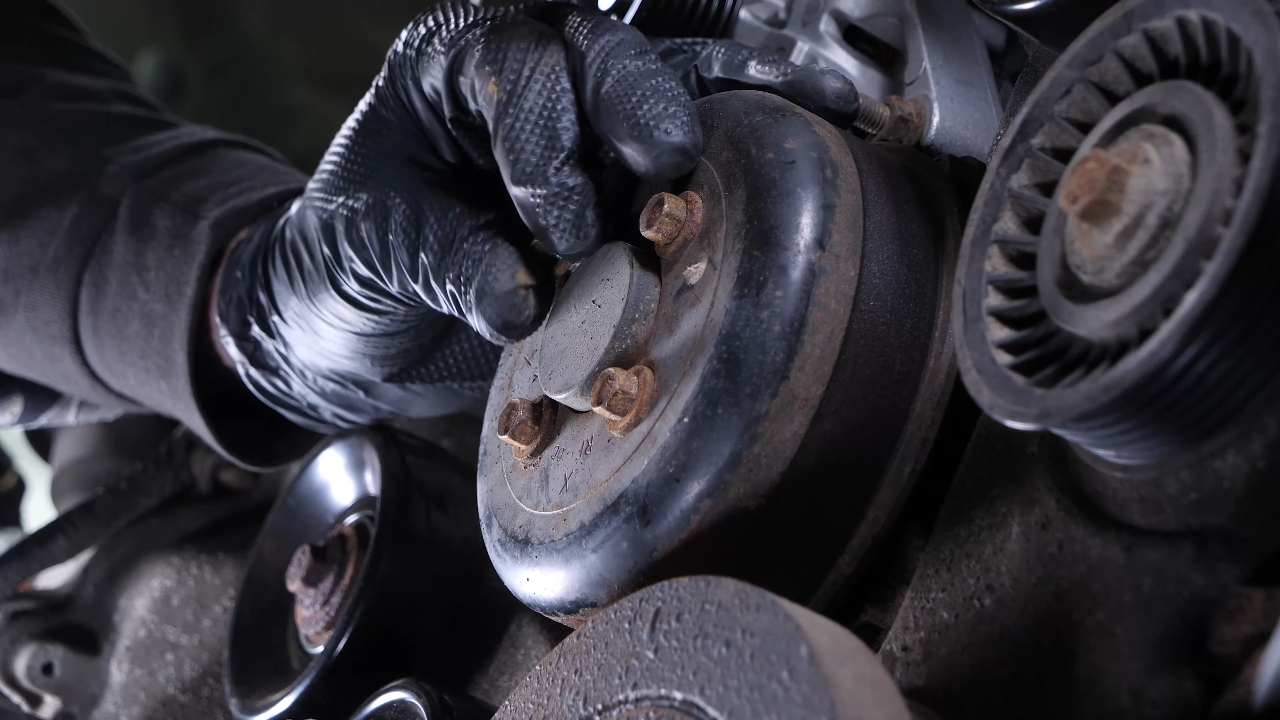
Chapter 6:
Move the serpentine belt aside
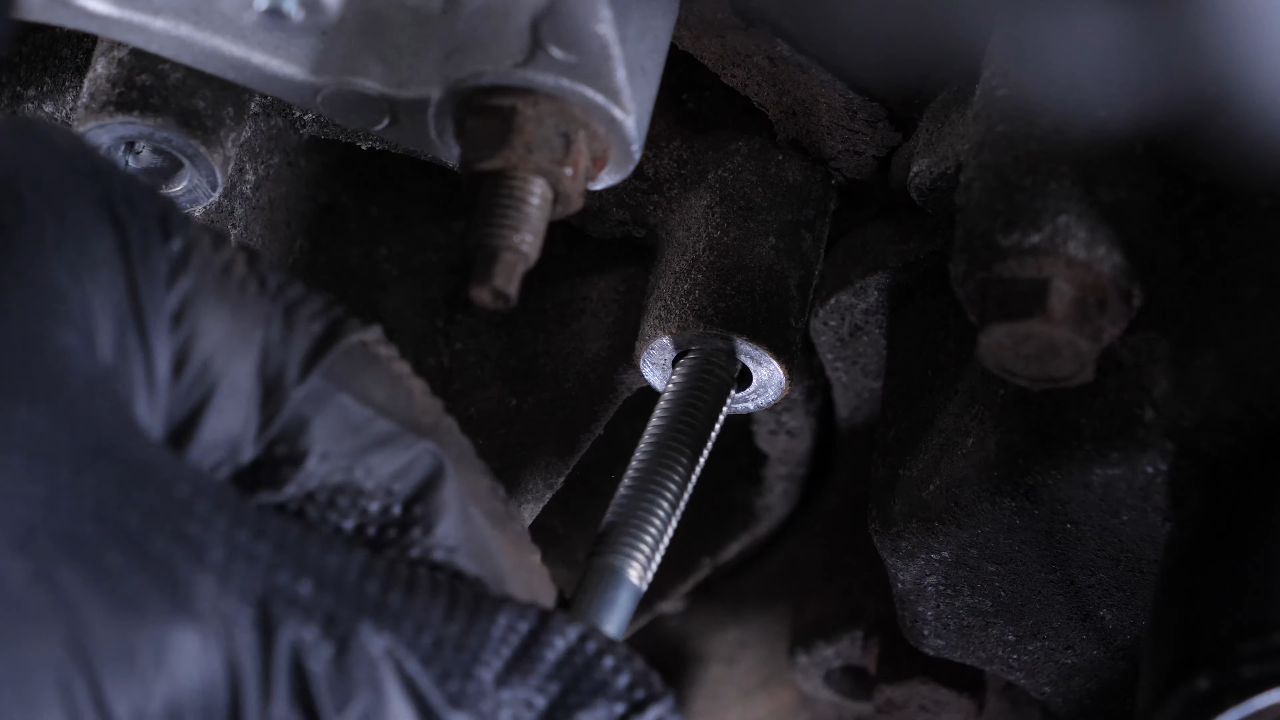
Step 1/2
Once the 4 screws have been released, using a breaker bar and a 1/2″ drive extension socket, loosen the belt by lifting the serpentine belt tensioner. You can now remove the serpentine belt.

Chapter 6:
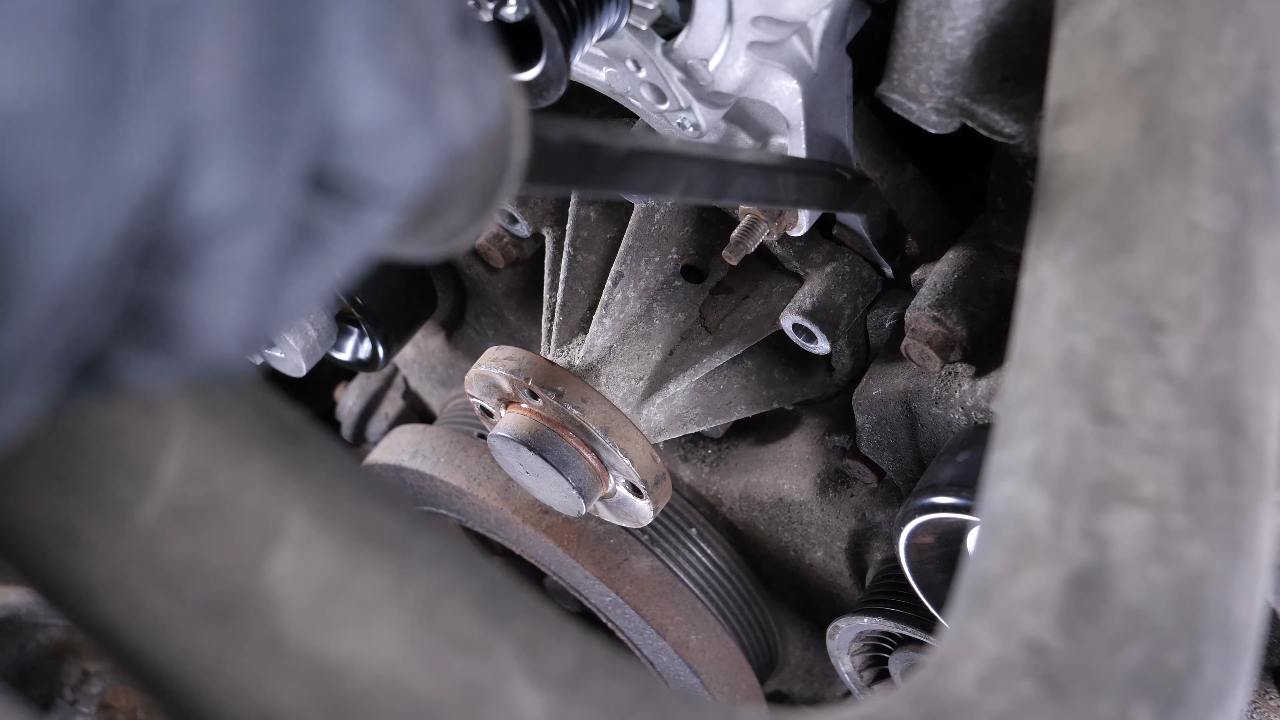
Step 2/2
Finish unscrewing the water pump pulley. Then, remove it.
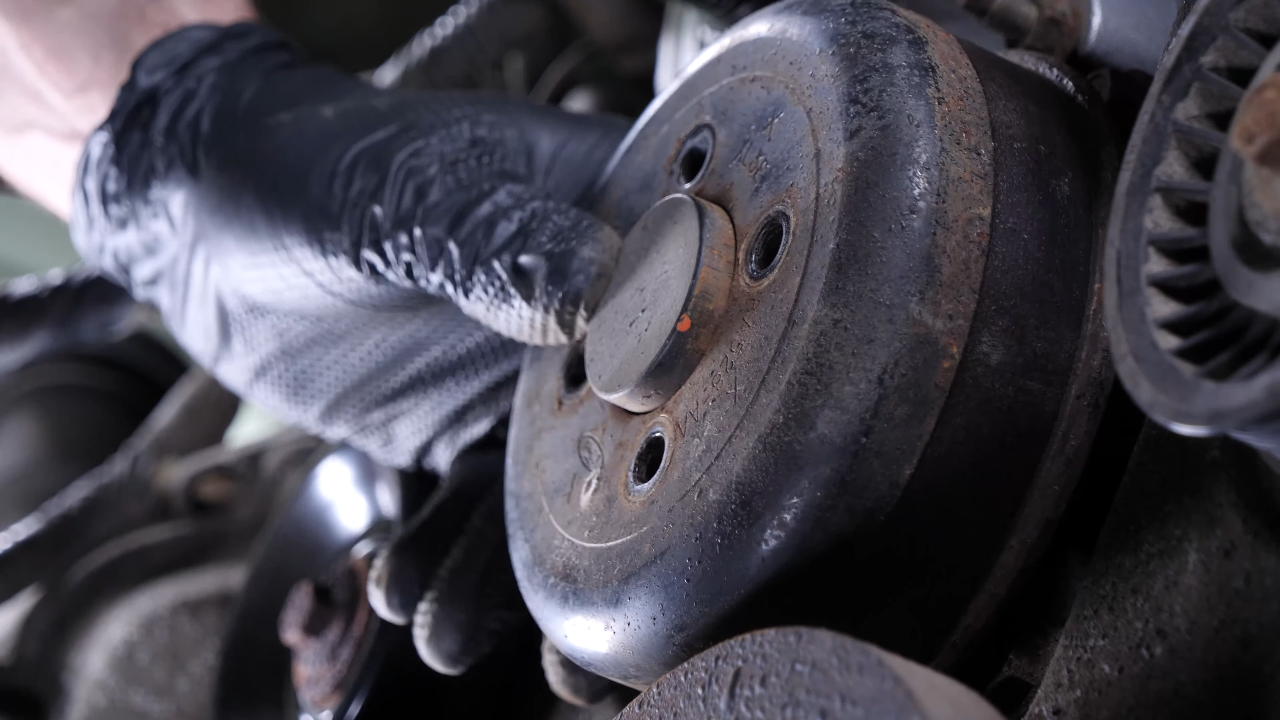
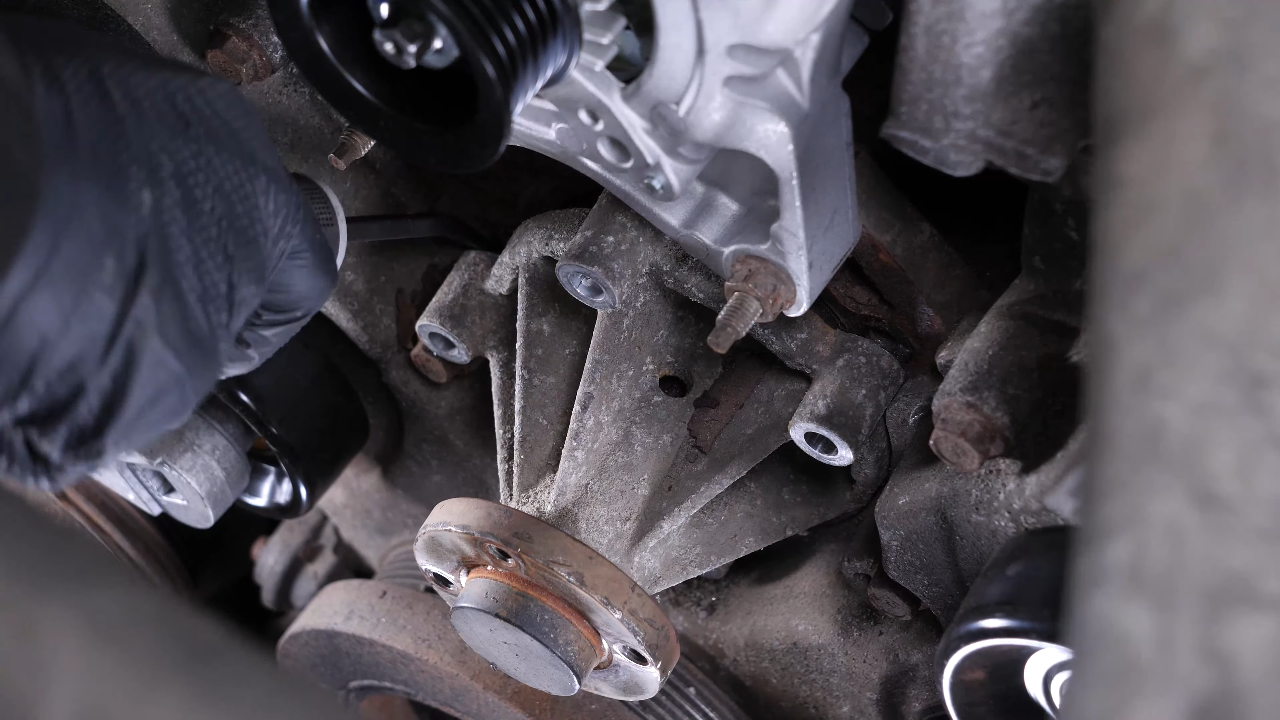
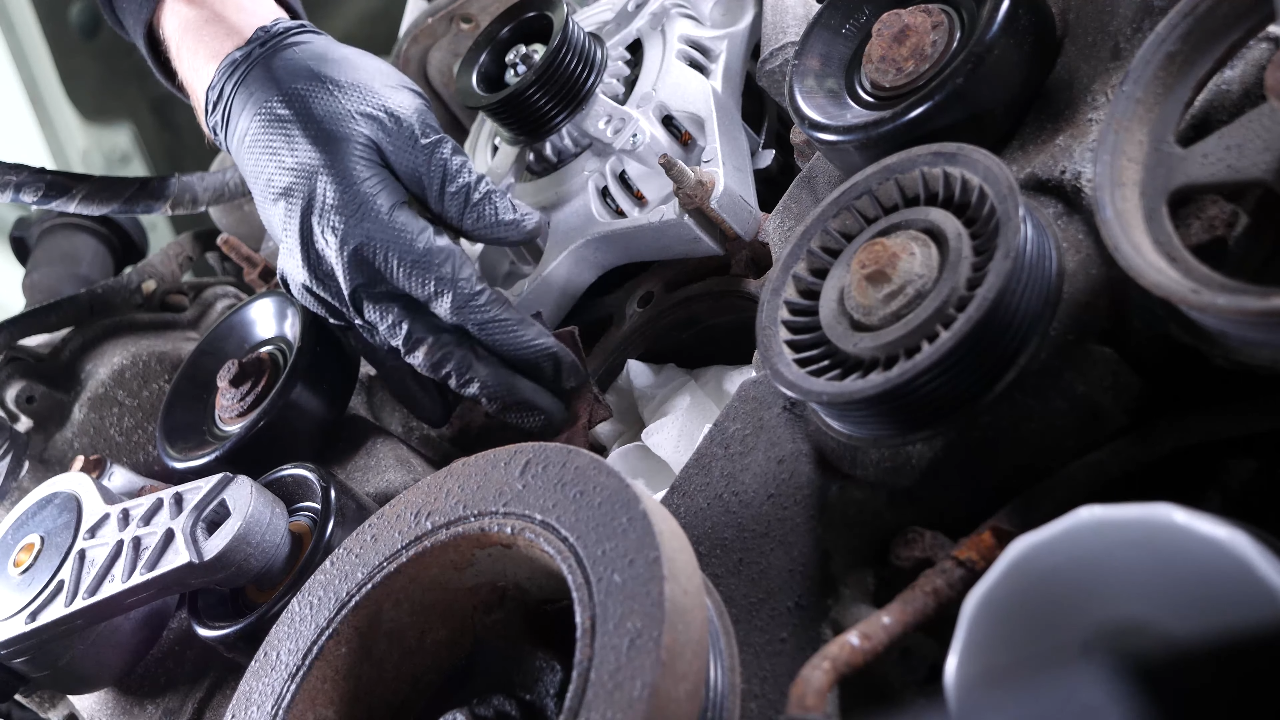
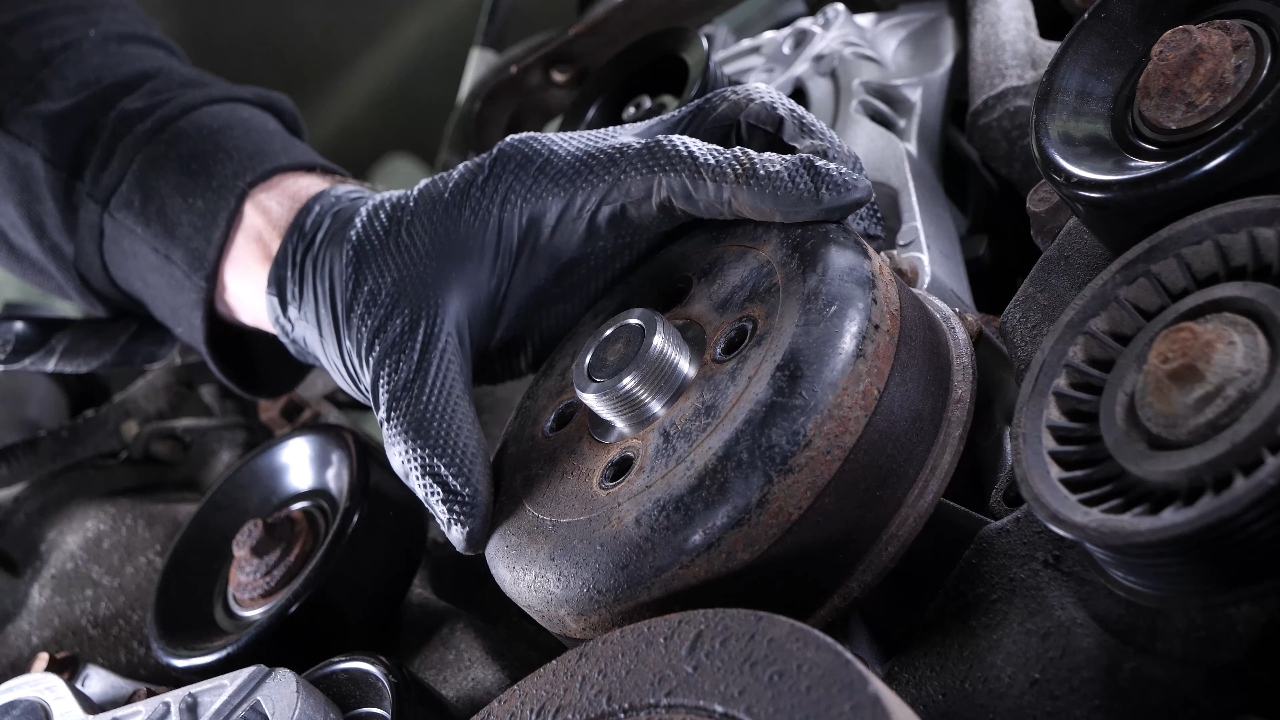
Chapter 7:
Remove the water pump
Step 1/3
Using a ratchet and a 13mm socket, unscrew the 4 screws holding the water pump.
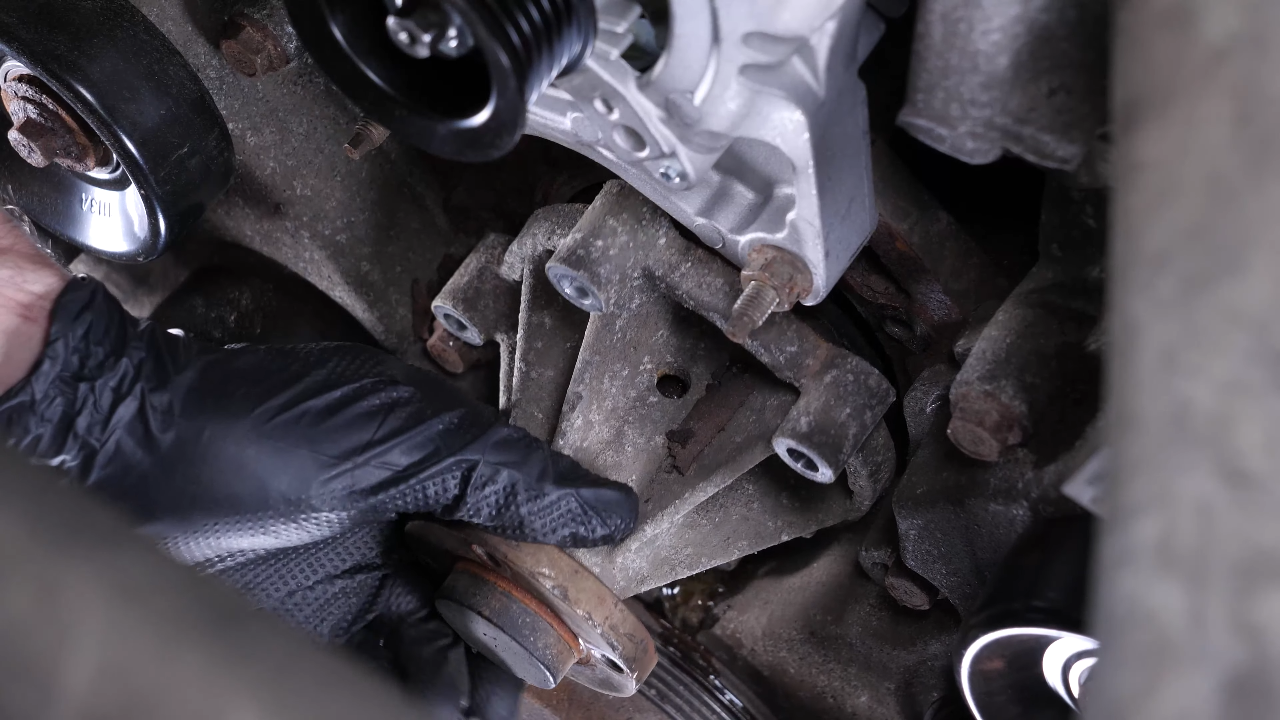
Chapter 7:
Step 2/3
The water pump is now free. However, it is often difficult to remove. You will need to pry it out with a big flat head screwdriver, or a small crowbar. You may need to tap with a hammer to release it.
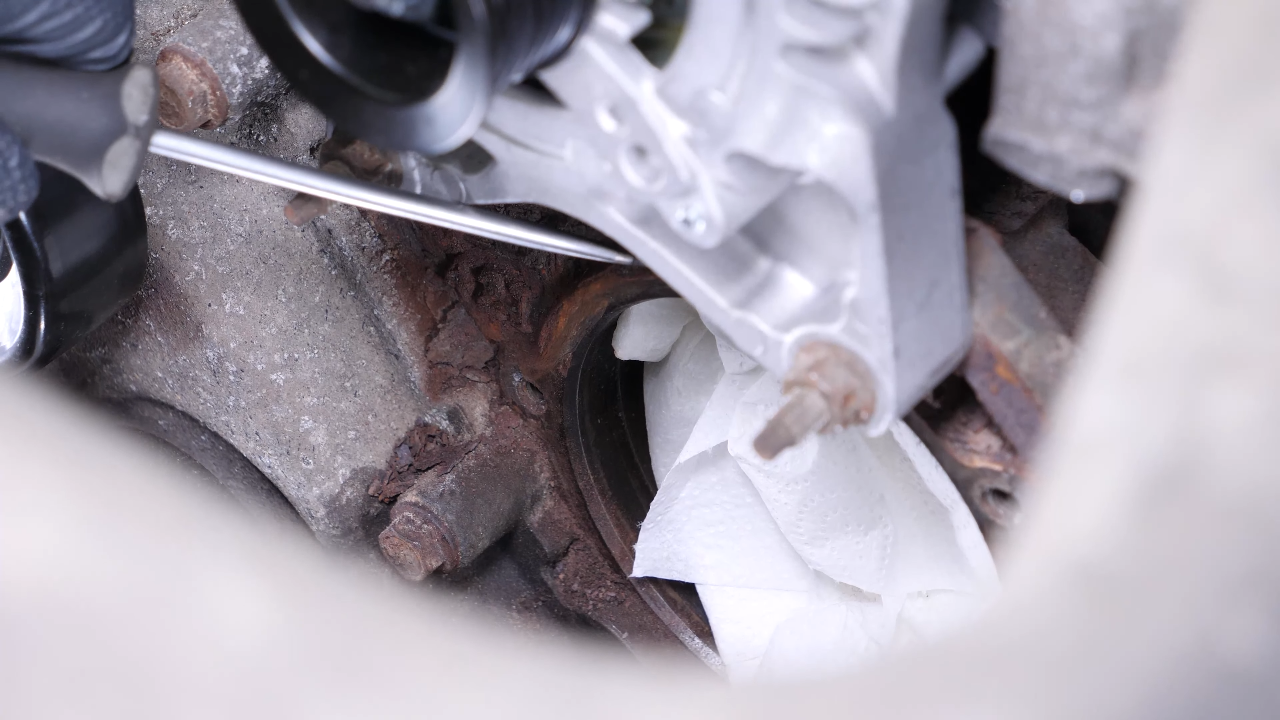
Chapter 7:
Step 3/3
Remove the water pump.
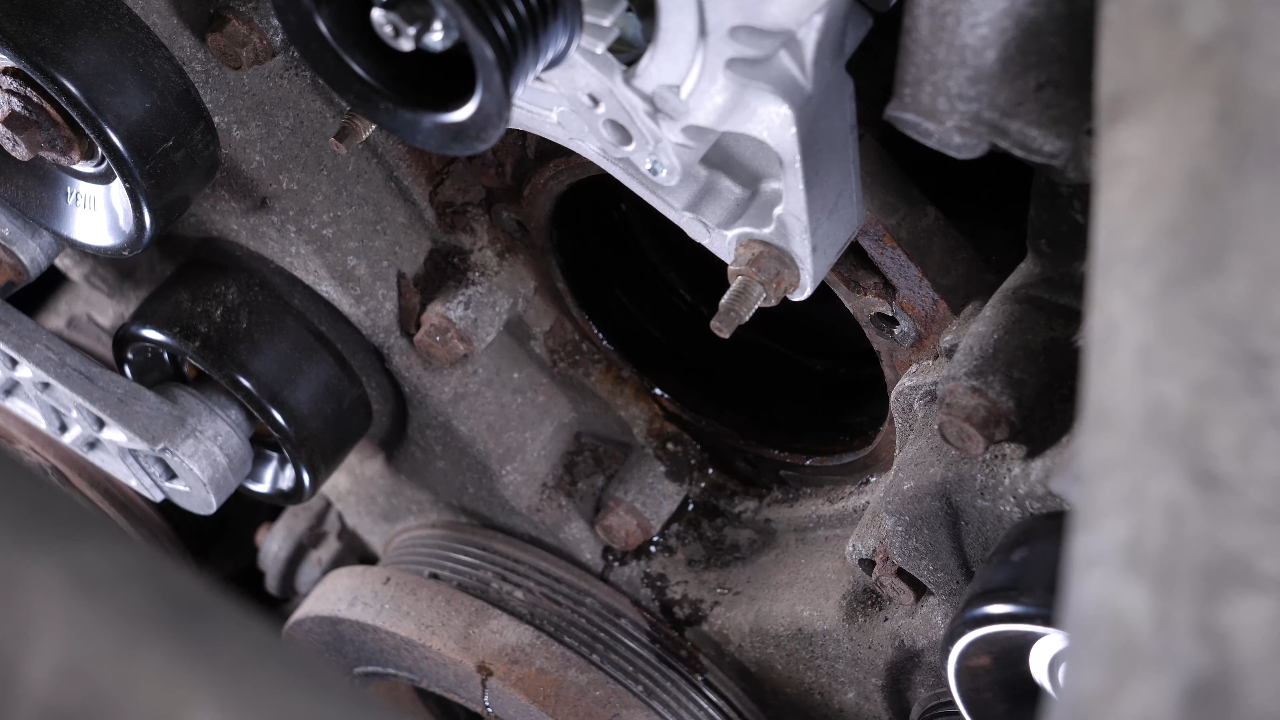
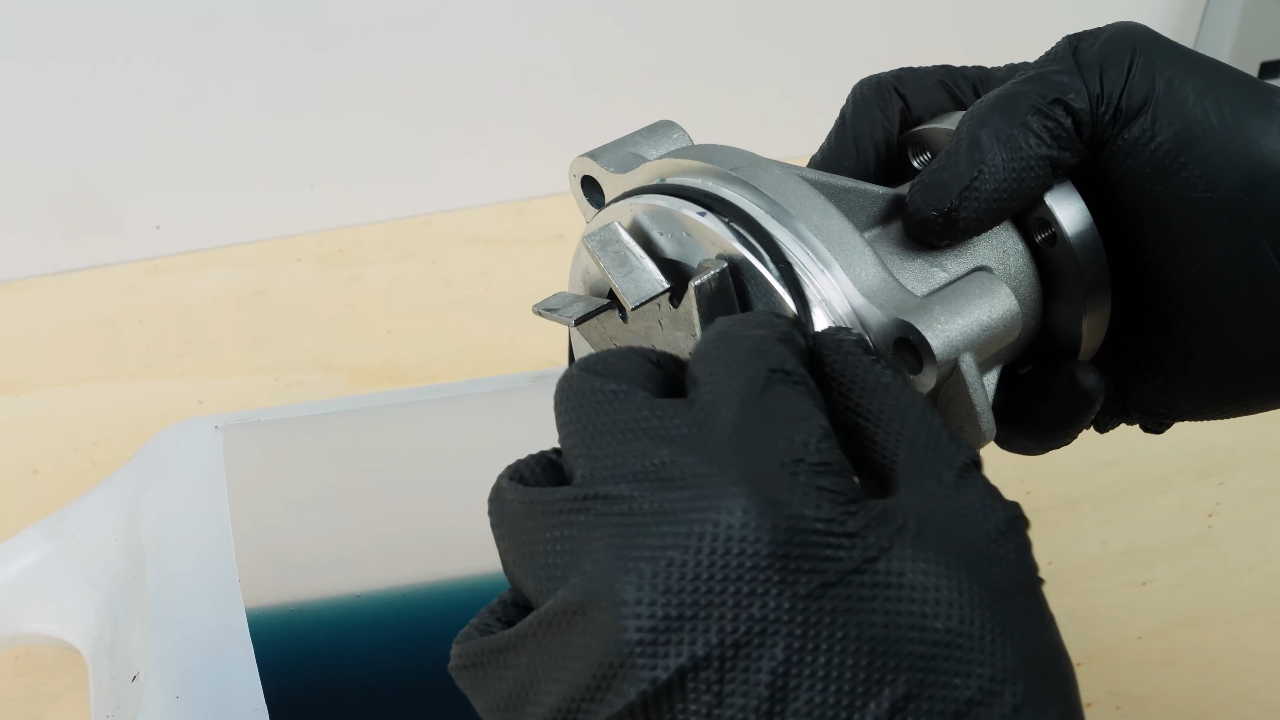
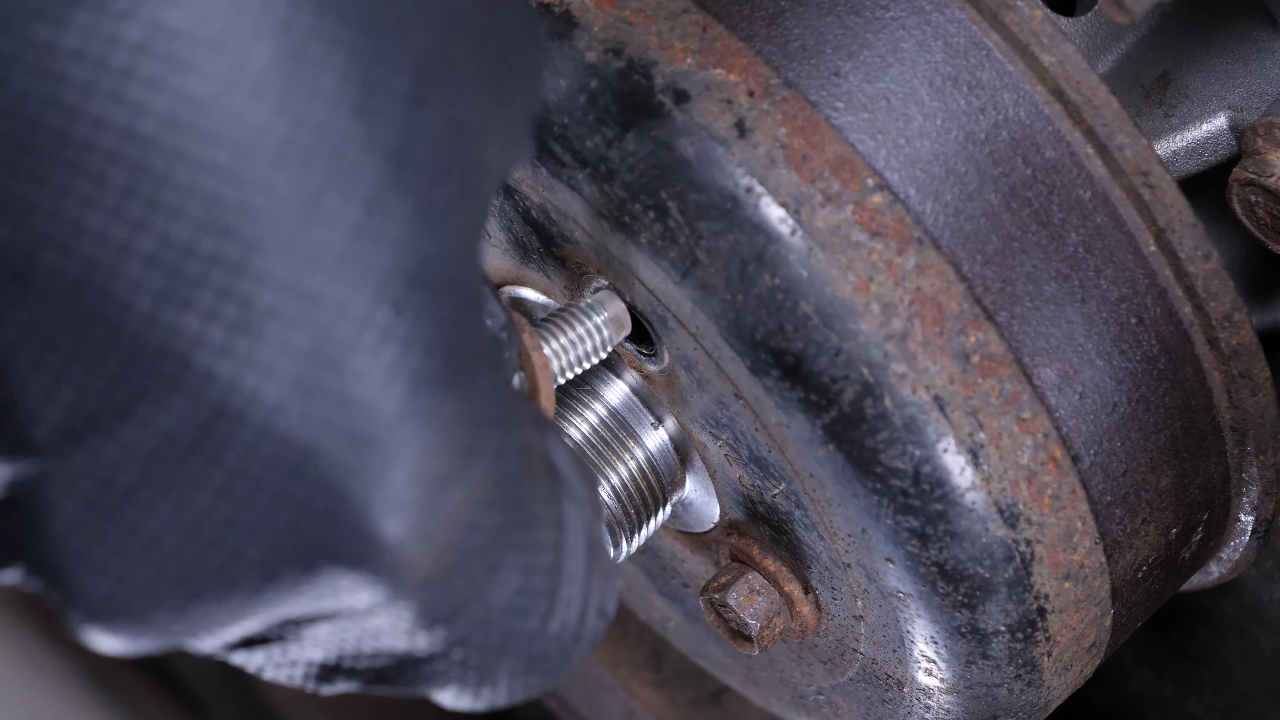
Chapter 8:
Clean the gasket surface
Step 1/2
To avoid any risk of leaks, clean the water pump seal surface thoroughly. You can use fine sanding paper or a flat head screwdriver to remove the various residues from the seal surface.
Chapter 8:
Step 2/2
Protect the entrance to the cooling circuit by plugging it with a cloth to prevent impurities from polluting the circuit.
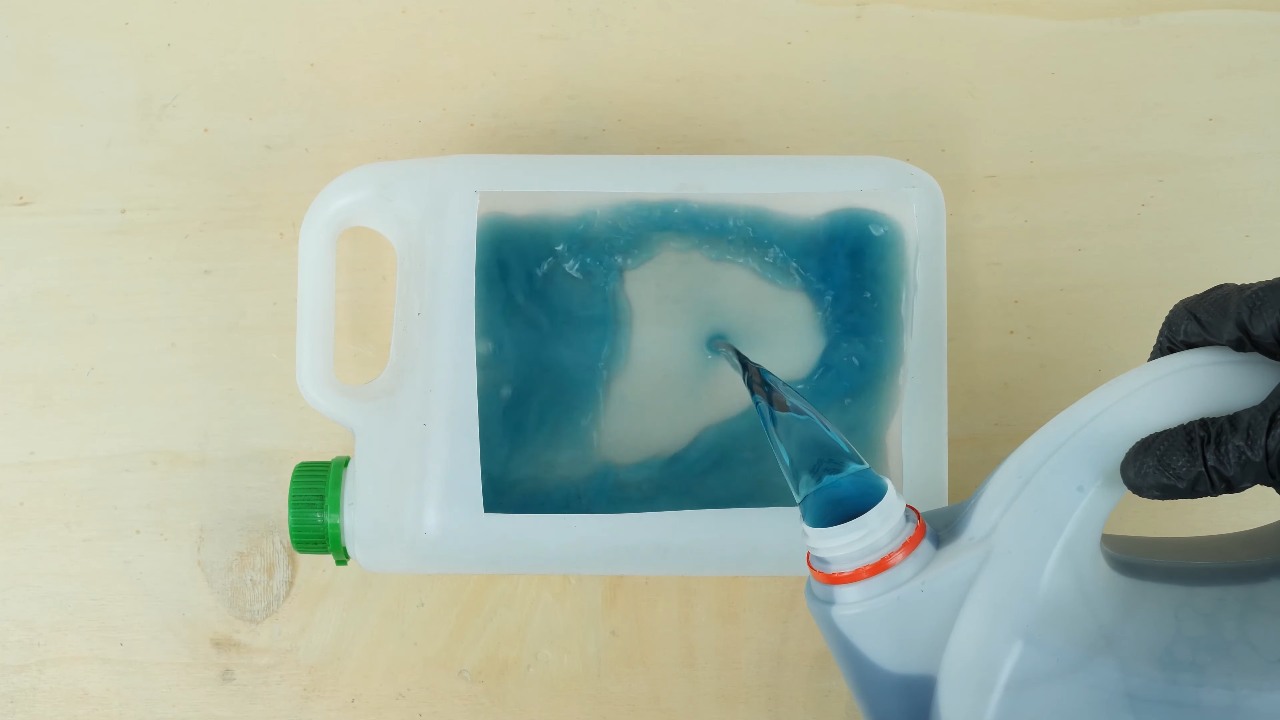
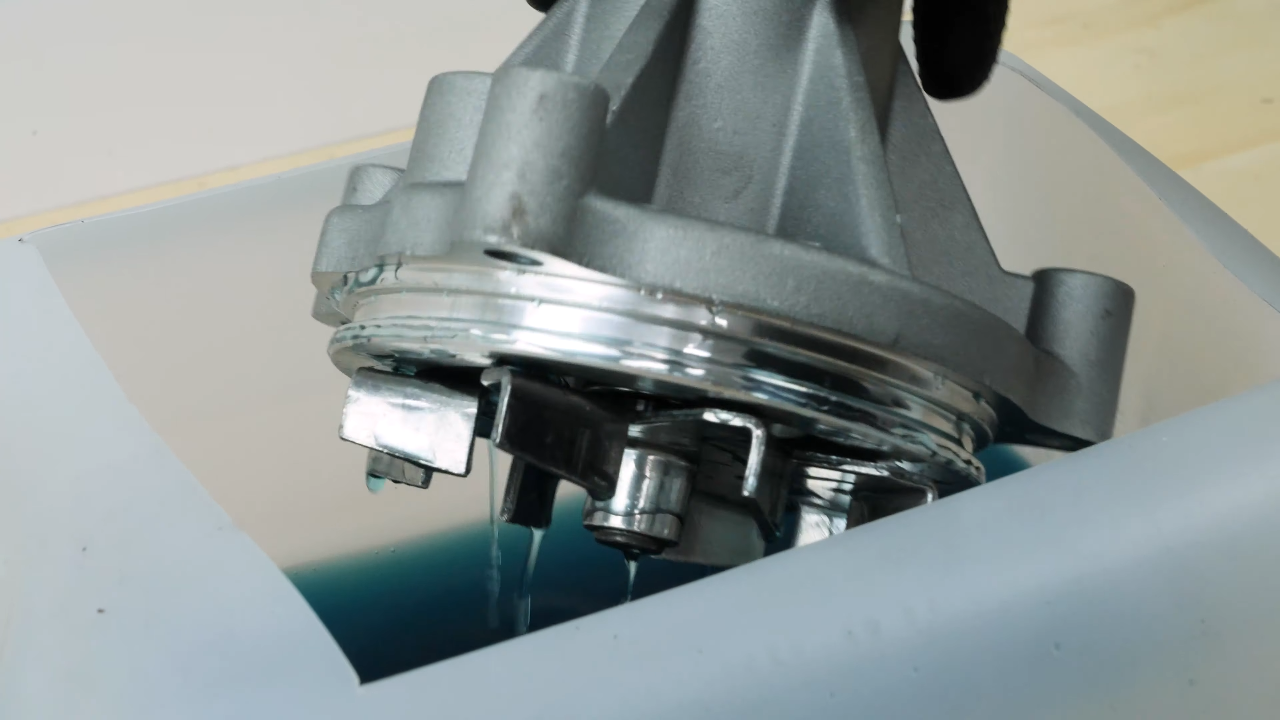
Chapter 9:
Prepare the water pump
Step 1/2
Get the new water pump. Everyone’s natural reflex is to take the water pump in hand and turn the pump pulley to check that this element is rotating correctly.

Chapter 9:
Step 2/2
But this is a serious mistake that can irreversibly damage the water pump. You need to immerse the pump in coolant, and to turn it around ten times. This prevents subsequent leaks, as the pump must never run dry.

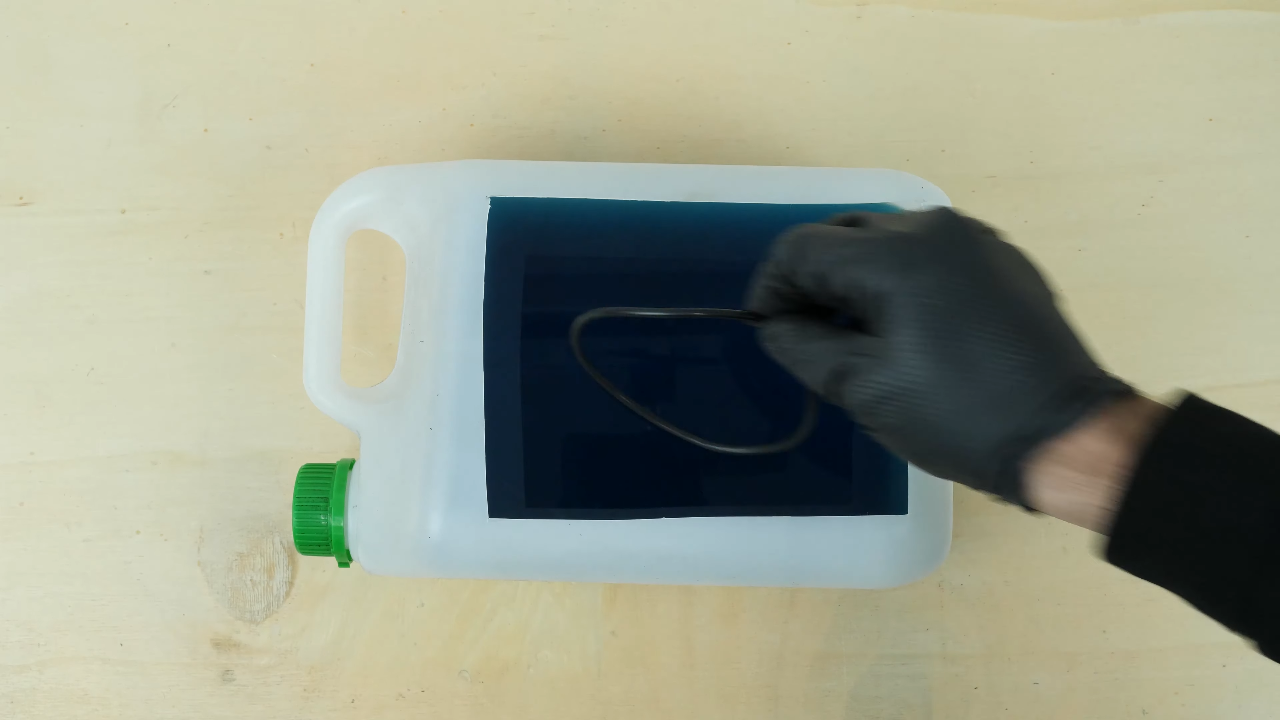
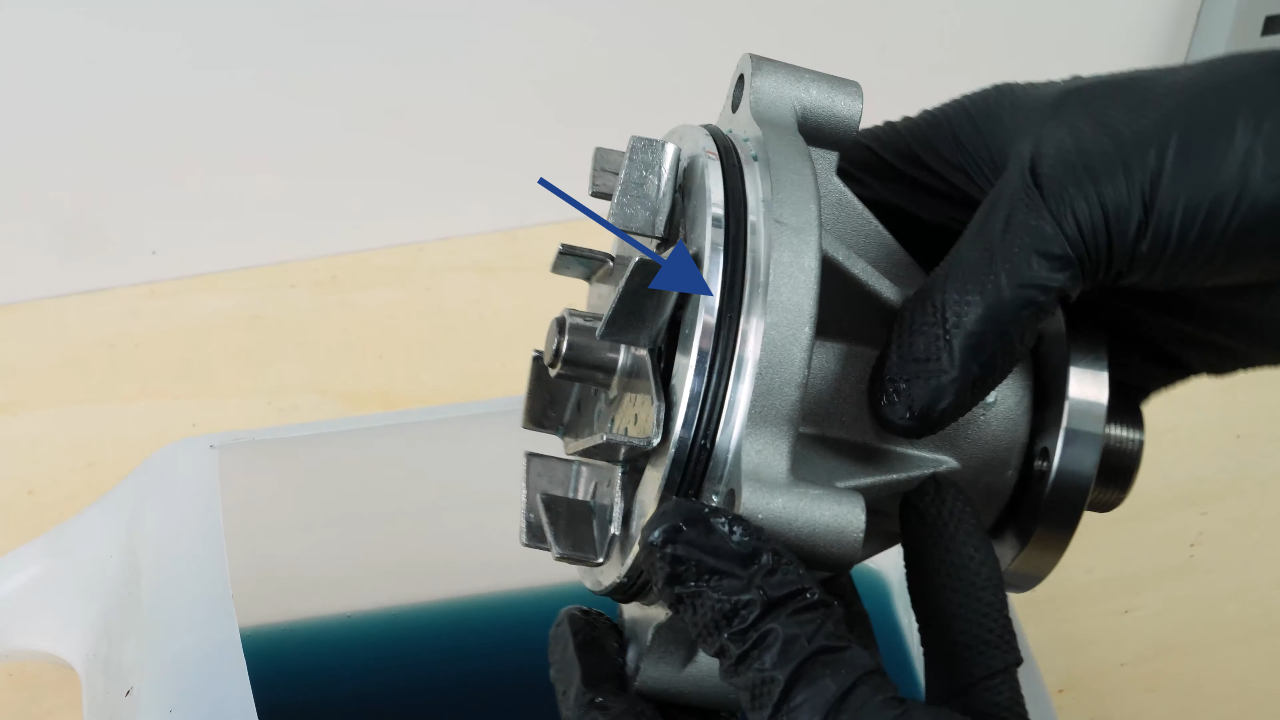
Chapter 10:
Install the new water pump + tightening torques
Step 1/2
Get the new seal, and soak it in the coolant. Then put it in place on the new water pump.
Chapter 10:
Step 2/2
Get the new water pump, and put it in place. Then, screw the 4 retaining screws back in. Finish tightening in staggered order using a torque wrench.

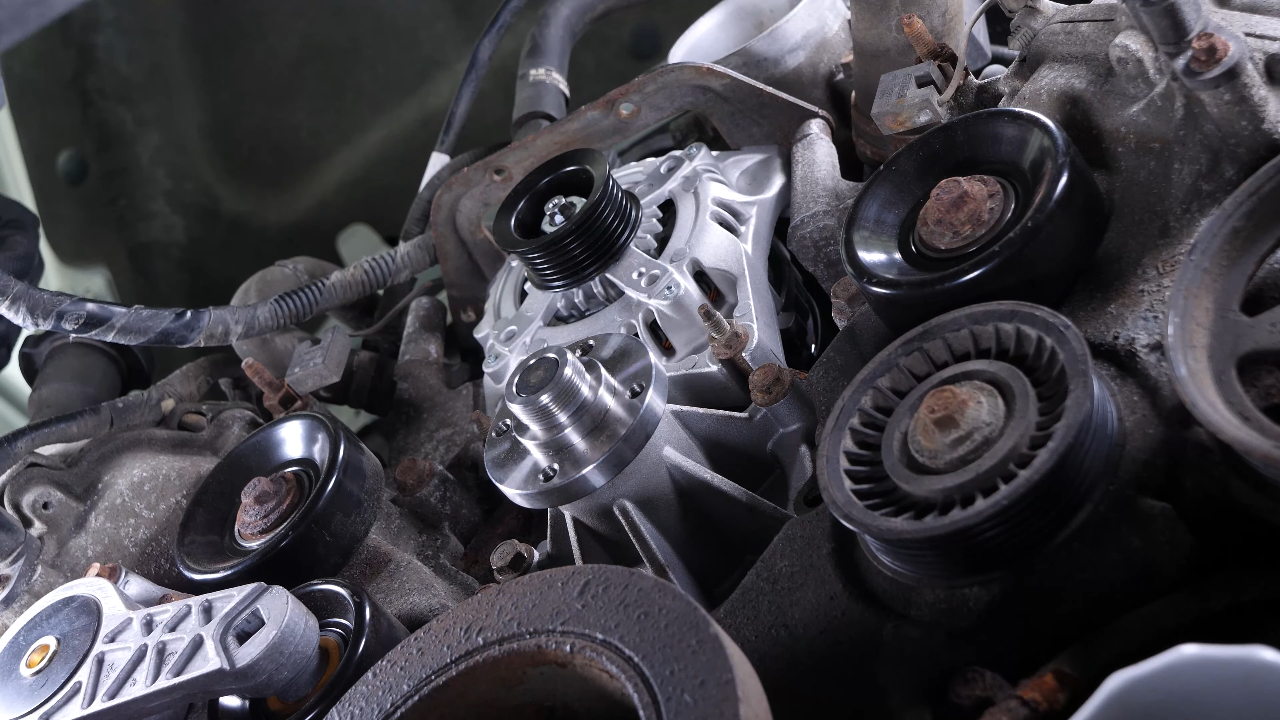
Chapter 11:
Put the the water pump pulley back + tightening torques
Step 1/2
Replace the water pump pulley. Then retighten the 4 screws first by hand.
Chapter 11:
Step 2/2
Now you need to put the serpentine belt back in place, in order to block the rotation of the pulley during the final tightening. Finish tightening the water pump pulley screws with the torque wrench.
Chapter 12:
Put the elements back
Step 1/2
Replace the air intake duct. Screw the two clamps back on.
Chapter 12:
Step 2/2
Replace the breather. Reconnect the battery.
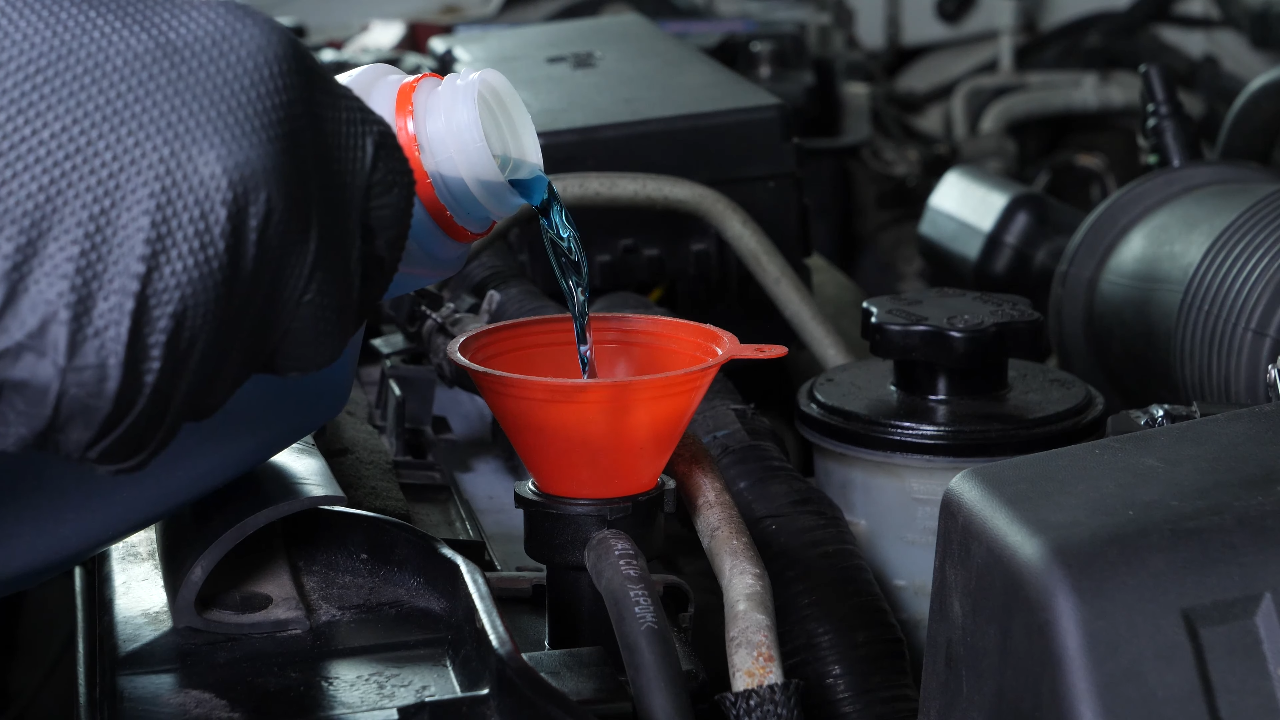
Chapter 13:
Add coolant
Step 1/2
Now you need to refill the radiator with coolant and purge any air from the circuit. To do this, we recommend that you watch our video: “How to perform a coolant flush on a Ford F150.” The video also shows how to expel air from the circuit when refilling it.

Chapter 13:
Step 2/2
Operation complete.