
How to replace the side rear view mirror 2006 – 2012 Ford Fusion 1
To replace the side rear view mirror on your Fusion 1 just follow the steps. You will be asked to open the door, remove the door trim, remove the side view mirror as well as carry out a few other steps. You can carry out this tutorial of 7 chapters in 45 minutes. Bring your 7 mm socket and your 11 mm socket and let’s get started!
Duration
45 minutes
Number of steps
7
Difficulty out of 5
2
Average savings
$75
Parts You Will Need
Tools You Will Need
Step-by-Step Installation
Chapter 1:
Open the door
Step 1/1
To change your car’s side view mirror, you have to take off the door trim. Open the door.


Chapter 2:
Disconnect the power window controls
Step 1/4
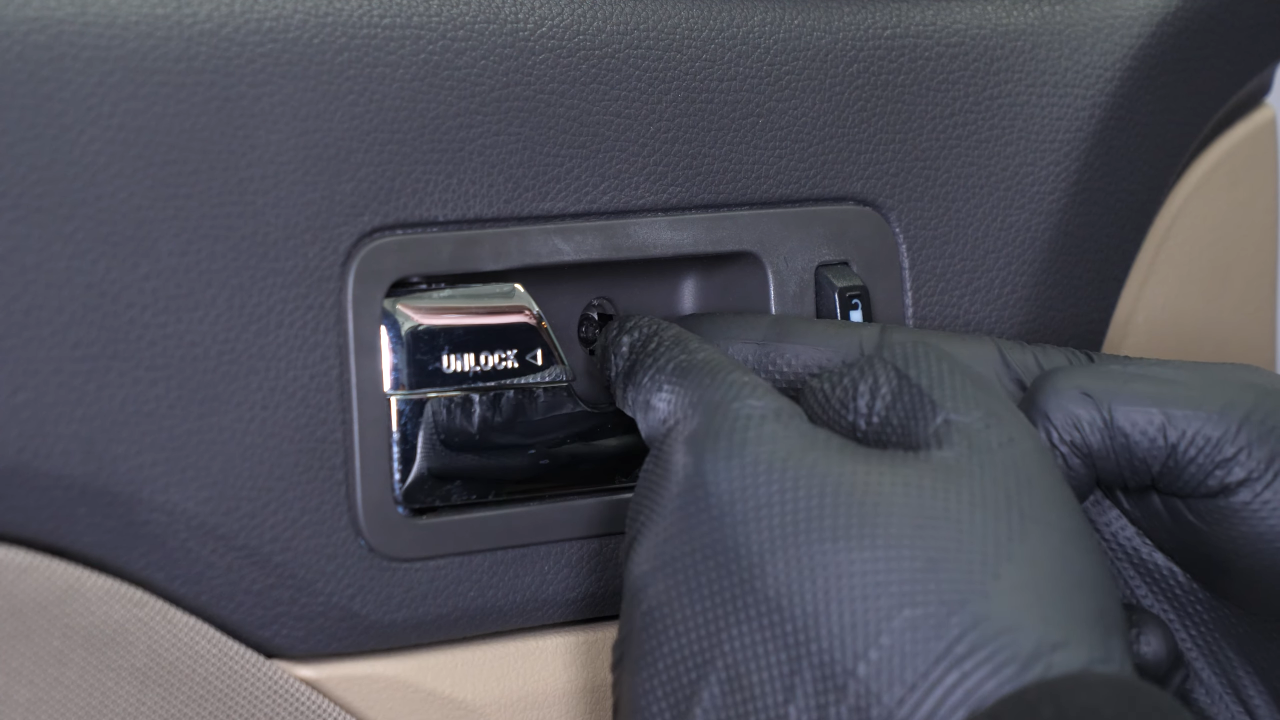
Using a bit multi-bit screwdriver and a 7 mm socket, unscrew the power window switch plastic trim holding screw.

Chapter 2:
Step 2/4
Remove the screw with a magnetic extender.

Chapter 2:
Step 3/4
Using a car trim removal tool, lift the power window controls plastic trim


Chapter 2:
Step 4/4
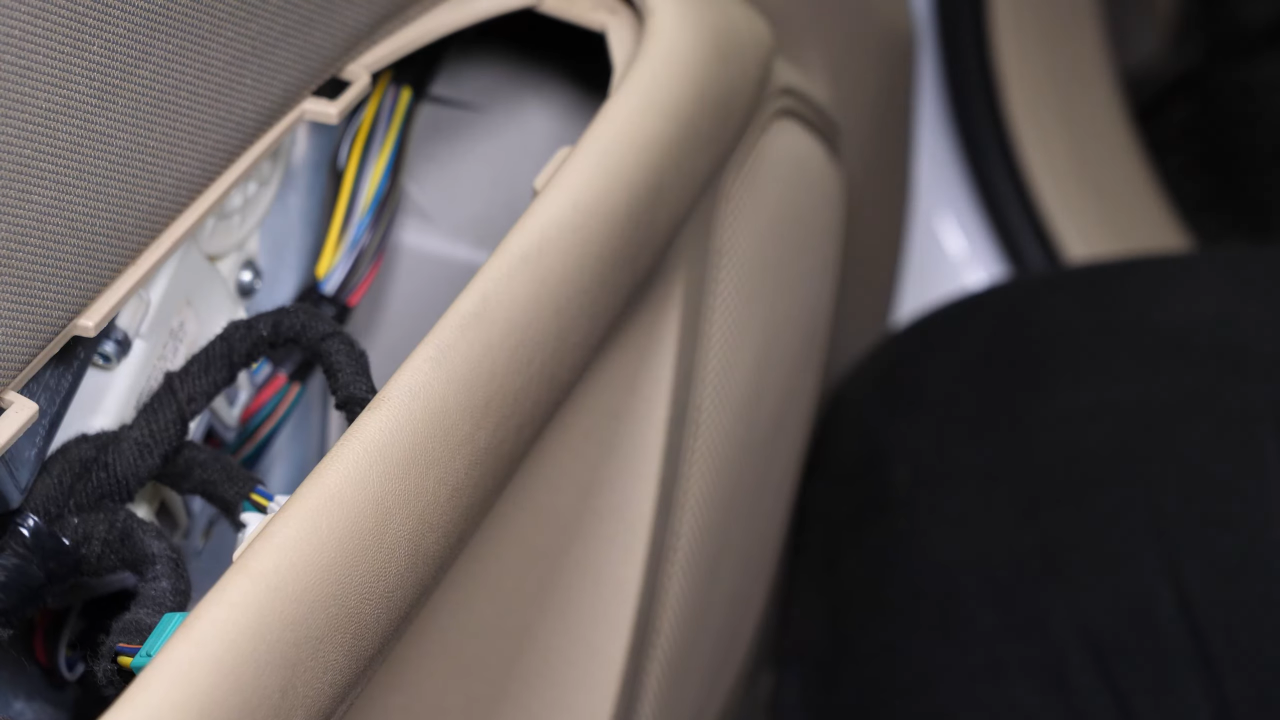
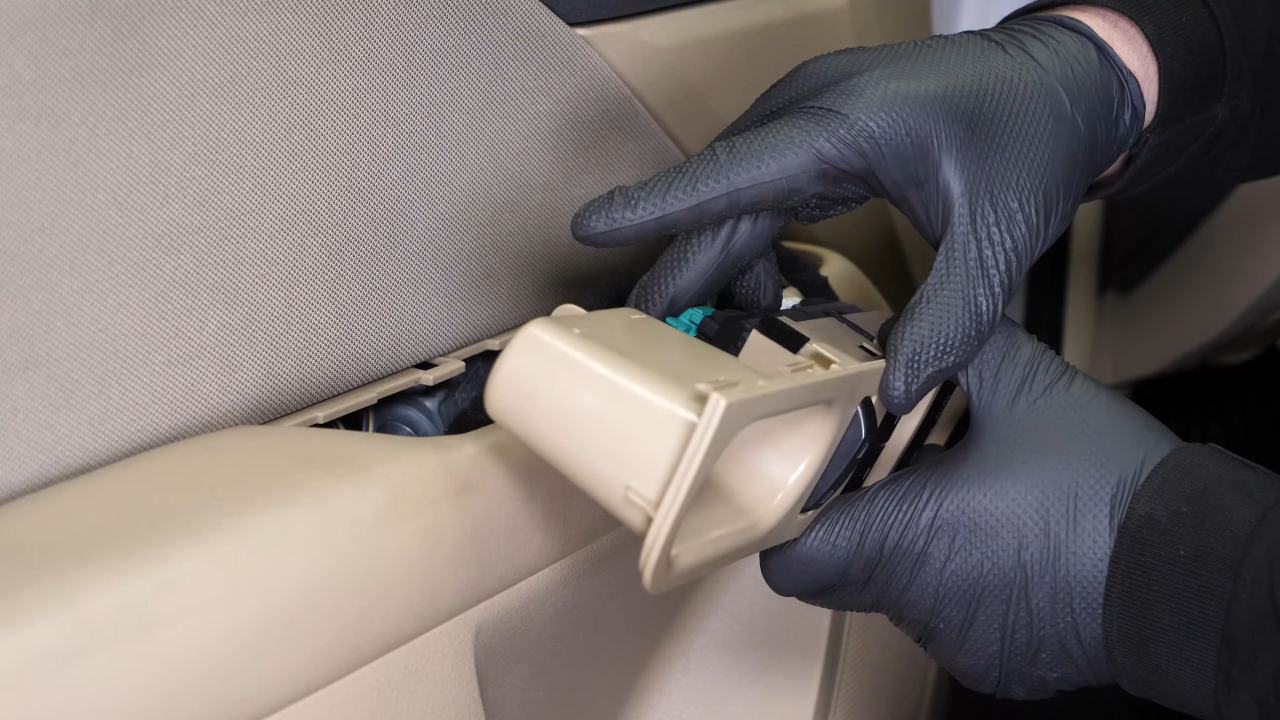
Once the trim has been removed, start by disconnecting the connectors from the master power window switch and side mirror controls by pressing the locking tabs.


Chapter 3:
Remove the door trim
Step 1/6
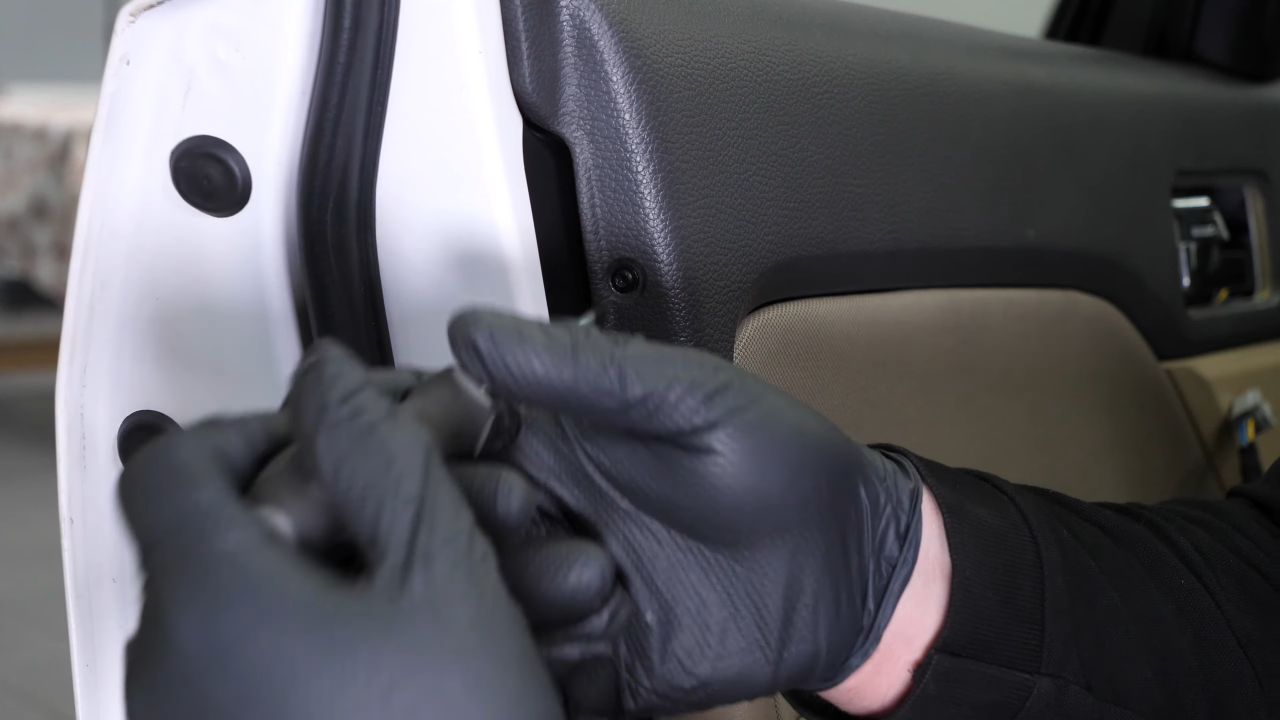
Using a small fork, remove the cover located in the door opening.


Chapter 3:
Step 2/6
Using a Torx T15 screwdriver, unscrew the first screw holding the door panel. Then remove the plastic trim.


Chapter 3:
Step 3/6
Disconnect the connector by pressing on the plastic tab and pulling it.


Chapter 3:
Step 4/6
Using a Torx T15 screwdriver, unscrew the two screws holding the door panel.


Chapter 3:
Step 5/6
Using a car trim removal tool, unclip the plastic trim panel from the door panel by prying it with the tool. Run along all 3 sides to disengage all clips.


Chapter 3:
Step 6/6
You can now remove the door panel by lifting it off the top track.


Chapter 4:
Remove the side view mirror
Step 1/5
Remove the plastic covering the side view mirror retaining bolts.


Chapter 4:
Step 2/5
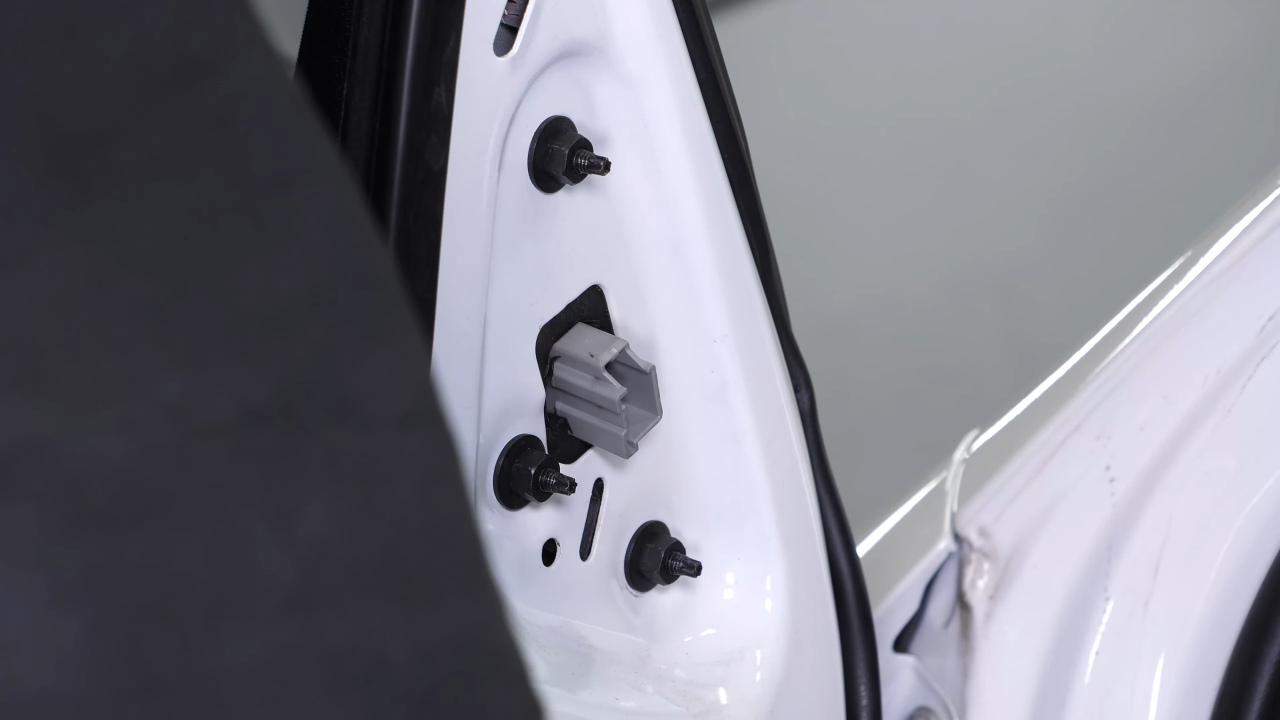
You now have access to the three retaining nuts of the side view mirror.

Chapter 4:
Step 3/5
Unclip the power connector from the side view mirror.

Chapter 4:
Step 4/5
Using a multi-bit screwdriver and a 11mm socket, unscrew the 3 holding nuts on the side view mirror. Take off the side view mirror.


Chapter 4:
Step 5/5
Using two flat head screwdrivers, remove the retaining clip.


Chapter 5:
Install the new side view mirror
Step 1/3
Take the new side view mirror. Remove the plastic ends supplied. Then put the retaining clip back in place.


Chapter 5:
Step 2/3
Insert the side view mirror into its housing. Then screw the 3 nuts back in, by hand at first.


Chapter 5:
Step 3/3
Finish off tightening with a ratchet.


Chapter 6:
Put the door trim back
Step 1/3
Plug the electrical connector back in. Put the plastic trim back on.


Chapter 6:
Step 2/3
Bring the inner door panel closer. Pass the connectors of the electric window and side mirror controls through the opening in the door panel.

Chapter 6:
Step 3/3
Start by sliding the upper part of the door panel into its rail, then press on the edge of the door panel to clip it securely into its slots. Then screw the lower door panel retaining screws back on.


Chapter 7:
Reconnect the power window controls
Step 1/5
Reconnect the connector into the door handle.

Chapter 7:
Step 2/5
You can now clip the plastic trim back onto the interior door handle. And screw it back on.


Chapter 7:
Step 3/5
Replace the plastic cover.

Chapter 7:
Step 4/5
Reconnect the connectors of the electric window and side mirror controls. Then clip the assembly back on.


Chapter 7:
Step 5/5
Retighten the retaining screw. Operation complete.
