
How to replace the tail light bulbs 2006 – 2012 Ford Fusion 1
To replace the tail light bulbs on your Fusion 1 just follow the steps. You will need to access to the tail lights, access the bulbs, finalise the reassembly as well as carry out a few other steps. You can carry out this tutorial of 6 chapters in 15 minutes. Bring your tutorial and your paper towels and let’s get started!
Duration
15 minutes
Number of steps
6
Difficulty out of 5
1
Average savings
$15
Parts You Will Need
Tools You Will Need
Step-by-Step Installation
Chapter 1:
Set up
Step 1/2
Turn your engine off, set the parking brake and press the trunk release button.


Chapter 1:
Step 2/2
Open the trunk.


Chapter 2:
Tips
Step 1/1
To increase the lifespan of the bulbs, we would suggest never touching the glass with your fingers or cleaning them carefully with paper towels before putting them back.
Chapter 3:
Access the bulbs
Step 1/2
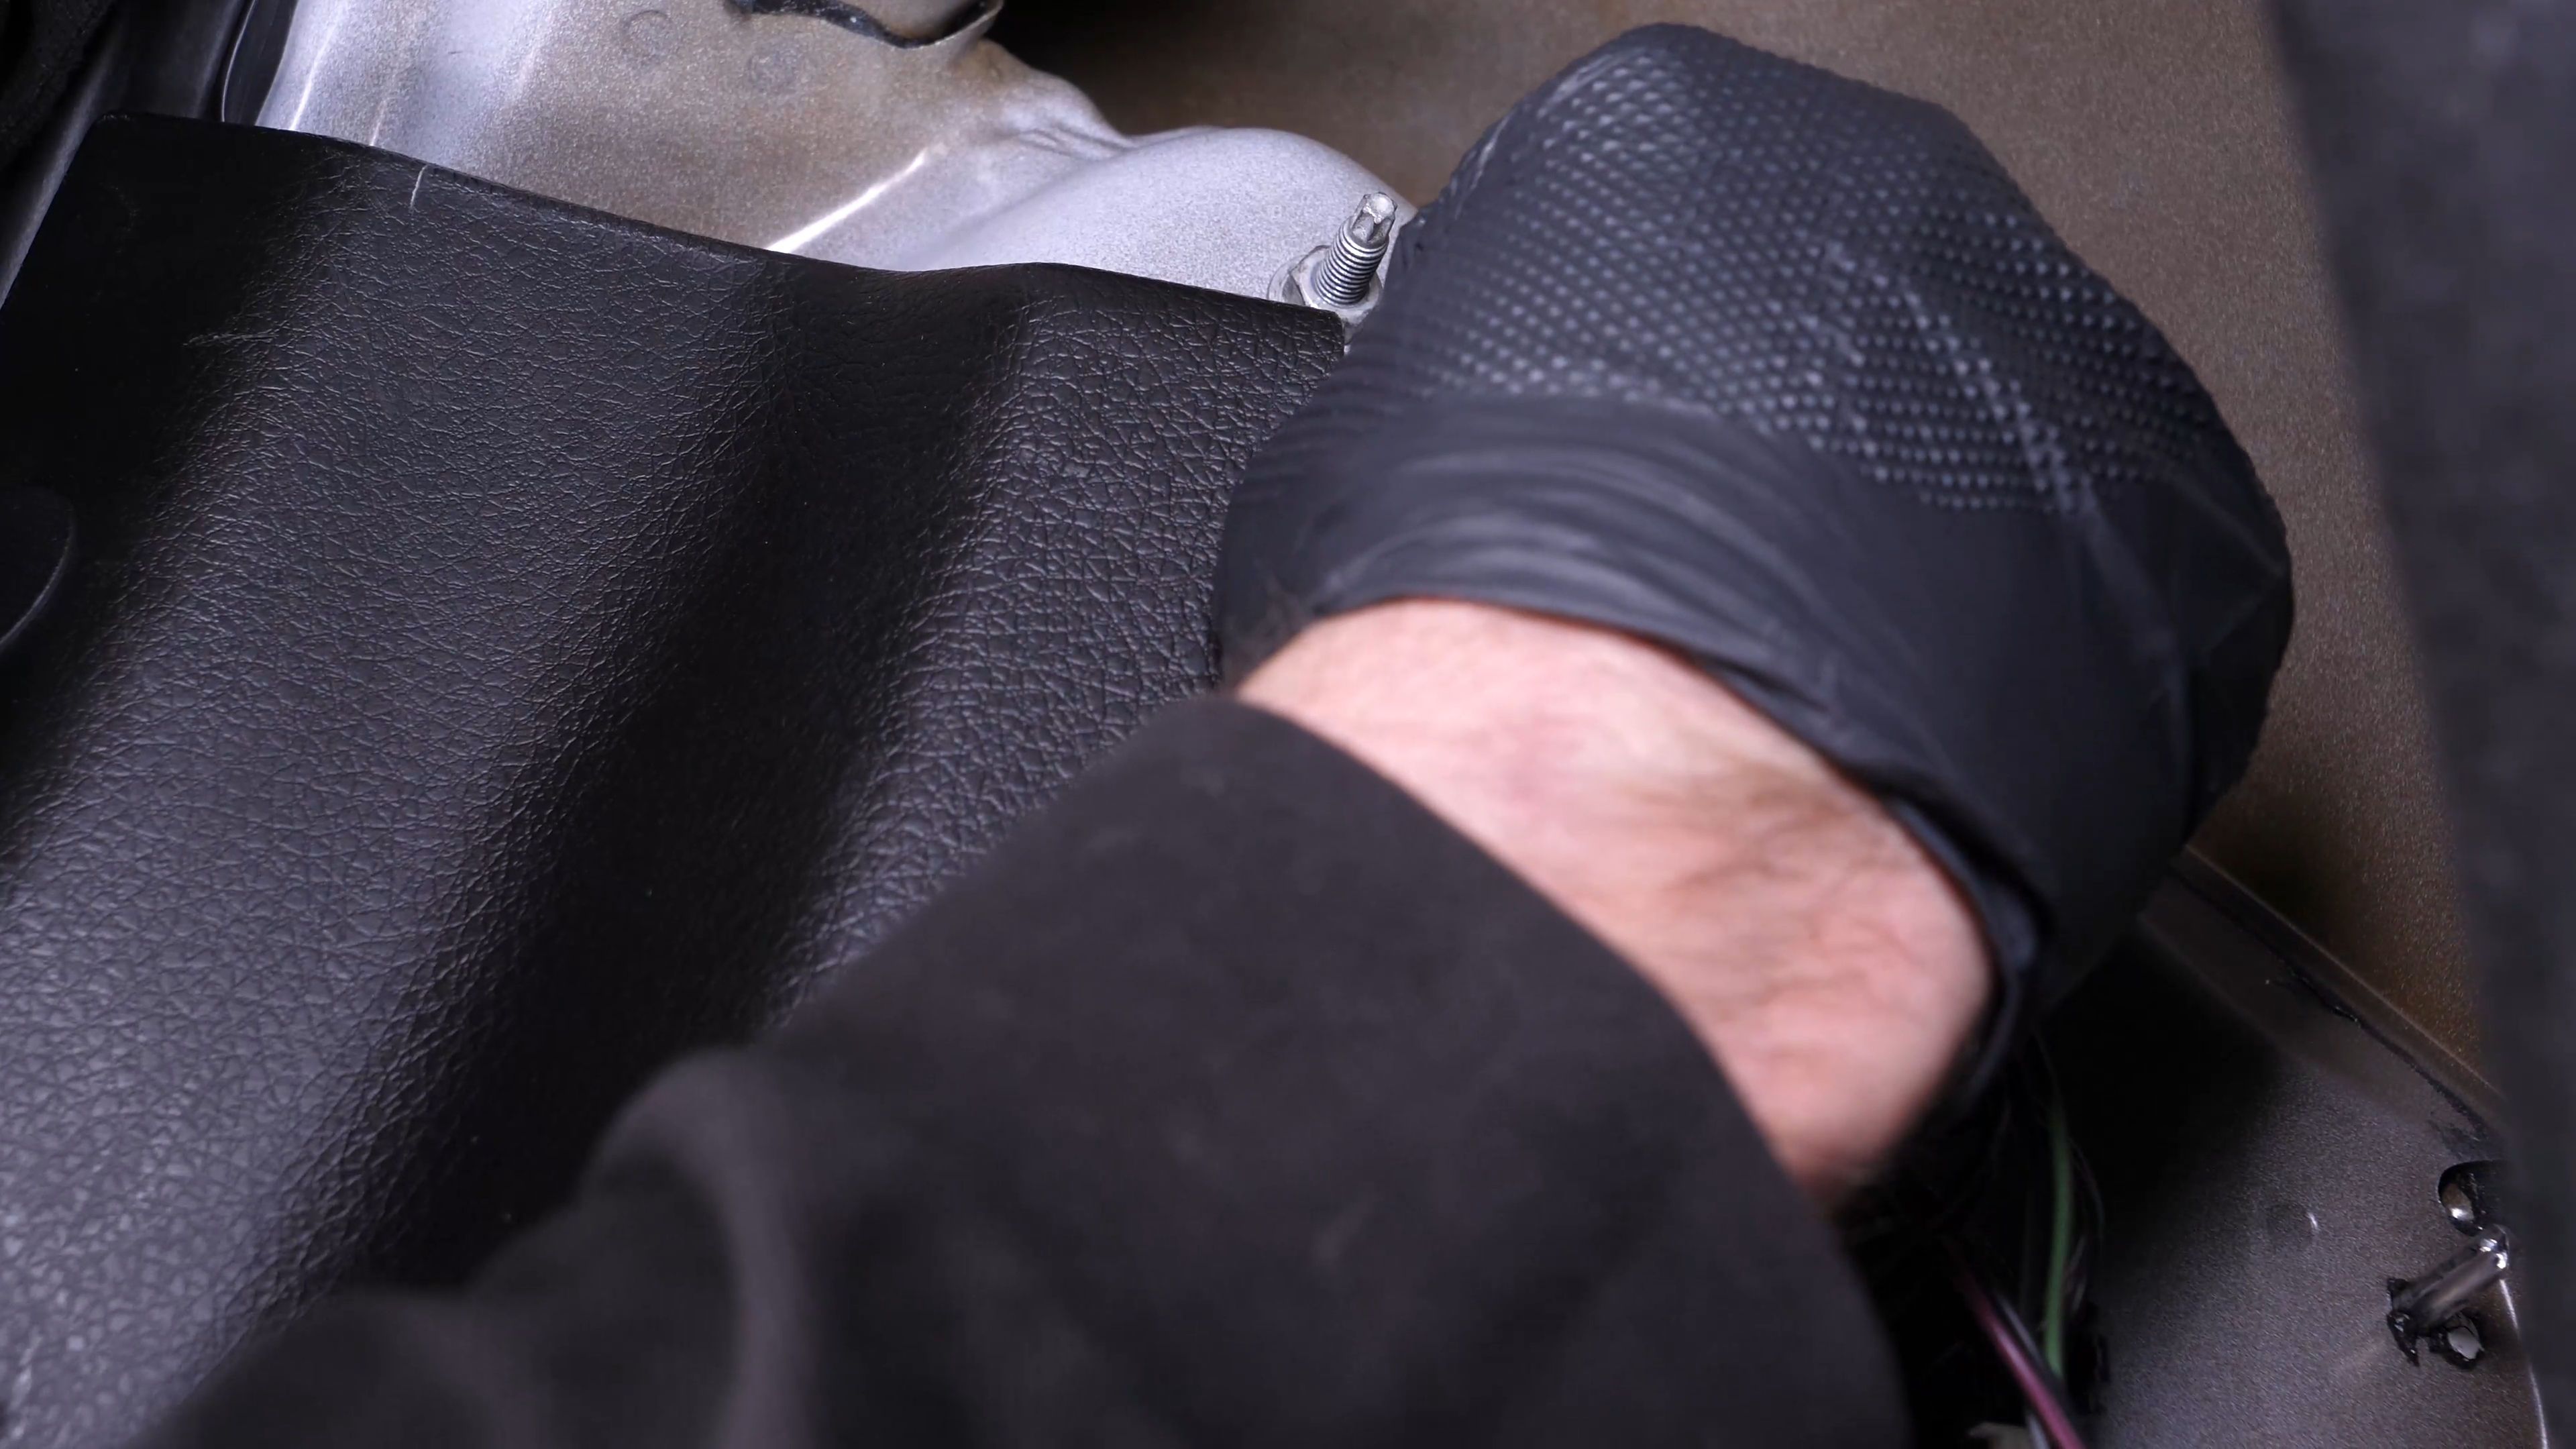
To access the tail light bulbs, unscrew the small plastic nut that holds the carpet by hand.

Chapter 3:
Step 2/2
Shift the trunk carpet.


Chapter 4:
Replace the brake light
Step 1/4
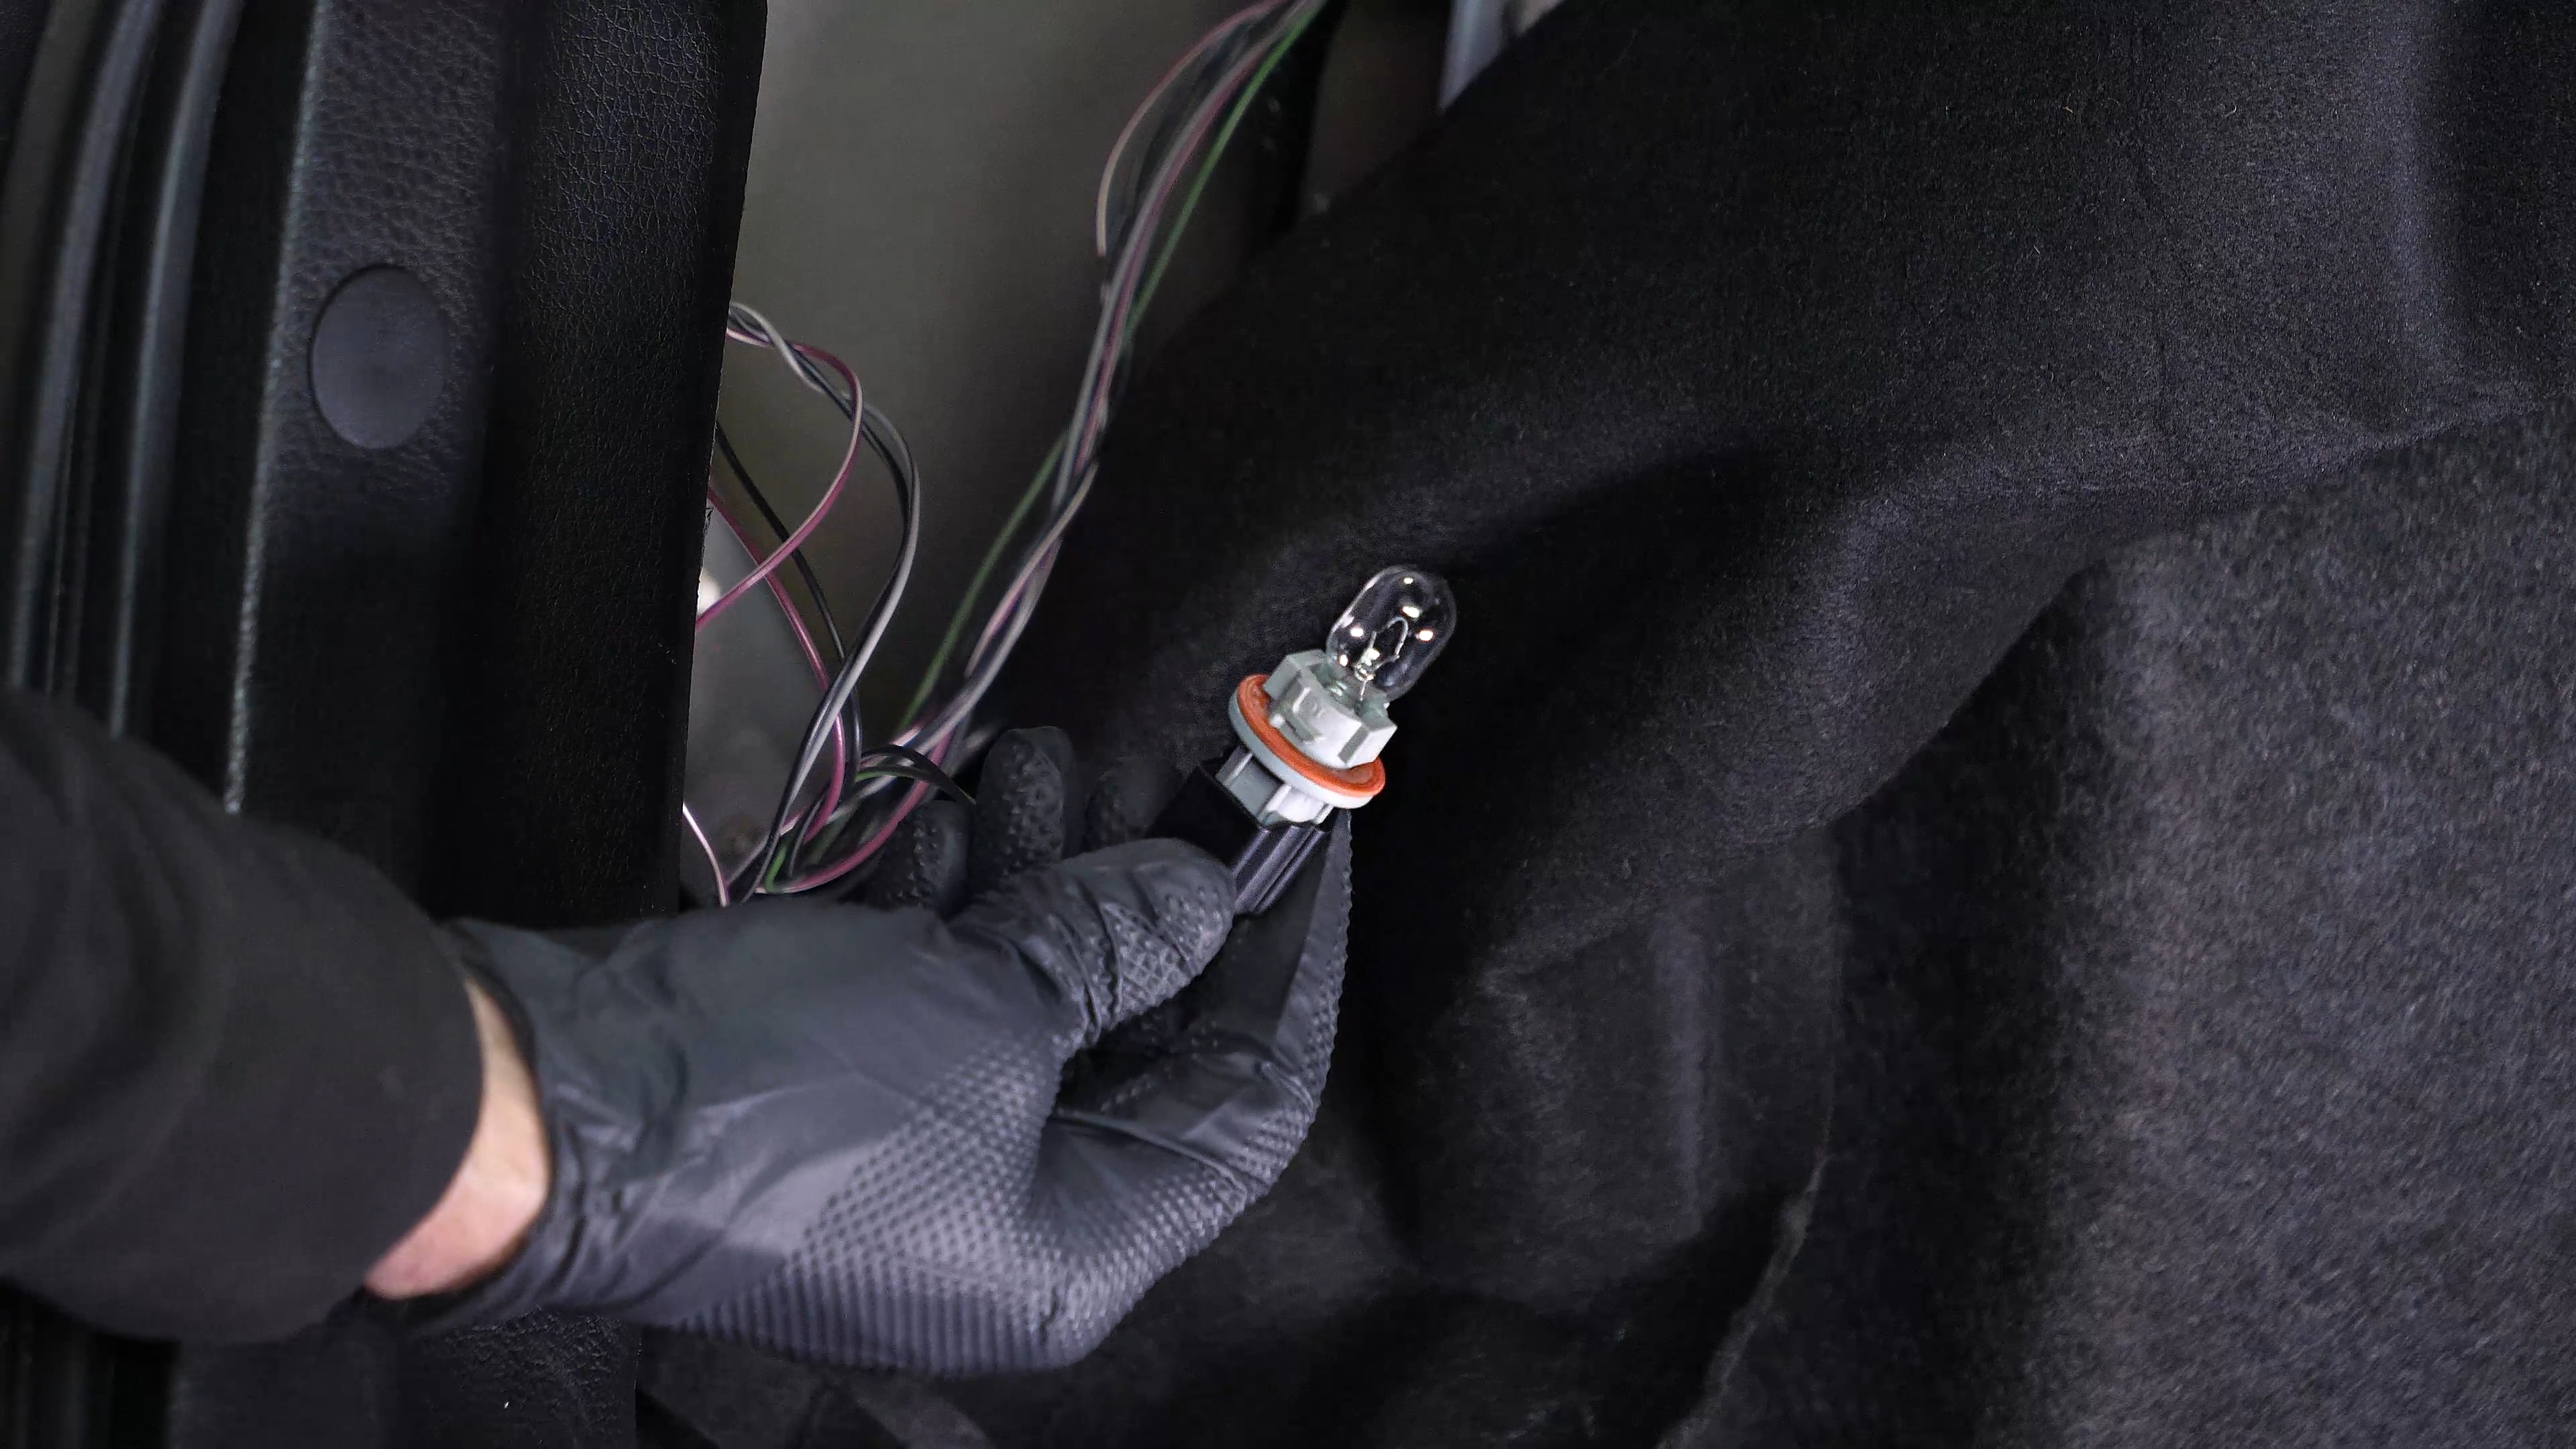
To remove the brake/taillight/turn signal bulb socket from the taillight housing, turn it counterclockwise and pull it out.


Chapter 4:
Step 2/4
Simply pull the bulb out to remove it.


Chapter 4:
Step 3/4
Take the new bulb. Put the new light bulb in the socket.


Chapter 4:
Step 4/4
Put the socket into the taillight housing and turn it clockwise to lock it in place.


Chapter 5:
Replace the reverse light bulb
Step 1/5
To remove the reverse light bulb socket from the taillight housing, turn it counterclockwise and pull it out.

Chapter 5:
Step 2/5
Simply pull the bulb out to remove it.

Chapter 5:
Step 3/5
Take the new bulb.

Chapter 5:
Step 4/5
Put the new light bulb in the socket.

Chapter 5:
Step 5/5
Put the socket into the taillight housing and turn it clockwise to lock it in place.


Chapter 6:
Finalise the reassembly
Step 1/2
Put the carpet back in place. Then, screw the nut back on.


Chapter 6:
Step 2/2
Operation complete.