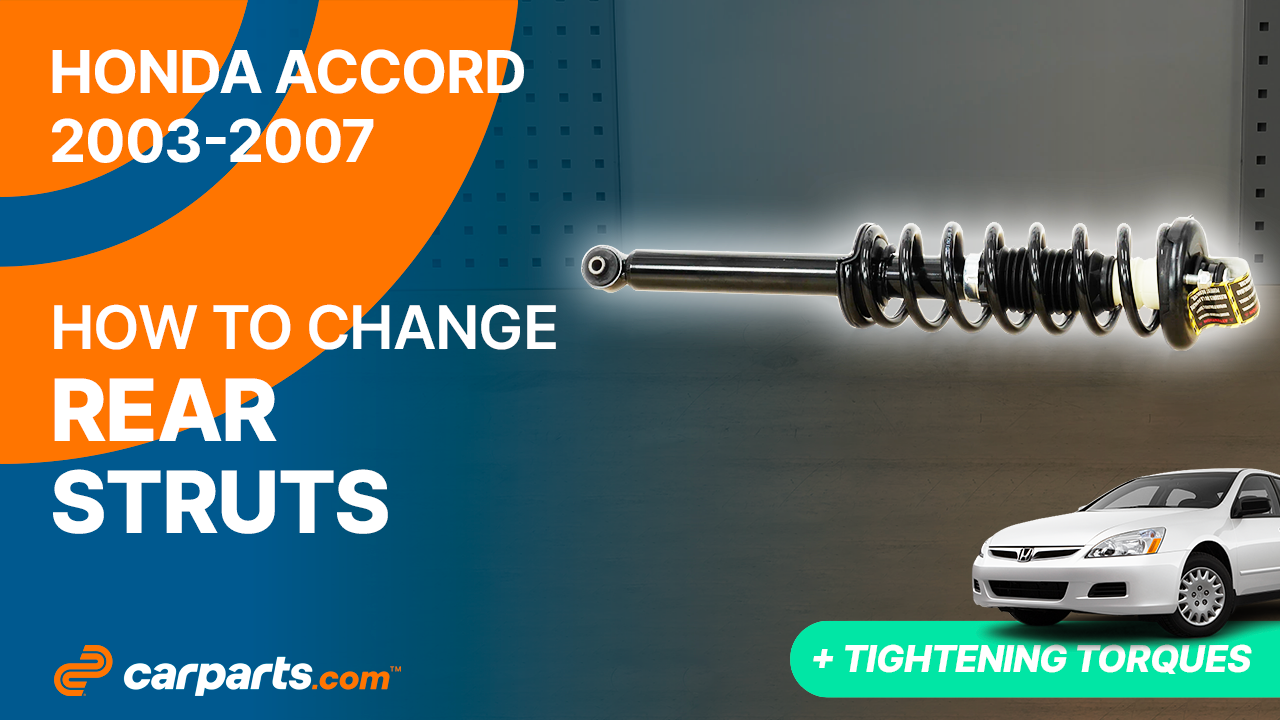
How to replace the rear shocks 2003-2007 Honda Accord
To replace the rear shocks on your Accord it couldnt’ be easier. You’ll need to lift the vehicle, unscrew the shock absorber foot, remove various components as well as carry out a few other steps. You can carry out this tutorial of 16 chapters in 80 minutes. Take your 14 mm socket and your 17 mm socket and let’s get started!
Duration
80 minutes
Number of steps
16
Difficulty out of 5
3
Average savings
$150
Parts You Will Need
Tools You Will Need
Step-by-Step Installation
Chapter 1:
Lift the vehicle
Step 1/4
Turn your engine off and set the parking brake.

Chapter 1:
Step 2/4
Loosen the wheel lug nuts on the rear wheels.

Chapter 1:
Step 3/4
Lift the rear of your vehicle. Place the vehicle on the jack stands.


Chapter 1:
Step 4/4
Don’t forget to put the wheels under the vehicle!


Chapter 2:
Visualise
Step 1/1
You can now see the shock absorber on your car.
Chapter 3:
Remove the cable from its housing
Step 1/1
Unclip the ABS sensor cable from its retaining tab.

Chapter 4:
Remove the sway bar end link
Step 1/3
The components to be removed are very often seized up, so don’t hesitate to brush and to use penetrating oil to make removal easier.


Chapter 4:
Step 2/3
Using a 17 mm wrench, a ratchet and a 5mm Allen socket, unscrew the upper ball joint retaining nut on the rear sway bar end link.


Chapter 4:
Step 3/3
Finish unscrewing by hand. Then remove the sway bar end link.


Chapter 5:
Unscrew the shock absorber foot
Step 1/2
Using a ratchet, an extender and a 17 mm socket, unscrew the strut foot retaining bolt. Then remove the bolt.


Chapter 5:
Step 2/2
Then unscrew the bolt holding the metal bracket to the wheel knuckle, using a ratchet and a 14 mm socket. Then move the bracket aside.


Chapter 6:
Remove various components
Step 1/6
To access your rear shock mount bearings, you need to remove the rear seat.
Chapter 6:
Step 2/6
Using a ratchet, an extender and a 10 mm socket, unscrew the mounting bolt from the bench seat.

Chapter 6:
Step 3/6
Pull on the seat cushion to unclip the two fasteners from their lockers.


Chapter 6:
Step 4/6
Using a ratchet, an extender and a 10 mm socket, unscrew the mounting bolt from the fixed part of the bench seat backrest.

Chapter 6:
Step 5/6
Insert the vehicle key into the lock on the rear parcel shelf to fold down the rear seat backrest.


Chapter 6:
Step 6/6
Lift the fixed part of the backrest and remove it.


Chapter 7:
Passenger side
Step 1/1
Do the same on the other side.
Chapter 8:
Unscrew the strut mount bearing nuts
Step 1/3
Remove the plastic cover.

Chapter 8:
Step 2/3
You can now access the upper strut mounts.

Chapter 8:
Step 3/3
Using a ratchet and a 14 mm socket, unscrew the first upper strut mount retaining nut. Then unscrew the second nut using an extender and a gimbal.


Chapter 9:
Remove the strut
Step 1/3
While holding the strut, use a large flat head screwdriver to pry it out of the wheel knuckle.


Chapter 9:
Step 2/3
The strut is now free. You can now take extract the strut.


Chapter 9:
Step 3/3
Take your time, using the technique shown in the video
Chapter 10:
Prepare the new strut
Step 1/2
Take your new strut.

Chapter 10:
Step 2/2
Unscrew the 2 nuts holding the strut mount bearing.


Chapter 11:
Install the new strut
Step 1/8
Insert the strut starting from the top part.

Chapter 11:
Step 2/8
Then loosely screw the 2 nuts back on so that there is enough slack for the next operations.


Chapter 11:
Step 3/8
Next, insert the strut foot into the wheel knuckle by prying it with a long iron bar.


Chapter 11:
Step 4/8
Hold the assembly in place by roughly inserting the strut foot retaining bolt.

Chapter 11:
Step 5/8
Replace the bracket.

Chapter 11:
Step 6/8
Screw the bracket retaining bolt back on.

Chapter 11:
Step 7/8
Once in place, screw the bolt holding the bracket back on.

Chapter 11:
Step 8/8
Screw the strut foot bolt back on until it makes contact.

Chapter 12:
Tightening tips
Step 1/5
In order not to damage the bushings, it is necessary to tighten the strut holding bolt with the rear axle in the “vehicle on the ground” position.

Chapter 12:
Step 2/5
Finish tightening using a torque wrench.

Chapter 12:
Step 3/5
Screw the 2 nuts holding the bearing back on until they make contact.


Chapter 12:
Step 4/5
Finish tightening using a torque wrench.

Chapter 12:
Step 5/5
Remove the jack.


Chapter 13:
Install the sway bar end link
Step 1/2
Screw the nut of the upper ball joint of the sway bar end link back on.

Chapter 13:
Step 2/2
Finish tightening using a torque wrench.

Chapter 14:
Reclip the cable in its housing
Step 1/1
Replace the ABS sensor cable in its slot.
Chapter 15:
Put the components back in place
Step 1/5
Replace the plastic cover.

Chapter 15:
Step 2/5
Put the fixed part of the backrest back in place, making sure to insert the mounting brackets correctly into their slots. Then, retighten the retaining bolt.


Chapter 15:
Step 3/5
Do the same on the other side. Reinsert the cushion correctly.


Chapter 15:
Step 4/5
Remember to fit the seatbelt buckles beforehand.


Chapter 15:
Step 5/5
You can then screw the bolt back in using a ratchet.

Chapter 16:
Put the vehicle back on the ground
Step 1/3
Then, you will be able to put the wheels back on your vehicle.


Chapter 16:
Step 2/3
Put the car back on the ground and block the wheels properly.


Chapter 16:
Step 3/3
Operation complete.