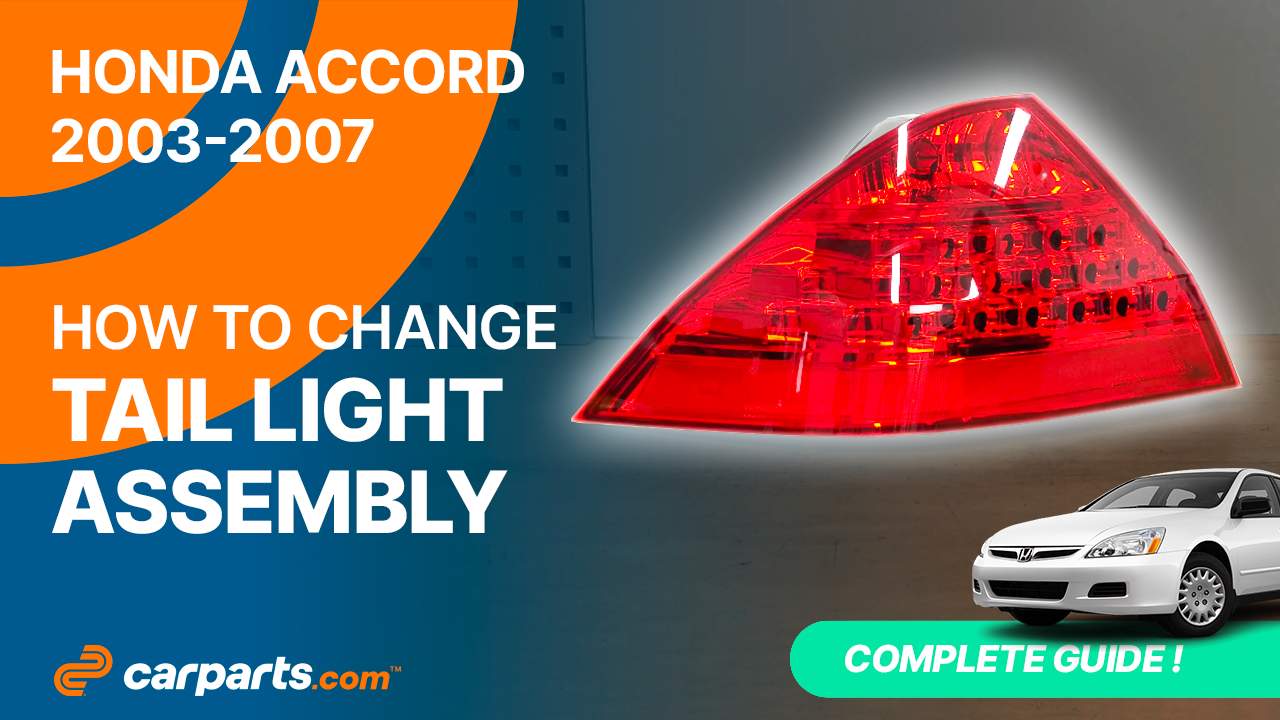
How to replace the tail light assembly 2003-2007 Honda Accord
To replace the tail light assembly on your Accord it couldnt’ be easier. You will be asked to open the hood, disconnect the battery, remove the bumper cover as well as carry out a few other steps. You can carry out this tutorial of 11 chapters in 45 minutes. Take your 8 mm socket and your 10 mm socket and let’s get started!
Duration
45 minutes
Number of steps
11
Difficulty out of 5
2
Average savings
$50
Parts You Will Need
Tools You Will Need
Step-by-Step Installation
Chapter 1:
Open the hood
Step 1/1
Turn off the ignition, set the parking brake. Pull on the hood release lever and open the hood.


Chapter 2:
Disconnect the battery
Step 1/1
For safety reasons, we advise you to disconnect the battery.


Chapter 3:
Access the tail light housing
Step 1/2
Pull on the trunk release handle, and open the trunk.


Chapter 3:
Step 2/2
In order to change the taillight on your vehicle, you will need to remove the rear bumper cover to have full access.


Chapter 4:
Set up
Step 1/2
Unscrew the plastic rivet that holds the trunk carpet using a Phillips screwdriver and then remove it with a flat head screwdriver. Then shift the trunk carpet.


Chapter 4:
Step 2/2
Disconnect the electrical connectors from the taillight assembly.


Chapter 5:
Remove the tail light housing
Step 1/4
Using a ratchet and an 8 mm socket, unscrew the 4 taillight retaining nuts.


Chapter 5:
Step 2/4
Using a Phillips screwdriver, unscrew the screw holding the tail light to the metal bracket.

Chapter 5:
Step 3/4
Using a ratchet and a 10 mm socket, unscrew the two bolts holding the metal bracket to the body.


Chapter 5:
Step 4/4
You can now remove the light.


Chapter 6:
Disconnect the tail light
Step 1/5
Start by removing the seal. Next, using a Phillips screwdriver, unscrew the 4 screws holding the LED module’s plastic cover.


Chapter 6:
Step 2/5
Disconnect the LED module’s power connectors. Then remove the cables from the plastic cover.


Chapter 6:
Step 3/5
Remove the plastic cover and the LED module. Then disassemble the whole.


Chapter 6:
Step 4/5
Disconnect the LED module’s power connectors. Then remove the cables from their guide.


Chapter 6:
Step 5/5
You can now remove the LED module. Retrieve the tail light bulb if not supplied with the new one.


Chapter 7:
Reconnect the tail light
Step 1/10
Take the new tail light.

Chapter 7:
Step 2/10
Remove the new seal.


Chapter 7:
Step 3/10
Put the socket into the taillight housing and turn it clockwise to lock it in place.


Chapter 7:
Step 4/10
Take the LED module.

Chapter 7:
Step 5/10
Reconnect the LED module’s electrical connectors.

Chapter 7:
Step 6/10
Clip the cables back into their guide. Then put the module back into the plastic cover.


Chapter 7:
Step 7/10
Reinsert the assembly into the tail light.


Chapter 7:
Step 8/10
Reconnect the electrical connection.

Chapter 7:
Step 9/10
Clip the cables back into the plastic cover. Then, screw the 4 retaining screws back in.


Chapter 7:
Step 10/10
Put the seal back in place.


Chapter 8:
Put the tail light housing back
Step 1/3
Put the light back in.

Chapter 8:
Step 2/3
Screw the 4 taillight retaining nuts back on.


Chapter 8:
Step 3/3
Put the metal bracket back in place. Then screw the 2 bolts back on. Then, retighten the retaining screw.


Chapter 9:
Finalise the reassembly
Step 1/2
Reconnect the electrical connectors to the taillight assembly.

Chapter 9:
Step 2/2
Put the trunk carpet back in place. Put the rivet back in place.


Chapter 10:
Reinstall the bumper cover
Step 1/1
Put the rear bumper cover back in place.


Chapter 11:
Reconnect the battery
Step 1/2
Reconnect the battery.

Chapter 11:
Step 2/2
Operation complete.
