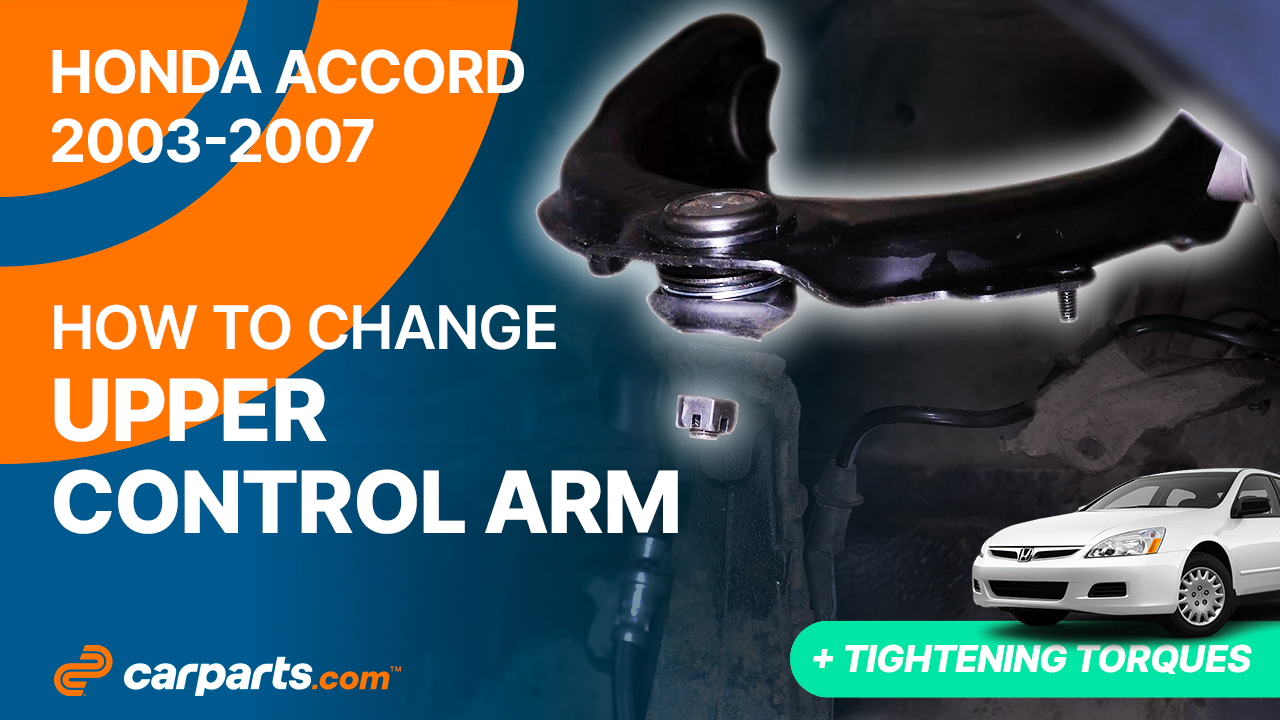
How to replace the upper control arms 2003-2007 Honda Accord
To replace the upper control arms on your Accord this tutorial was tailor-made for you. You’ll need to lift the vehicle, take off the wheels, remove the control arm as well as carry out a few other steps. You can carry out this tutorial of 15 chapters in 90 minutes. Take your 14 mm socket and your forked ball joint puller and let’s get started!
Duration
90 minutes
Number of steps
15
Difficulty out of 5
3
Average savings
$110
Parts You Will Need
Tools You Will Need
Step-by-Step Installation
Chapter 1:
Turn off your vehicle’s ignition
Step 1/1
Turn your engine off and set the parking brake.


Chapter 2:
Measure
Step 1/1
Before lifting your vehicle, it is necessary to measure the distance between the centre of your wheel and the wheel arch. This will allow you to achieve an optimal tightening of the parts in their initial position.


Chapter 3:
Lift the vehicle
Step 1/3
Loosen the stud bolts on the front wheels.

Chapter 3:
Step 2/3
Lift the front of your vehicle. Place the vehicle on the jack stands.


Chapter 3:
Step 3/3
Don’t forget to put the wheels under the vehicle!


Chapter 4:
Remove the strut
Step 1/1
To gain access to the two bolts in the upper control arm bushings, it is necessary to remove the strut.


Chapter 5:
Set up
Step 1/2
Once the strut has been removed, brush the nut holding the ABS sensor harness bracket to the upper control arm, and spray it with penetrating oil.


Chapter 5:
Step 2/2
Using a ratchet and a 10 mm socket, unscrew the nut holding the harness bracket. Then remove the bracket.


Chapter 6:
Remove the control arm ball joint
Step 1/5
You must then disengage the upper control arm ball joint from the wheel knuckle.

Chapter 6:
Step 2/5
Brush the upper control arm ball joint retainer nut and spray it with penetrating oil.


Chapter 6:
Step 3/5
Release the ball joint with a ratchet and a 14mm socket.

Chapter 6:
Step 4/5
Finish unscrewing by hand.

Chapter 6:
Step 5/5
Disengage the ball joint from its knuckle using a forked ball joint puller and a hammer.


Chapter 7:
Remove the upper control arm
Step 1/3
You now have access to the two bushings bolts of the upper control arm. Using a ratchet and a 14 mm socket, unscrew the two bolts holding the upper control arm.


Chapter 7:
Step 2/3
Finish unscrewing by hand.


Chapter 7:
Step 3/3
You can now remove the upper control arm by pulling it towards you and moving it back and forth.


Chapter 8:
Set up the new control arm
Step 1/2
Brush and grease the control arm area to facilitate its installation.


Chapter 8:
Step 2/2
Unscrew the ball joint retaining nut.

Chapter 9:
Install the new upper control arm
Step 1/2
Take the control arm. Then install it.


Chapter 9:
Step 2/2
Reinsert the bushings retaining bolts by hand until they make contact. It is important that the control arm slides easily in their slots, before a final tightening is carried out.


Chapter 10:
Put the control arm ball joint back
Step 1/5
Using a wire brush, scrub the knuckle of the wheel knuckle, then apply silicone grease to the flat part that will be in contact with the upper control arm ball joint sleeve. Do not grease the inside of the cone.


Chapter 10:
Step 2/5
Reinsert the ball joint, then screw the castle nut back on. Finish tightening using a torque wrench.


Chapter 10:
Step 3/5
Finish tightening using the wrench.

Chapter 10:
Step 4/5
Take the cotter pin and fit it into the castle nut.

Chapter 10:
Step 5/5
Use a screwdriver to bend the cotter pin around the castle nut.

Chapter 11:
Put the components back in place
Step 1/1
Put the metal bracket of the ABS sensor harness back on the upper control arm, then screw it back on.


Chapter 12:
Tightening tips
Step 1/4
In order not to cause damage, it is necessary to tighten the front retaining bolts in the “vehicle on the ground” position. Lift the wheel knuckle with the jack until the original measurement between the center of the wheel and the wheel arch is reached.


Chapter 12:
Step 2/4
Complete then the tightening of the holding bolts.

Chapter 12:
Step 3/4
Finish the tightening of the bolts with a torque wrench.


Chapter 12:
Step 4/4
Remove the jack.

Chapter 13:
Put the strut back
Step 1/1
Now you need to reinstall the strut.


Chapter 14:
Put the vehicle back on the ground
Step 1/2
Then, you will be able to put the wheels back on your vehicle.


Chapter 14:
Step 2/2
Put your vehicle back on the ground before properly fixing the wheels in place.


Chapter 15:
Safety tips
Step 1/2
During this operation, you will be intervening on the front axle of your car, so it is advisable to perform a wheel alignment afterwards.

Chapter 15:
Step 2/2
Operation complete.
