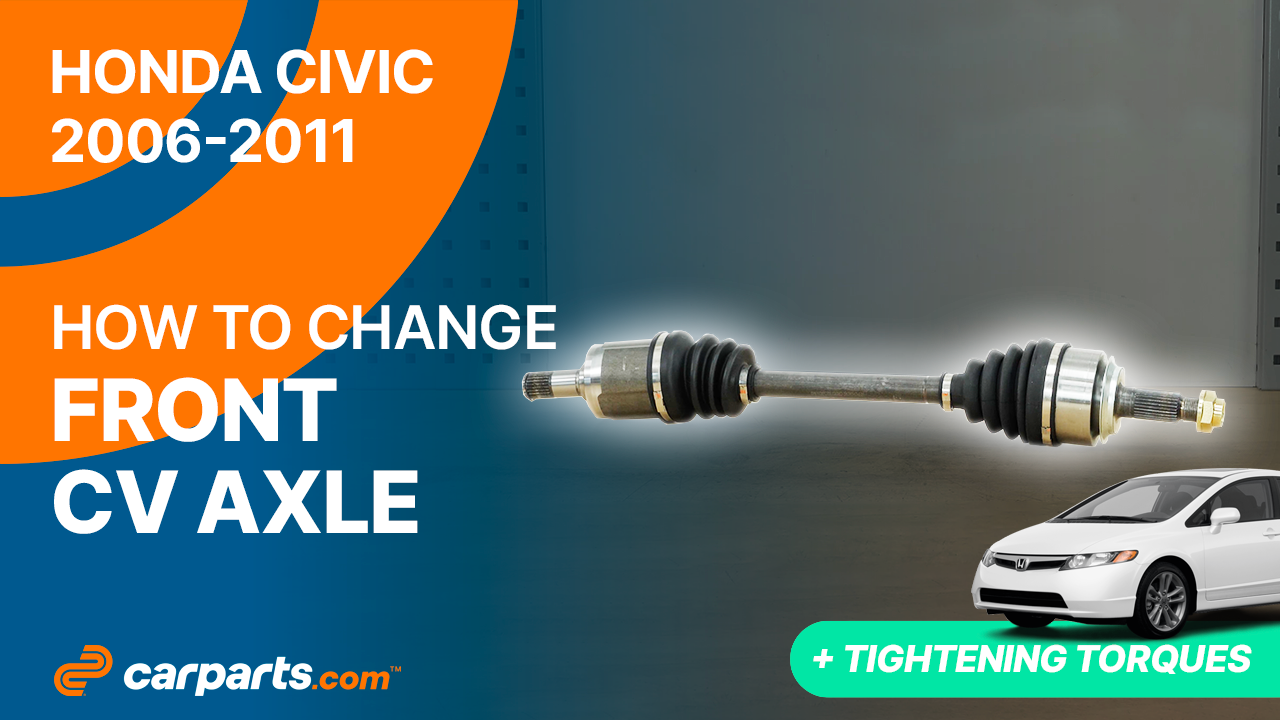
How to replace the front CV Axle 2006-2011 Honda Civic
To replace the front CV Axle on your Civic this tutorial was tailor-made for you. You will be asked to lift the vehicle, set up, remove the cv axle as well as carry out a few other steps. You can carry out this tutorial of 9 chapters in 90 minutes. Bring your 17 mm wrench and your 21 mm socket and let’s get started!
Duration
90 minutes
Number of steps
9
Difficulty out of 5
4
Average savings
$130
Parts You Will Need
Tools You Will Need
Step-by-Step Installation
Chapter 1:
Unscrew the wheel hub nut
Step 1/2
Loosen the wheel lug nuts on the side of the CV axle you want to replace.

Chapter 1:
Step 2/2
Use a breaker bar and a 32mm socket to unblock the nut on the end of the CV axle.

Chapter 2:
Set up
Step 1/2
Using needle-nose pliers, unclip the ABS sensor cable from the strut foot.

Chapter 2:
Step 2/2
Using a ratchet and a 13 mm socket, unscrew the bolt securing the brake hose clamp.


Chapter 3:
Remove the wheel knuckle
Step 1/5
It is necessary to support the lower control arm with a jack to prevent the wheel knuckle from falling.

Chapter 3:
Step 2/5
Finish unscrewing the nut on the end of the CV axle.


Chapter 3:
Step 3/5
Next, using a ratchet, a 21mm socket and a 17mm wrench to prevent the bolt from rotating, unscrew the strut foot nuts. Then remove the bolts.


Chapter 3:
Step 4/5
Separate the strut foot from the wheel knuckle.


Chapter 3:
Step 5/5
The wheel knuckle is now free.

Chapter 4:
Remove the CV axle
Step 1/5
You can now remove the CV axle from the hub by pulling on the wheel knuckle.


Chapter 4:
Step 2/5
Now you need to disengage the CV from the gearbox.

Chapter 4:
Step 3/5
Use a crowbar to pry the CV axle out of the gearbox.

Chapter 4:
Step 4/5
Be careful not to damage the gearbox housing when prying. Then pull the CV axle out completely.

Chapter 4:
Step 5/5
It might prove difficult to extract.


Chapter 5:
Install the new CV axle
Step 1/3
Take the new CV axle and unscrew the nut supplied with it.


Chapter 5:
Step 2/3
Reinsert the CV axle into the gearbox.

Chapter 5:
Step 3/3
Make sure the CV axle is properly inserted in the gearbox. Fully reinsert the CV axle into the wheel hub assembly.


Chapter 6:
Put the wheel knuckle back in
Step 1/5
Before you put the strut foot back in place, remember to pass the brake hose over the wheel knuckle.

Chapter 6:
Step 2/5
Insert the wheel knuckle into the strut foot. Replace the bolts.


Chapter 6:
Step 3/5
Remove the jack.

Chapter 6:
Step 4/5
Screw the strut foot nuts back on until they make contact, using a ratchet, a 21mm socket, and a 17mm wrench to prevent the bolt from rotating.


Chapter 6:
Step 5/5
Finish tightening using a torque wrench.


Chapter 7:
Screw the wheel hub nut
Step 1/3
Roughly put the hub nut back in place. And screw it back in with a ratchet until it makes contact.

Chapter 7:
Step 2/3
Ask another person to press the brake pedal.

Chapter 7:
Step 3/3
Finish tightening the hub nut with a torque wrench.

Chapter 8:
Finalise the reassembly
Step 1/2
Screw the brake hose mounting bracket back on.


Chapter 8:
Step 2/2
Replace the ABS sensor cable in its slot.

Chapter 9:
Put the vehicle back on the ground
Step 1/3
Then, you will be able to put the wheel back on your vehicle.


Chapter 9:
Step 2/3
Put the car back on the ground and block the wheel properly.

Chapter 9:
Step 3/3
Operation complete.

Chapter 1:
Unscrew the wheel hub nut
Step 1/2
Loosen the wheel lug nuts on the side of the CV axle you want to replace.
Chapter 1:
Step 2/2
Use a breaker bar and a 32mm socket to unblock the nut on the end of the CV axle.
Chapter 2:
Set up
Step 1/2
Using needle-nose pliers, unclip the ABS sensor cable from the strut foot.
Chapter 2:
Step 2/2
Using a ratchet and a 13 mm socket, unscrew the bolt securing the brake hose clamp.
Chapter 3:
Remove the wheel knuckle
Step 1/5
It is necessary to support the lower control arm with a jack to prevent the wheel knuckle from falling.
Chapter 3:
Step 2/5
Finish unscrewing the nut on the end of the CV axle.
Chapter 3:
Step 3/5
Next, using a ratchet, a 21mm socket and a 17mm wrench to prevent the bolt from rotating, unscrew the strut foot nuts. Then remove the bolts.
Chapter 3:
Step 4/5
Separate the strut foot from the wheel knuckle.
Chapter 3:
Step 5/5
The wheel knuckle is now free.
Chapter 4:
Remove the CV axle
Step 1/5
You can now remove the CV axle from the hub by pulling on the wheel knuckle.
Chapter 4:
Step 2/5
Now you need to disengage the CV from the gearbox.
Chapter 4:
Step 3/5
Use a crowbar to pry the CV axle out of the gearbox.
Chapter 4:
Step 4/5
Be careful not to damage the gearbox housing when prying. Then pull the CV axle out completely.
Chapter 4:
Step 5/5
It might prove difficult to extract.
Chapter 5:
Install the new CV axle
Step 1/3
Take the new CV axle and unscrew the nut supplied with it.
Chapter 5:
Step 2/3
Reinsert the CV axle into the gearbox.
Chapter 5:
Step 3/3
Make sure the CV axle is properly inserted in the gearbox. Fully reinsert the CV axle into the wheel hub assembly.
Chapter 6:
Put the wheel knuckle back in
Step 1/5
Before you put the strut foot back in place, remember to pass the brake hose over the wheel knuckle.
Chapter 6:
Step 2/5
Insert the wheel knuckle into the strut foot. Replace the bolts.
Chapter 6:
Step 3/5
Remove the jack.
Chapter 6:
Step 4/5
Screw the strut foot nuts back on until they make contact, using a ratchet, a 21mm socket, and a 17mm wrench to prevent the bolt from rotating.
Chapter 6:
Step 5/5
Finish tightening using a torque wrench.
Chapter 7:
Screw the wheel hub nut
Step 1/3
Roughly put the hub nut back in place. And screw it back in with a ratchet until it makes contact.
Chapter 7:
Step 2/3
Ask another person to press the brake pedal.
Chapter 7:
Step 3/3
Finish tightening the hub nut with a torque wrench.
Chapter 8:
Finalise the reassembly
Step 1/2
Screw the brake hose mounting bracket back on.
Chapter 8:
Step 2/2
Replace the ABS sensor cable in its slot.
Chapter 9:
Put the vehicle back on the ground
Step 1/3
Then, you will be able to put the wheel back on your vehicle.
Chapter 9:
Step 2/3
Put the car back on the ground and block the wheel properly.
Chapter 9:
Step 3/3
Operation complete.
Chapter 1:
Unscrew the wheel hub nut
Step 1/2
Loosen the wheel lug nuts on the side of the CV axle you want to replace.
Chapter 1:
Step 2/2
Use a breaker bar and a 32mm socket to unblock the nut on the end of the CV axle.
Chapter 2:
Set up
Step 1/2
Using needle-nose pliers, unclip the ABS sensor cable from the strut foot.
Chapter 2:
Step 2/2
Using a ratchet and a 13 mm socket, unscrew the bolt securing the brake hose clamp.
Chapter 3:
Remove the wheel knuckle
Step 1/5
It is necessary to support the lower control arm with a jack to prevent the wheel knuckle from falling.
Chapter 3:
Step 2/5
Finish unscrewing the nut on the end of the CV axle.
Chapter 3:
Step 3/5
Next, using a ratchet, a 21mm socket and a 17mm wrench to prevent the bolt from rotating, unscrew the strut foot nuts. Then remove the bolts.
Chapter 3:
Step 4/5
Separate the strut foot from the wheel knuckle.
Chapter 3:
Step 5/5
The wheel knuckle is now free.
Chapter 4:
Remove the CV axle
Step 1/5
You can now remove the CV axle from the hub by pulling on the wheel knuckle.
Chapter 4:
Step 2/5
Now you need to disengage the CV from the gearbox.
Chapter 4:
Step 3/5
Use a crowbar to pry the CV axle out of the gearbox.
Chapter 4:
Step 4/5
Be careful not to damage the gearbox housing when prying. Then pull the CV axle out completely.
Chapter 4:
Step 5/5
It might prove difficult to extract.
Chapter 5:
Install the new CV axle
Step 1/3
Take the new CV axle and unscrew the nut supplied with it.
Chapter 5:
Step 2/3
Reinsert the CV axle into the gearbox.
Chapter 5:
Step 3/3
Make sure the CV axle is properly inserted in the gearbox. Fully reinsert the CV axle into the wheel hub assembly.
Chapter 6:
Put the wheel knuckle back in
Step 1/5
Before you put the strut foot back in place, remember to pass the brake hose over the wheel knuckle.
Chapter 6:
Step 2/5
Insert the wheel knuckle into the strut foot. Replace the bolts.
Chapter 6:
Step 3/5
Remove the jack.
Chapter 6:
Step 4/5
Screw the strut foot nuts back on until they make contact, using a ratchet, a 21mm socket, and a 17mm wrench to prevent the bolt from rotating.
Chapter 6:
Step 5/5
Finish tightening using a torque wrench.
Chapter 7:
Screw the wheel hub nut
Step 1/3
Roughly put the hub nut back in place. And screw it back in with a ratchet until it makes contact.
Chapter 7:
Step 2/3
Ask another person to press the brake pedal.
Chapter 7:
Step 3/3
Finish tightening the hub nut with a torque wrench.
Chapter 8:
Finalise the reassembly
Step 1/2
Screw the brake hose mounting bracket back on.
Chapter 8:
Step 2/2
Replace the ABS sensor cable in its slot.
Chapter 9:
Put the vehicle back on the ground
Step 1/3
Then, you will be able to put the wheel back on your vehicle.
Chapter 9:
Step 2/3
Put the car back on the ground and block the wheel properly.
Chapter 9:
Step 3/3
Operation complete.