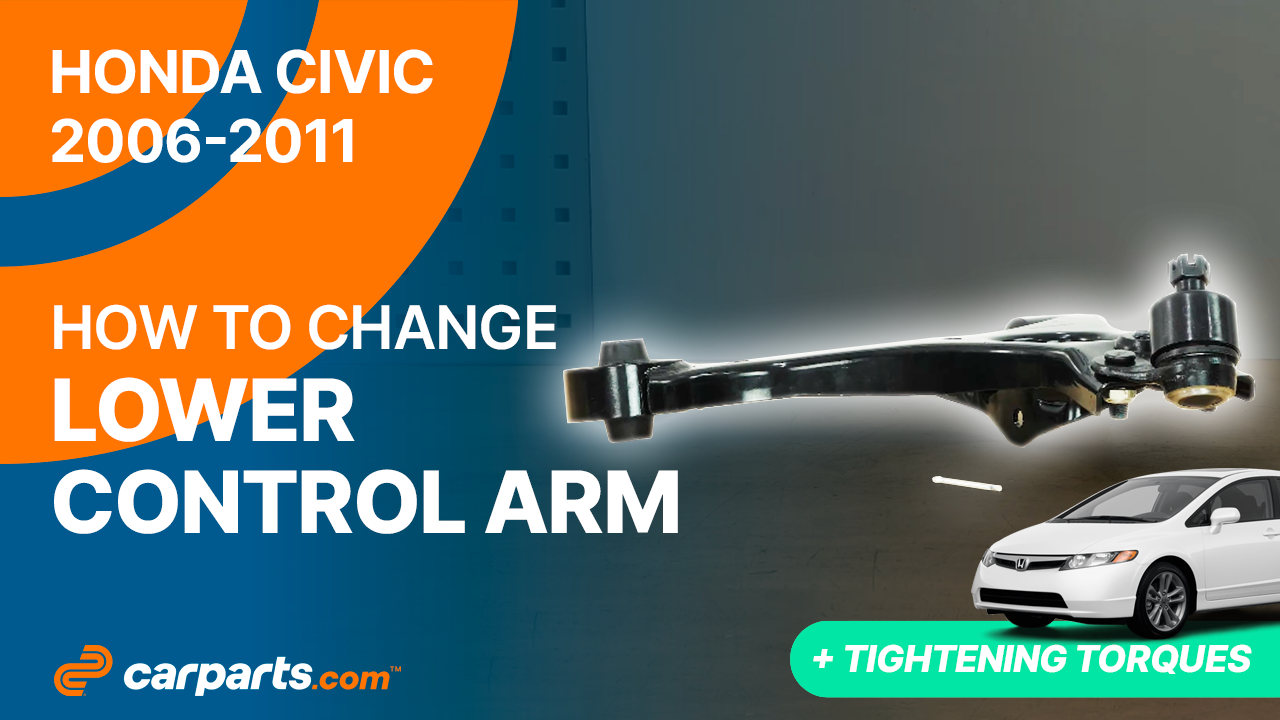
How to replace the lower control arms 2006-2011 Honda Civic
To replace the lower control arms on your Civic this tutorial was tailor-made for you. You’ll need to lift the vehicle, remove the sway bar end link, remove the control arm as well as carry out a few other steps. You can carry out this tutorial of 11 chapters in 90 minutes. Take your 15 mm wrench and your 19 mm wrench and let’s get started!
Duration
90 minutes
Number of steps
11
Difficulty out of 5
3
Average savings
$110
Parts You Will Need
Tools You Will Need
Step-by-Step Installation
Chapter 1:
Lift the vehicle
Step 1/4
Turn your engine off and set the parking brake.


Chapter 1:
Step 2/4
Loosen the stud bolts on the front wheels. Lift the front of your vehicle.


Chapter 1:
Step 3/4
Place the vehicle on the jack stands. In order to remove the lower control arm, you need to position the jack stands not on the lower control arm bushing retaining bolt, but rather on the subframe bolt.


Chapter 1:
Step 4/4
Don’t forget to put the wheels under the vehicle!

Chapter 2:
Set up
Step 1/2
Turn the disc outwards, this will facilitate the following steps.

Chapter 2:
Step 2/2
The components to be removed are very often seized up, so don’t hesitate to brush and to use penetrating oil to make removal easier.


Chapter 3:
Remove the sway bar end link
Step 1/2
Now you need to remove the sway bar end link. The end link connects the sway bar to the lower control arms to keep the wheels firmly on the ground at all times. Using a 15 mm wrench, a ratchet and a 5mm Allen socket, unscrew the upper ball joint nut. Keep the ball joint from rotating using the Allen socket and unscrew the nut with the wrench. Finish unscrewing by hand.


Chapter 3:
Step 2/2
Repeat the operation on the lower ball joint. You can now remove the link.


Chapter 4:
Remove the control arm ball joint
Step 1/4
Using a flat head screwdriver, remove the pin from the castle nut of the lower ball joint.


Chapter 4:
Step 2/4
Brush the nut of the lower ball joint and spray it with penetrating oil.


Chapter 4:
Step 3/4
Unscrew the nut using a 19 mm wrench.


Chapter 4:
Step 4/4
Using a crowbar, you can now separate the lower ball joint from the wheel knuckle.


Chapter 5:
Remove the lower control arm
Step 1/5
Brush the control arm front retaining bolt and spray it with penetrating oil. Then, unscrew it using a ratchet and a 17 mm socket.


Chapter 5:
Step 2/5
Using a ratchet and a 14 mm socket, unscrew the rear retaining bolt Then remove the bolt.


Chapter 5:
Step 3/5
Disengage the rear part of the control arm by prying it with the crowbar.


Chapter 5:
Step 4/5
You can now remove the lower control arm by lifting it to allow the sway bar to pass through.


Chapter 5:
Step 5/5
Brush and grease the control arm area to facilitate its installation.


Chapter 6:
Put the control arm back
Step 1/6
Take the control arm. Next, put the control arm in place by reinserting the two bushings into their slots.


Chapter 6:
Step 2/6
Make sure it is pushed in as far as it will go.


Chapter 6:
Step 3/6
Put the rear retaining bolt back in place.

Chapter 6:
Step 4/6
Screw the bolt back in roughly by hand.

Chapter 6:
Step 5/6
Put the front retaining bolt back in place. And screw it back in with a ratchet until it makes contact.


Chapter 6:
Step 6/6
Do the same with the rear retaining bolt.


Chapter 7:
Put the control arm ball joint back
Step 1/6
Using a wire brush, brush the knuckle, then apply silicone grease to the flat part that will be in contact with the rubber boot of the lower ball joint.


Chapter 7:
Step 2/6
Place the lower ball joint in the wheel knuckle.


Chapter 7:
Step 3/6
Loosely screw the nut back on to hold it together. Then use a jack to lift the wheel knuckle in order to tighten the lower ball joint holding nut.


Chapter 7:
Step 4/6
Finish tightening using a torque wrench.

Chapter 7:
Step 5/6
Take the cotter pin and fit it into the castle nut.

Chapter 7:
Step 6/6
Install it using a small mallet.


Chapter 8:
Tightening tips
Step 1/2
In order not to damage the bushings, it is necessary to tighten the retaining bolts in the “vehicle on the ground” position. Tighten the bushings with a torque wrench.


Chapter 8:
Step 2/2
Remove the jack.


Chapter 9:
Put the sway bar end link back
Step 1/4
Pass the sway bar through the lower control arm. You can now put the sway bar end link back in place.


Chapter 9:
Step 2/4
Start by screwing the nuts back on finger-tight to hold the assembly together.


Chapter 9:
Step 3/4
Screw the nuts back on until they make contact using a ratchet and a 15 mm socket. Use a 5mm Allen key to keep the ball joint from rotating.


Chapter 9:
Step 4/4
Tighten the nuts with a torque wrench.


Chapter 10:
Put the vehicle back on the ground
Step 1/2
Then, you will be able to put the wheels back on your vehicle.


Chapter 10:
Step 2/2
Put your vehicle back on the ground before properly fixing the wheels in place.


Chapter 11:
Safety tips
Step 1/1
During this operation, you will be intervening on the front axle of your car, so it is advisable to perform a wheel alignment afterwards. Operation complete.
