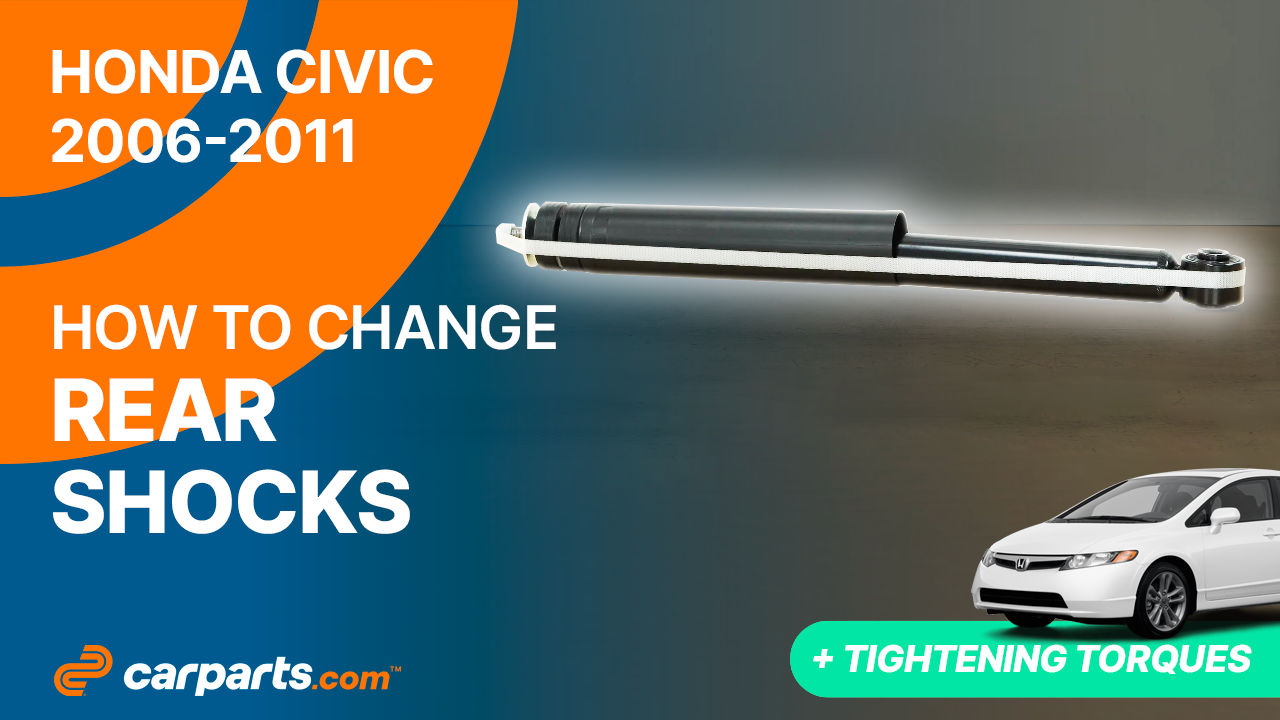
How to replace the rear shocks 2006-2011 Honda Civic
To replace the rear shocks on your Civic It’s easy. You will need to turn off your vehicle’s ignition, lift the vehicle, unscrew the shock absorber heads as well as carry out a few other steps. You can carry out this tutorial of 11 chapters in 80 minutes. Take your mallet and your 14 mm socket and let’s get started!
Duration
80 minutes
Number of steps
11
Difficulty out of 5
3
Average savings
$150
Parts You Will Need
Tools You Will Need
Step-by-Step Installation
Chapter 1:
Turn off your vehicle’s ignition
Step 1/1
Turn your engine off and set the parking brake.


Chapter 2:
Measure
Step 1/1
Before lifting your vehicle, it is necessary to measure the distance between the centre of your wheel and the wheel arch. This will allow you to achieve an optimal tightening of the parts in their initial position.

Chapter 3:
Lift the vehicle
Step 1/3
Loosen the wheel lug nuts on the rear wheels.

Chapter 3:
Step 2/3
Lift the rear of your vehicle. Place the vehicle on the jack stands.

Chapter 3:
Step 3/3
Don’t forget to put the wheels under the vehicle!

Chapter 4:
Access the upper shock mount
Step 1/4
Pull on the trunk release handle, and open the trunk.


Chapter 4:
Step 2/4
Using a fork, remove the 3 rivets holding the trunk carpet.


Chapter 4:
Step 3/4
Then shift the carpet.

Chapter 4:
Step 4/4
You can now access the upper shock mounts.

Chapter 5:
Unscrew the shock mount bearing nut
Step 1/4
Using a 14 mm wrench and a 5mm Allen key to stop the rod from rotating, unscrew the upper retaining nut on the shock absorber.

Chapter 5:
Step 2/4
Finish unscrewing the nut.

Chapter 5:
Step 3/4
Remove the washer.

Chapter 5:
Step 4/4
Then remove the bushing with a fork.


Chapter 6:
Remove the shock absorber
Step 1/5
Using a jack, lift the lower control arm to put pressure on the shock absorber and make it easier to unscrew the shock base retaining bolt.

Chapter 6:
Step 2/5
Spray the shock base retaining nut with penetrating oil.

Chapter 6:
Step 3/5
Using a ratchet and a 14 mm socket, unscrew the shock base retaining bolt.

Chapter 6:
Step 4/5
Then remove the bolt.

Chapter 6:
Step 5/5
You can now take extract the shock.

Chapter 7:
Prepare the new shock absorber
Step 1/4
Using a wire brush, brush off the location of the shock absorber to make it easier to install.


Chapter 7:
Step 2/4
Take your new shock.

Chapter 7:
Step 3/4
Before installing the new shocks, it is necessary to prime them by pressing the shock vertically, so that the gas and hydraulic fluid are separated.

Chapter 7:
Step 4/4
Unscrew the nut. Remove the washer and bushing.


Chapter 8:
Install the new shock absorber
Step 1/5
Insert the top part of the shock, then the bottom part.

Chapter 8:
Step 2/5
Using the jack, lift the lower control arm to bring the shock base closer to its slot.

Chapter 8:
Step 3/5
Using a crowbar, lift the lower part of the shock absorber with the bolt insertion hole.

Chapter 8:
Step 4/5
Hold the assembly in place by roughly inserting the shock base retaining bolt.

Chapter 8:
Step 5/5
Use a plastic mallet to fit it into place.

Chapter 9:
Tightening tips
Step 1/6
Lift the wheel knuckle with the jack until the original measurement between the center of the wheel and the wheel arch is reached.


Chapter 9:
Step 2/6
Once at a distance, screw the lower retaining bolt back on.

Chapter 9:
Step 3/6
Finish tightening using a torque wrench.

Chapter 9:
Step 4/6
Put the upper bushing in place.

Chapter 9:
Step 5/6
Put the washer in place. Next, screw back on the nut until it’s tight.


Chapter 9:
Step 6/6
Finish tightening using a torque wrench.

Chapter 10:
Finalise the reassembly
Step 1/2
Put the trunk carpet back in place.

Chapter 10:
Step 2/2
Then put the 3 rivets back in place.


Chapter 11:
Put the vehicle back on the ground
Step 1/3
Then, you will be able to put the wheels back on your vehicle.


Chapter 11:
Step 2/3
Put the car back on the ground and block the wheels properly.


Chapter 11:
Step 3/3
Operation complete.