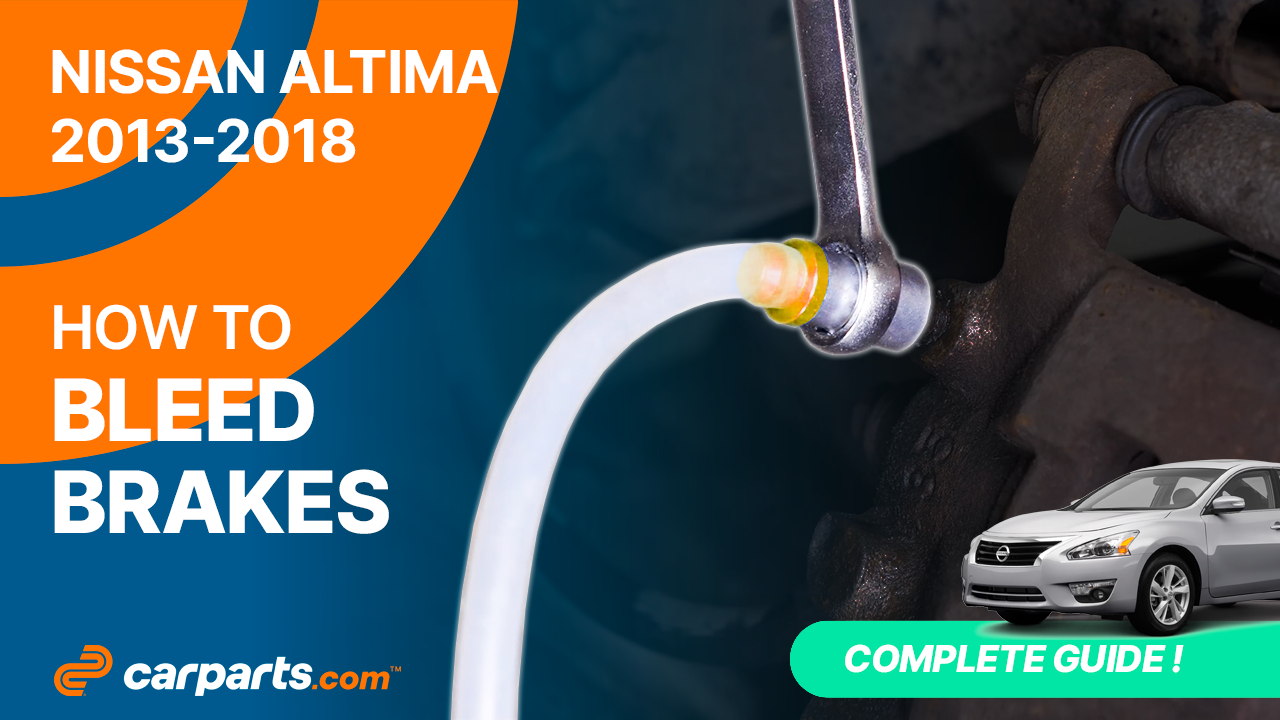
How to bleed the brake fluid system 2013 – 2018 Nissan Altima
To bleed the brake fluid system on your Altima this tutorial was tailor-made for you. You will be asked to renew the brake fluid, prepare the rear bleeder, bleed as well as carry out a few other steps. You can accomplish this tutorial of 12 chapters in 50 minutes. Bring your wire brush and your brake bleeder wrench and let’s get started!
Duration
50 minutes
Number of steps
12
Difficulty out of 5
3
Average savings
$50
Parts You Will Need
Tools You Will Need
Step-by-Step Installation
Chapter 1:
Informations
Step 1/1
Remove any residual vacuum (or hydraulic pressure) from the brake power booster by applying the brake several times with the engine off.

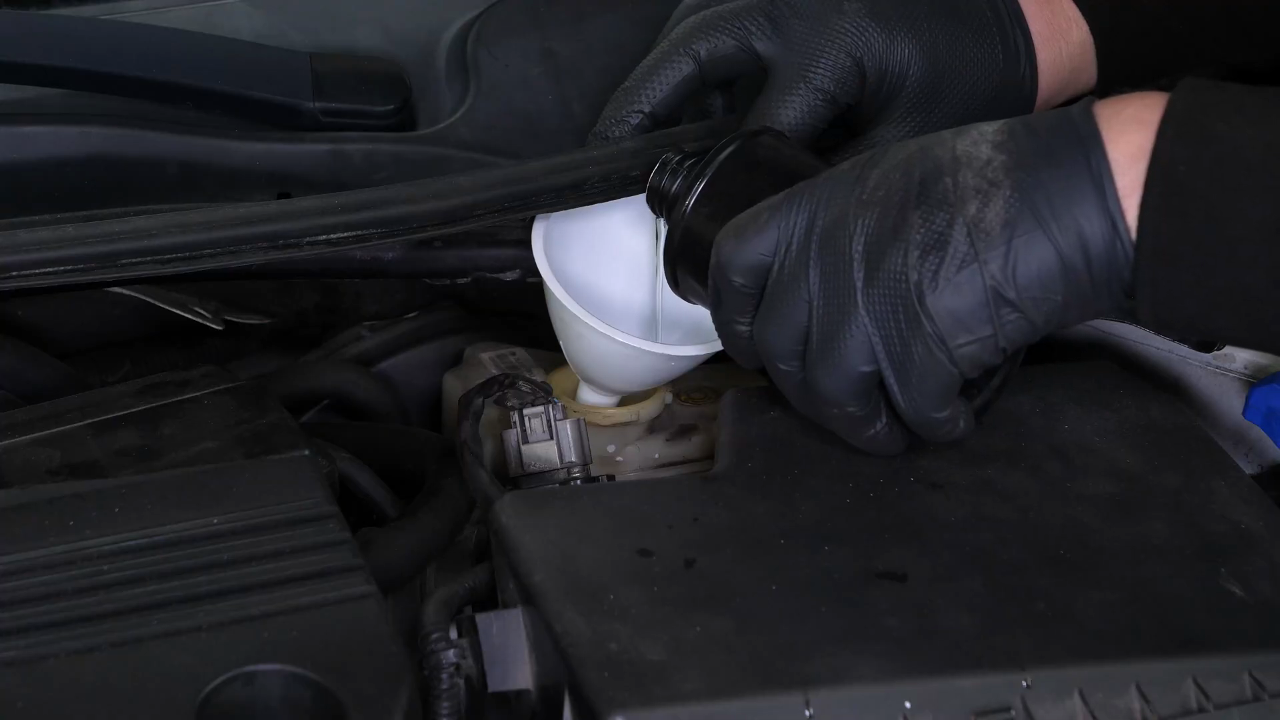
Chapter 2:
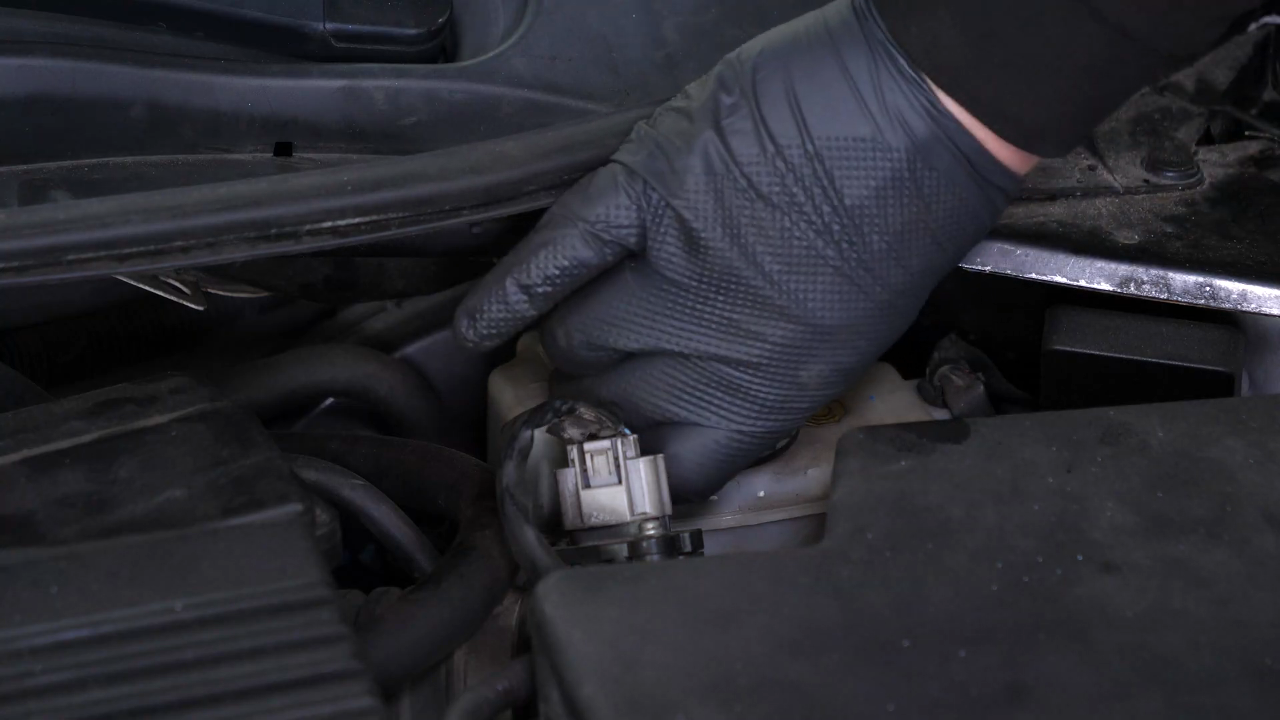
Open the brake fluid reservoir
Step 1/1
Open the brake fluid reservoir.
Chapter 3:
Renew the brake fluid
Step 1/4
Remove the reservoir filter.

Chapter 3:
Step 2/4
In the case of a complete bleeding of the brake fluid circuit, you must start by emptying the used fluid using a pump.

Chapter 3:
Step 3/4
Put the filter back in place.

Chapter 3:
Step 4/4
Then fill the reservoir with new fluid to the maximum level.

Chapter 4:
Informations
Step 1/6
It should be pointed out that there are multiple types of brake fluid, so make sure you use the type recommended by the manufacturer.
Chapter 4:
Step 2/6
When you bleed the brake fluid circuit, there is a bleeding order to follow. On this vehicle, the order is as follows: – passenger side rear wheel

Chapter 4:
Step 3/6
– driver’s side front wheel

Chapter 4:
Step 4/6
– driver’s side rear wheel

Chapter 4:
Step 5/6
– passenger side front wheel

Chapter 4:
Step 6/6
You will therefore have to successively lift each part of your vehicle, then remove each wheel.


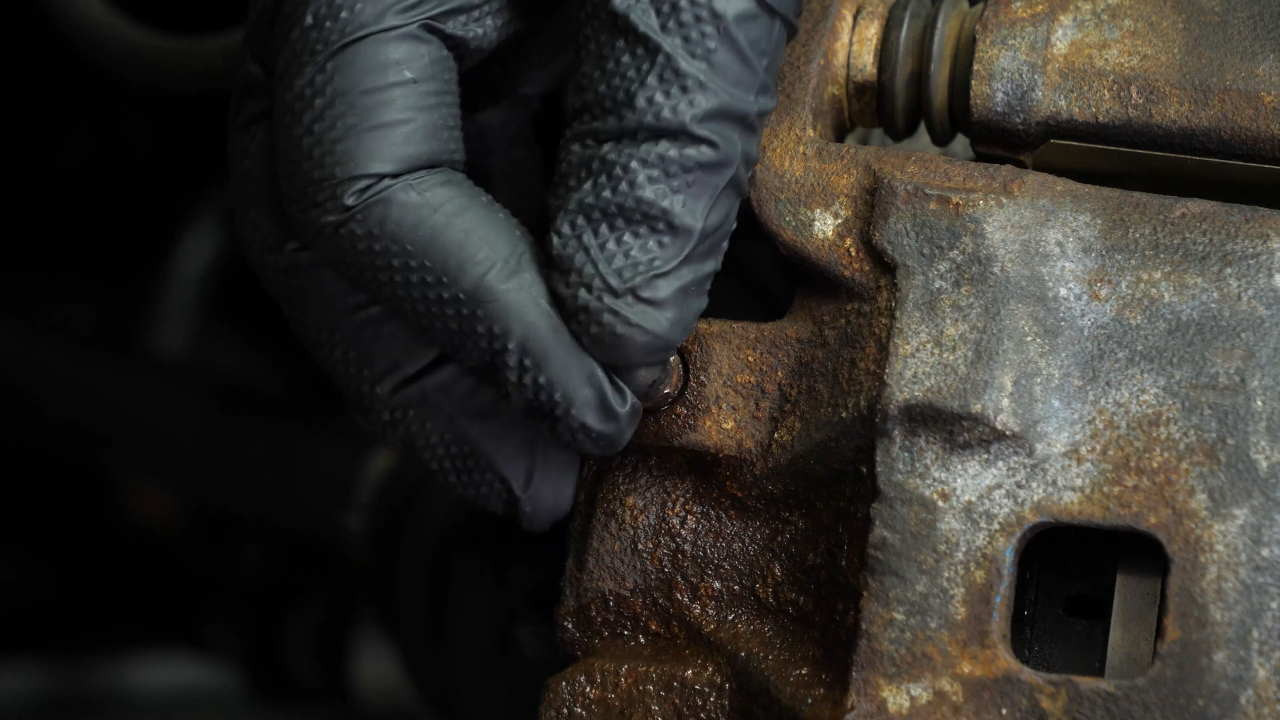
Chapter 5:
Prepare the rear bleeder
Step 1/3
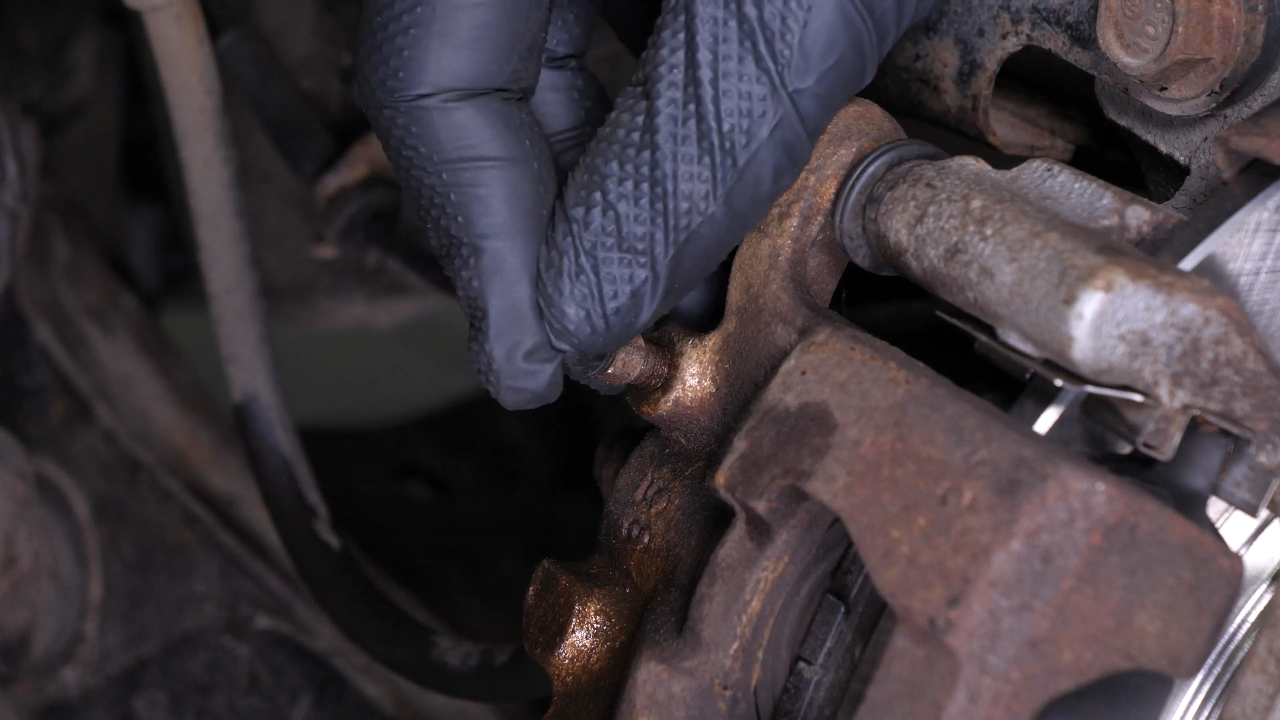
Once the wheel is removed, you have access to the bleeder located on the brake caliper.
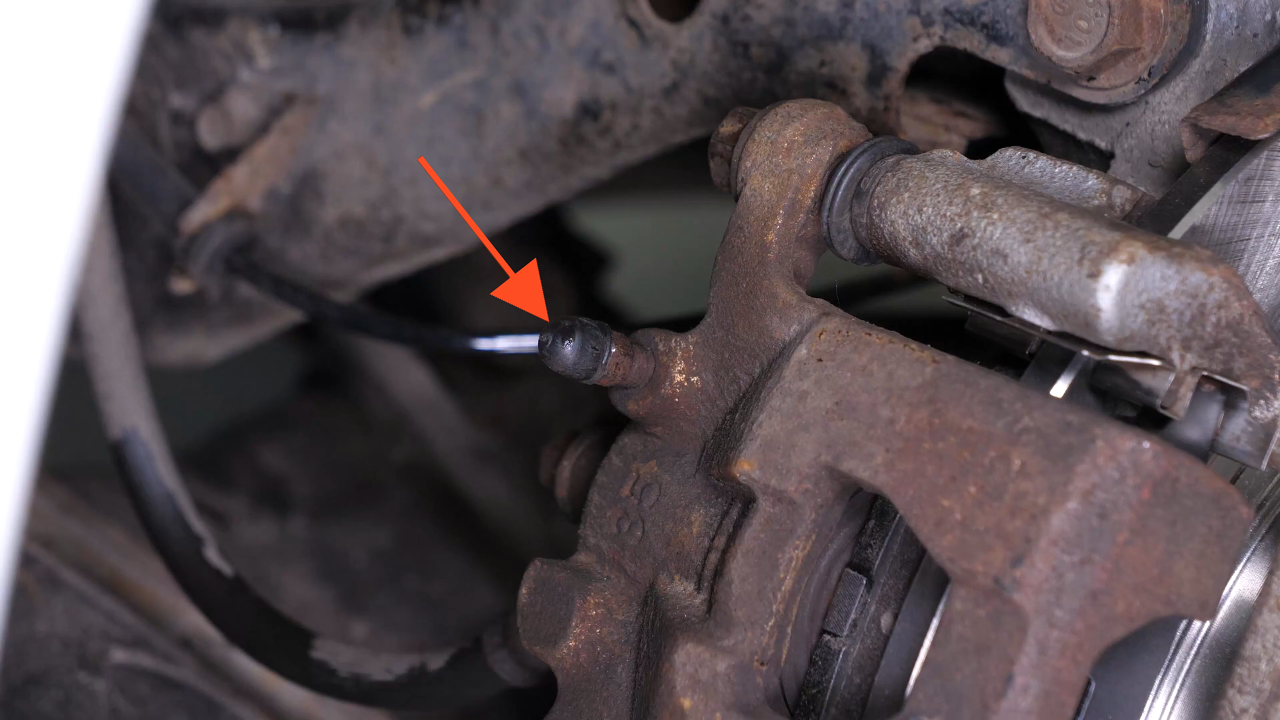
Chapter 5:
Step 2/3
Start by removing the stopping plug.


Chapter 5:
Step 3/3
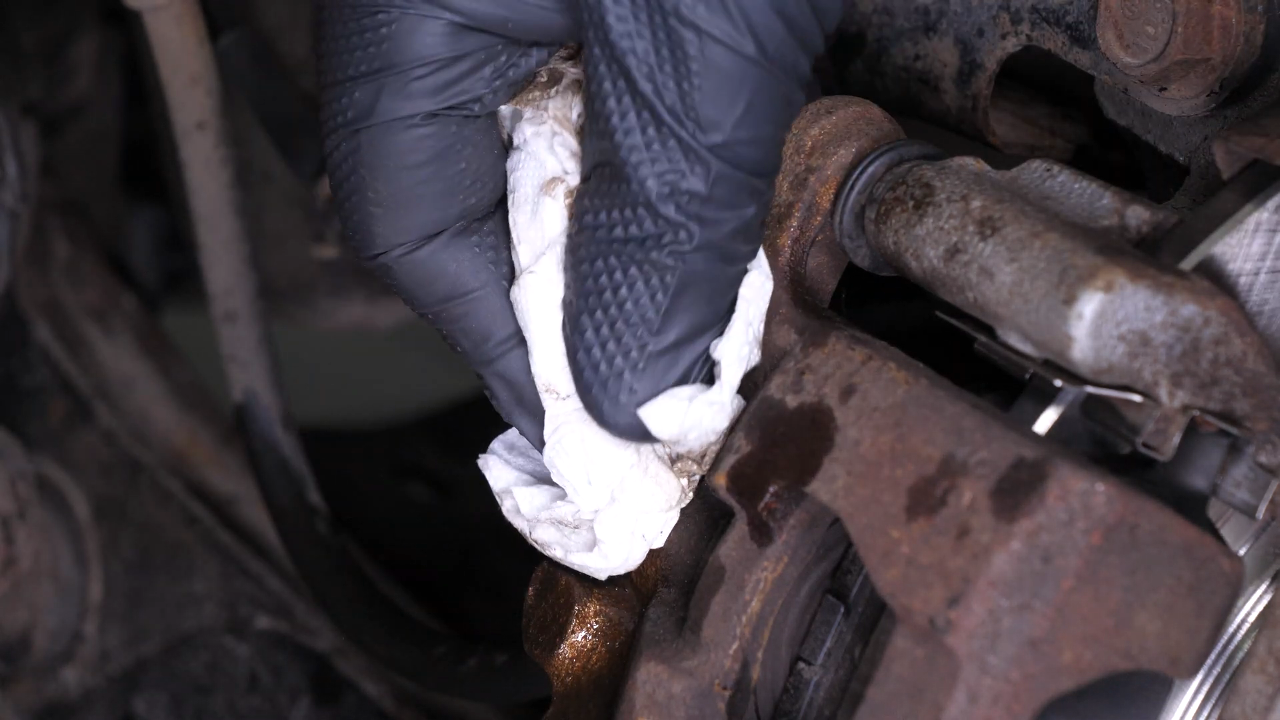
Using a wire brush, brush the bleeder clean before applying penetrating oil, to make sure you don’t break the trap if it gets rusty.


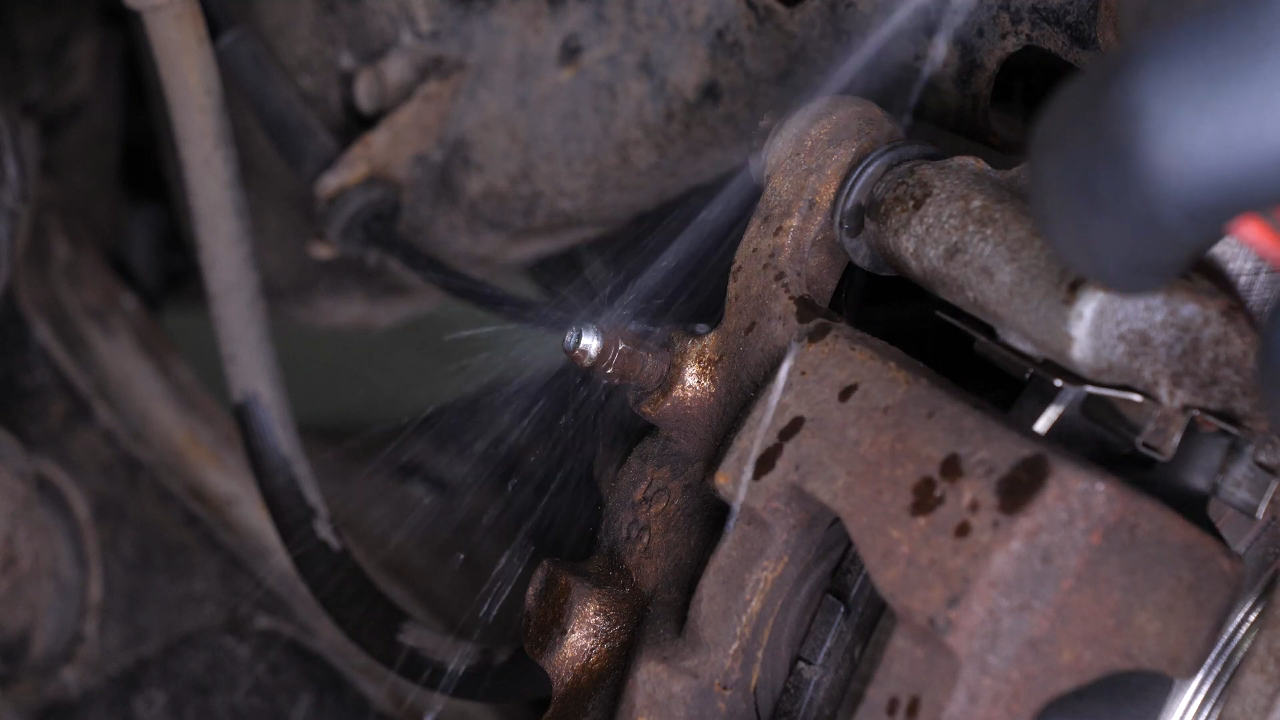
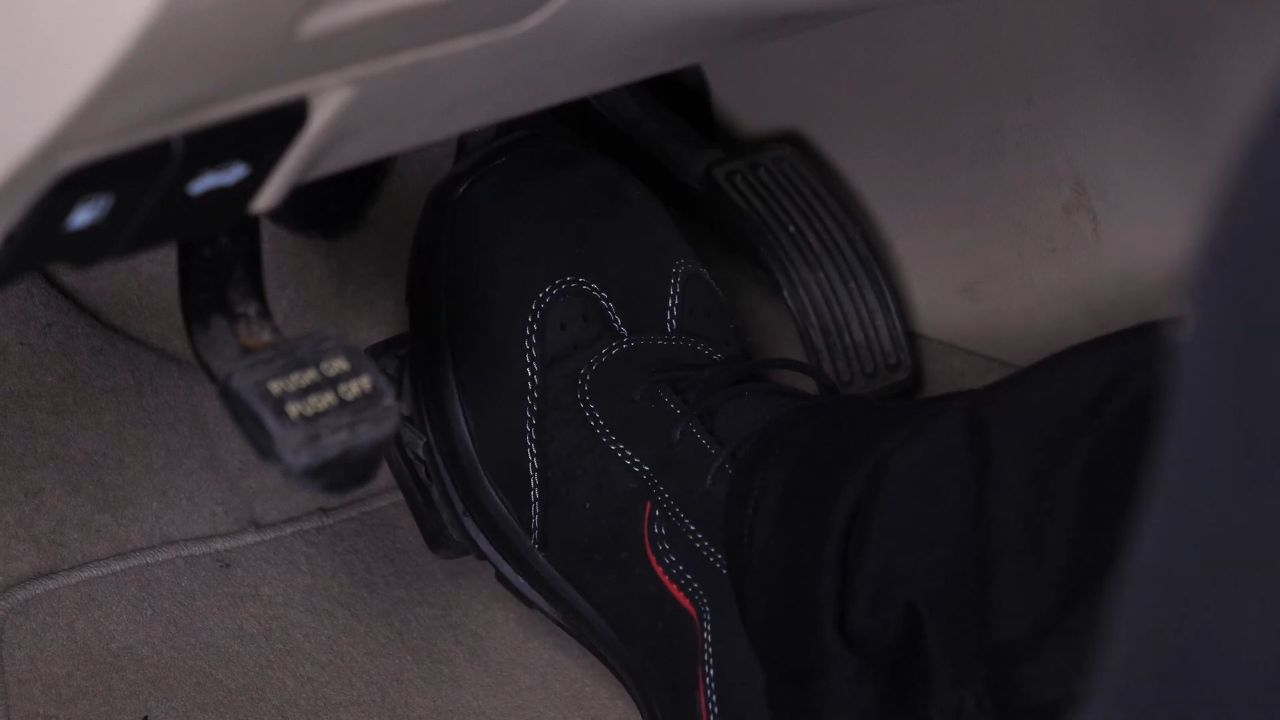
Chapter 6:
Bleed
Step 1/11
The simplest method, requiring the least amount of tools, is to use a container pre-filled with a little brake fluid.

Chapter 6:
Step 2/11
Dip a tube into the container. The brake fluid will prevent air from rising up the tube during bleeding operations.


Chapter 6:
Step 3/11
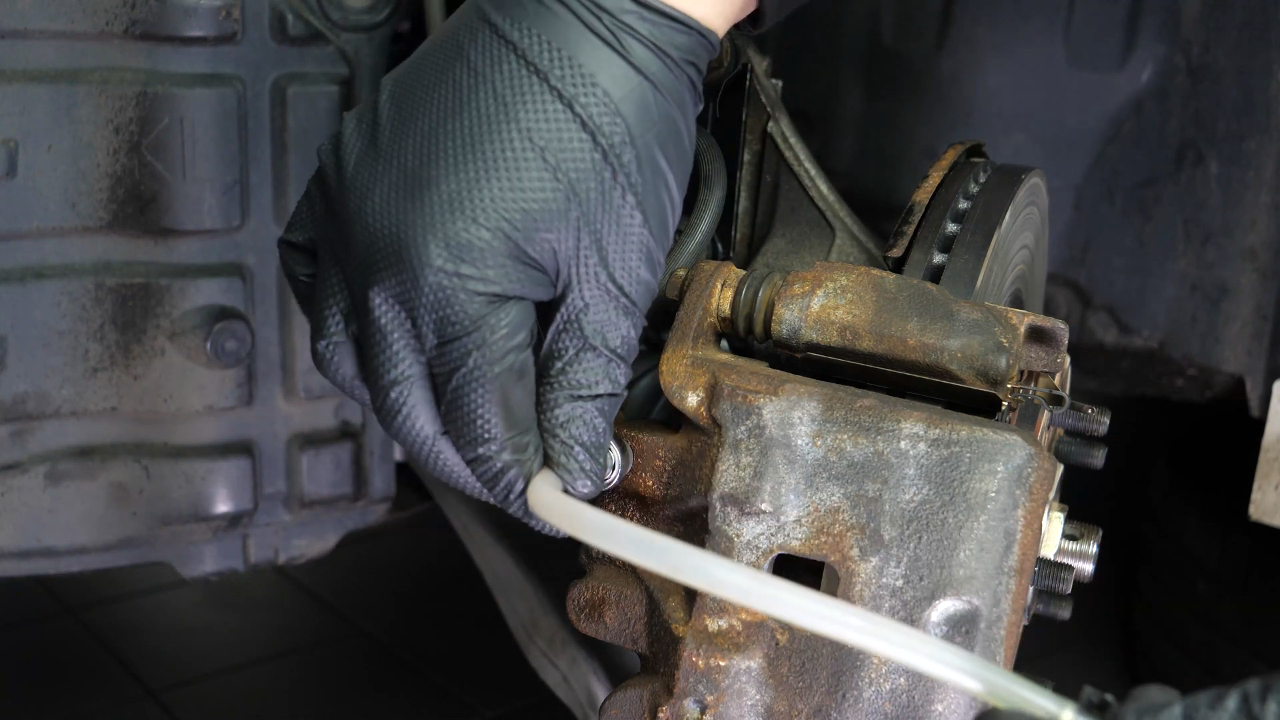
For the rear calipers, position a 8 mm wrench on the bleeder.

Chapter 6:
Step 4/11
Then connect the other end of the tube to the bleeder.

Chapter 6:
Step 5/11
Before opening the bleeder, gently pump the brake pedal a few times to pressurize the system.

Chapter 6:
Step 6/11
Once the pedal is hard, hold it down. At this time, open the bleeder to let the brake fluid drain.

Chapter 6:
Step 7/11
As fluid escapes from the bleeder, the pedal is depressed.


Chapter 6:
Step 8/11
Only when the bleeder is closed can you release the brake pedal.


Chapter 6:
Step 9/11
Repeat this operation until there is no more air in the system.

Chapter 6:
Step 10/11
It is important to regularly add brake fluid to the reservoir to prevent air from entering the master cylinder.

Chapter 6:
Step 11/11
When a clear, bubble-free liquid flows out, all you have to do is close the bleeder and disconnect the tool.


Chapter 7:
Clean
Step 1/1
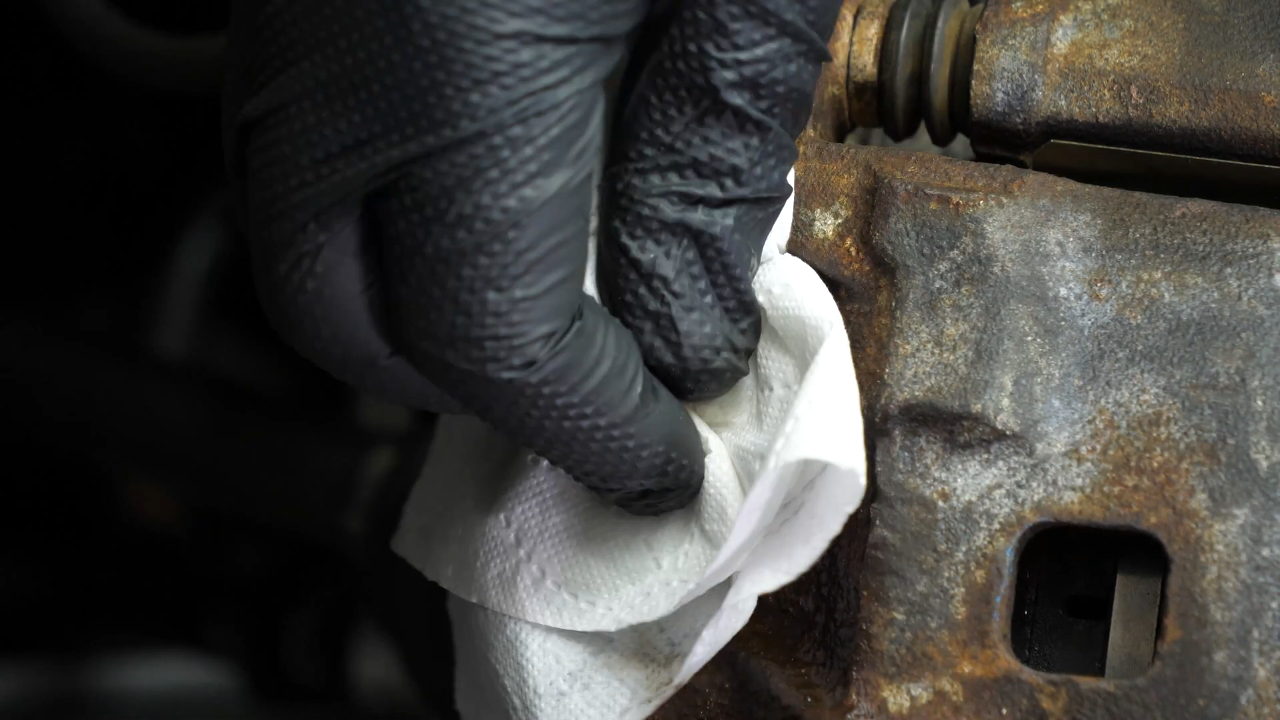
Don’t forget to clean the parts around the bleeder with brake cleaner to remove all traces of brake fluid.
Chapter 8:
Prepare the front bleeder
Step 1/1
For the front calipers, take a wire brush and brush the bleeder clean before applying penetrating oil, to make sure you don’t break the trap if it gets rusty.


Chapter 9:
Bleed
Step 1/4
Position a 10 mm wrench on the bleeder.
Chapter 9:
Step 2/4
You can also use brake bleeder wrenches connected to a tube fitted with a non-return system, which prevents air from re-entering the circuit.

Chapter 9:
Step 3/4
With this tool, simply pump the brake pedal gently to evacuate the air from the system and replace the old fluid with new.


Chapter 9:
Step 4/4
Once the circuit has been bled, close the bleeder and remove the tool.


Chapter 10:
Clean
Step 1/1
Don’t forget to clean the parts around the bleeder with brake cleaner to remove all traces of brake fluid.

Chapter 11:
Renew the brake fluid
Step 1/1
Once all four wheels have been purged, fill the reservoir with new fluid to the maximum level.
Chapter 12:
Safety tips
Step 1/2
Once the bleeding is done, check that your brakes are working properly. The brake pedal should feel hard when pumped without being spongy.
Chapter 12:
Step 2/2
Operation complete.
