
How to replace the front ABS sensor 2013 – 2018 Nissan Altima
To replace the front ABS sensor on your Altima we’re here to help. You will be asked to lift the vehicle, remove the abs sensor, put the vehicle back on the ground as well as carry out a few other steps. You can accomplish this tutorial of 10 chapters in 45 minutes. Bring your ratchet and your torque wrench and let’s get started!
Duration
45 minutes
Number of steps
10
Difficulty out of 5
2
Average savings
$50
Parts You Will Need
Tools You Will Need
Step-by-Step Installation
Chapter 1:
Set up
Step 1/1
Turn your engine off and set the parking brake.

Chapter 2:
Lift the vehicle
Step 1/4
Loosen the stud bolts on the front wheels.

Chapter 2:
Step 2/4
Lift the front of your vehicle.
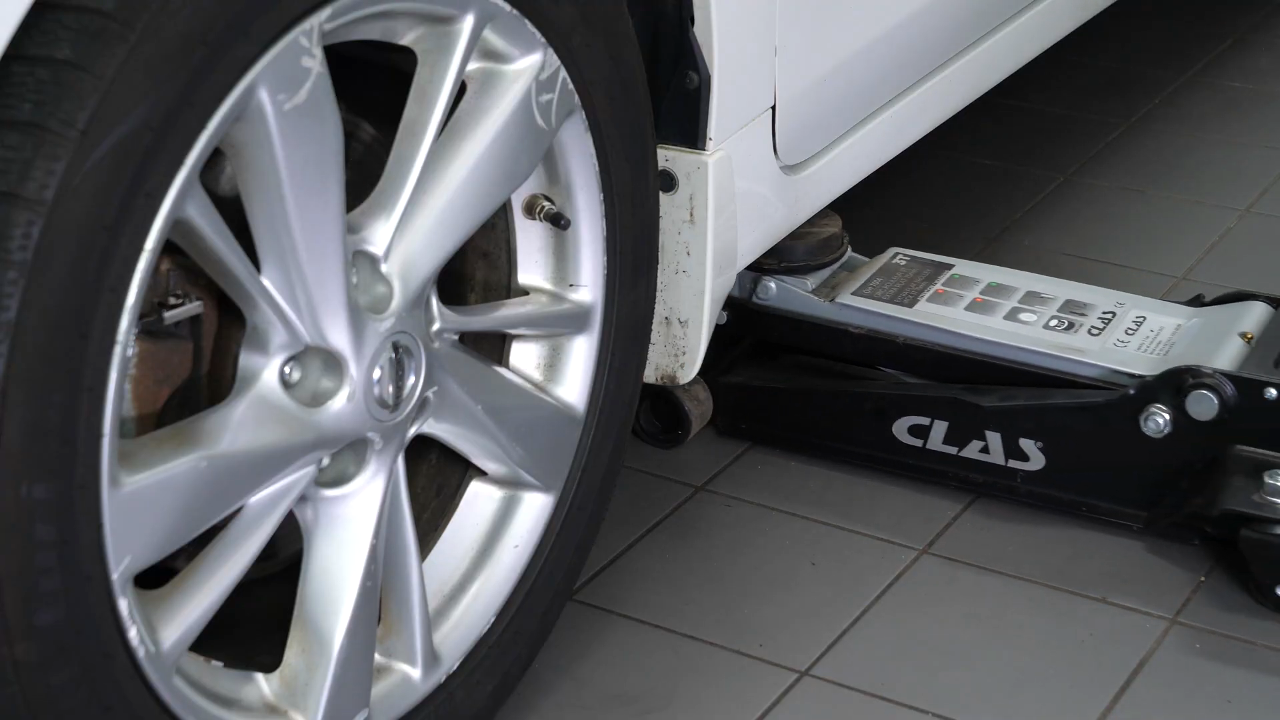
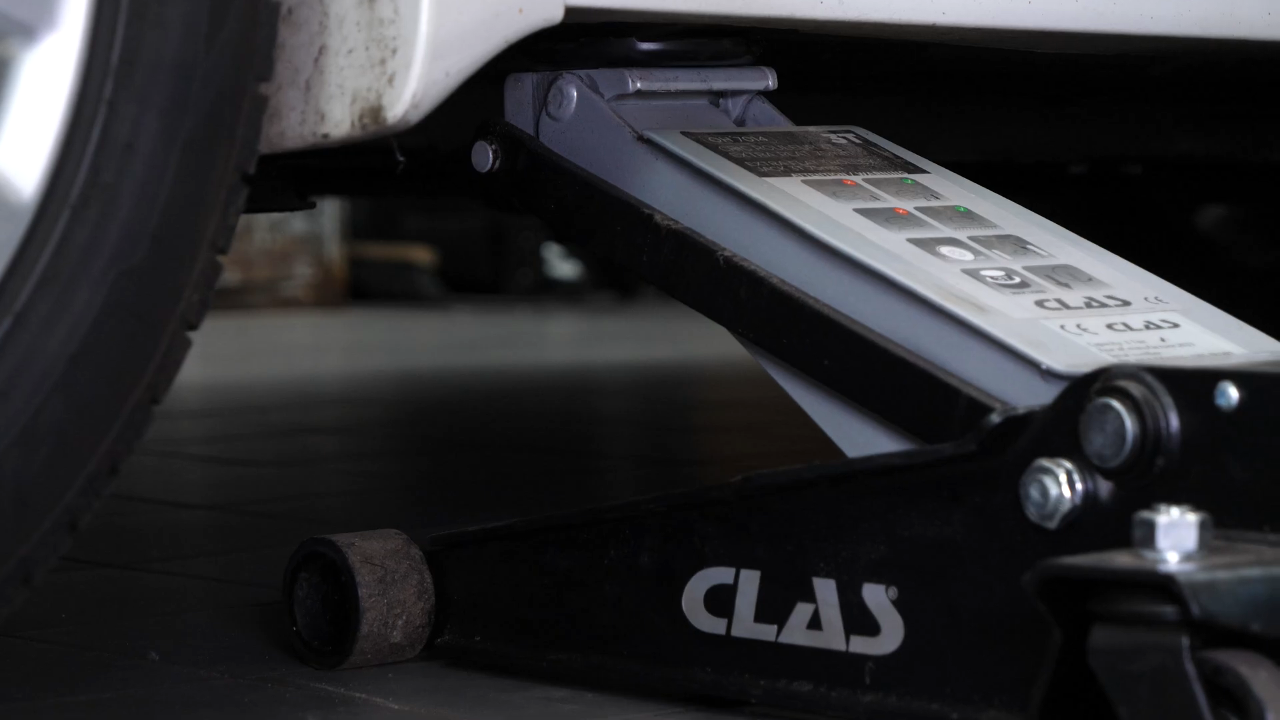
Chapter 2:
Step 3/4
Place the vehicle on the jack stands.


Chapter 2:
Step 4/4
Don’t forget to put the wheels under the vehicle!
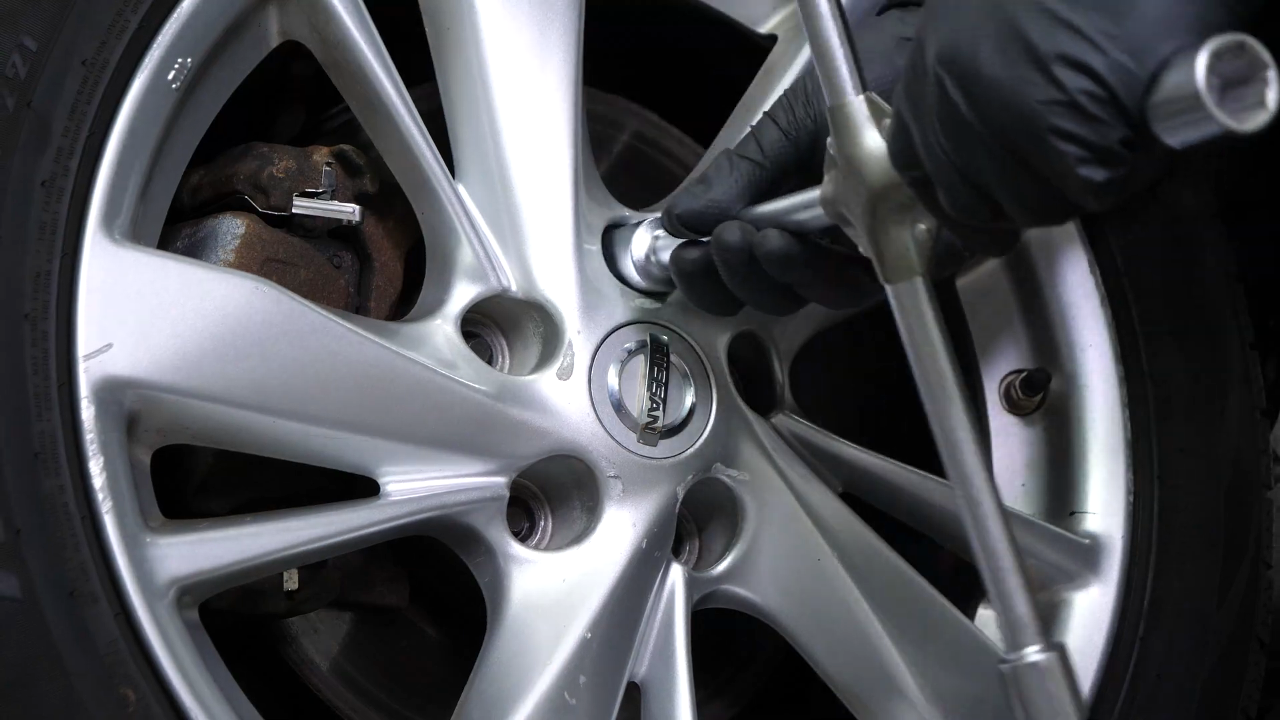

Chapter 3:
Tips
Step 1/1
Turn the brake disc inward to make this operation easier.


Chapter 4:
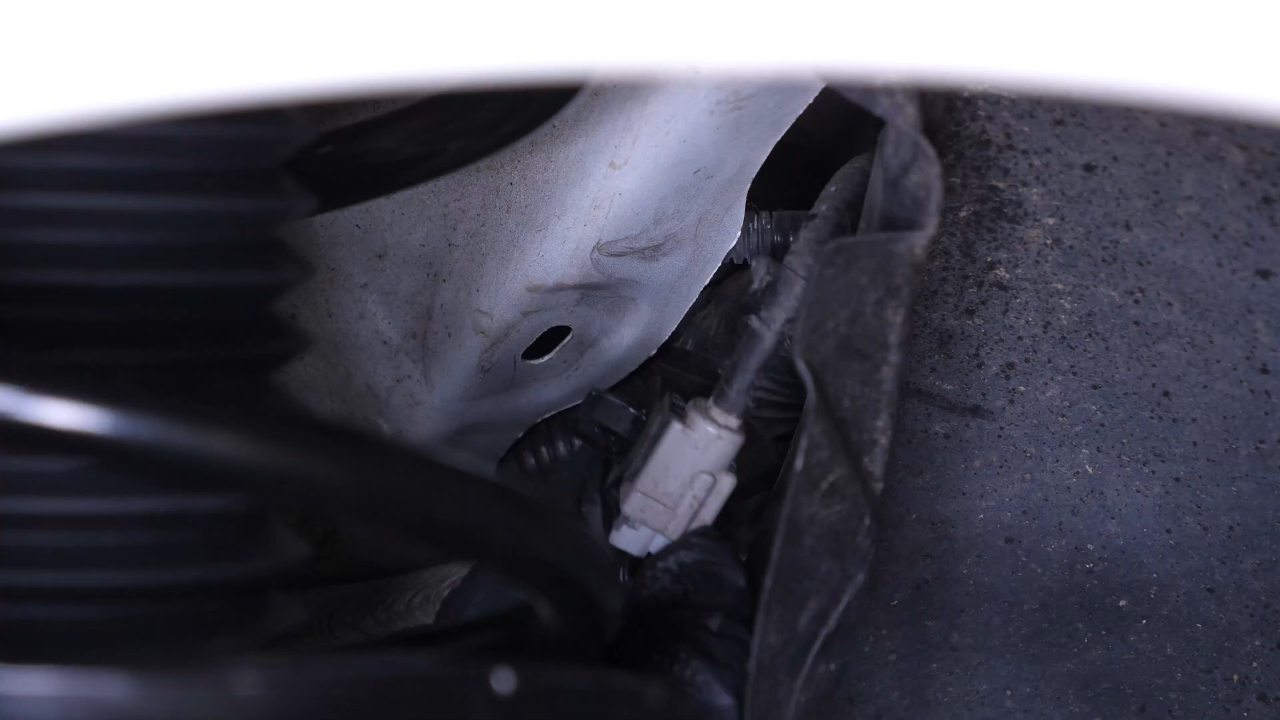
Remove the ABS sensor
Step 1/7
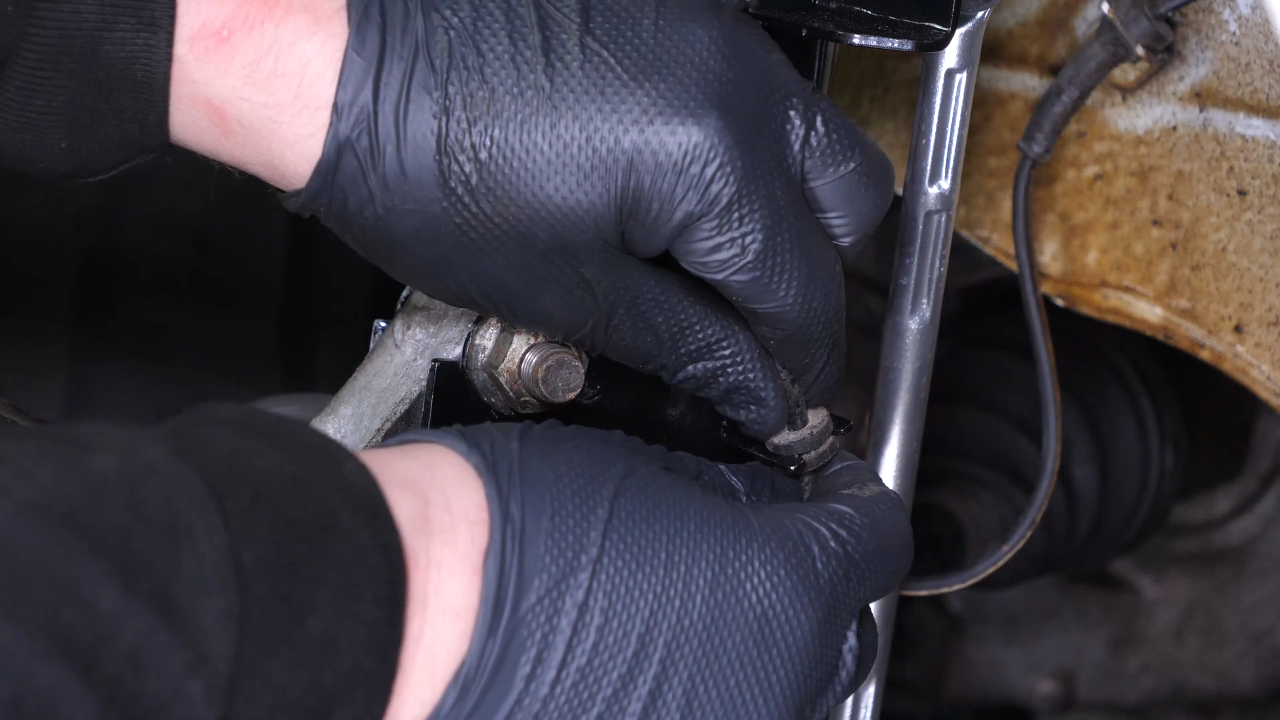
Using a ratchet, an extender and an 10 mm socket, unscrew the ABS sensor’s retaining bolt.

Chapter 4:
Step 2/7
Then, remove the sensor by jiggling it back and forth.
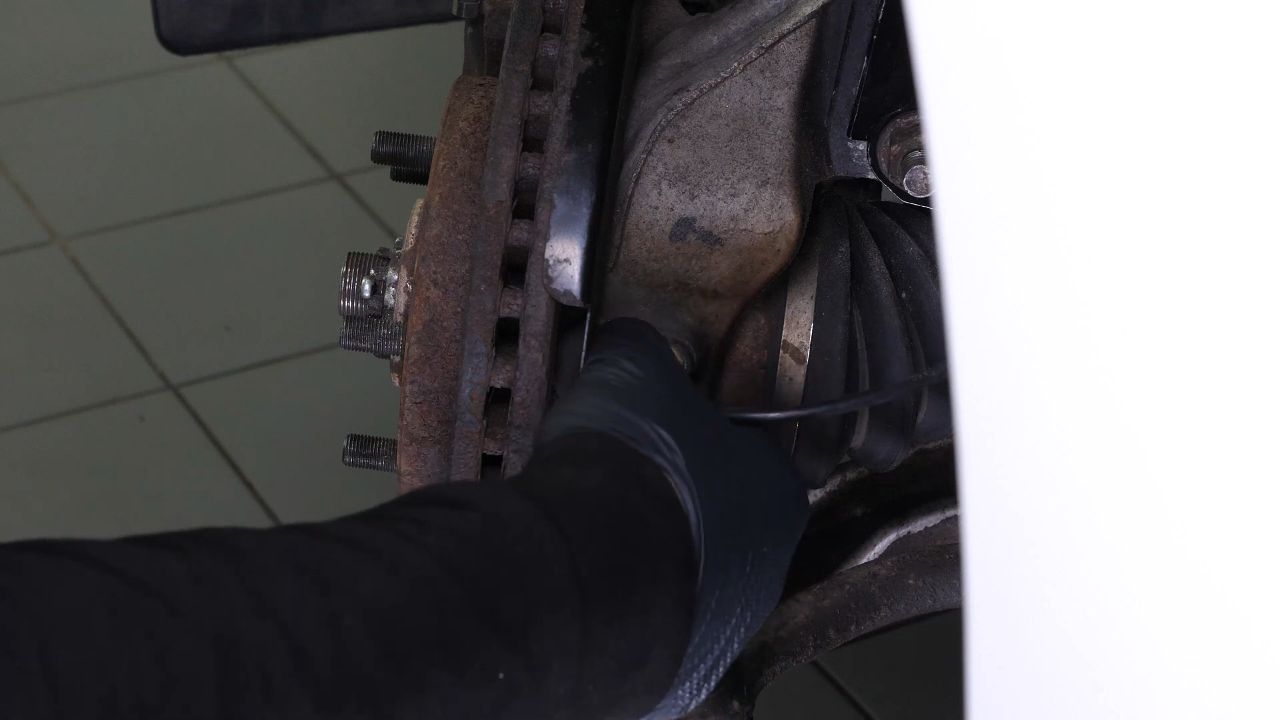
Chapter 4:
Step 3/7
You can use a screwdriver to help you.


Chapter 4:
Step 4/7
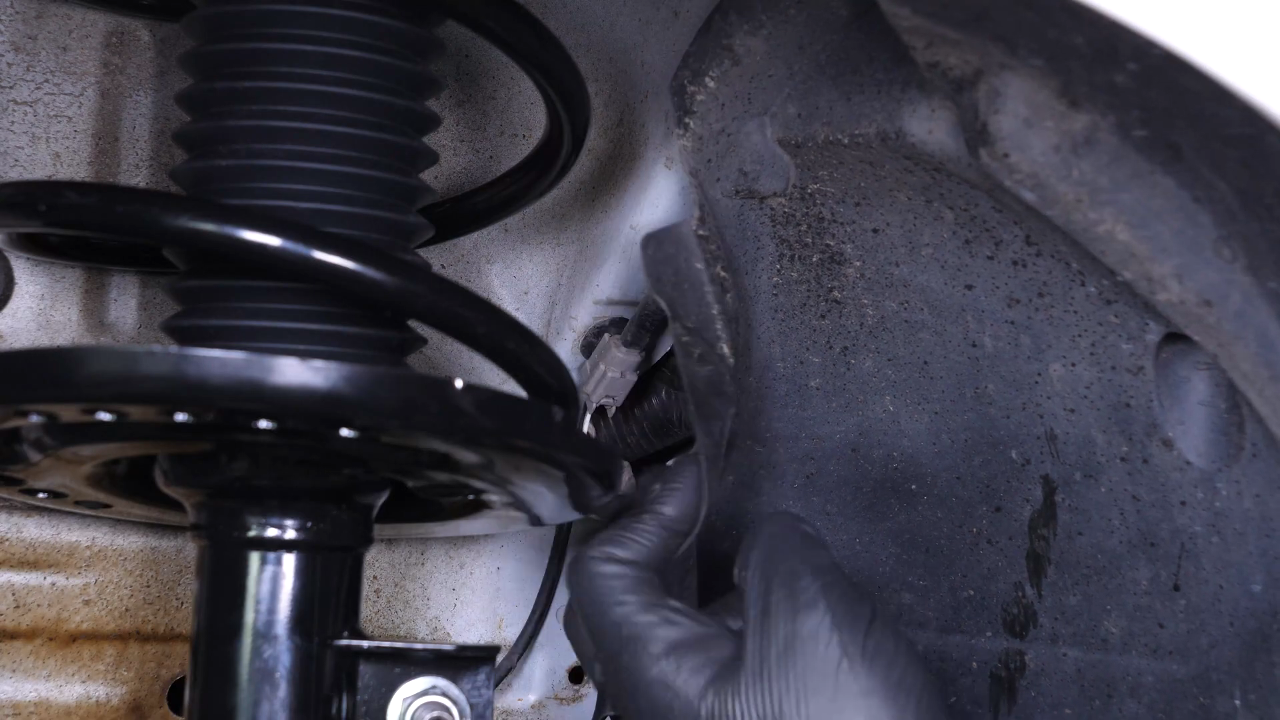
Unclip the ABS sensor cable from each side the strut foot.


Chapter 4:
Step 5/7
Next, unclip the ABS sensor cable from its retaining tab.


Chapter 4:
Step 6/7
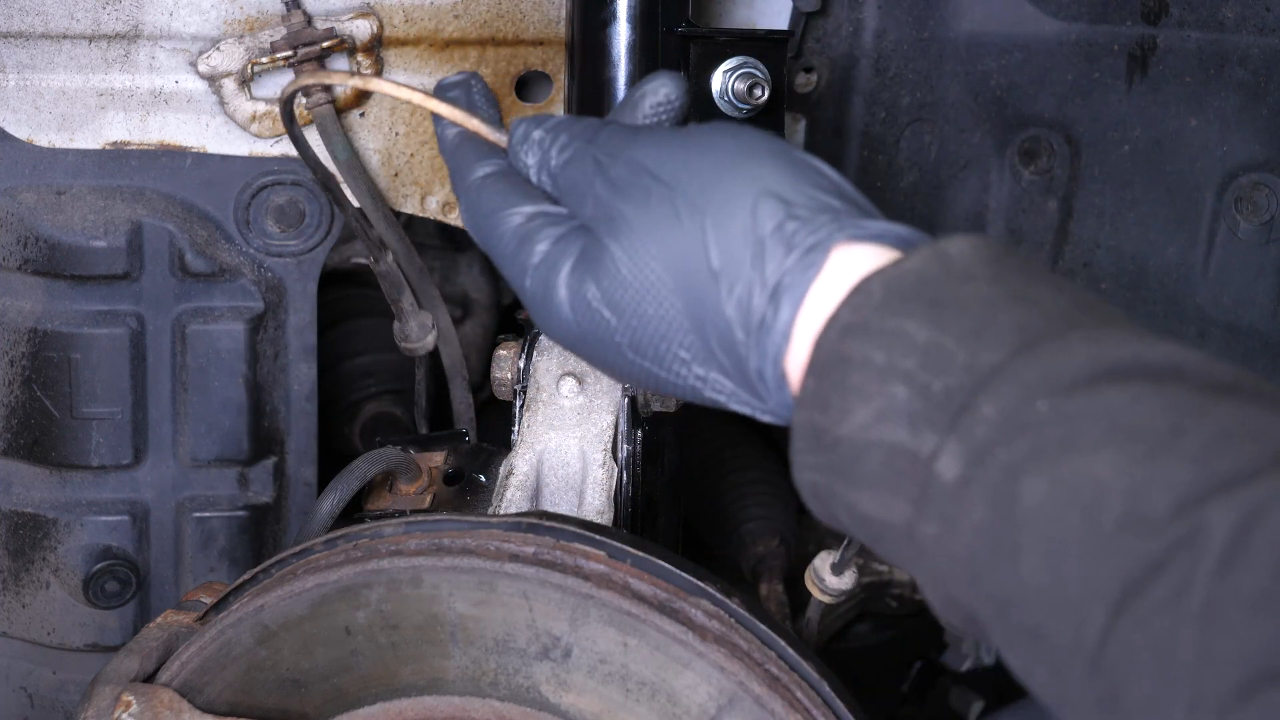
Then shift the mudguard.
Chapter 4:
Step 7/7
Using a fork, unclip the ABS sensor cable retaining clip located on the body.


Chapter 5:
Disconnect the electric connector
Step 1/2
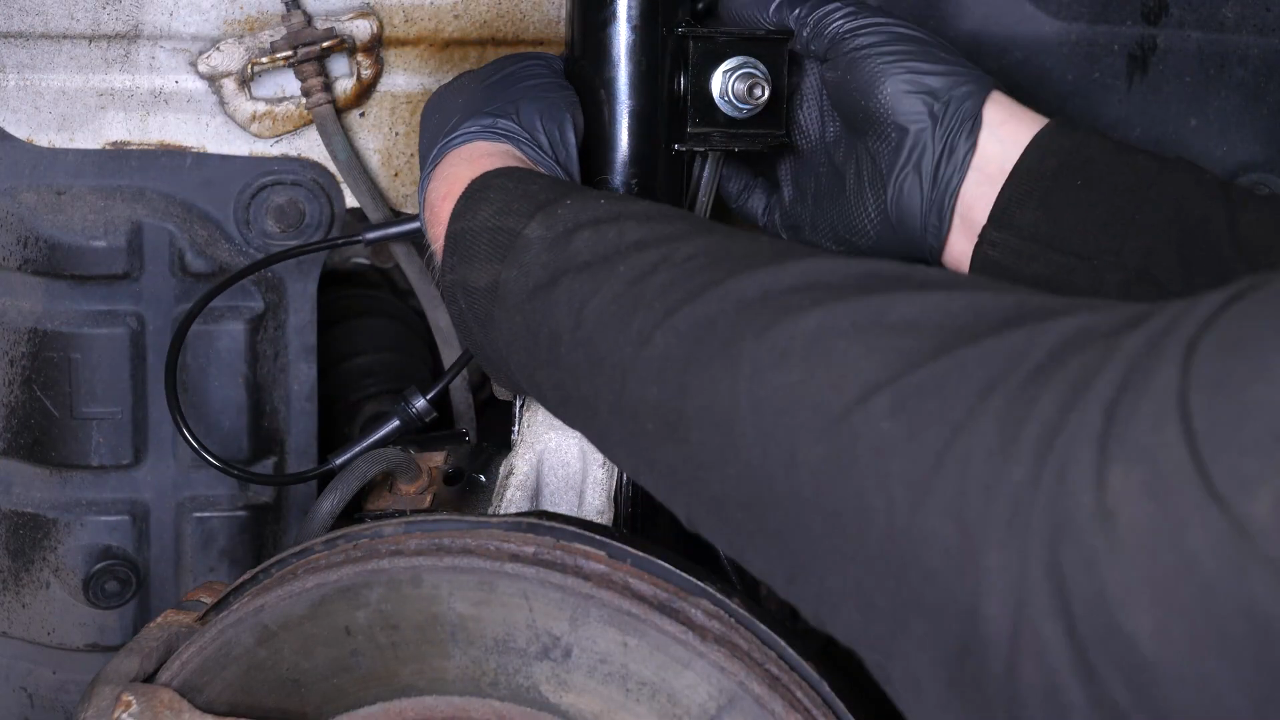
Disconnect the electrical connector. To do this, push on the tab and pull on the connector.


Chapter 5:
Step 2/2
You can now remove the cable.

Chapter 6:
Reconnect the ABS sensor connector
Step 1/3
You can order the ABS sensor used in the video on Carparts.com via the link in the description.

Chapter 6:
Step 2/3
Take the new cable.

Chapter 6:
Step 3/3
Then reconnect it.
Chapter 7:
Install the ABS sensor
Step 1/3
Clip the ABS sensor cable back onto the body.

Chapter 7:
Step 2/3
Then clip the cable back onto its support.
Chapter 7:
Step 3/3
Replace the ABS sensor cable in its slots.


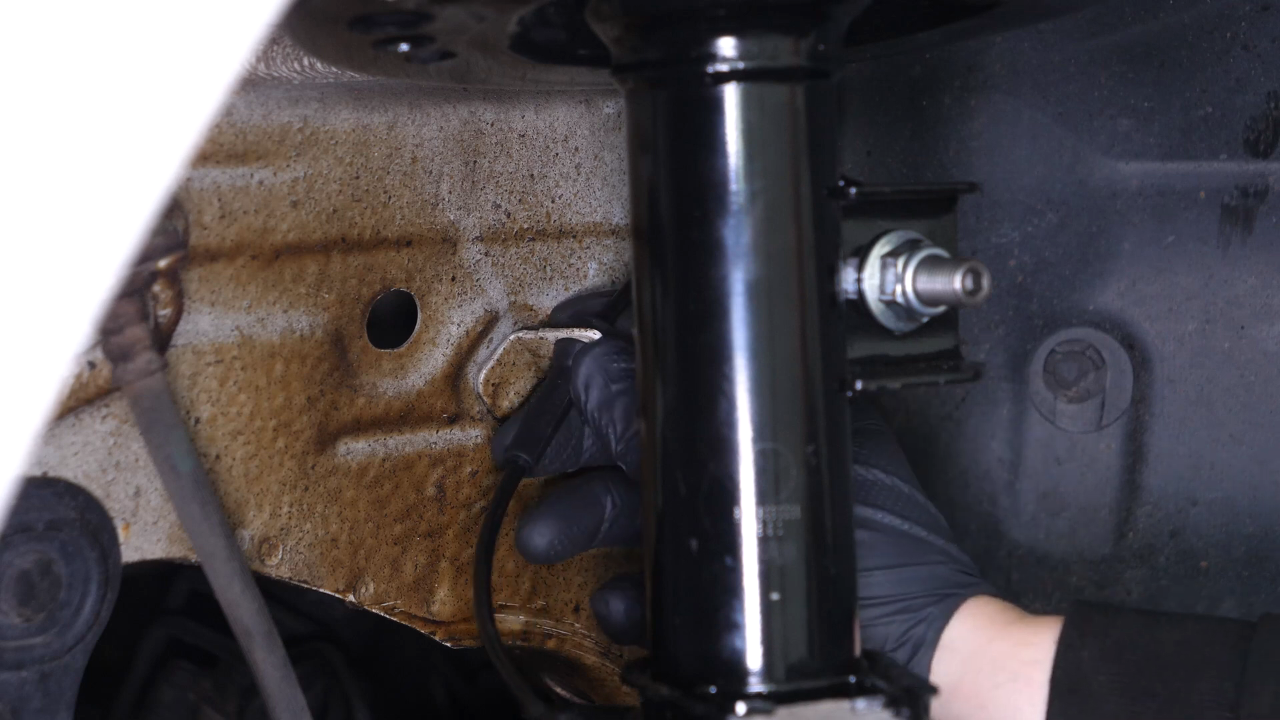
Chapter 8:
Clean the ABS sensor location
Step 1/1
Before installing the ABS sensor, we recommend that you thoroughly clean its location using a brush and fine sandpaper.


Chapter 9:
Finalise the reassembly
Step 1/3
Insert the sensor into its housing.

Chapter 9:
Step 2/3
Then, retighten the retaining bolt.

Chapter 9:
Step 3/3
Finish tightening using a torque wrench.

Chapter 10:
Put the vehicle back on the ground
Step 1/3
Then, you will be able to put the wheel back on your vehicle.

Chapter 10:
Step 2/3
Put your vehicle back on the ground before properly fixing the wheel in place.


Chapter 10:
Step 3/3
Operation complete.