How to replace the front sway bar end links 2013 – 2018 Nissan Altima
To replace the front sway bar end links on your Altima we’re here to help. You’ll need to set up, lift the vehicle, unscrew the upper ball joint and follow the next steps described below. You can follow this tutorial of 8 chapters in 45 minutes. Bring your wheel lug wrench and your 19 mm wrench and let’s get started!
Duration
45 minutes
Number of steps
8
Difficulty out of 5
2
Average savings
$60
Parts You Will Need
Tools You Will Need
Step-by-Step Installation
Chapter 1:
Set up
Step 1/1
Turn your engine off and set the parking brake.

Chapter 2:
Lift the vehicle
Step 1/4
Loosen the stud bolts on the front wheels. To be able to change the sway bar end links on your vehicle, you need to remove the wheels to gain complete access to the suspension system.

Chapter 2:
Step 2/4
Lift the front of your vehicle.

Chapter 2:
Step 3/4
Place the vehicle on the jack stands.


Chapter 2:
Step 4/4
Don’t forget to put the wheels under the vehicle!


Chapter 3:
Tips
Step 1/2
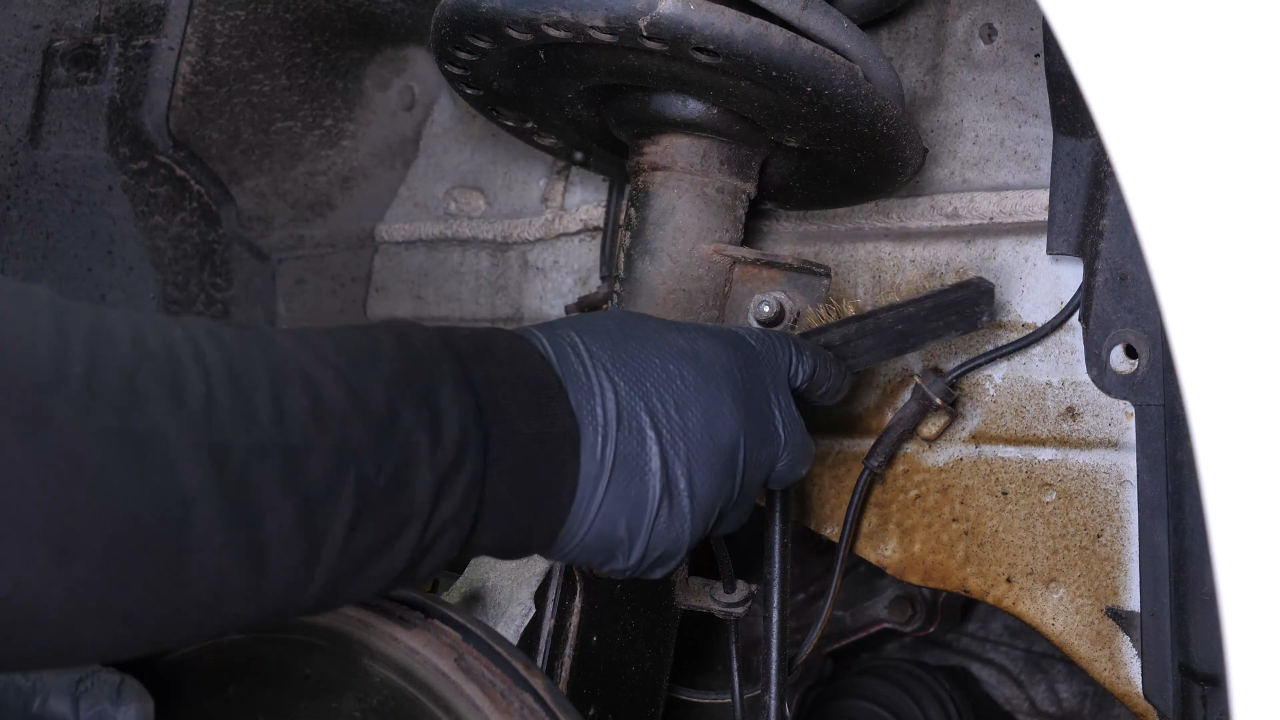
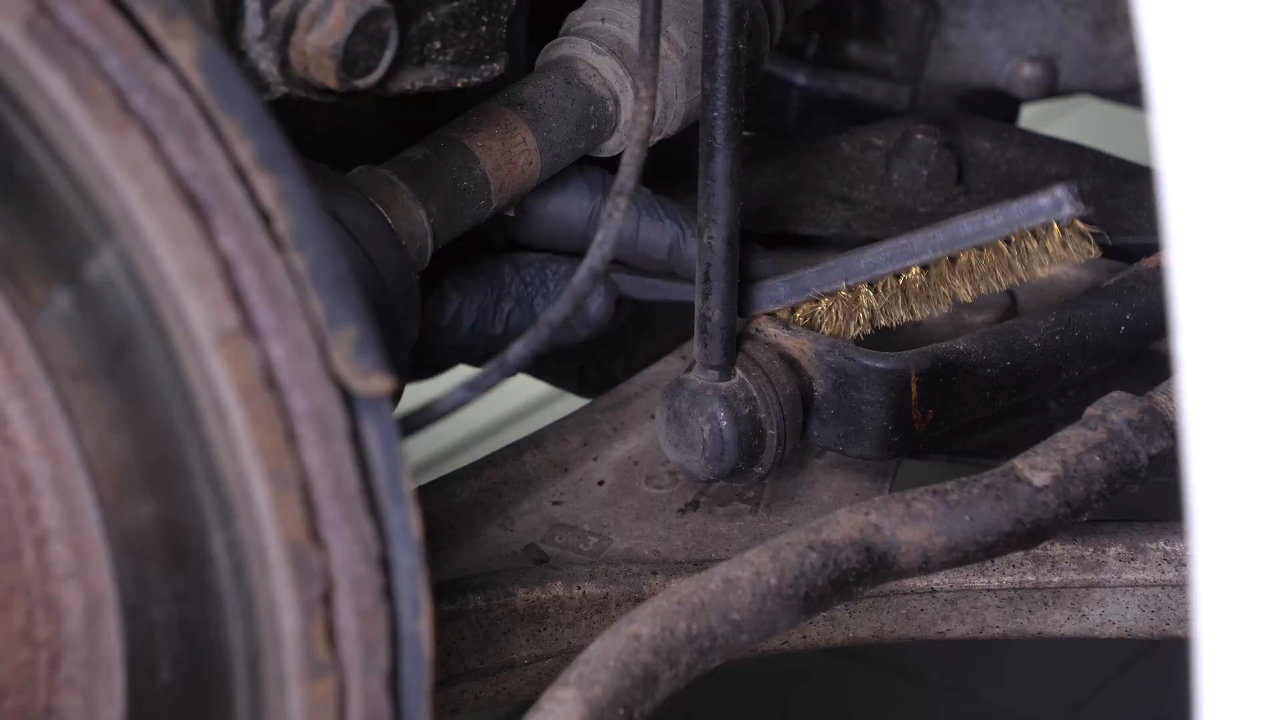
You can now see your car’s end link.

Chapter 3:
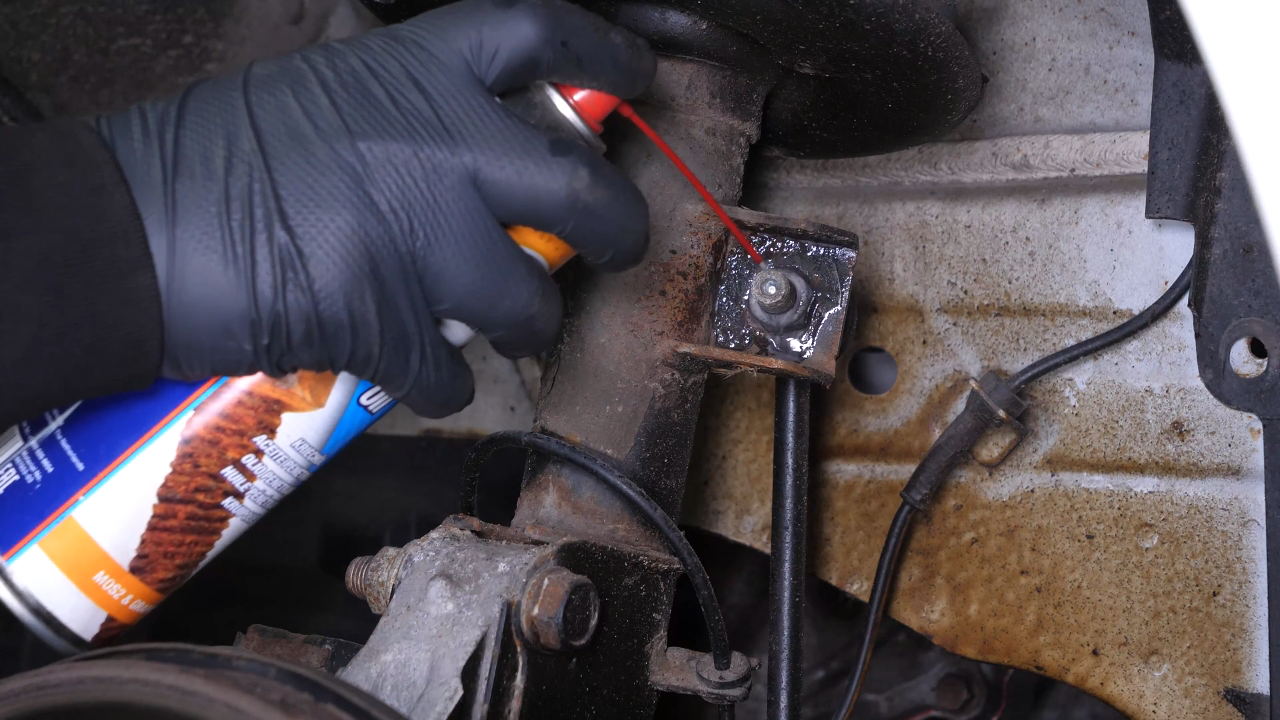
Step 2/2
The components to be removed are very often seized up, so don’t hesitate to brush and to use penetrating oil to make removal easier.

Chapter 4:
Unscrew the upper ball joint
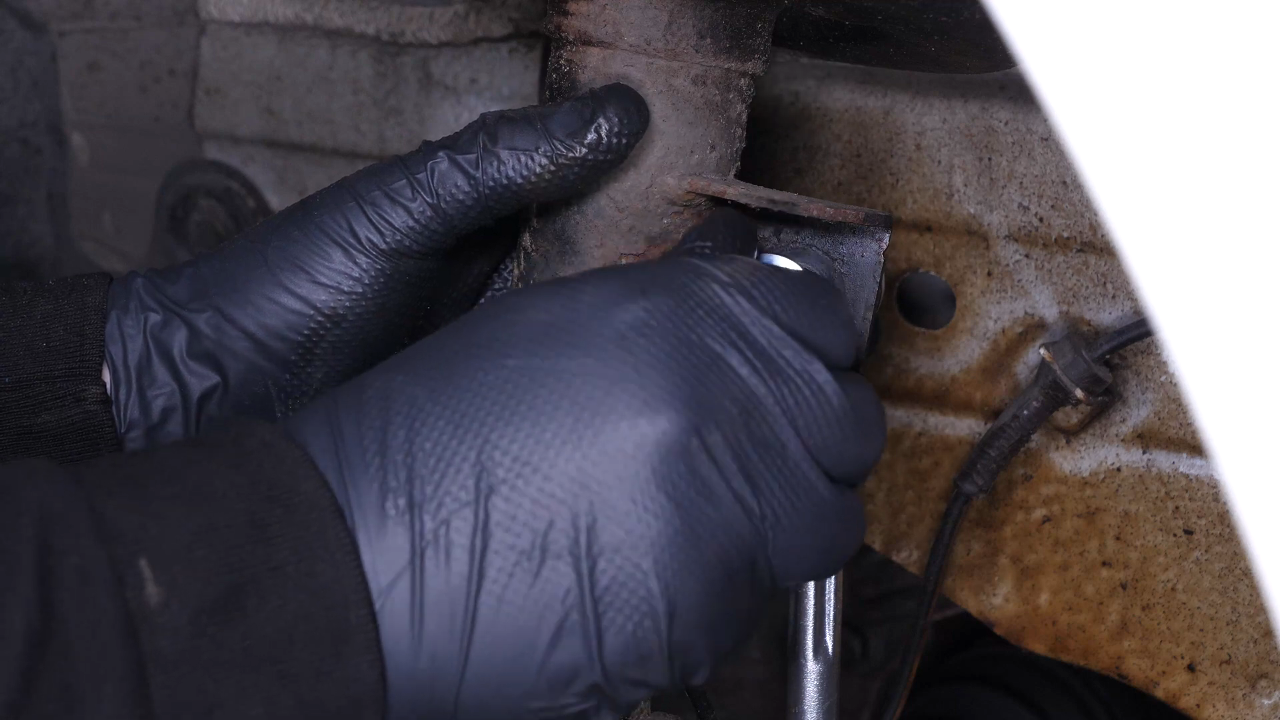
Step 1/1
Using an 19 mm wrench, unscrew the nut on the upper ball joint. Use a 5mm Allen key to keep the ball joint from rotating.


Chapter 5:
Unscrew the lower ball joint
Step 1/1
Repeat the operation on the lower ball joint.

Chapter 6:
Remove the sway bar end link
Step 1/1
You can now remove the link.


Chapter 7:
Install the new sway bar end link
Step 1/7
You can order the sway bar end link used in the video on Carparts.com through the link in description.

Chapter 7:
Step 2/7
Take the new link and unscrew the nuts supplied with it.


Chapter 7:
Step 3/7
Install it in the sway bar, then in the strut.


Chapter 7:
Step 4/7
Then screw the nut back on by hand a few threads.
Chapter 7:
Step 5/7
Screw the upper nut back on until it makes contact using a 18 mm wrench. Use a 6mm Allen key to keep the ball joint from rotating.

Chapter 7:
Step 6/7
Screw the lower nut back in until it makes contact.

Chapter 7:
Step 7/7
Finish tightening the nuts with a torque wrench, blocking the rotation of the ball joints with a 19 mm wrench.


Chapter 8:
Put the vehicle back on the ground
Step 1/2
Then, you will be able to put the wheels back on your vehicle. Put the car back on the ground and block the wheels properly.


Chapter 8:
Step 2/2
Operation complete.