
How to replace the ignition coils 2013 – 2018 Nissan Altima
To replace the ignition coils on your Altima it couldnt’ be easier. You will need to access the ignition coil, remove the ignition coil, finalise the reassembly and other steps you’ll need to follow in the correct order. You can follow this tutorial of 8 chapters in 20 minutes. Bring your ratchet and your torque wrench and let’s get started!
Duration
20 minutes
Number of steps
8
Difficulty out of 5
2
Average savings
$40
Parts You Will Need
Tools You Will Need
Step-by-Step Installation
Chapter 1:
Open the hood
Step 1/1
Turn off your vehicle’s ignition, set the parking brake, pull the hood release handle and open the hood.

Chapter 2:
Access the ignition coil
Step 1/3
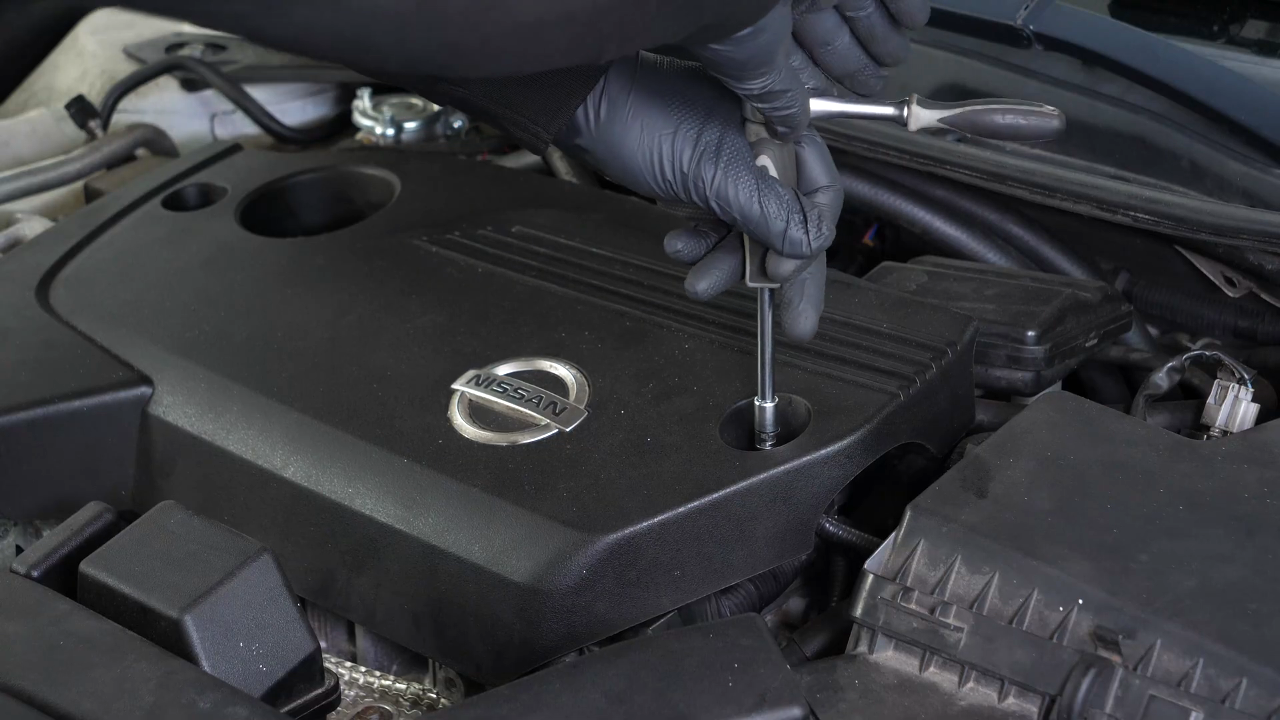
Using a ratchet, an extender, and a 5mm Allen socket, unscrew the 3 bolts that hold the plastic cover in place.


Chapter 2:
Step 2/3
Remove the bolts using a magnetic extender.

Chapter 2:
Step 3/3
Then remove the cover.

Chapter 3:
Visualise
Step 1/1
You can now see the location of the ignition coils.
Chapter 4:
Remove the ignition coil
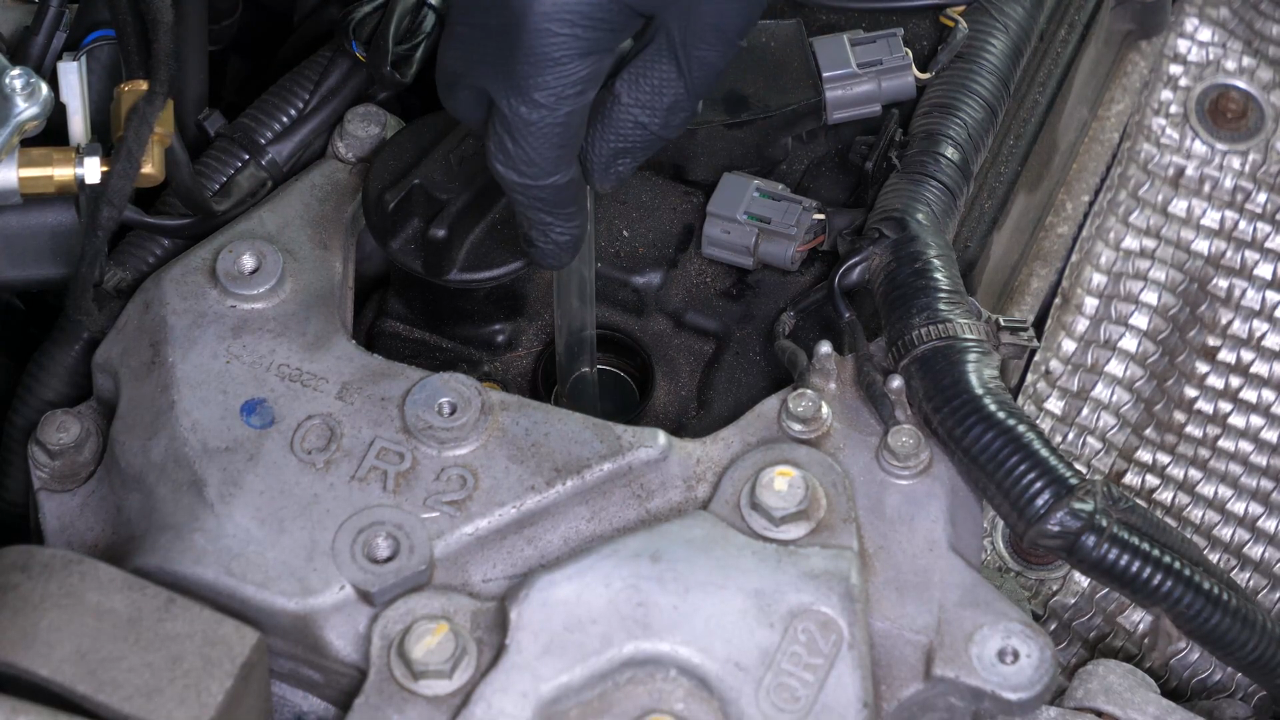
Step 1/3
Disconnect the power from the ignition coil. To do this, push on the tab and pull on the connector.


Chapter 4:
Step 2/3
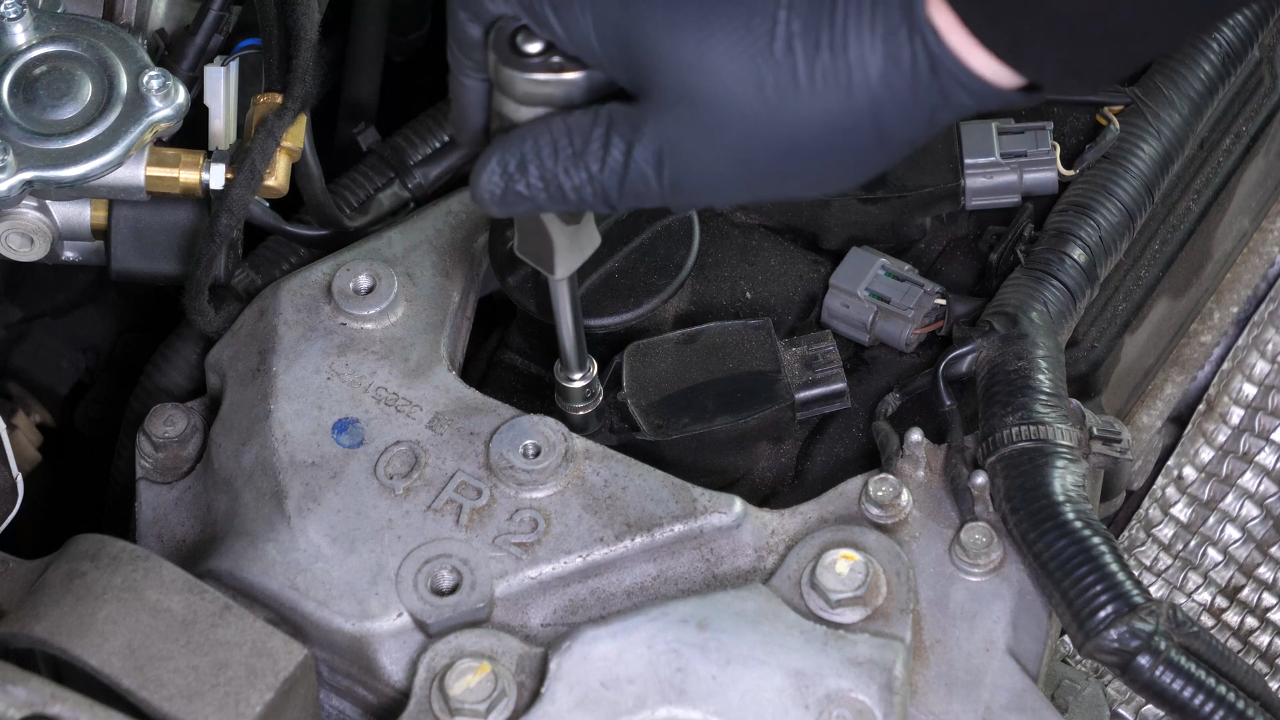
Using a ratchet, an extender and a 10 mm socket, remove the bolt holding the coil.
Chapter 4:
Step 3/3
You can now carefully remove the coil, making small lateral back and forward movements.


Chapter 5:
Tips
Step 1/1
Tip: we recommend using a thin plastic tube taped to the end of a vacuum to properly clean around the spark plug.
Chapter 6:
Install the new ignition coil
Step 1/5
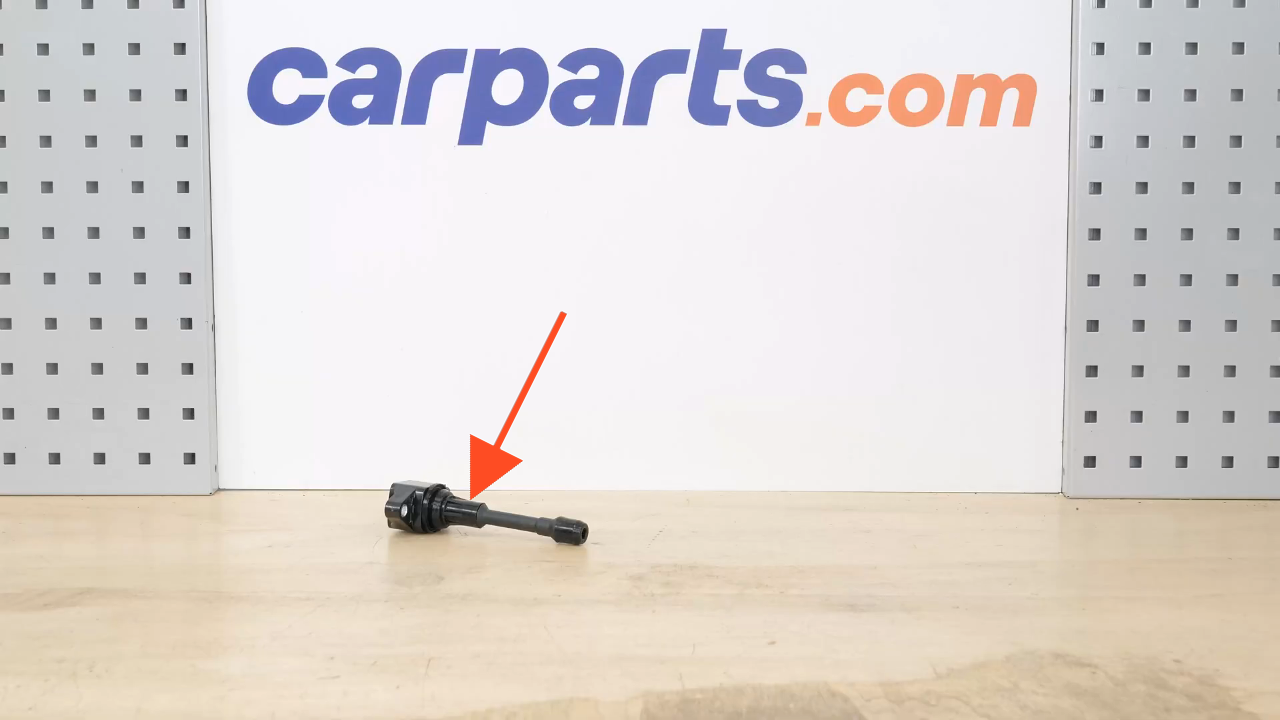
You can order the ignition coils used in the video on Carparts.com via the link in the description.

Chapter 6:
Step 2/5
Take the new coil.
Chapter 6:
Step 3/5
Put the coil back, pushing it in as far as possible.

Chapter 6:
Step 4/5
You can then screw the bolt back in using a ratchet.

Chapter 6:
Step 5/5
Finish tightening using a torque wrench.

Chapter 7:
Reconnect the ignition coil
Step 1/1
Reconnect the ignition coil.

Chapter 8:
Finalise the reassembly
Step 1/3
Put the plastic cover back on.

Chapter 8:
Step 2/3
And screw it back on.
Chapter 8:
Step 3/3
Operation complete.
