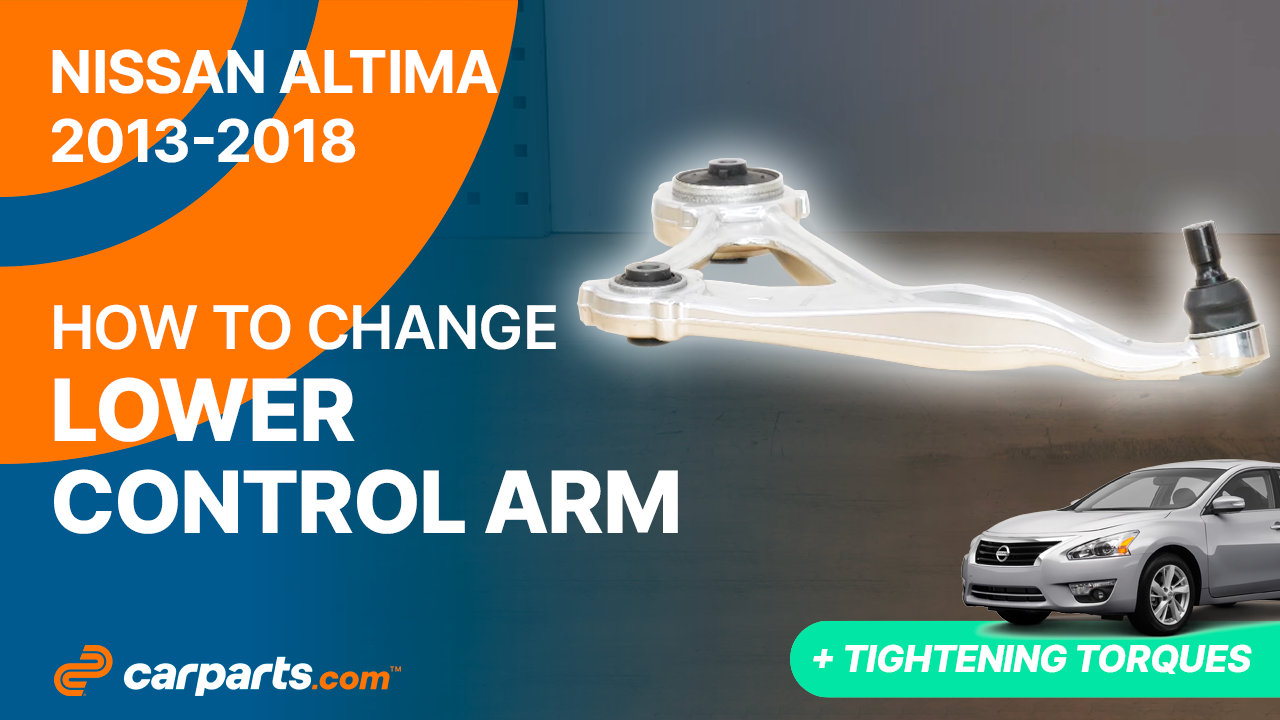
How to replace the lower control arms 2013- 2018 Nissan Altima
To replace the lower control arms on your Altima we’re here to help. You will need to lift the vehicle, remove the control arm ball joint, prepare the new control arm and follow the next steps described below. You can accomplish this tutorial of 9 chapters in 90 minutes. Bring your ratchet and your wire brush and let’s get started!
Duration
90 minutes
Number of steps
9
Difficulty out of 5
3
Average savings
$110
Parts You Will Need
Tools You Will Need
Step-by-Step Installation
Chapter 1:
Set up
Step 1/1
Turn your engine off and set the parking brake.

Chapter 2:
Lift the vehicle
Step 1/3
Loosen the stud bolts on the front wheels.

Chapter 2:
Step 2/3
Lift the front of your vehicle.


Chapter 2:
Step 3/3
Place the vehicle on the jack stands.


Chapter 3:
Take off the wheels
Step 1/1
Don’t forget to put the wheels under the vehicle!


Chapter 4:
Tips
Step 1/1
You can now see your car’s control arm.

Chapter 5:
Remove the control arm ball joint
Step 1/12
Brush off the nut of the lower control arm ball joint and spray it with penetrating oil.

Chapter 5:
Step 2/12
Loosen the lower suspension arm ball joint nut using an 18mm wrench, a ratchet, an extender and a 18mm socket, and unscrew the nut.

Chapter 5:
Step 3/12
Finish unscrewing by hand.

Chapter 5:
Step 4/12
Straighten the wheels to remove the ball joint retaining bolt.


Chapter 5:
Step 5/12
You can use a pin punch and a hammer to help you remove it.


Chapter 5:
Step 6/12
Do not attempt to remove the ball joint from its location before unscrewing the two control arm bushings.
Chapter 5:
Step 7/12
Brush the two nuts of the lower control arm retaining bolts, and spray them with penetrating oil.


Chapter 5:
Step 8/12
Using a 21 mm wrench, a ratchet, an extender and a 21 mm socket, unscrew the rear bushing retaining bolt.


Chapter 5:
Step 9/12
Finish unscrewing the nut by hand.

Chapter 5:
Step 10/12
Then remove the bolt.

Chapter 5:
Step 11/12
Repeat the same operation for the front bushing with the same tools.


Chapter 5:
Step 12/12
Using a crowbar, you can now separate the lower ball joint from the suspension wishbone.

Chapter 6:
Remove the lower control arm
Step 1/1
You can now remove the lower control arm by pulling it towards you and moving it back and forth.

Chapter 7:
Prepare the new control arm
Step 1/4
Brush and grease the control arm area to facilitate its installation.


Chapter 7:
Step 2/4
Using a wire brush, scrub the knuckle of the wheel knuckle, then apply silicone grease to the flat part that will be in contact with the lower control arm ball joint sleeve.


Chapter 7:
Step 3/4
You can order the lower control arms used in the video on Carparts.com via the link in the description.

Chapter 7:
Step 4/4
Take the control arm.

Chapter 8:
Set up the new control arm
Step 1/9
Next, put the control arm in place by reinserting the two bushings into their slots.


Chapter 8:
Step 2/9
Place the lower ball joint in the wheel knuckle.

Chapter 8:
Step 3/9
You can use a plastic mallet to reinsert it correctly or a jack to put pressure on it.

Chapter 8:
Step 4/9
Once in place, put the retaining bolt back in place, then tighten the nut using the wrench.


Chapter 8:
Step 5/9
Finish tightening using a torque wrench.

Chapter 8:
Step 6/9
Use a flat head screwdriver to pry and align the control arm bushings with the bolt insertion holes.

Chapter 8:
Step 7/9
Reinsert the front bushing retaining bolt and screw it back in until it makes contact.


Chapter 8:
Step 8/9
Do the same with the rear bushing.

Chapter 8:
Step 9/9
Tighten the bushings with a torque wrench.


Chapter 9:
Put the vehicle back on the ground
Step 1/4
Then, you will be able to put the wheels back on your vehicle.

Chapter 9:
Step 2/4
Put your vehicle back on the ground before properly fixing the wheels in place.


Chapter 9:
Step 3/4
During this operation, you will be intervening on the front axle of your car, so it is advisable to perform a wheel alignment afterwards.
Chapter 9:
Step 4/4
Operation complete.