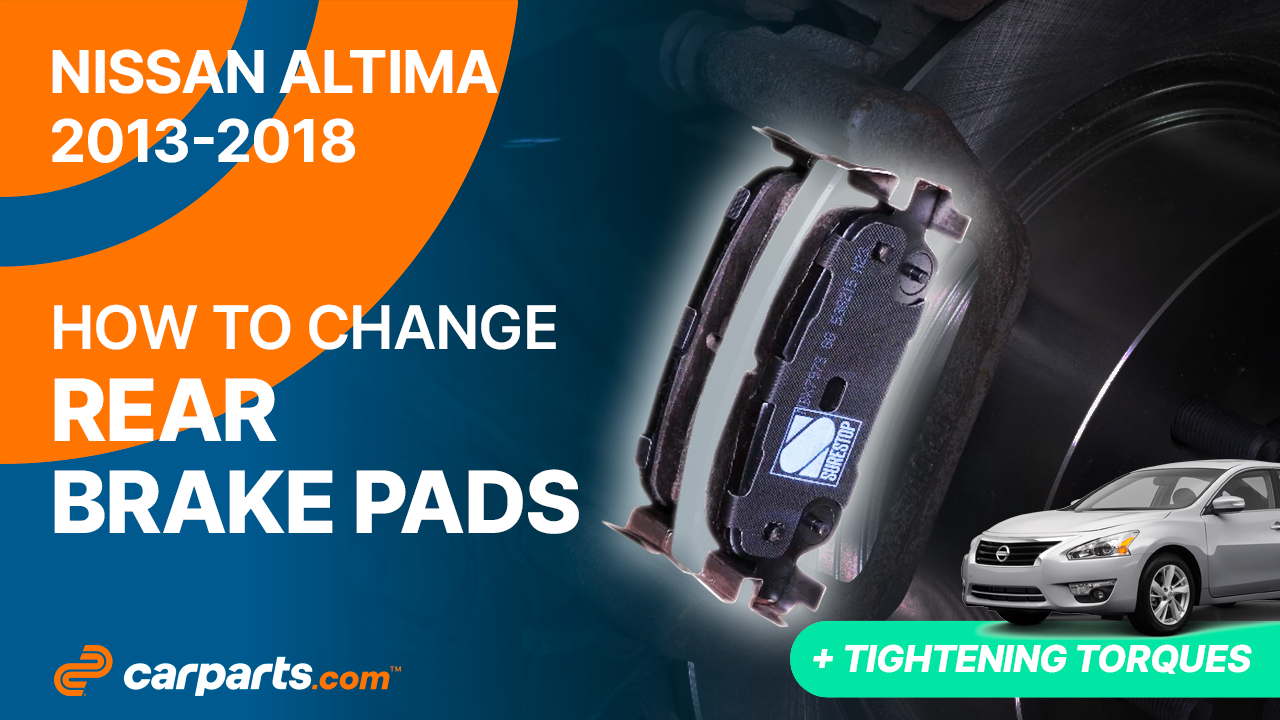
How to replace the rear brake pads 2013 – 2018 Nissan Altima
To replace the rear brake pads on your Altima we’re here to help. You will need to open the brake fluid reservoir, retract the piston, remove the brake caliper and other steps you’ll need to follow in the correct order. You can carry out this tutorial of 19 chapters in 45 minutes. Take your wheel lug wrench and your 19 mm wrench and let’s get started!
Duration
45 minutes
Number of steps
19
Difficulty out of 5
2
Average savings
$50
Parts You Will Need
Tools You Will Need
Step-by-Step Installation
Chapter 1:
Open the hood
Step 1/1
Turn off your vehicle’s ignition, set the parking brake, pull the hood release handle and open the hood.

Chapter 2:
Open the brake fluid reservoir
Step 1/1
Open the brake fluid reservoir.

Chapter 3:
Lift the vehicle
Step 1/3
Loosen the wheel lug nuts on the rear wheels.

Chapter 3:
Step 2/3
Lift the rear of your vehicle.


Chapter 3:
Step 3/3
Place the vehicle on the jack stands.


Chapter 4:
Take off the wheels
Step 1/1
Don’t forget to put the wheels under the vehicle!

Chapter 5:
Loosen the parking brake
Step 1/1
Before you start, release the parking brake otherwise the operation will be impossible.

Chapter 6:
Retract the piston
Step 1/2
Insert a flat head screwdriver into the opening of the brake caliper.

Chapter 6:
Step 2/2
Lift it off using the screwdriver as a lever by pulling it towards you. This will cause the piston to retract slightly, so that the caliper can be removed more easily for the next steps.

Chapter 7:
Loosen the slide pins
Step 1/2
With a socket wrench and a 14mm socket, unscrew the lower slide pin.

Chapter 7:
Step 2/2
Repeat this process with the upper slide pin.

Chapter 8:
Remove the brake caliper
Step 1/1
You can now remove the caliper and set it down so as not to pull on the rear brake hose.


Chapter 9:
Remove the brake pads
Step 1/2
Remove the brake pads.

Chapter 9:
Step 2/2
To do this, slide them away from the disc.


Chapter 10:
Remove the anti-rattle clips + Cleaning
Step 1/2
Using a flat head screwdriver, remove the anti-rattle clips.


Chapter 10:
Step 2/2
Brush the caliper mount around the pads to remove any extra rust that could prevent the pads from sliding.


Chapter 11:
Install the new anti-rattle clips
Step 1/3
You can order the pads used in the video on Carparts.com via the link in the description.

Chapter 11:
Step 2/3
Carparts.com also recommends replacing the anti-rattle clips with new ones.

Chapter 11:
Step 3/3
Place the new anti-rattle clips on the caliper mount.


Chapter 12:
Prepare and insert the new pads
Step 1/2
Grab the new pads, and lightly coat the ends with copper grease to help them slide more easily.


Chapter 12:
Step 2/2
Insert the new pads into the caliper mount by sliding them in.


Chapter 13:
Press the piston
Step 1/3
Grab the caliper.

Chapter 13:
Step 2/3
Press the piston into the brake caliper.

Chapter 13:
Step 3/3
For this operation, it is essential to have a brake wind-back tool, a special tool that allows you to push the piston back, making it easier to put the caliper back in place. As the piston enters the brake caliper, brake fluid will flow back into the brake fluid reservoir. Depending on the original level of the reservoir, make sure that the liquid does not overflow.
Chapter 14:
Install the new pad retaining clip
Step 1/1
Now, put the caliper back on the caliper mount.

Chapter 15:
Clean
Step 1/2
Clean the slide pins with paper towels.

Chapter 15:
Step 2/2
Then lubricate them with silicone grease to facilitate sliding.

Chapter 16:
Finalise the reassembly
Step 1/3
Screw in the caliper slide pins, by hand at first.


Chapter 16:
Step 2/3
Screw them in using a socket wrench and a 14mm socket.


Chapter 16:
Step 3/3
Finish tightening using a torque wrench.


Chapter 17:
Clean
Step 1/1
Clean the disc with brake cleaner and a cloth to remove the grease from the new pads. You can now repeat the same process on the other side.

Chapter 18:
Put the vehicle back on the ground
Step 1/3
Then, you will be able to put the wheels back on your vehicle.

Chapter 18:
Step 2/3
Put the car back on the ground and block the wheels properly.


Chapter 18:
Step 3/3
Don’t forget to screw the brake fluid cap back on before starting the car.

Chapter 19:
Pump the brake pedal
Step 1/2
Attention! Before using your vehicle again, start your car, and pump the brake pedal a few times to push the brake pads together again. Try to drive smoothly and avoid sudden braking for the first 30 miles or so, to avoid glazing the new pads.


Chapter 19:
Step 2/2
Operation complete.
