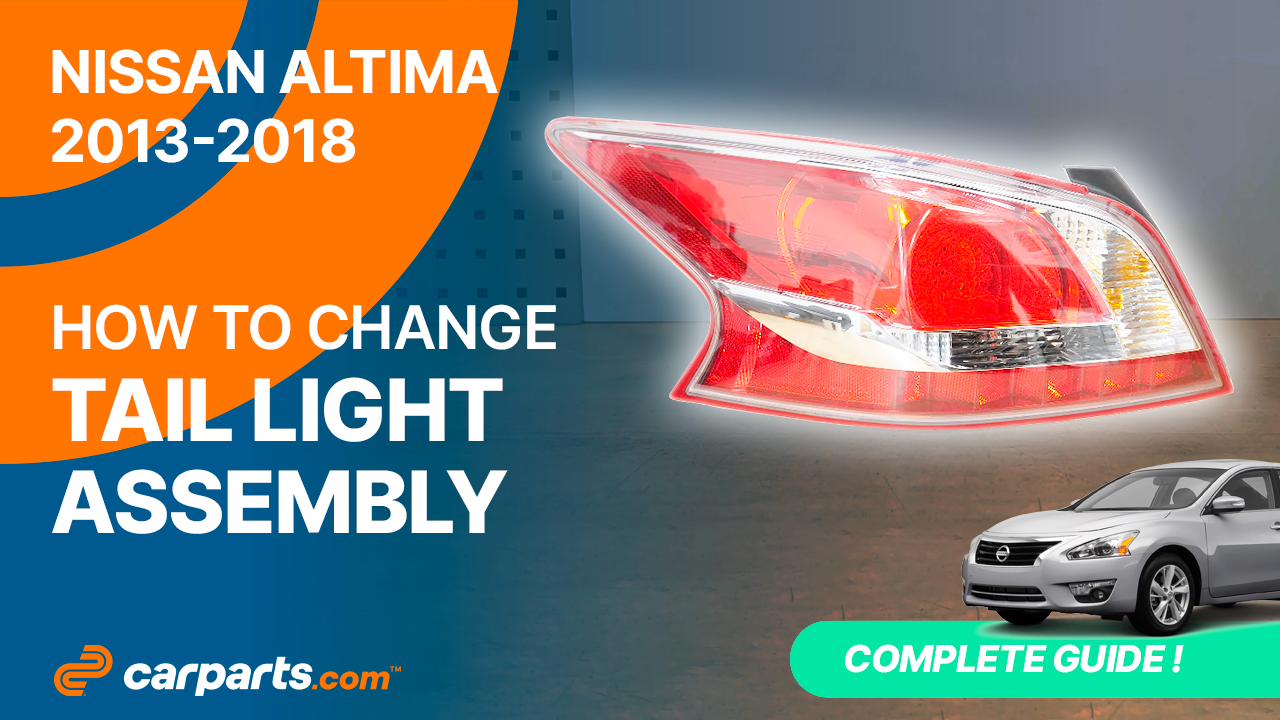
How to replace the tail light assembly 2013 – 2018 Nissan Altima
To replace the tail light assembly on your Altima It’s easy. You will need to set up, disconnect the tail light, remove the tail light housing as well as carry out a few other steps. You can carry out this tutorial of 6 chapters in 30 minutes. Bring your tutorial and your 8 mm wrench and let’s get started!
Duration
30 minutes
Number of steps
6
Difficulty out of 5
2
Average savings
$50
Parts You Will Need
Tools You Will Need
Step-by-Step Installation
Chapter 1:
Set up
Step 1/3
Turn your engine off and set the parking brake.


Chapter 1:
Step 2/3
Press the trunk release switch and open the trunk.

Chapter 1:
Step 3/3
To access the tail light, remove the trunk seal by the light. Then shift the trunk carpet.


Chapter 2:
Disconnect the tail light
Step 1/1
Disconnect the electrical connector. To do this, push on the tab and pull on the connector.

Chapter 3:
Remove the tail light housing
Step 1/2
Using an 8 mm wrench, unscrew the 2 nuts holding the tail light housing.


Chapter 3:
Step 2/2
Remove the tail light housing, taking care to free the wiring harness by removing the seal from the car body.


Chapter 4:
Put the tail light housing back
Step 1/3
Take the new tail light. All the bulbs are supplied with it.

Chapter 4:
Step 2/3
Insert the tail light harness into the hole provided and reposition the seal. The light is held in place by studs encased directly in the car body.


Chapter 4:
Step 3/3
Put the light back in. Then, screw the two mounting nuts back on.


Chapter 5:
Reconnect the tail light
Step 1/1
Plug the electrical connector back in.

Chapter 6:
Finalise the reassembly
Step 1/1
Put the trunk carpet back in place. Put the seal back in place. Operation complete.


