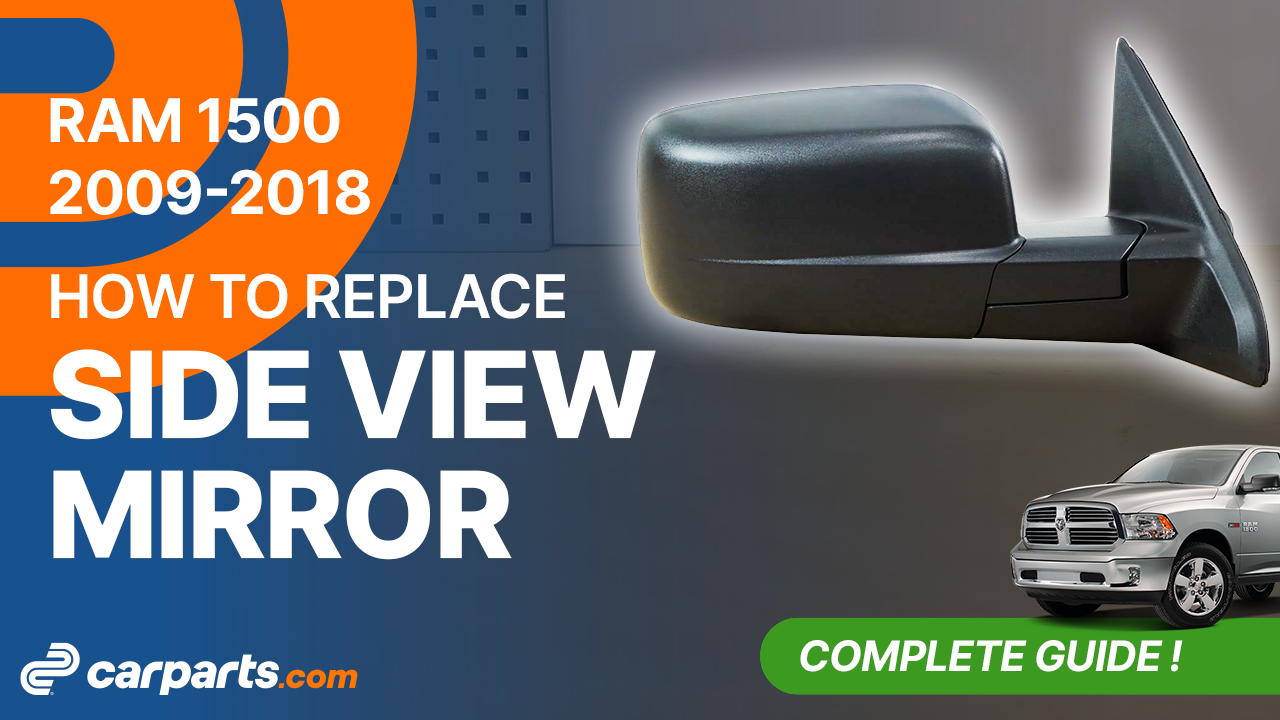
2009-2018 Dodge Ram 1500
To replace the side rear view mirror on your Ram 1500 It’s easy. You will be asked to set up, remove the door trim, remove the side view mirror as well as carry out a few other steps. You can carry out this tutorial of 6 chapters in 45 minutes. Take your ratchet and your 10 mm socket and let’s get started!
Duration
45 minutes
Number of steps
6
Difficulty out of 5
2
Average savings
$75
Parts You Will Need
Tools You Will Need
Step-by-Step Installation
Chapter 1:
Set up
Step 1/3
Turn your engine off and set the parking brake.


Chapter 1:
Step 2/3
Open the door.

Chapter 1:
Step 3/3
Using a plastic fork, remove the plastic covering the side view mirror’s retaining nuts.


Chapter 2:
Remove the door trim
Step 1/6
Then, using the same tool, remove the plastic cover located in the door handle hole.


Chapter 2:
Step 2/6
Using a Phillips screwdriver, unscrew the retaining screw from the inner door panel.

Chapter 2:
Step 3/6
Using the fork, lift up the electric window and side mirror controls. Then disconnect them by pressing the tab.


Chapter 2:
Step 4/6
Using a small flat head screwdriver, remove the 7 push pin rivet fasteners from the inner door panel.


Chapter 2:
Step 5/6
Pull on the door handle trim to remove it.


Chapter 2:
Step 6/6
You can now remove the door panel by lifting it off the top track.


Chapter 3:
Remove the side view mirror
Step 1/4
Using a small flat head screwdriver, disconnect the electrical connector from the side view mirror by pressing the tab.


Chapter 3:
Step 2/4
Then pry on the side view mirror power cable retaining clip using the fork.

Chapter 3:
Step 3/4
Using a ratchet and a 10 mm socket, unscrew the 3 retaining nuts from the side view mirror.


Chapter 3:
Step 4/4
Take off the side view mirror.


Chapter 4:
Install the new side view mirror
Step 1/9
Remove the rubber protectors.

Chapter 4:
Step 2/9
Take the new side view mirror.

Chapter 4:
Step 3/9
Insert the side view mirror into its housing.


Chapter 4:
Step 4/9
Remember to thread the power cable through the hole provided for it.


Chapter 4:
Step 5/9
Then screw the 3 nuts back in, by hand at first.


Chapter 4:
Step 6/9
Finish off tightening with a ratchet.

Chapter 4:
Step 7/9
You can take the cable retaining clip from the old side view mirror.


Chapter 4:
Step 8/9
Then put the clip back in place.


Chapter 4:
Step 9/9
Plug the electrical connector back in.

Chapter 5:
Put the door trim back
Step 1/5
Now you can put the door panel back on, being careful to make sure that the entire trim is resting against the door as you put it on.


Chapter 5:
Step 2/5
Don’t forget to pass the door lock latch through the trim. Check that the trim has been put back correctly.

Chapter 5:
Step 3/5
Put the door handle trim back on.

Chapter 5:
Step 4/5
Screw back the screw located in the handle, then replace the plastic cover.


Chapter 5:
Step 5/5
Fit the 7 push pin rivet fasteners.


Chapter 6:
Finalise the reassembly
Step 1/4
Reconnect the power to the electric window and side mirror controls.


Chapter 6:
Step 2/4
Then put them back in place.


Chapter 6:
Step 3/4
Reinstall the plastic that covers the side view mirror retaining nuts.


Chapter 6:
Step 4/4
Operation complete.
