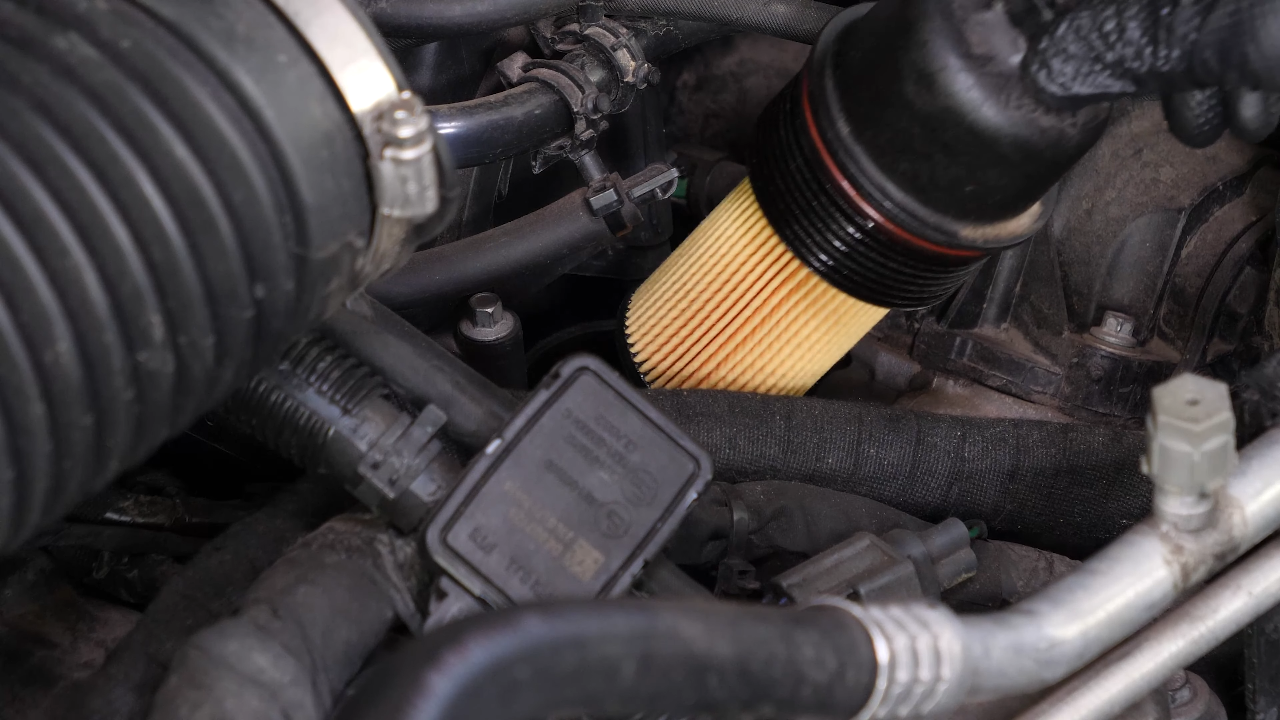
How to change the oil and the oil Filter 2009-2018 Dodge RAM 1500
To change the oil and the oil Filter on your RAM 1500 It’s easy. You will need to open the hood, change the oil, remove the oil filter and other steps you’ll need to follow in the correct order. You can accomplish this tutorial of 10 chapters in 60 minutes. Take your ratchet and your 13 mm socket and let’s get started!
Duration
60 minutes
Number of steps
10
Difficulty out of 5
2
Average savings
$70
Parts You Will Need
Tools You Will Need
Step-by-Step Installation
Chapter 1:
Open the filler cap
Step 1/2
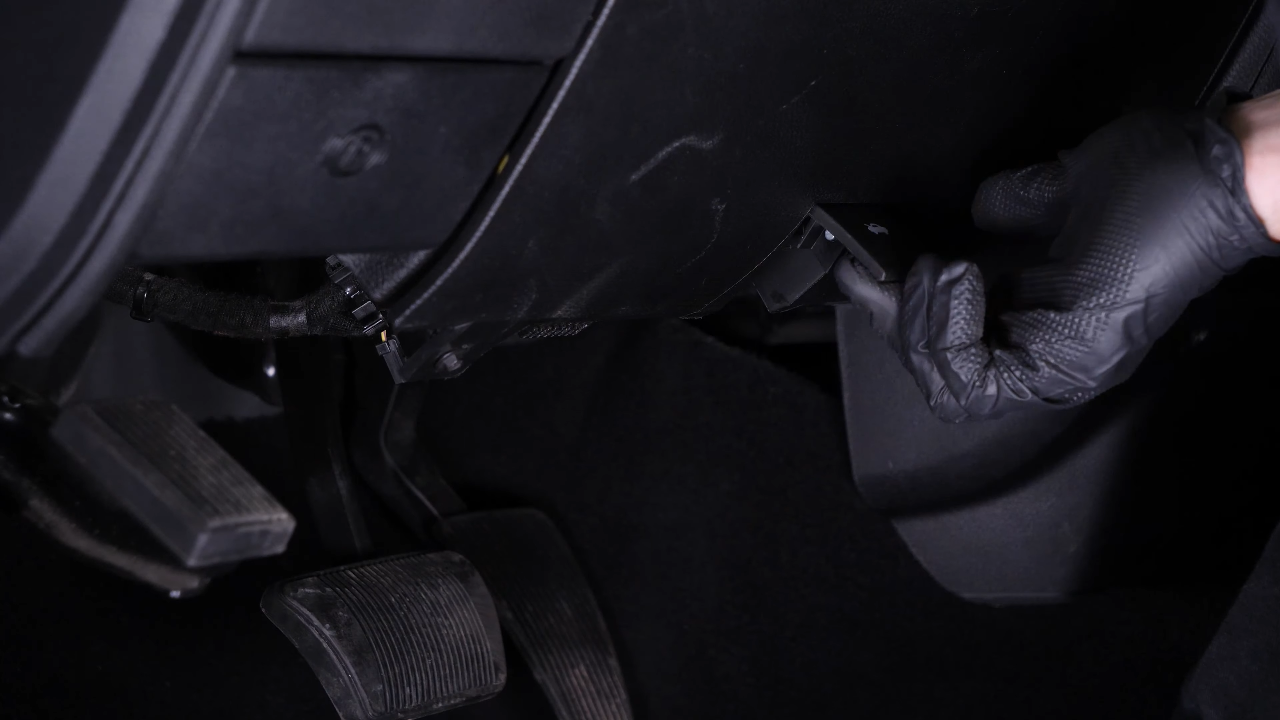
Turn off your vehicle’s ignition, set the parking brake, pull the hood release handle and open the hood.


Chapter 1:
Step 2/2
Open your oil filler cap, this will facilitate the flow of oil when draining.

Chapter 2:
Remove the skid plate
Step 1/2
You can then remove the skid plate, if present, to access the drain plug.
Chapter 2:
Step 2/2
You can now see the drain plug.

Chapter 3:
Change the oil
Step 1/4
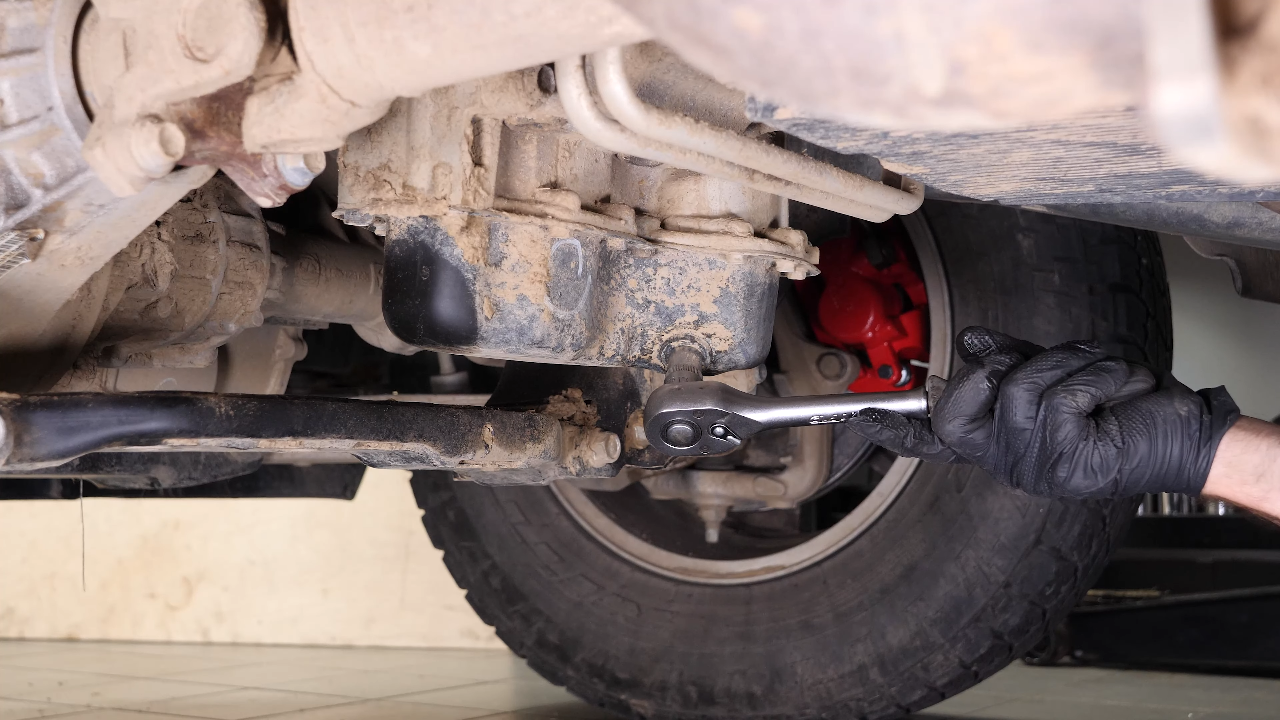
Unscrew the drain plug with the help of a ratchet and a 13mm socket. Start the process with the wrench, and finish it off by hand.

Chapter 3:
Step 2/4
Be careful on the last few turns, the oil can squirt suddenly.
Chapter 3:
Step 3/4
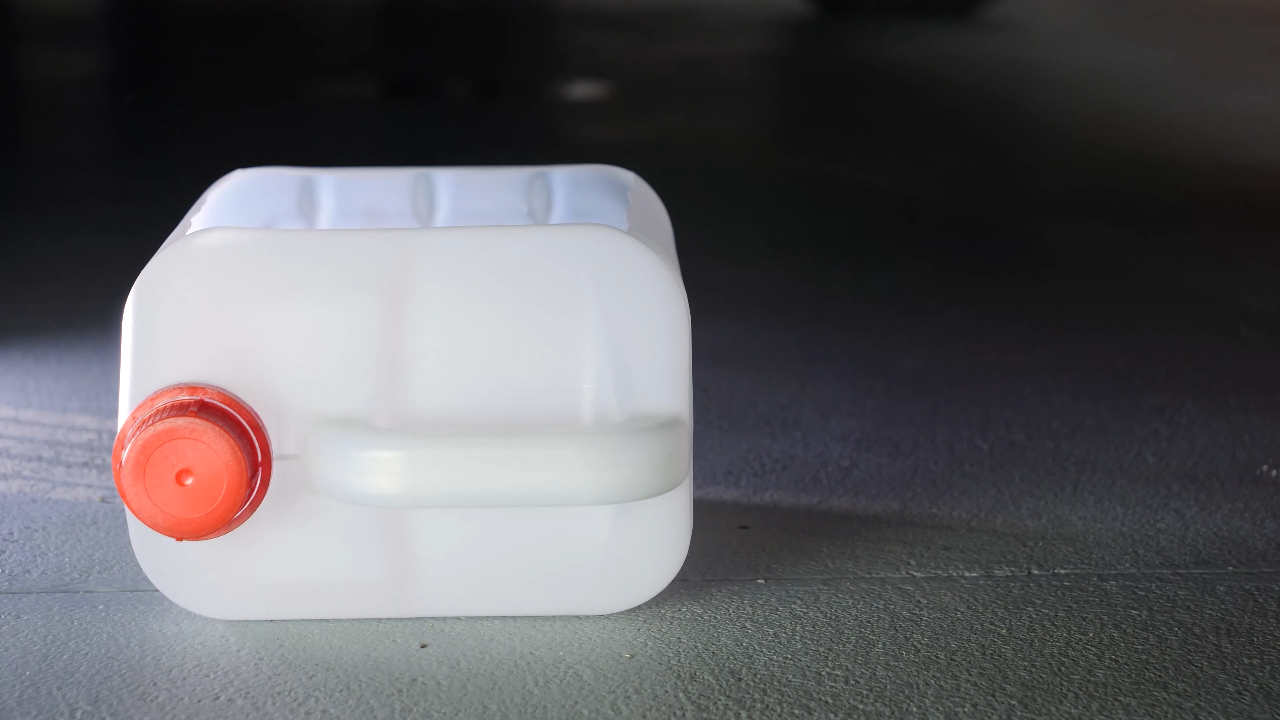
You will have to anticipate this, making sure you have an oil collector on hand.
Chapter 3:
Step 4/4
Let the oil run out for about 10 minutes.

Chapter 4:
Access the oil filter
Step 1/7
When you change the the oil, you should also replace the oil filter.
Chapter 4:
Step 2/7
To access the oil filter more easily, we recommend removing the air intake resonator.
Chapter 4:
Step 3/7
Using a flathead screwdriver, loosen the holding clip for the air intake duct on the air box. Then take out the duct.

Chapter 4:
Step 4/7
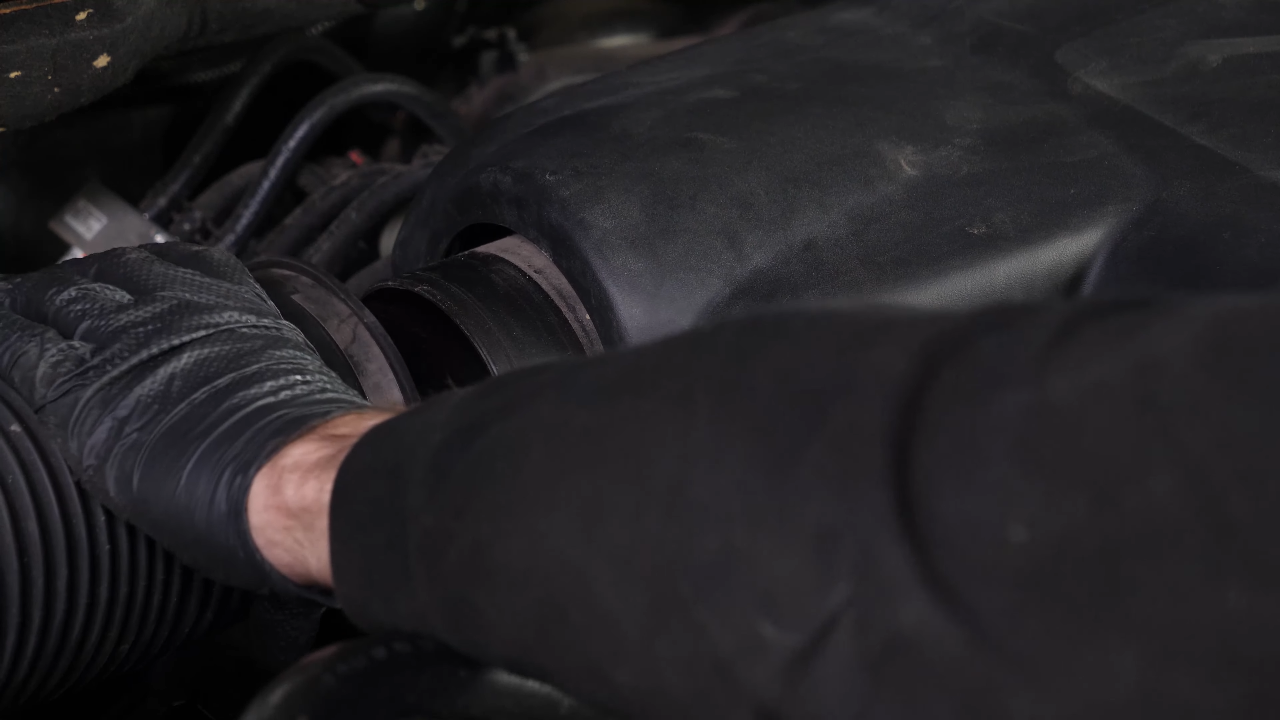
Still using the screwdriver, unscrew the hose clamp from the air intake resonator.

Chapter 4:
Step 5/7
Disconnect the electrical connector.

Chapter 4:
Step 6/7
Using the screwdriver, press on the connector, then pull on the hose to remove it.


Chapter 4:
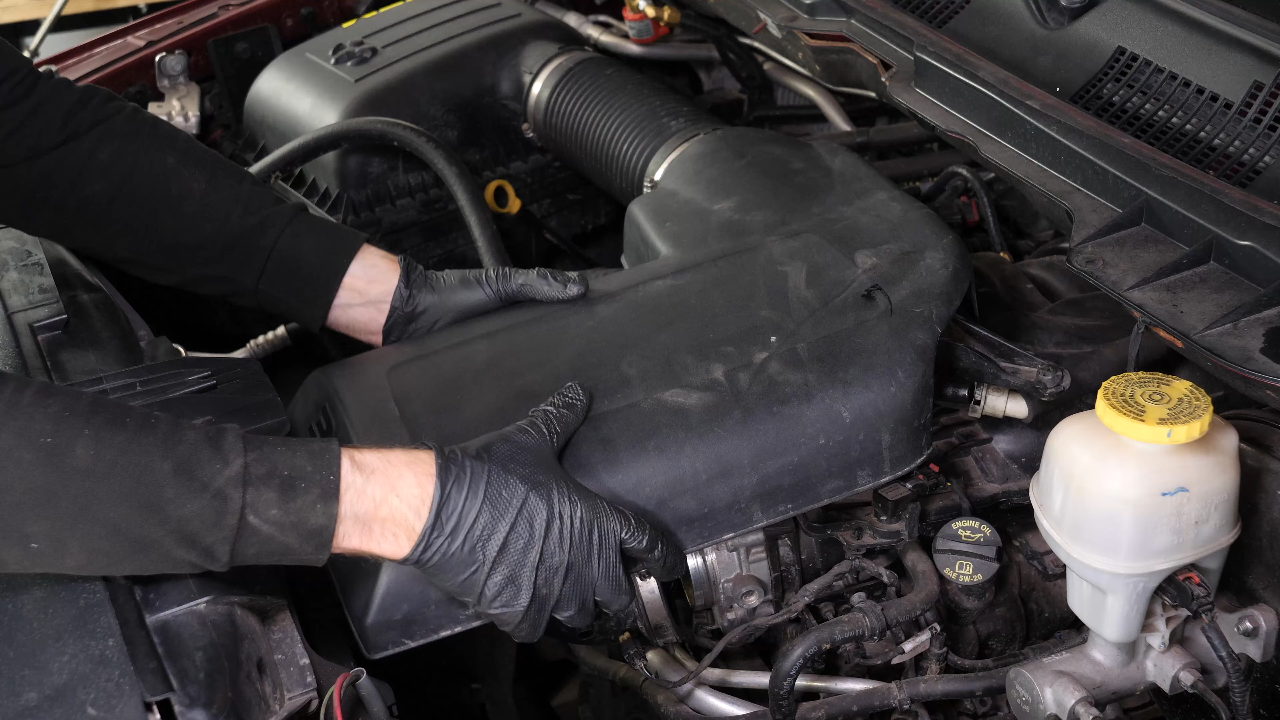
Step 7/7
You can now remove the air intake resonator.
Chapter 5:
Remove the oil filter
Step 1/5
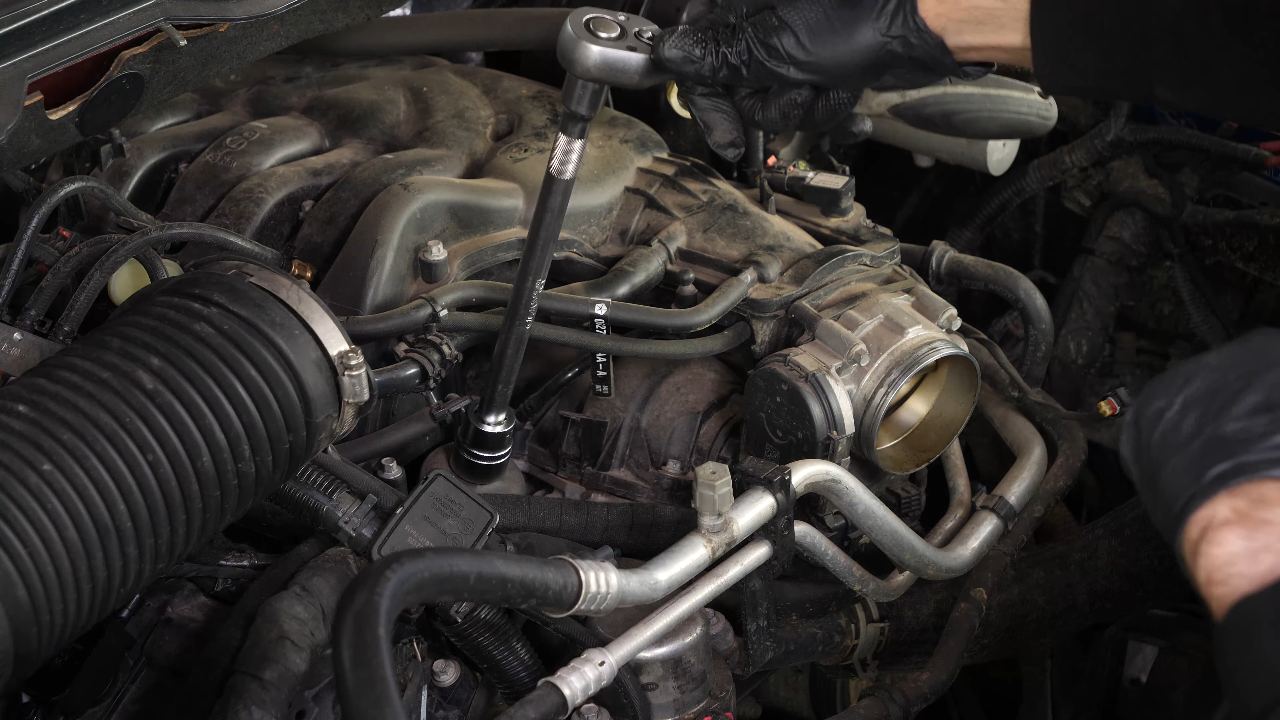
Using a ratchet, a large extender and a 24mm socket, release the filter cap by turning it counterclockwise until it turns easily. Finish unscrewing it by hand.

Chapter 5:
Step 2/5
Remove the oil filter.
Chapter 5:
Step 3/5
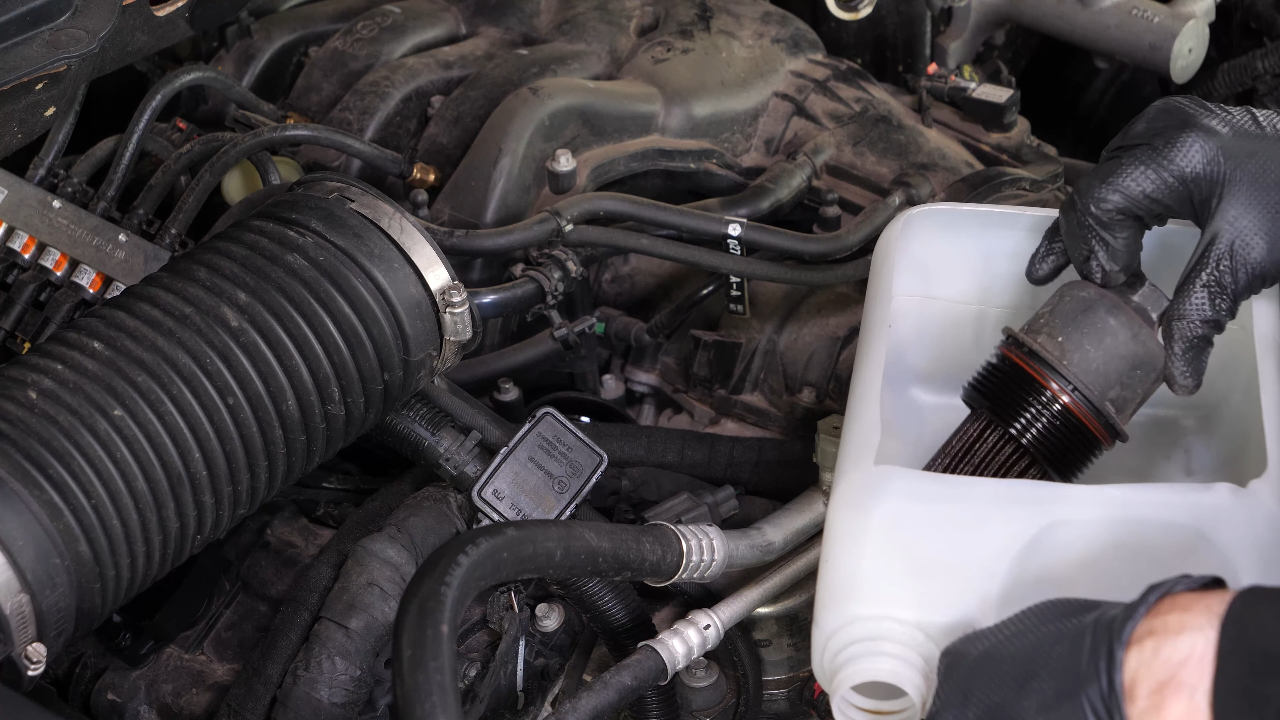
When released, turn it upwards to avoid spilling any oil.
Chapter 5:
Step 4/5
Place it in a liquid collector.
Chapter 5:
Step 5/5
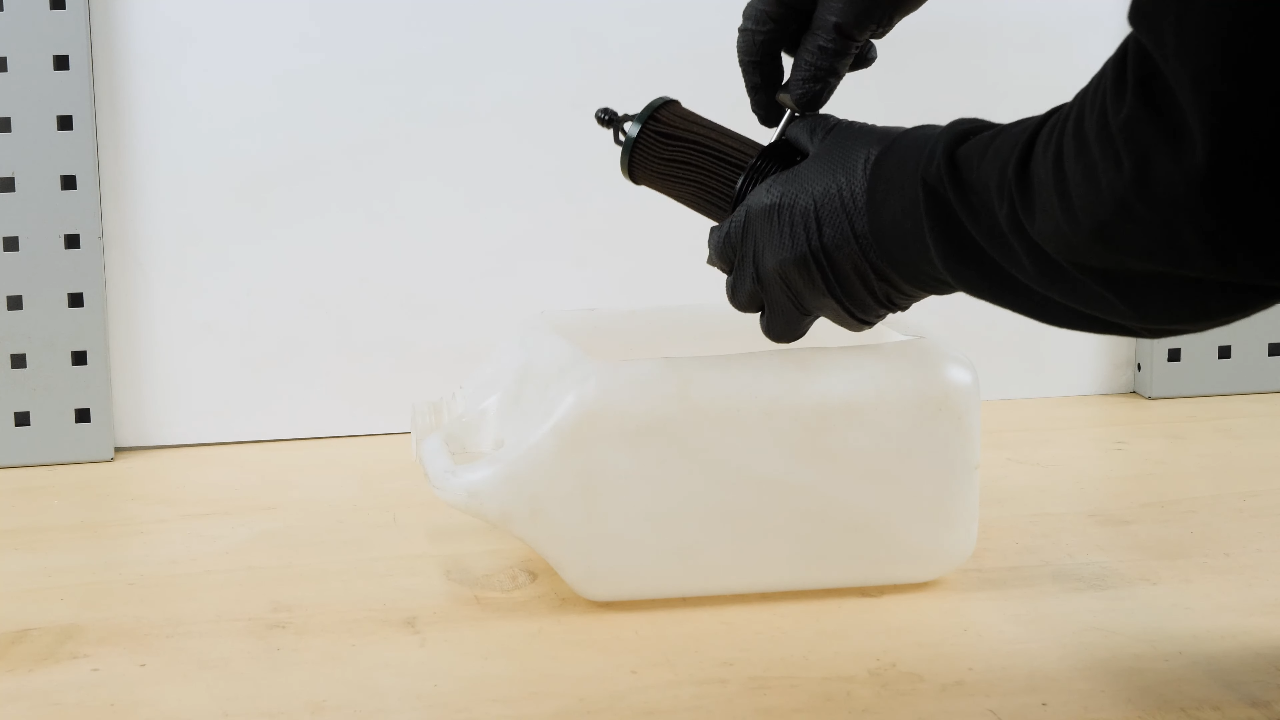
Remove the filter by prying on it with a flat head screwdriver.
Chapter 6:
Prepare the oil filter
Step 1/5
Using a fairly thin flat head screwdriver, remove the rubber O-ring located under the flange of the cap.

Chapter 6:
Step 2/5
Clean the filter cap with brake cleaner and paper towel.


Chapter 6:
Step 3/5
Replace the seal with the one provided in the new filter box, taking care to oil its surface well.


Chapter 6:
Step 4/5
Take the new filter and insert it into the cap.


Chapter 6:
Step 5/5
You should hear a click as it locks into place.
Chapter 7:
Reinstall the oil filter
Step 1/5
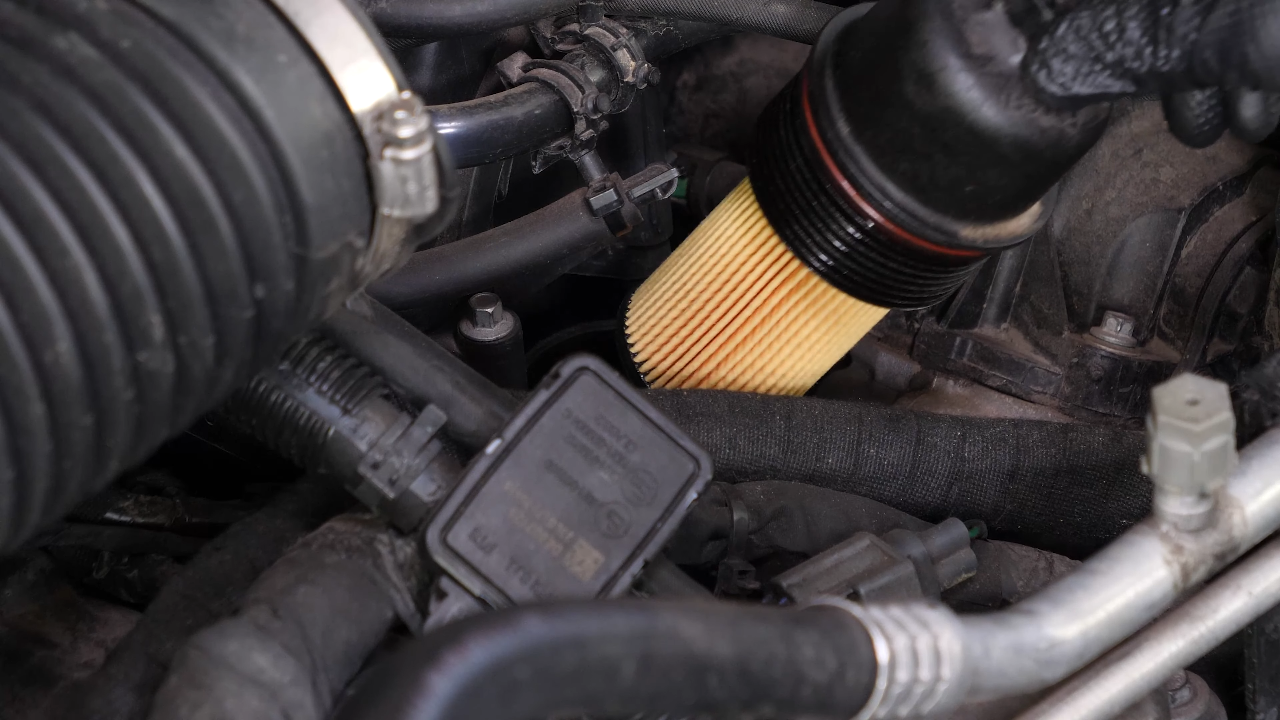
Screw the filter back on by hand until it makes contact.
Chapter 7:
Step 2/5
To tighten it, use your ratchet, the extender and the 24mm socket.

Chapter 7:
Step 3/5
Be careful. With this type of oil filter, sometimes the new seal is too thick, making the actual tightening more complicated.
Chapter 7:
Step 4/5
So, make sure that the flange of the cap is pressed against the metal motor support.
Chapter 7:
Step 5/5
Finish tightening using a torque wrench.

Chapter 8:
Put the various parts back in place
Step 1/8
Put the air intake resonator back in place.

Chapter 8:
Step 2/8
Replace the air intake hose.

Chapter 8:
Step 3/8
Then screw the hose clamp back on.

Chapter 8:
Step 4/8
Reconnect the hose.

Chapter 8:
Step 5/8
Plug the electrical connector back in.
Chapter 8:
Step 6/8
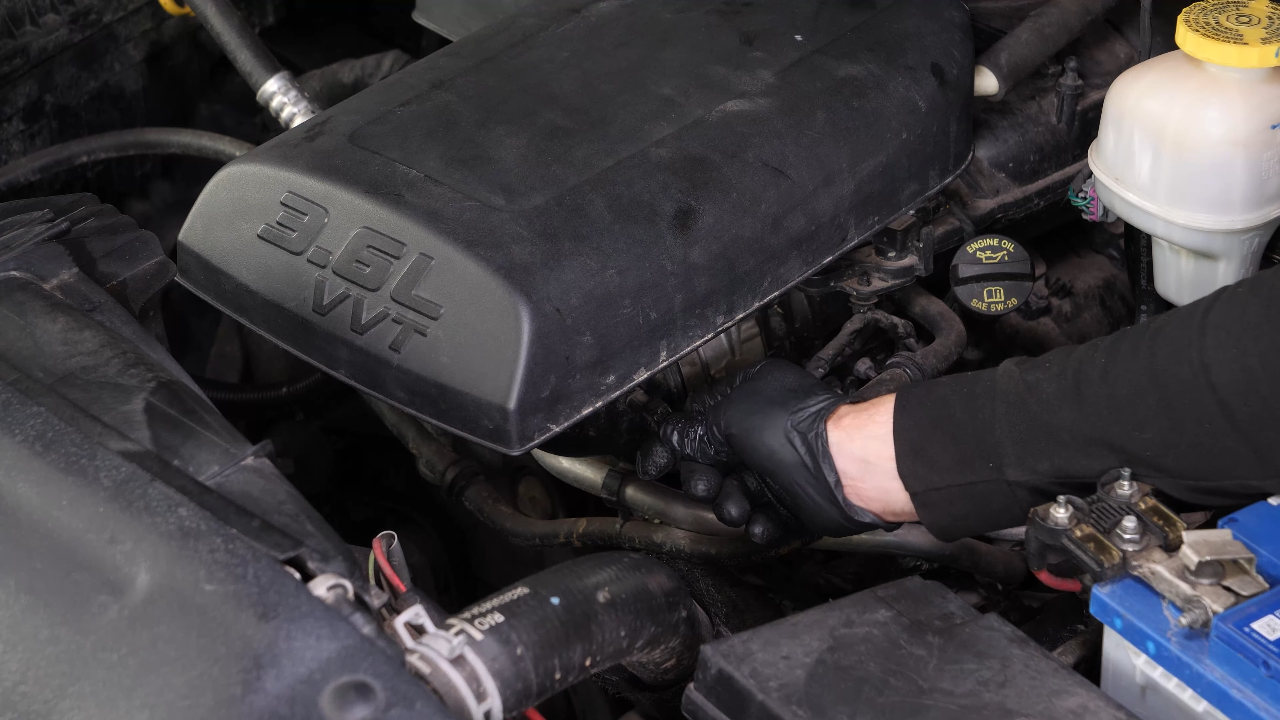
Screw the air intake resonator hose clamp back on.

Chapter 8:
Step 7/8
Replace the drain plug with a new one, then screw the plug back in. Start by hand, then finish off using a wrench, without being too forceful of course.

Chapter 8:
Step 8/8
Put the skid plate back in place.
Chapter 9:
Pour oil back into the motor
Step 1/6
It is necessary to pour oil back into the motor at this point.
Chapter 9:
Step 2/6
This step must be done with care and precision.
Chapter 9:
Step 3/6
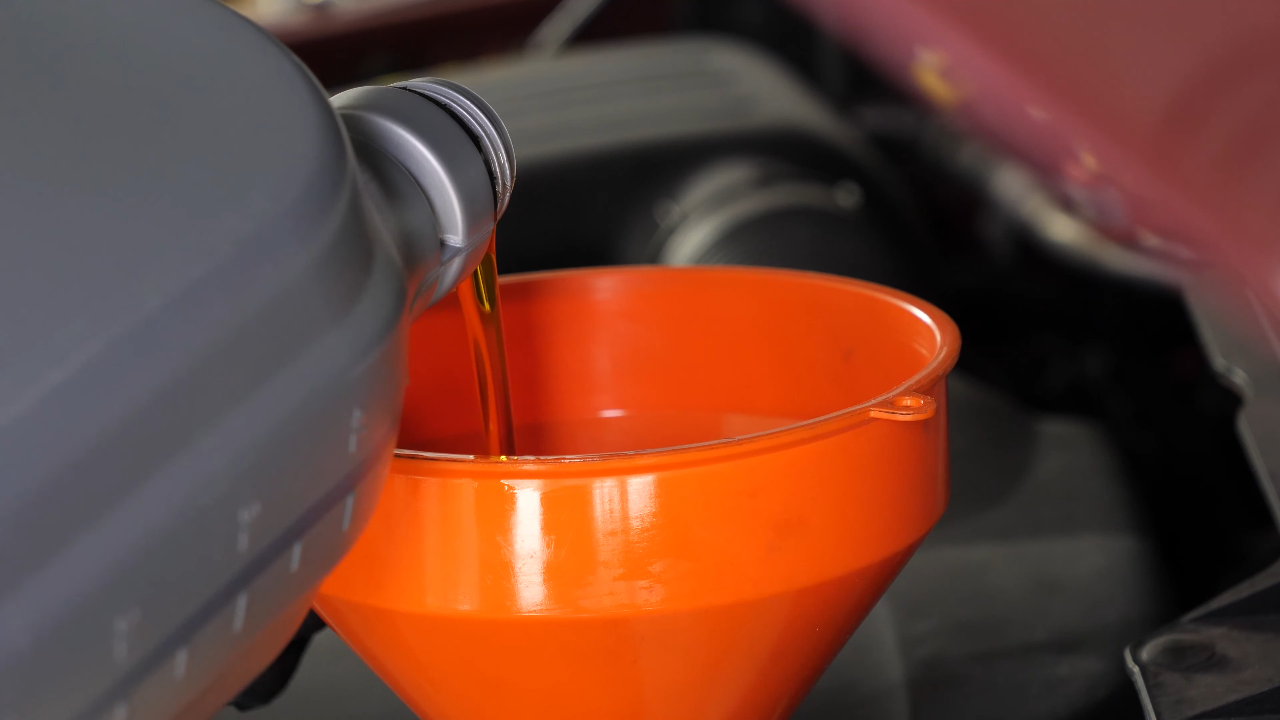
It is then necessary to add the oil to the engine.
Chapter 9:
Step 4/6
Begin by putting 90% of the suggested amount, this will leave you a large enough margin to adjust the level of oil appropriately.
Chapter 9:
Step 5/6
Close the oil fill plug, start the engine and let the car run for thirty seconds.

Chapter 9:
Step 6/6
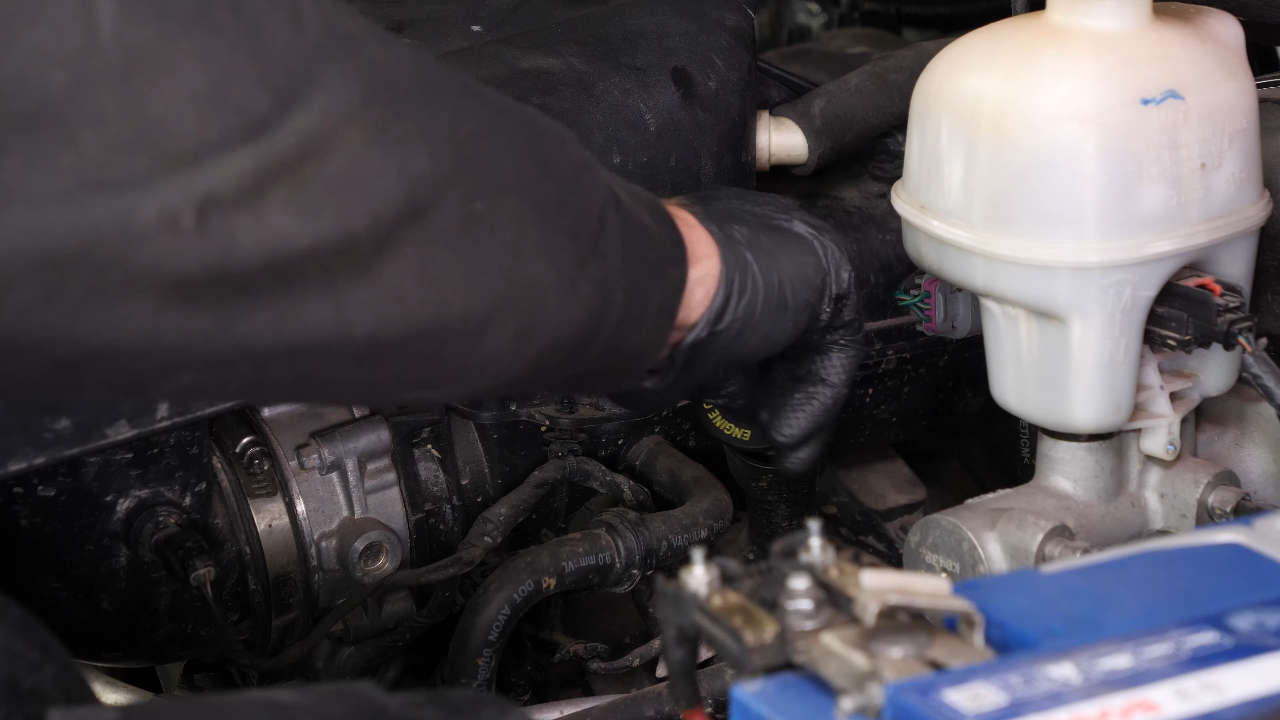
This will fill the oil filter.
Chapter 10:
Check the oil level
Step 1/5
Remove the oil dipstick and wipe it down.

Chapter 10:
Step 2/5
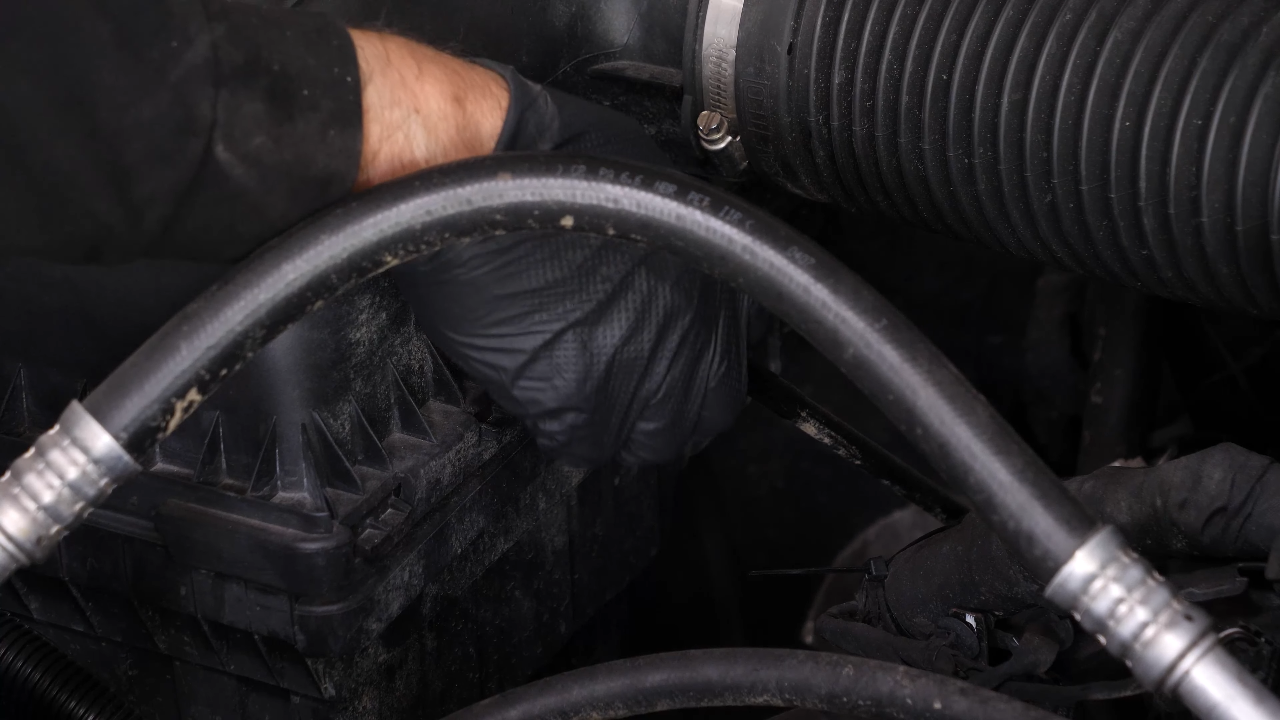
Plunge it back into its sheath, remove it again and check the oil level.

Chapter 10:
Step 3/5
The optimal level is near the maximum, but be careful to never go over it!

Chapter 10:
Step 4/5
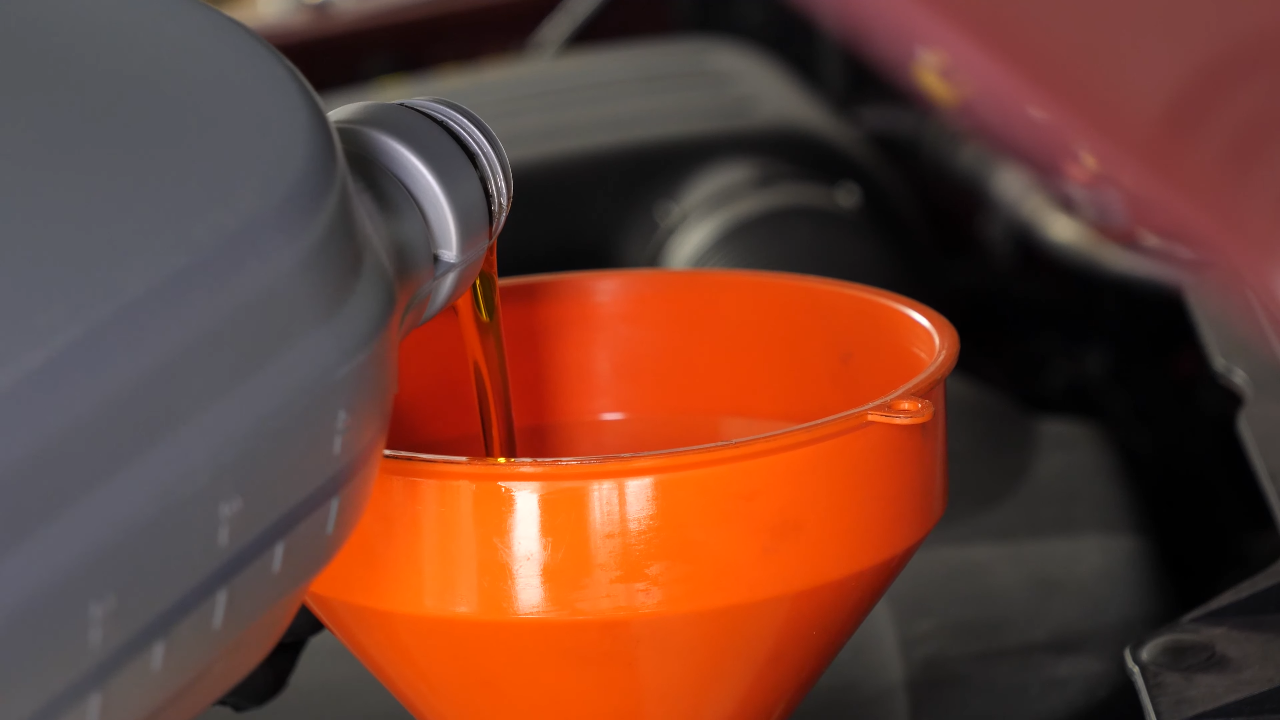
Based on the level indicated on the dipstick, readjust to obtain the optimum amount.
Chapter 10:
Step 5/5
Operation complete.