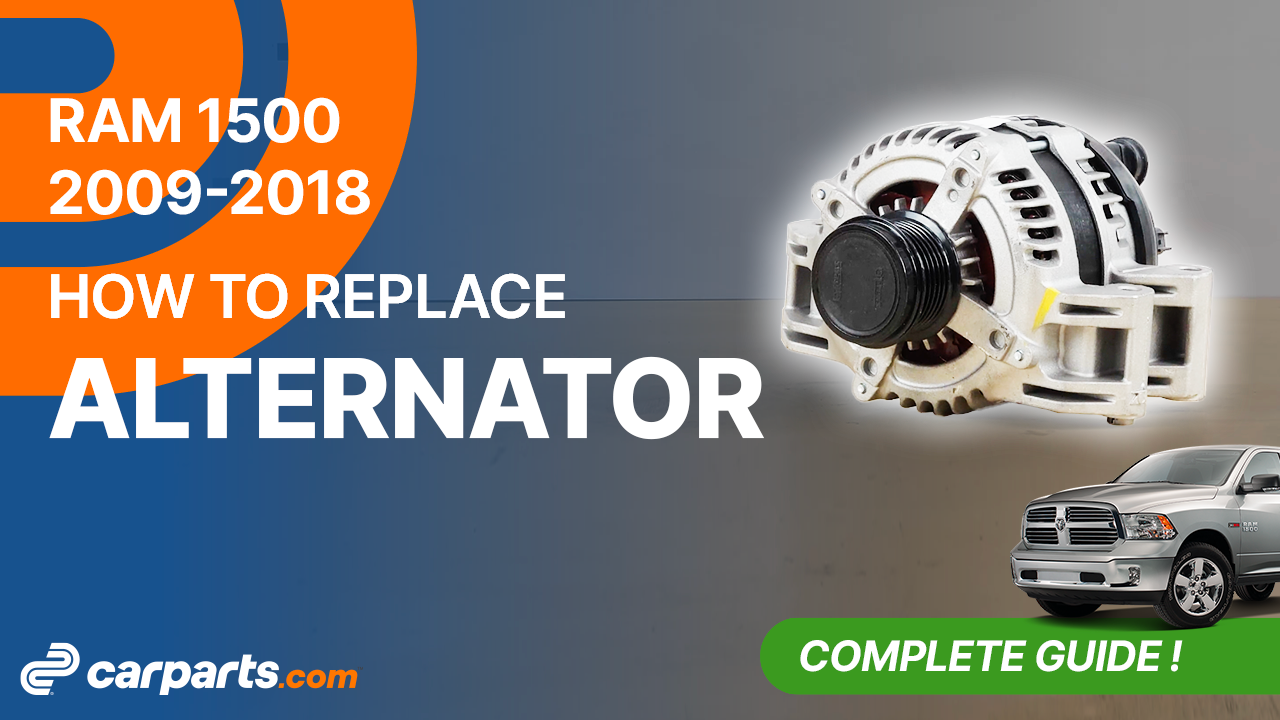
How to replace the alternator 2009-2018 Dodge Ram 1500
To replace the alternator on your Ram 1500 this tutorial was tailor-made for you. You will be asked to lift the vehicle, remove the serpentine belt, remove the mudguard as well as carry out a few other steps. You can carry out this tutorial of 13 chapters in 80 minutes. Take your 13 mm wrench and your ratchet and let’s get started!
Duration
80 minutes
Number of steps
13
Difficulty out of 5
3
Average savings
$110
Parts You Will Need
Tools You Will Need
Step-by-Step Installation
Chapter 1:
Open the hood
Step 1/1
Turn your engine off, set the parking brake pull on the hood release handle, and open the hood.


Chapter 2:
Disconnect the battery
Step 1/1
For safety reasons, we advise you to disconnect the battery.


Chapter 3:
Remove the serpentine belt
Step 1/1
In order to remove the alternator, you need to remove the serpentine belt from the alternator pulley.


Chapter 4:
Lift the vehicle
Step 1/3
Loosen the lug nuts of the wheel on the passenger side.


Chapter 4:
Step 2/3
Lift the front of your vehicle. Place the vehicle on the jack stands.


Chapter 4:
Step 3/3
Don’t forget to put the wheel under the vehicle!


Chapter 5:
Remove the mudguard
Step 1/3
Now you need to remove the mudguard.

Chapter 5:
Step 2/3
Unclip the ABS sensor cable retaining clip behind the mudguard.

Chapter 5:
Step 3/3
Using a ratchet and an 8mm socket, unscrew the 3 mudguard retaining screws. Next, remove the mudguard.


Chapter 6:
Disconnect the alternator
Step 1/6
You can now see the alternator on your car.

Chapter 6:
Step 2/6
Using a flat head screwdriver, disconnect the electrical connector from the alternator.

Chapter 6:
Step 3/6
To do this, pull on the red tab and remove the connector.

Chapter 6:
Step 4/6
Remove the rubber protection.


Chapter 6:
Step 5/6
Using a ratchet and a 12 mm socket, unscrew the nut holding the positive terminal of the alternator.

Chapter 6:
Step 6/6
Then remove the pod.

Chapter 7:
Remove the alternator
Step 1/5
Using a 13 mm wrench, unscrew the alternator retaining nut.


Chapter 7:
Step 2/5
Next, using a ratchet and a 13 mm socket, unscrew the upper retaining bolt of the alternator.


Chapter 7:
Step 3/5
Using a ratchet, a gimbal, an extender and a 13 mm socket, unscrew the lower retaining bolt of the alternator.


Chapter 7:
Step 4/5
The alternator is held in place by a threaded rod. Using a small ratchet and a Torx E7 socket, unscrew the threaded rod located on the engine block, while holding the alternator with the other hand. Then remove the threaded rod.


Chapter 7:
Step 5/5
You can now extract the alternator by taking it out from underneath the vehicle.


Chapter 8:
Put the alternator back in place
Step 1/6
Take the new alternator.


Chapter 8:
Step 2/6
Then put it in its place from underneath the vehicle.

Chapter 8:
Step 3/6
Then hold it in position, and screw the threaded rod back on, by hand first.


Chapter 8:
Step 4/6
Then, using the small ratchet and the Torx E7 socket. Then screw the retaining nut back on.

Chapter 8:
Step 5/6
Screw the upper retaining bolt back on.


Chapter 8:
Step 6/6
Put the lower retaining bolt back in place. And screw it back on.


Chapter 9:
Reconnect the alternator
Step 1/3
Replace the positive terminal. Then, screw the nut back on.


Chapter 9:
Step 2/3
Replace the plastic cover.

Chapter 9:
Step 3/3
Plug the electrical connector back in. Then lock it.

Chapter 10:
Put the mudguard back in
Step 1/2
Put the mudguard back in place. Then tighten all the screws.


Chapter 10:
Step 2/2
Clip the ABS sensor connector back inside the mudguard.

Chapter 11:
Put the vehicle back on the ground
Step 1/2
Then, you will be able to put the wheel back on your vehicle.

Chapter 11:
Step 2/2
Put the car back on the ground and block the wheel properly.


Chapter 12:
Put the serpentine belt back
Step 1/1
Put the serpentine belt back in place.

Chapter 13:
Reconnect the batterie
Step 1/2
Reconnect the battery.

Chapter 13:
Step 2/2
Operation complete.
