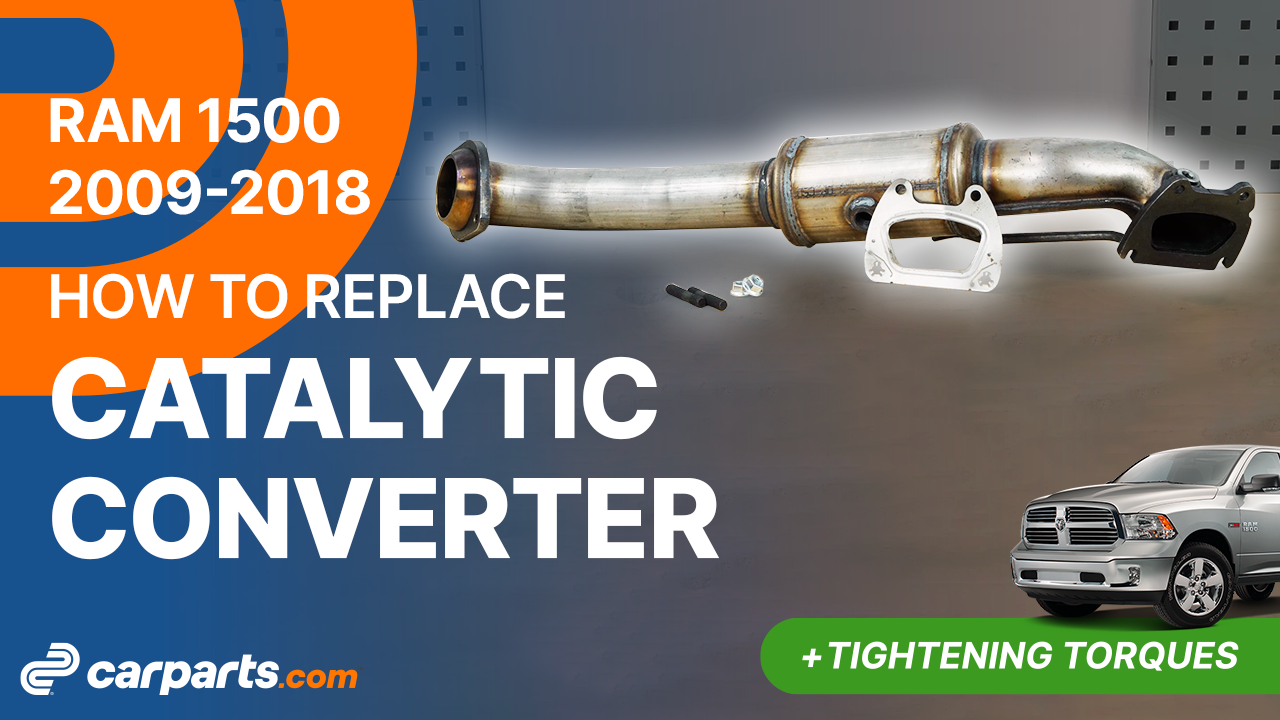
How to replace the catalytic converter 2009-2018 Dodge Ram 1500
To replace the catalytic converter on your Ram 1500 it couldnt’ be easier. You will be asked to lift the vehicle, disconnect the oxygen sensor, remove the catalytic converter as well as carry out a few other steps. You can carry out this tutorial of 16 chapters in 130 minutes. Take your 8 mm socket and your 15 mm wrench and let’s get started!
Duration
130 minutes
Number of steps
16
Difficulty out of 5
4
Average savings
$200
Parts You Will Need
Tools You Will Need
Step-by-Step Installation
Chapter 1:
Open the hood
Step 1/1
Turn off your vehicle’s ignition, set the parking brake, pull the hood release handle and open the hood.

Chapter 2:
Disconnect the battery
Step 1/1
For safety reasons, we advise you to disconnect the battery.


Chapter 3:
Informations
Step 1/2
We’ll show you how to remove the catalytic converter on the passenger’s side.
Chapter 3:
Step 2/2
The operation is similar on the driver’s side.
Chapter 4:
Lift the vehicle
Step 1/4
Loosen the stud bolts on the front wheels.

Chapter 4:
Step 2/4
Lift the front of your vehicle.

Chapter 4:
Step 3/4
Place the vehicle on the jack stands.


Chapter 4:
Step 4/4
Don’t forget to put the wheels under the vehicle!


Chapter 5:
Remove the mudguard
Step 1/4
Now you need to remove the mudguard.
Chapter 5:
Step 2/4
Unclip the ABS sensor cable retaining clip behind the mudguard.


Chapter 5:
Step 3/4
Using a ratchet and an 8mm socket, unscrew the 3 mudguard retaining screws.


Chapter 5:
Step 4/4
Next, remove the mudguard.


Chapter 6:
Disconnect the oxygen sensor
Step 1/5
You can now see the catalytic converter.

Chapter 6:
Step 2/5
Start by disconnecting the power supply to the upper oxygen sensor by pressing on the tab and pulling on the connector.


Chapter 6:
Step 3/5
Unclip the cable from its plastic guide.


Chapter 6:
Step 4/5
Using a flat head screwdriver, remove the lower oxygen sensor connector retaining clip from its support.


Chapter 6:
Step 5/5
Next, using a fork, pull the connector towards you. Then disconnect it.


Chapter 7:
Remove the catalytic converter
Step 1/6
Using a ratchet, an extender and a 10mm socket, unscrew the 2 upper bolts securing the catalytic converter to the engine block.


Chapter 7:
Step 2/6
For the 2 lower retaining bolts, simply unscrew them a few threads.


Chapter 7:
Step 3/6
Brush the two nuts securing the exhaust line to the catalytic converter and spray them with penetrating oil.


Chapter 7:
Step 4/6
Next, unscrew them using a ratchet and a 16mm socket. Then shift the exhaust flange.


Chapter 7:
Step 5/6
You can now remove the catalytic converter.


Chapter 7:
Step 6/6
Finish removing the 2 lower retaining bolts. Then remove the metal gasket.


Chapter 8:
Informations
Step 1/1
To ensure a perfect seal during reassembly, clean the contact surface between the metal gasket and the engine block using fine sandpaper.

Chapter 9:
Prepare the new gasket
Step 1/2
Take the new metal gasket and put it in place.

Chapter 9:
Step 2/2
Tighten the 2 lower retaining bolts roughly to hold the gasket in place.


Chapter 10:
Install the oxygen sensor
Step 1/1
Take the new catalytic converter on which we advise you to install new oxygen sensors.


Chapter 11:
Prepare the installation of the new catalytic converter
Step 1/5
Take the new threaded rods and nuts provided in the new kits.

Chapter 11:
Step 2/5
Screw the threaded rods back onto the catalytic converter flange by hand.

Chapter 11:
Step 3/5
To finish tightening the threaded rods, screw the two nuts onto one rod by hand then, using two 15mm wrenches, lock the nuts against each other.


Chapter 11:
Step 4/5
This subsequently allows you to finish tightening the threaded rod.

Chapter 11:
Step 5/5
Repeat this step on the other threaded rod.


Chapter 12:
Put the exhaust line back
Step 1/4
Slide the new catalytic converter into its slot.


Chapter 12:
Step 2/4
Then install it on the 2 lower retaining bolts on the engine block.
Chapter 12:
Step 3/4
If you wish, you can coat the junction point between the catalytic converter and the exhaust line with exhaust sealant.

Chapter 12:
Step 4/4
It is not advisable to do this on the upper part of the catalytic converter.
Chapter 13:
Install the catalytic converter
Step 1/8
Install the catalytic converter in the exhaust line.

Chapter 13:
Step 2/8
Put the exhaust flange back in place.

Chapter 13:
Step 3/8
Then screw the retaining nuts back in.


Chapter 13:
Step 4/8
Finish tightening using a torque wrench.
Chapter 13:
Step 5/8
Put the 2 upper bolts securing the catalytic converter to the engine block back in place.

Chapter 13:
Step 6/8
Then screw them back in.

Chapter 13:
Step 7/8
Screw the 2 lower retaining bolts back in until they make contact.


Chapter 13:
Step 8/8
Finish the tightening of the bolts with a torque wrench.

Chapter 14:
Reconnect the sensor
Step 1/4
Reconnect the lower oxygen sensor.

Chapter 14:
Step 2/4
Then clip the cable back onto its support.


Chapter 14:
Step 3/4
Reinsert the upper oxygen sensor cable into its guide.


Chapter 14:
Step 4/4
Then reconnect it.

Chapter 15:
Put the mudguard back in
Step 1/3
Put the mudguard back in place.


Chapter 15:
Step 2/3
Then tighten all the screws.

Chapter 15:
Step 3/3
Clip the ABS sensor connector back inside the mudguard.

Chapter 16:
Put the vehicle back on the ground
Step 1/4
Then, you will be able to put the wheels back on your vehicle.

Chapter 16:
Step 2/4
Put the car back on the ground and block the wheels properly.


Chapter 16:
Step 3/4
Reconnect the battery.

Chapter 16:
Step 4/4
Operation complete.
