How to replace the front brakes 2009-2019 Dodge RAM 1500
To replace the front brakes on your RAM 1500 It’s easy. You will need to open the hood, lift the vehicle, retract the piston as well as carry out a few other steps. You can carry out this tutorial of 18 chapters in 60 minutes. Take your ratchet and your 21 mm wrench and let’s get started!
Duration
60 minutes
Number of steps
18
Difficulty out of 5
2
Average savings
$70
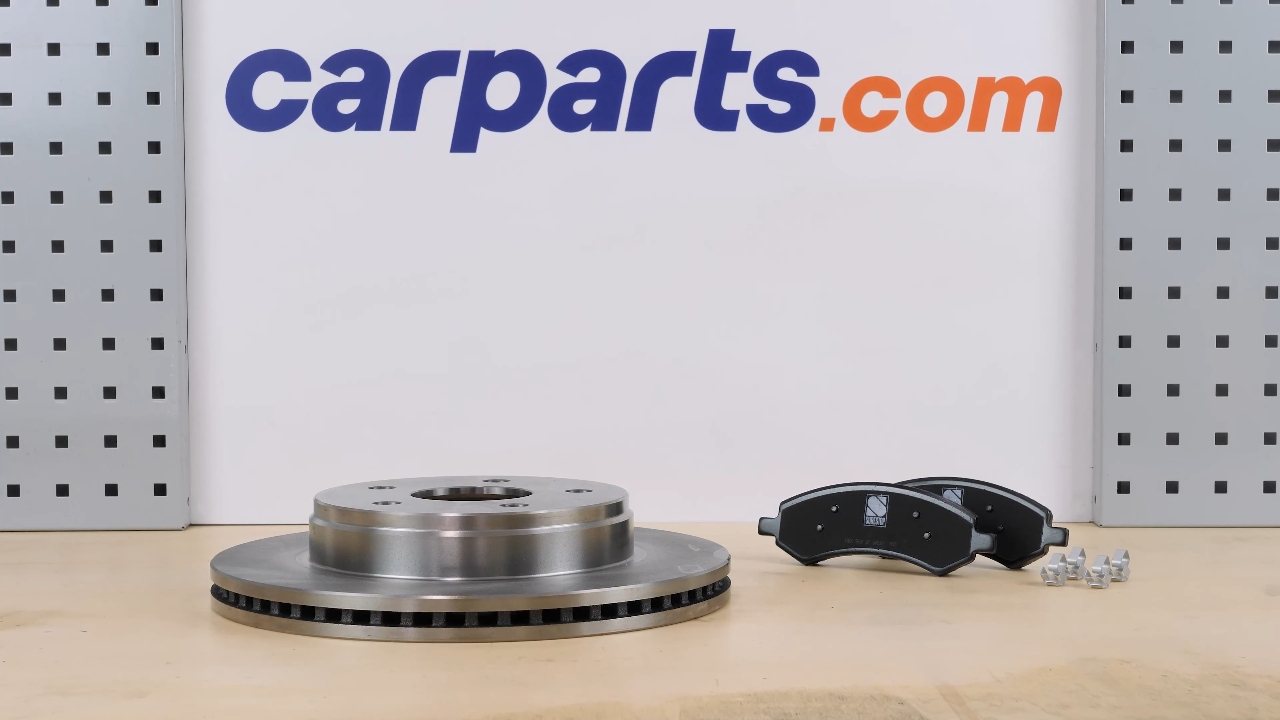
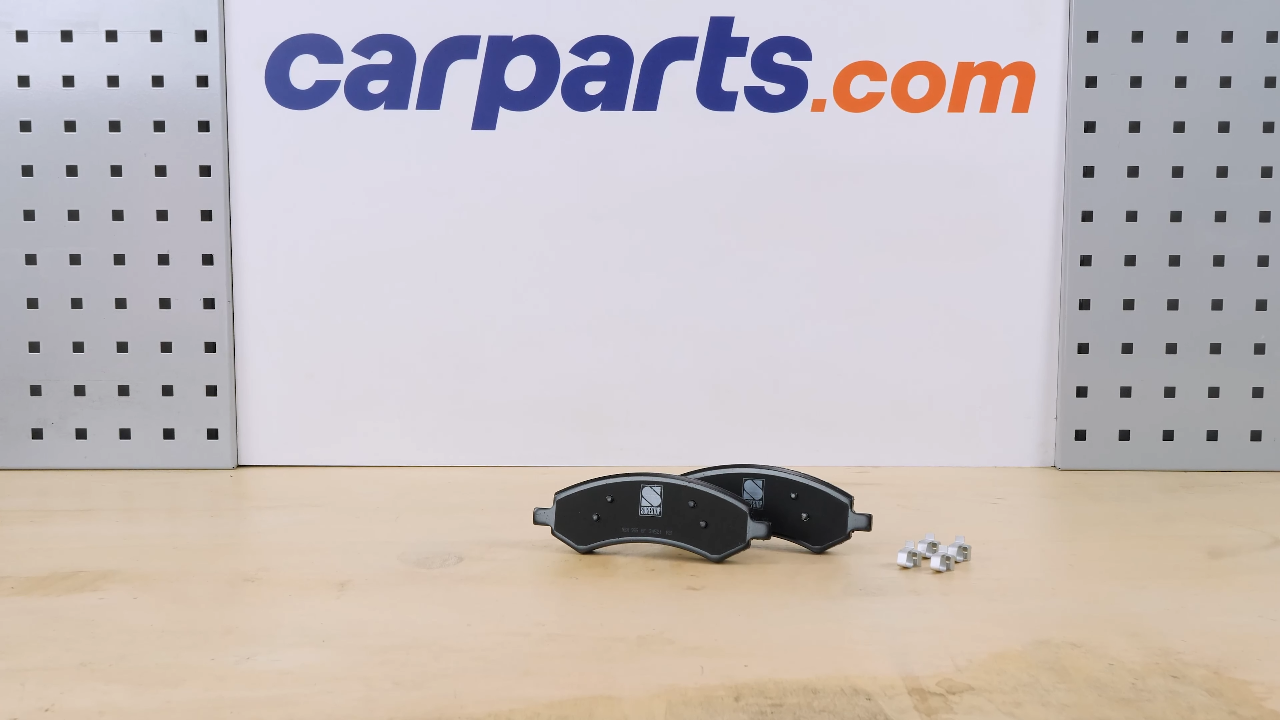
Parts You Will Need
Tools You Will Need
Step-by-Step Installation
Chapter 1:
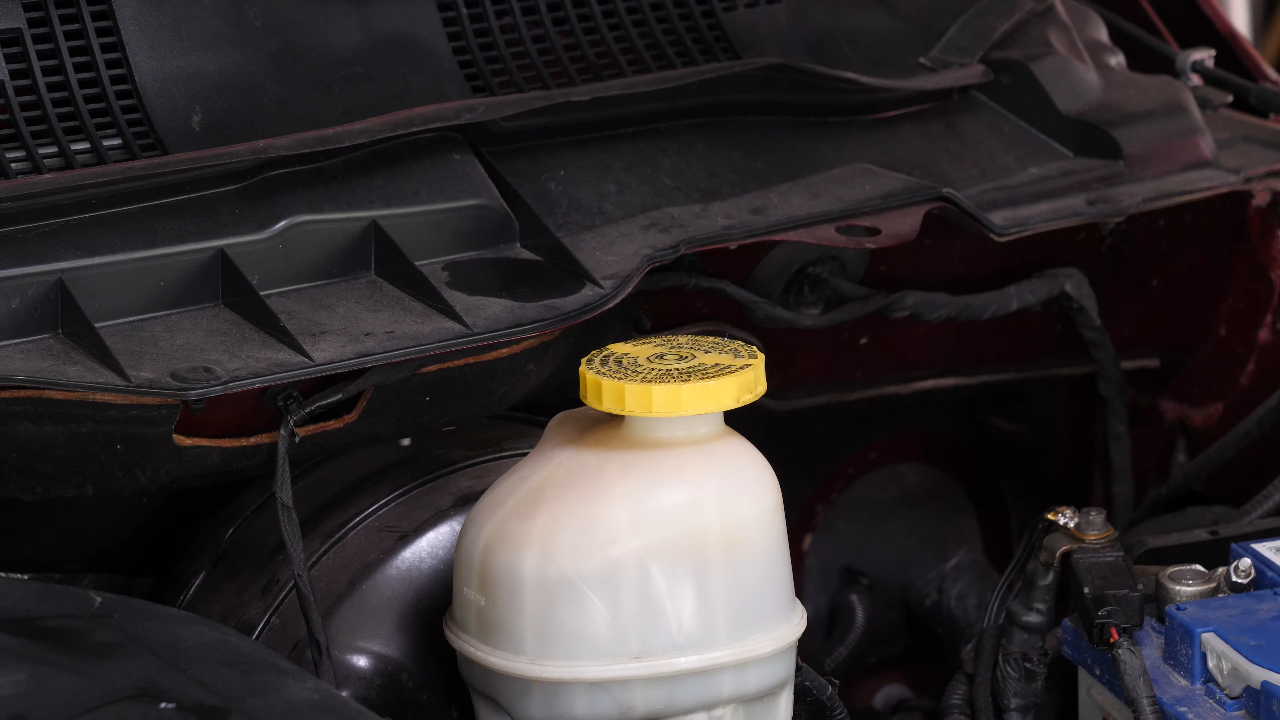
Open the brake fluid reservoir
Step 1/2
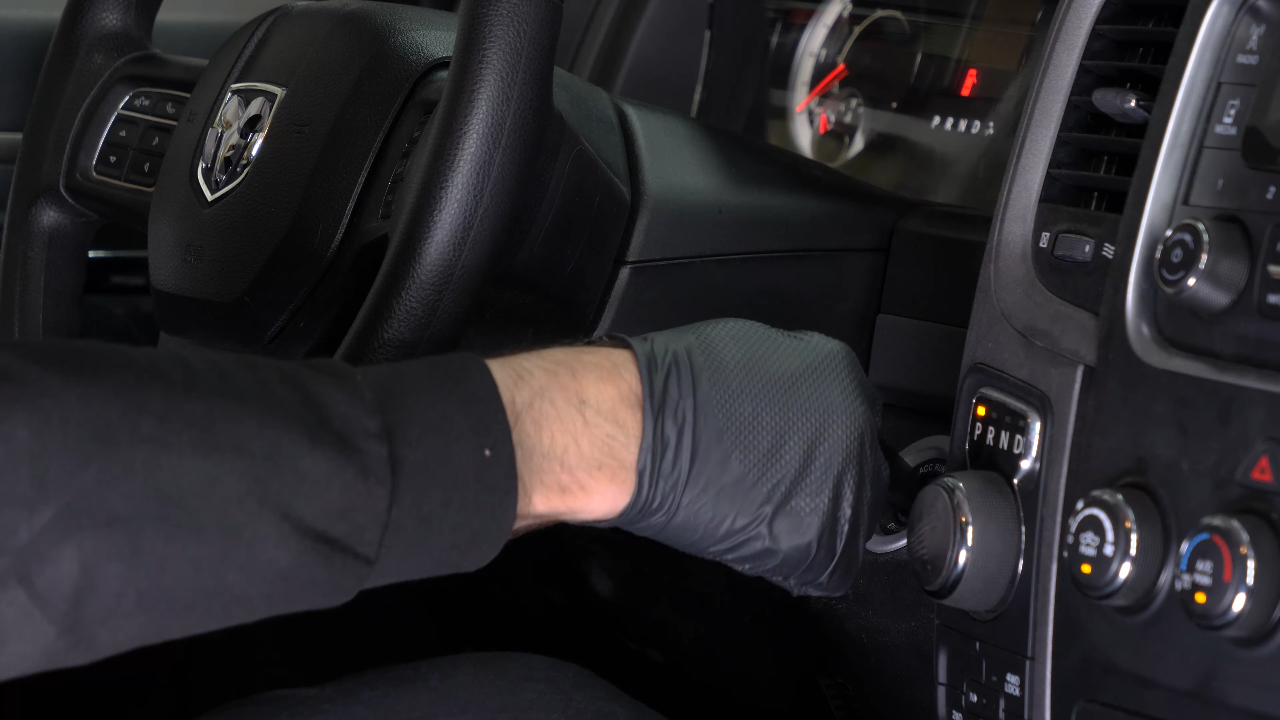
Turn off your vehicle’s ignition, set the parking brake, pull the hood release handle and open the hood.


Chapter 1:
Step 2/2
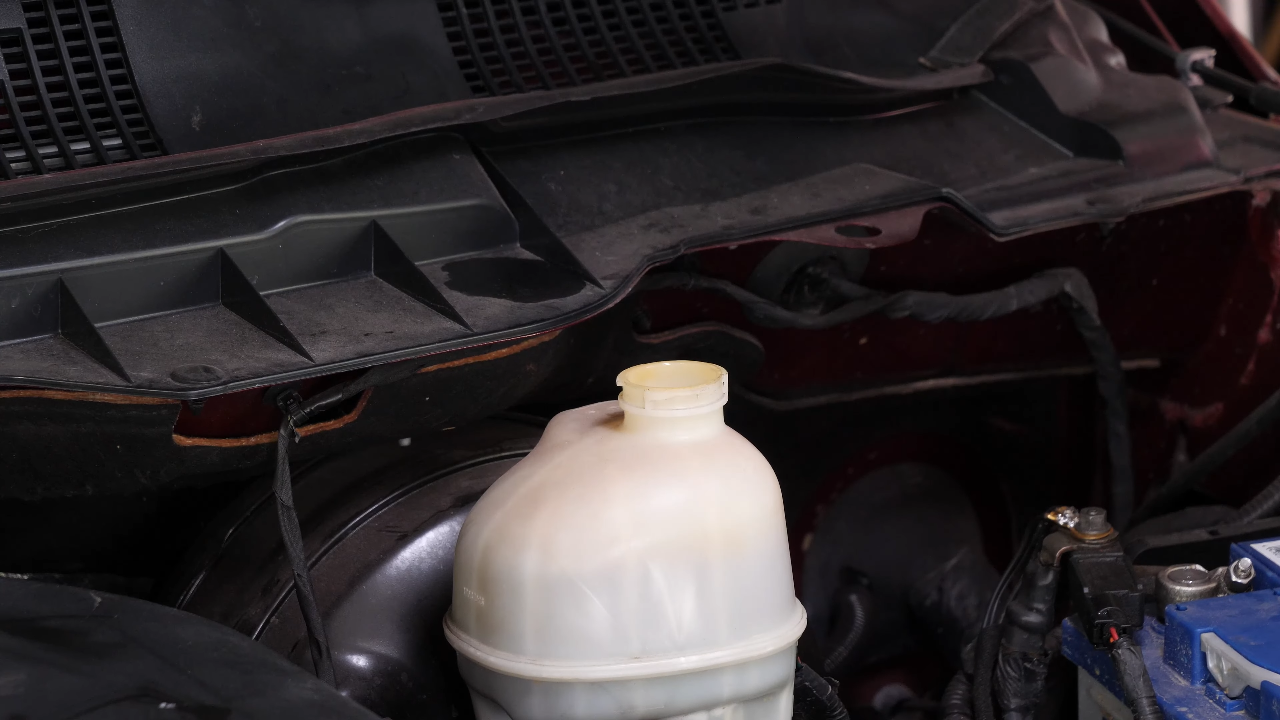
Open the brake fluid reservoir.

Chapter 2:
Lift the vehicle
Step 1/2
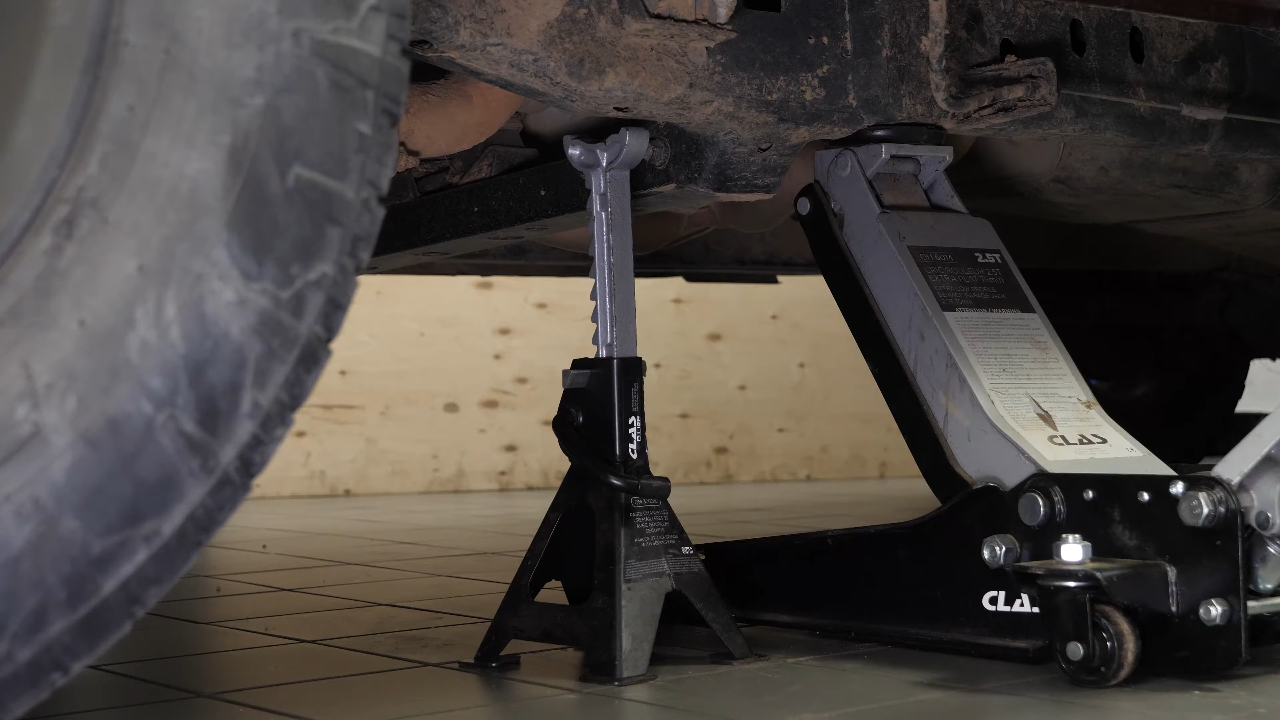
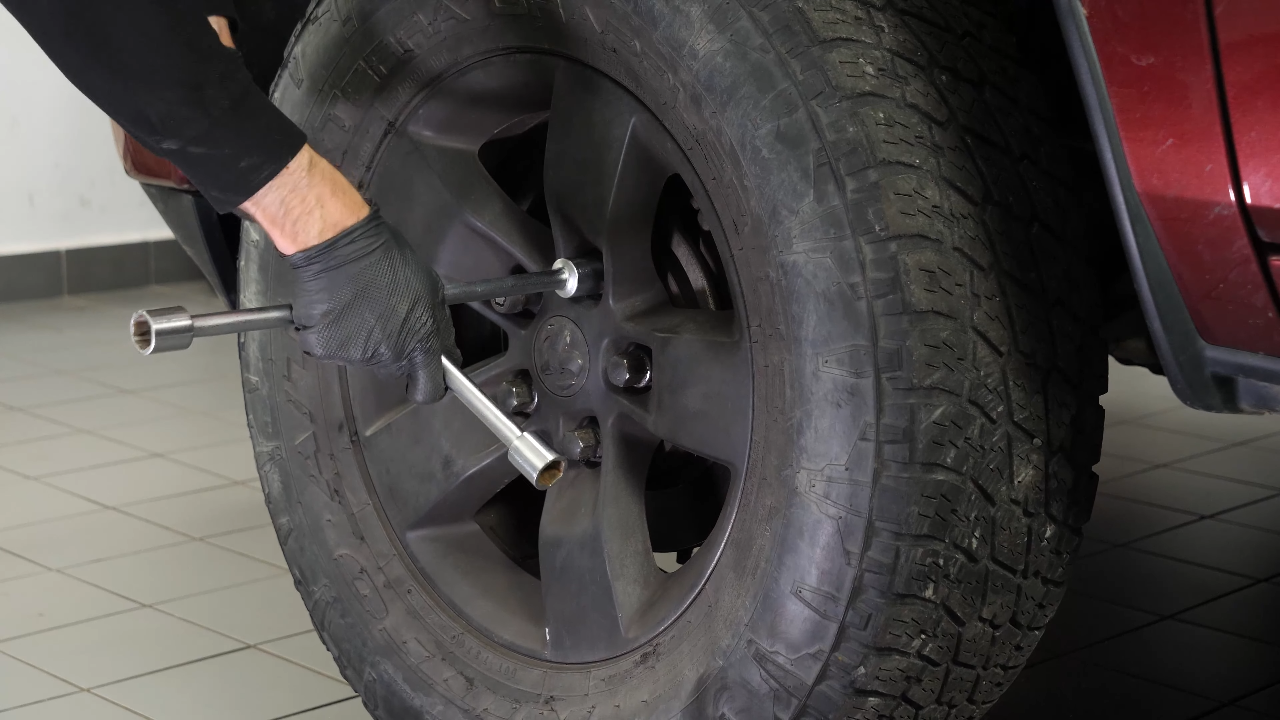
Loosen the stud bolts on the front wheels. Lift the front of your vehicle. Place the vehicle on the jack stands.

Chapter 2:
Step 2/2
We strongly suggest watching our video on ‘How to jack your RAM 1500 safely” before carrying out this step.
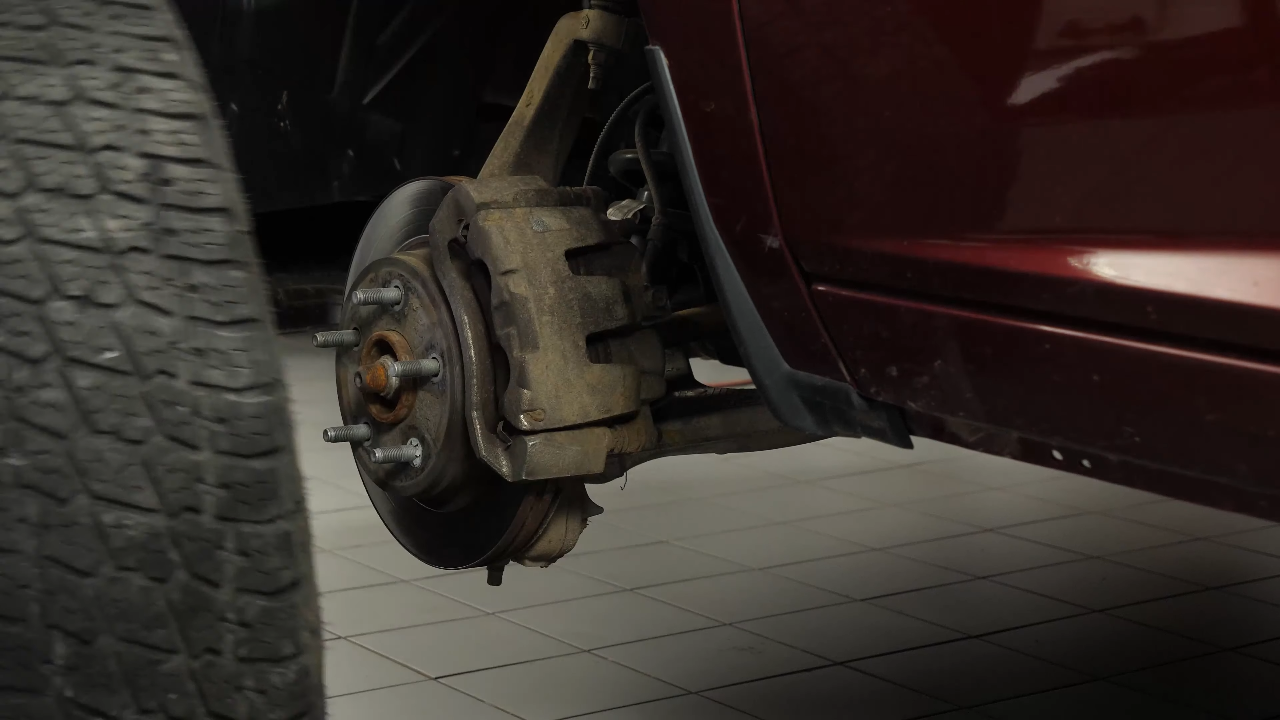
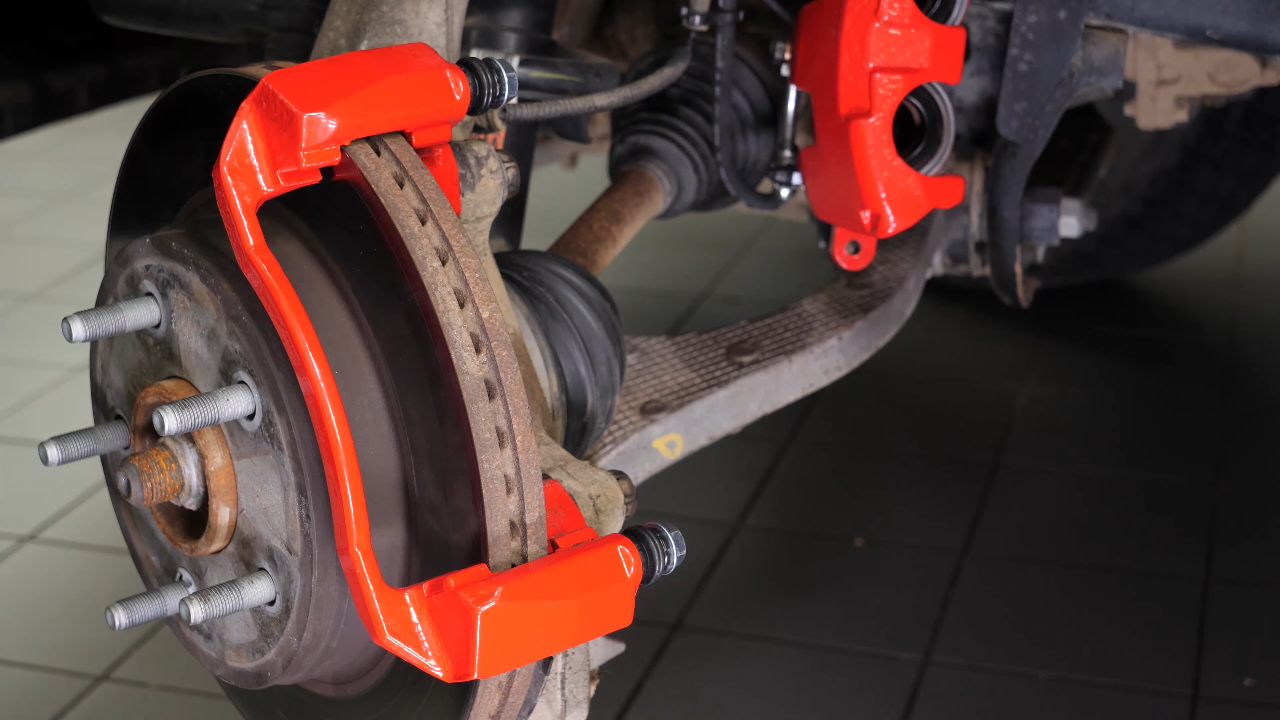
Chapter 3:
Take off the wheels
Step 1/1
In order to change the brake discs and pads on your vehicle, you will need to take off the wheels to have full access. Don’t forget to put the wheels under the vehicle!


Chapter 4:
Retract the piston
Step 1/2
Turn the brake disc inward to make this operation easier.
Chapter 4:
Step 2/2
Insert a flat head screwdriver into the opening of the brake caliper. Lift it off using the screwdriver as a lever by pulling it towards you. This will cause the pistons to retract slightly, so that the caliper can be removed more easily for the next steps.

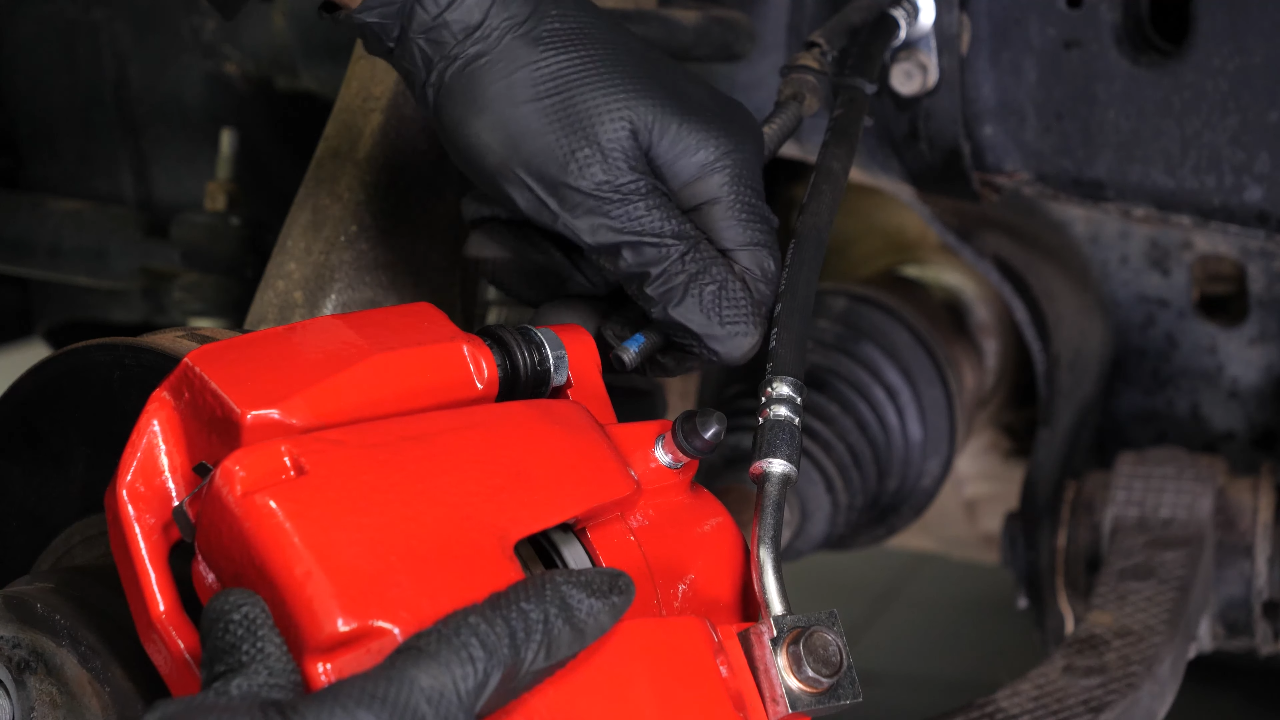
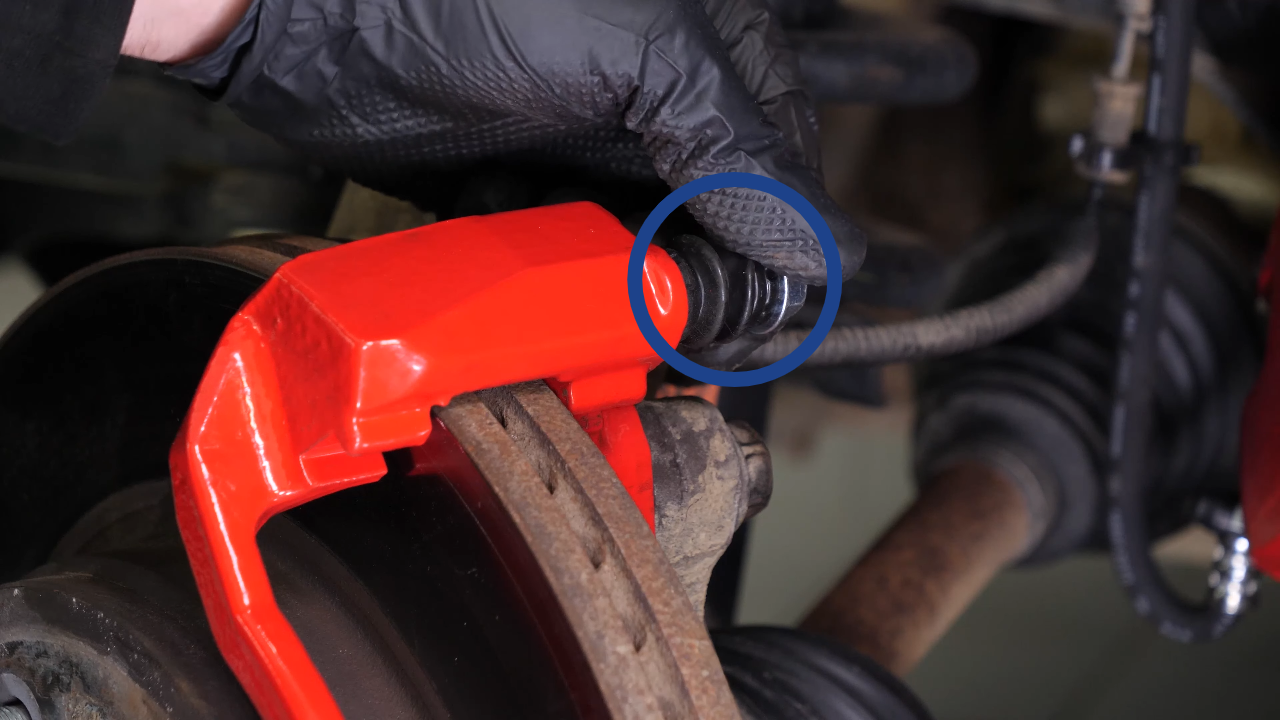
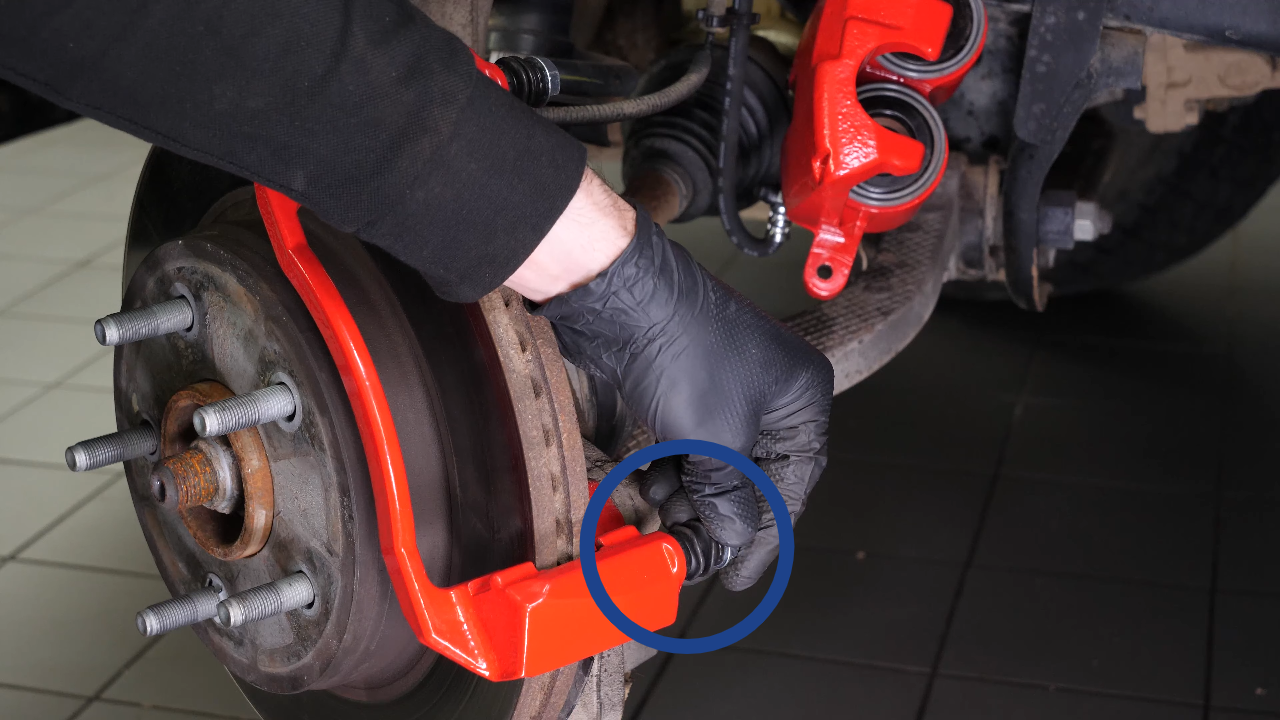
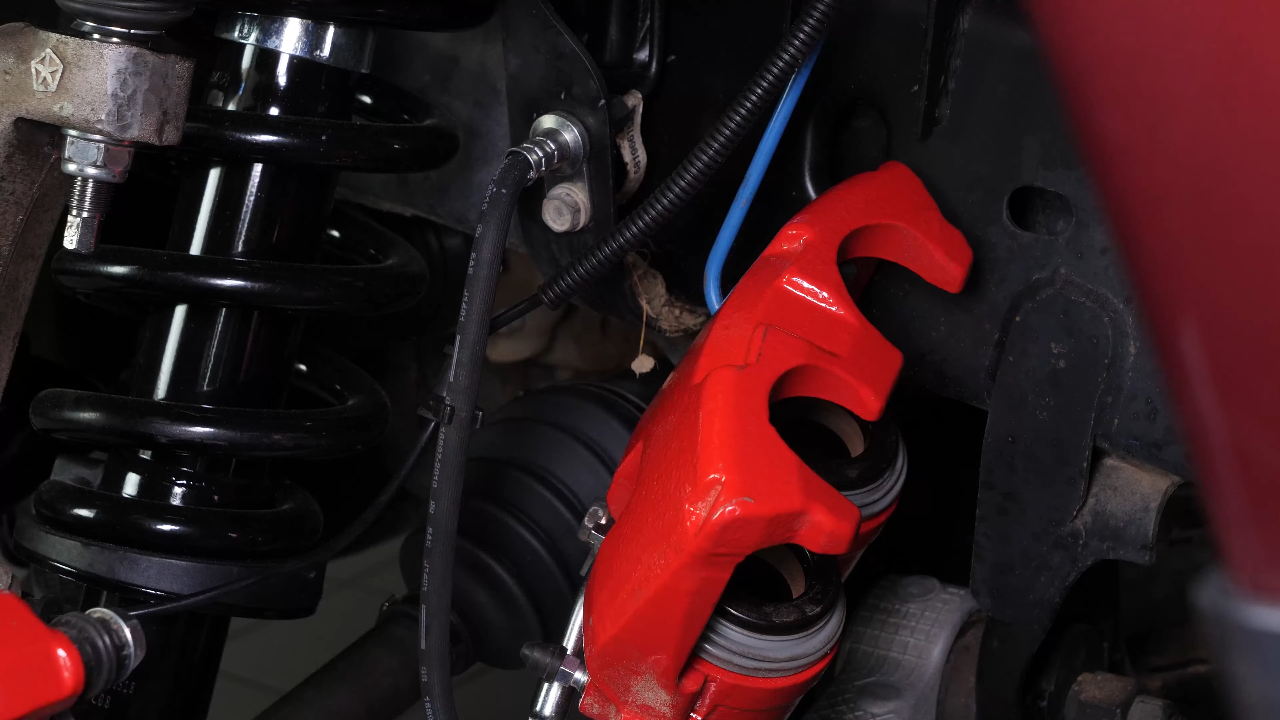
Chapter 5:
Remove the brake caliper
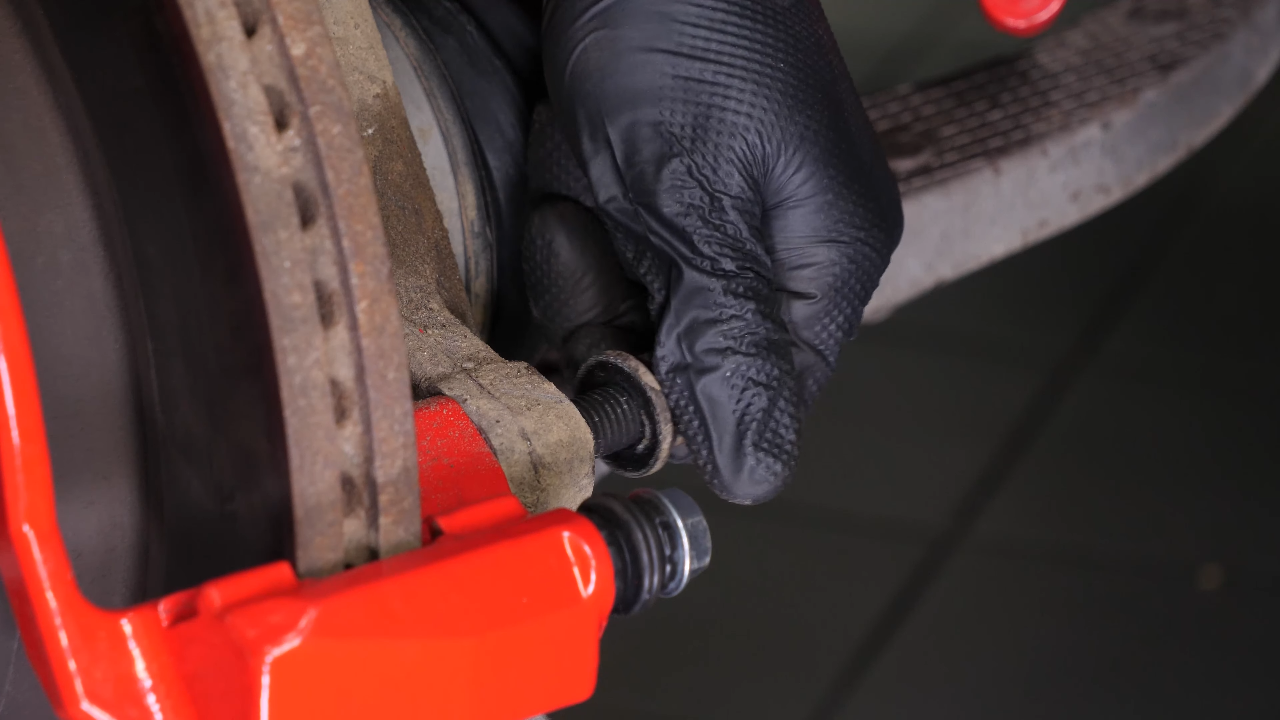
Step 1/3
With a socket wrench and a 13mm socket, unscrew the lower slide pin. Sometimes you have to keep the locknut from turning by holding it with your fingers or a 17 mm wrench. Then, remove it.
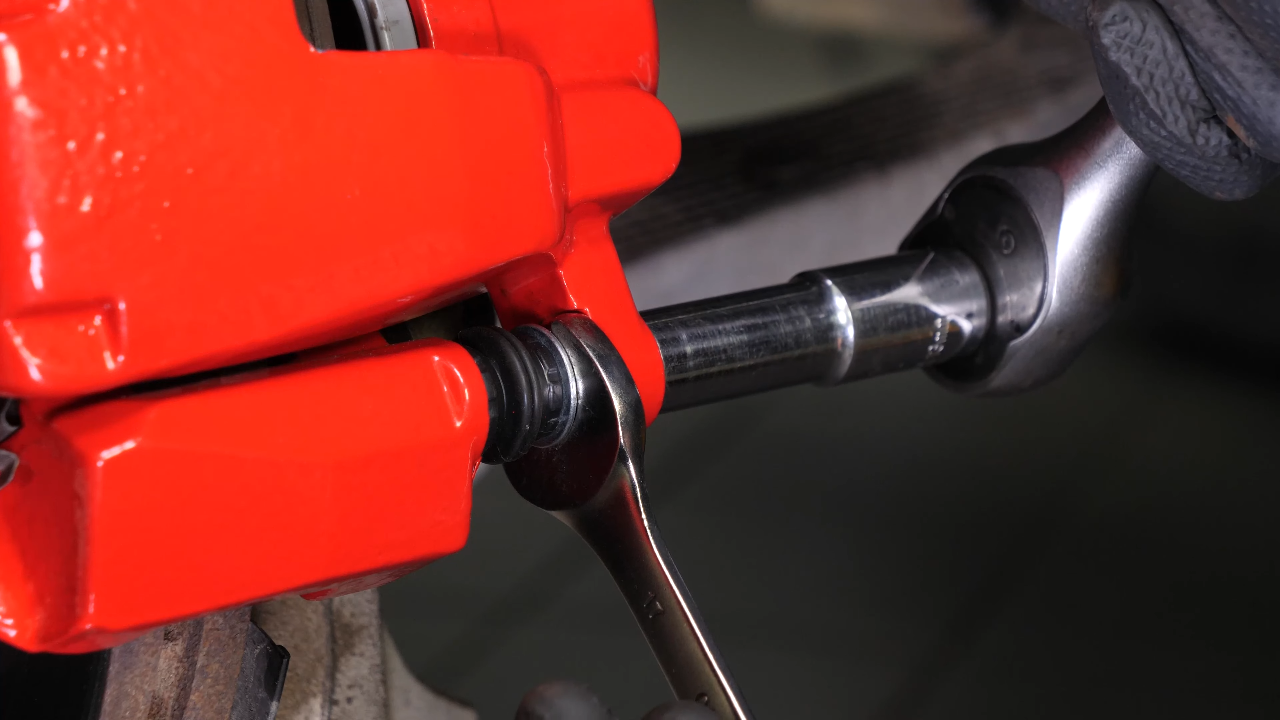

Chapter 5:
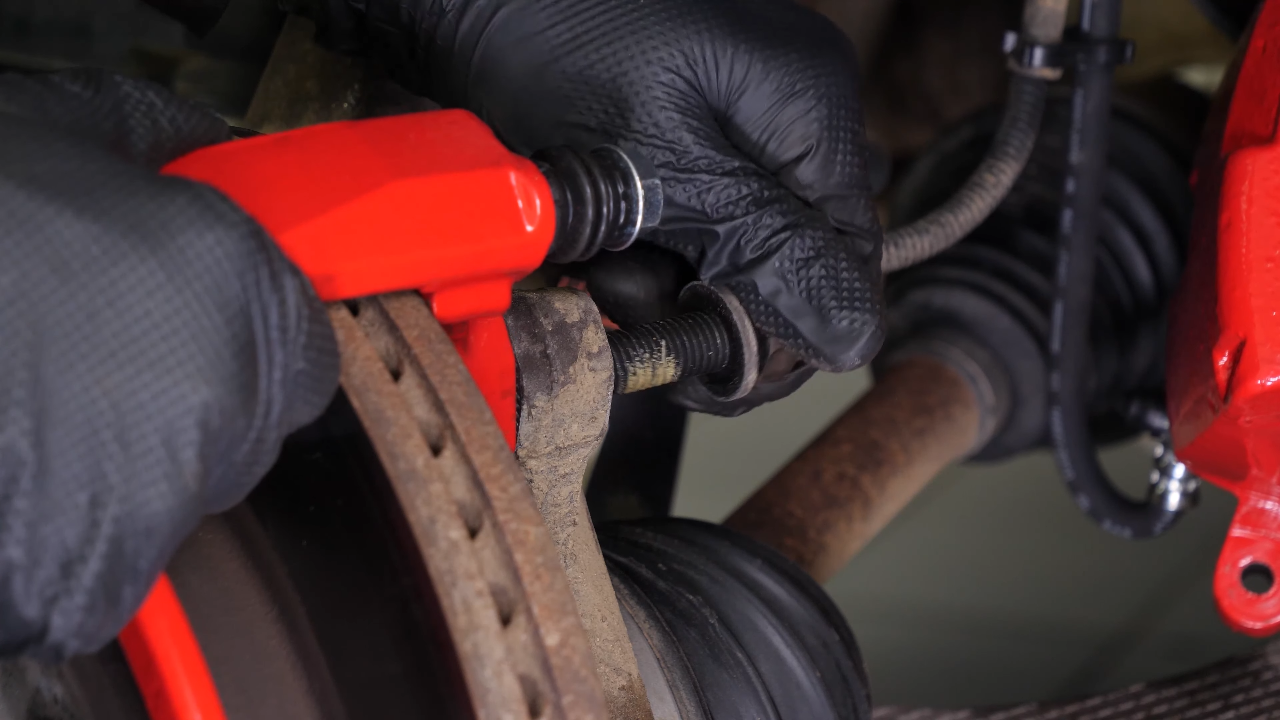
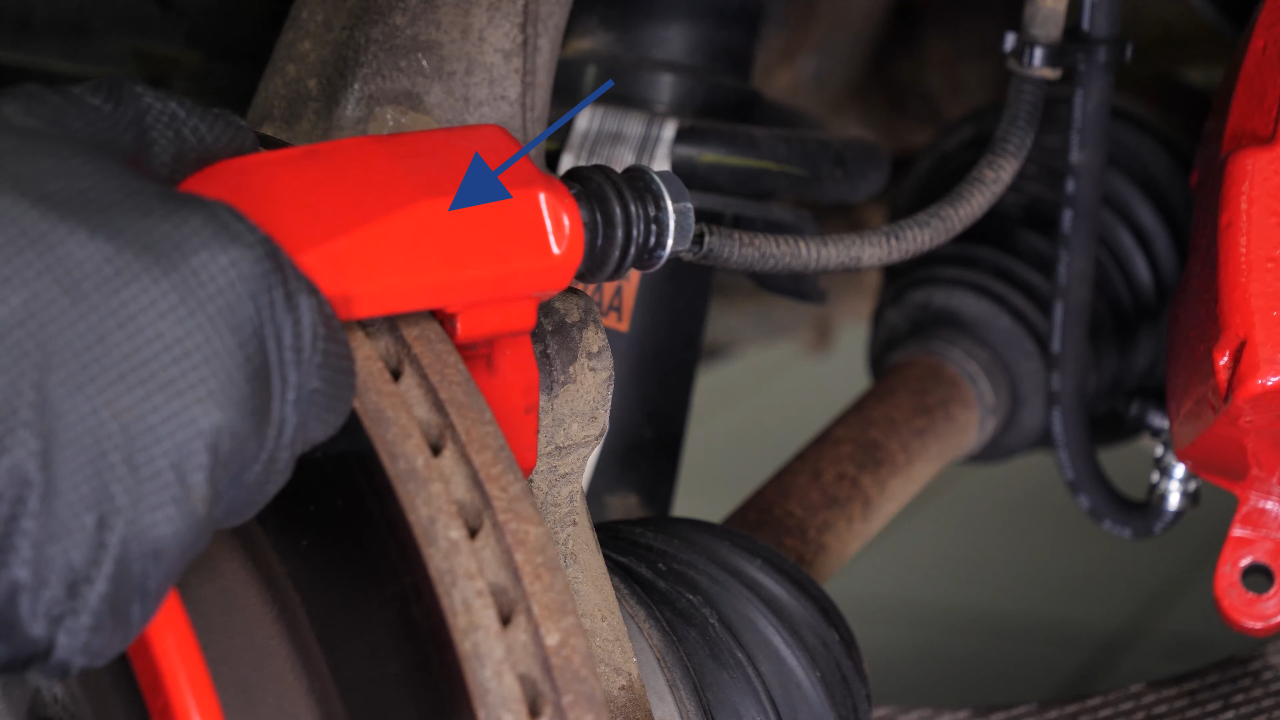
Step 2/3
Repeat this process with the upper slide pin. You can now remove the caliper.
Chapter 5:
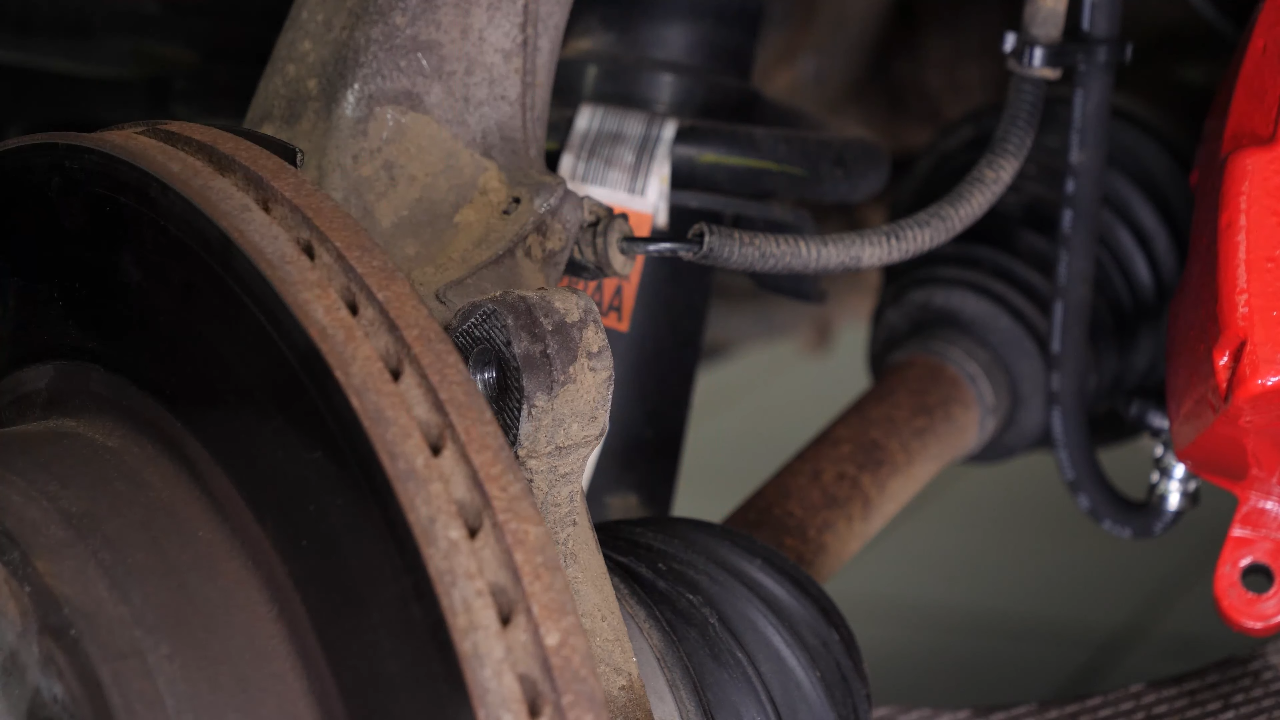
Step 3/3
You can attach it to the upper control arm with a clamp or a wire.


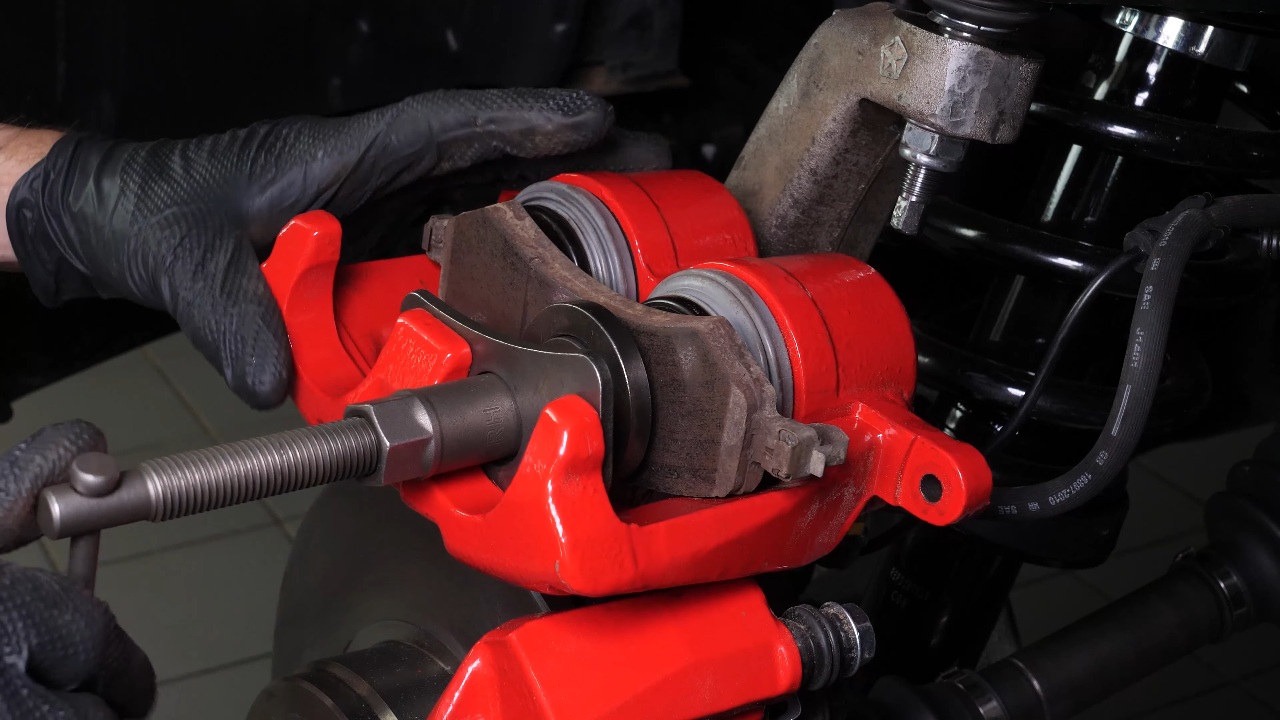
Chapter 6:
Remove the brake pads
Step 1/1
Remove the brake pads. To do this, slide them away from the disc.


Chapter 7:
Tips
Step 1/1
You need to check the sliding of the brake caliper slide pins and the condition of the Caliper slide pin boots. If they look worn, you are advised to replace them with new ones.
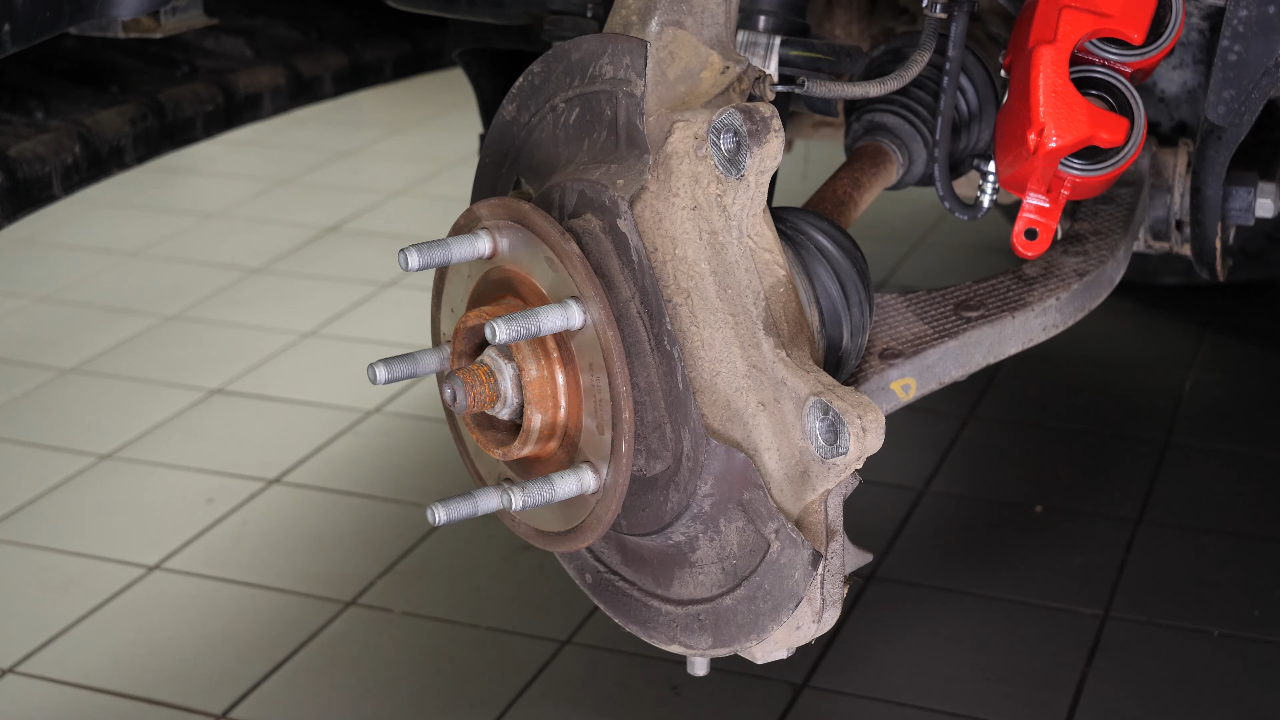
Chapter 8:
Remove the brake caliper mount
Step 1/2
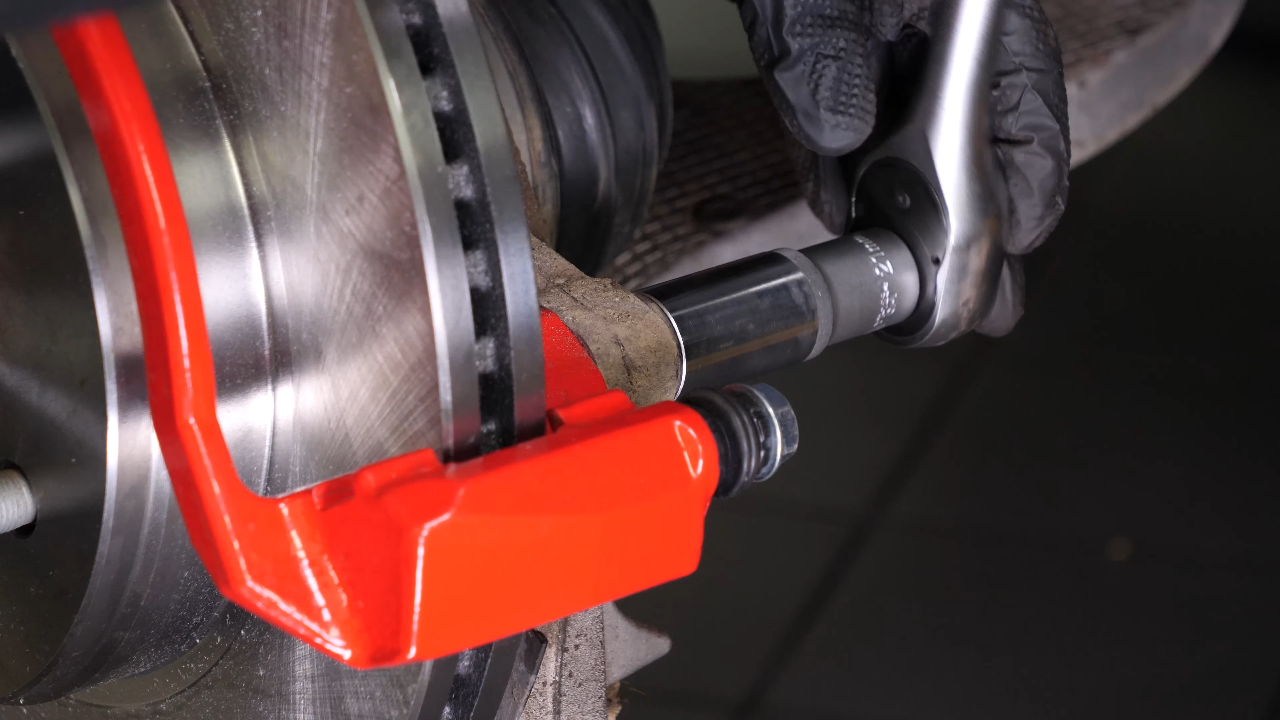
Using a socket wrench and a 21mm socket, unscrew the two holding screws on the caliper mount.

Chapter 8:
Step 2/2
Depending on the state of the nuts on the caliper mount, it may be necessary to use a hammer to loosen them. Remove the caliper mount.
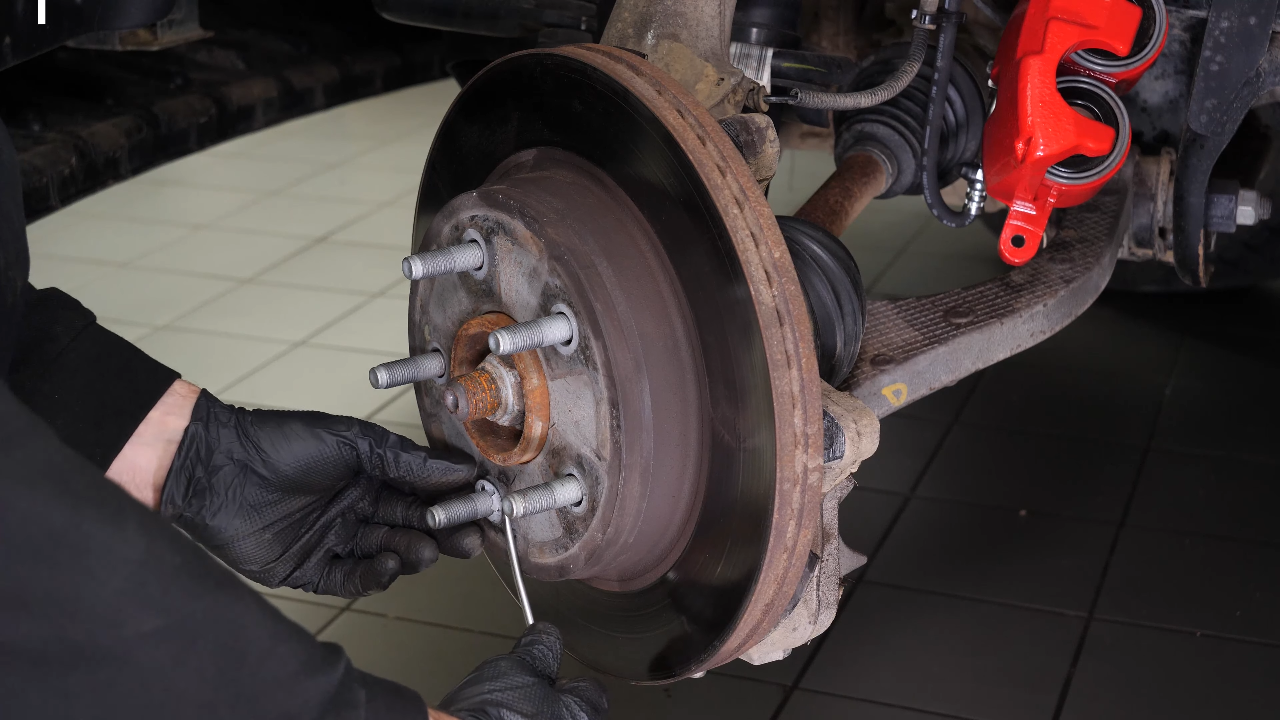
Chapter 9:
Remove the brake disc
Step 1/1
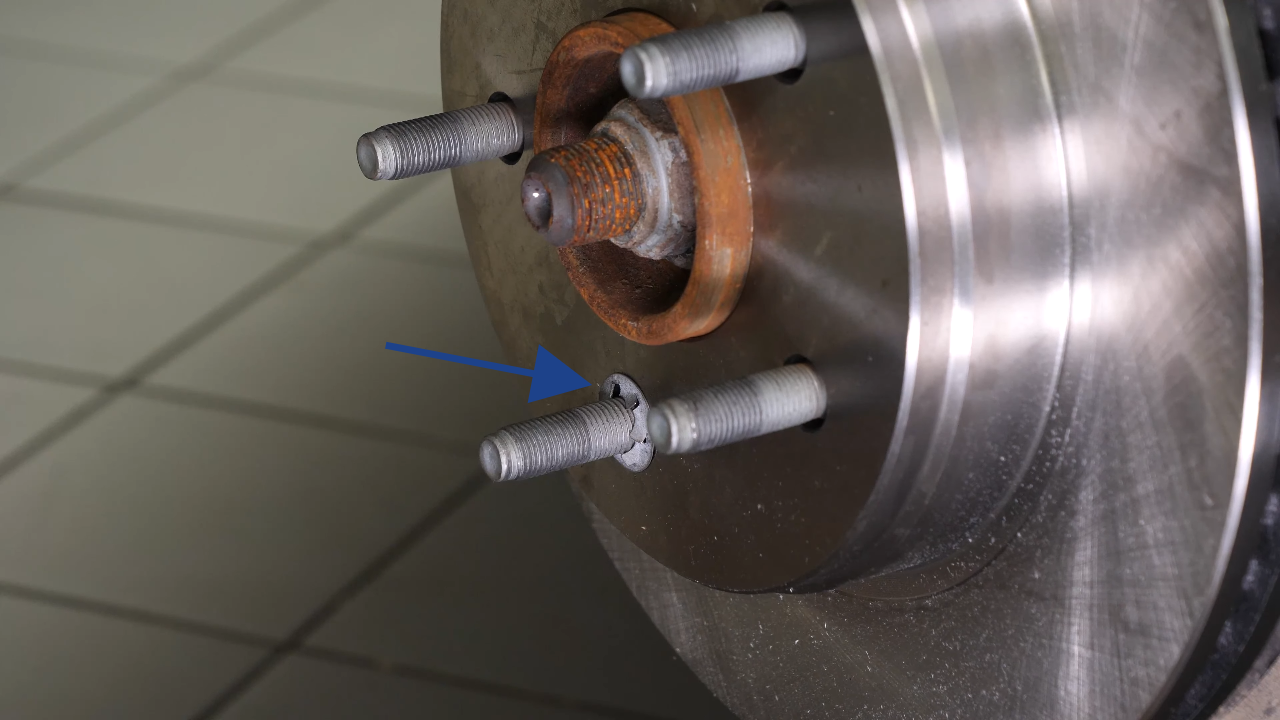
Using a flat head screwdriver, pull the retainer away from the disc so you can unscrew it. Finally, remove the disc.

Chapter 10:
Prepare the new brake disc
Step 1/2
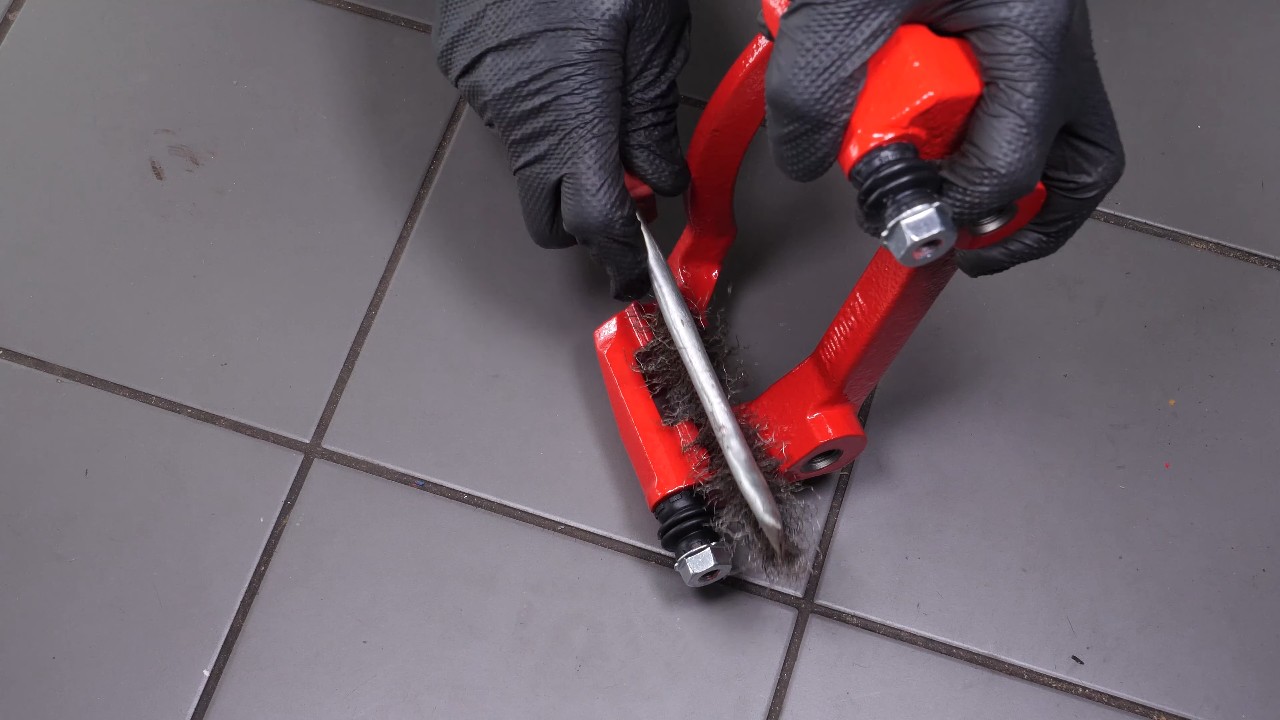
Clean the wheel hub with a wire brush.
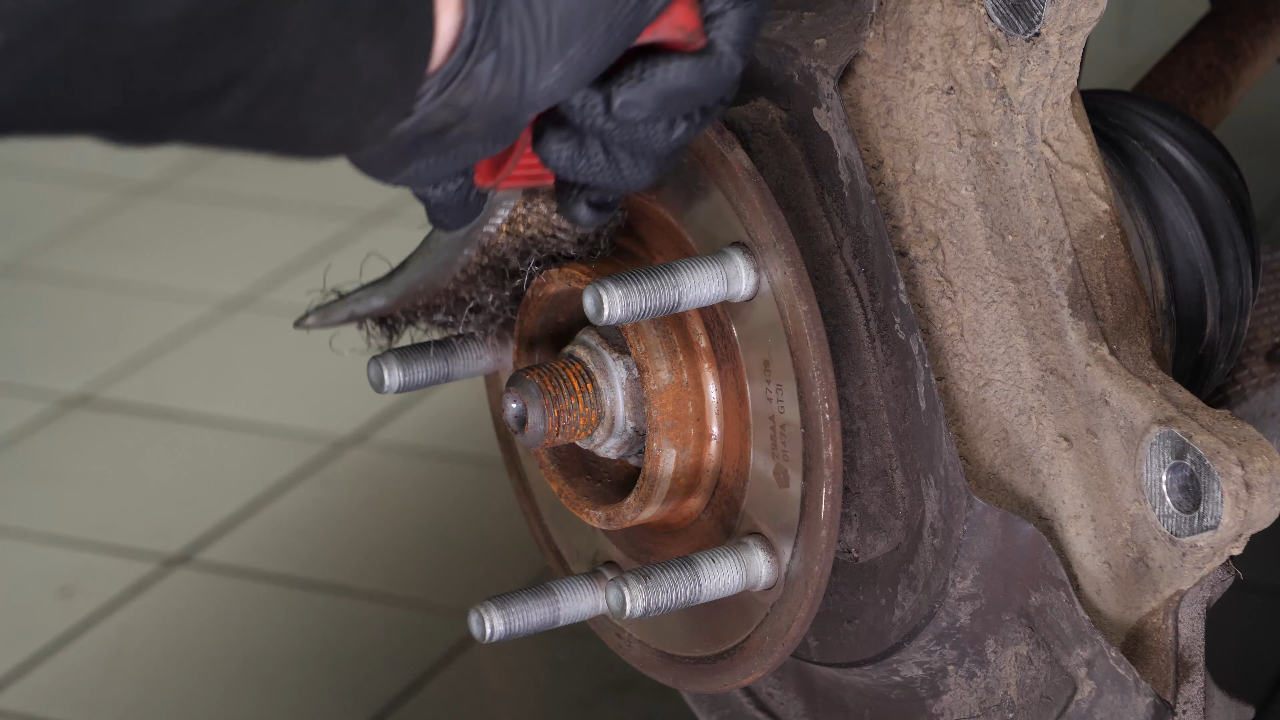
Chapter 10:
Step 2/2
Before installing the new disc, it is vital to clean it using brake cleaner and paper towels to take of the storage paraffin. If your new disc is coated, you can place it directly onto the wheel hub.


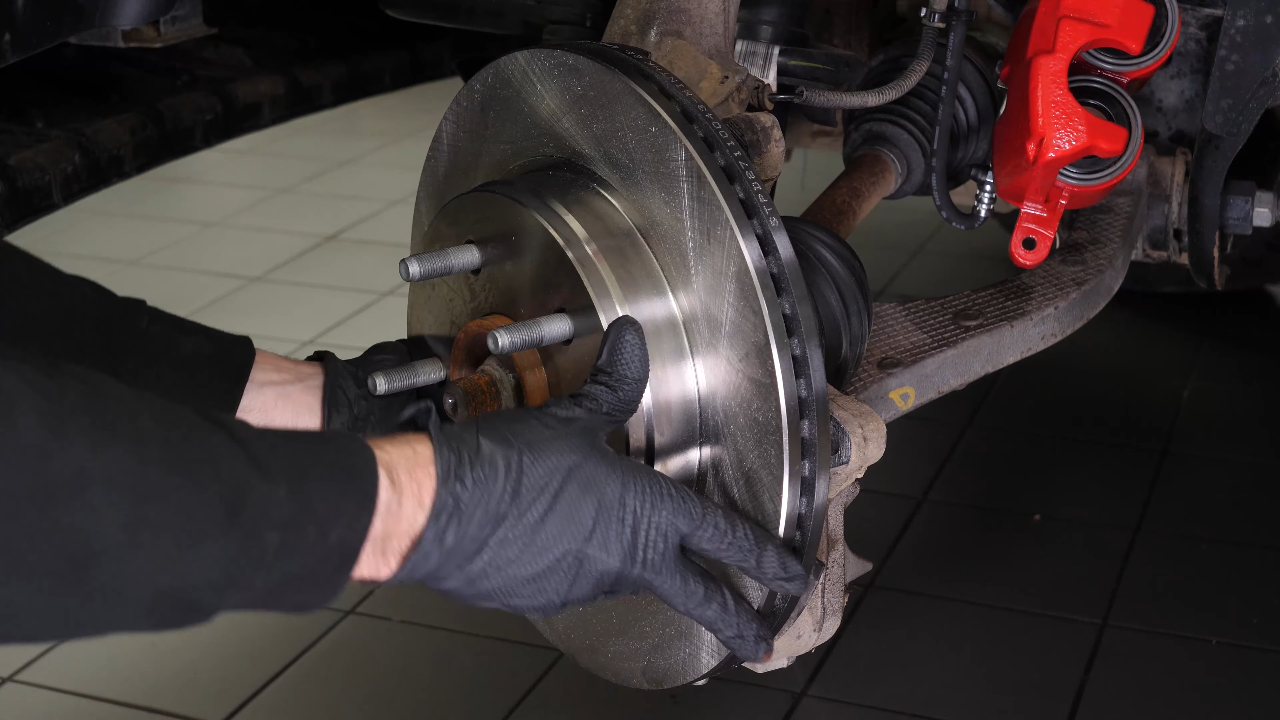
Chapter 11:
Install the new brake disc
Step 1/1
Put the new brake disc in place. Then put the retainer back in place.

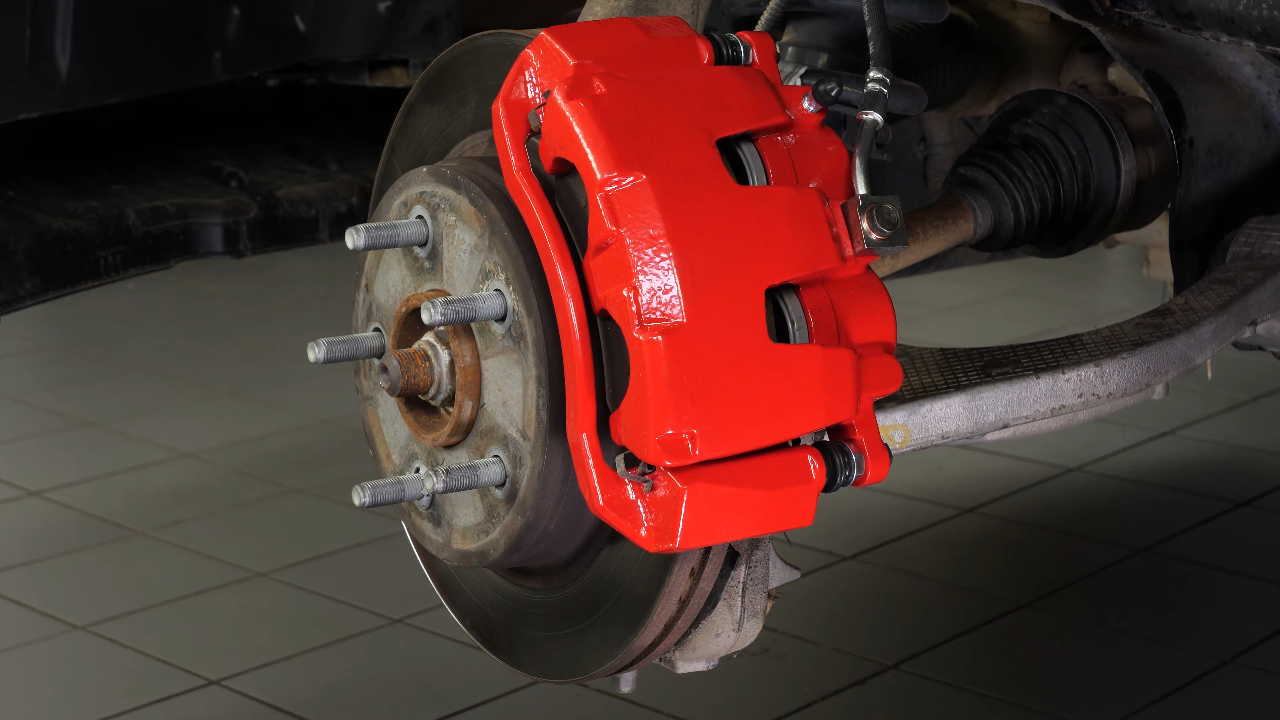
Chapter 12:
Clean the brake caliper mount
Step 1/1
Using a wire brush, clean the caliper mount to remove any excess rust that could prevent the pads from sliding. Depending on the state of corrosion, we even recommend using a file to restore the original shape.

Chapter 13:
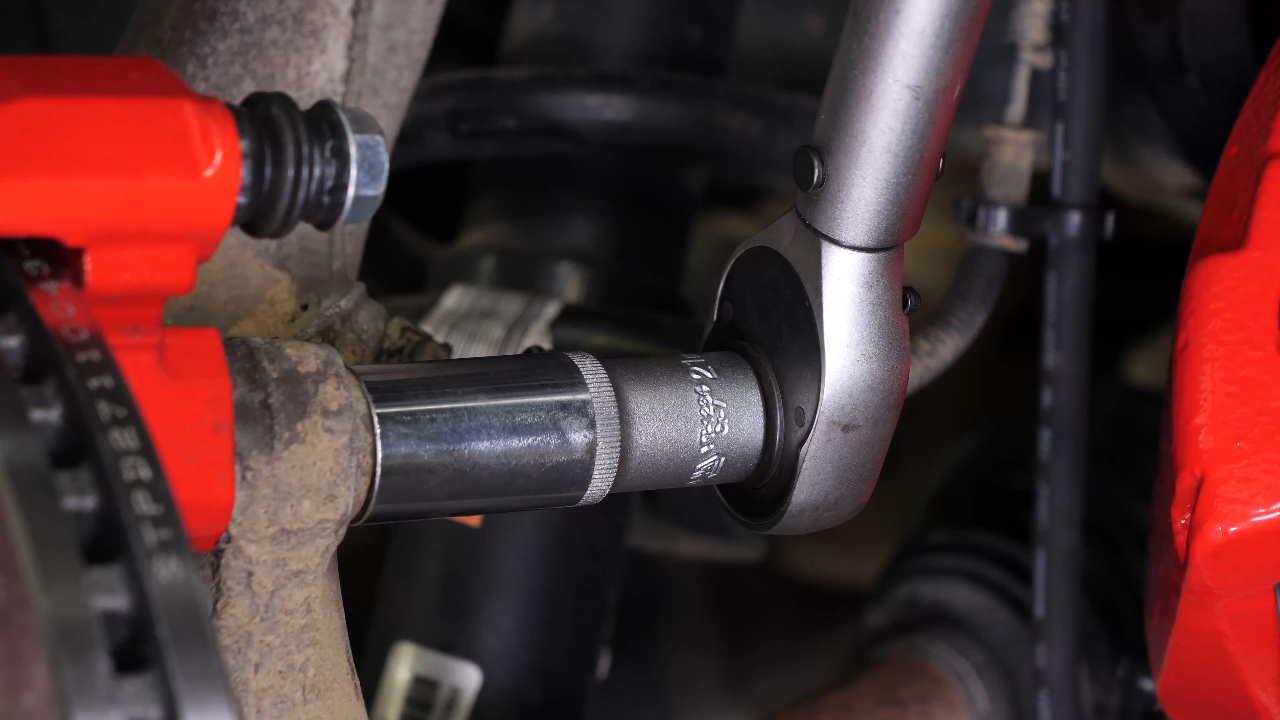
Put the brake caliper mount back on
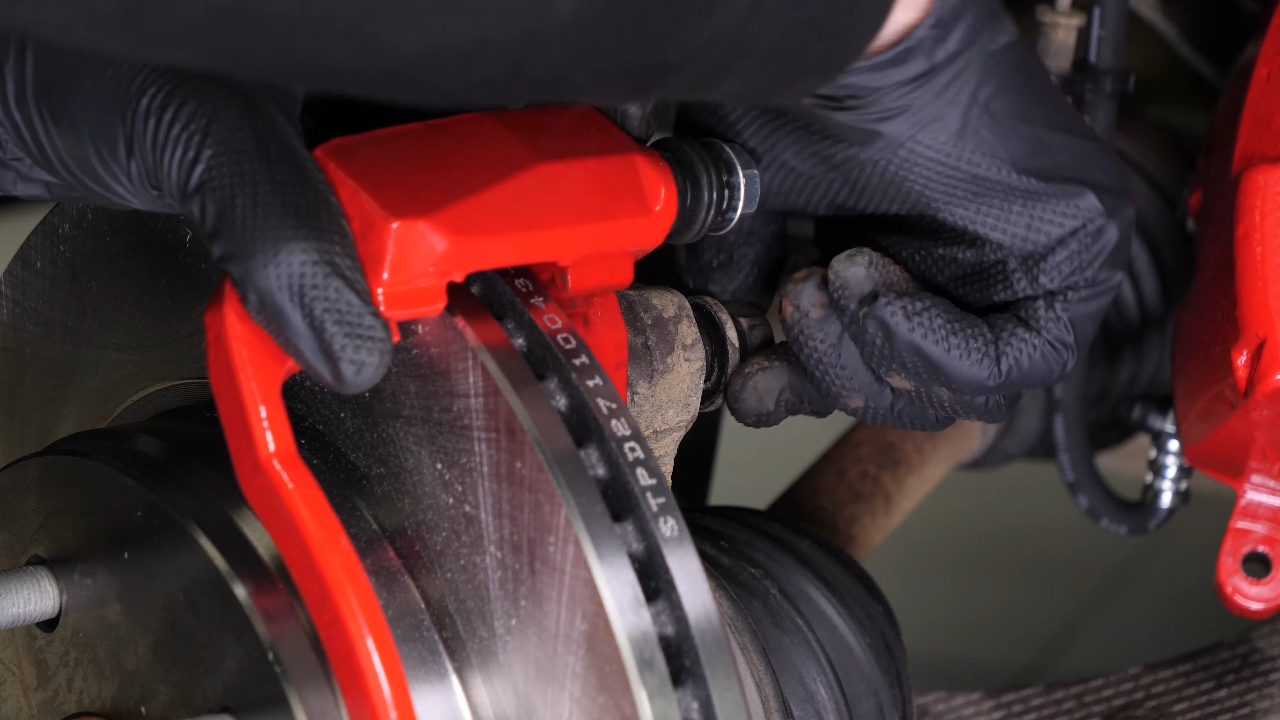
Step 1/1
Reassemble the caliper mount by screwing first by hand, then with a socket wrench and a 21mm socket to lock them in place. Finish tightening using a torque wrench.

Chapter 14:
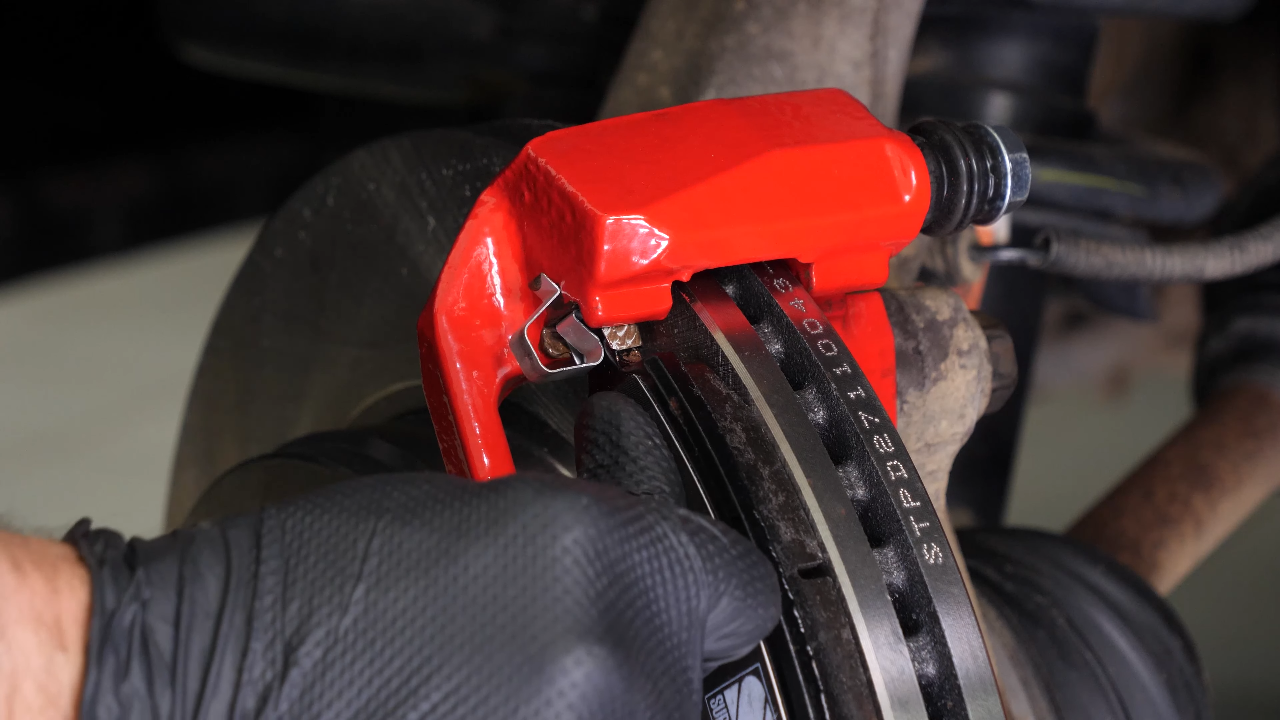
Place the new brake pads
Step 1/5
Carparts.com also recommends replacing the anti-rattle clips with new ones.
Chapter 14:
Step 2/5
Grab the new pads, and lightly coat the ends with copper grease to help them slide more easily.
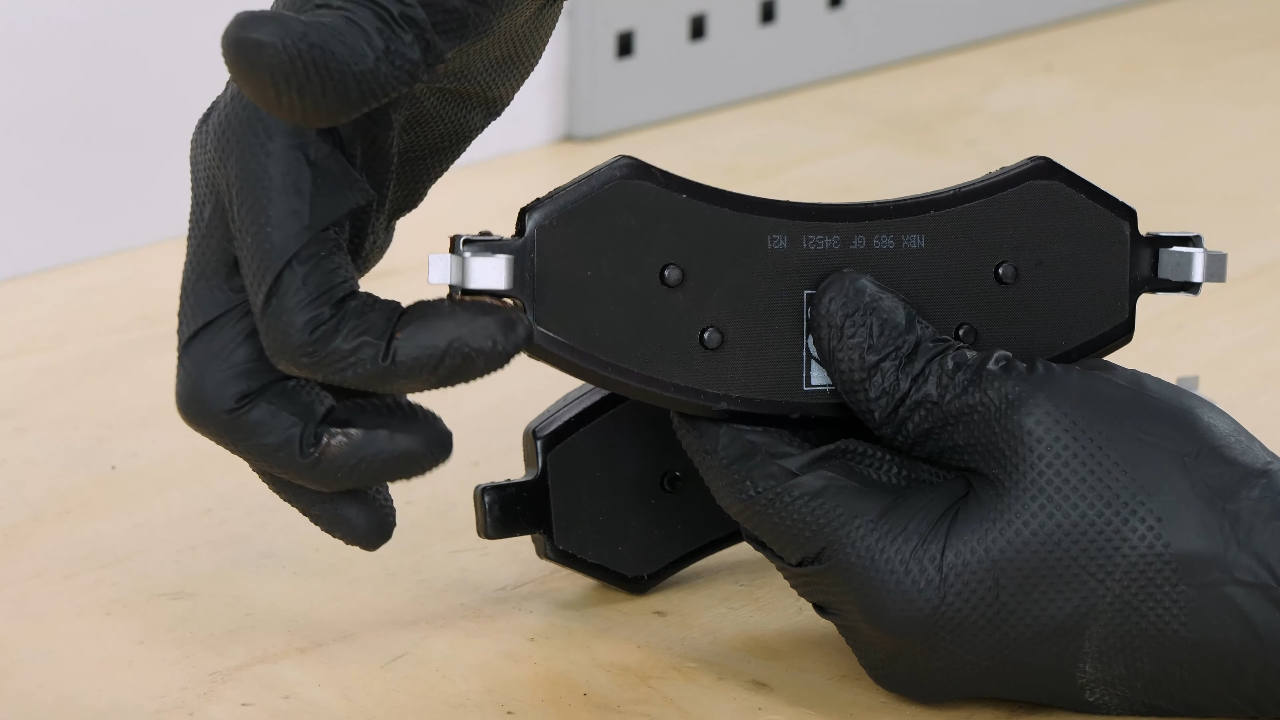
Chapter 14:
Step 3/5
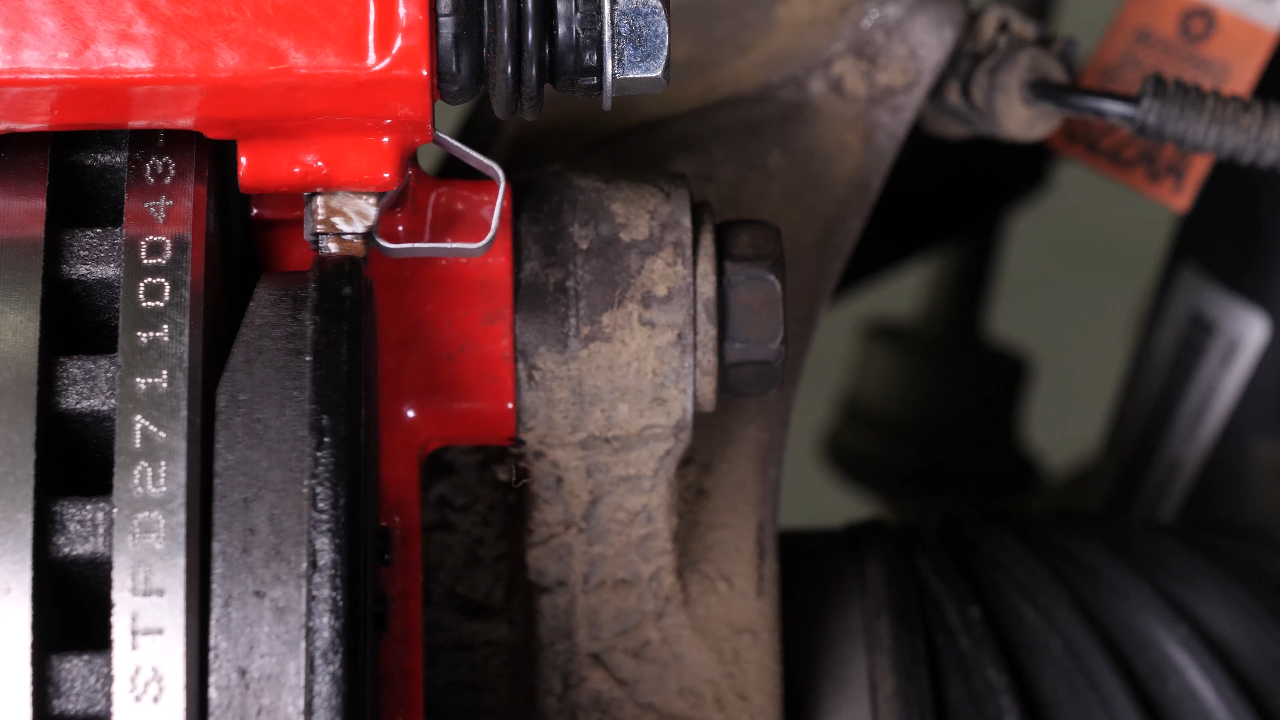
Place the new anti-rattle clips on the pads.


Chapter 14:
Step 4/5
Insert the new pads into the caliper mount by sliding them in. Then press on the anti-rattle clips to put them in place in the caliper mount.
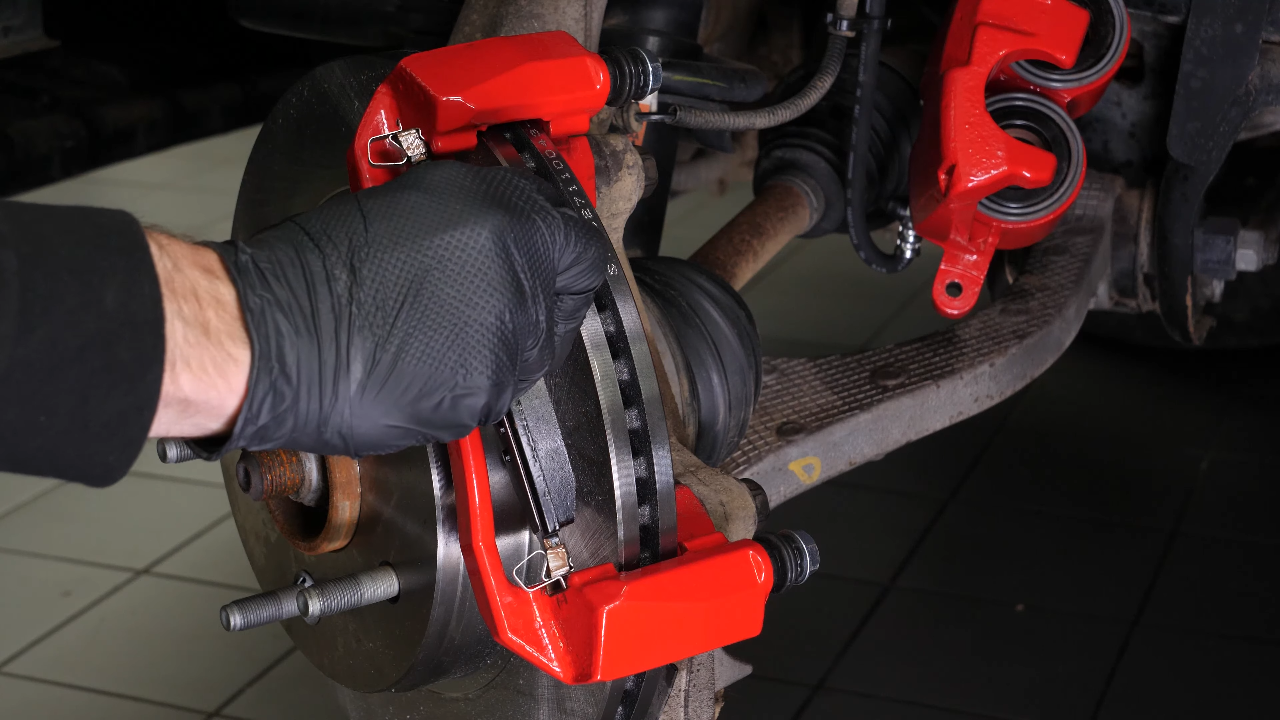
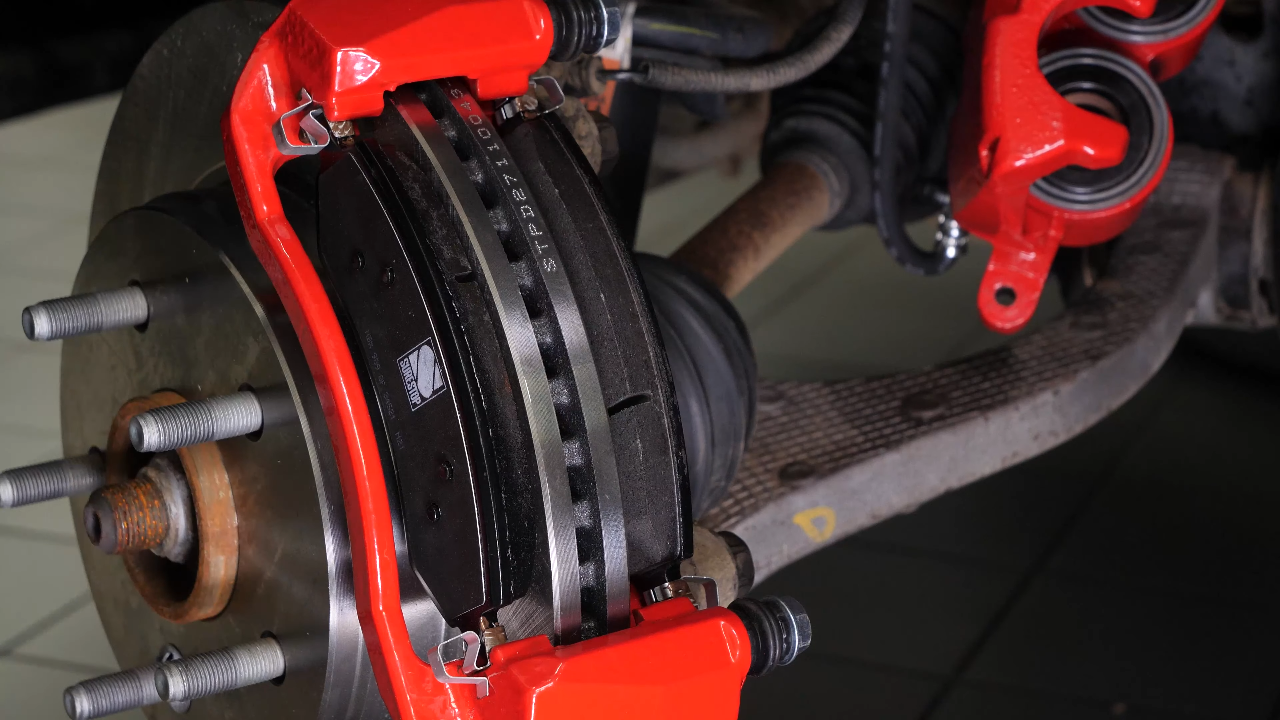
Chapter 14:
Step 5/5
Their spring action lifts the pads off the disc when you release the brake pedal.

Chapter 15:
Press the piston
Step 1/3
Grab the caliper. Place a used pad in the caliper, then using a clamp or Brake Wind-Back Tool, press the pistons into the caliper. This step is essential before installing the new pads.

Chapter 15:
Step 2/3
As the pistons enter the caliper, brake fluid will flow back into the brake fluid reservoir.

Chapter 15:
Step 3/3
Depending on the original level of the reservoir, make sure that the liquid does not overflow.
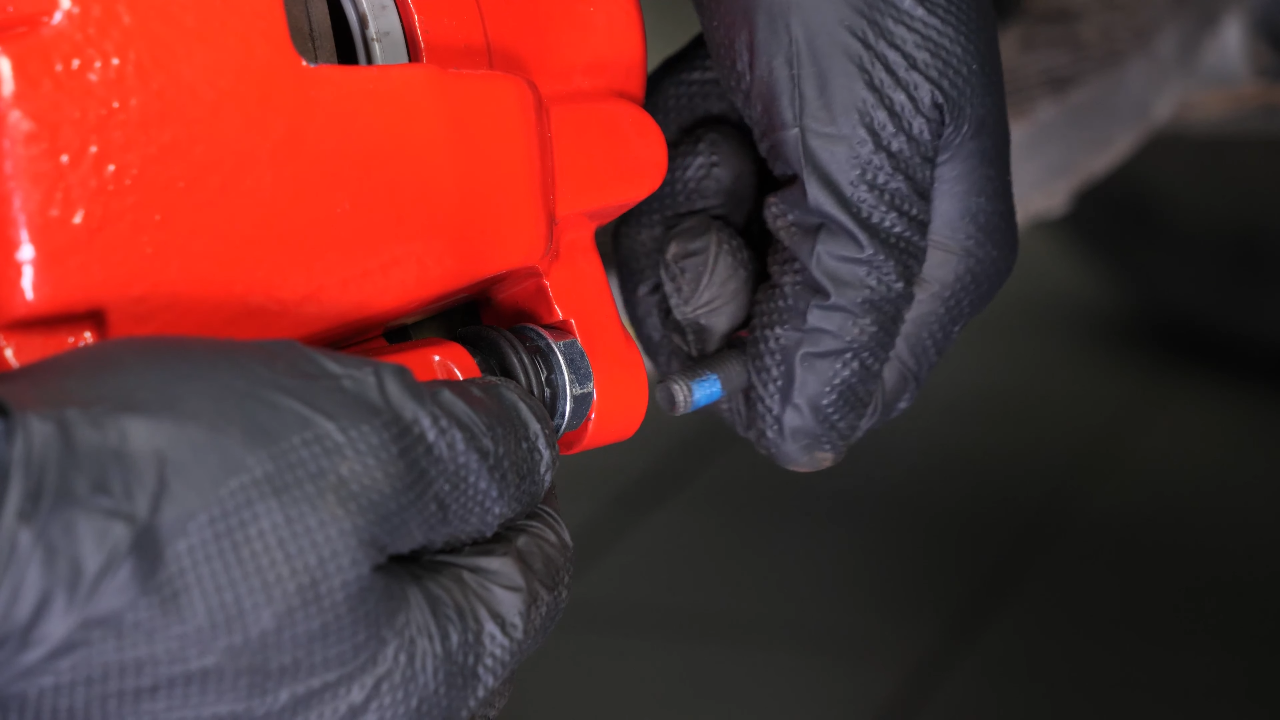
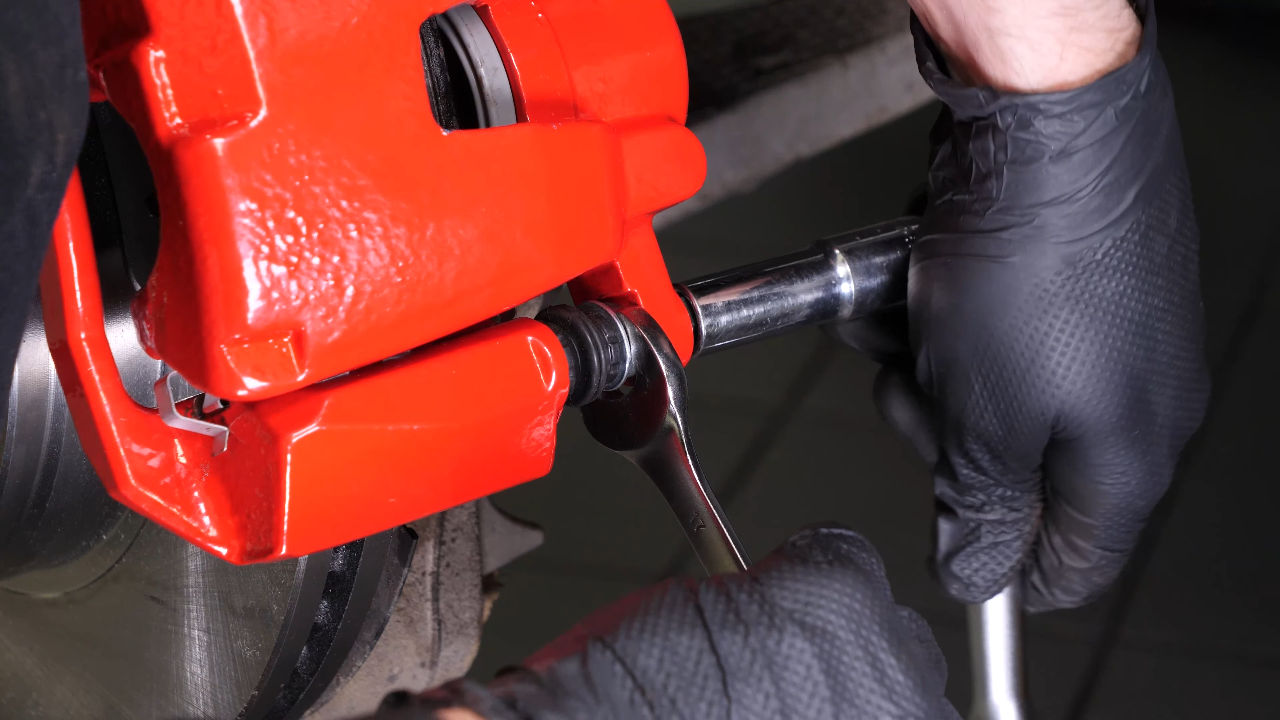
Chapter 16:
Put the brake caliper back
Step 1/2
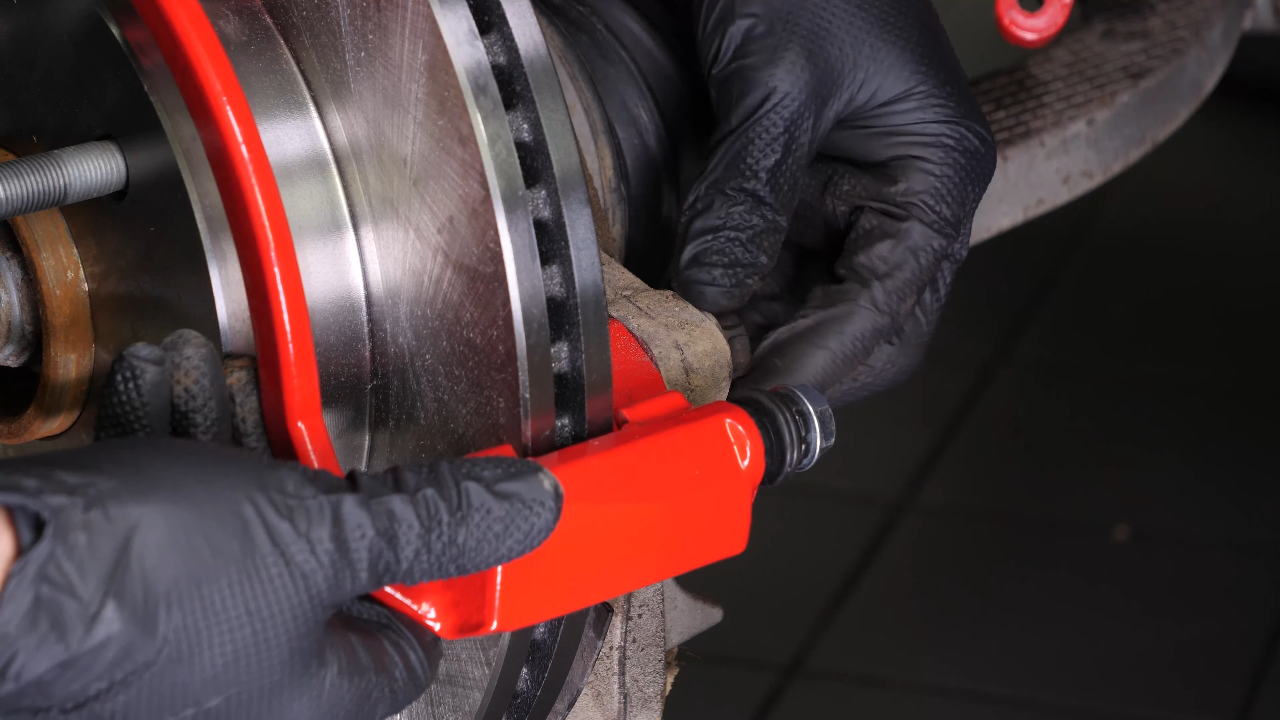
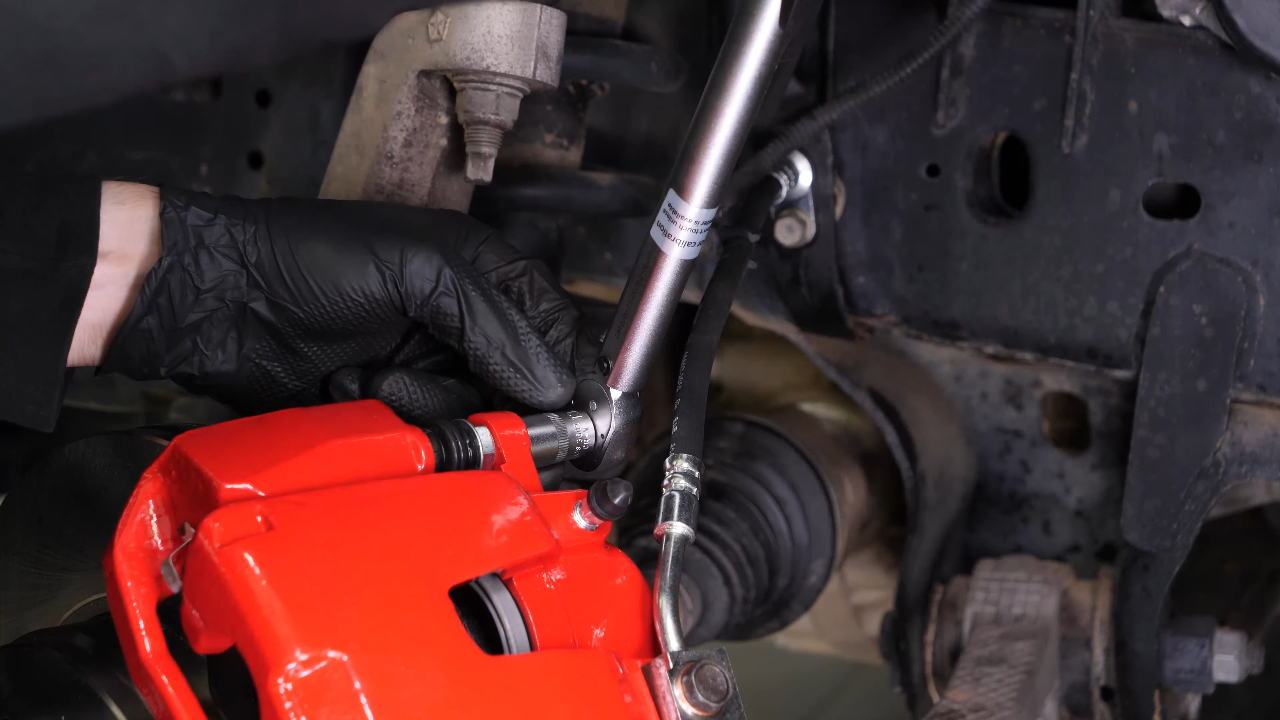
Put the brake caliper back in place and screw in the slide pins, by hand at first.

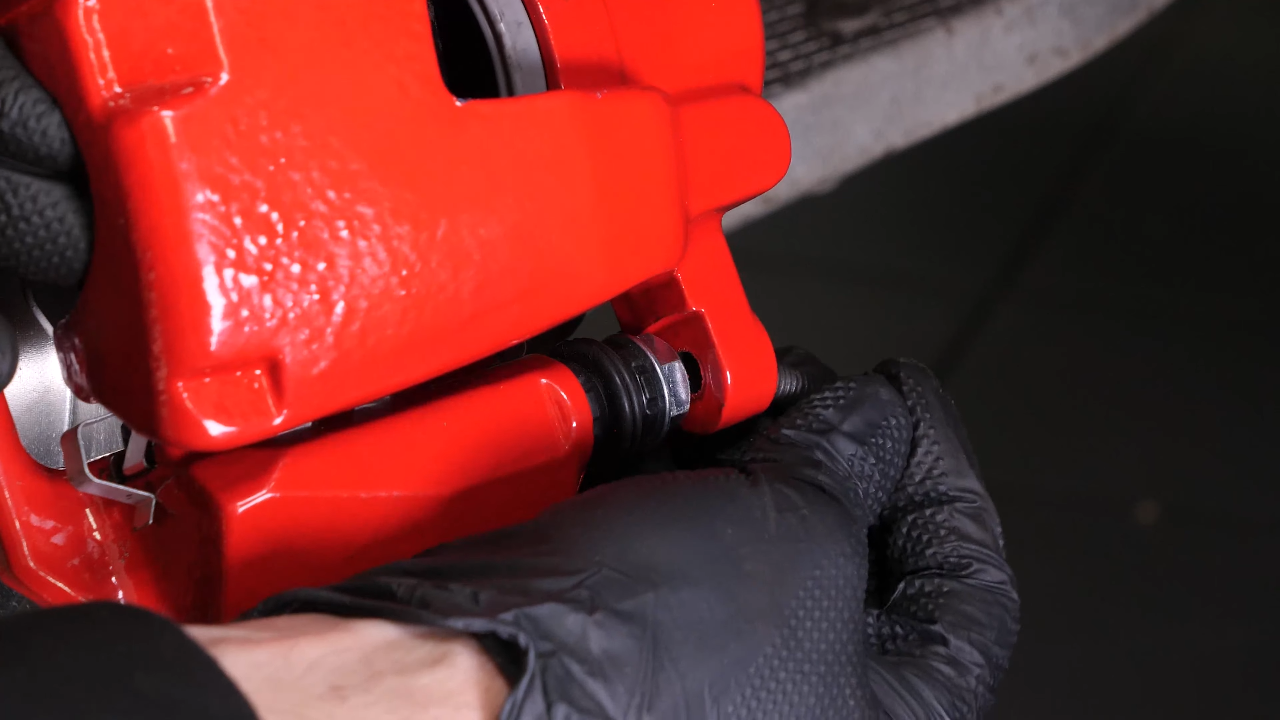
Chapter 16:
Step 2/2
You can use a 17mm wrench to prevent the bolts from rotating. Screw them in using a socket wrench and a 13mm socket. Finish tightening using a torque wrench.
Chapter 17:
Finalise the reassembly
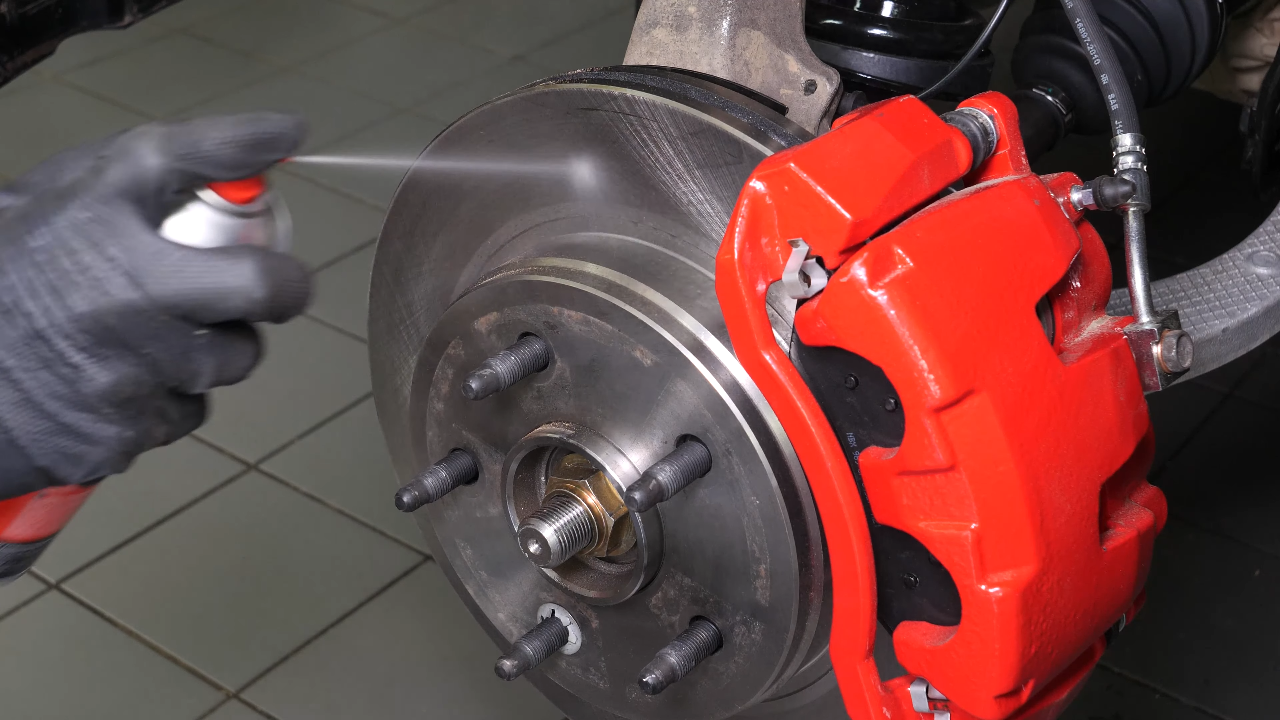
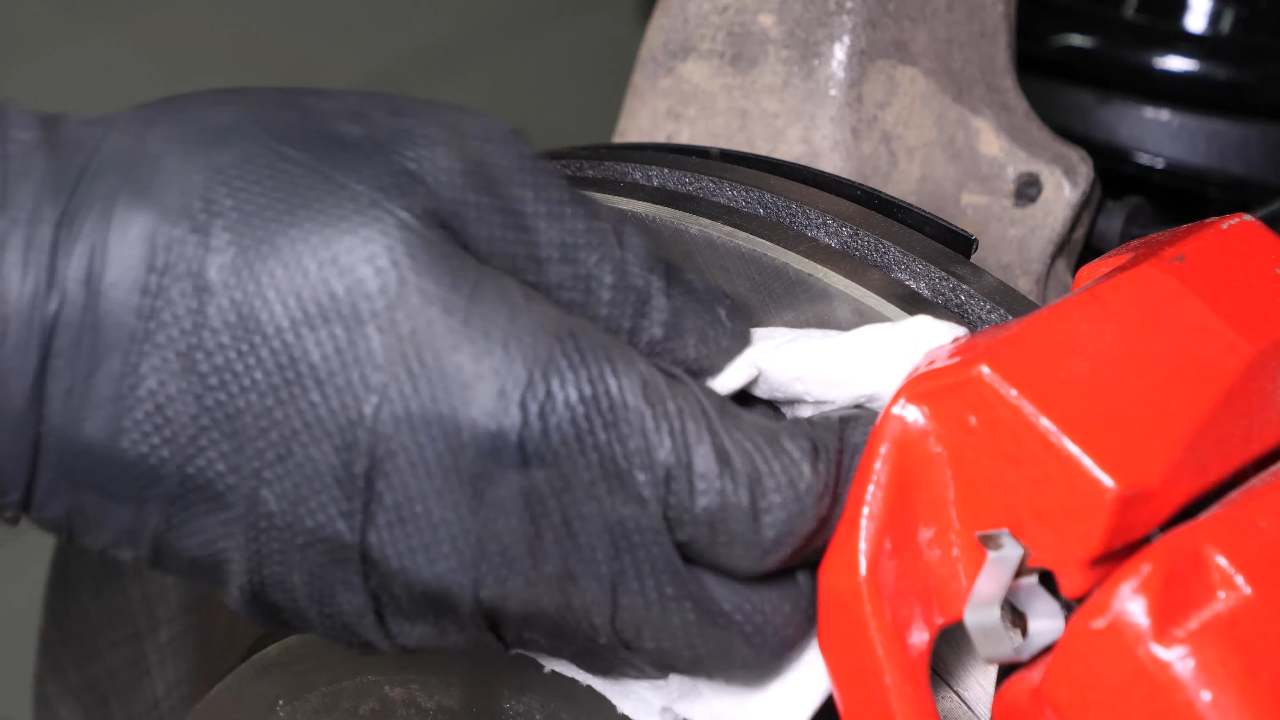
Step 1/3
Clean both sides of the disc with brake cleaner and a cloth to remove the grease from the new pads.
Chapter 17:
Step 2/3
You can now repeat the same process on the other side. Then, you will be able to put the wheels back on your vehicle.
Chapter 17:
Step 3/3
Put the car back on the ground and block the wheels properly. Don’t forget to screw the brake fluid cap back on before starting the car.


Chapter 18:
Tips
Step 1/2
Attention! Before using your vehicle again, start your car, and pump the brake pedal a few times to push the brake pads together again. Try to drive smoothly and avoid sudden braking for the first 30 miles or so, to avoid glazing the new pads.


Chapter 18:
Step 2/2
Operation complete.