
How to replace the headlight bulbs 2009-2018 Dodge RAM 1500
To replace the headlight bulbs on your RAM 1500 It’s easy. You will need to access the lightbulbs, remove the headlight assembly, replace the low beam bulb as well as carry out a few other steps. You can carry out this tutorial of 7 chapters in 25 minutes. Take your ratchet and your 8 mm socket and let’s get started!
Duration
25 minutes
Number of steps
7
Difficulty out of 5
1
Average savings
$15
Parts You Will Need
Tools You Will Need
Step-by-Step Installation
Chapter 1:
Set up
Step 1/2
Turn your engine off and set the parking brake.


Chapter 1:
Step 2/2
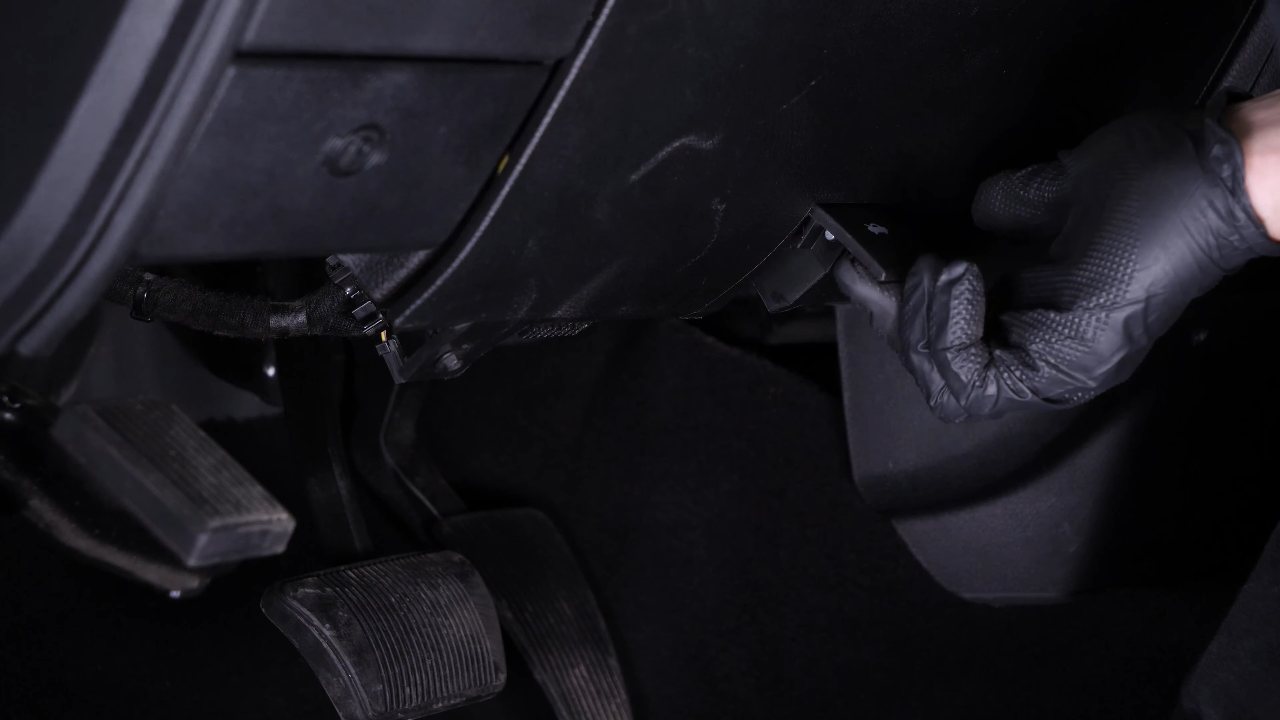
Pull on the hood release handle and open the hood.

Chapter 2:
Tips
Step 1/1
To increase the lifespan of the bulbs, we would suggest never touching the glass with your fingers or cleaning them carefully with paper towels before putting them back.
Chapter 3:
Remove the headlight assembly
Step 1/7
To access the light bulbs, you have to remove the headlight assembly.
Chapter 3:
Step 2/7
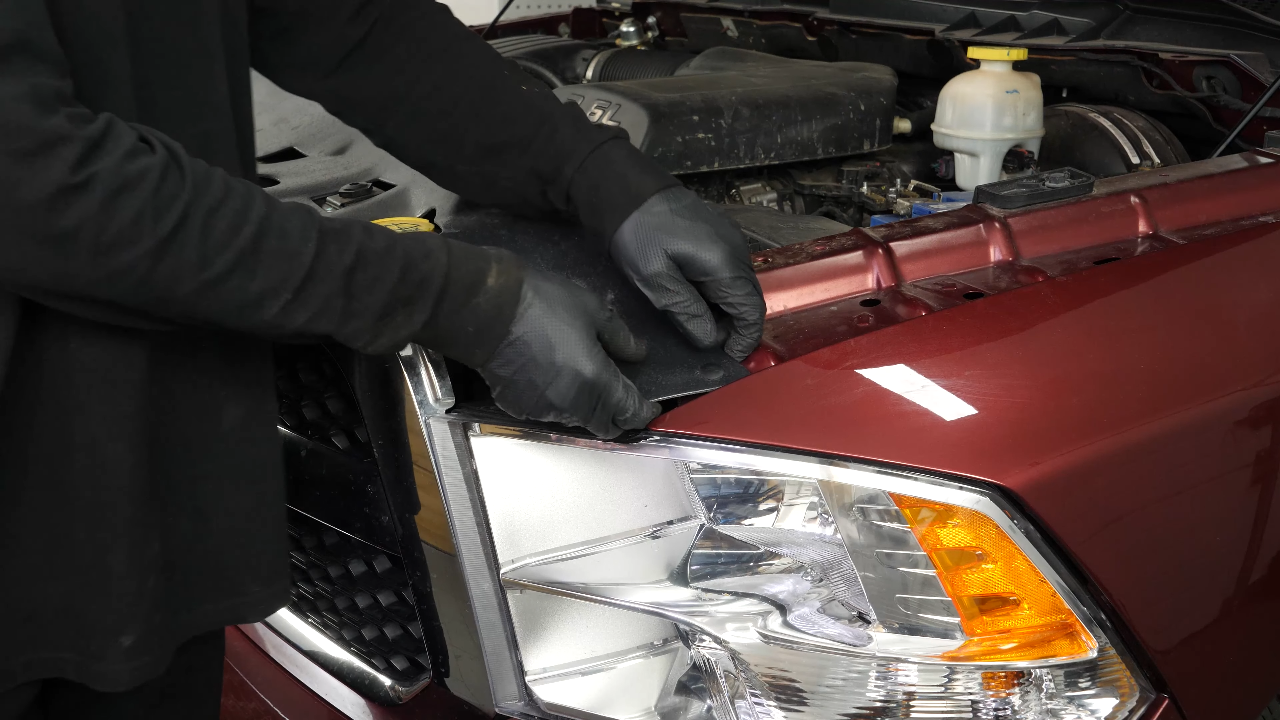
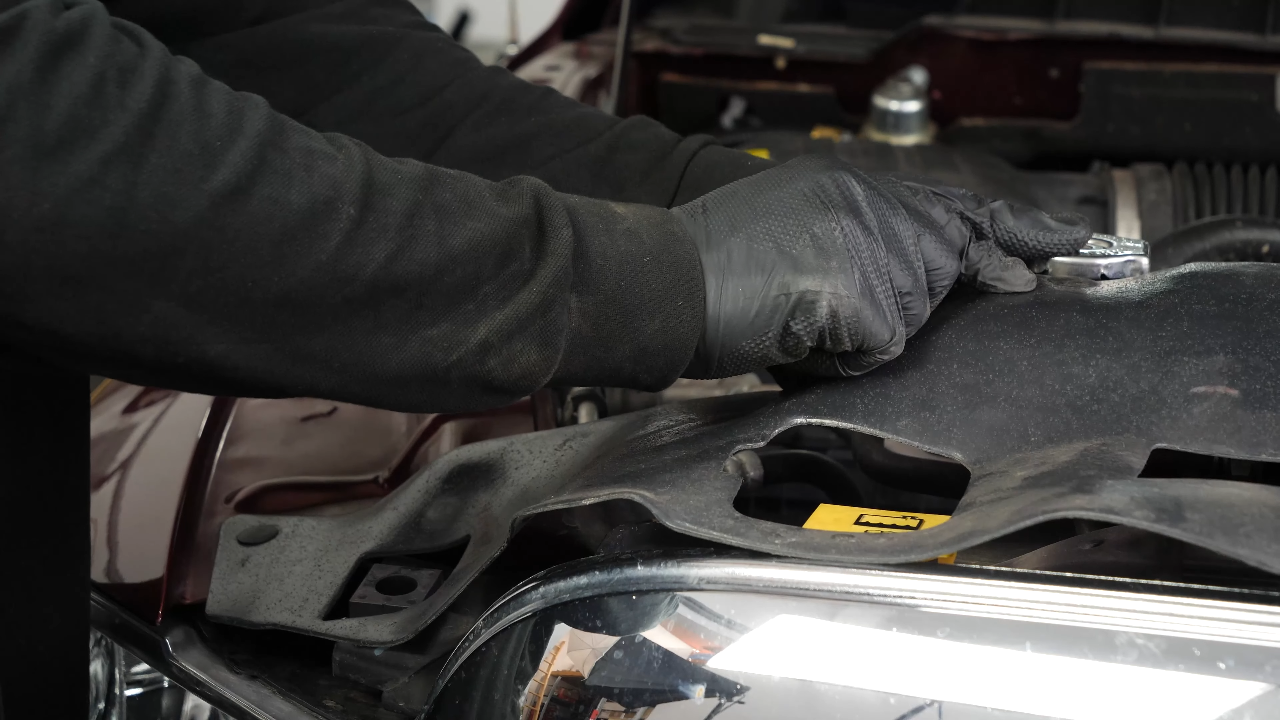
To do this, start removing the plastic cover by pulling on the 6 plastic rivets. Then remove the cover.


Chapter 3:
Step 3/7
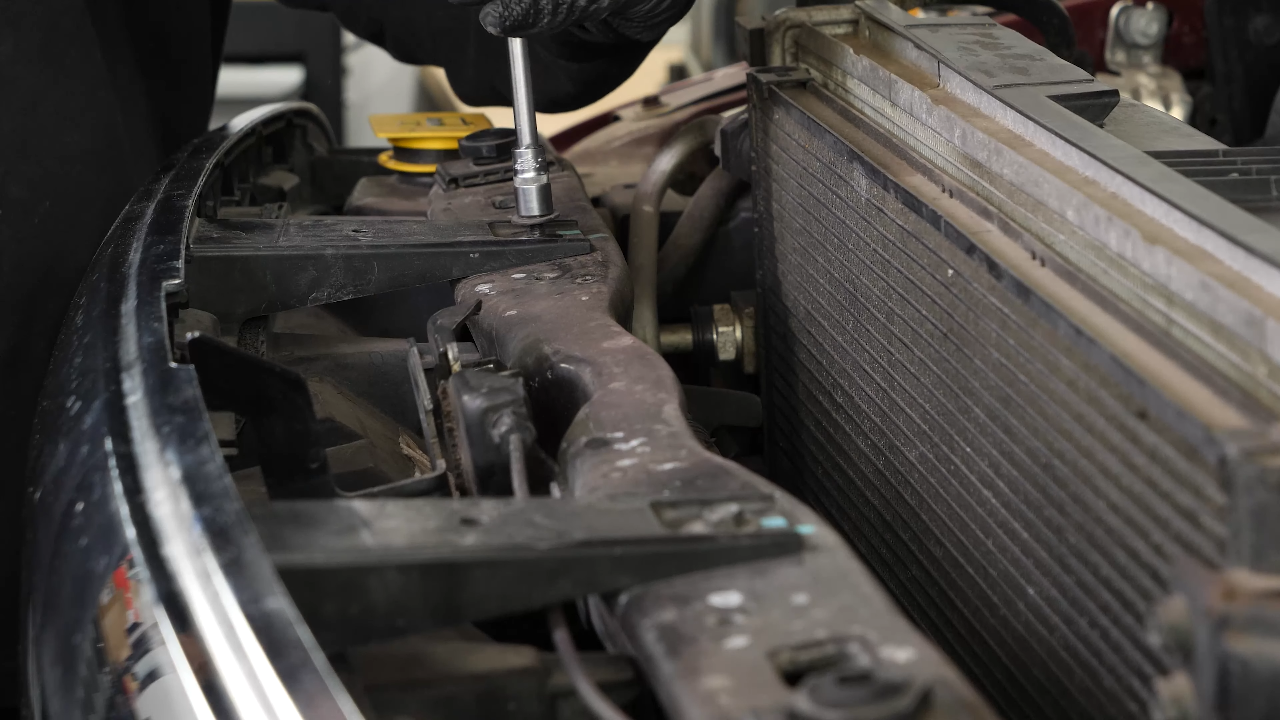
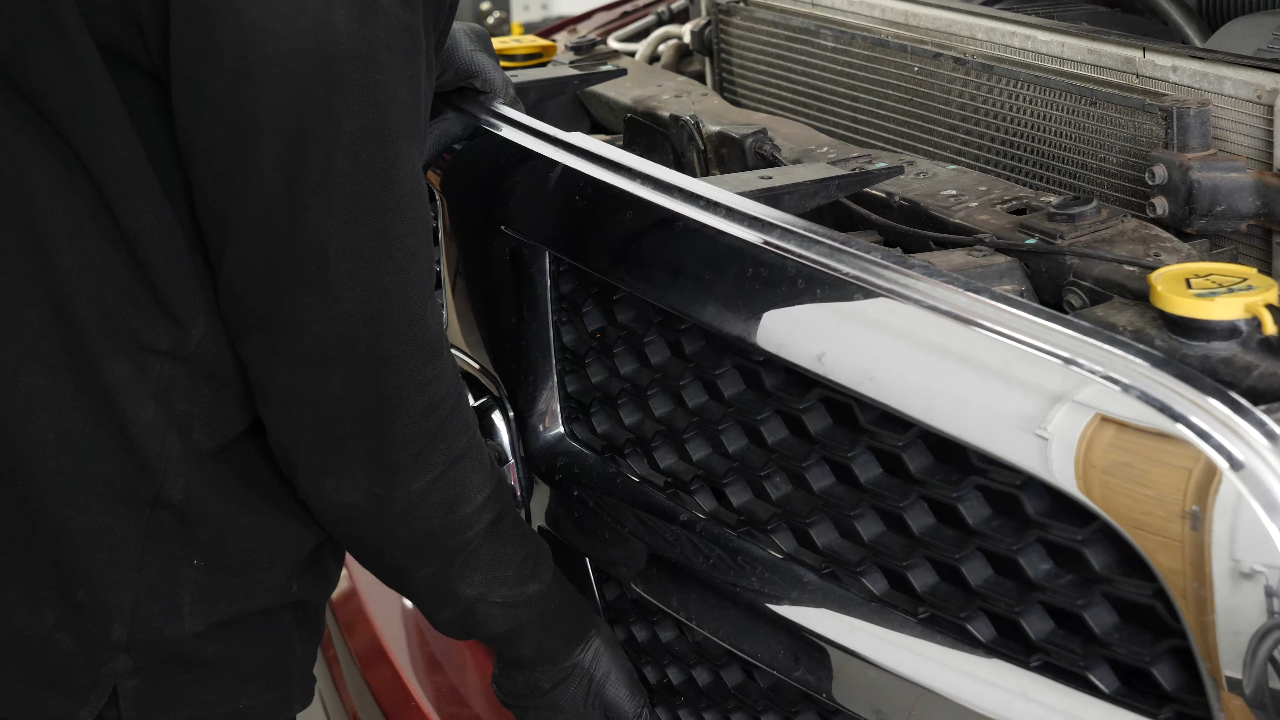
Using a ratchet and an 8 mm socket, unscrew the 4 bolts holding the grille assembly. Then, remove it.


Chapter 3:
Step 4/7
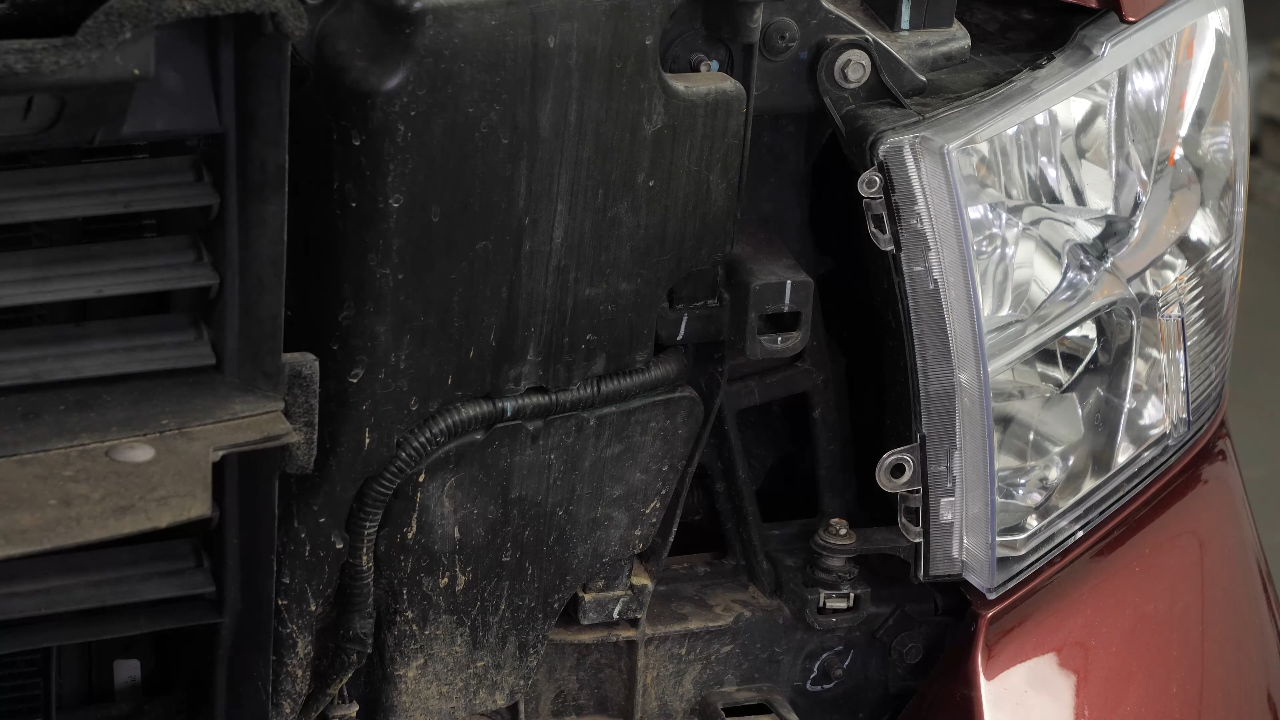
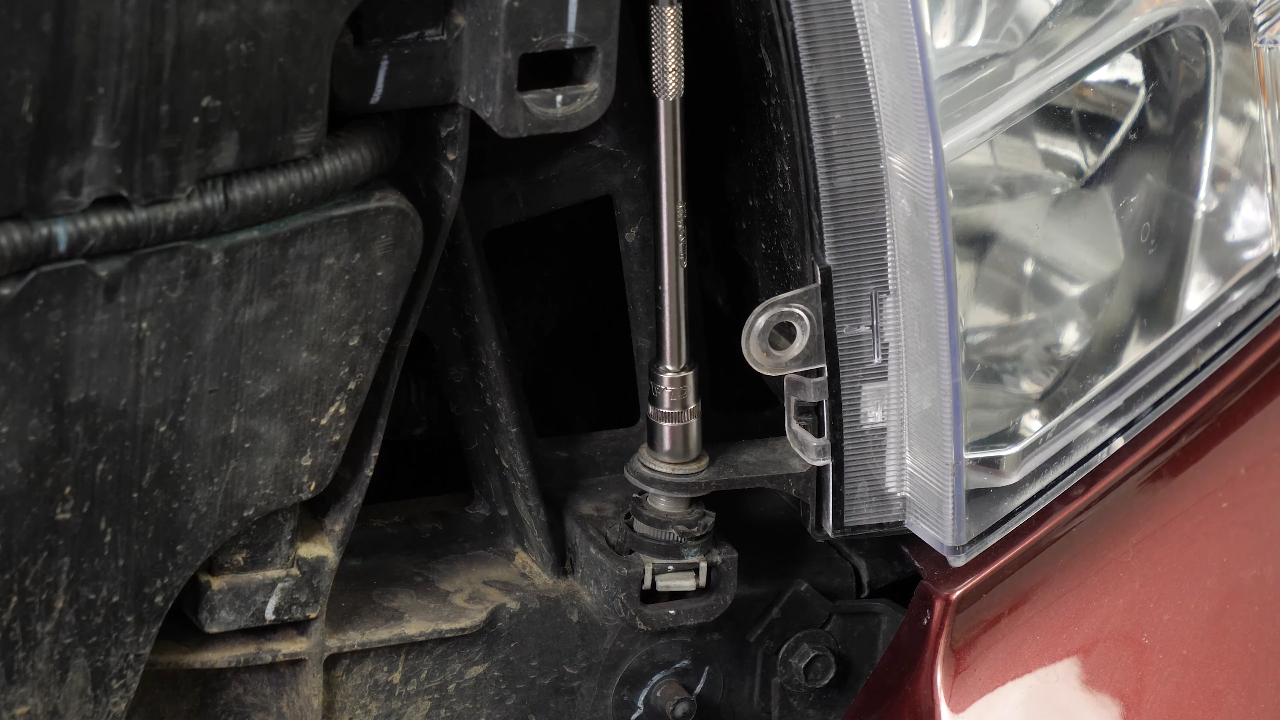
Then, using a ratchet and a 10 mm socket, unscrew the 2 bolts holding the headlight.

Chapter 3:
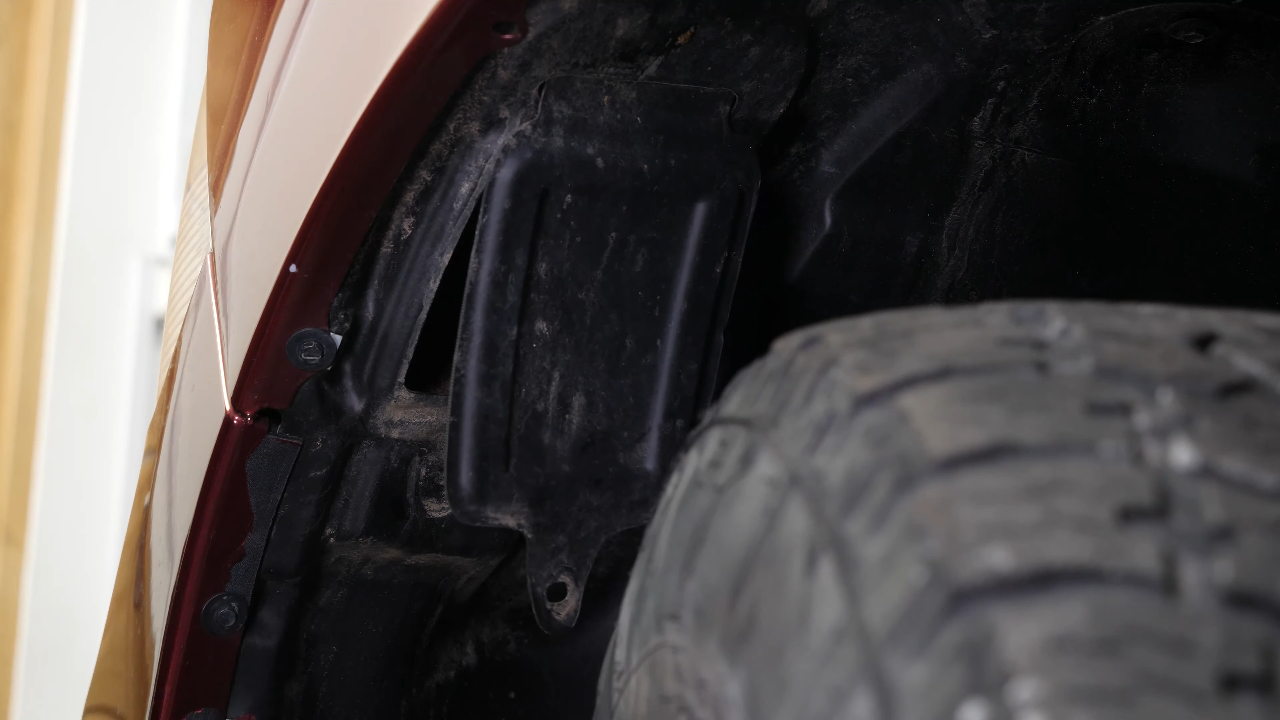
Step 5/7
At the mudguard, use a fork to remove the plastic rivet to open the access hatch to the rear headlight retaining system.

Chapter 3:
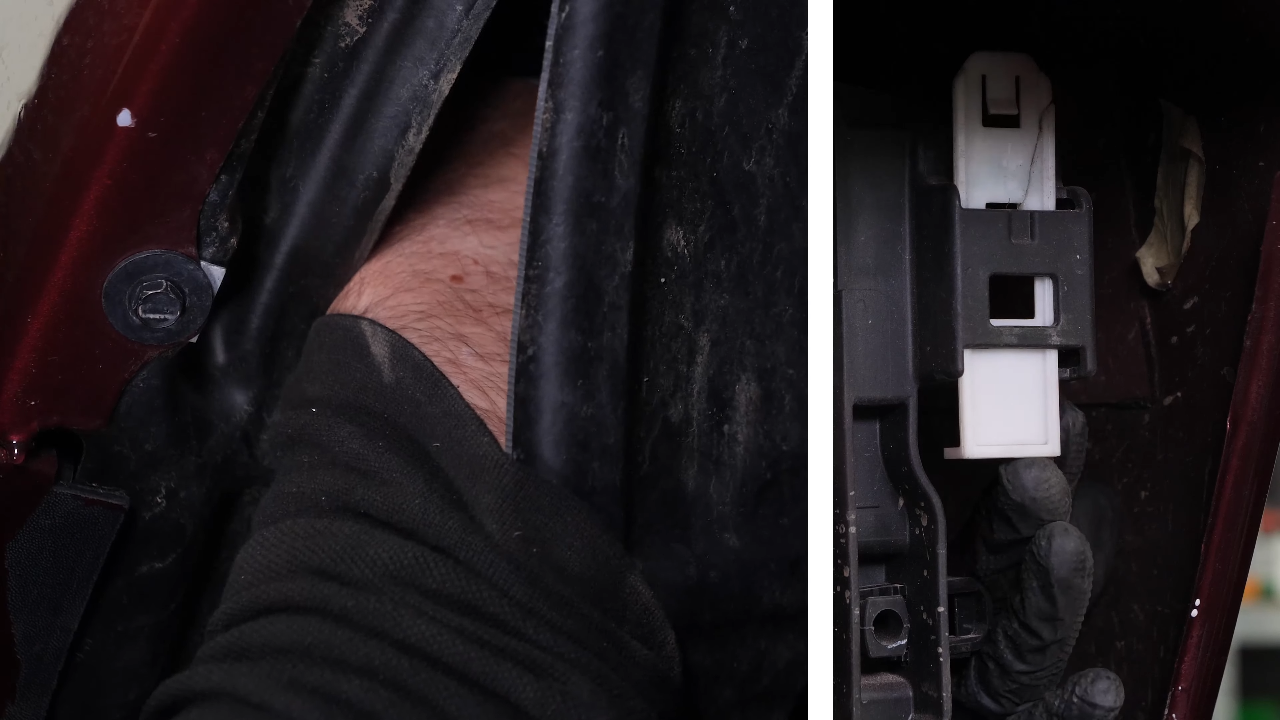
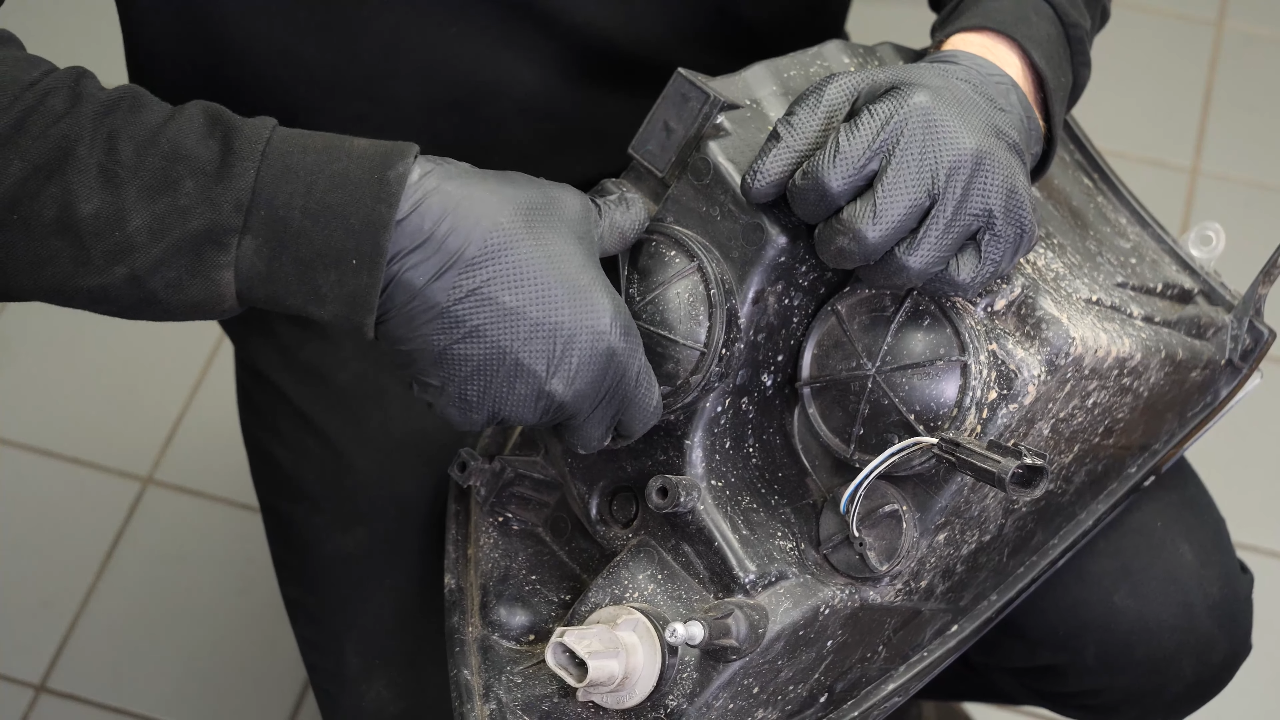
Step 6/7
Then push the retaining tab to unlock the headlight.
Chapter 3:
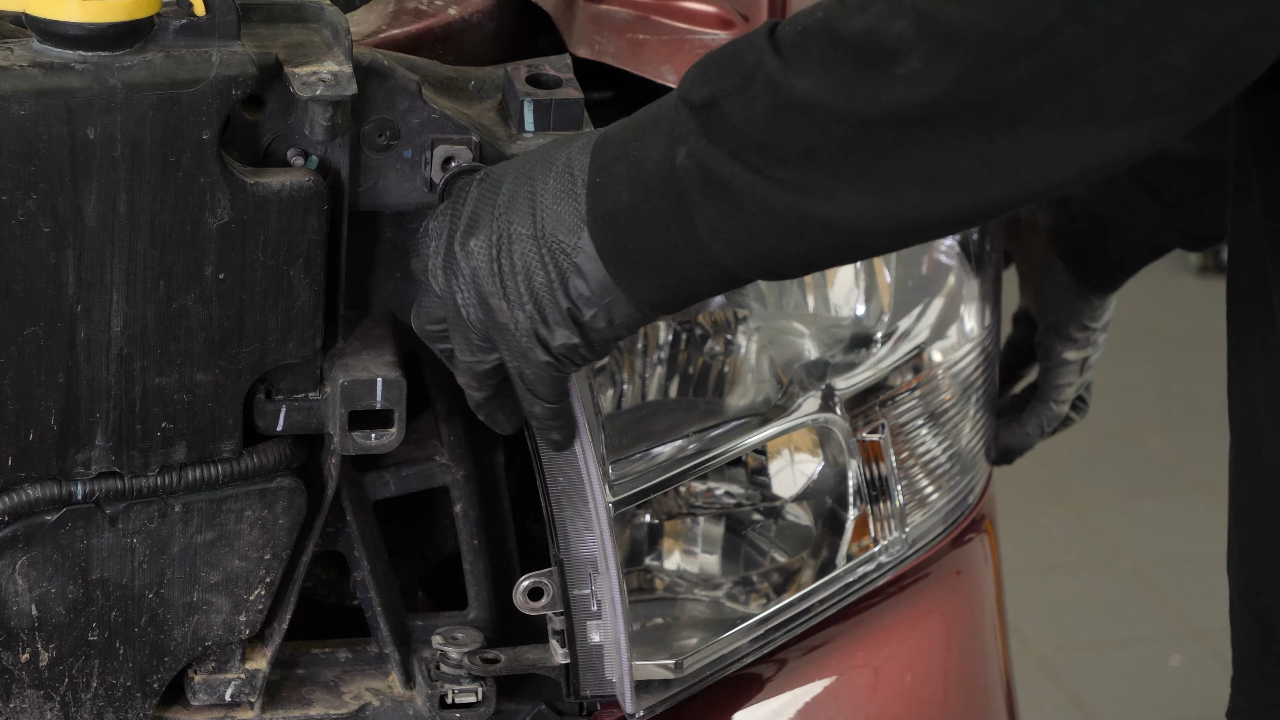
Step 7/7
You can now move the headlight aside.

Chapter 4:
Replace turn signal bulb
Step 1/6
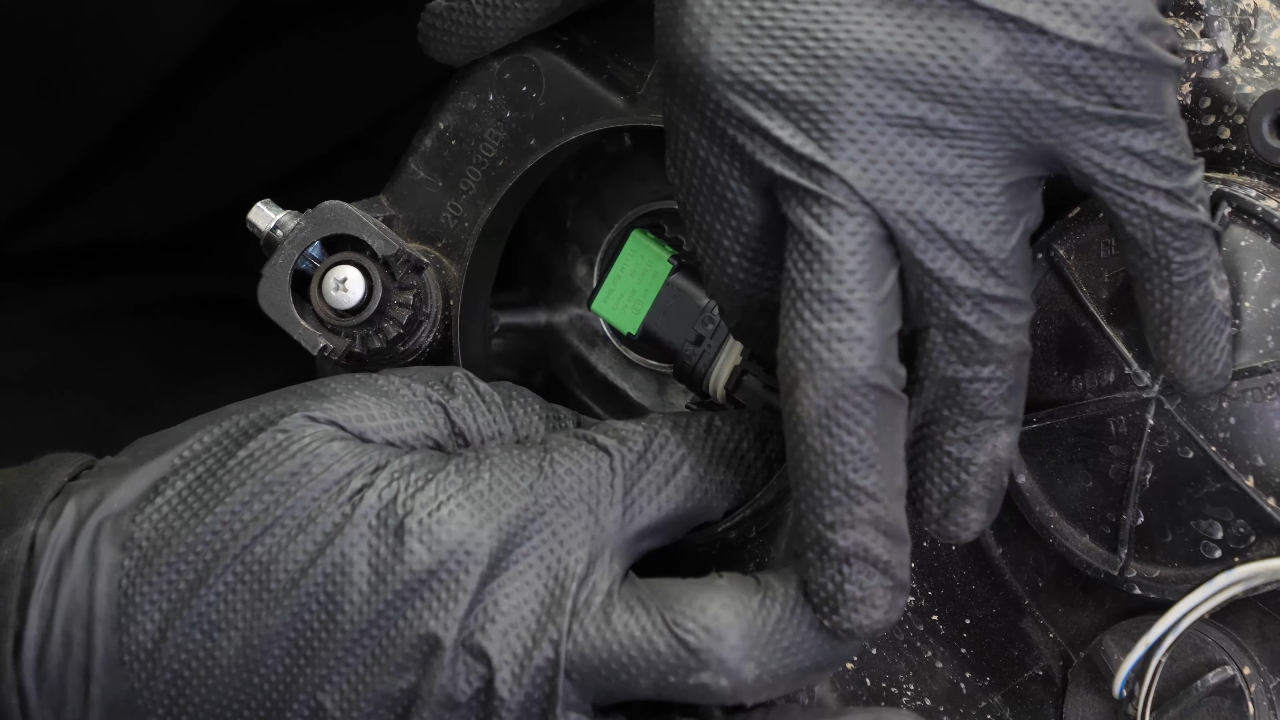
Disconnect the first power connector from the headlight by pressing the tab and pulling on the pod.


Chapter 4:
Step 2/6
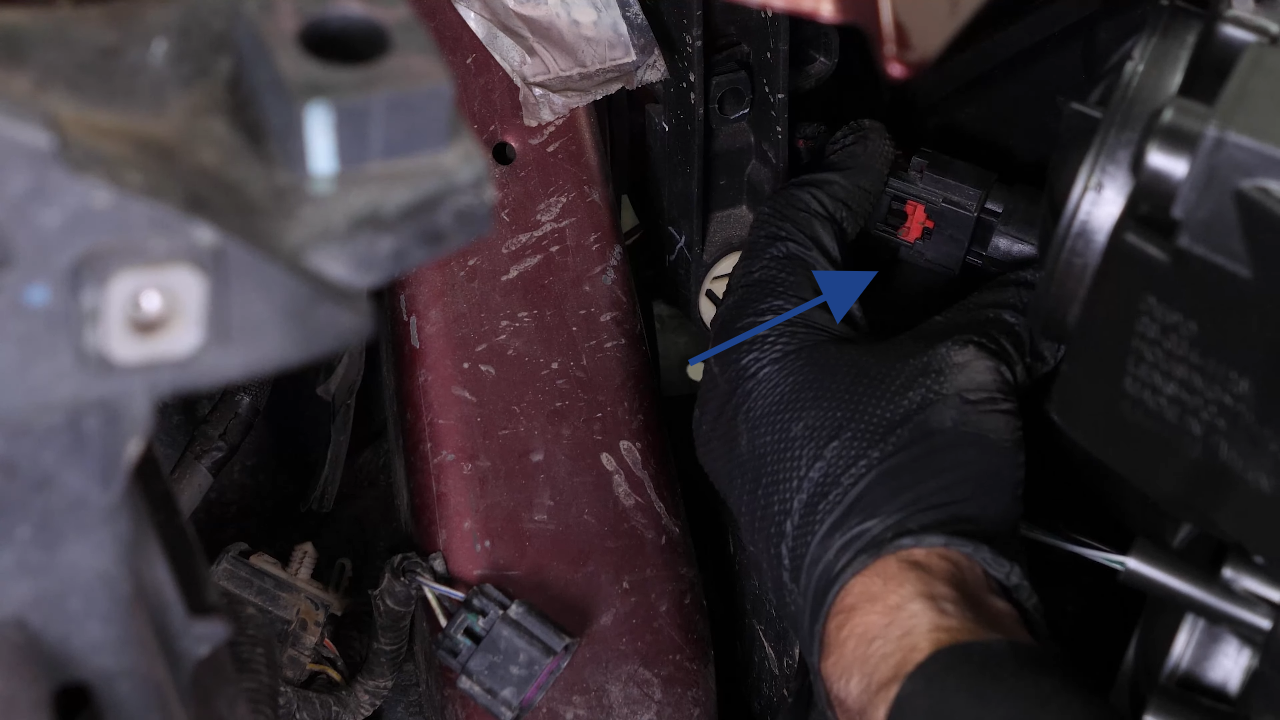
Then disconnect the second one by pushing the red tab and pulling on the pod.


Chapter 4:
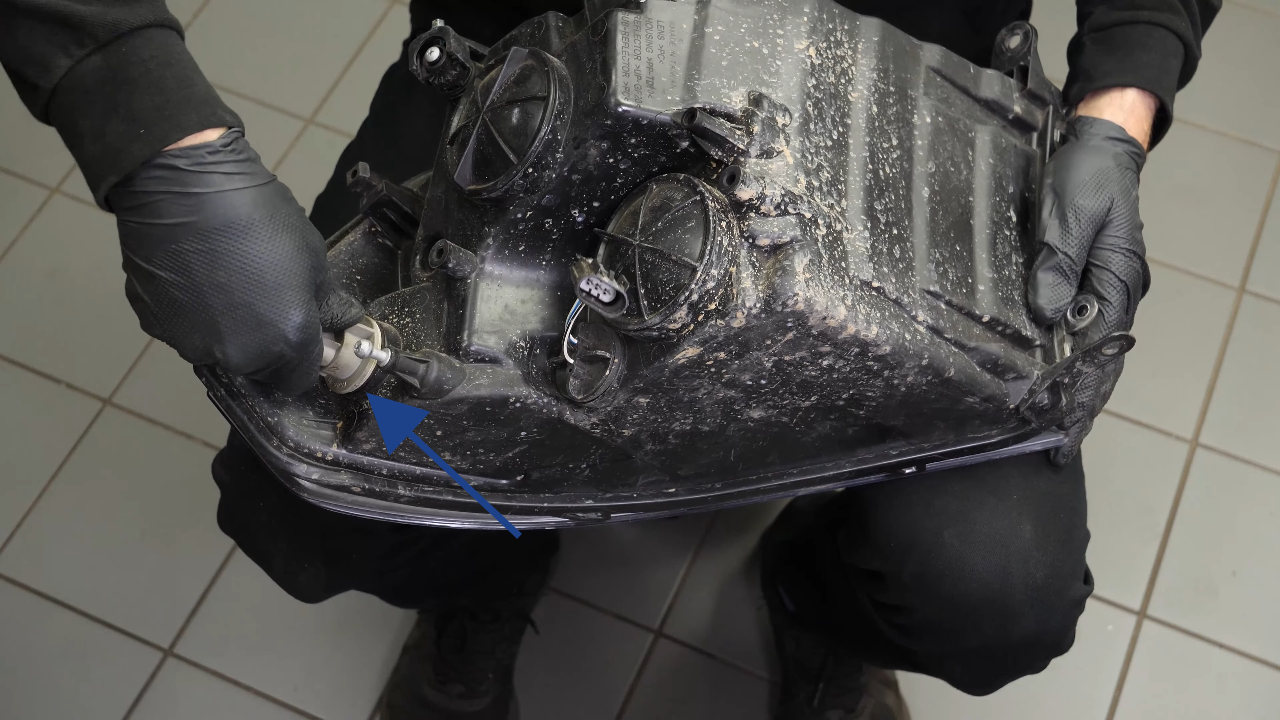
Step 3/6
To remove the turn signal light bulb socket from the headlight housing, turn it counterclockwise and pull it out.

Chapter 4:
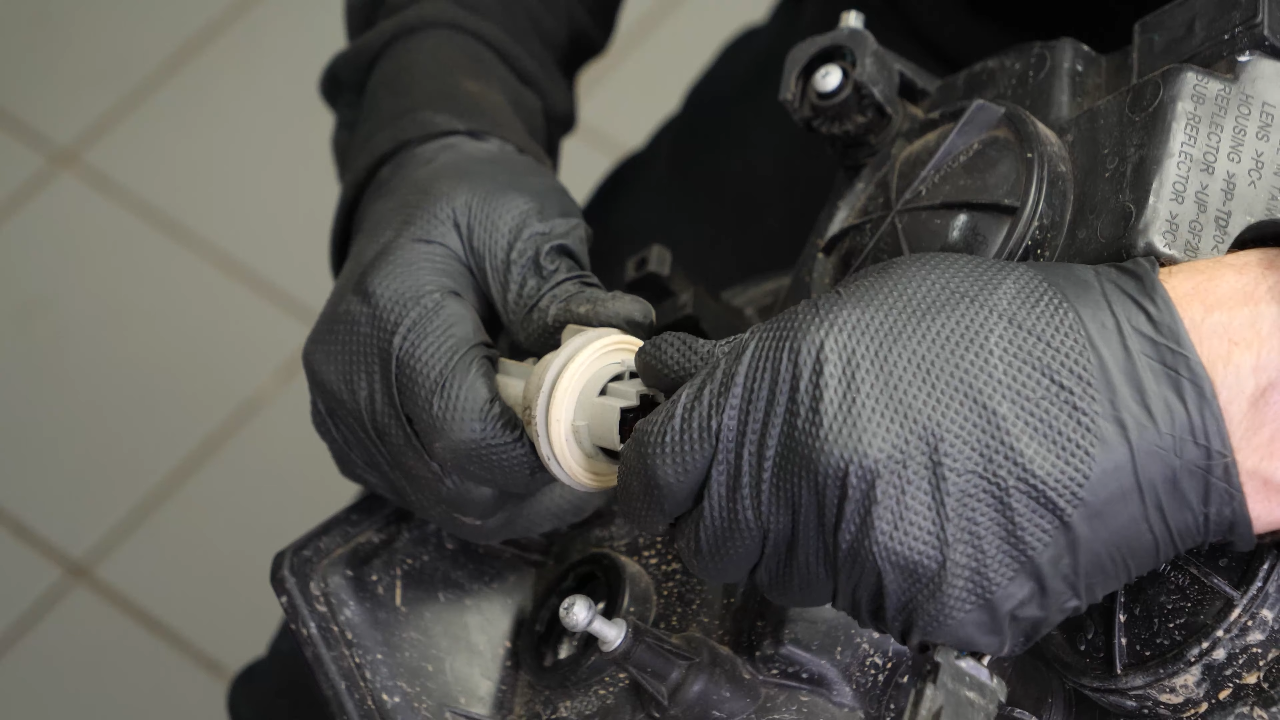
Step 4/6
To remove the bulb all you have to do is pull on it.

Chapter 4:
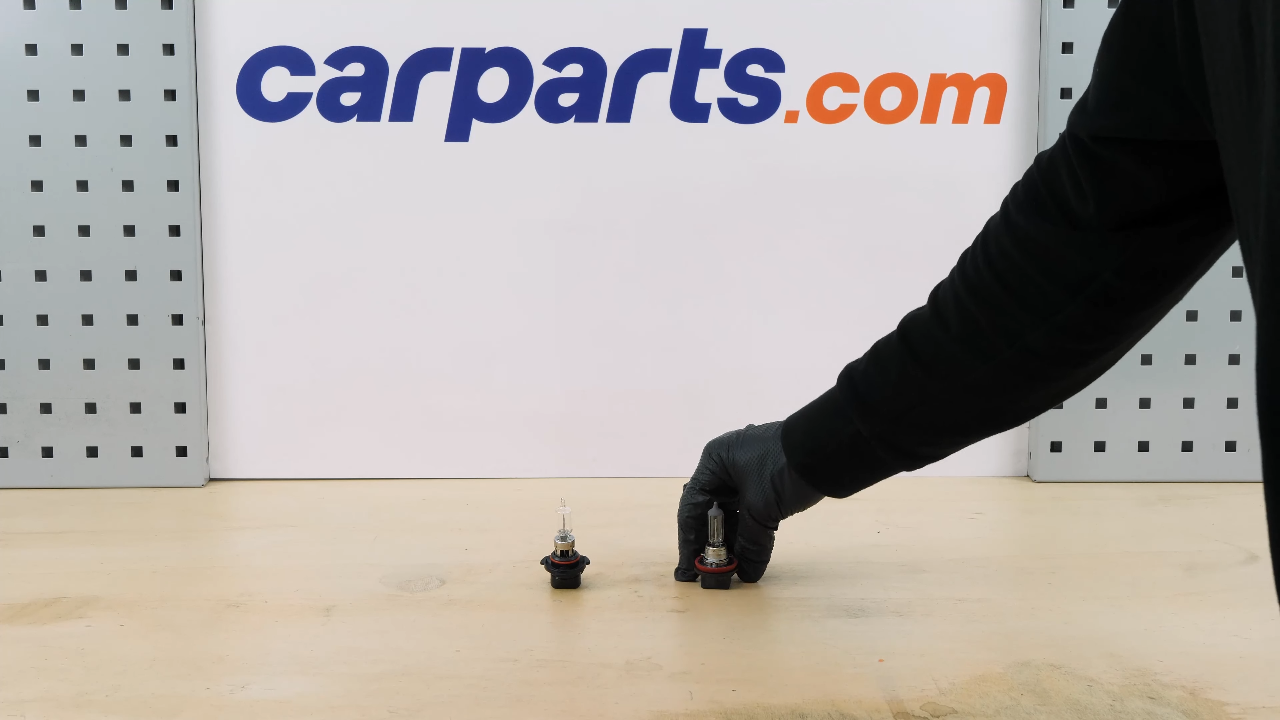
Step 5/6
Take the new bulb.

Chapter 4:
Step 6/6
Put the new bulb into the socket, then insert the whole thing into the light, and turn it clockwise to lock it in place.


Chapter 5:
Replace the low beam bulb
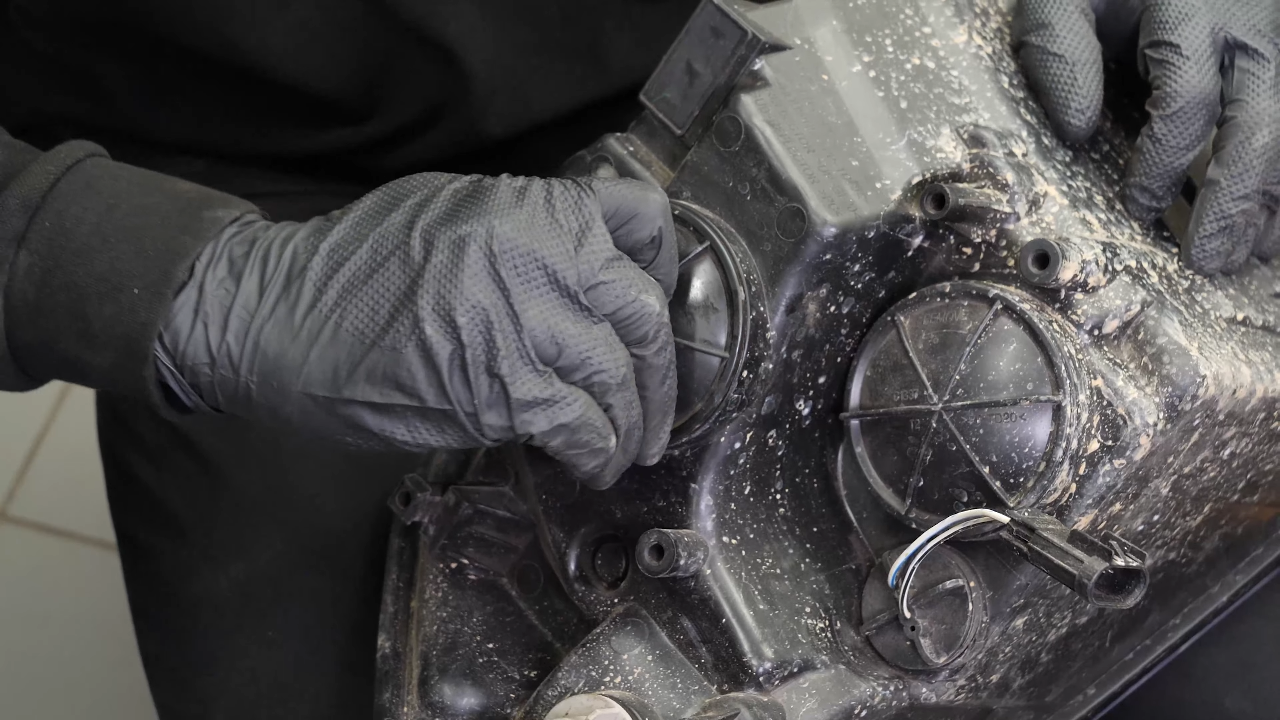
Step 1/7
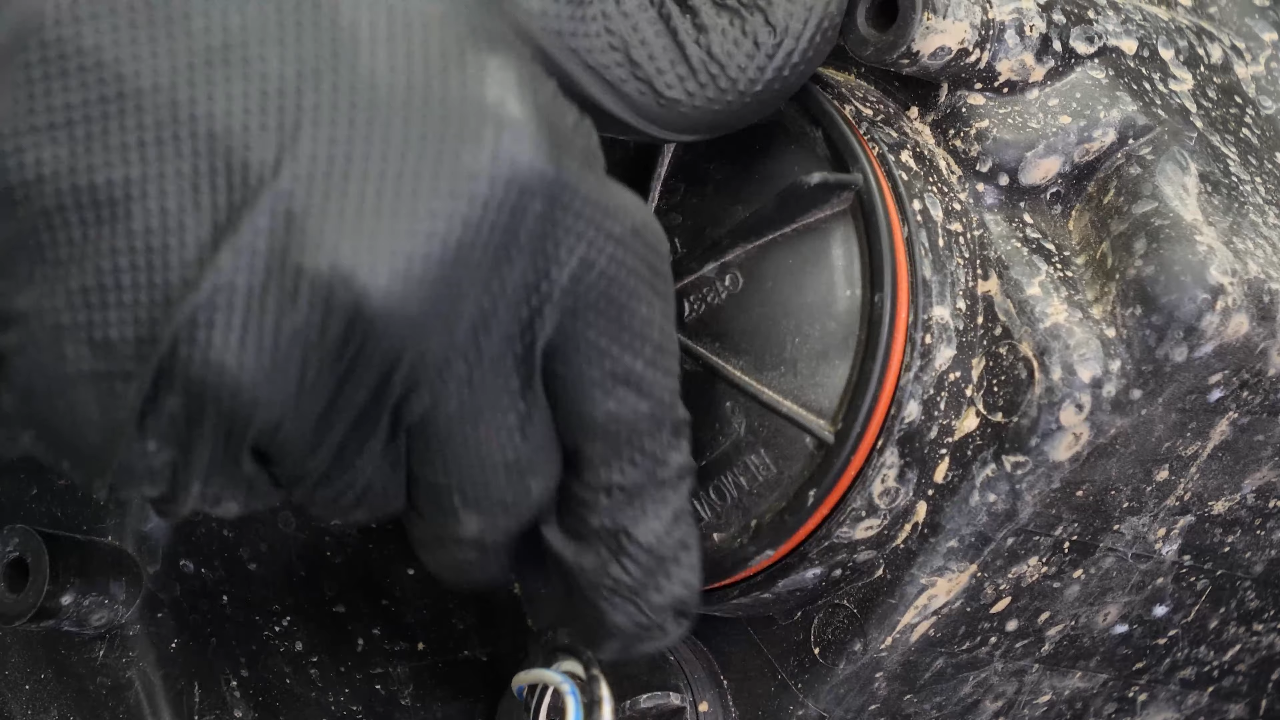
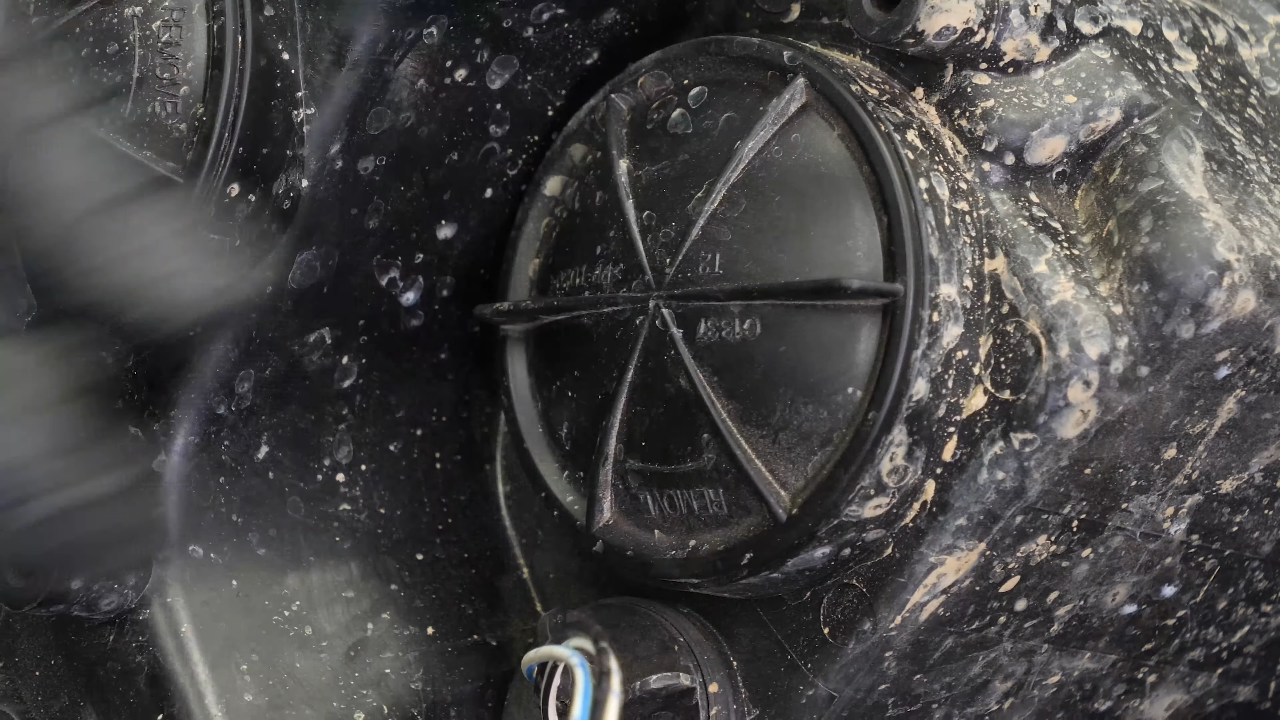
To replace the H11 low beam bulb, unscrew the plastic cover by turning it counterclockwise.
Chapter 5:
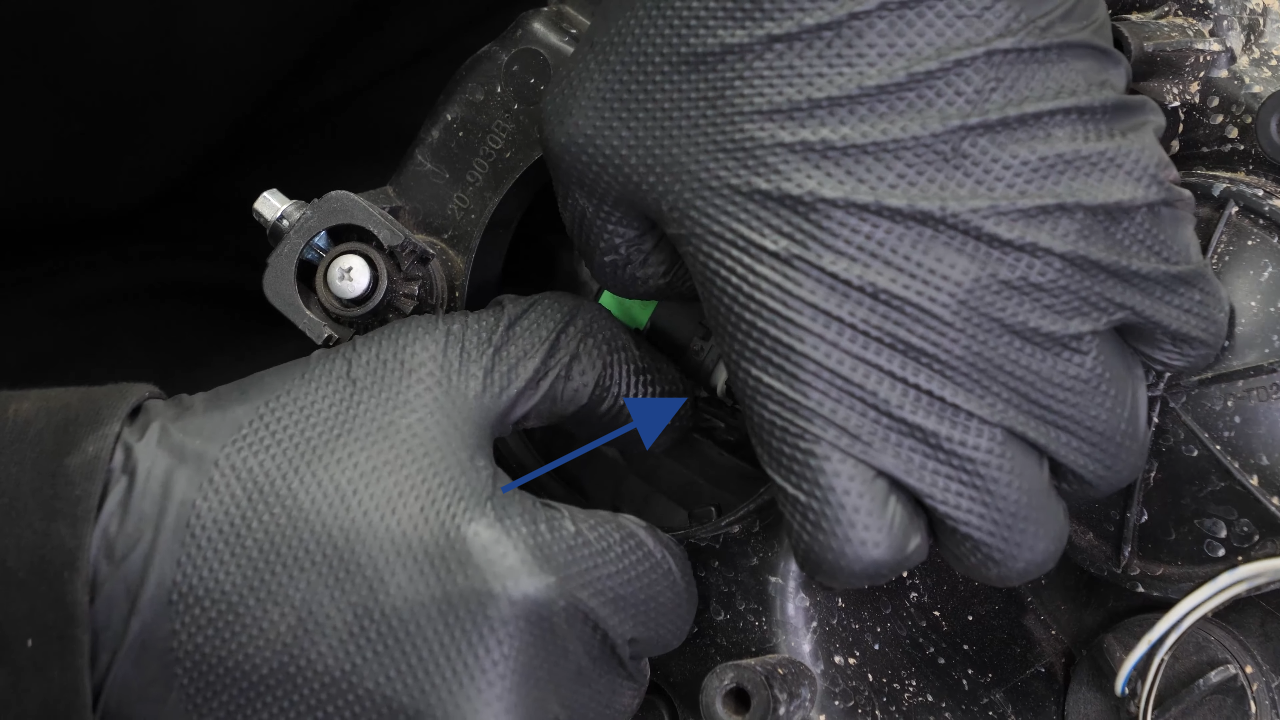
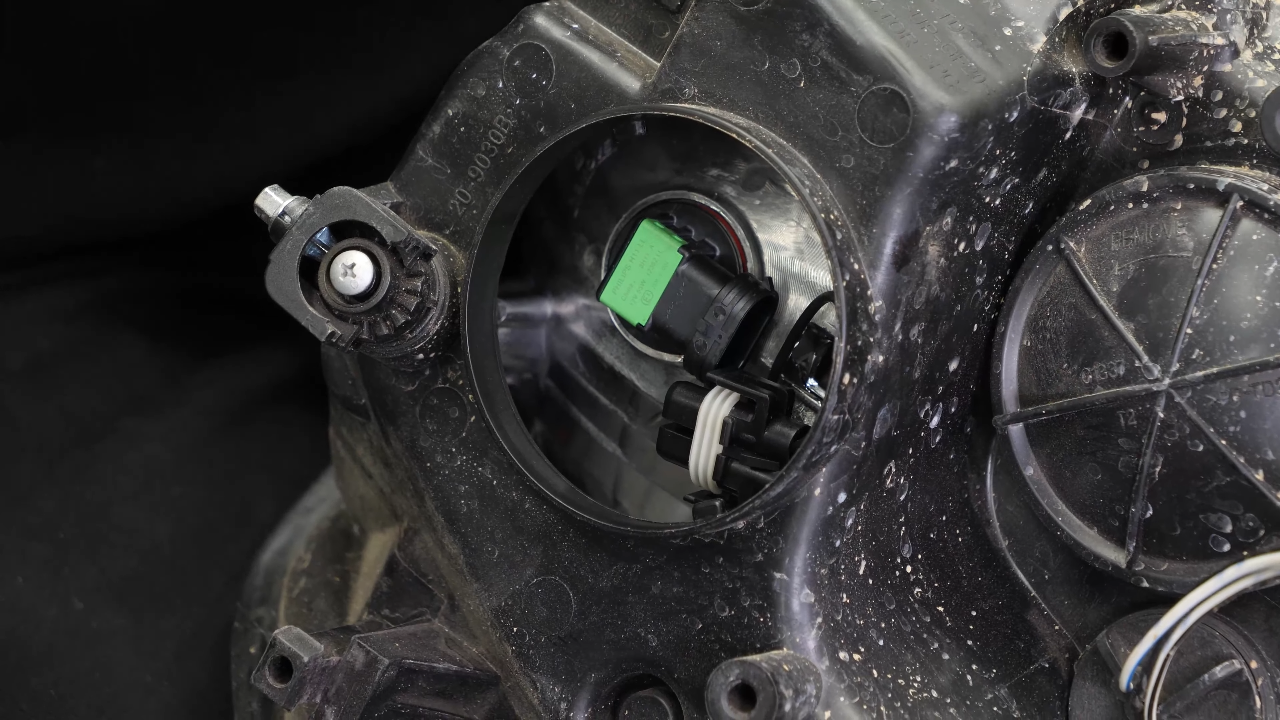
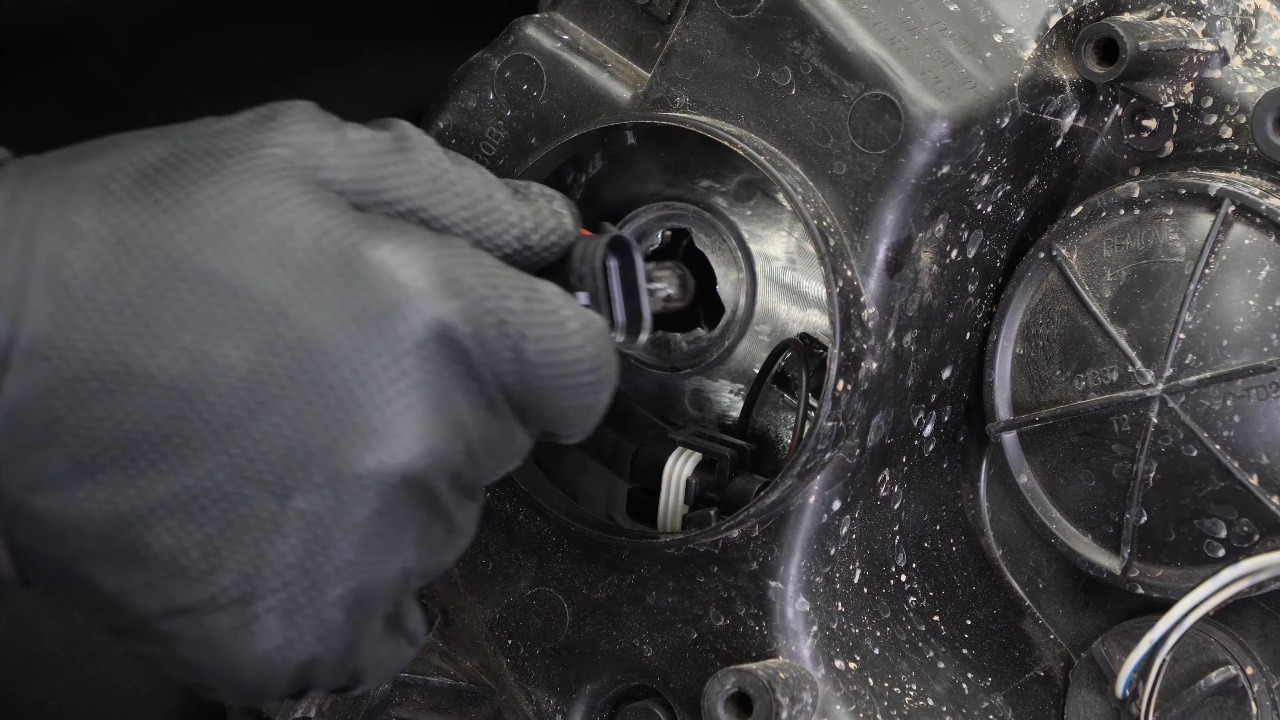
Step 2/7
Remove the electrical connector from the bulb by spreading the retaining tabs, then pull on the pod.
Chapter 5:
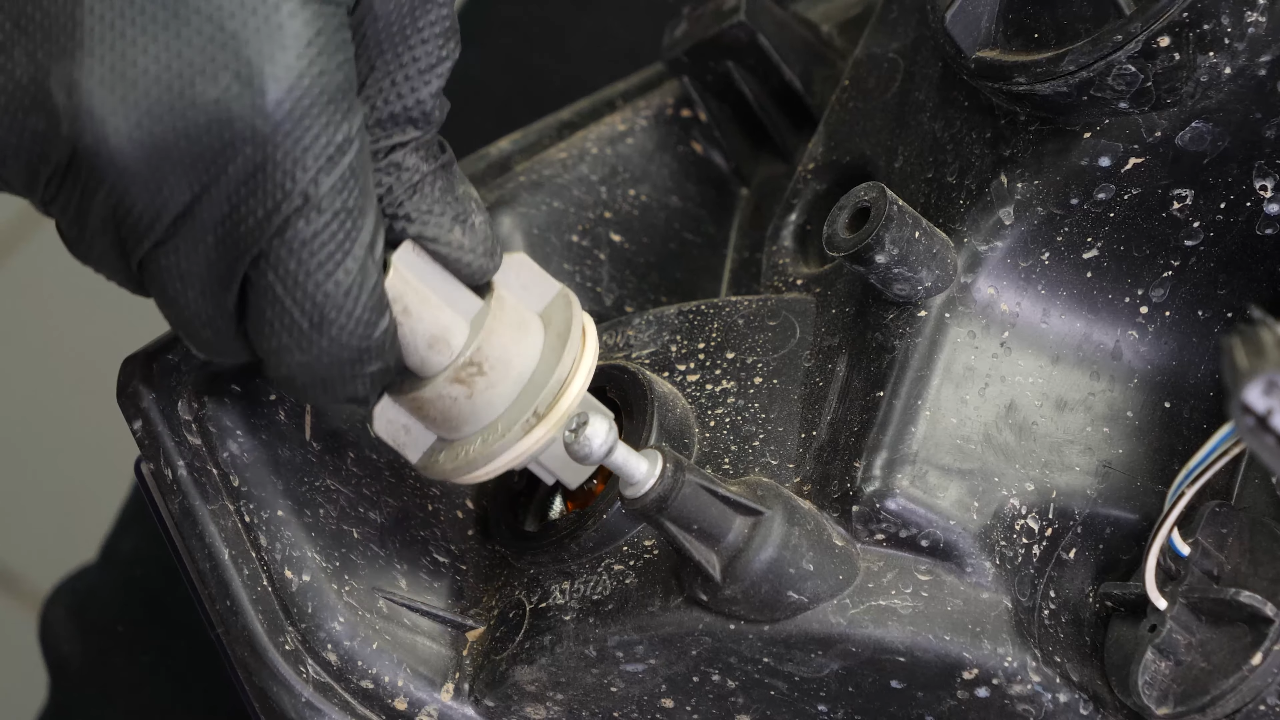
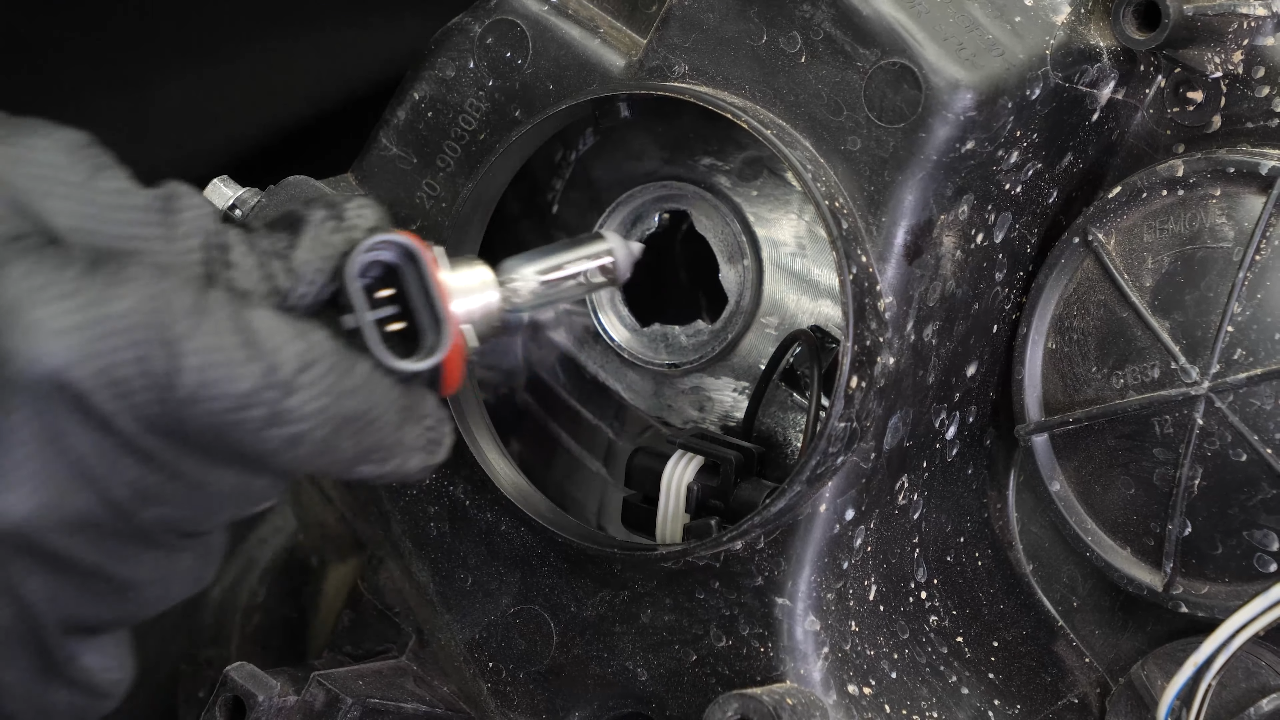
Step 3/7
To remove the light bulb socket from the headlight housing, turn it counterclockwise and pull it out.
Chapter 5:
Step 4/7
Take the new bulb.
Chapter 5:
Step 5/7
Put the bulb into the headlight housing and turn it clockwise to lock it in place.

Chapter 5:
Step 6/7
Replace the connectors.

Chapter 5:
Step 7/7
Screw the plastic cover back on.

Chapter 6:
Replace the high beam bulb
Step 1/5
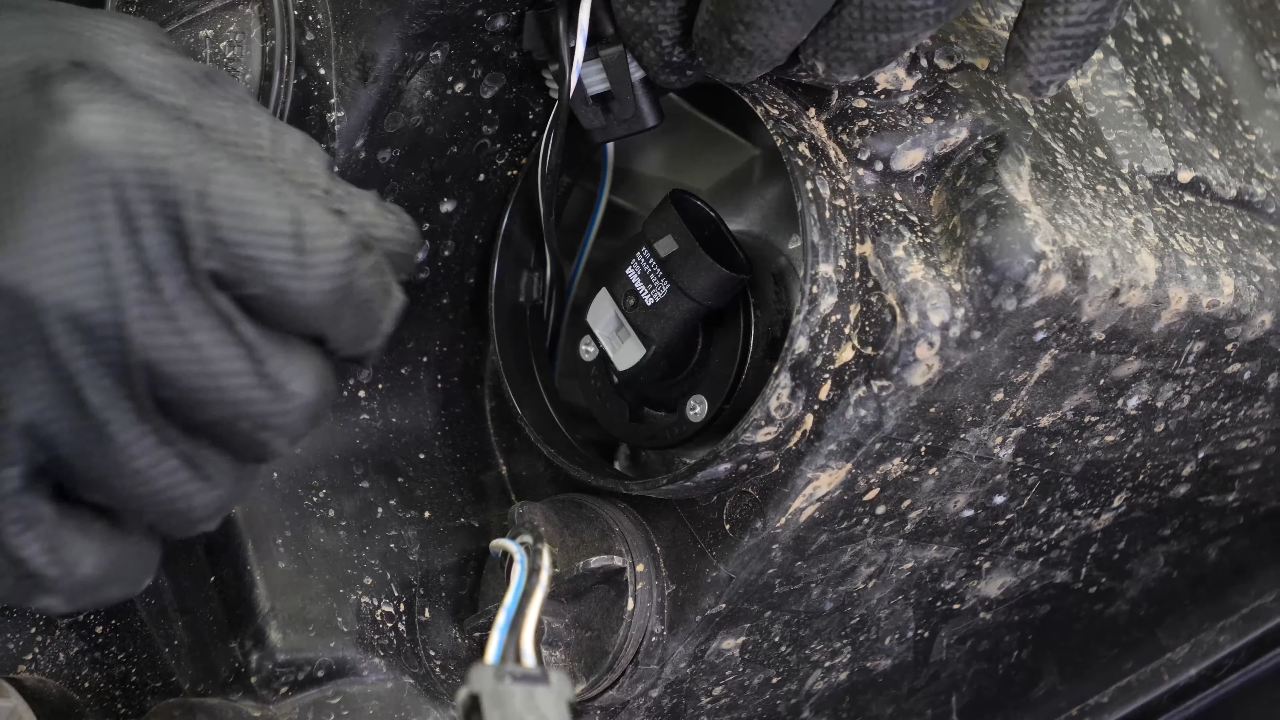
To replace the 9005 high beam bulb, unscrew the plastic cover by turning it counterclockwise.


Chapter 6:
Step 2/5
Remove the electrical connector from the bulb by lifting the retaining tab, then pull on the pod.

Chapter 6:
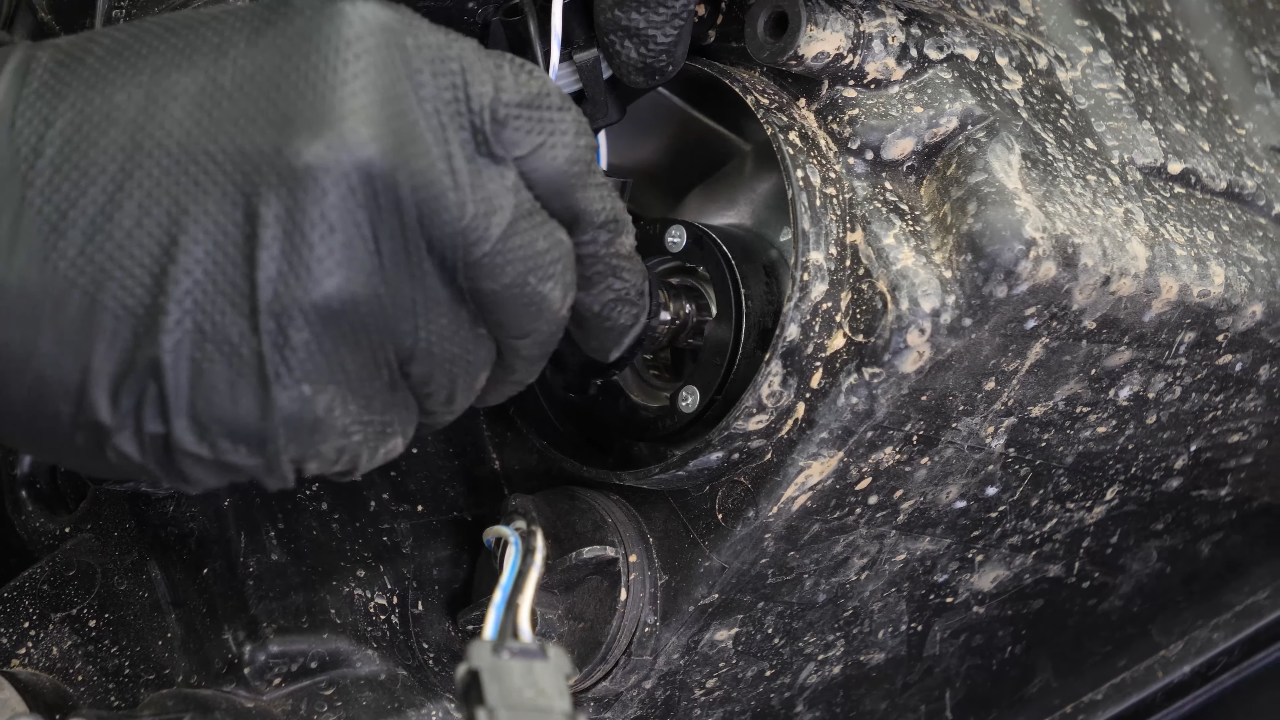
Step 3/5
To remove the light bulb socket from the headlight housing, turn it counterclockwise and pull it out.


Chapter 6:
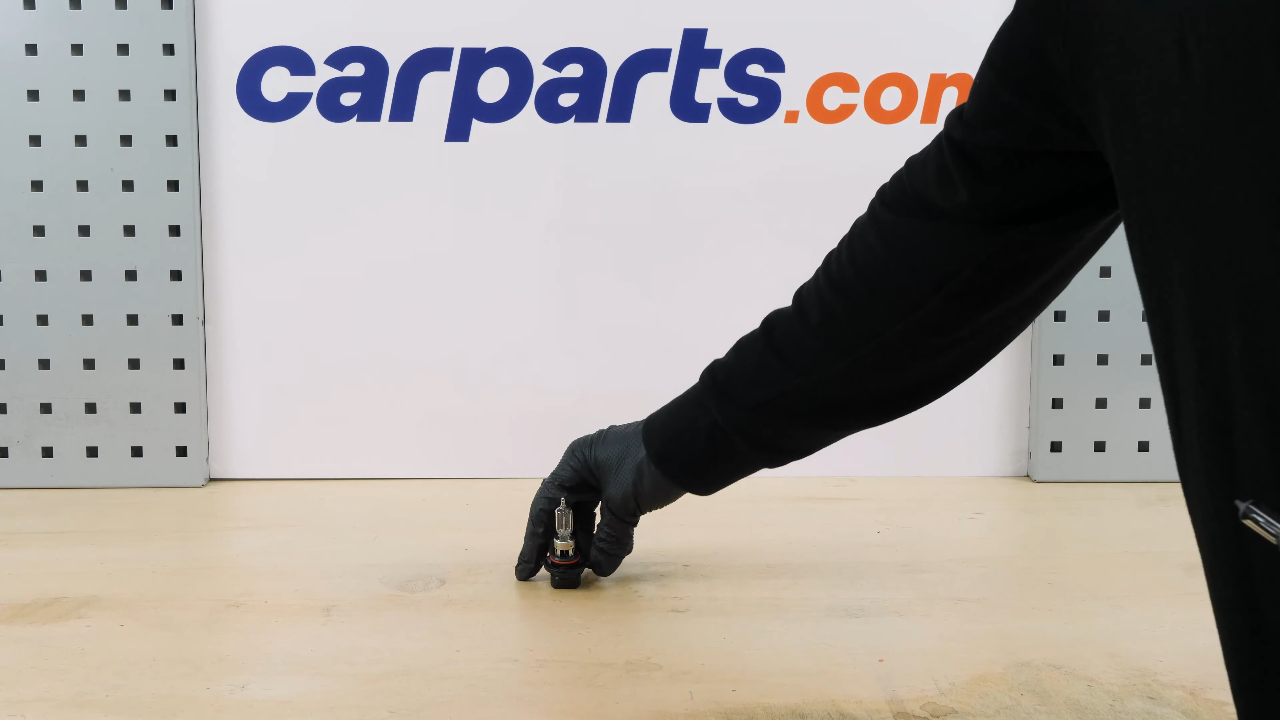
Step 4/5
Take the new bulb.
Chapter 6:
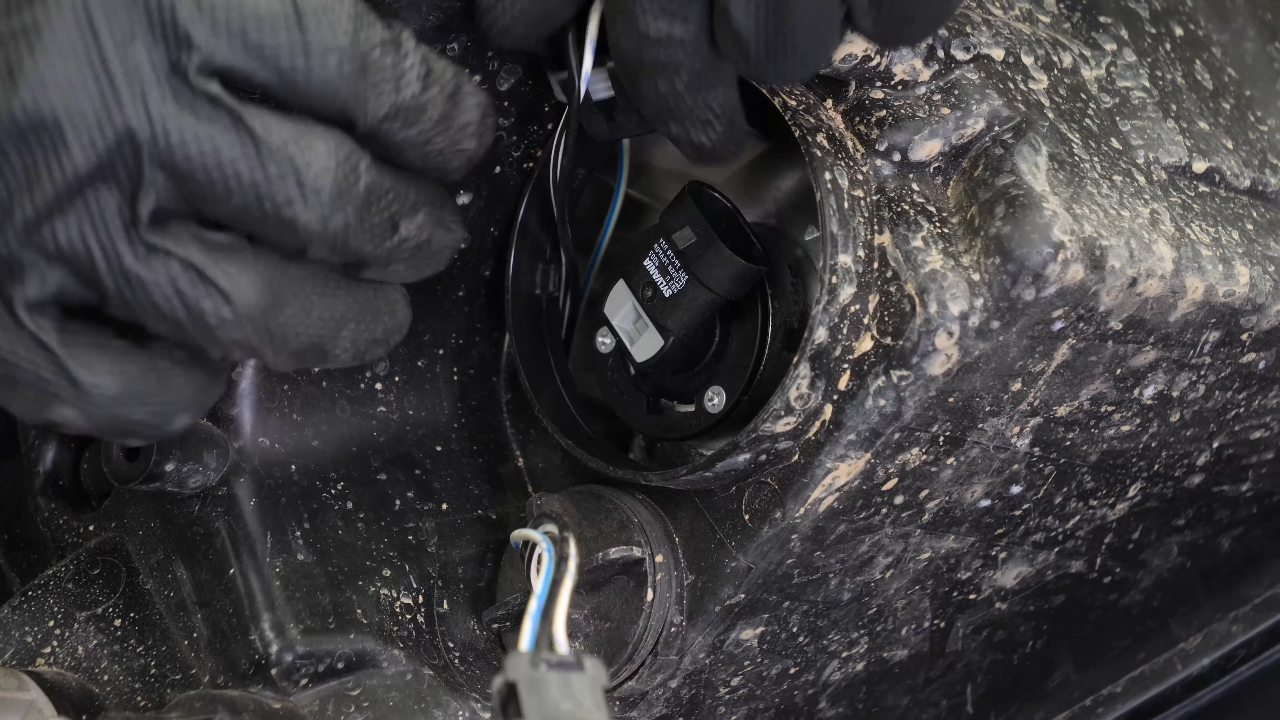
Step 5/5
Put the bulb into the headlight housing and turn it clockwise to lock it in place.
Chapter 7:
Put the headlight assembly back in
Step 1/9
Replace the connectors.

Chapter 7:
Step 2/9
Screw the plastic cover back on.
Chapter 7:
Step 3/9
Reposition the headlight assembly and reconnect the head light power connectors.

Chapter 7:
Step 4/9
Put the light back in.

Chapter 7:
Step 5/9
Tighten the two headlight retaining bolts. Then lock the headlight with the retaining tab.


Chapter 7:
Step 6/9
Close the access hatch and put the rivet back in place.

Chapter 7:
Step 7/9
Put the grille assembly back on and retighten the 4 bolts.

Chapter 7:
Step 8/9
Refit the plastic cover and then the 6 rivets.


Chapter 7:
Step 9/9
Operation complete.