
How to replace the inner and outer tie rods 2009-2018 Dodge RAM 1500
To replace the inner and outer tie rods on your RAM 1500 It’s easy. You will need to take off the wheels, loosen the holding nut, remove the outer tie rod as well as carry out a few other steps. You can follow this tutorial of 13 chapters in 75 minutes. Take your hydraulic jack and your ratchet and let’s get started!
Duration
75 minutes
Number of steps
13
Difficulty out of 5
3
Average savings
$100
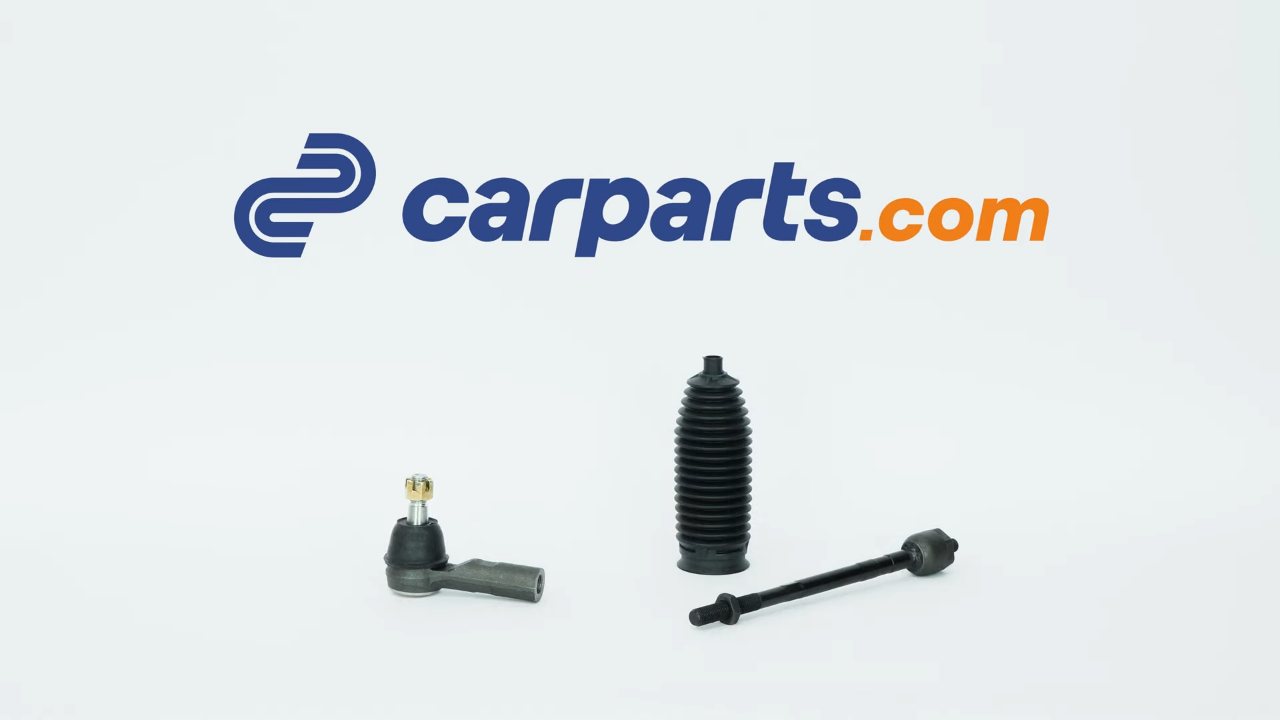
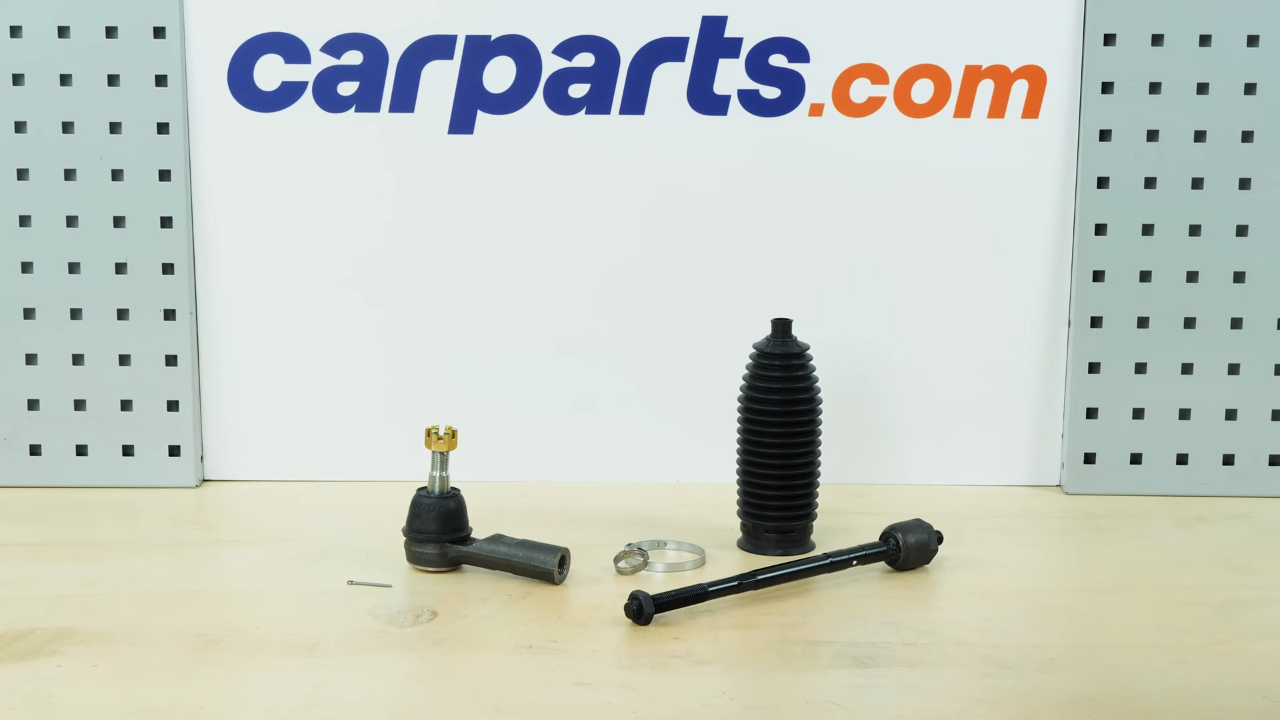
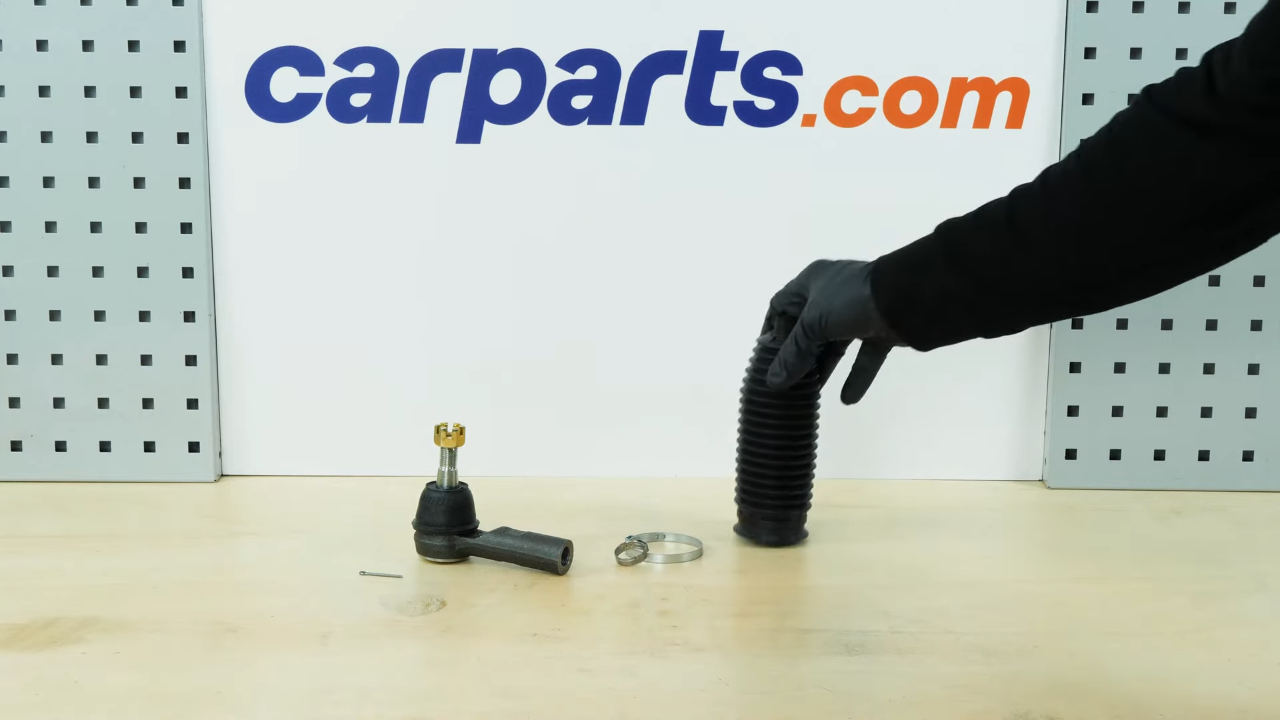
Parts You Will Need
Tools You Will Need
Step-by-Step Installation
Chapter 1:
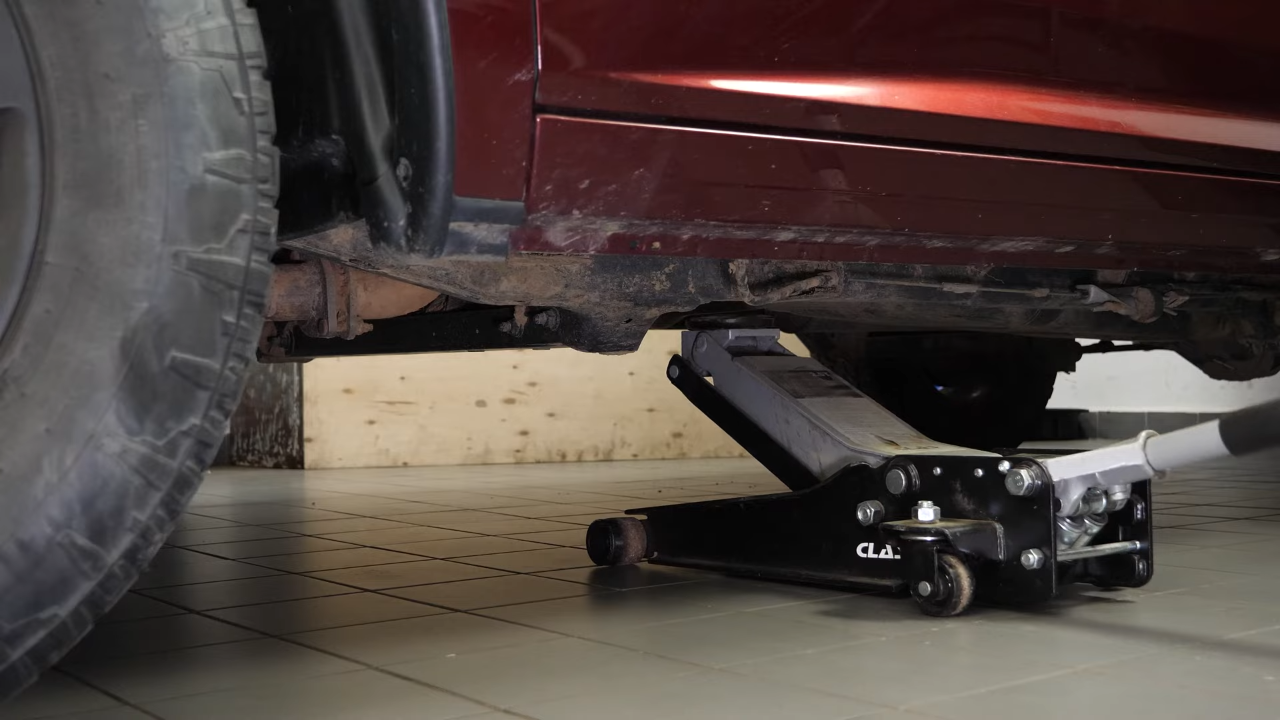
Lift the vehicle
Step 1/4
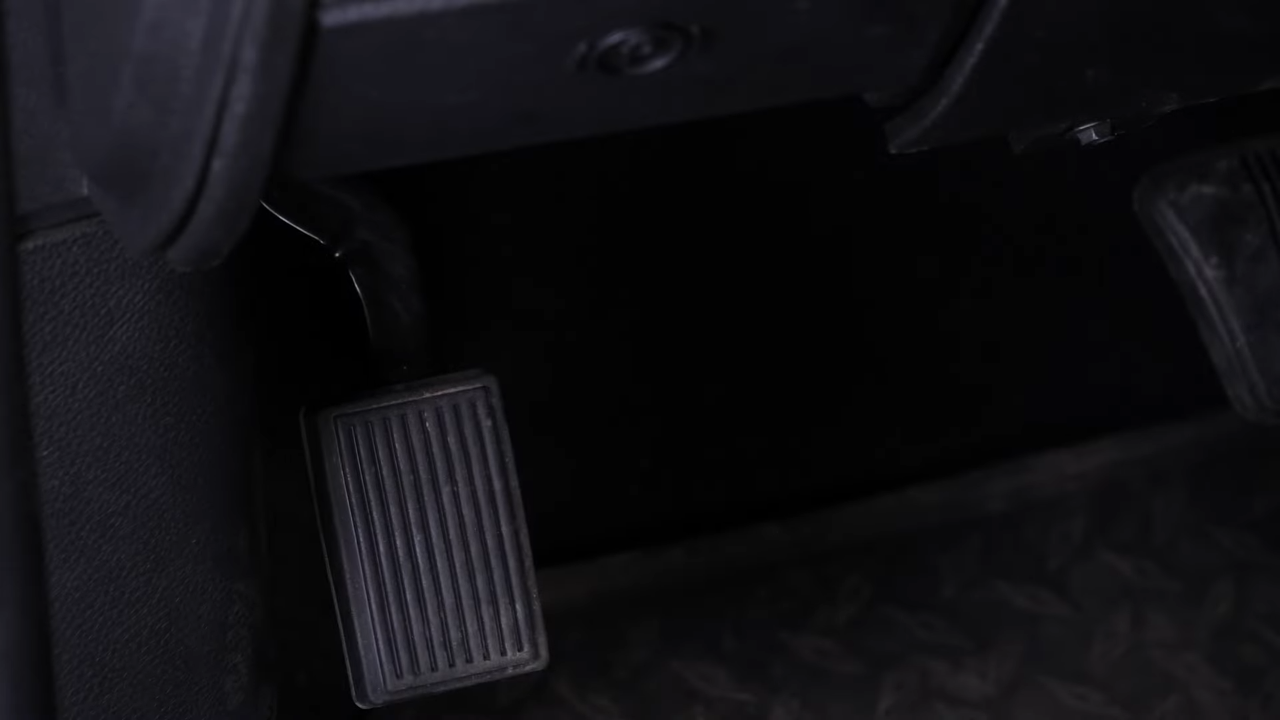
Turn your engine off and set the parking brake.

Chapter 1:
Step 2/4
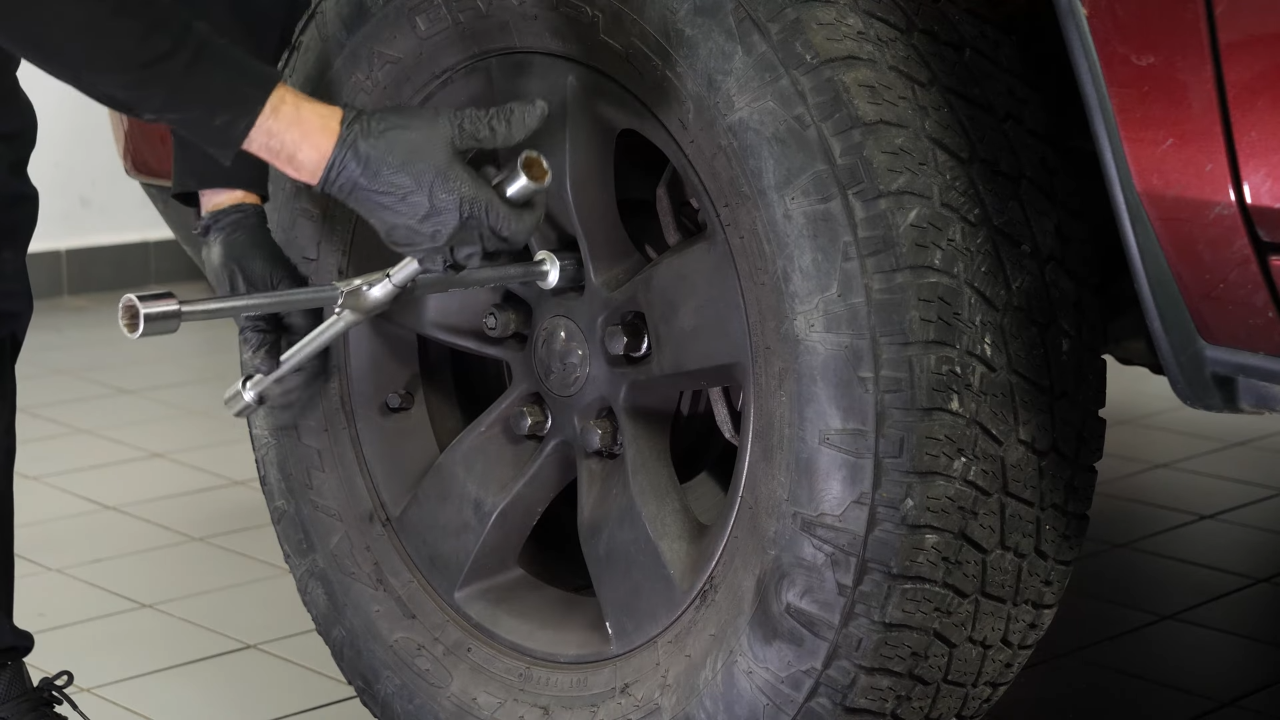
Loosen the stud bolts on the front wheels.
Chapter 1:
Step 3/4
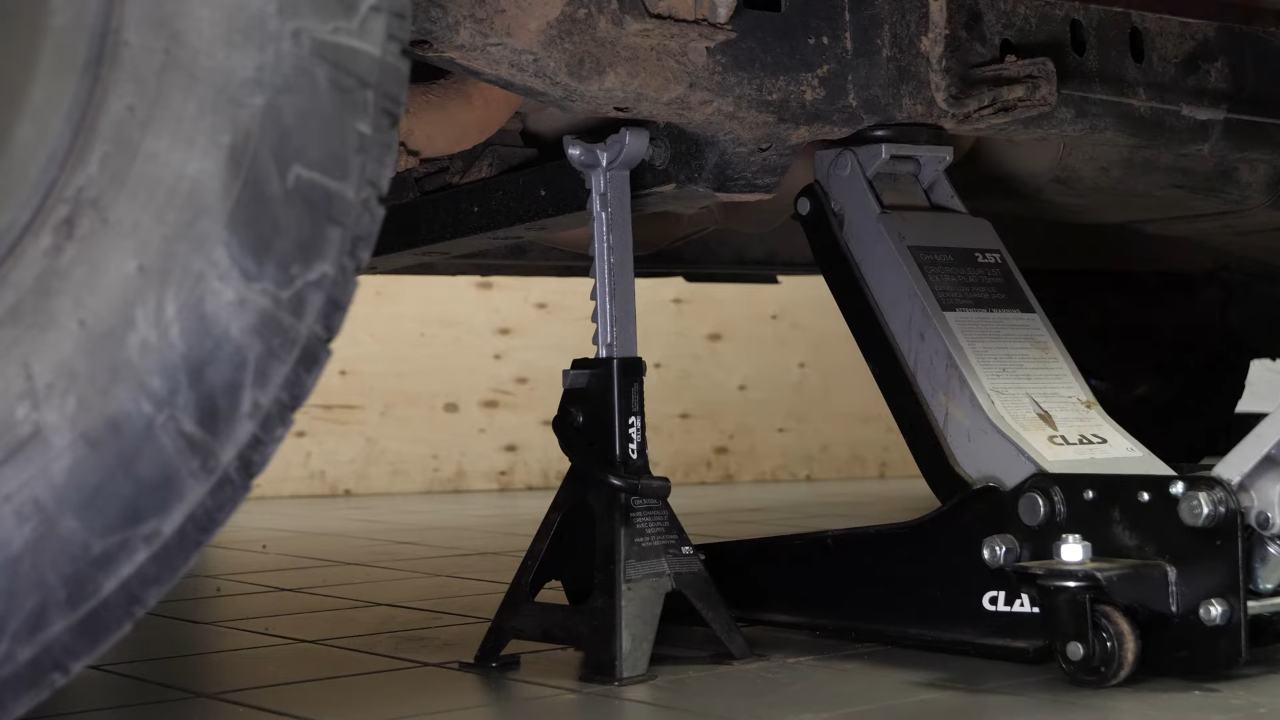
Lift the front of your vehicle.

Chapter 1:
Step 4/4
Place the vehicle on the jack stands.

Chapter 2:
Take off the wheels
Step 1/2
To be able to replace the inner and outer tie rods on your vehicle, you need to remove the wheels to gain complete access to the steering system.
Chapter 2:
Step 2/2
Don’t forget to put the wheels under the vehicle!

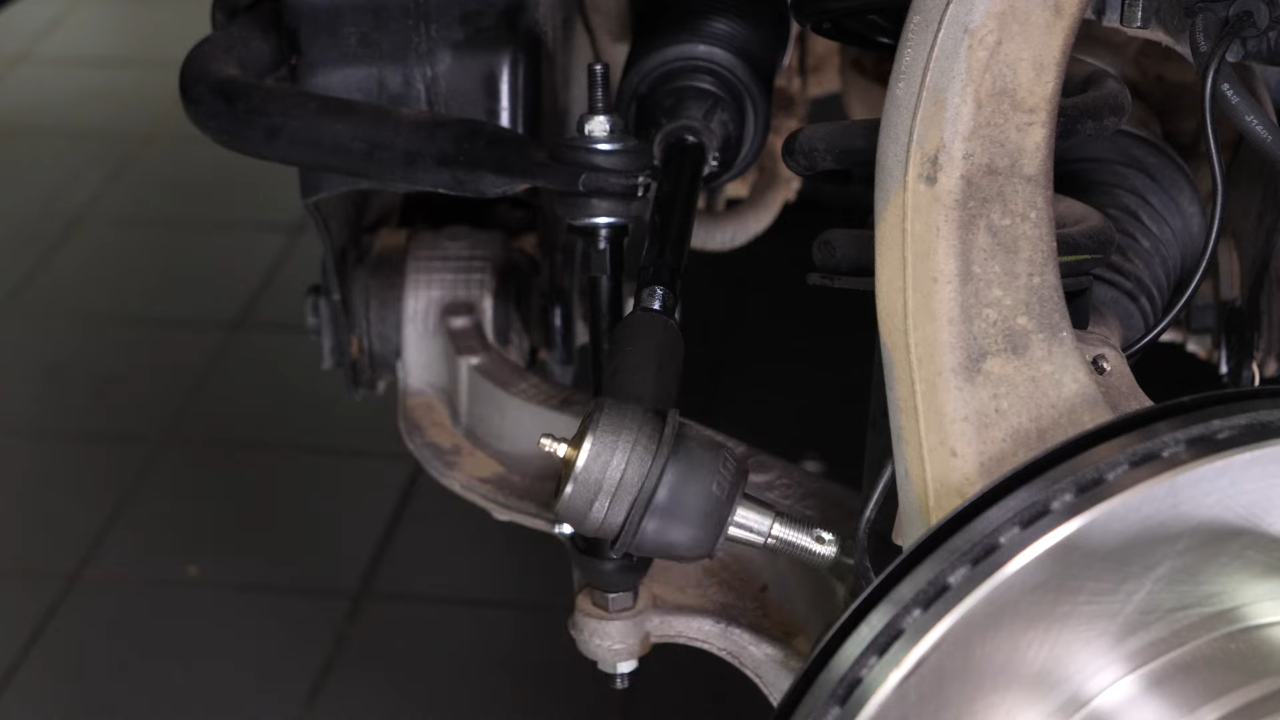
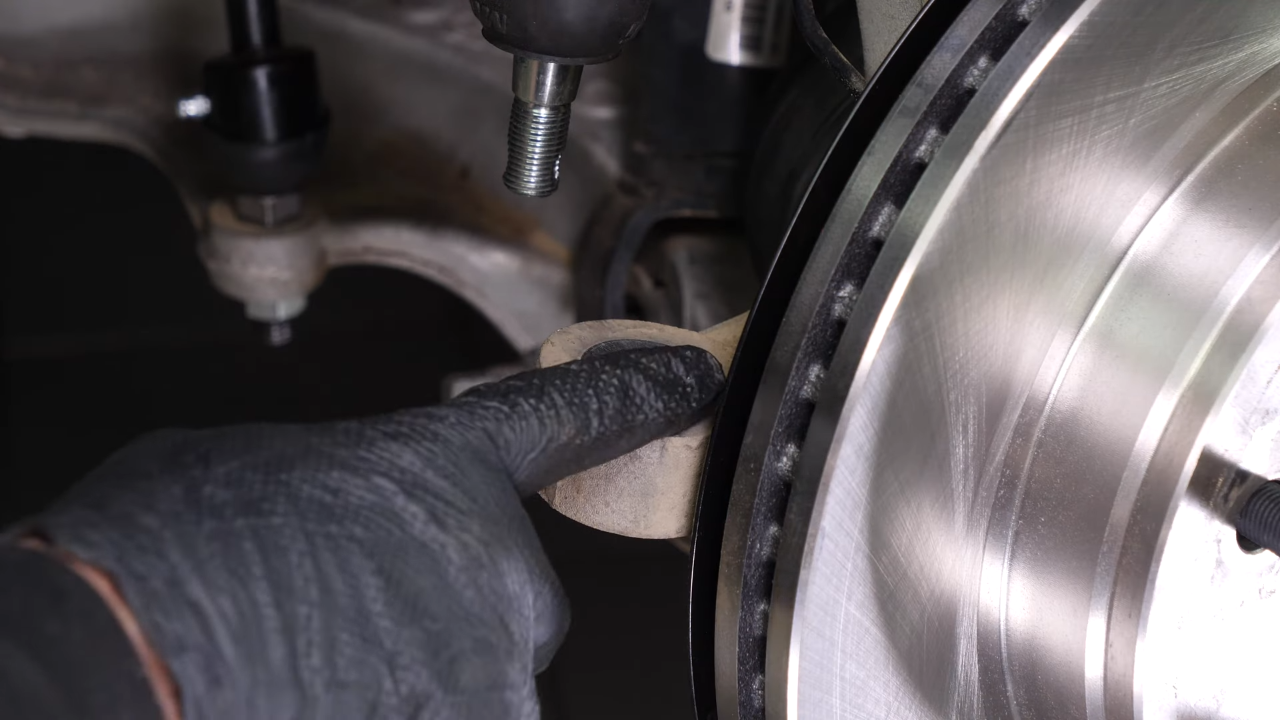
Chapter 3:
Tips
Step 1/2
Turn the disc outwards, this will facilitate the following steps.You can now see the outer tie rod.

Chapter 3:
Step 2/2
With a marker, trace a line between the inner tie rod and the outer tie rod. This will be useful later on during its assembly and disassembly.
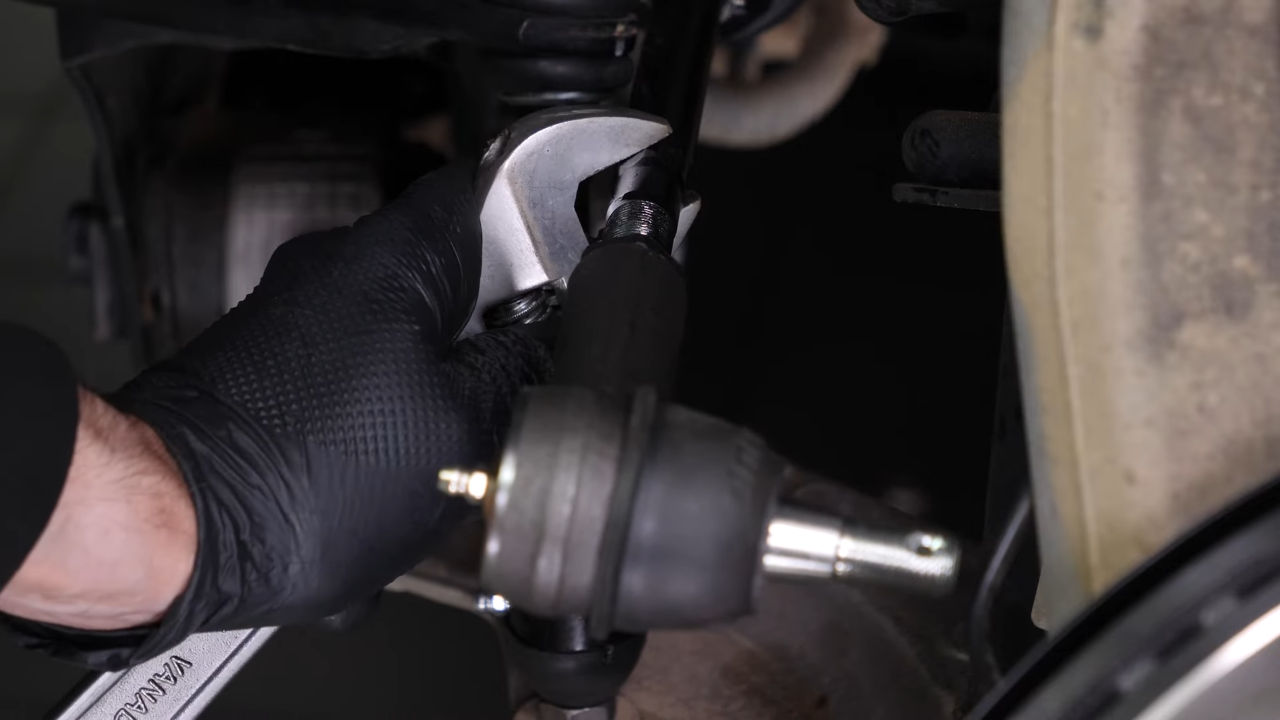
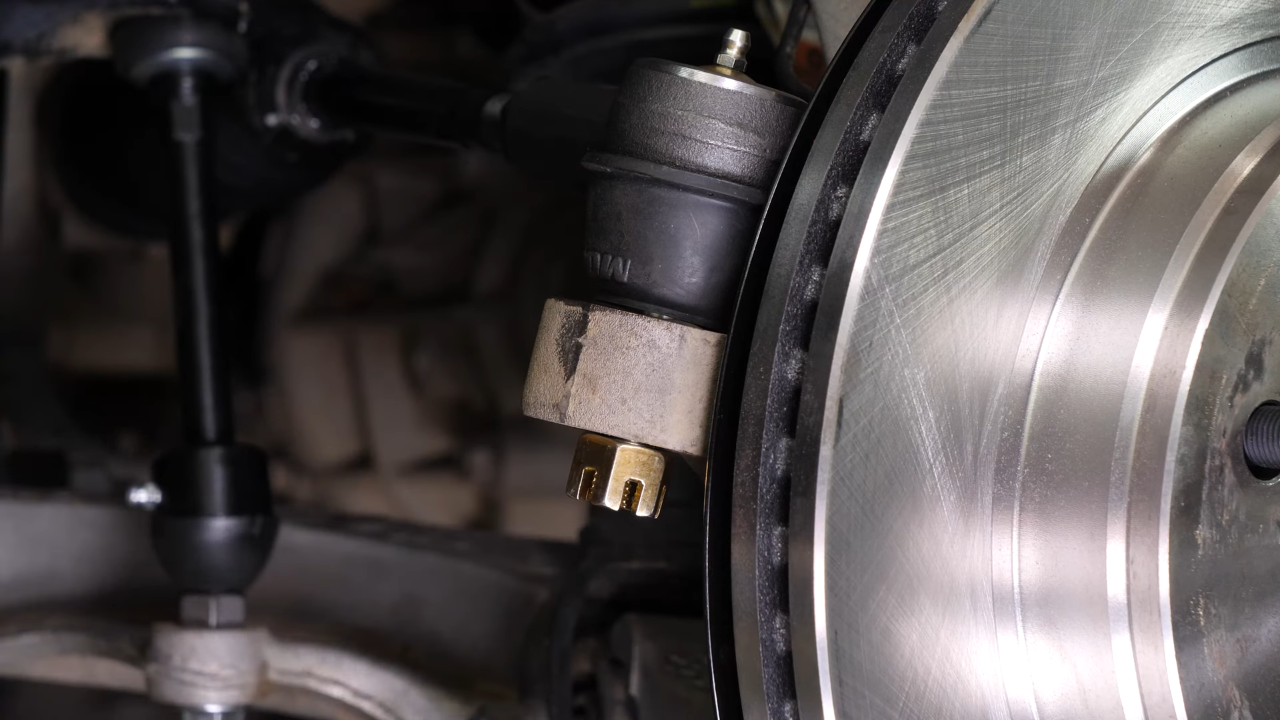
Chapter 4:
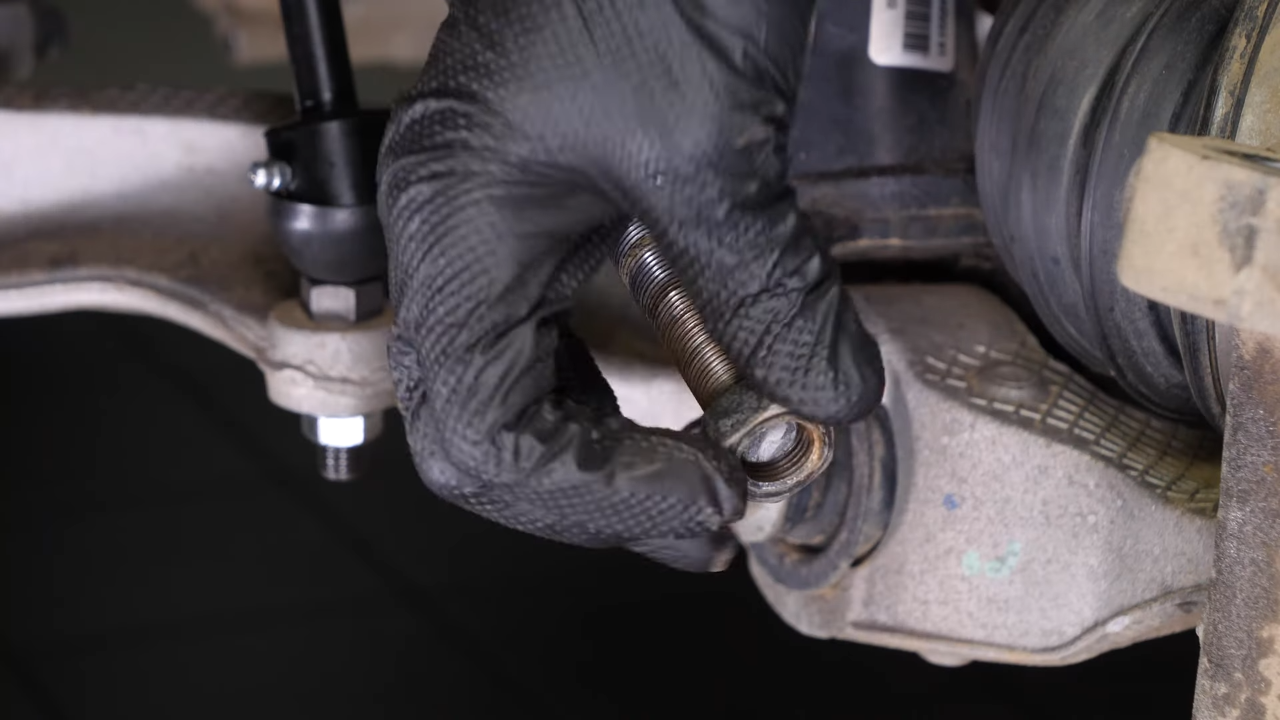
Loosen the locknut
Step 1/3
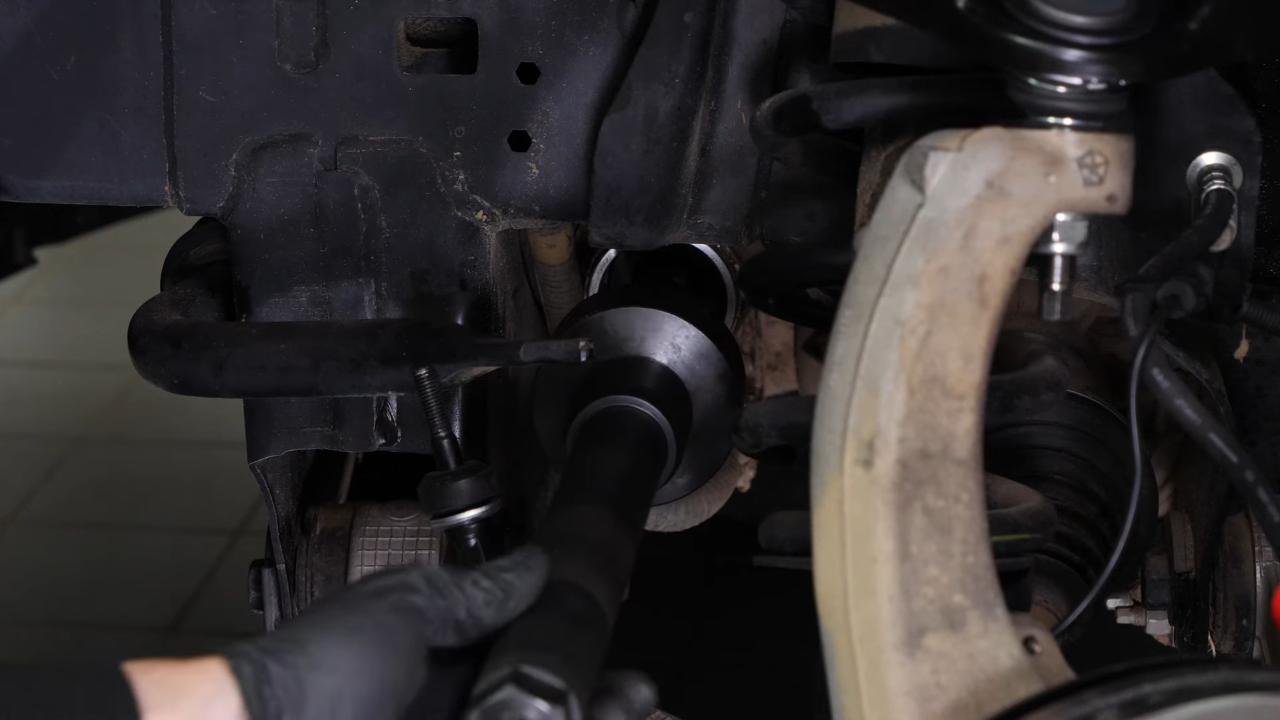
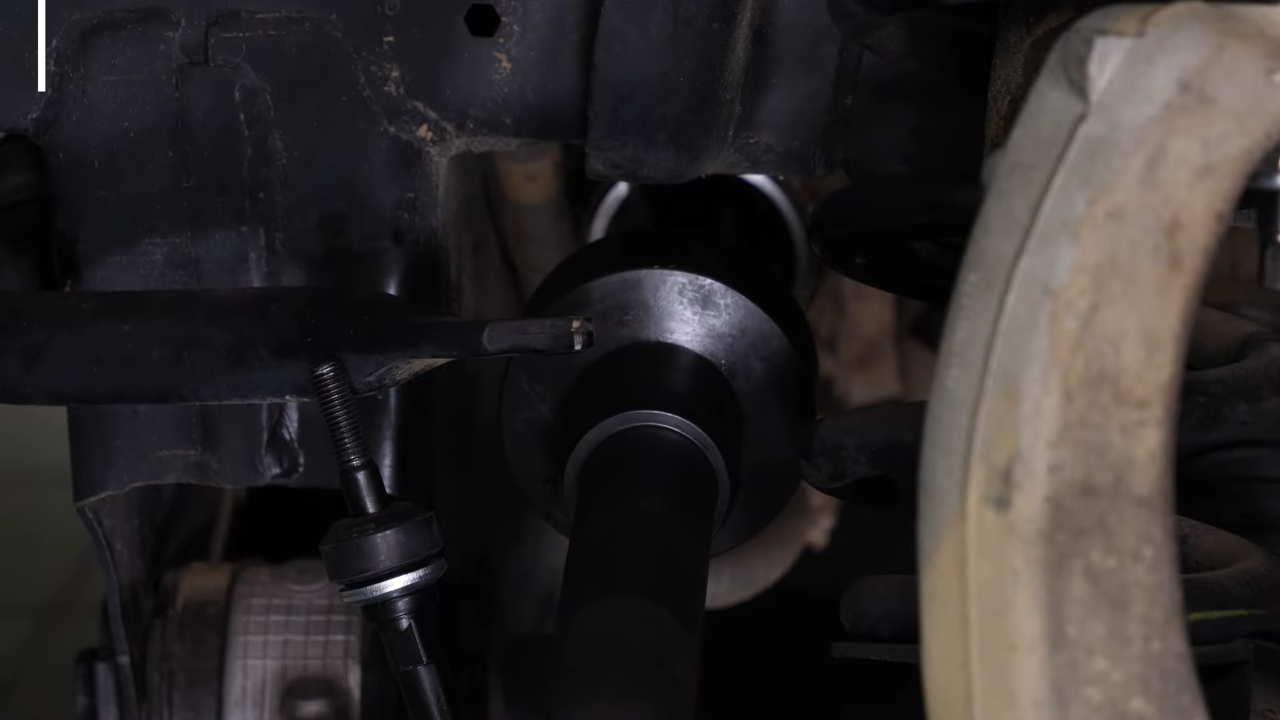
With a 24mm wrench, loosen the locknut on the outer tie rod. Hold the inner tie rod with a 23mm wrench to prevent it from turning.
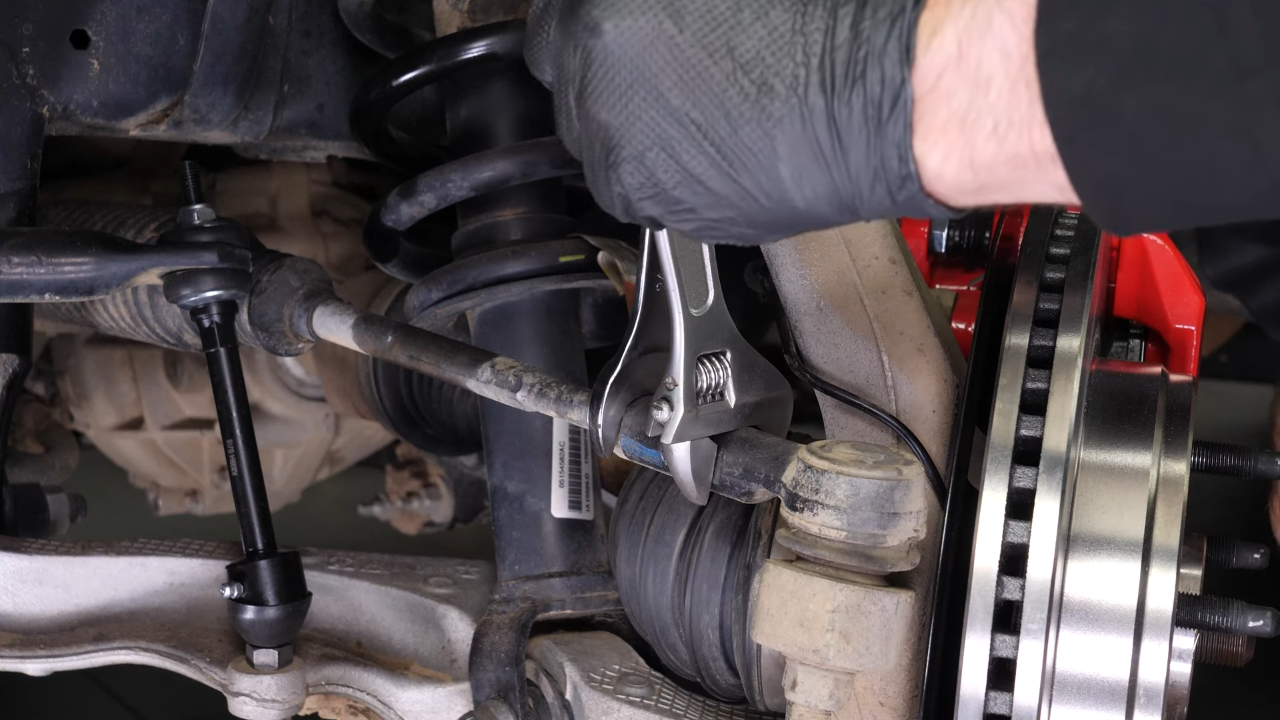
Chapter 4:
Step 2/3
The locknut is there to prevent any rotation of the two parts towards each other which could have an impact on the wheel alignment of your vehicle.
Chapter 4:
Step 3/3
The components to be removed are very often seized up, so don’t hesitate to brush and to use penetrating oil to make removal easier.


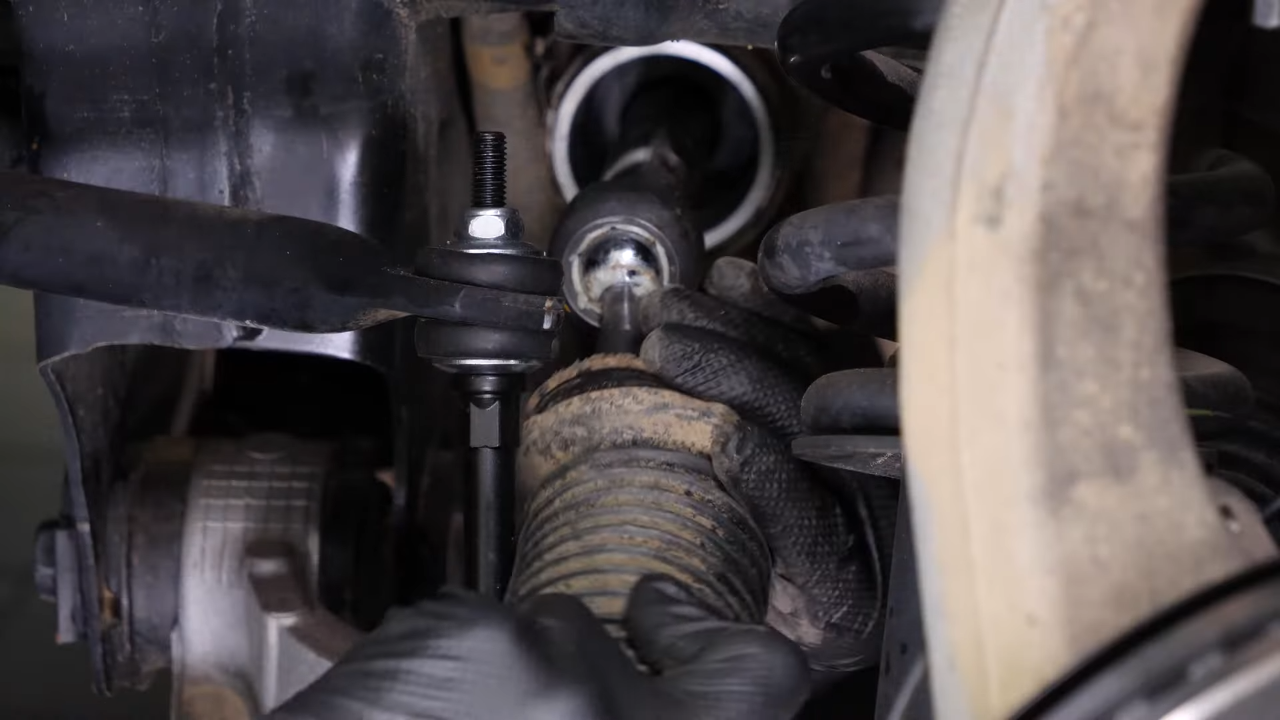
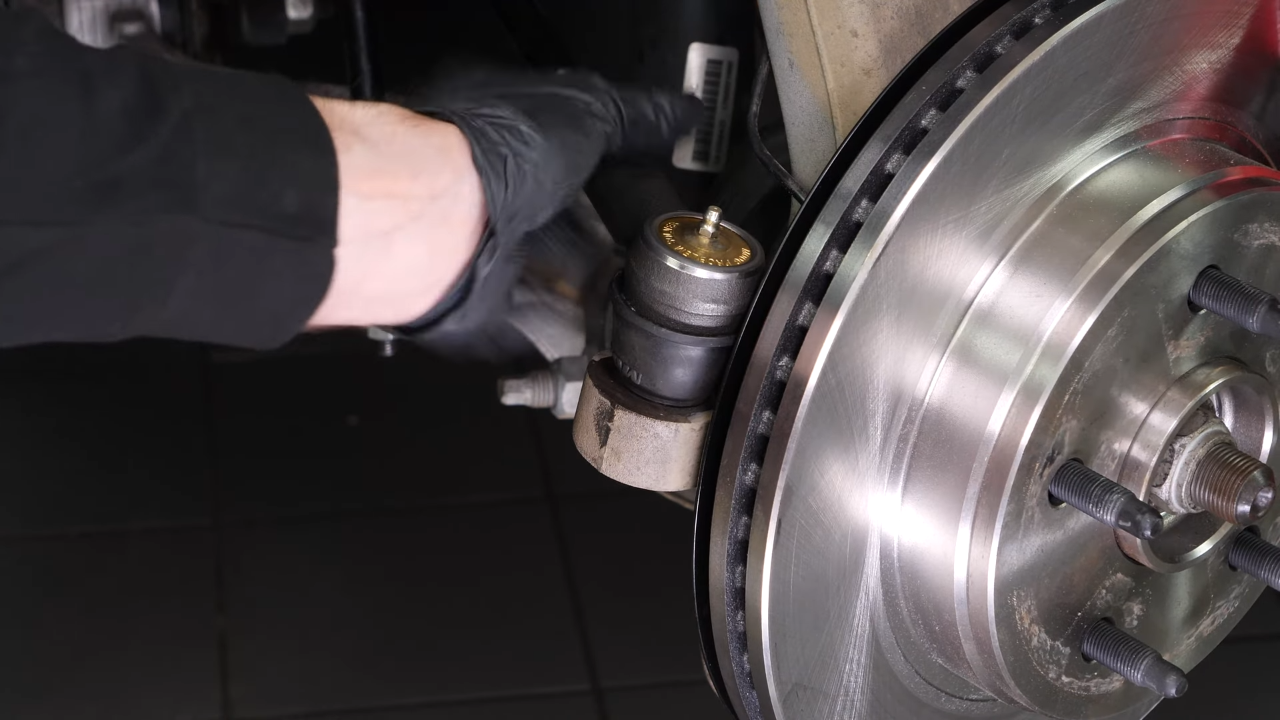
Chapter 5:
Remove the outer tie rod
Step 1/5
Using a socket wrench and a 21mm socket, unscrew the outer tie rod holding nut.
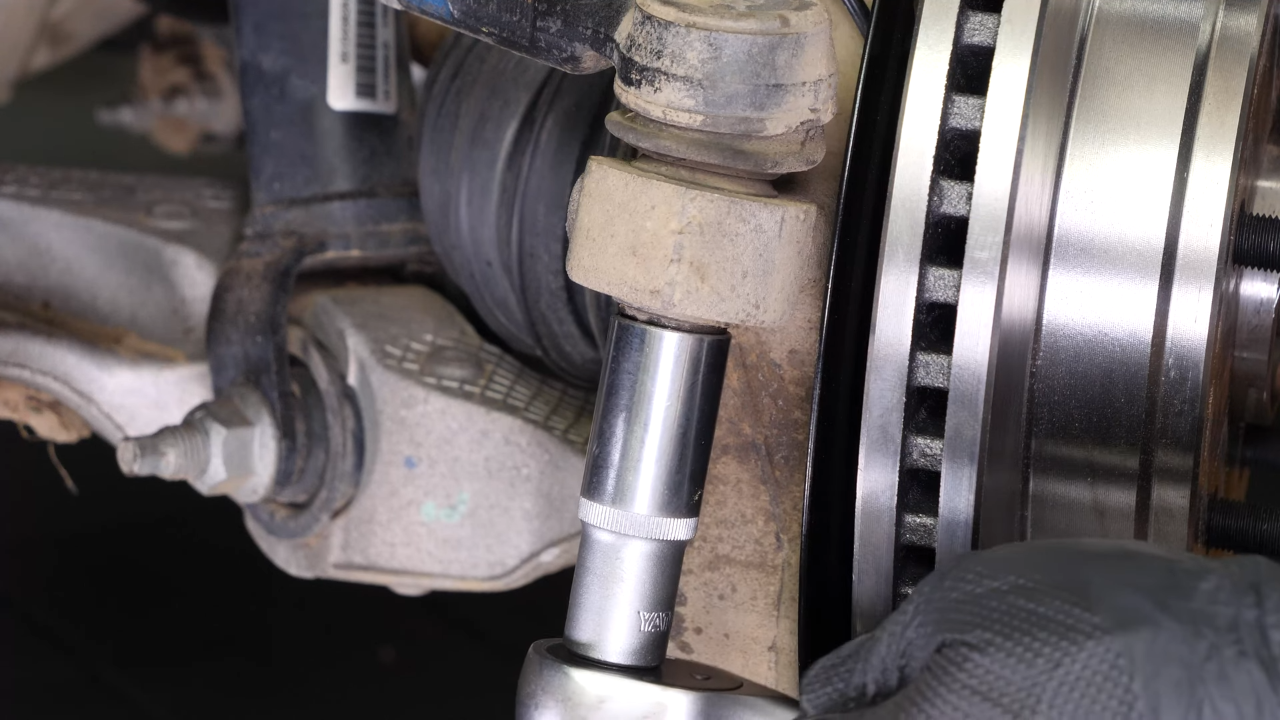
Chapter 5:
Step 2/5
If the ball joint turns, use a ratchet and a 13/32” socket to block rotation of the ball joint.

Chapter 5:
Step 3/5
If you do not have a ball joint puller, a tool specifically designed for this task, take a hammer and hit the knuckle.

Chapter 5:
Step 4/5
The ball joint should come out of the knuckle.

Chapter 5:
Step 5/5
Unscrew the outer tie rod and remove it.

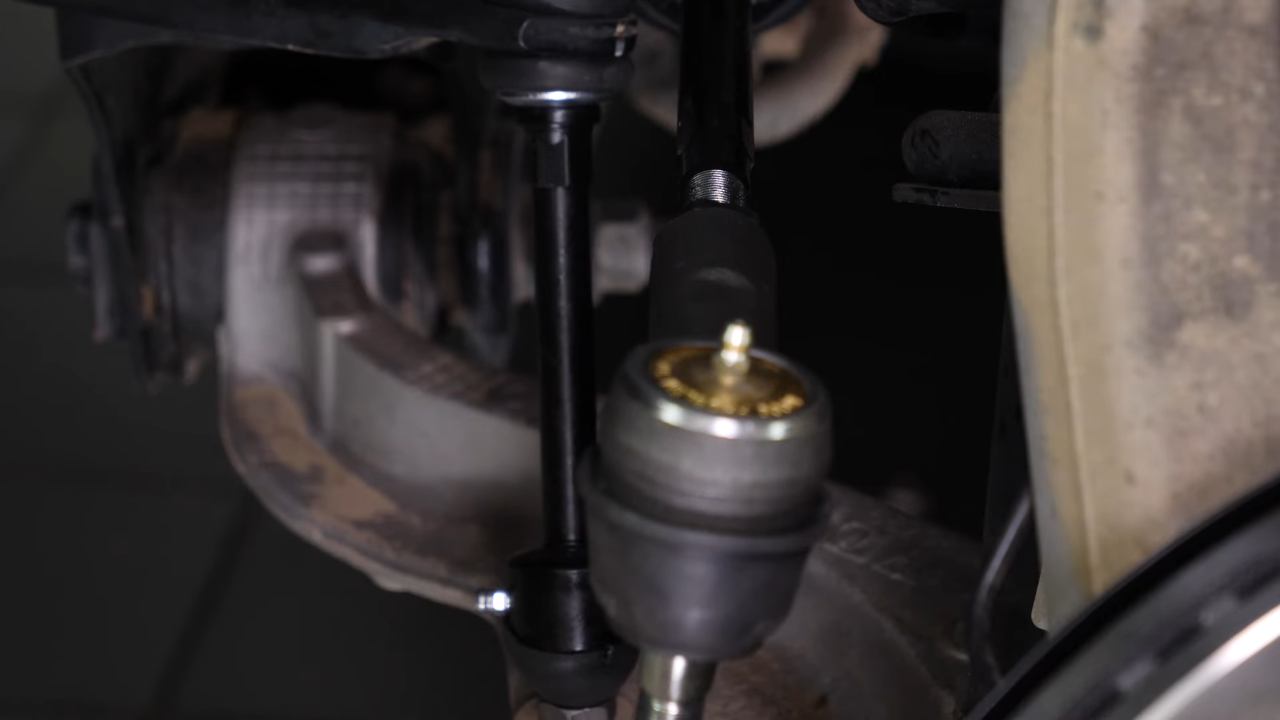
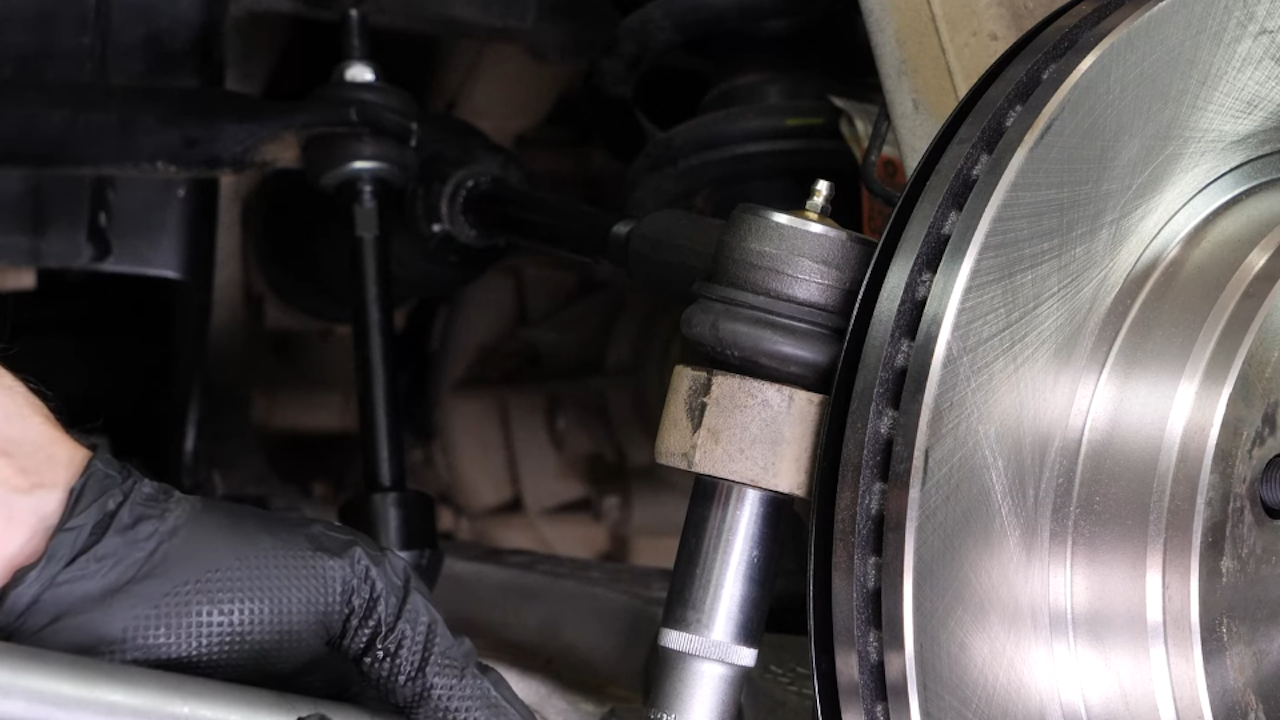
Chapter 6:
Measure
Step 1/3
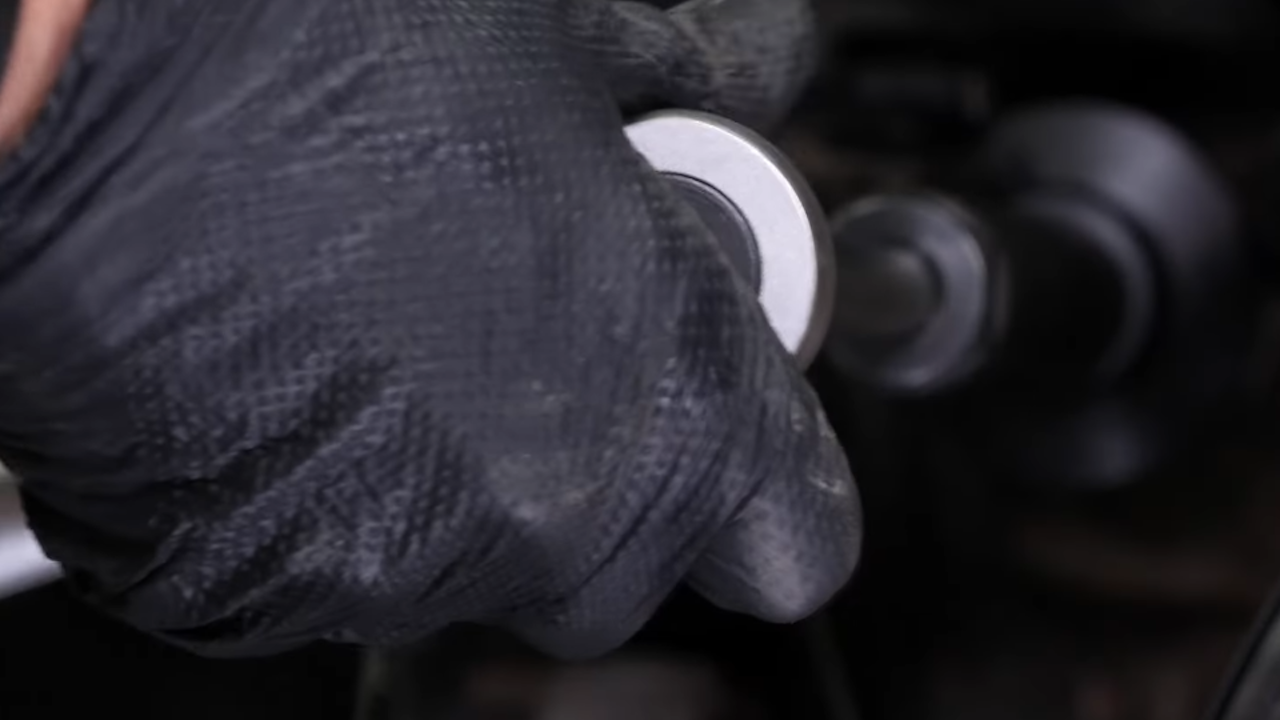
Use the markings made with the marker to return the locknut to its original position. Then, measure the distance between the locknut and the end of the inner tie rod using a caliper.

Chapter 6:
Step 2/3
In any case, a wheel alignment check will have to be carried out by a professional soon after having performed this operation.
Chapter 6:
Step 3/3
Remove the locknut from the inner tie rod.

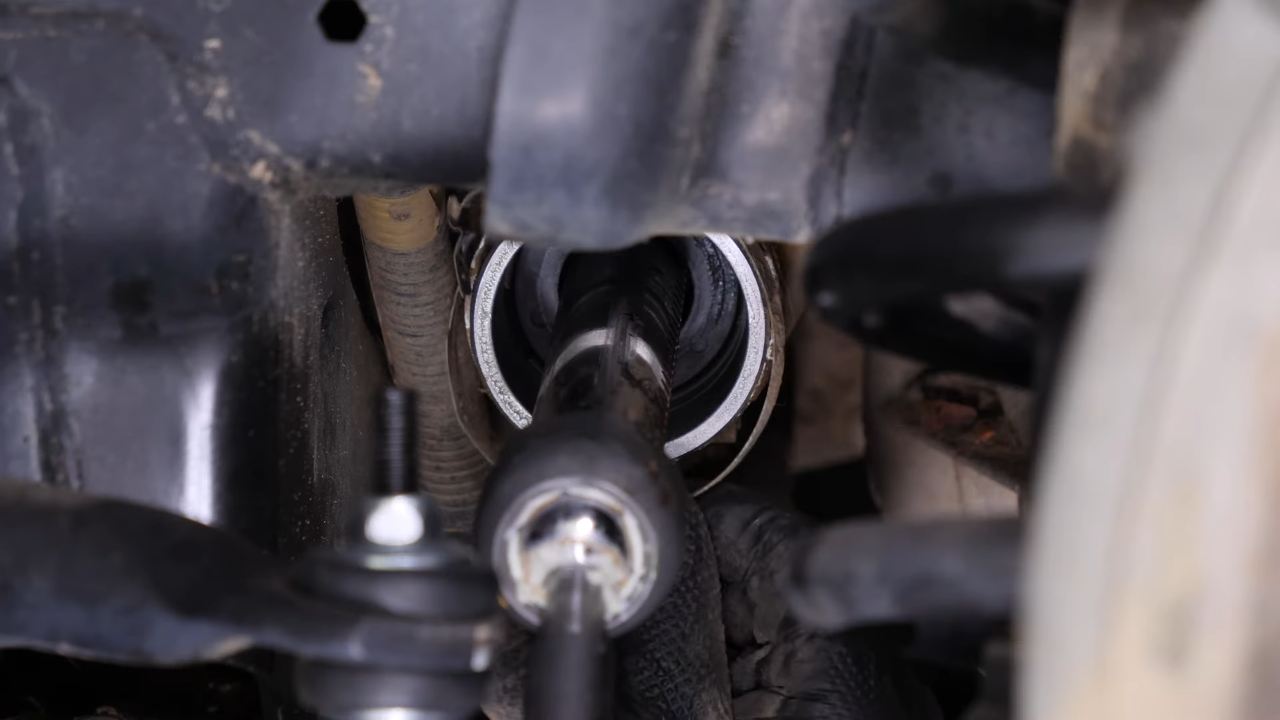
Chapter 7:
Remove the sleeve
Step 1/4
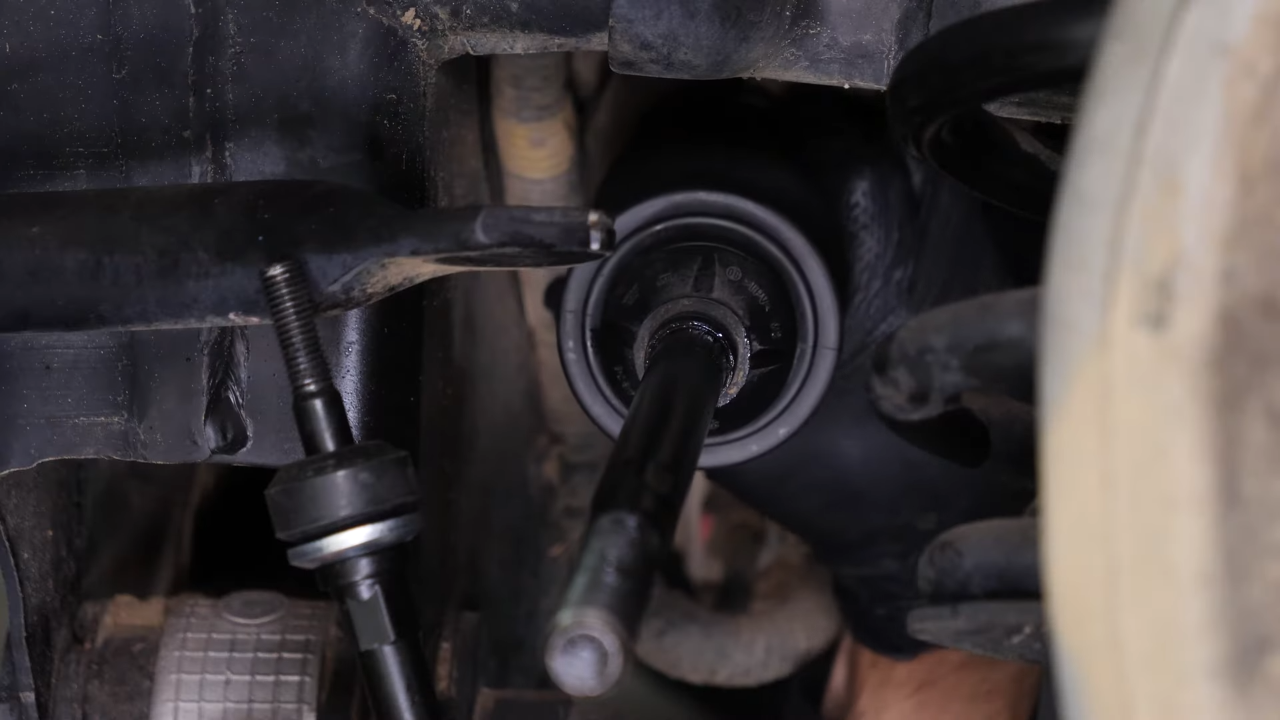
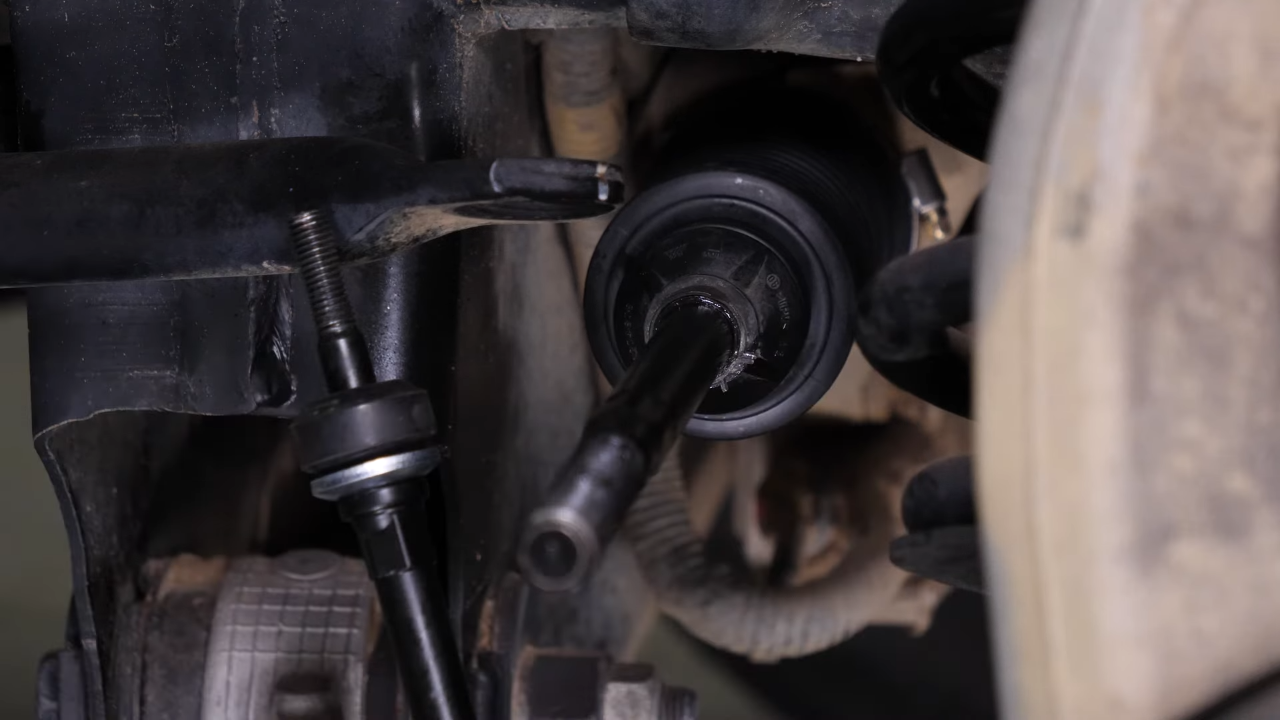
With pliers, remove the external metallic clip on the protective sleeve of the inner tie rod.


Chapter 7:
Step 2/4
Using a flathead screwdriver, remove the waterproof clip on the sleeve.

Chapter 7:
Step 3/4
Remove the sleeve.
Chapter 7:
Step 4/4
Remove the waterproof clip on the sleeve.
Chapter 8:
Remove the inner tied rod
Step 1/3
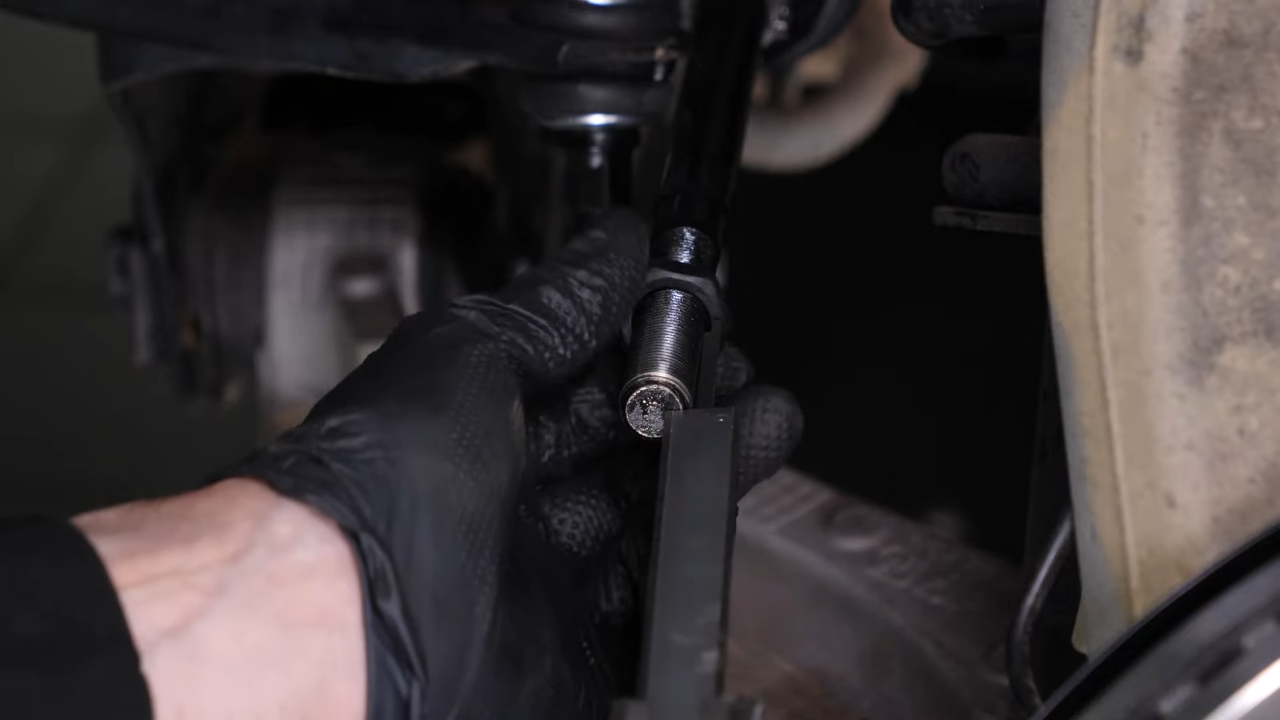
Using a tie rod removal wrench, a specific tool for carrying out this job, you can now loosen everything without difficulty.

Chapter 8:
Step 2/3
To do this, insert the tool up to the fixed part of the inner tie rod, then with the help of a breaker bar, unscrew the inner tie rod.
Chapter 8:
Step 3/3
If the inner tie rod is dented, you can loosen it using an adjustable wrench.

Chapter 9:
Prepare the inner tied rod
Step 1/1
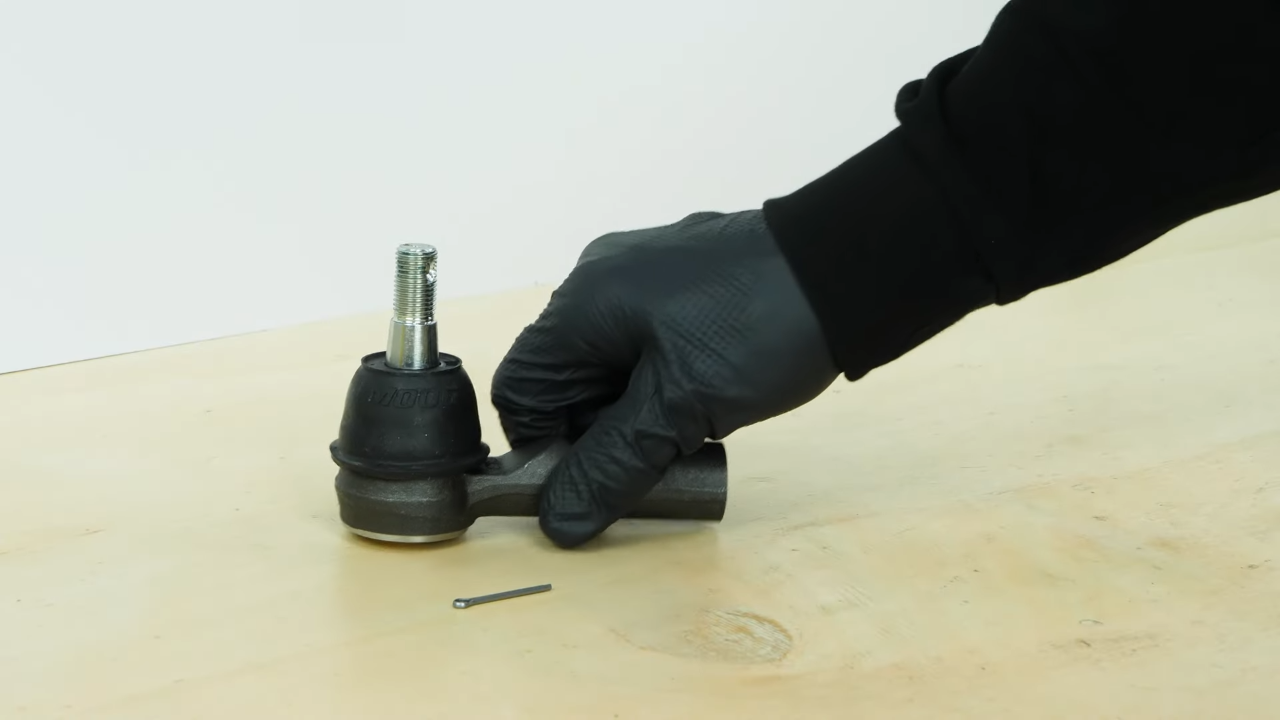
Take the new inner tie rod and unscrew the locknut supplied with it.

Chapter 10:
Install the new inner tie rod
Step 1/2
Put the tie rod axle joint back on the steering rack. Still using the same tool or using an adjustable wrench, screw the inner tie rod back in.
Chapter 10:
Step 2/2
Finish tightening using a torque wrench. Then remove the tool.
Chapter 11:
Install the protective sleeve
Step 1/6
Now take the new sleeve provided in the kit.
Chapter 11:
Step 2/6
Then apply silicone grease to the part of the sleeve that will be in contact with the steering rack, and the part in contact with the inner tie rod.


Chapter 11:
Step 3/6
Put the sleeve onto the inner tie rod.
Chapter 11:
Step 4/6
Place the sleeve on the shock stearing rack.

Chapter 11:
Step 5/6
Now take the new clamps provided in the kit. Then position the inner collar correctly. Then screw it back in using a ratchet and a 7mm socket.

Chapter 11:
Step 6/6
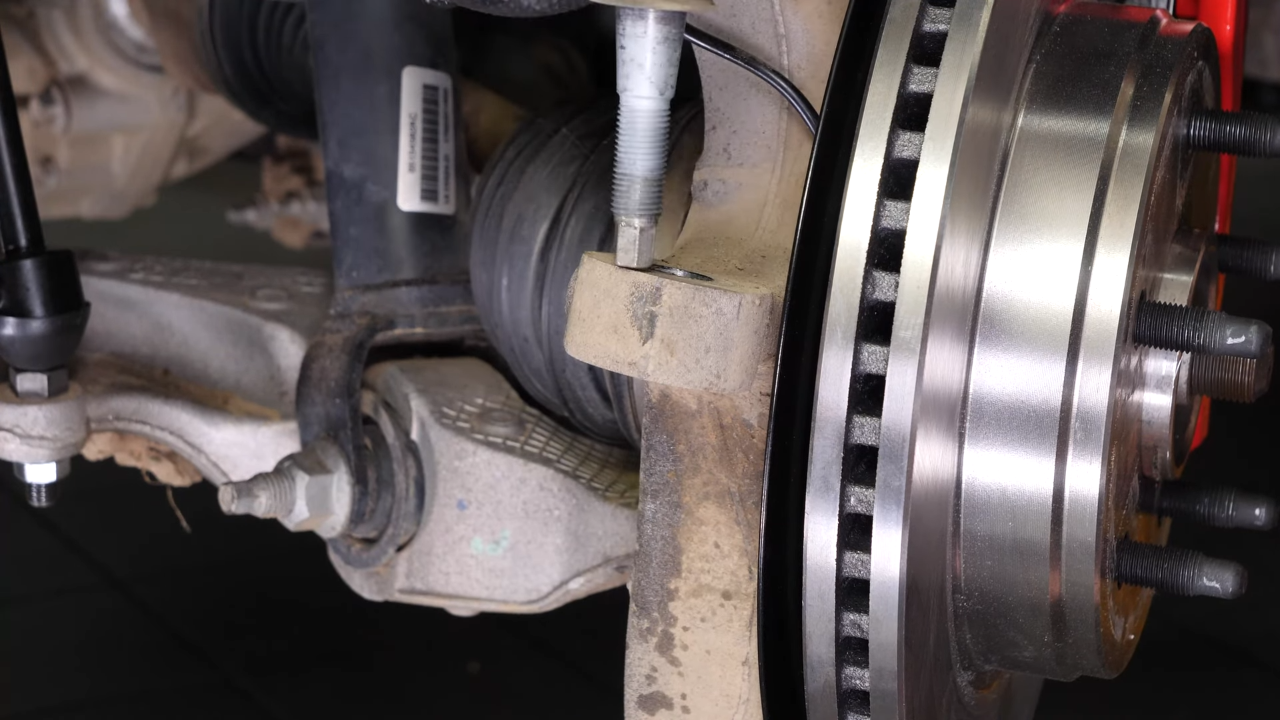
Replace the outer collar. Screw the locknut back on until the distance measured with the caliper is reached.
Chapter 12:
Install the new outer tie rod
Step 1/7
Take the new outer tie rod and unscrew the locknut supplied with it.

Chapter 12:
Step 2/7
Put the outer tie rod back in place until it touches the locknut.
Chapter 12:
Step 3/7
During this operation, you will work on the steering system of your vehicle. A professional alignment check should be performed to ensure that your steering system is once again perfectly adjusted and functioning.
Chapter 12:
Step 4/7
Use an adjustable wrench to rotate the inner tie rod in order to place the outer tie rod in the correct position.
Chapter 12:
Step 5/7
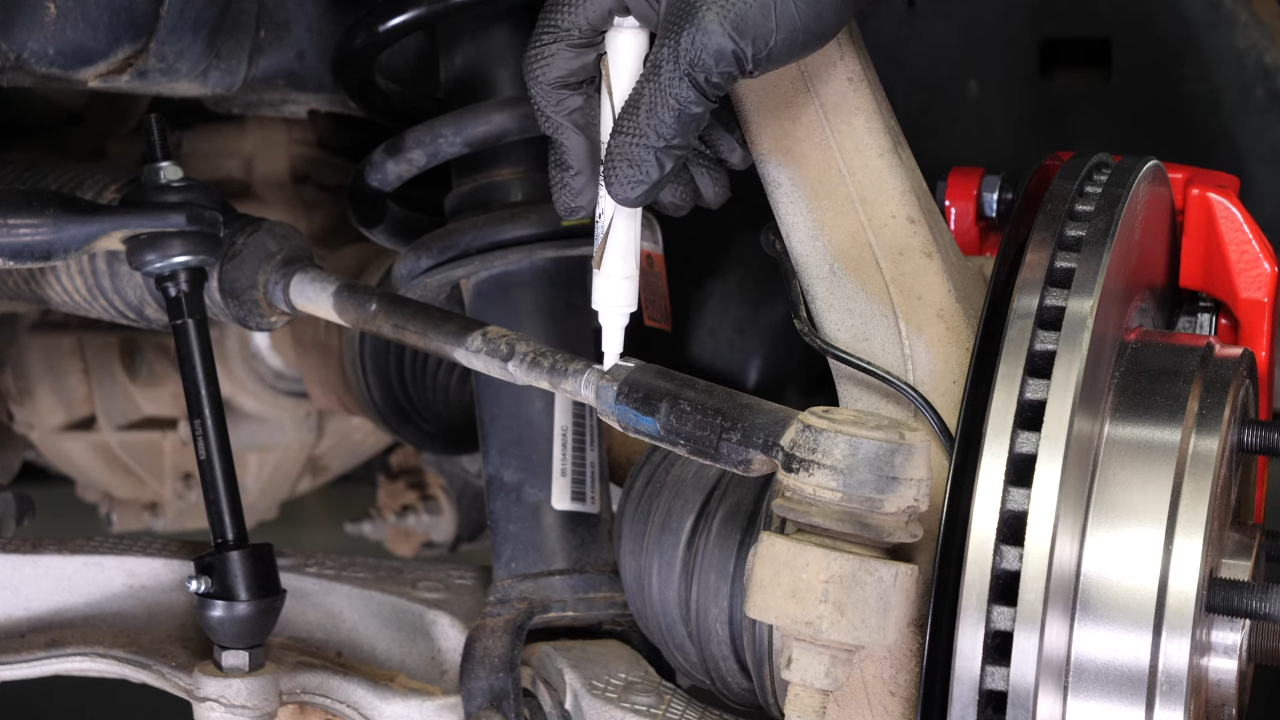
Using a wire brush, scrub the knuckle, then apply silicone grease to the flat part that will be in contact with the sleeve of the outer tie rod. Do not grease the inside of the cone.
Chapter 12:
Step 6/7
Put the outer tie rod back in place in the knuckle.
Chapter 12:
Step 7/7
Put the castellated nut supplied with the new part in place and tighten it using a ratchet and 21mm socket. Finish tightening using a torque wrench.

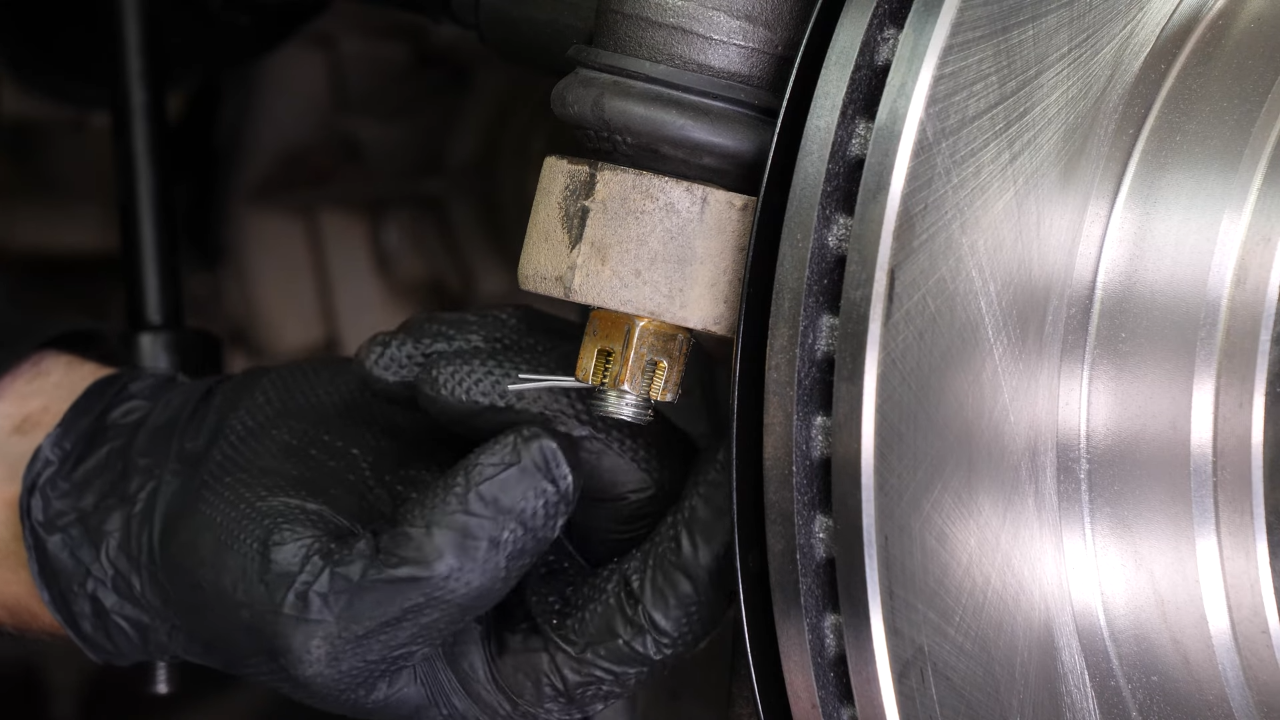
Chapter 13:
Finalise the reassembly
Step 1/5
Take the key and fit it into the castle nut. Use a screwdriver to bend the key.

Chapter 13:
Step 2/5
Finish tightening the locknut using a 24mm wrench by holding the inner tie rod still with the help of an adjustable wrench to avoid damaging the tie rod.

Chapter 13:
Step 3/5
Then, you will be able to put the wheels back on your vehicle.

Chapter 13:
Step 4/5
Put the car back on the ground and block the wheels properly.

Chapter 13:
Step 5/5
Operation complete.