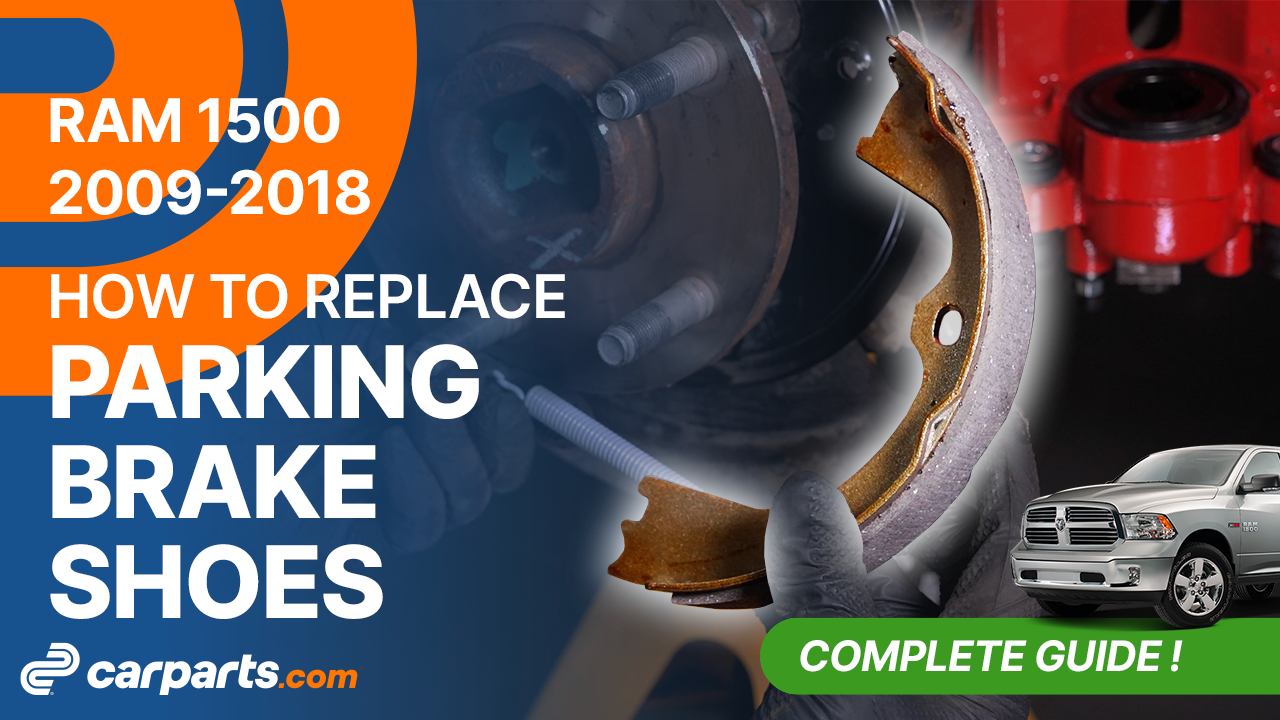
How to replace the parking brake shoes 2009-2018 Dodge Ram 1500
To replace the parking brake shoes on your Ram 1500 it couldnt’ be easier. You’ll need to lift the vehicle, remove the drum brakes, remove the brake shoes as well as carry out a few other steps. You can carry out this tutorial of 14 chapters in 75 minutes. Take your hydraulic jack and your hammer and let’s get started!
Duration
75 minutes
Number of steps
14
Difficulty out of 5
4
Average savings
$125
Parts You Will Need
Tools You Will Need
Step-by-Step Installation
Chapter 1:
Lift the vehicle
Step 1/4
Turn off your vehicle’s ignition, set the parking brake, pull the hood release handle and open the hood.

Chapter 1:
Step 2/4
Open the brake fluid reservoir. Loosen the wheel lug nuts on the rear wheels.


Chapter 1:
Step 3/4
Lift the rear of your vehicle. Place the vehicle on the jack stands.


Chapter 1:
Step 4/4
Don’t forget to put the wheels under the vehicle!

Chapter 2:
Remove the brake caliper mount
Step 1/1
Remove the caliper mount.


Chapter 3:
Remove the drum brakes
Step 1/4
It is now necessary to release the parking brake in order to clear the grip of the drum brake shoes on the disc. Sometimes this is not enough to remove the disc.

Chapter 3:
Step 2/4
You will have to remove the shutter cover located behind the anchor plate with flathead screwdriver. You can now reach the adjustment mechanism of the brake shoes, and retract the brake shoes until the disc is free.


Chapter 3:
Step 3/4
Sometimes the disc may get stuck on the hub, if this happens, use a hammer to remove it.

Chapter 3:
Step 4/4
Finally, remove the disc.

Chapter 4:
Remove the hold-down pins
Step 1/4
Now you can see your car’s parking brake shoes.

Chapter 4:
Step 2/4
Using a flat head screwdriver, apply pressure to the hold-down clip to release it.


Chapter 4:
Step 3/4
Do the same on the other side.

Chapter 4:
Step 4/4
Remove the hold-down pins from the other side of the anchor plate.


Chapter 5:
Remove the springs
Step 1/3
Using the flat head screwdriver, pry off the top of the brake shoes, then remove the adjuster.


Chapter 5:
Step 2/3
Next, remove the upper spring.

Chapter 5:
Step 3/3
Using the flat head screwdriver, pry off the bottom of the brake shoes to disengage them from the parking brake shoes lever.


Chapter 6:
Remove the brake shoes
Step 1/2
You can now take the parking brake shoes off by pulling them apart and removing them from the bottom.


Chapter 6:
Step 2/2
Make sure the parking brake shoes lever is working properly.


Chapter 7:
Clean the backing plate
Step 1/2
Clean the rear brake backing plate with brake cleaner.


Chapter 7:
Step 2/2
Grease the bearing surfaces of the brake shoes with copper grease.


Chapter 8:
Install the new brake shoes
Step 1/9
Take the parking brake shoes and the springs.


Chapter 8:
Step 2/9
Install the first lower spring on the rear of a brake shoe, and put the brake shoe in place by passing the spring above the parking brake lever.


Chapter 8:
Step 3/9
Take the first hold-down pin and hold-down clip. Put them back in place on the brake shoe.


Chapter 8:
Step 4/9
Then lock the hold-down pin using the needle-nose pliers.

Chapter 8:
Step 5/9
Take the second brake shoe.
Chapter 8:
Step 6/9
Hang the first lower spring on it.

Chapter 8:
Step 7/9
Next, using the flat head screwdriver, slot the parking brake shoes into position.


Chapter 8:
Step 8/9
Take the second lower spring, and install it using the needle-nose pliers.


Chapter 8:
Step 9/9
Put the second hold-down pin and hold-down clip in place.


Chapter 9:
Install the new adjuster
Step 1/3
Take the new adjuster.

Chapter 9:
Step 2/3
Then reposition the adjuster on the brake shoes.

Chapter 9:
Step 3/3
Take the upper spring, and put it in place on the brake shoes using the needle-nose pliers.


Chapter 10:
Clean
Step 1/3
Clean the wheel hub with a wire brush.

Chapter 10:
Step 2/3
Finish with brake cleaner and wipe with a paper towel.
Chapter 10:
Step 3/3
Also clean the surface of contact between the brake shoes and the disc.


Chapter 11:
Put the brake system back
Step 1/1
Now you can put the rear brake system back in place.


Chapter 12:
Finalise the reassembly
Step 1/3
Now you need to readjust the brake shoes.

Chapter 12:
Step 2/3
Tighten the adjustment mechanism until there is a slight friction between the brake shoes and the disc, which means that the brake shoes are perfectly spaced for your hand brake to work properly.
Chapter 12:
Step 3/3
Install the new shutter cover.


Chapter 13:
Put the vehicle back on the ground
Step 1/3
Then, you will be able to put the wheels back on your vehicle.

Chapter 13:
Step 2/3
Put the car back on the ground and block the wheels properly.


Chapter 13:
Step 3/3
Don’t forget to screw the brake fluid cap back on before starting the car.

Chapter 14:
Safety tips
Step 1/3
Attention! Before using your vehicle again, start your car, and pump the brake pedal a few times to push the brake pads together again.


Chapter 14:
Step 2/3
Try to drive smoothly and avoid sudden braking for the first 30 miles or so, to avoid glazing the new pads.
Chapter 14:
Step 3/3
Operation complete.