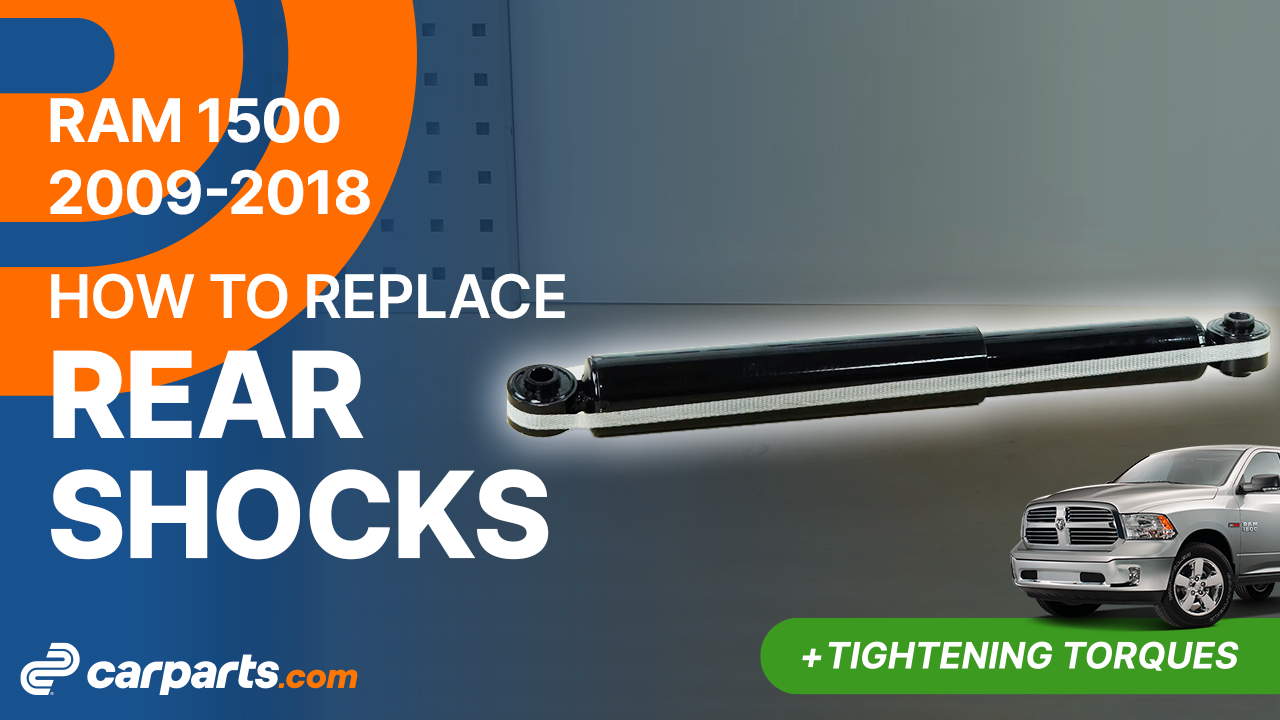
How to replace the rear shocks 2009-2018 Dodge Ram 1500
To replace the rear shocks on your Ram 1500 it couldnt’ be easier. You will be asked to lift the vehicle, remove the mudguard, remove the shock absorber as well as carry out a few other steps. You can carry out this tutorial of 11 chapters in 70 minutes. Take your ratchet and your 21 mm wrench and let’s get started!
Duration
70 minutes
Number of steps
11
Difficulty out of 5
3
Average savings
$150
Parts You Will Need
Tools You Will Need
Step-by-Step Installation
Chapter 1:
Lift the vehicle
Step 1/4
Turn your engine off and set the parking brake.

Chapter 1:
Step 2/4
Loosen the wheel lug nuts on the rear wheels.

Chapter 1:
Step 3/4
Lift the rear of your vehicle. Place the vehicle on the jack stands.


Chapter 1:
Step 4/4
Don’t forget to put the wheels under the vehicle!

Chapter 2:
Remove the mudguard
Step 1/2
Using a multi-bit screwdriver and an 8 mm socket, unscrew the mudguard retaining screws. Then, remove it.


Chapter 2:
Step 2/2
You can now see the shock absorber on your car.

Chapter 3:
Unscrew the shock absorber heads
Step 1/3
To remove the shock’s upper retaining bolt, you need to hold the bolt using a ratchet and a 21 mm socket.

Chapter 3:
Step 2/3
To unscrew the nut, which is difficult to access on the vehicle, you need to use a ratchet, two long extenders, and a 21 mm socket.

Chapter 3:
Step 3/3
Loosen the shock’s upper retaining nut. Then, remove the bolt.


Chapter 4:
Unscrew the shock absorber foot
Step 1/3
Brush off the shock’s lower retaining bolt, then spray it with penetrating oil.


Chapter 4:
Step 2/3
Then, using a 21 mm wrench, loosen the shock’s lower retaining nut.
Chapter 4:
Step 3/3
Hold the bolt using a ratchet and a 21 mm socket. Then, remove the bolt.


Chapter 5:
Remove the shock absorber
Step 1/2
You can now take extract the shock.

Chapter 5:
Step 2/2
Using a wire brush, brush off the location of the shock absorber to make it easier to install.


Chapter 6:
Prepare the new shock absorber
Step 1/2
Take the new shock.
Chapter 6:
Step 2/2
Before installing the new shocks, it is necessary to prime them by pressing the shock vertically, so that the gas and hydraulic fluid are separated.

Chapter 7:
Install the new shock absorber
Step 1/5
Position the shock and put the upper retaining bolt in place.

Chapter 7:
Step 2/5
Insert the shock into its lower slot.

Chapter 7:
Step 3/5
Then, install the lower retaining bolt.

Chapter 7:
Step 4/5
Next, screw back on the nut until it’s tight.

Chapter 7:
Step 5/5
Do the same with the upper bolt.

Chapter 8:
Tightening tips
Step 1/3
In order not to damage, it is necessary to tighten the holding bolts with the rear axle in the “vehicle on the ground” position.
Chapter 8:
Step 2/3
Presently, the jack stands are positioned on the rear axle, so the shock is the right operating position.

Chapter 8:
Step 3/3
Finish the tightening of the bolts with a torque wrench.


Chapter 9:
Passenger side
Step 1/1
You can now repeat the same process on the other side.
Chapter 10:
Put the mudguard back in
Step 1/2
Replace the mudguard.

Chapter 10:
Step 2/2
Then, retighten all the screws.

Chapter 11:
Put the vehicle back on the ground
Step 1/3
Then, you will be able to put the wheels back on your vehicle.

Chapter 11:
Step 2/3
Put your vehicle back on the ground before properly fixing the wheels in place.


Chapter 11:
Step 3/3
Operation complete.