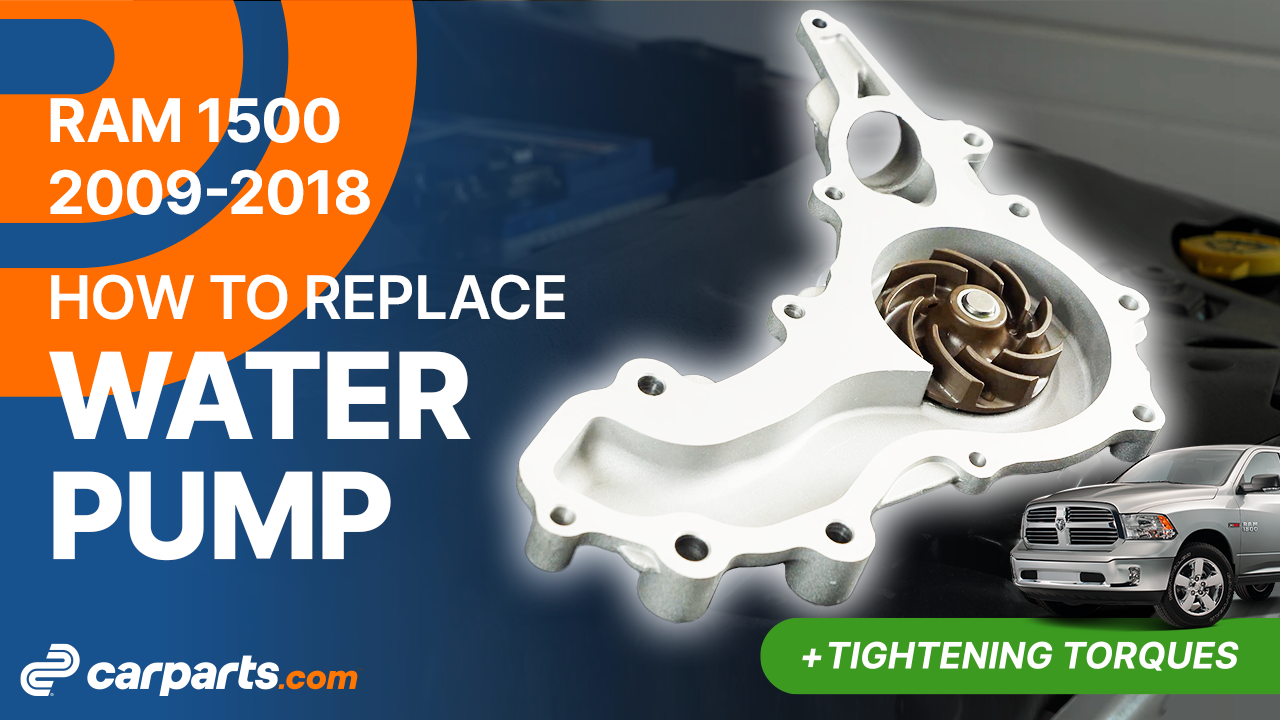
How to replace the water pump 2009-2018 Dodge Ram 1500
To replace the oxygen sensors on your Ram 1500 this tutorial was tailor-made for you. You will be asked to open the hood, bleed the coolant, access the water pump as well as carry out a few other steps. You can carry out this tutorial of 13 chapters in 30 minutes. Take your ratchet and your 16 mm socket and let’s get started!
Duration
90 minutes
Number of steps
13
Difficulty out of 5
3
Average savings
$150
Parts You Will Need
Tools You Will Need
Step-by-Step Installation
Chapter 1:
Open the hood
Step 1/1
Turn off your vehicle’s ignition, set the parking brake, pull the hood release handle and open the hood.

Chapter 2:
Disconnect the battery
Step 1/1
For safety reasons, we advise you to disconnect the battery.

Chapter 3:
Bleed the coolant
Step 1/9
You need to drain the coolant circuit.
Chapter 3:
Step 2/9
Get a fluid collection container to collect the coolant that will flow out.

Chapter 3:
Step 3/9
On this vehicle, the radiator is equipped with a bleed screw, which you access from the underside of the vehicle, on the driver side.

Chapter 3:
Step 4/9
Connect a plastic tube to the bleed port to collect the coolant directly in the collection container.

Chapter 3:
Step 5/9
You can then unscrew the bleed screw using a ratchet and a 10 mm Allen socket to let the coolant flow.


Chapter 3:
Step 6/9
To facilitate the flow of coolant, open the cap of the coolant expansion tank.


Chapter 3:
Step 7/9
You can use special compressed air tools to effectively bleed your circuit.


Chapter 3:
Step 8/9
You can also rinse it with plenty of water to clean out grime from the expansion tank and circuit.
Chapter 3:
Step 9/9
Close the bleed screw. Remove the plastic tube.


Chapter 4:
Remove the serpentine belt
Step 1/3
You must now remove the serpentine belt.
Chapter 4:
Step 2/3
Using a breaker bar and a 1/2″ drive extension socket, loosen the belt by turning the serpentine belt tensioner counterclockwise.

Chapter 4:
Step 3/3
Meanwhile, remove the belt from the tensioner, then from the various pulleys.


Chapter 5:
Access the water pump
Step 1/4
Get a fluid collection container to collect the coolant that will flow out.

Chapter 5:
Step 2/4
On this vehicle, the water pump is connected to two coolant hoses.
Chapter 5:
Step 3/4
Using adjustable pliers or the tool used in the video, compress the coolant hose retaining ring, then remove the hose.


Chapter 5:
Step 4/4
Do the same on the other hose.


Chapter 6:
Remove the water pump
Step 1/4
Using a ratchet, an extender, and 10 mm, 13 mm and 16 mm sockets, unscrew the 12 bolts holding the water pump and the idler pulley which also holds the water pump to the engine block.

Chapter 6:
Step 2/4
You can see in these images the various sockets to be used depending on the bolts holding the water pump.


Chapter 6:
Step 3/4
The water pump is now free. However, it is often difficult to remove.
Chapter 6:
Step 4/4
Remove the water pump.


Chapter 7:
Clean the gasket surface
Step 1/4
Remove the seal.


Chapter 7:
Step 2/4
To avoid any risk of leaks, clean the water pump seal surface thoroughly.
Chapter 7:
Step 3/4
You can use a razor blade to remove the various residues from the seal surface.

Chapter 7:
Step 4/4
Clean the seal surface with brake cleaner and a cloth.


Chapter 8:
Prepare the water pump
Step 1/5
Get the new water pump.

Chapter 8:
Step 2/5
Everyone’s natural reflex is to take the water pump in hand and turn the pump pulley to check that this element is rotating correctly.
Chapter 8:
Step 3/5
But this is a serious mistake that can irreversibly damage the water pump.
Chapter 8:
Step 4/5
You need to pour coolant into the pump, and to turn it around ten times.


Chapter 8:
Step 5/5
This prevents subsequent leaks, as the pump must never run dry.
Chapter 9:
Set up
Step 1/3
Take the new seal.
Chapter 9:
Step 2/3
Then put it in place on the new water pump.

Chapter 9:
Step 3/3
Roughly install a bolt to hold it in position when putting the water pump back in place.

Chapter 10:
Install the new water pump
Step 1/5
Get the new water pump, and put it in place.

Chapter 10:
Step 2/5
Roughly screw the first bolt back on.

Chapter 10:
Step 3/5
You can now roughly tighten all the bolts holding the water pump and the idler pulley.


Chapter 10:
Step 4/5
Final tightening of the bolts is applied using a torque wrench, following the tightening sequence shown in the video.


Chapter 10:
Step 5/5
Using adjustable pliers or the tool used in the video, put the two hoses back in place on the water pump.


Chapter 11:
Put the serpentine belt back
Step 1/1
You can now put the serpentine belt back in place.


Chapter 12:
Add coolant
Step 1/2
Now you need to refill the radiator with coolant and purge any air from the circuit.


Chapter 12:
Step 2/2
The video also shows how to expel air from the circuit when refilling it.
Chapter 13:
Reconnect the battery
Step 1/2
Reconnect the battery.

Chapter 13:
Step 2/2
Operation complete.