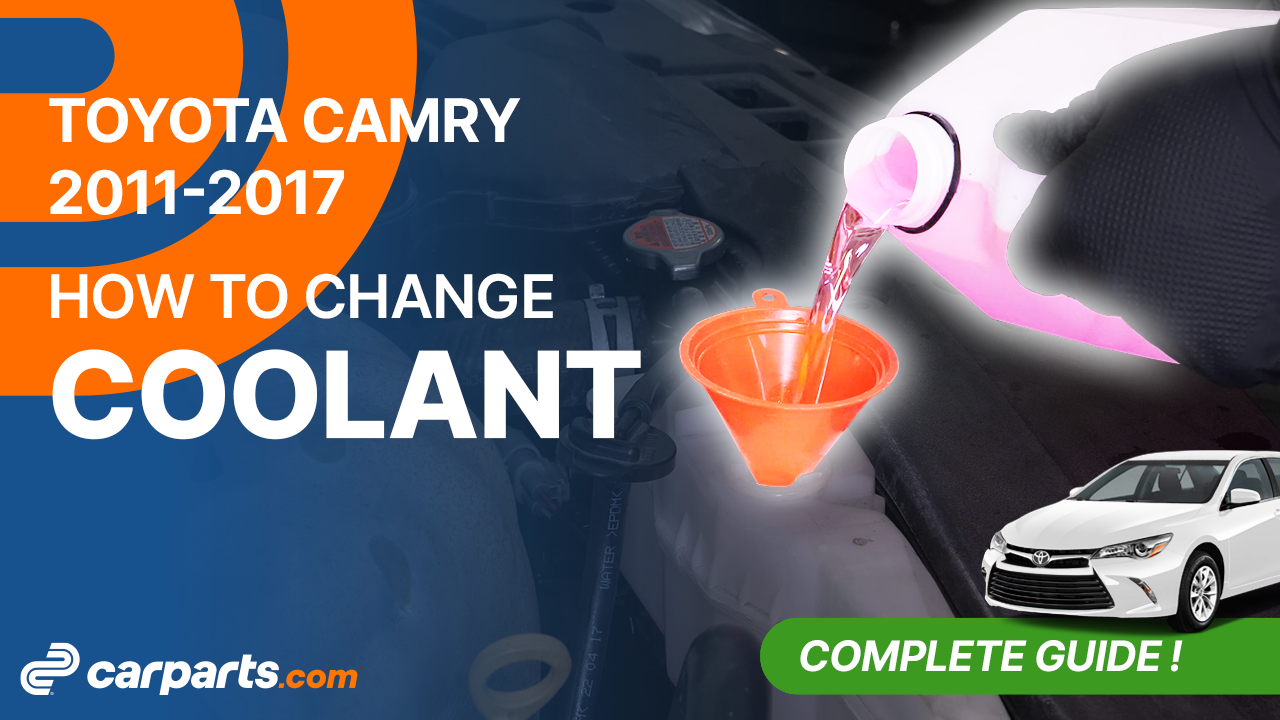
How to change the coolant 2011-2017 Toyota Camry
To How to change the Coolant on your Camry it couldnt’ be easier. You will be asked to lift the vehicle, bleed the cooling system, clean the cooling system as well as carry out a few other steps. You can carry out this tutorial of 12 chapters in 90 minutes. Take your fluid container and your 10 mm socket and let’s get started!
Duration
90 minutes
Number of steps
12
Difficulty out of 5
3
Average savings
$100
Parts You Will Need
Tools You Will Need
Step-by-Step Installation
Chapter 1:
Open the hood
Step 1/2
Turn off your vehicle’s ignition, set the parking brake, pull the hood release handle and open the hood.

Chapter 1:
Step 2/2
This will allow you to see the radiator cap as well as the coolant reservoir.

Chapter 2:
Lift the vehicle
Step 1/2
Lift the front of your vehicle.


Chapter 2:
Step 2/2
Place the vehicle on the jack stands.


Chapter 3:
Informations
Step 1/3
When completely bleeding your cooling system, we advise you to do it when the engine is cold.

Chapter 3:
Step 2/3
Get a fluid collection container to collect the coolant that will flow out.

Chapter 3:
Step 3/3
To facilitate the flow of liquid while draining, open the radiator cap.

Chapter 4:
Bleed the cooling system
Step 1/4
On this vehicle, the radiator is equipped with a bleed screw, which you access from the underside of the vehicle, on the driver side.

Chapter 4:
Step 2/4
Connect a plastic tube to the bleed port to collect the coolant directly in the collection container.

Chapter 4:
Step 3/4
You can then unscrew the bleed screw to let the coolant flow.


Chapter 4:
Step 4/4
Open the coolant reservoir cap.


Chapter 5:
Clean the coolant reservoir
Step 1/4
Using a ratchet, an extender and a 10 mm socket, unscrew the 2 coolant reservoir retaining bolts. Then remove the reservoir.


Chapter 5:
Step 2/4
When completely bleeding the coolant, we advise you to completely empty the coolant from the reservoir.

Chapter 5:
Step 3/4
Also, clean it with demineralized water so as to clean the impurities remaining in the reservoir.

Chapter 5:
Step 4/4
Once cleaned, put it back in place. Close the cap.


Chapter 6:
Clean the cooling system
Step 1/2
Before adding coolant, we advise you to completely clean the coolant circuit by filling the circuit with demineralized water through the radiator cap.


Chapter 6:
Step 2/2
Once the circuit is full, close the radiator cap.


Chapter 7:
Warm up to operating temperature
Step 1/7
Start your vehicle.

Chapter 7:
Step 2/7
Make sure the air conditioning is turned off. Then turn the ventilation and heating to maximum in order to circulate the liquid in the heater core.


Chapter 7:
Step 3/7
You can maintain the acceleration around 2,000 rpm to accelerate the engine warm-up.


Chapter 7:
Step 4/7
Once the engine is at operating temperature, with the engine temperature rising, the thermostat should open.
Chapter 7:
Step 5/7
Check that the hose coming out of the thermostat is hot; this means that the thermostat is in the open position and the liquid is circulating through the engine.

Chapter 7:
Step 6/7
Also check that the heater core supply hoses are hot, and that hot air is coming out of the ventilation; this means that the liquid is circulating freely through the heating circuit.


Chapter 7:
Step 7/7
You can then turn off the ignition and wait about ten minutes for the engine temperature to cool down.


Chapter 8:
Bleed the system
Step 1/2
Once the engine is cold, open the radiator cap and repeat the bleeding operation.


Chapter 8:
Step 2/2
Once the demineralized water has been bled, close the bleed screw. Remove the plastic tube.


Chapter 9:
Fill the cooling system with coolant
Step 1/3
Fill the circuit with coolant.

Chapter 9:
Step 2/3
Also fill the coolant reservoir to the minimum level.


Chapter 9:
Step 3/3
Squeeze the coolant hoses several times to help expel air bubbles from the cooling system. Close the cap.


Chapter 10:
Warm up to operating temperature
Step 1/5
Start your vehicle.

Chapter 10:
Step 2/5
Make sure the air conditioning is turned off. Then turn the ventilation and heating to maximum in order to circulate the liquid in the heater core.


Chapter 10:
Step 3/5
Once the engine is at operating temperature, check the opening of the thermostat by making sure the hose coming out of the thermostat is hot; this means that the thermostat is in the open position and the liquid is circulating through the engine.


Chapter 10:
Step 4/5
Also check that the heater core supply hoses are hot, and that hot air is coming out of the ventilation; this means that the liquid is circulating freely through the heating circuit and air bubbles are not obstructing the circulation.


Chapter 10:
Step 5/5
Turn off your vehicle’s ignition.

Chapter 11:
Readjust the coolant
Step 1/1
Also fill the coolant reservoir to the maximum level.


Chapter 12:
Tips
Step 1/3
We advise you to check the general condition of the cooling hoses to make sure there are no cracks or leaks.

Chapter 12:
Step 2/3
During the first few miles of driving, pay special attention to your coolant level, which will have to be readjusted if necessary. Also check regularly for leaks on the ground.


Chapter 12:
Step 3/3
Operation complete.