
How to replace the air filter 2011-2017 Toyota Camry
To replace the air filter on your Camry it couldnt’ be easier. You will need to open the hood, access the air filter, remove the filter as well as carry out a few other steps. You can carry out this tutorial of 7 chapters in 30 minutes. Take your wheel lug wrench and your vacuum and let’s get started!
Duration
30 minutes
Number of steps
7
Difficulty out of 5
1
Average savings
$40
Parts You Will Need
Tools You Will Need
Step-by-Step Installation
Chapter 1:
Open the hood
Step 1/1
Turn off the ignition, set the parking brake. Pull on the hood release lever and open the hood.


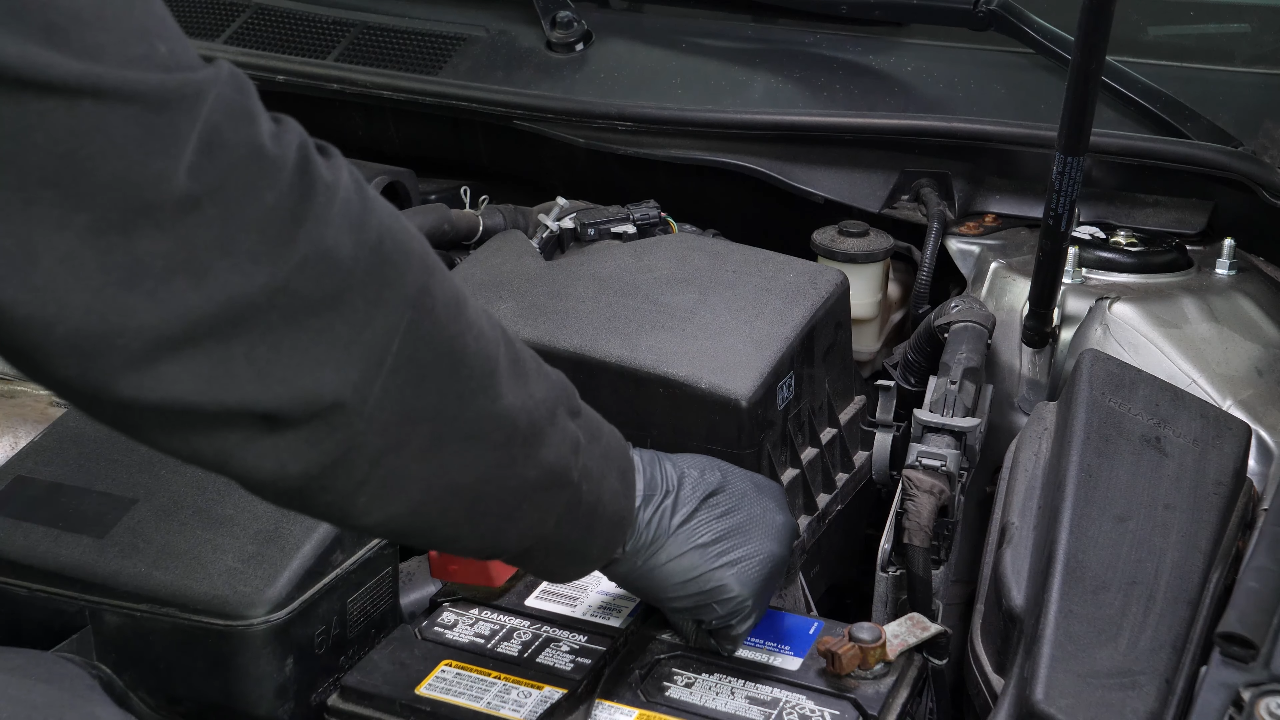
Chapter 2:
Visualise
Step 1/1
You should now be able to easily see the airbox to change the filter.

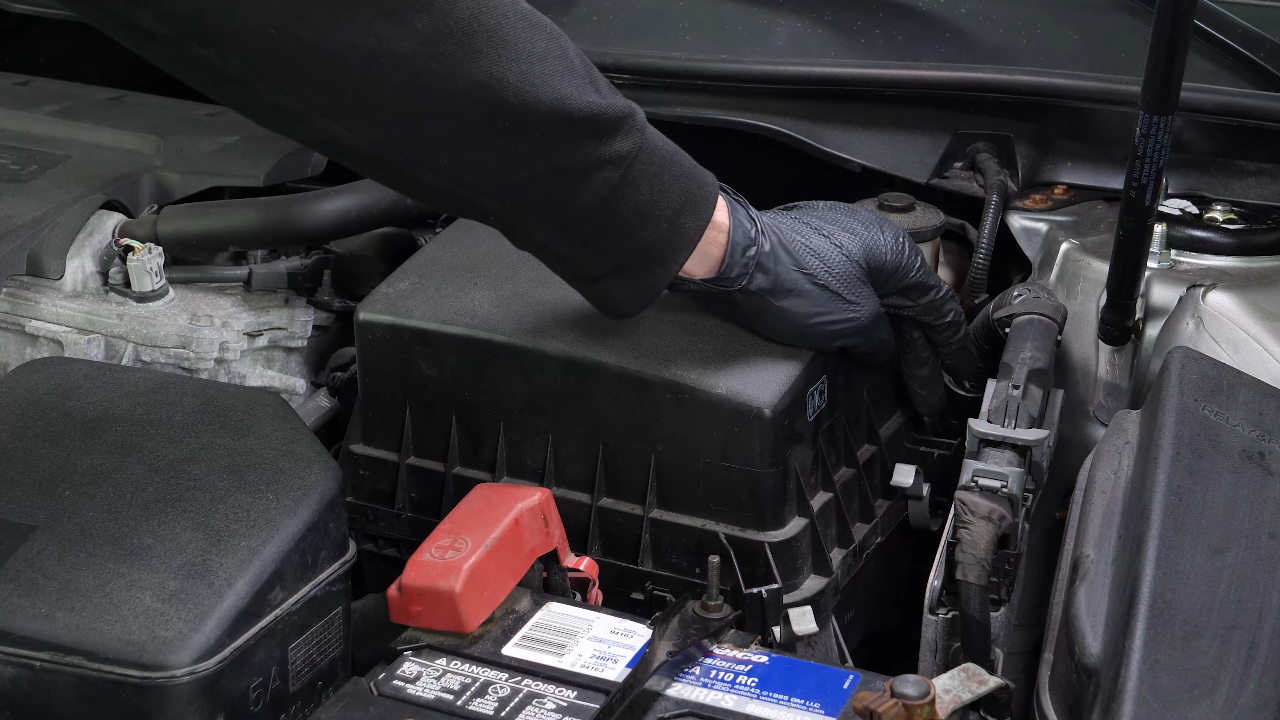
Chapter 3:
Access the air filter
Step 1/2
Unclip both holding latches on the airbox cover.
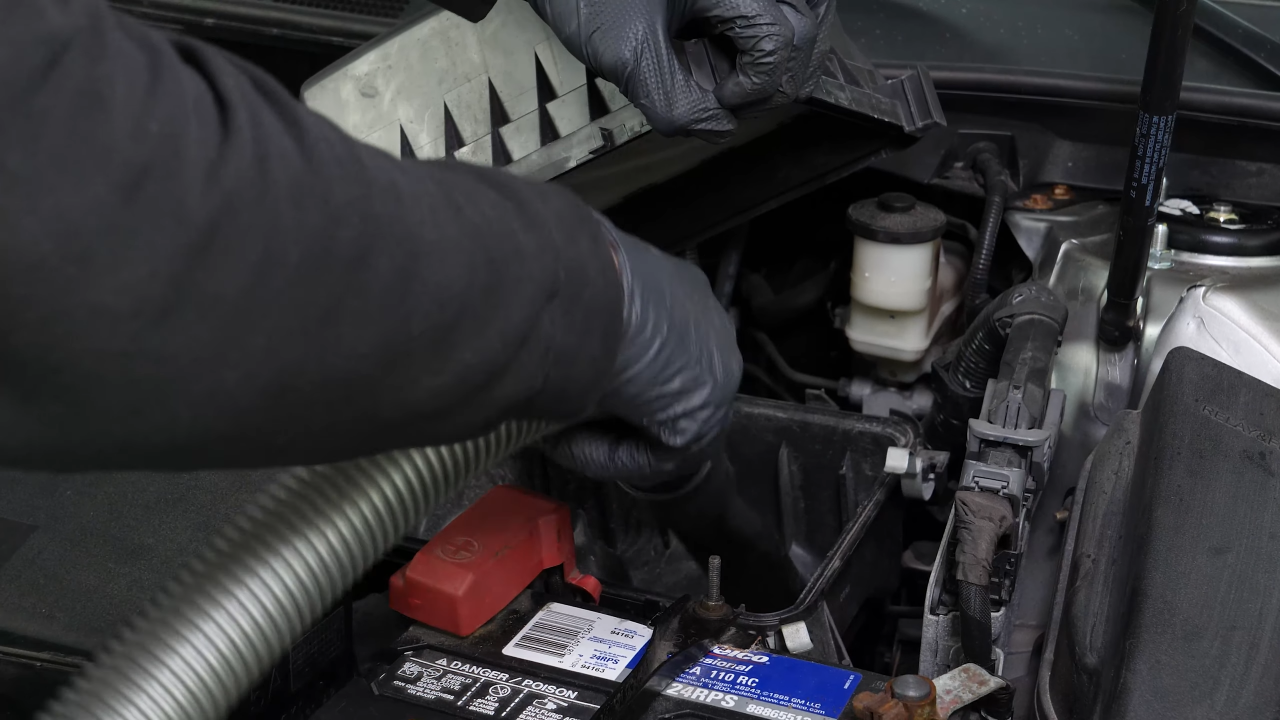
Chapter 3:
Step 2/2
Lift the flange.

Chapter 4:
Remove the filter
Step 1/1
Take out the air filter.

Chapter 5:
Clean the airbox
Step 1/1
Before putting in the new filter in place, it is important to clean out any impurities or leaves stuck in the filter compartment.
Chapter 6:
Install the new filter
Step 1/2
Take the new filter.

Chapter 6:
Step 2/2
You can now put the new filter in place.

Chapter 7:
Finalise the reassembly
Step 1/3
To put the flange in, incline it so that the interlocking studs go in first.
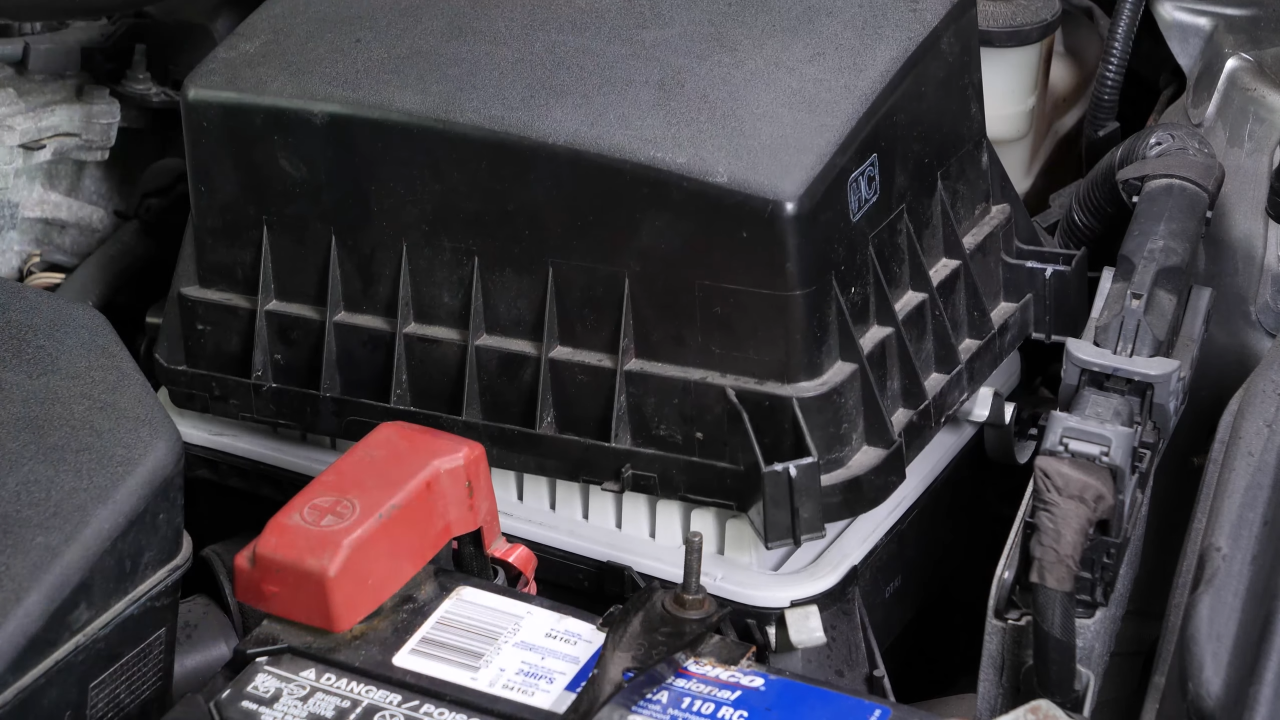

Chapter 7:
Step 2/3
Finally, lock the flange with the two latches.


Chapter 7:
Step 3/3
Operation complete.