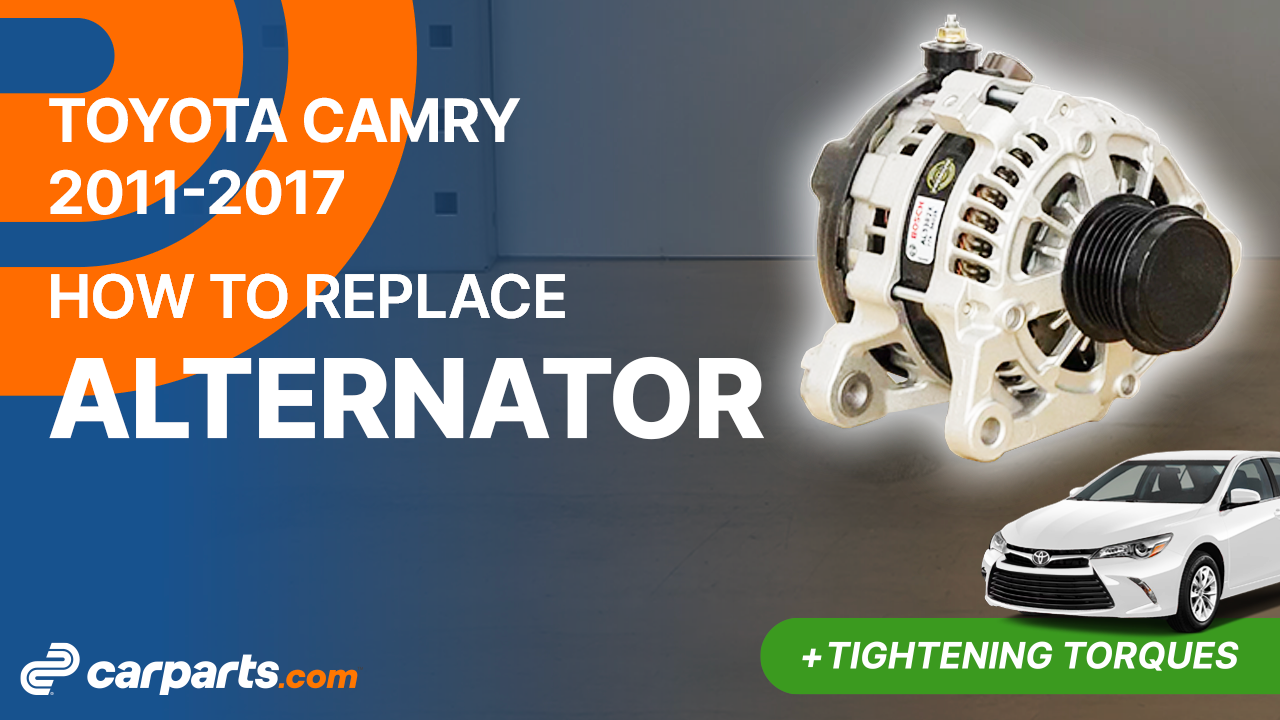
How to replace the alternator 2011-2017 Toyota Camry
To replace the alternator on your Camry we’re here to help. You’ll need to set up, remove the metal bar, remove the alternator as well as carry out a few other steps. You can carry out this tutorial of 8 chapters in 80 minutes. Take your 10 mm socket and your 13mm offset wrench and let’s get started!
Duration
80 minutes
Number of steps
8
Difficulty out of 5
3
Average savings
$90
Parts You Will Need
Tools You Will Need
Step-by-Step Installation
Chapter 1:
Set up
Step 1/3
Turn your engine off, set the parking brake pull on the hood release handle, and open the hood.


Chapter 1:
Step 2/3
For safety reasons, we advise you to disconnect the battery.


Chapter 1:
Step 3/3
In order to remove the alternator, you need to remove the serpentine belt from the alternator pulley.


Chapter 2:
Remove the metal bar
Step 1/1
Using a ratchet, an extender and a 14mm socket, unscrew the two bolts holding the metal bracket. Then remove the bracket.


Chapter 3:
Disconnect the alternator
Step 1/4
Disconnect the oil pressure switch.

Chapter 3:
Step 2/4
Using a flat head screwdriver, press on the tab of the electrical sheath plastic support. Then unclip the support.


Chapter 3:
Step 3/4
Disconnect the alternator regulator connector.Remove the rubber protection.

Chapter 3:
Step 4/4
Next, using a 10mm wrench, unscrew the nut holding the positive terminal of the alternator. Then remove the terminal.

Chapter 4:
Remove the alternator
Step 1/4
Next, using a ratchet, an extender and a 10mm socket, unscrew the electrical sheath support on the alternator. Then shift the whole.


Chapter 4:
Step 2/4
Using a ratchet and a 14mm socket, unscrew the upper retaining bolt of the alternator.


Chapter 4:
Step 3/4
Unscrew the lower bolt using the same tools.


Chapter 4:
Step 4/4
Move the electrical sheaths aside. You can now pull out the alternator.


Chapter 5:
Put the alternator back in place
Step 1/6
Take the new alternator.

Chapter 5:
Step 2/6
Then insert it into its slot.


Chapter 5:
Step 3/6
Put the lower retaining bolt back in place.

Chapter 5:
Step 4/6
Screw the upper retaining bolt back on.

Chapter 5:
Step 5/6
Then screw them back in.


Chapter 5:
Step 6/6
Finish tightening using a torque wrench.


Chapter 6:
Reconnect the alternator
Step 1/6
Screw the electrical sheath support back onto the alternator.

Chapter 6:
Step 2/6
Replace the positive terminal. Then, screw the nut back on.


Chapter 6:
Step 3/6
Put the rubber protection back in place.

Chapter 6:
Step 4/6
Reconnect the alternator regulator connector.

Chapter 6:
Step 5/6
Clip the electrical sheath support back on.

Chapter 6:
Step 6/6
Reconnect the oil pressure switch.

Chapter 7:
Put the metal bar back
Step 1/2
Put the metal bracket back in place.


Chapter 7:
Step 2/2
Then screw the two bolts back on.


Chapter 8:
Finalise the reassembly
Step 1/3
Replace the serpentine belt.


Chapter 8:
Step 2/3
Reconnect the battery.


Chapter 8:
Step 3/3
Operation complete.